
he took the S14, LSD and Getrag up to Korman :-)
-
I BUY/SELL REFURBISHED CM5907s & CM5908s
HOWTOs:
DB vert plastic bumpers
OEM Keys
MTech1 docs
88 ix Lach/Card
91 ic Calypso 3.1
86 Cosmo 2.7
OEM+ or bust!

reelizmpro: I will always be an e30 guy.. I still do all of my own labor
TrentW: There's just something so right about a well-built M20 in an E30
e30m3s54turbo: I save my money for tuner parts. -
Oh lord. :devil:Originally posted by bradnic View PostCurrent:
1989 325i
1988 M3
1987 325ic
Past:
2001 330ci
2001 M3Comment
-
Comment
-
Some teasers


Sent from my iPhone using TapatalkComment
-
Very Nice! And that was some fast work.Comment
-
 Current:
1989 325i
1988 M3
1987 325ic
Past:
2001 330ci
2001 M3Comment
-
Excellent work,
If you have not already done it I would recommend replaceing all the exhaust manifold studs with original items, just saves broken/loose studs being problem later on.
I replaced the small water hose connector 11121308944 on mine as it was corroded and cause overheating problems when it blocks up.
These items may be worth a look and are well priced,
11121257516
11121308944Comment
-
Yep. All studs and hoses are being replaced with new BMW parts. Engine will literally be a new engine when i get it back, plus some Evo goodies - cams, lightweight flywheel, springs, etc etc.
A few other things im doing in the meantime.
Rear deck
Remember that little guy curled up in the engine bay from page 14?
if you have old, uncleaned seat belts, might not want to watch this next part...
this is from pressure washing one belt, and just the stuff that didnt go down into the floor or fly off to the sides. Thats a lot of dead skin cells...
48 hours drying, then, much better. There is a physical difference in the belts, not exaggerating. I was super careful about not getting the little tags wet too. Came out well.
Torquey Torquey. Thanks to the guys at s14.net for the specs under my thread "I need e30 M3 torque specs...like, all of them"
Waking up from a 2 year nap
Moving up
Floor rails
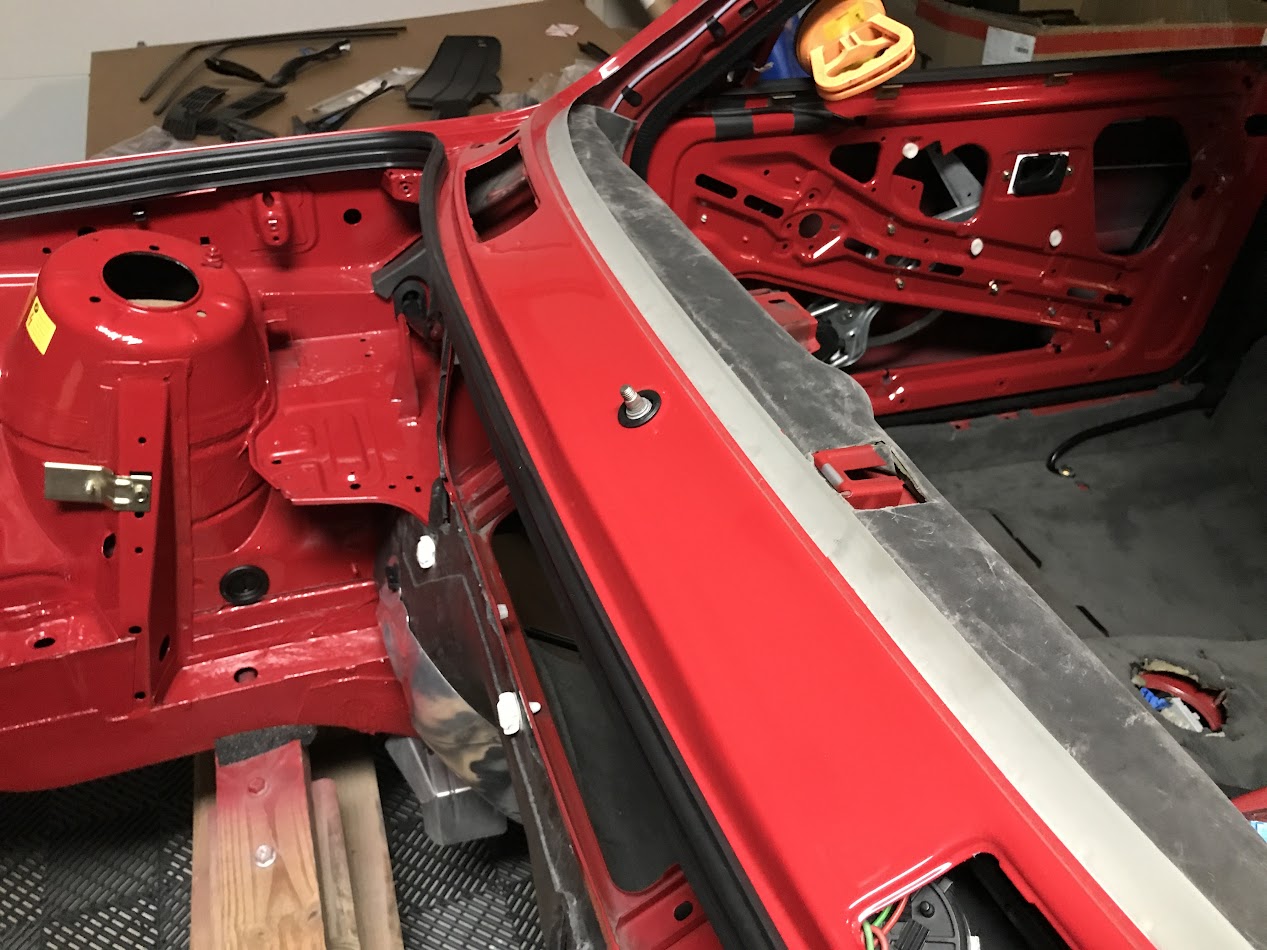
Then i did a little glass polishing...
The trick is to remove some of the bolts that secure the window track to the frame, so that you can get the rollers into the slots at the bottom of the glass pane
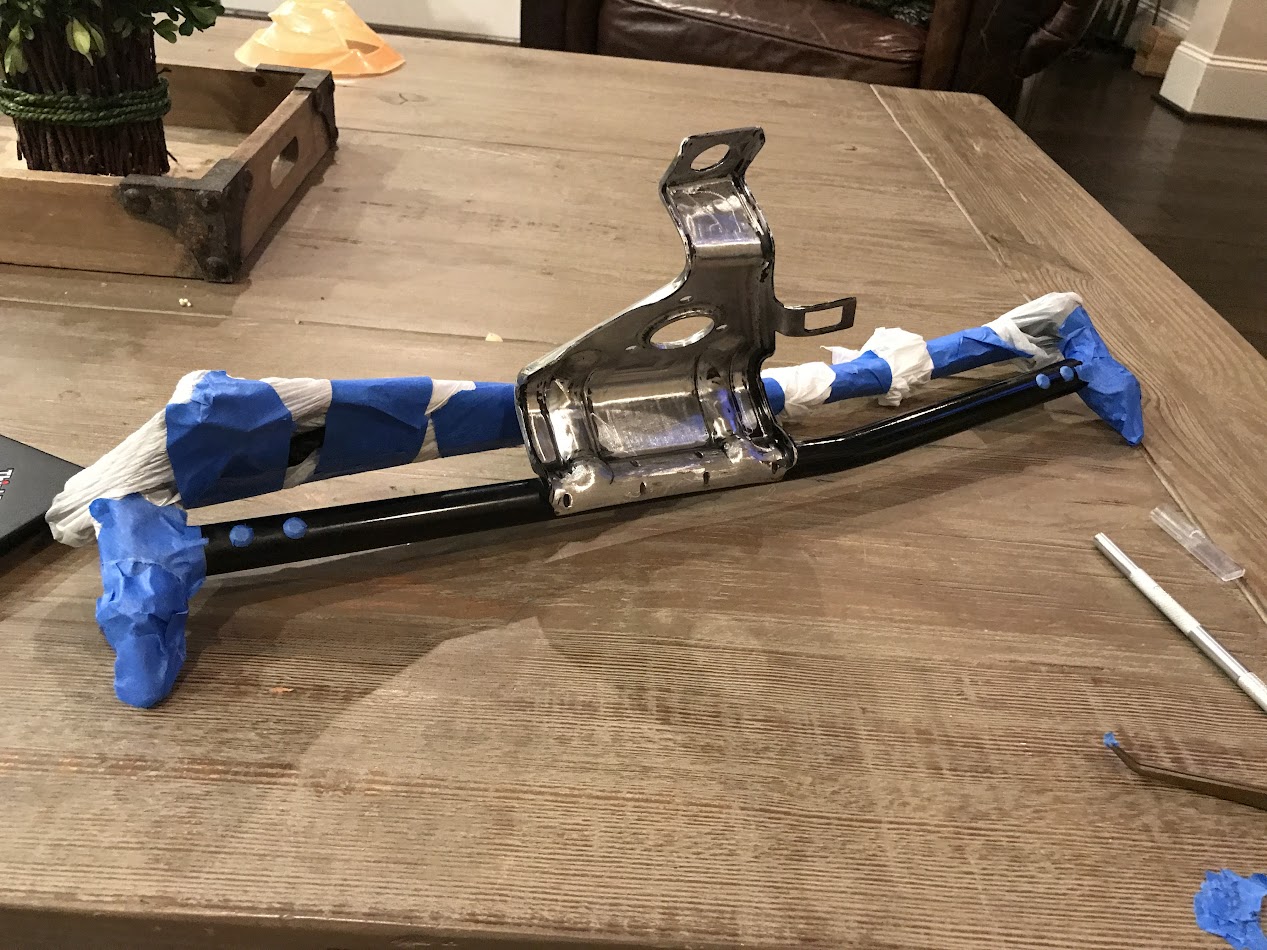
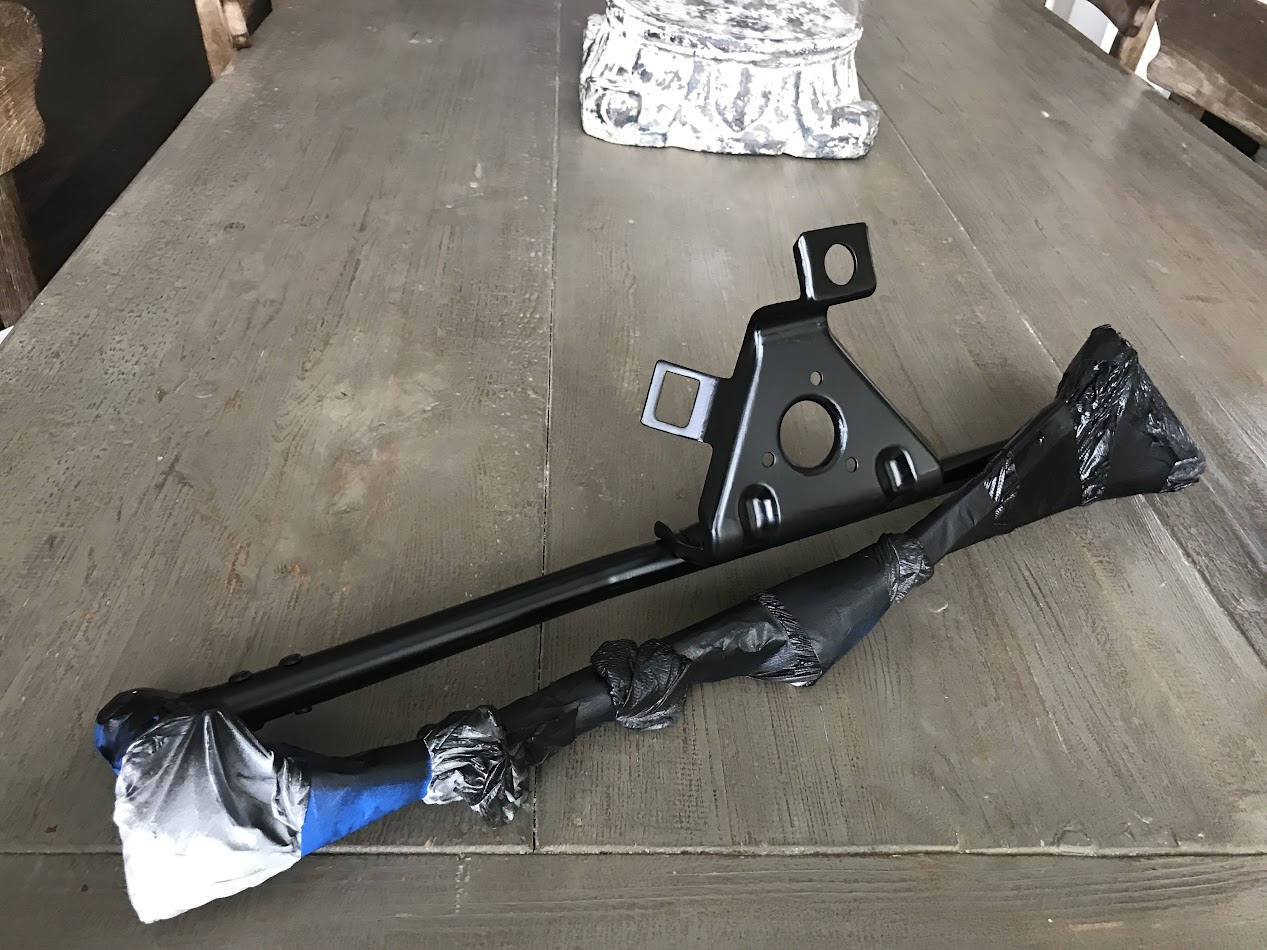
Oh and that spot spray job i did on the rusted portion of the wiper linkage 3 years ago wasnt up to par. The standards have come up a bit since then i would say...
The inside of my reconditioned wiper motor had some rust on the inside. 24 hours in Vap-o-Rust and...
Then sprayed with a rust prevention black enamel paint.
And reassembled with newly plated fasteners
Leaving the three bolts that hold the motor on loose for the install helps to maneuver the linkage into place. It was a lot easier not having to navigate around the heater box too.
Screws holding on motor still loose, cover is easy to get on
I'm going to replace the yellow plated flat nuts on the wiper arm nubs with standard silver - thats what was on the car before and i think its factory correct.
I'll finish for tonight with an end product pic and get into the details later. Man was this a job...
Comment
-
Awesome update as always. I would highly recommend removing the wedding band while working on the car or get a rubber one LOLComment
-
Comment
-
Sunroof. Or, why i wish i had a slicktop.
Here are the screws that hold down the trim/surround that holds down the headliner, and on the sides serves as a guide for the upholstery component of the sunroof. I looked all over for new versions, but wasnt able to find exact replacements for the small self tapping ones. So i started by sanding them off lightly
Then spraying with a ceramic black paint (duplicolor brake caliper paint)
I let it dry then baked it at 200 deg for 1 hour to cure
I also restored all the surrounds
Old pic here obviously
Ok now i did everything all out of order and had to disassemble a couple more times than i needed to. If i were doing it again i would get all the hardware and trim set, then
1) install the sunroof upholstery carrier. This sits on the track free from the rest of the mechanism. the sunroof upholstery connects to it via the two arms and snaps. The carrier basically keeps the upholstery straight and on the track. When the upholstery is connected to the sunroof panel in the front, the entire thing moves as one piece.
#12 in the image below:
Here's the underside with the clips where the upholstery links snap in
2) install new sunroof panel carriers
3) Install front and rear trim. This was at the upholstery shop, so the screws are marred (didnt have the ceramic on at this point, they're perfect now after ceramic and some brush touch up). I also go the upholstery all lined up so that random black piece in the bottom left isnt like that anymore.
4) Then install the side surrounds. The thing i missed, that once i figured out everything went smoothly, is that this little black square thing is the key.
The black square thing runs under the trim, until it his the segment shown below, at that point it goes through the opening and pops up. This is what allows for the up (vent) mid (flush) and low (retracting) positions of the sunroof.
5) Then I would install the upholstery panel. NOT the main panel. The sides go under the surrounds and the rear arms snap into the piece installed in step 1.
The upholstery panel can then be pushed back into the roof once it is snapped into its track carrier.
6) Panel goes in last once the gasket is on (I went with the one piece gasket)
Then put in the three screws on each side from underneath.
7) Upholstery piece can then be pulled forward. I left mine unattached at to the metal panel until i get the sunroof motor in and can more easily move back the metal panel. Once this is in though, its just a case of moving the metal piece back and snapping in the upholstery cover. Wrinkles in headliner will come out with steam.
Comment
-
My friend will swap a 24v engine into an e30 in his sleep, but he refuses to touch sunroofs.
Looks like you did a good job though. :)Current:
1989 325i
1988 M3
1987 325ic
Past:
2001 330ci
2001 M3Comment
-
Update from Korman...trans, diff done
Then...

Now...


Sent from my iPhone using TapatalkComment
-
That was quickI BUY/SELL REFURBISHED CM5907s & CM5908s
HOWTOs:
DB vert plastic bumpers
OEM Keys
MTech1 docs
88 ix Lach/Card
91 ic Calypso 3.1
86 Cosmo 2.7
OEM+ or bust!
reelizmpro: I will always be an e30 guy.. I still do all of my own labor
TrentW: There's just something so right about a well-built M20 in an E30
e30m3s54turbo: I save my money for tuner parts.Comment
-
WowComment


Comment