Announcement

Collapse
No announcement yet.

DIY: Euro Bumper Install - Early Models

Collapse
X
 
  • Filter
  • Time
  • Show
Clear All
new posts

    #31
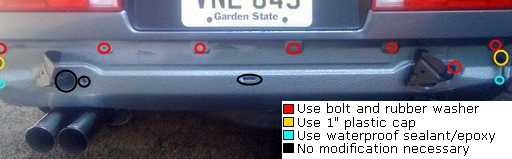
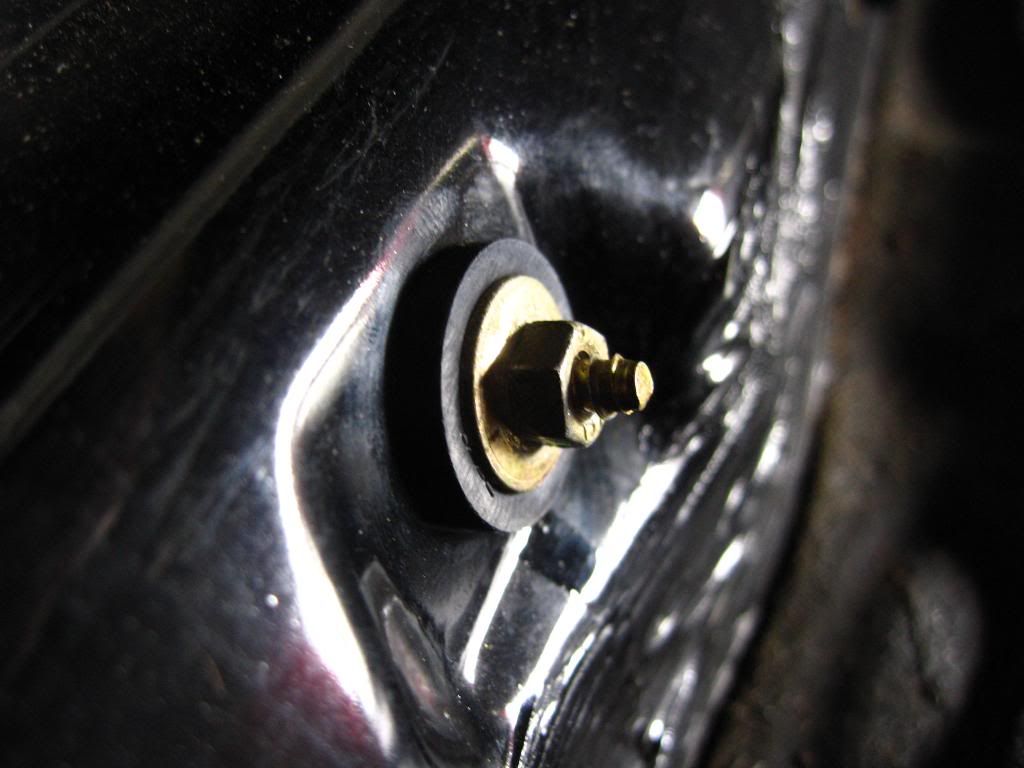
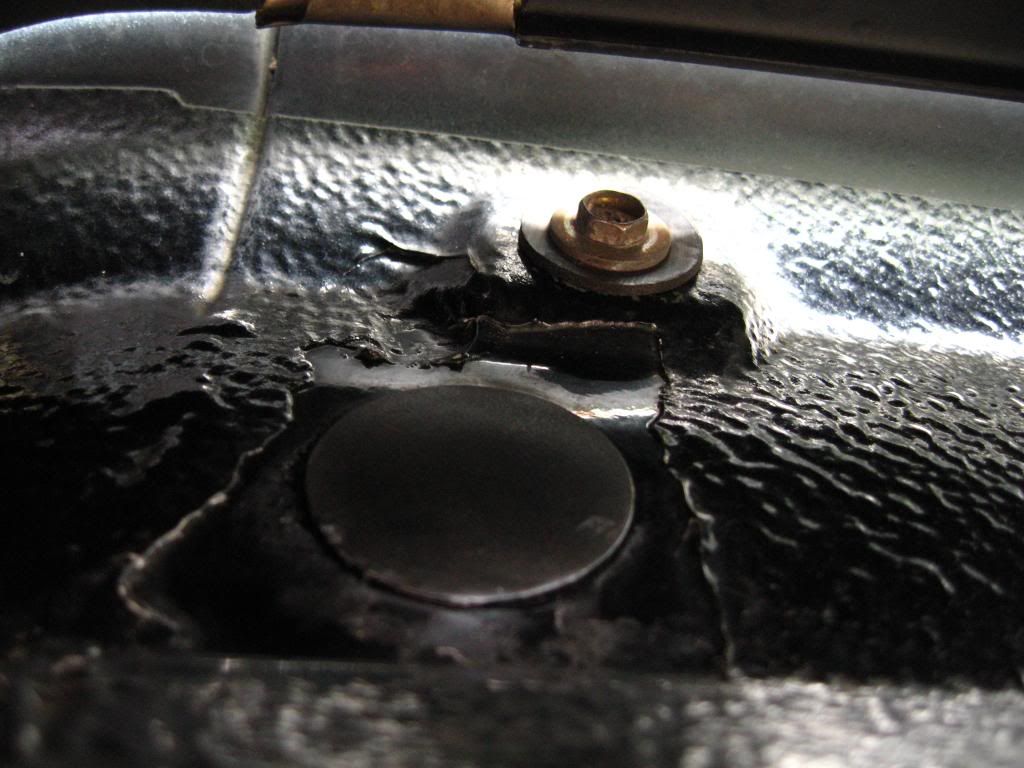
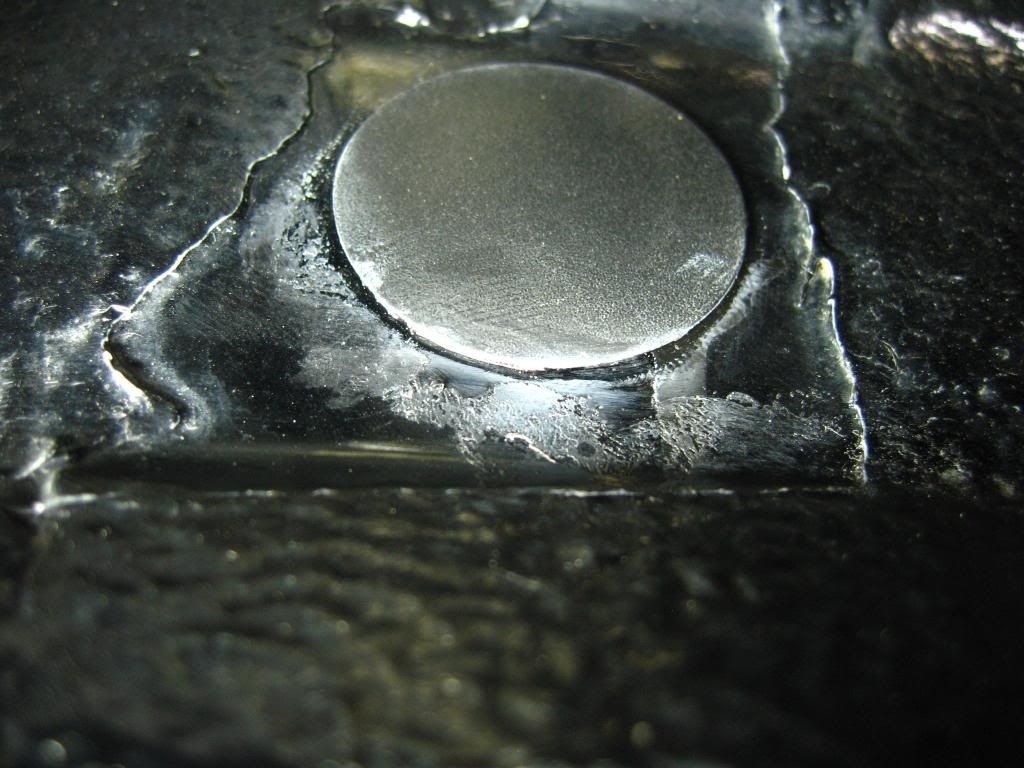
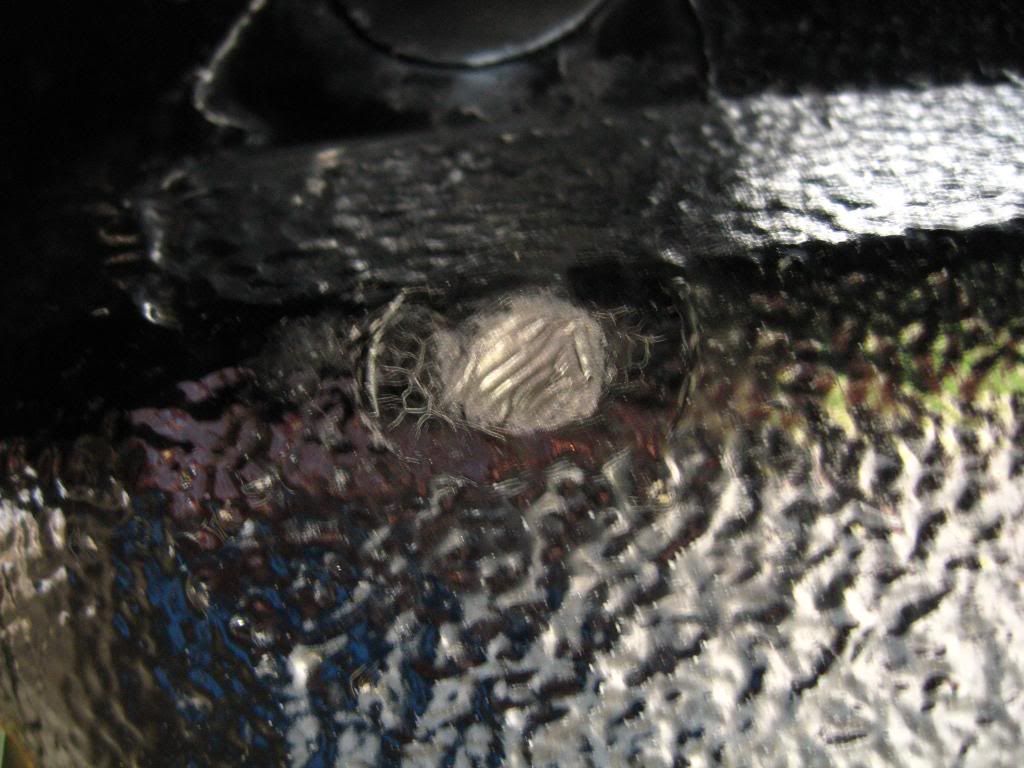
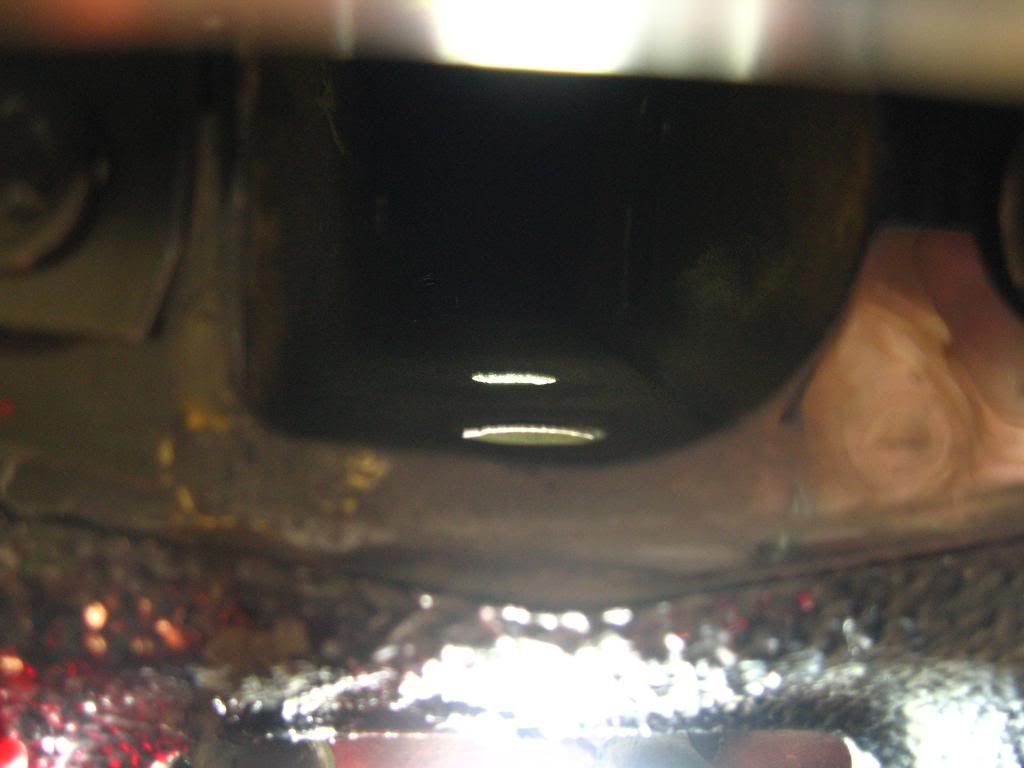
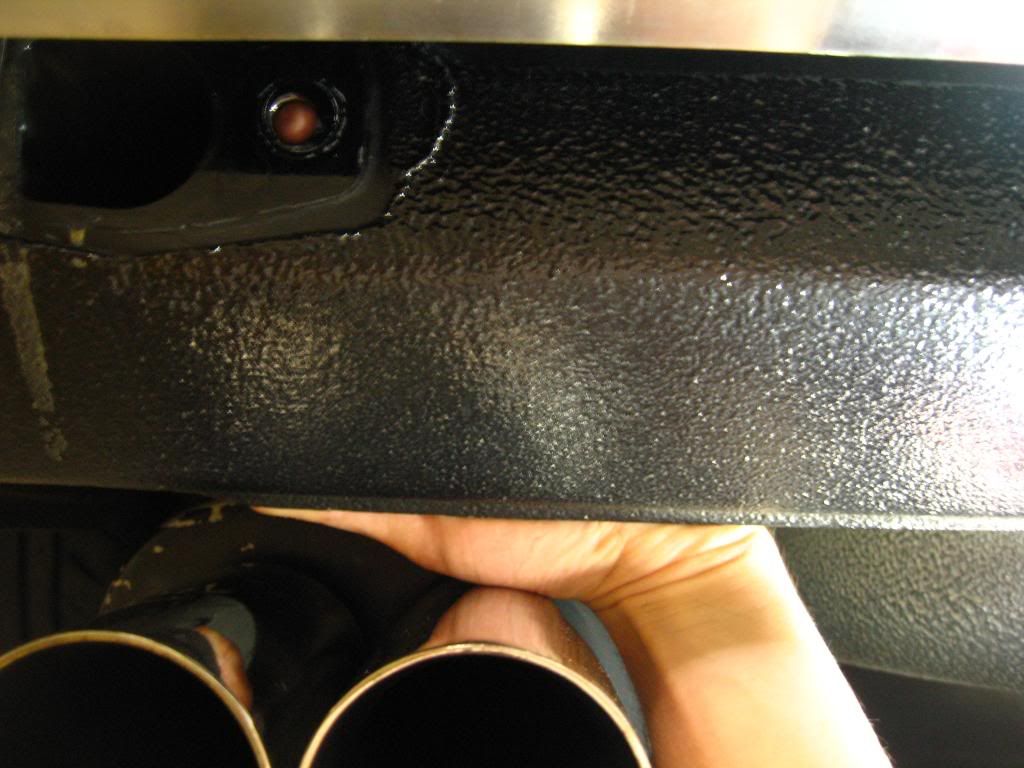
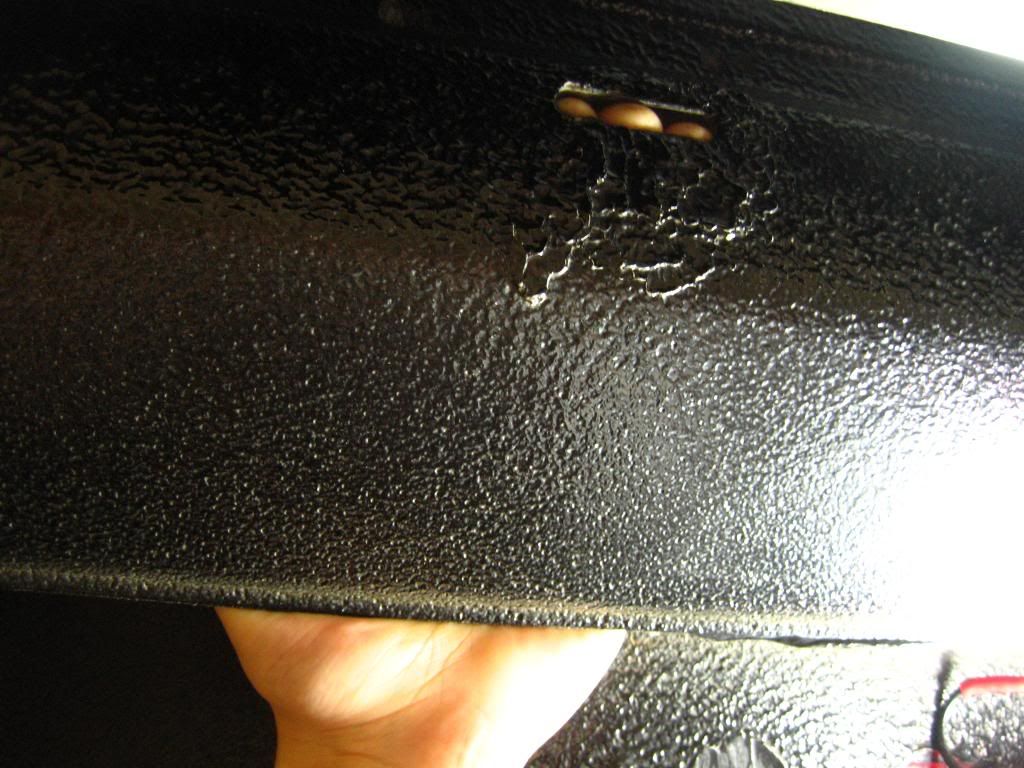
    I need help on my rear bumper for the water drain vents, i just noticed that there's water coming in... does anybody has pics on where exactly these vents are located? (i know, im stupid i dont know where it is)....

    ...need to seal them soon!

    - Rear drain vents are going to be another problem. I believe the best thing to do is to use some of that sealing foam stuff, and spray it in there. I left mine untouched, and then realized a shit load of water was suddenly entering my trunk and building up in the sides of the trunk area where the battery and jack go. Not a good thing. Use your imagination there to fix it. Anything works.

    Comment


      #32
      The vents? They are on each side "behind" the bumpers. You water might also be coming in from the tail light gaskets needing replacement.....
      Mtech1 v8 build thread - https://www.r3vlimited.com/board/sho...d.php?t=413205


      OEM v8 manual chip or dme - https://www.r3vlimited.com/board/sho....php?p=4938827

      Comment


        #33
        Those big squares on the sides of your car. They have a little flappy flap. Water goes in that flappy flap.
        Also the seals on the trunk lid go bad on all of them. Like Jean said the tail light gaskets. Numerous things. E30's are not sound when it comes to gaskets and 20 years.

        Comment


          #34
          Originally posted by scabzzzz View Post
          Those big squares on the sides of your car. They have a little flappy flap. Water goes in that flappy flap.
          Also the seals on the trunk lid go bad on all of them. Like Jean said the tail light gaskets. Numerous things. E30's are not sound when it comes to gaskets and 20 years.
          Got it! Any suggestions on how to seal those "little flappy flap"?

          Do you have the part numbers for the trunk seals & tail light gaskets?

          Thank you!

          Comment


            #35
            Originally posted by aworthybrother View Post
            Got it! Any suggestions on how to seal those "little flappy flap"?

            Do you have the part numbers for the trunk seals & tail light gaskets?

            Thank you!

            #3 http://www.realoem.com/bmw/showparts...93&hg=63&fg=20

            #2 http://www.realoem.com/bmw/showparts...87&hg=41&fg=60
            Mtech1 v8 build thread - https://www.r3vlimited.com/board/sho...d.php?t=413205


            OEM v8 manual chip or dme - https://www.r3vlimited.com/board/sho....php?p=4938827

            Comment


              #36
              Excellent DIY thread, scabzzzz. It saved me plenty of "WTF?" moments over the past few days. To add to your points about US -> Euro issues, there will be six holes where the old center shroud would have been bolted in, when you do the euro swap keep the rubber washers and use some leftover screws/nuts to keep those holes sealed up. I'll add to all of that and provide some pictures shortly, but it's important to do this to ensure no water gets in the trunk.

              Thanks again for the thread.
              - Trey

              E90 325i/6 (ZSP, ZPP, ZCW)
              E36 325i sedan
              E30 325i sedan
              Volvo 945T

              Comment


                #37
                No prob!

                I get shit tons of PM's over this thread. Everyone seems to appreciate it, which makes me happy :)

                Comment


                  #38
                  post pics!

                  i used epoxy putty on those little holes from the us bumper shroud.
                  Last edited by aworthybrother; 05-22-2009, 06:00 PM.

                  Comment


                    #39
                    ^ Will do, I'm busy getting ready to install the front bumper, but I will post pictures of of: a.) what I did for the DB shroud holes, and b.) what I did for the large (1") holes on both sides of the rear valence (where the light bulb/wire on the trim piece to go through.)
                    - Trey

                    E90 325i/6 (ZSP, ZPP, ZCW)
                    E36 325i sedan
                    E30 325i sedan
                    Volvo 945T

                    Comment


                      #40
                      Originally posted by TDE30 View Post
                      ^ Will do, I'm busy getting ready to install the front bumper, but I will post pictures of of: a.) what I did for the DB shroud holes, and b.) what I did for the large (1") holes on both sides of the rear valence (where the light bulb/wire on the trim piece to go through.)
                      Hey I also have tons of pics of my front euro bumper conversion from diving boards, i could post those pics if you want.

                      Also I'd like to hear more and see pics on the putty to fill the holes in the rear. I have a rear bumper coming soon and need to fill those holes and do whatever I need to with the water drains

                      Comment


                        #41
                        Originally posted by Japandrew73 View Post
                        Hey I also have tons of pics of my front euro bumper conversion from diving boards, i could post those pics if you want.

                        Also I'd like to hear more and see pics on the putty to fill the holes in the rear. I have a rear bumper coming soon and need to fill those holes and do whatever I need to with the water drains

                        sold the car already and no pics available, sorry.

                        Comment


                          #42
                          Originally posted by aworthybrother View Post
                          post pics!

                          i used epoxy putty on those little holes from the us bumper shroud.
                          Alright then, here goes...

                          US to Euro Conversion: Sealing Off Unused Holes


                          Above is a picture from that Scabzzzz posted earlier when he was doing his swap. I have edited the photo to show where the alterations will need to be to ensure that no water enters the trunk.

                          The red-circled holes (where the six bumper shroud bolts used to be and the area where the right bolt of the passenger's side bumper shock was) need to be sealed with a bolt, a nut, and two rubber washers. When I did the conversion, I just used some leftover hardware and ended up buying some rubber washers from the local Lowe's Home Improvement store.


                          ^ The only reason I used these things was because the euro bumper hardware kit only included enough rubber washers for where the bracket meets the bumpers. The BMW PN for the correct rubber washers is 51121886299. I recommend ordering 10-12 additional BMW rubber washers if you choose to go that route. I was in a situation where I needed to get this done as soon as possible, so I used the above washers and was very impressed with them. They are considerably thicker than the BMW washers. The choice is yours, just make sure you get the item number off the box in the picture if you plan on using the Lowe's rubber washers.


                          ^ This is how I assembled the hardware to seal off the red-circled holes.


                          ^ And this is how it looks like when it is fully assembled.


                          ^ Use old or leftover hardware to seal off the RIGHTMOST PASSENGER'S SIDE BUMPER SHOCK HOLE, this is the only bumper shock hole that will need to be sealed since the rightmost driver's side hole (has nothing behind it, and is subsequently) is hollow.


                          ^ This is how it will look from the interior, behind the center carpet panel. Clean, tidy, water-tight.

                          Next, let's tackle the yellow-circled holes. For these, you will have to make a stop by the local Home Depot of Lowe's Home Improvement store. You will be looking for two flat one inch plastic caps to cover the area where the rear turn signal (on the bumper shroud) and its wiring would have gone through. Now, with a rear euro bumper, you have two gaping 1" holes where water can go right in to the trunk.


                          ^ These are what you are looking for, two come in each package. I got mine at Lowe's Home Improvement. Copy down that item number.


                          ^ Two shots of what they look like beneath the bumper.

                          You will need to use a liberal amount of Super Glue (or similar) to ensure that it is water-tight. On my car, it took a wee bit of Dremel'ing to get the caps to fit, but they went on just fine and have been tested and let no water inside the trunk area.

                          Alright, let's seal off the blue-circled regions next.

                          For these, you will need some watertight sealant to fill in holes. I also used a small amount of electrical tape on the insides to give the sealant a barrier to form against. I figured I'd just leave the electrical tape on there since it is hidden beneath carpet panels on both sides, so it won't bother me (especially since the car is black.) The only reason I didn't use another bolt/rubber washer combo was because this will below the bumper line and would look a bit de la ghetto.


                          ^ This is what I used. It is Permatex Hi-Temp RTV (waterproof) silicone gasket sealant. Overkill maybe, but it won't let water in and that works for me.

                          What I did was, I just used a plastic knife to spread the stuff in the hole (remember to have the piece of electrical tape adhered on the interior side of the hole.) After I got the whole completely filled in, I used some adhesive remover to clean up any remains. I've yet to touch it up with Schwarz 086, but once I do, it should blend right in as if there were no hole to begin with.


                          ^ This is how it should look once you're done. Give it 24 hours to cure, I recommend having a fan on it too to speed up the process.

                          Finally, let's look at the areas you need not concern yourself with, the black-circled areas.

                          First, the area where the old bumper shocks went need not concern you. There is no need to weld a plate or fill it with dead fish or anything drastic like that. The frame rails have a few small holes drilled in them to allow drainage, refer to the pictures below.


                          ^ Inside passenger's side frame rail. Two holes on bottom, two more on left side of frame rail itself. A few better pictures are below.


                          Second, the rightmost hole on the driver's side bumper shock shouldn't concern you because it is hollow.


                          Third, how about the random rectangular hole in the middle of the valence?


                          ...yup, it's hollow too.

                          I hope the addendum to this DiY thread helped clear up any concerns with water getting inside your trunk after performing this swap. Do it right, and it won't put a damper on your day. I'd like to stress that this is just the way that I did it, epoxying the holes is also another pefectly good way to seal everything off, I just didn't want to go through all the trouble and potentially make the World's Largest Mess Ever.
                          Last edited by TDE30; 05-26-2009, 12:17 PM.
                          - Trey

                          E90 325i/6 (ZSP, ZPP, ZCW)
                          E36 325i sedan
                          E30 325i sedan
                          Volvo 945T

                          Comment


                            #43
                            this sounds awesome and very helpful, but is it just me or are the pics not working?

                            Comment


                              #44
                              pics work fine

                              Comment


                                #45
                                Originally posted by lifeiskaos View Post
                                pics work fine
                                must be these crappy school computers...

                                Comment

                                Working...
                                X