
Hi everyone. I tried searching for a write-up on this before I went to install my stereo today. I didn't see anything that was specific to my needs as the sticky was for the premium sound cars.
This is my first install and I couldn't have done it without the help of Luke and this forum. Thanks again, Luke for answering all of my questions!
I decided to write this up to hopefully help others out and save Luke some questions in the future! This is specific to my vehicle and deck, so YMMV. Make sure you take your time and check everything before installing. I'm not responsible for any damage done to your vehicle, blah blah.
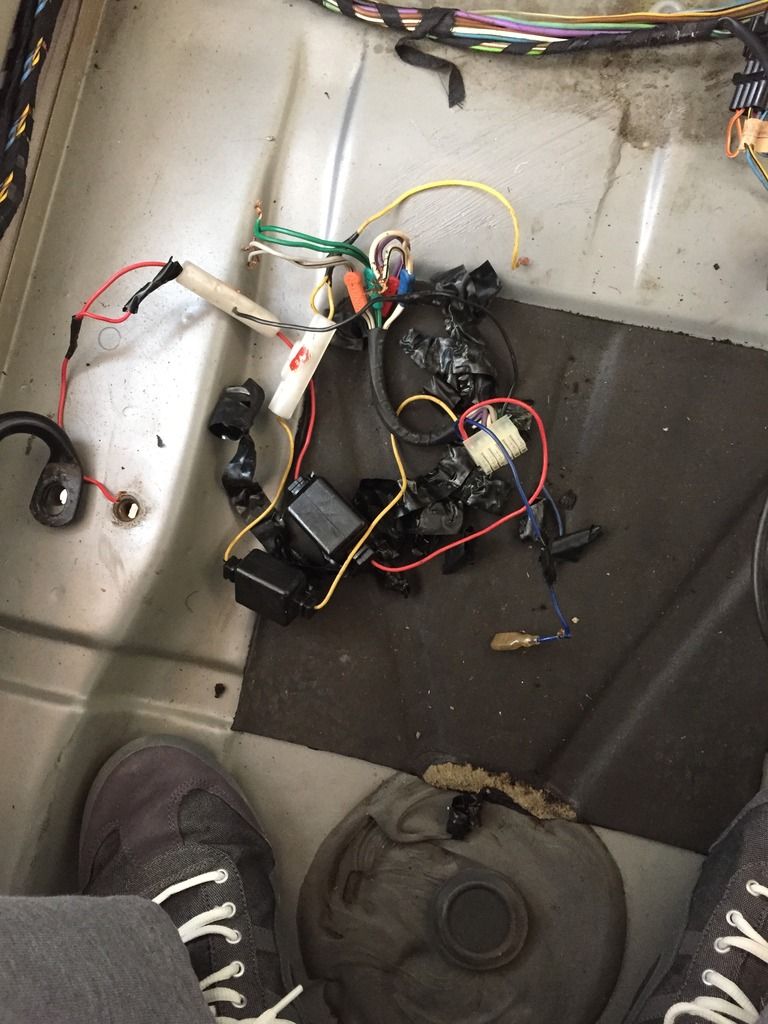
The current radio in my car was already aftermarket and didn't work. After digging in, it was easy to see why I was having issues. The wiring was a mess. This is what I removed:
On with the install!
Steps
1) Remove the old radio and your fader switch.
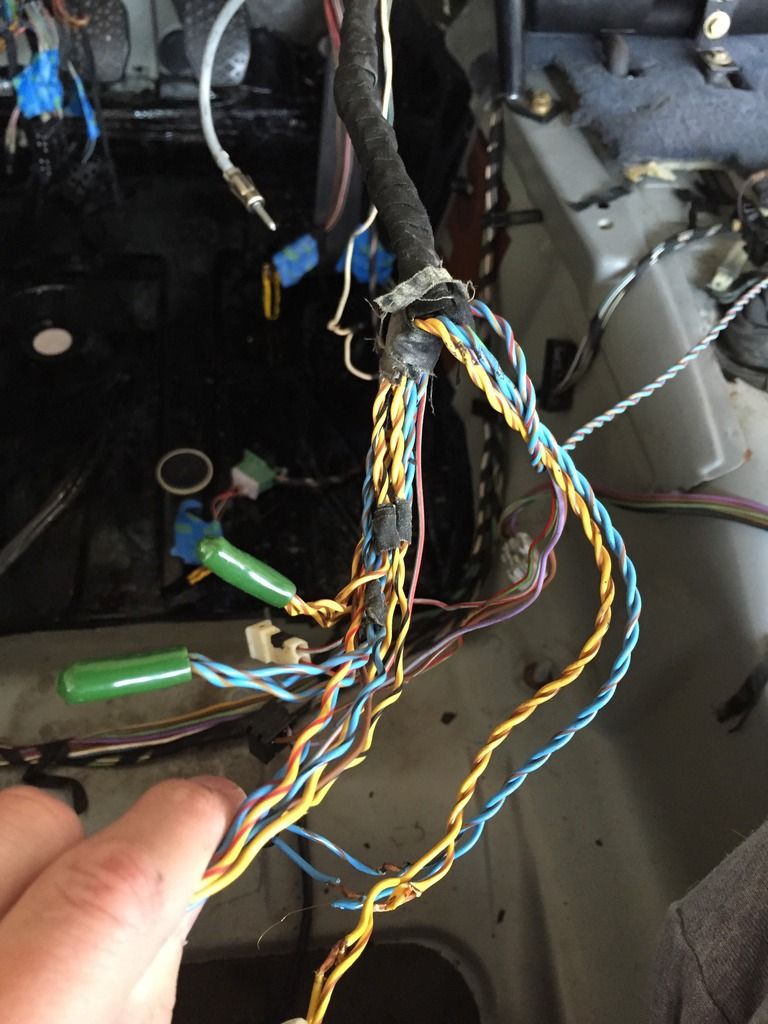
2) Follow the fader switch back till you get to the wire tape. Remove the tape and find the two sets of grounds. (3 wires in each set, under the green caps)

3) Remove the green caps and cut the metal crimp off. Trace the wires to find the (4) pairs of wire for the speakers in the front and rear.
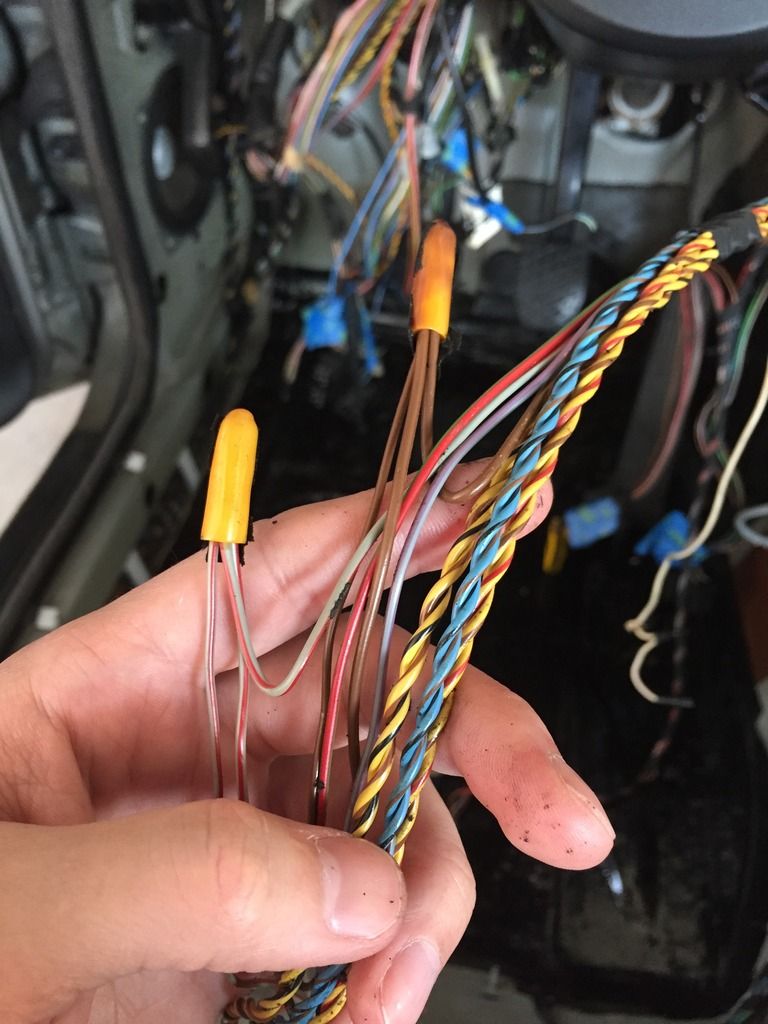
4) This is optional. I had my dash out and was able to unwrap all of the wire tape in order to remove the spit ground and illumination wire that went to the fader switch. You can just cap the second wires if you can't remove them from the main harness. These are under the yellow caps.
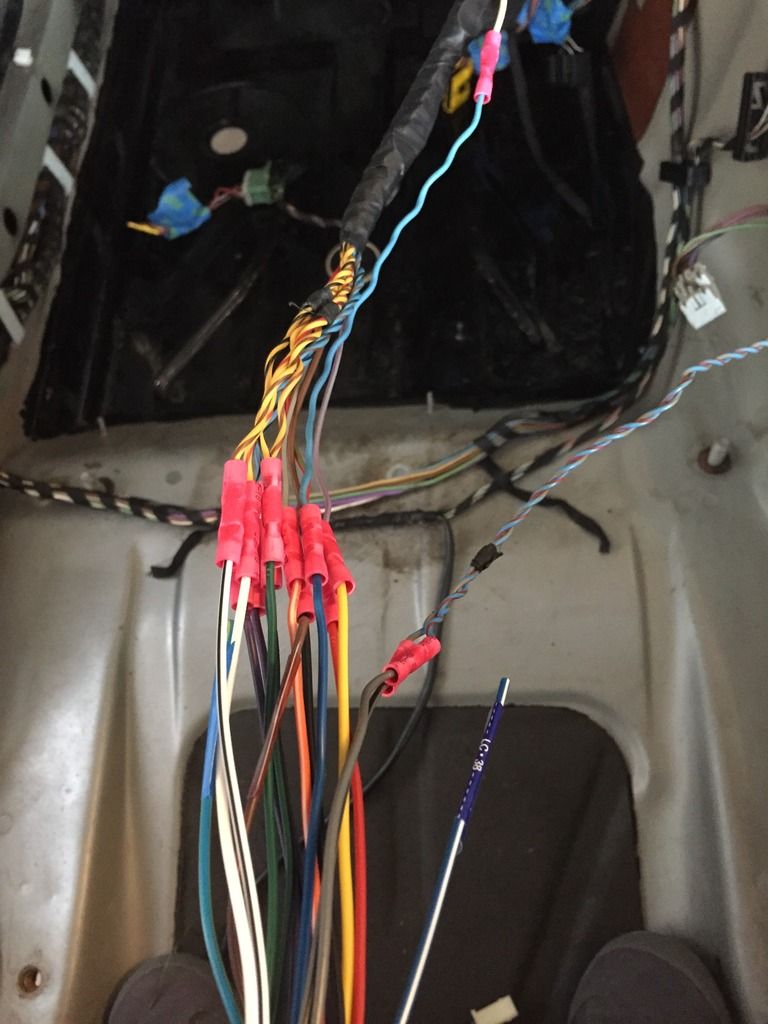
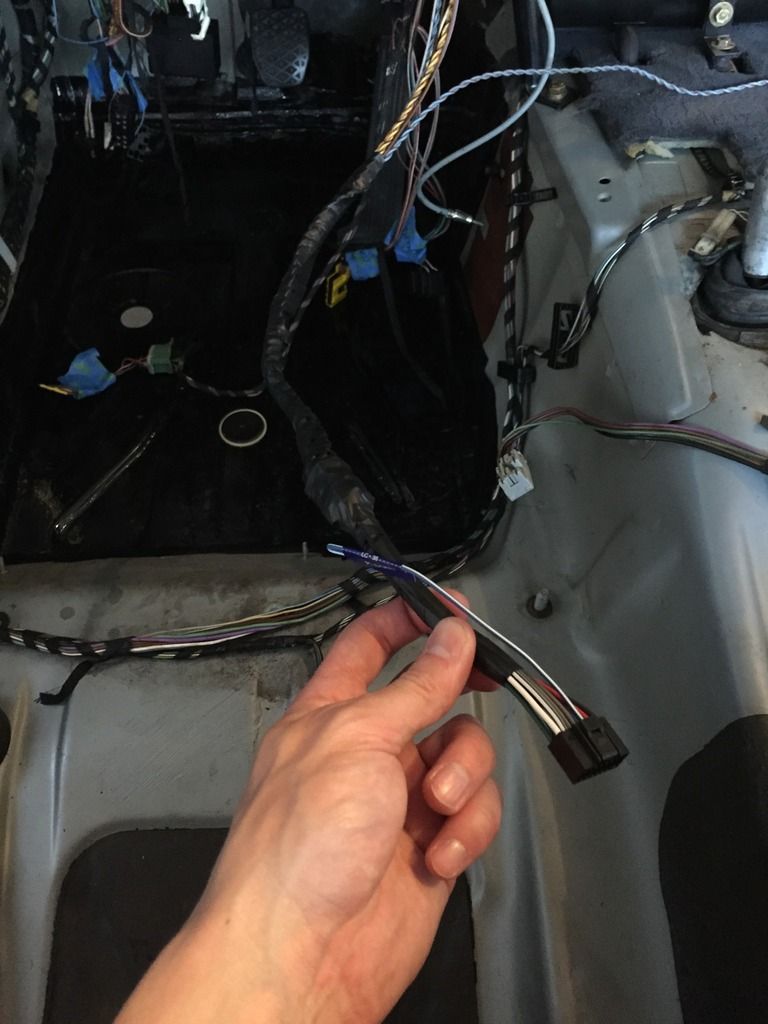
5) Wire up the speakers accordingly to the new radio harness. I tried to make it as clean as possible and made all the wires the same length. Use what ever method you prefer for connecting the two harnesses. I prefer the crimps personally.
This is the wiring for a 1989 Non-Premium System and my deck. YMMV.
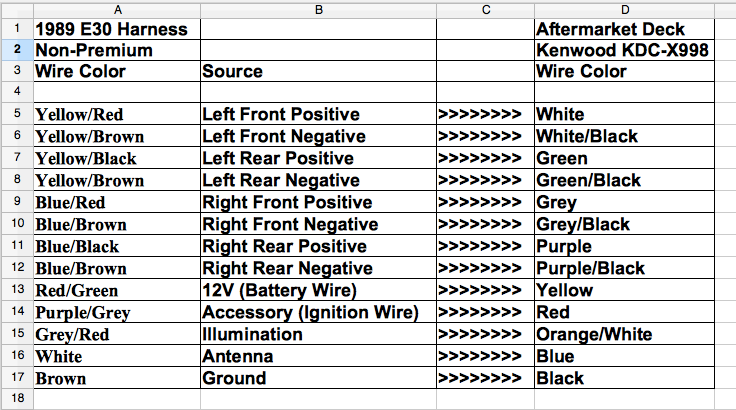
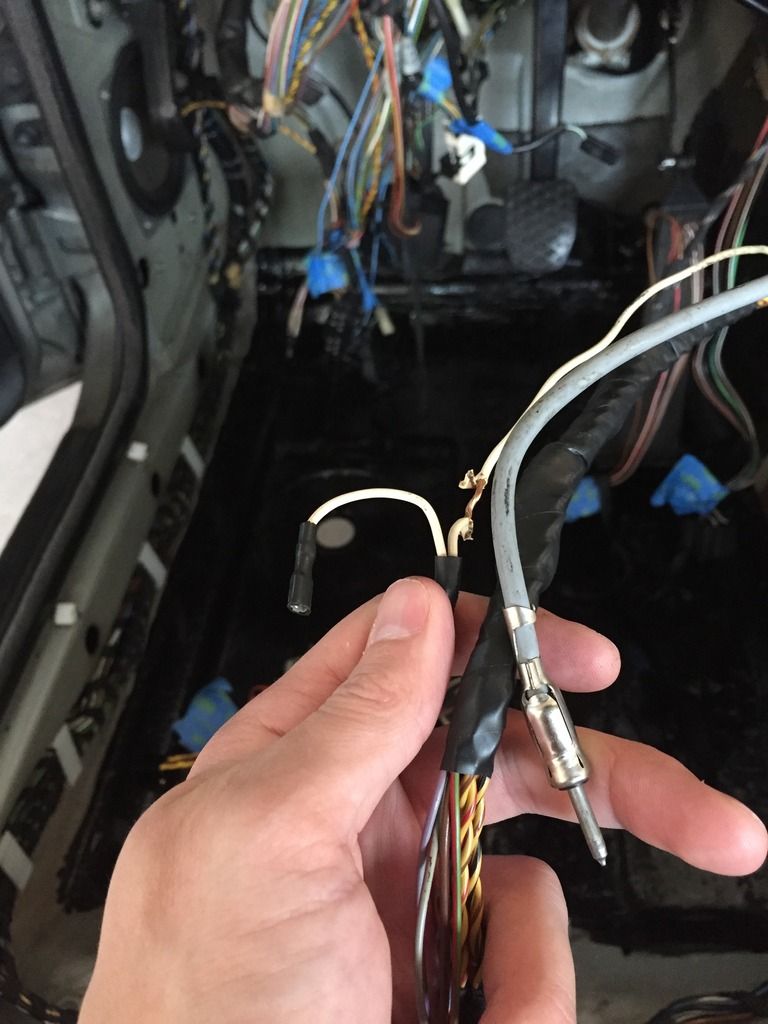
Don't forget the antenna power. Mine was rather short, so I used some of the old wire from the fader switch to extend it to where I needed it.
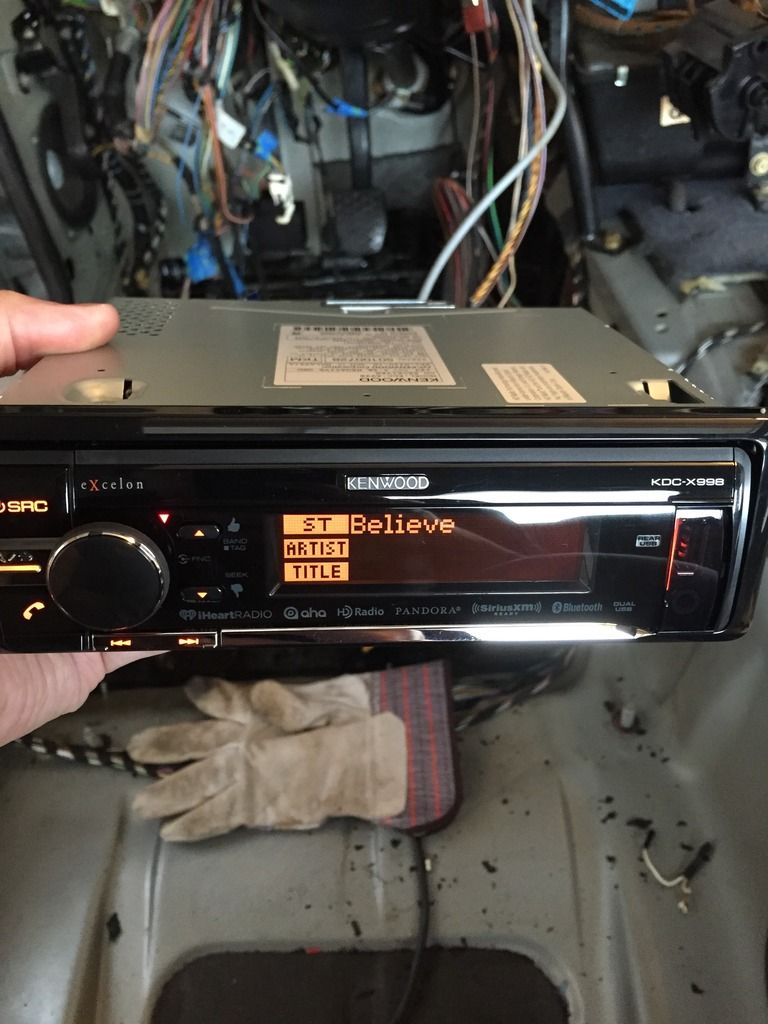
6) Test everything out and make sure you wired it correctly. Check each speaker using the new radio fader/balance.
7) Once tested and everything is OK, tape it up and make it clean. I left my amp power out as I will eventually add one to the system.
I know most of you don't need this, but it would have helped me and I hope it will help someone else in the future. Overall, it was pretty easy and I'm glad I did it myself!
Thanks again to Luke (StereoInstaller1) for all of his help on this!
This is my first install and I couldn't have done it without the help of Luke and this forum. Thanks again, Luke for answering all of my questions!
I decided to write this up to hopefully help others out and save Luke some questions in the future! This is specific to my vehicle and deck, so YMMV. Make sure you take your time and check everything before installing. I'm not responsible for any damage done to your vehicle, blah blah.
The current radio in my car was already aftermarket and didn't work. After digging in, it was easy to see why I was having issues. The wiring was a mess. This is what I removed:

On with the install!
Steps
1) Remove the old radio and your fader switch.
2) Follow the fader switch back till you get to the wire tape. Remove the tape and find the two sets of grounds. (3 wires in each set, under the green caps)


3) Remove the green caps and cut the metal crimp off. Trace the wires to find the (4) pairs of wire for the speakers in the front and rear.
4) This is optional. I had my dash out and was able to unwrap all of the wire tape in order to remove the spit ground and illumination wire that went to the fader switch. You can just cap the second wires if you can't remove them from the main harness. These are under the yellow caps.

5) Wire up the speakers accordingly to the new radio harness. I tried to make it as clean as possible and made all the wires the same length. Use what ever method you prefer for connecting the two harnesses. I prefer the crimps personally.

This is the wiring for a 1989 Non-Premium System and my deck. YMMV.

Don't forget the antenna power. Mine was rather short, so I used some of the old wire from the fader switch to extend it to where I needed it.

6) Test everything out and make sure you wired it correctly. Check each speaker using the new radio fader/balance.

7) Once tested and everything is OK, tape it up and make it clean. I left my amp power out as I will eventually add one to the system.

I know most of you don't need this, but it would have helped me and I hope it will help someone else in the future. Overall, it was pretty easy and I'm glad I did it myself!
Thanks again to Luke (StereoInstaller1) for all of his help on this!


Comment