
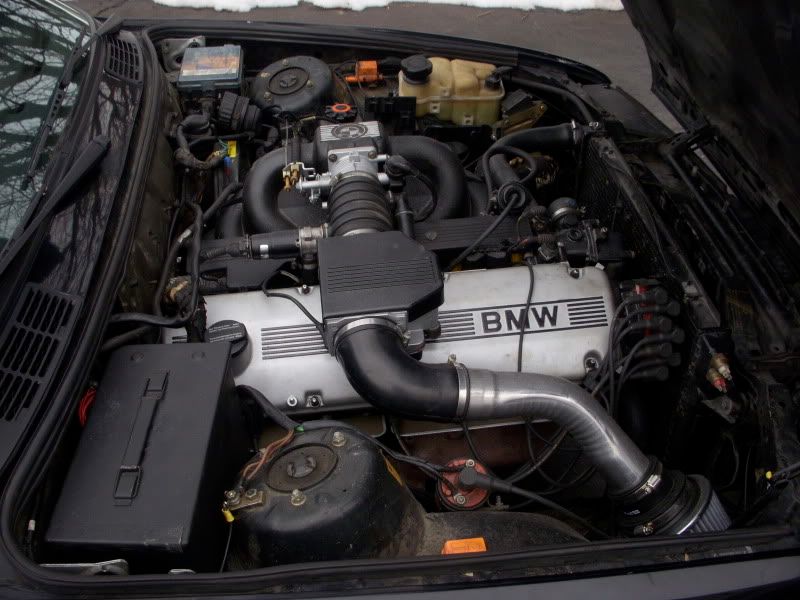
Faced with the daunting task of replacing your head gasket? Don't want to spend thousands to get it done at a shop? Here is a comprehensive DIY on how to do it yourself! This write-up is meant for the wrencher with little to no experience under the hood. I took pictures of nearly every aspect of the job, no matter how insignificant it may seem.
*This was done on an e30 with m30b35 swap. The same basic process still applies to any b35 equipped car. Minor differences in grounding points and exhaust may be present.
Tools Needed:
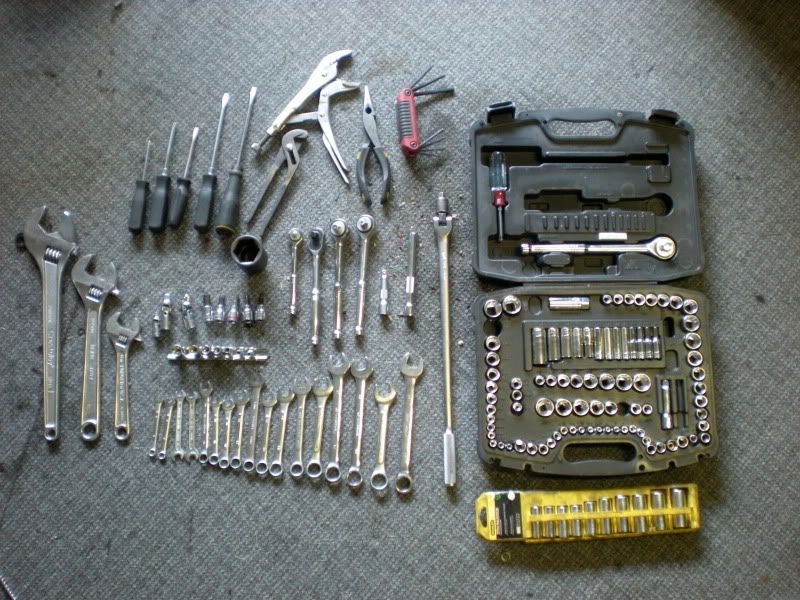

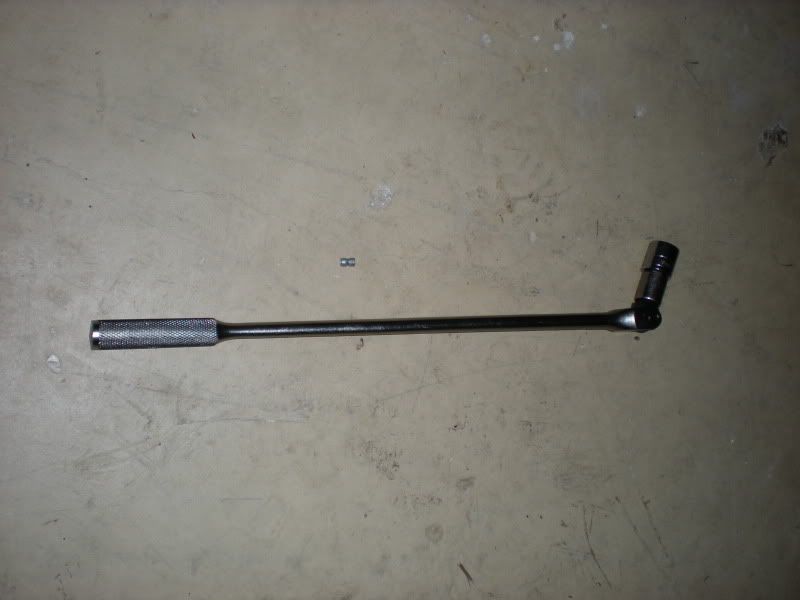
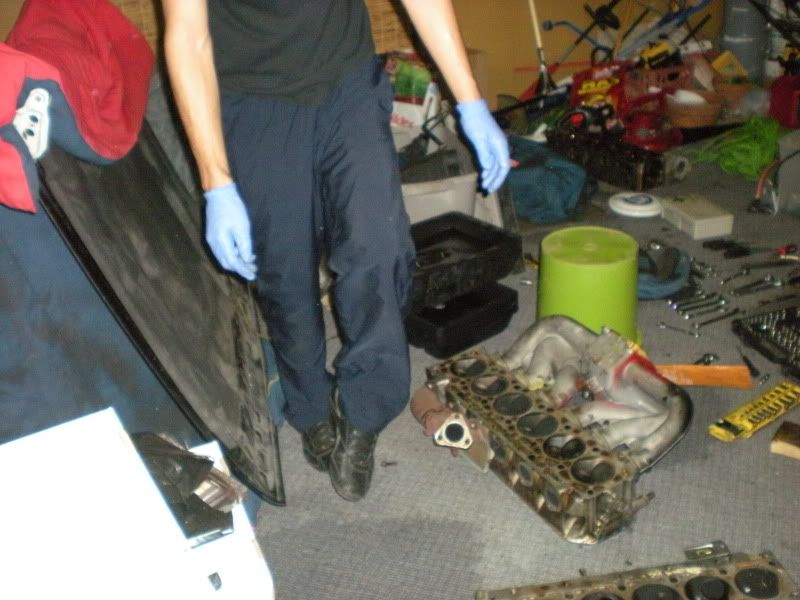
The picture above shows my entire tool set. Notice the basic hand tool setup available at any Home Depot or auto parts store. (Not all these tools pictured are required)
- A metric socket set from 8mm-19mm (mine only came 10-19mm, I had to buy an 8mm socket)
- reducers (3/4"-1/2", 1/2"-1/4") for sockets
- open ended wrenches from 8-19mm
- 36mm socket
- flat head screw driver )long and short ones come in handy)
- philips head screw driver (same as above)
- metric Allen wrench set (either individual or ratchet attachments)
- adjustable pliers - Channel locks
- needle nose pliers
- Breaker bar
- crescent wrench
- spark plug removal socket (if not already in the BMW tool kit)
- plastic lunch baggies
- marker
- PB Blaster
- Head gasket kit
The Procedure:
Remove the negative cable of the battery for safety purposes.
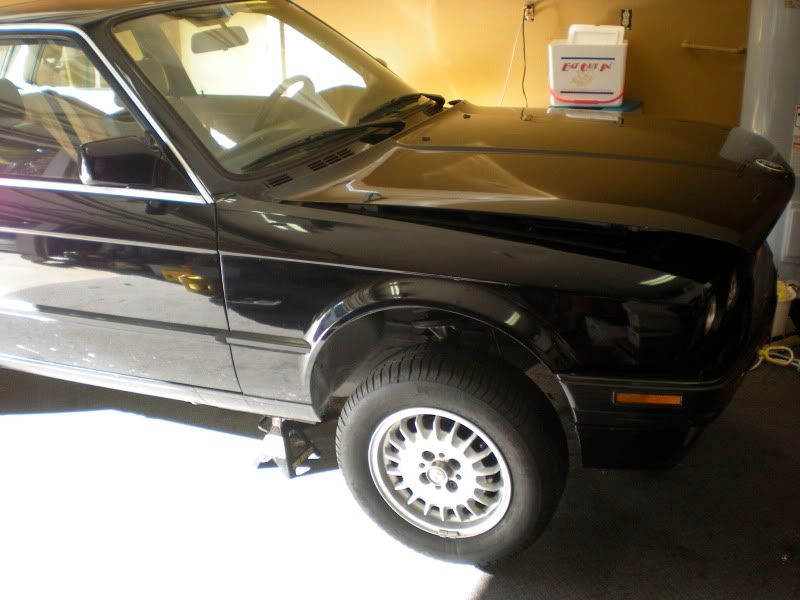
Jack the car up properly.
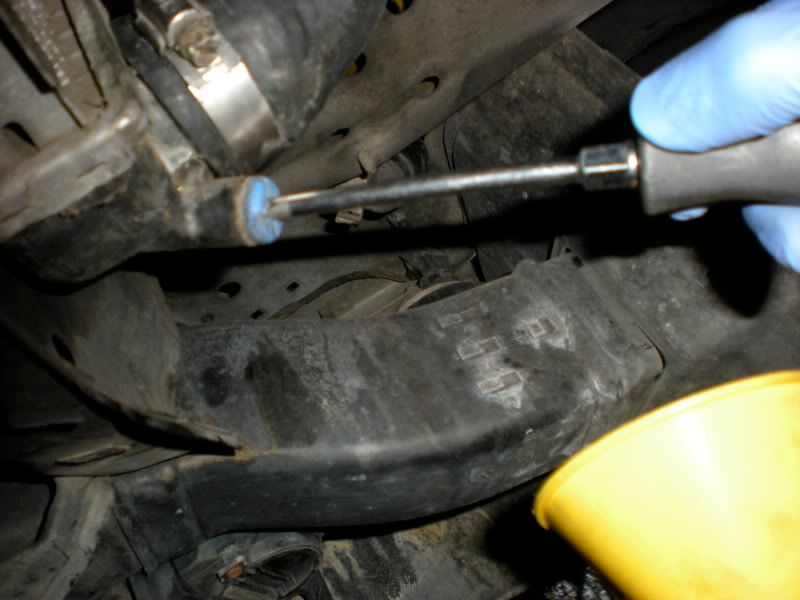
Drain the oil. Use an 18mm socket and remove the drain plug on the oil pan.

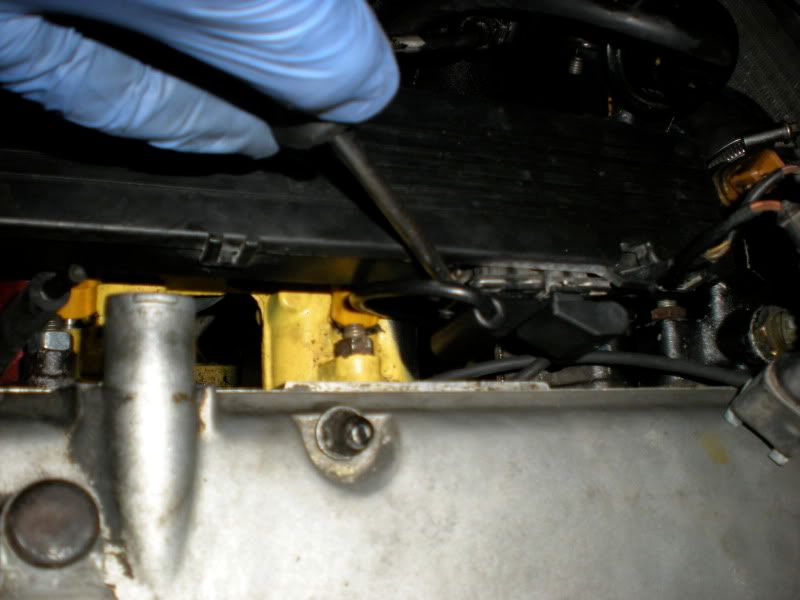
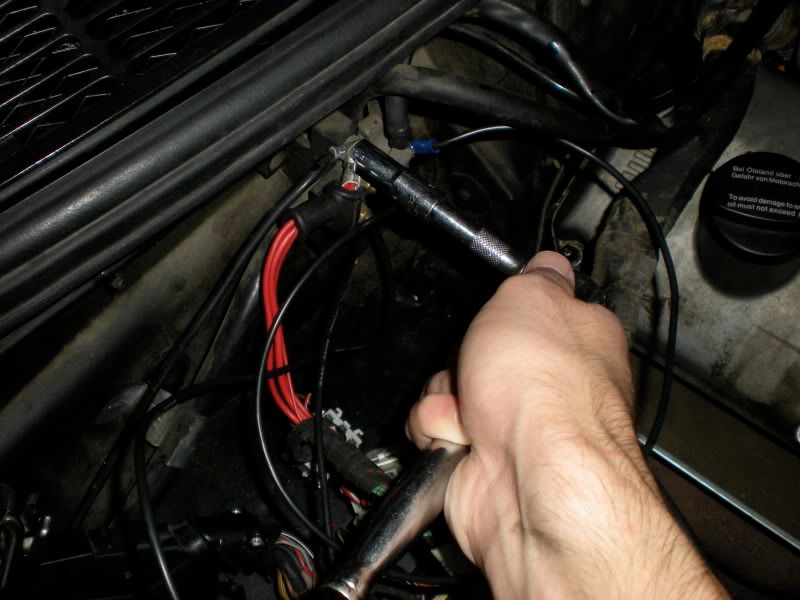
Drain the coolant. Use a philips or flat head screw driver to unscrew the drain plug on the bottom right hand side of the radiator. This plug is under the lower radiator hose. Remove the cap on the expansion tank for a quicker drain.
*Note: After draining the coolant, I removed the radiator due to tight clearances in the e30 engine bay. You may or may not choose to do this.
Now that the fluids are drained, remove the spark plug wires.
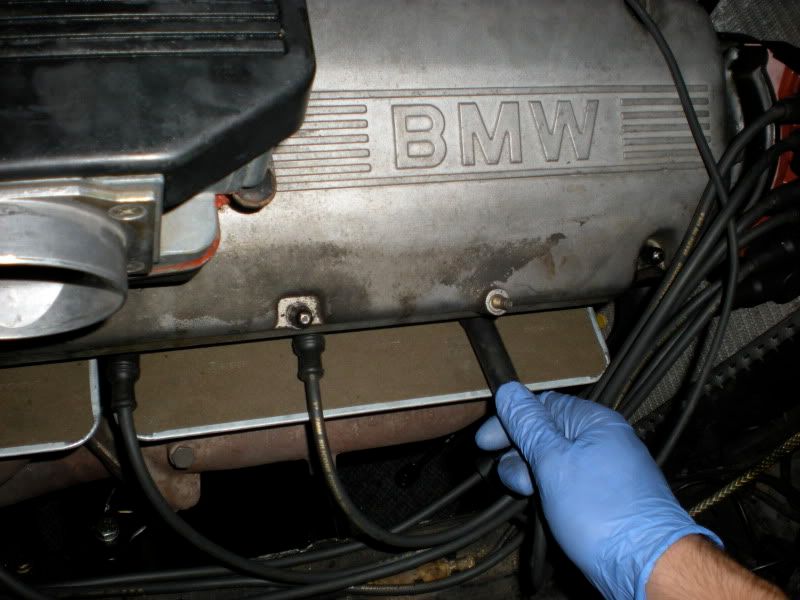
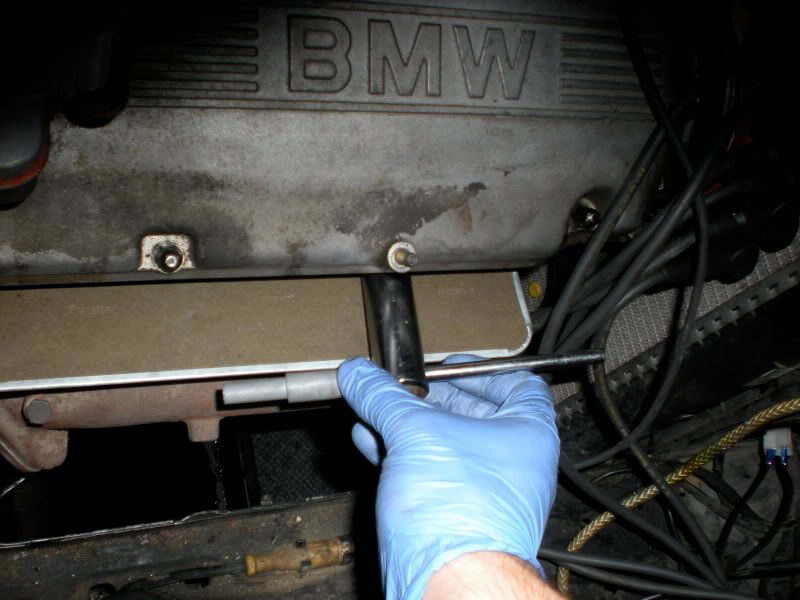
BMW was kind enough to offer a spark plug removal tool in the "tool kit" under the boot lid.
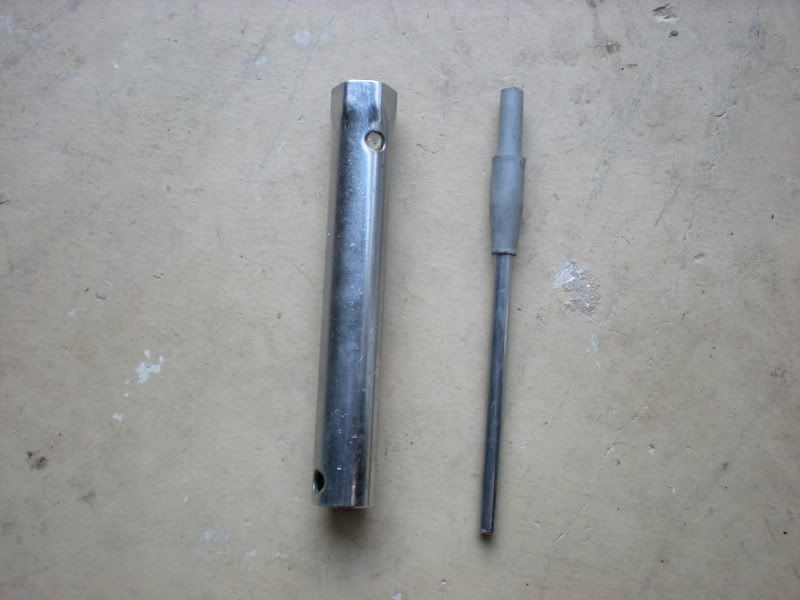
Use the tool to remove the spark plugs
Now it's time to remove the intake. First remove the electronics (wiring).
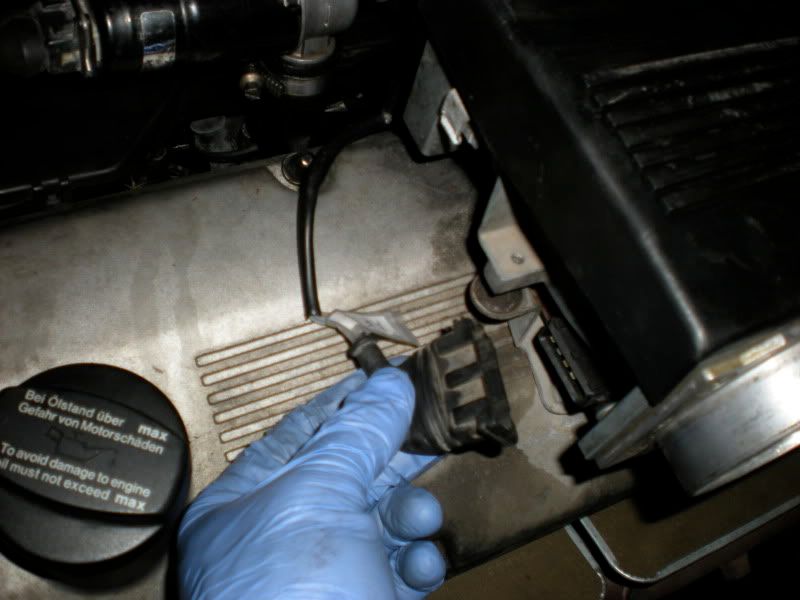


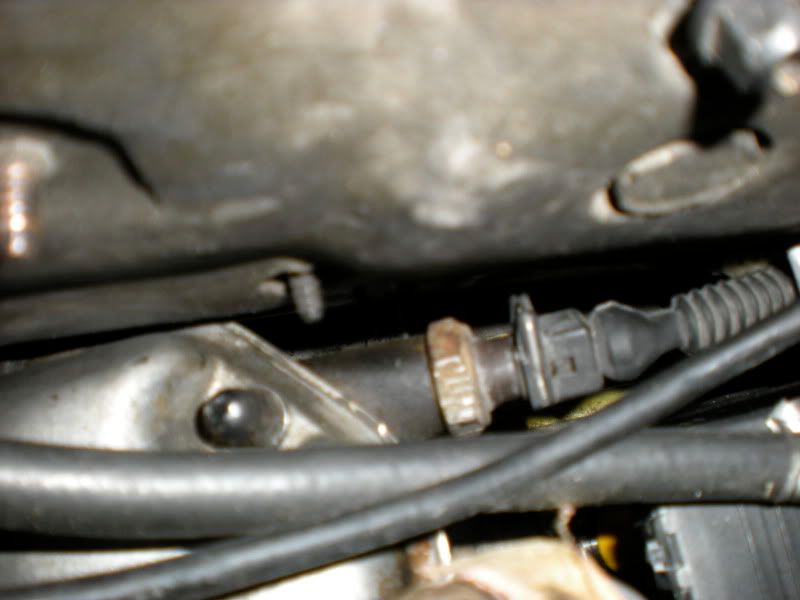
This is the oil pressure sensor on the back of the head. Remove the clip.
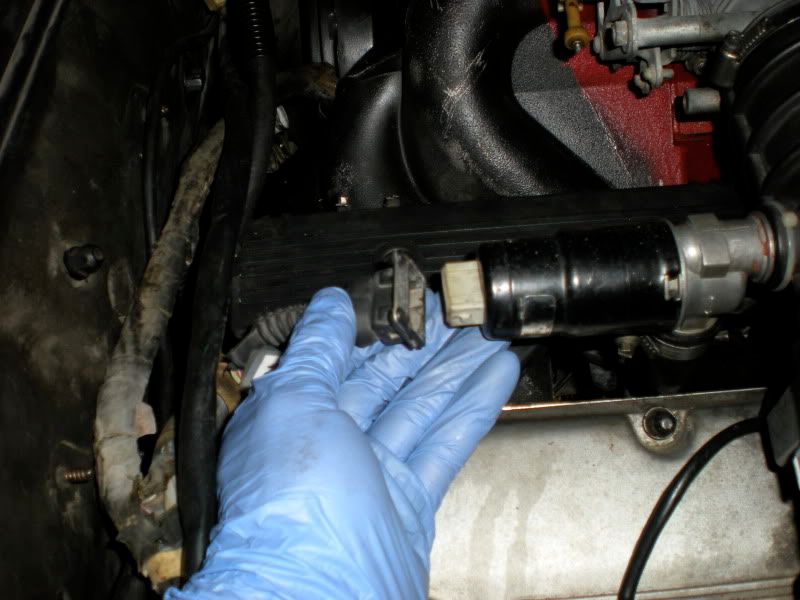
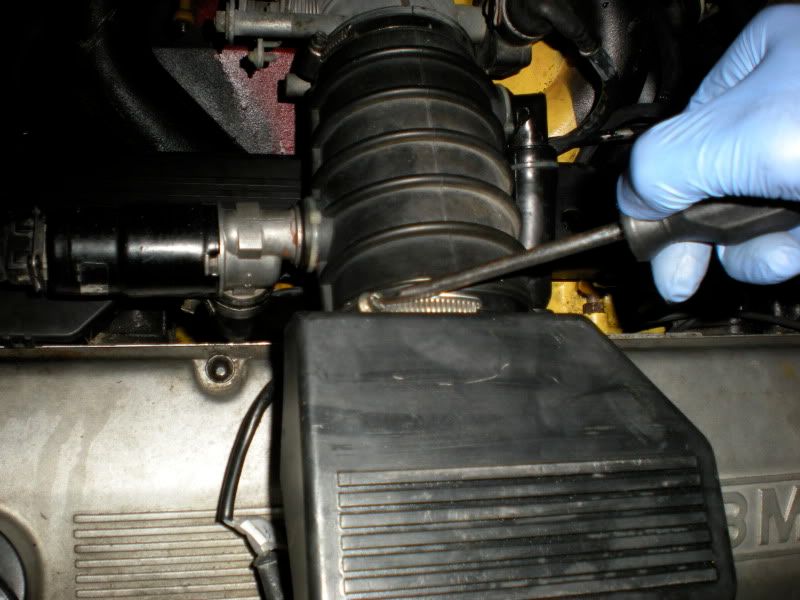
Sensor wires are removed, hooray! Time to remove the intake itself. First remove the AFM. There may be 3 clips on the underside of the MAF securing it to the valve cover - remove them. Loosen the hose clamp with a flat head screw driver and pull the AFM towards you.
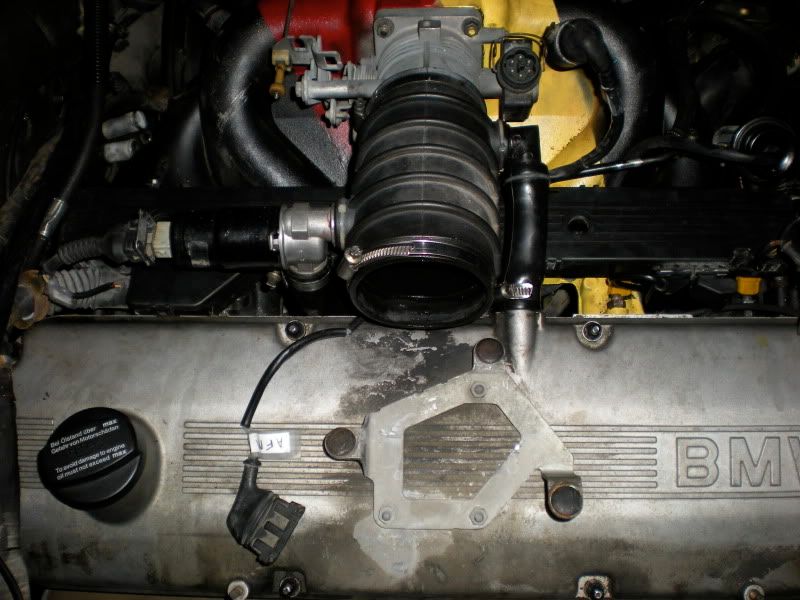
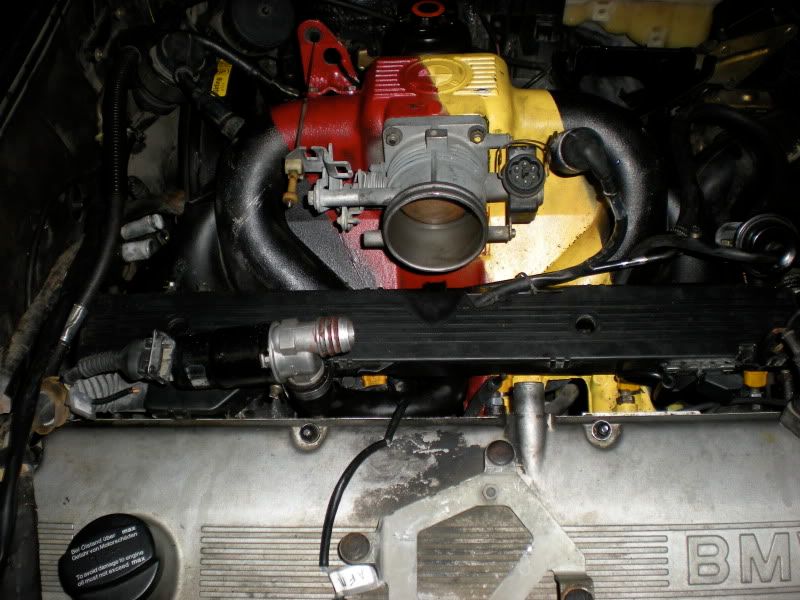
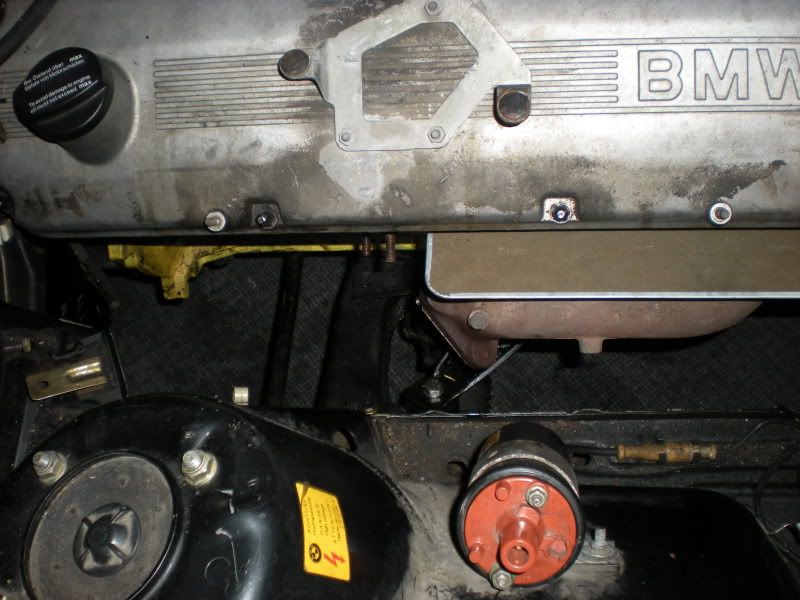
This is what you're left with:
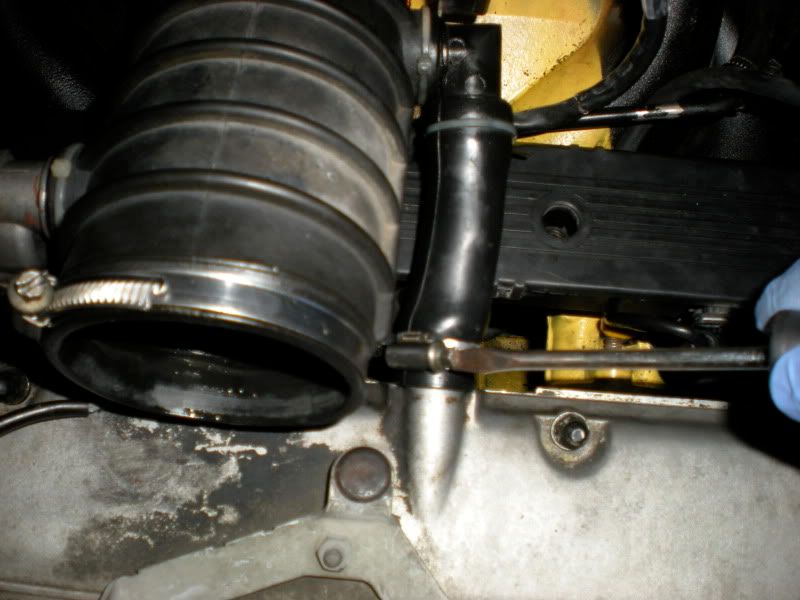
Locate the breather line attached to the PCV hose coming from the valve cover. Find it? Good. Remove the line from the PCV hose.

Unscrew the hose clamps from the PCV hose and the intake boot.
Pry out the ICV (black sensor attached to the intake boot on the left) carefully, then remove the intake boot with the PCV hose attached. It may be easier to remove the PCV hose from the boot if it is brittle.
This is what you are left with:
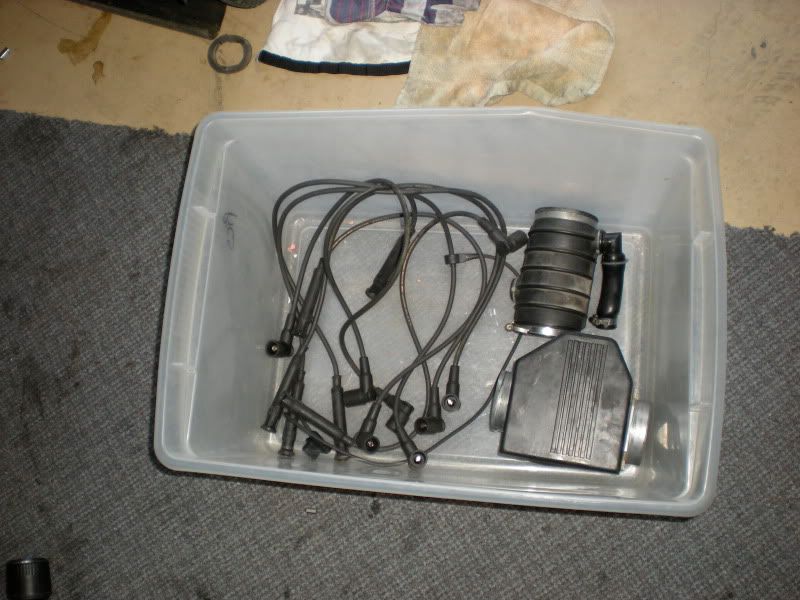
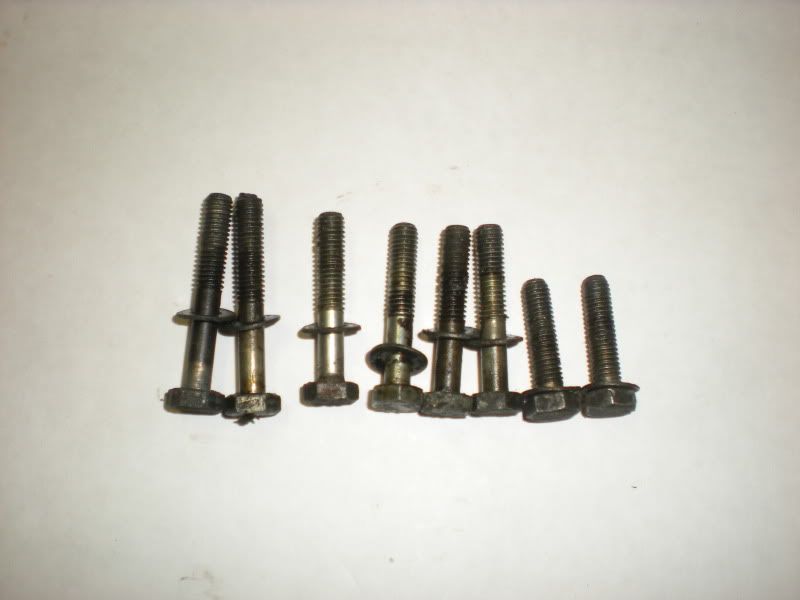
I recommend you put all the pieces removed from the car into a bin (or something similar) so you don't end up losing them.
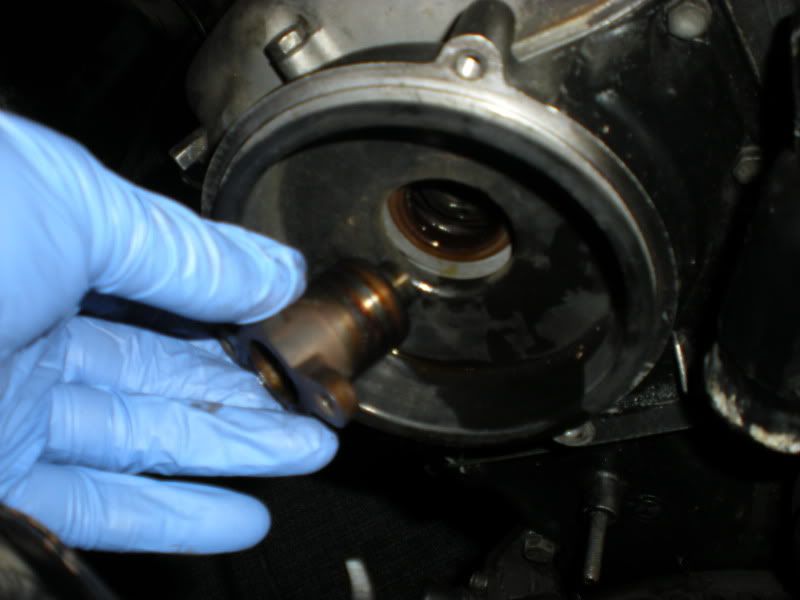
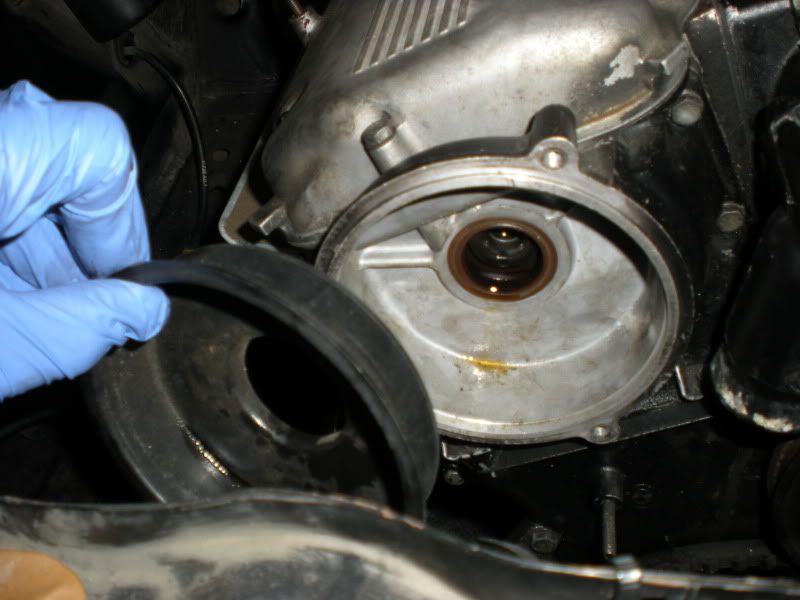
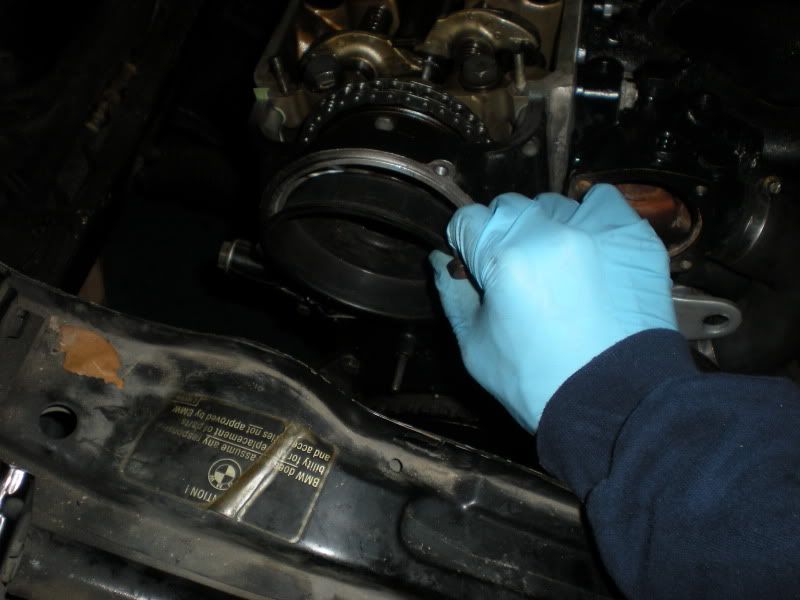
Lets remove the cap, rotor and distributor. Get out your 10mm socket and 3mm and 6mm allen wrenches.
There are three 10mm bolts holding the cap on, remove them.
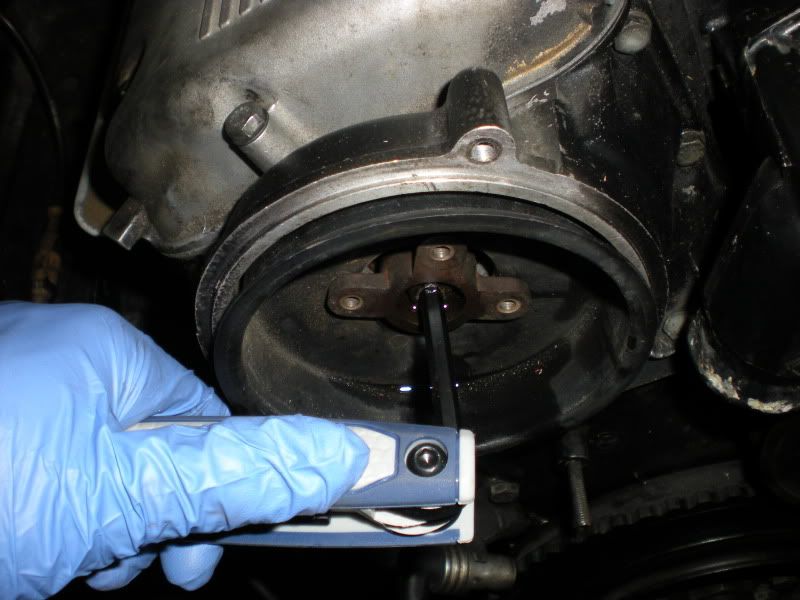
The rotor is mounted with three 3mm allen head screws. Remove them.
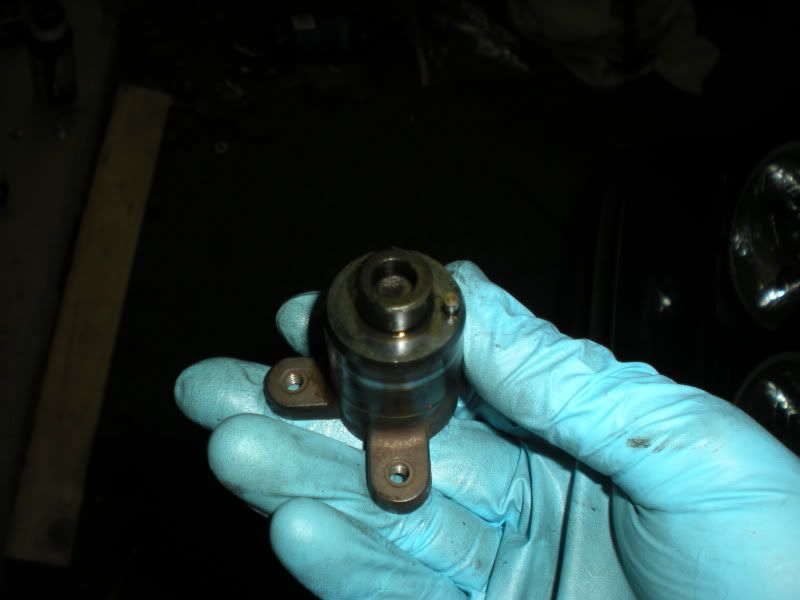
Now get your 6mm allen and remove the distributor.

Wiring harness removal
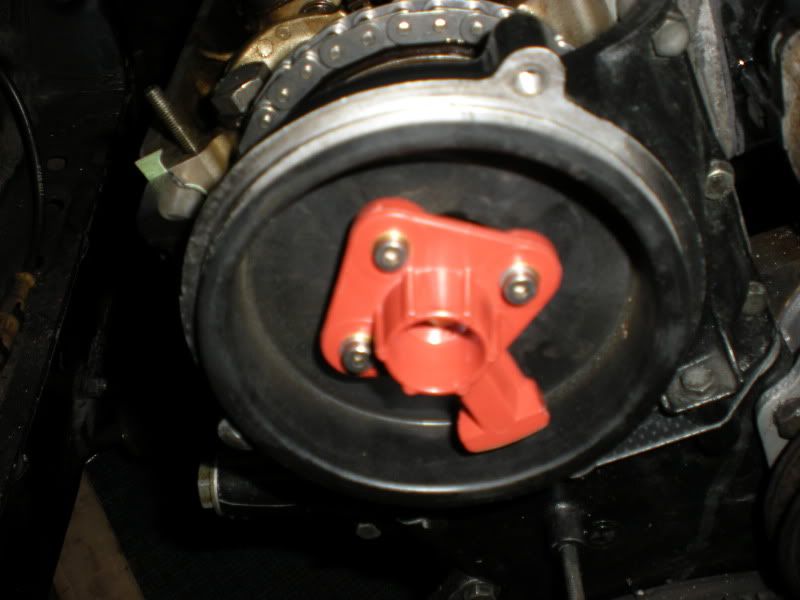
Remove the Spark generator and crank position sensor wires from the plastic cover near the front of the engine.
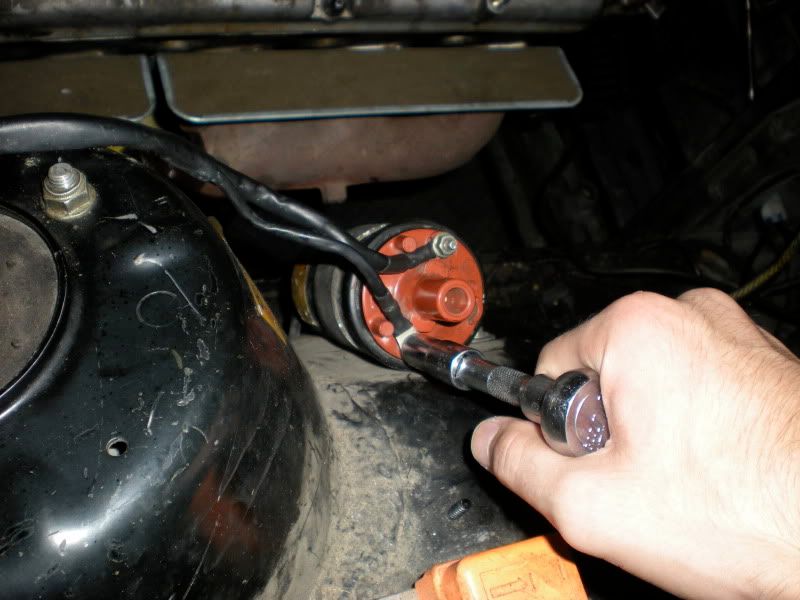
Remove the positive wire at the junction box with a 10mm socket.
Remove the ground wires on the shock tower with a 10mm socket.

Remove the wires to the ignition coil. Small = 8mm / large = 10mm
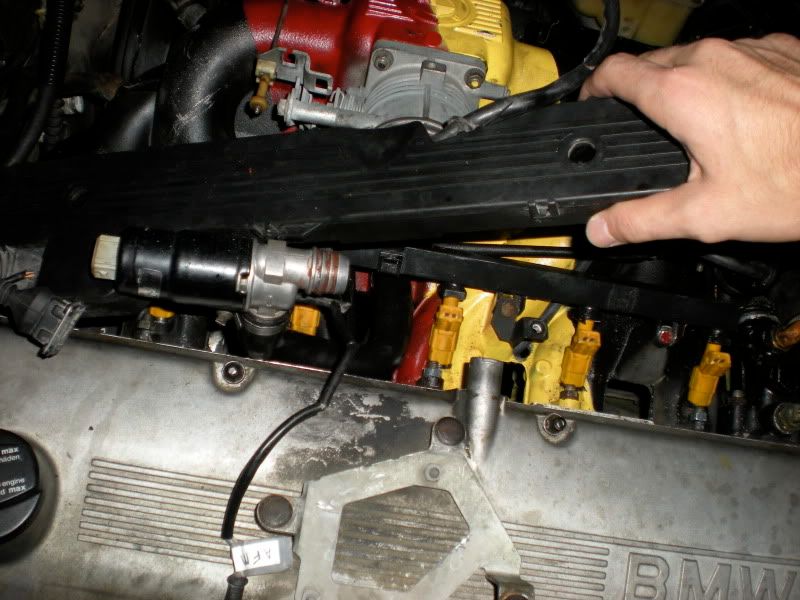
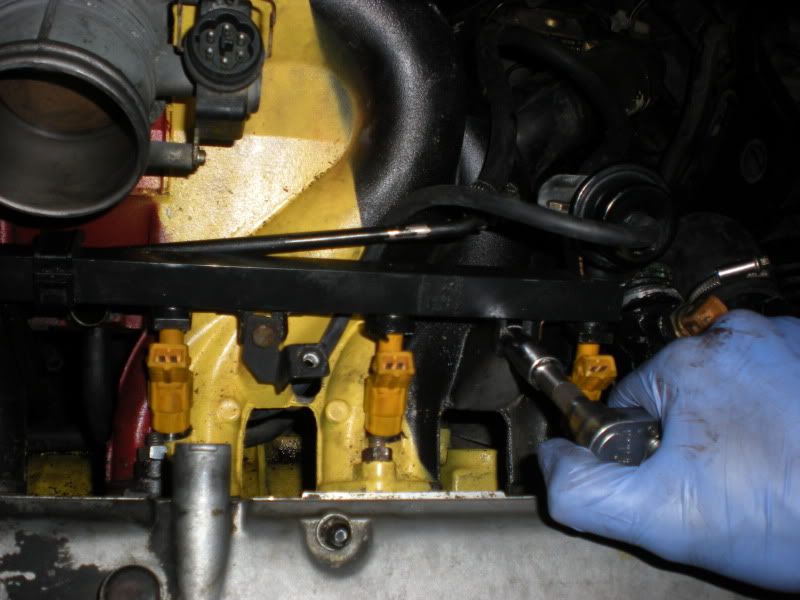
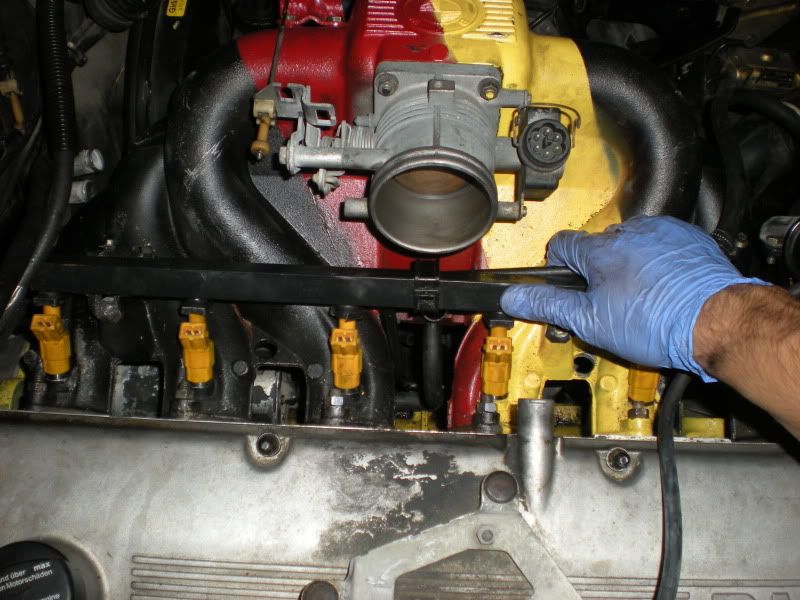
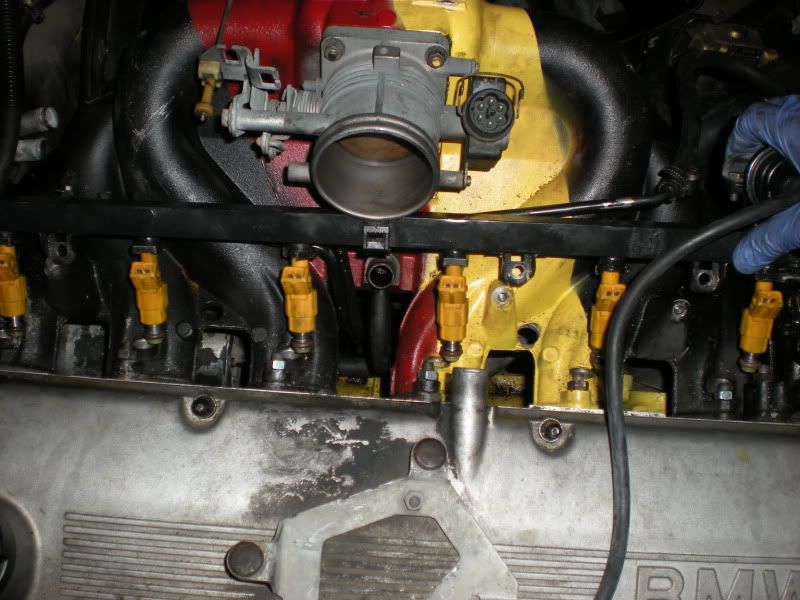
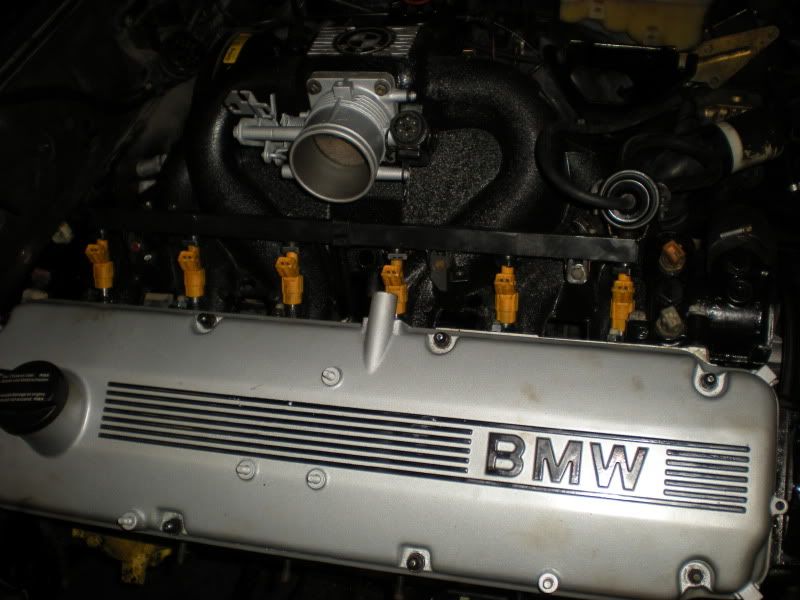
Carefully pry up on the injector connectors (under the large plastic harness cover) with a flat head screw driver to release them.
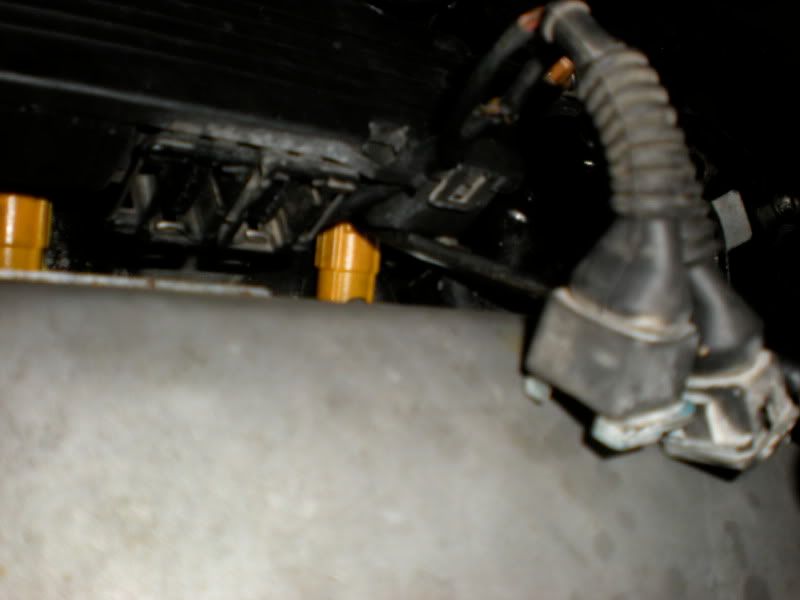
After the first few are released, it's fairly easy to pry the cover up with your hands. Do not force it.
*Note: I did not have the two mounting bolts holding the cover down. Your engine most likely does. Remove them with a 5mm allen wrench.
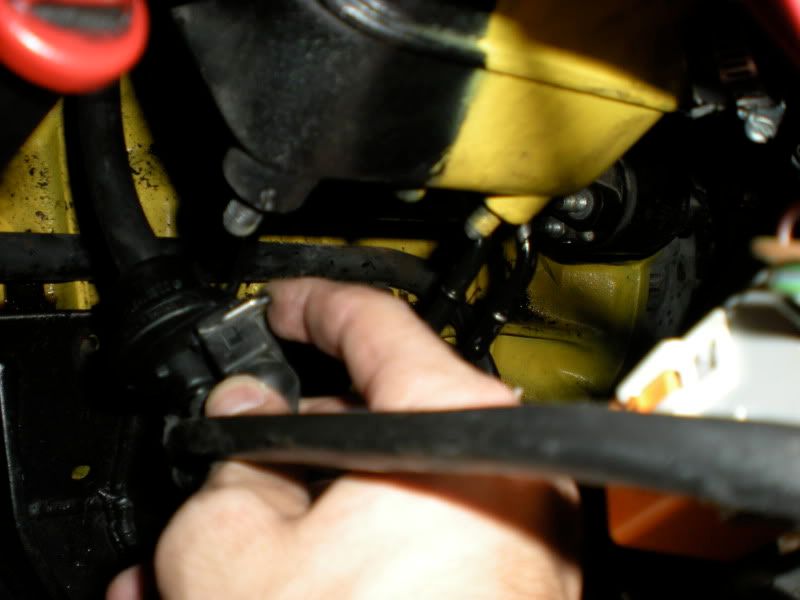
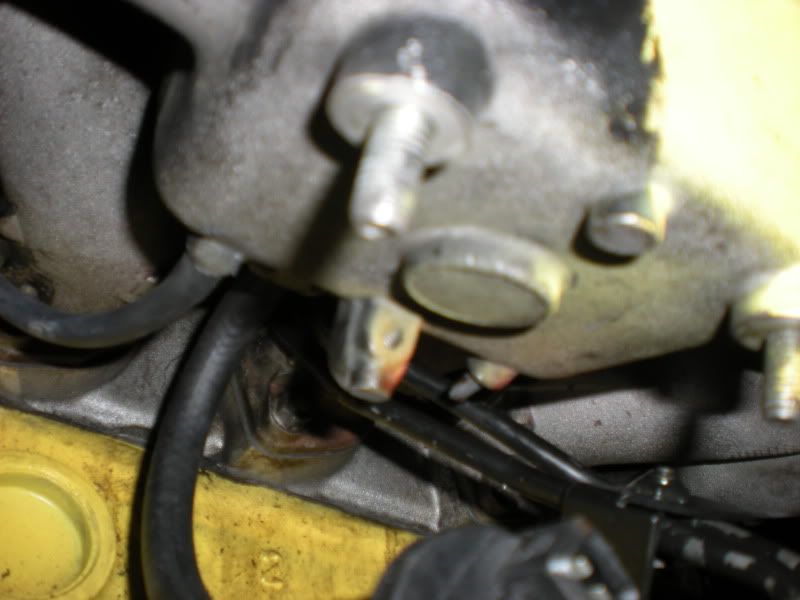
Head on over to the other side of the car. Locate the charcoal canister sensor under the intake manifold - most likely mounted to the intake support bracket. Remove the connector.
*I know I don't have the intake support bracket. It will not fit with the mounts I am running. You will need to remove the 13mm bolt holding the support bracket to the block. You may choose to remove the entire bracket by removing the two (2) 13mm nuts on the underside of the intake manifold.
Now remove the wiring on the starter - 8mm, 10mm, and 13mm. This will remove all the wiring to the starter.
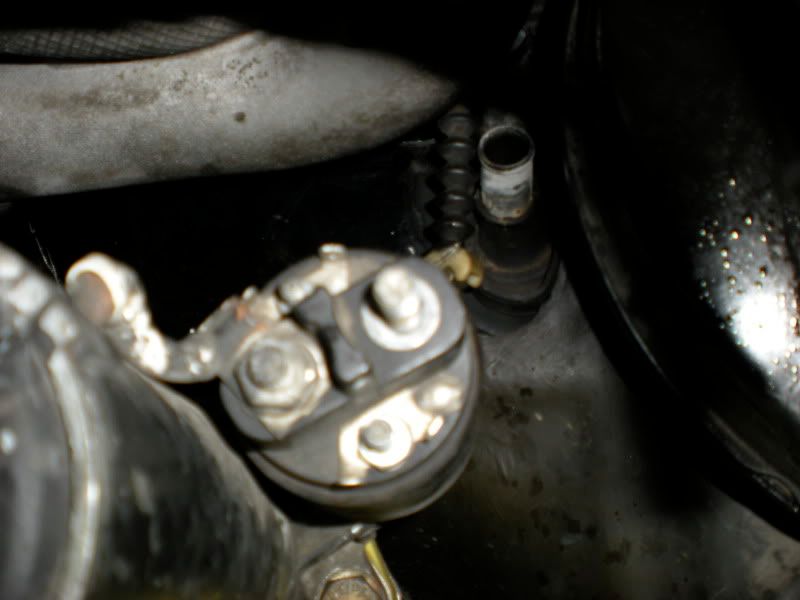
Unhook the 02 sensor connector. This is the small round connector near the starter. Also, twist off the large round connector near the firewall.
Now pull the harness up and out of the engine bay. This is what you should have.

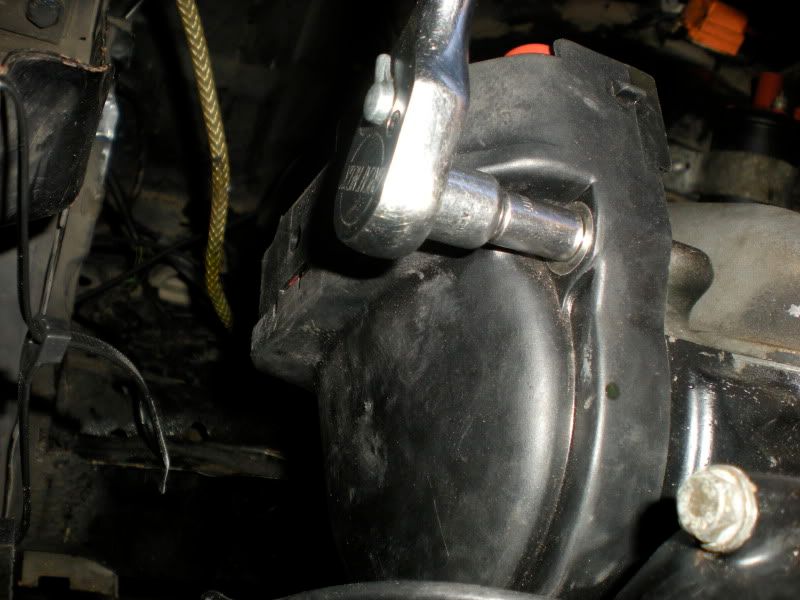
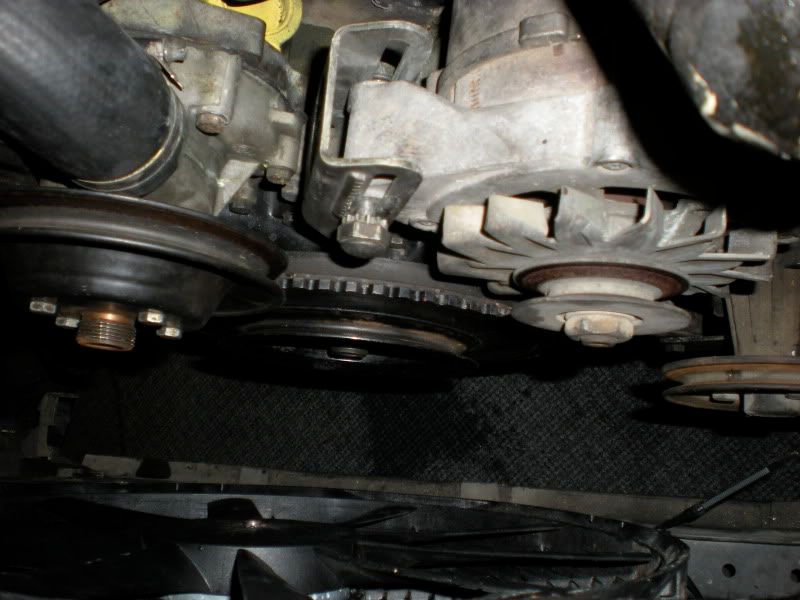
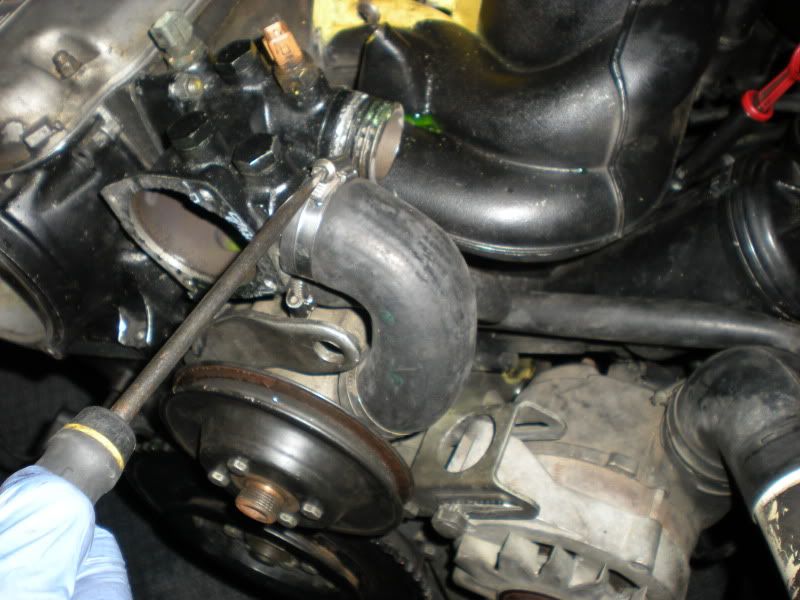
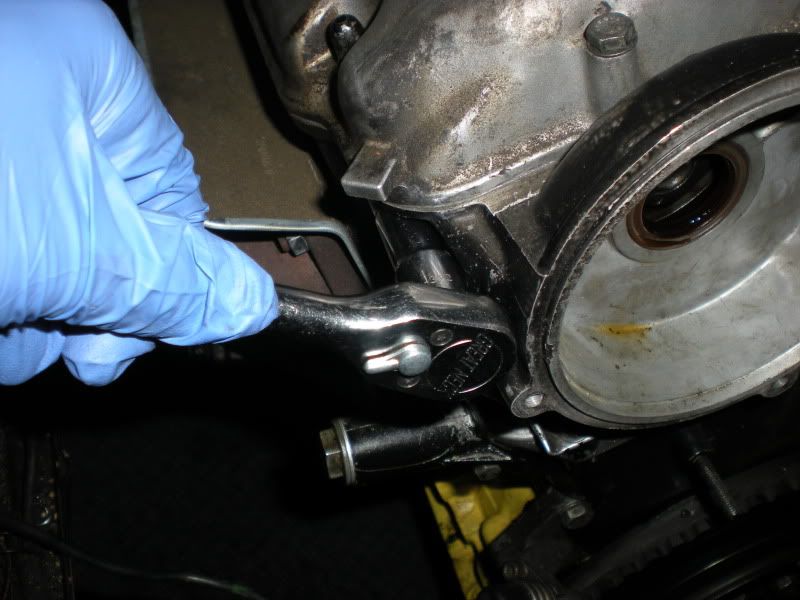
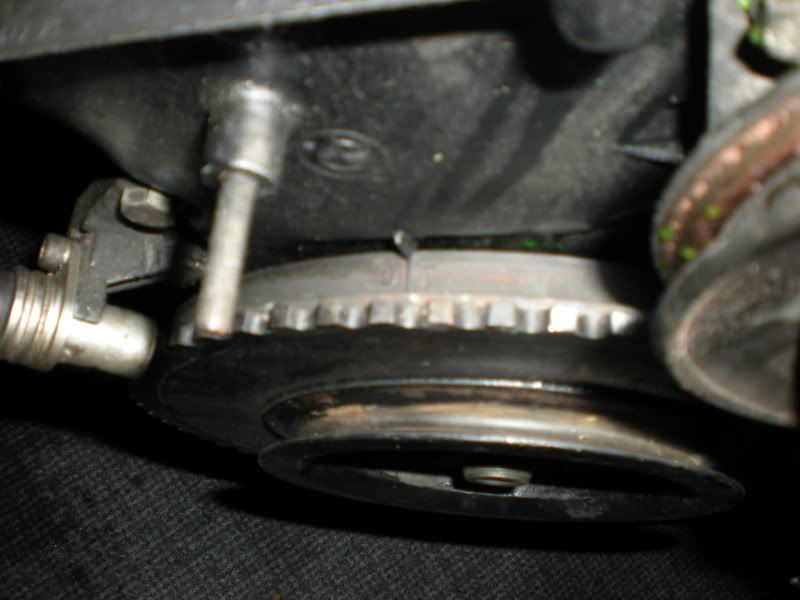
Lets remove the belts. I only have the alternator/water pump belt on my engine, but the same procedure applies for the others. Unfortunately I only have pictures of the final product here, but it's a simple task. Grab your 19mm socket and a 13mm open ended wrench. Locate the adjuster on the alternator bracket with the teeth. You will be loosening this bolt. (My adjusters were not working properly, so this is how I did it). Secure the 13mm nut on the backside while loosening the 19mm adjuster on the front. Once it's loose enough, pry the alternator toward the engine as far as possible. Remove the belt.
If your adjusters are working, use the 19mm adjuster to bring the alternator in. *Tightening the adjuster = loosening the belt tension*
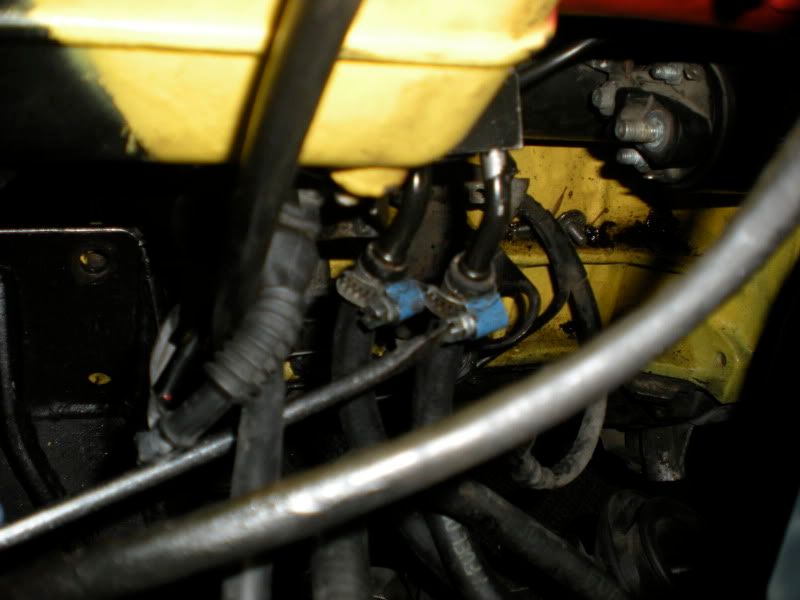
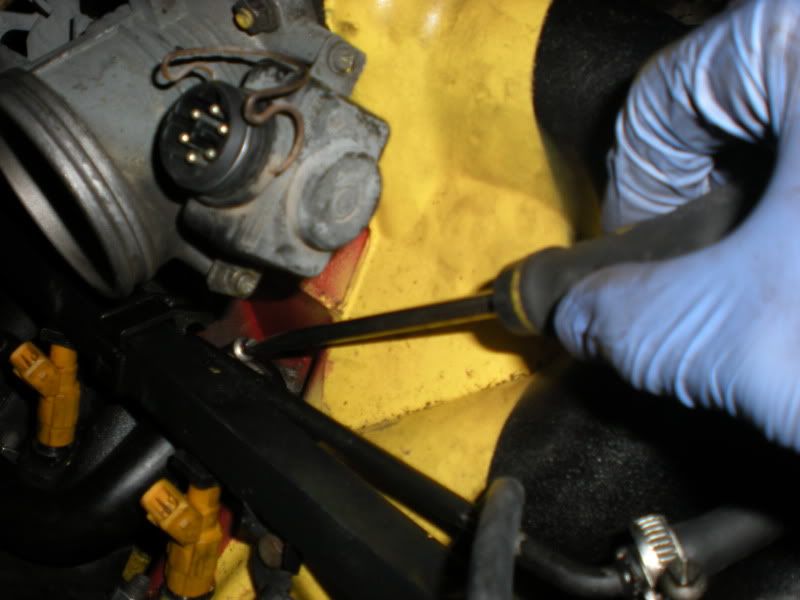
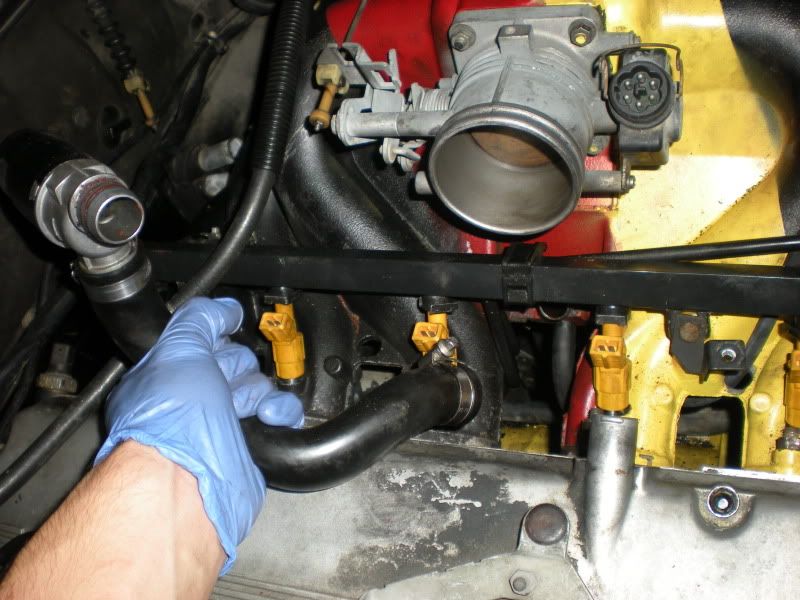
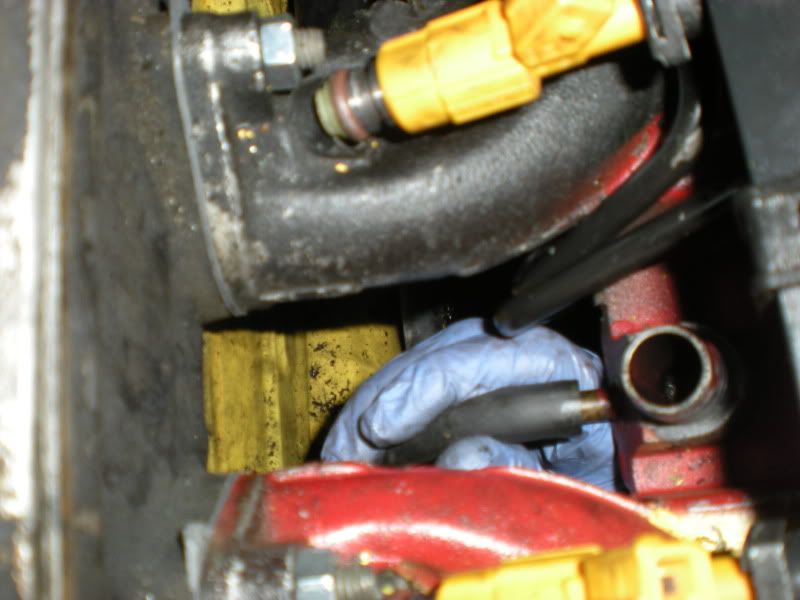
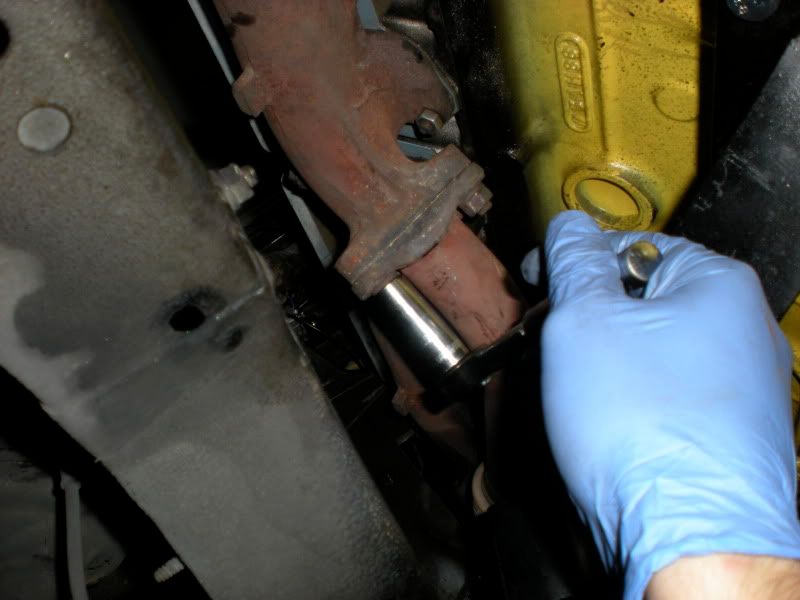
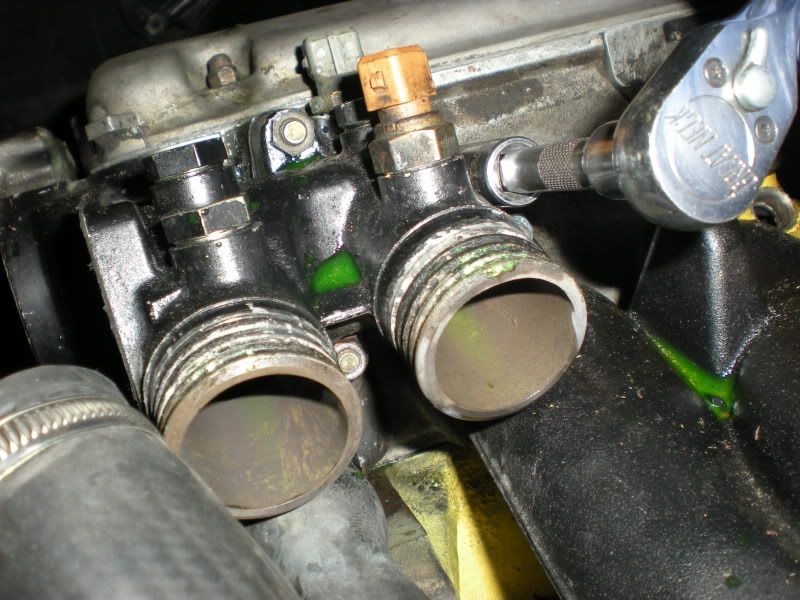
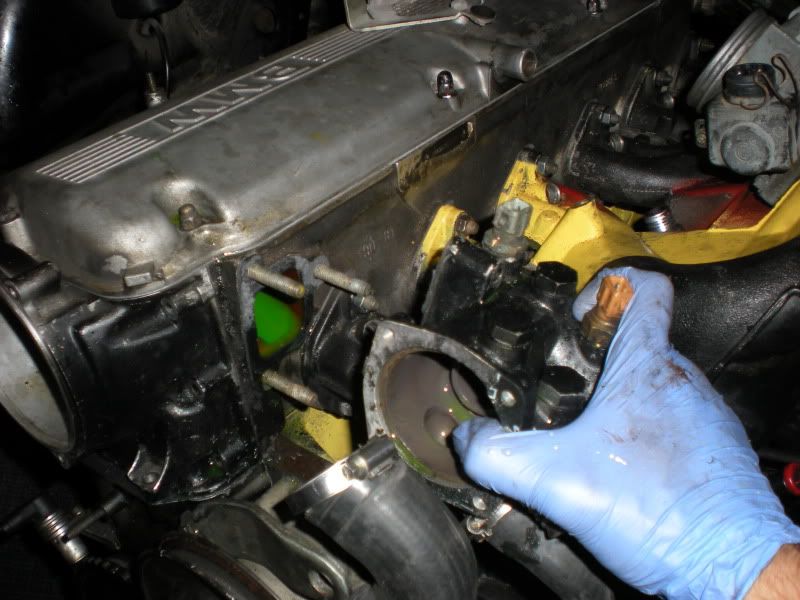
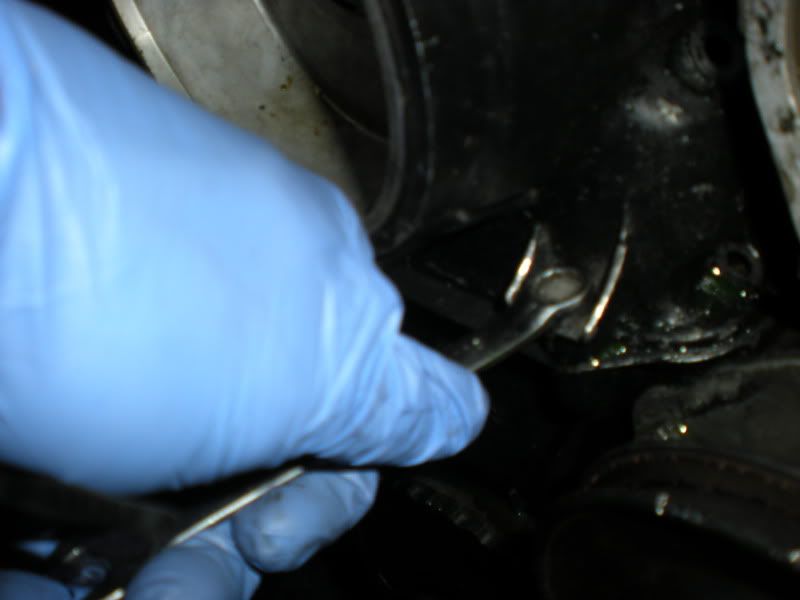
Now we are going to remove the fuel lines. These are located under the intake manifold. Mark the fuel feed line with tape (the line that shoots to the back of the fuel rail is the feed line). Spray some WD-40 on the lines to loosen them up a bit. Mine were on there pretty good. Be careful pulling them off, you may leave some knuckle skin on the motor mount.
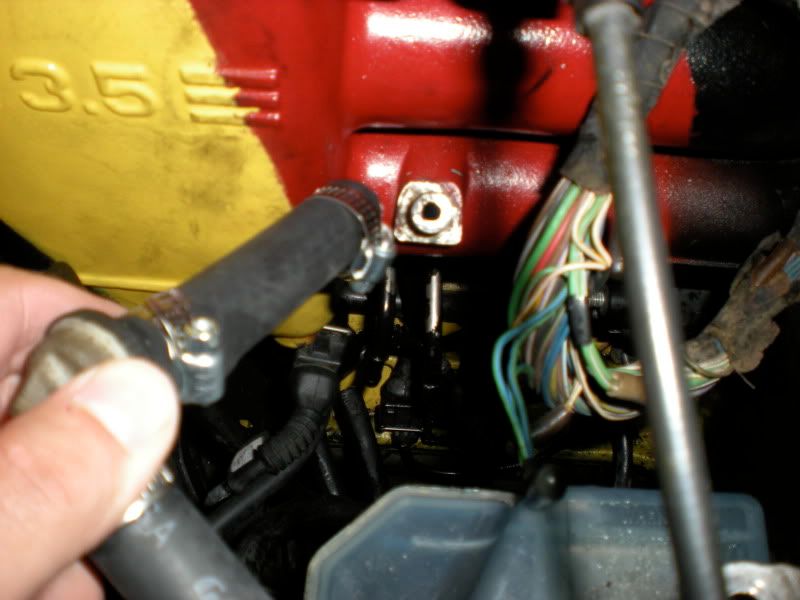
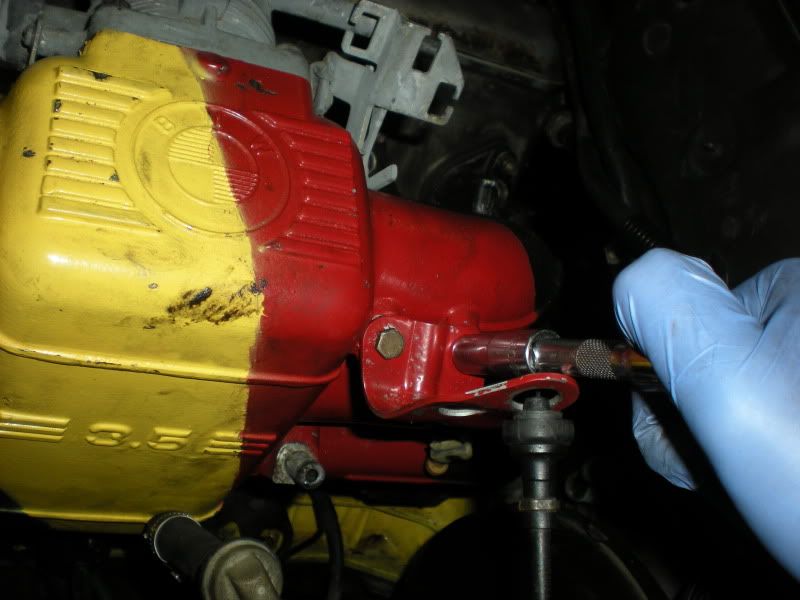
Remove the break booster vacuum line going to the intake manifold. From the factory, BMW secured this hose with one-time-use clamps. I recommend replacing them with the screw style clamps.
*Some engines do not come with this. If yours does not, move on.
*This was done on an e30 with m30b35 swap. The same basic process still applies to any b35 equipped car. Minor differences in grounding points and exhaust may be present.
Tools Needed:
The picture above shows my entire tool set. Notice the basic hand tool setup available at any Home Depot or auto parts store. (Not all these tools pictured are required)
- A metric socket set from 8mm-19mm (mine only came 10-19mm, I had to buy an 8mm socket)
- reducers (3/4"-1/2", 1/2"-1/4") for sockets
- open ended wrenches from 8-19mm
- 36mm socket
- flat head screw driver )long and short ones come in handy)
- philips head screw driver (same as above)
- metric Allen wrench set (either individual or ratchet attachments)
- adjustable pliers - Channel locks
- needle nose pliers
- Breaker bar
- crescent wrench
- spark plug removal socket (if not already in the BMW tool kit)
- plastic lunch baggies
- marker
- PB Blaster
- Head gasket kit
The Procedure:
Remove the negative cable of the battery for safety purposes.
Jack the car up properly.
Drain the oil. Use an 18mm socket and remove the drain plug on the oil pan.
Drain the coolant. Use a philips or flat head screw driver to unscrew the drain plug on the bottom right hand side of the radiator. This plug is under the lower radiator hose. Remove the cap on the expansion tank for a quicker drain.
*Note: After draining the coolant, I removed the radiator due to tight clearances in the e30 engine bay. You may or may not choose to do this.
Now that the fluids are drained, remove the spark plug wires.
BMW was kind enough to offer a spark plug removal tool in the "tool kit" under the boot lid.
Use the tool to remove the spark plugs
Now it's time to remove the intake. First remove the electronics (wiring).
This is the oil pressure sensor on the back of the head. Remove the clip.
Sensor wires are removed, hooray! Time to remove the intake itself. First remove the AFM. There may be 3 clips on the underside of the MAF securing it to the valve cover - remove them. Loosen the hose clamp with a flat head screw driver and pull the AFM towards you.
This is what you're left with:
Locate the breather line attached to the PCV hose coming from the valve cover. Find it? Good. Remove the line from the PCV hose.
Unscrew the hose clamps from the PCV hose and the intake boot.
Pry out the ICV (black sensor attached to the intake boot on the left) carefully, then remove the intake boot with the PCV hose attached. It may be easier to remove the PCV hose from the boot if it is brittle.
This is what you are left with:
I recommend you put all the pieces removed from the car into a bin (or something similar) so you don't end up losing them.
Lets remove the cap, rotor and distributor. Get out your 10mm socket and 3mm and 6mm allen wrenches.
There are three 10mm bolts holding the cap on, remove them.
The rotor is mounted with three 3mm allen head screws. Remove them.
Now get your 6mm allen and remove the distributor.
Wiring harness removal
Remove the Spark generator and crank position sensor wires from the plastic cover near the front of the engine.
Remove the positive wire at the junction box with a 10mm socket.
Remove the ground wires on the shock tower with a 10mm socket.
Remove the wires to the ignition coil. Small = 8mm / large = 10mm
Carefully pry up on the injector connectors (under the large plastic harness cover) with a flat head screw driver to release them.
After the first few are released, it's fairly easy to pry the cover up with your hands. Do not force it.
*Note: I did not have the two mounting bolts holding the cover down. Your engine most likely does. Remove them with a 5mm allen wrench.
Head on over to the other side of the car. Locate the charcoal canister sensor under the intake manifold - most likely mounted to the intake support bracket. Remove the connector.
*I know I don't have the intake support bracket. It will not fit with the mounts I am running. You will need to remove the 13mm bolt holding the support bracket to the block. You may choose to remove the entire bracket by removing the two (2) 13mm nuts on the underside of the intake manifold.
Now remove the wiring on the starter - 8mm, 10mm, and 13mm. This will remove all the wiring to the starter.
Unhook the 02 sensor connector. This is the small round connector near the starter. Also, twist off the large round connector near the firewall.
Now pull the harness up and out of the engine bay. This is what you should have.
Lets remove the belts. I only have the alternator/water pump belt on my engine, but the same procedure applies for the others. Unfortunately I only have pictures of the final product here, but it's a simple task. Grab your 19mm socket and a 13mm open ended wrench. Locate the adjuster on the alternator bracket with the teeth. You will be loosening this bolt. (My adjusters were not working properly, so this is how I did it). Secure the 13mm nut on the backside while loosening the 19mm adjuster on the front. Once it's loose enough, pry the alternator toward the engine as far as possible. Remove the belt.
If your adjusters are working, use the 19mm adjuster to bring the alternator in. *Tightening the adjuster = loosening the belt tension*
Now we are going to remove the fuel lines. These are located under the intake manifold. Mark the fuel feed line with tape (the line that shoots to the back of the fuel rail is the feed line). Spray some WD-40 on the lines to loosen them up a bit. Mine were on there pretty good. Be careful pulling them off, you may leave some knuckle skin on the motor mount.
Remove the break booster vacuum line going to the intake manifold. From the factory, BMW secured this hose with one-time-use clamps. I recommend replacing them with the screw style clamps.
*Some engines do not come with this. If yours does not, move on.


Comment