
How much were those headers if you don't mind me asking?
-
www.CASTROMOTORSPORT.com
Castro Motorsport
12600 Sherman Way, Unit C
North Hollywood, CA 91605
818-765-3606
Follow Castro's on Facebook:
http://www.facebook.com/pages/Castro...02411516506828
Follow Castro's on Instagram:
http://instagram.com/castromotorsport#
sigpic -
-
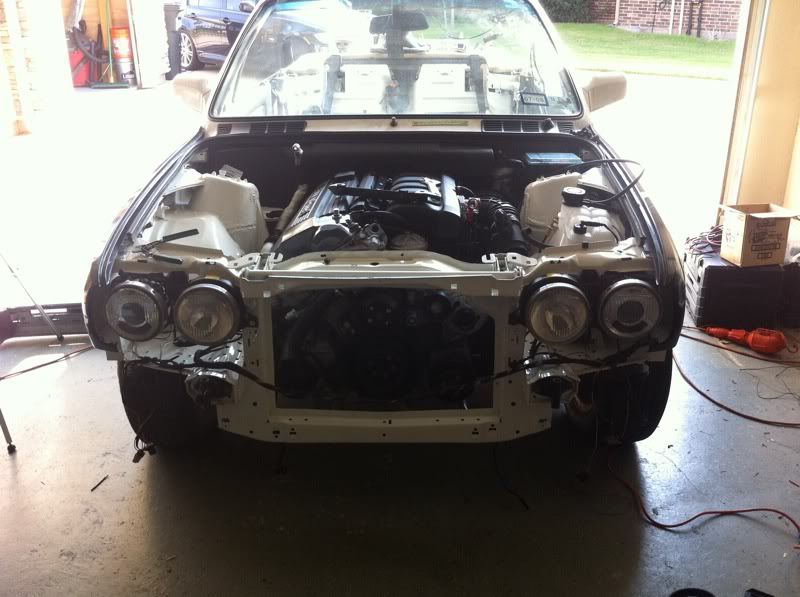
I've been bad about my picture taking lately, so please excuse some of the lack of detail on some of the parts and general lack of flow. I'll make it up on the next update.
What you're seeing here is over a 2 month period. Work and my other E30 has had me very very busy.

Finally bled the coolant system back in early July.
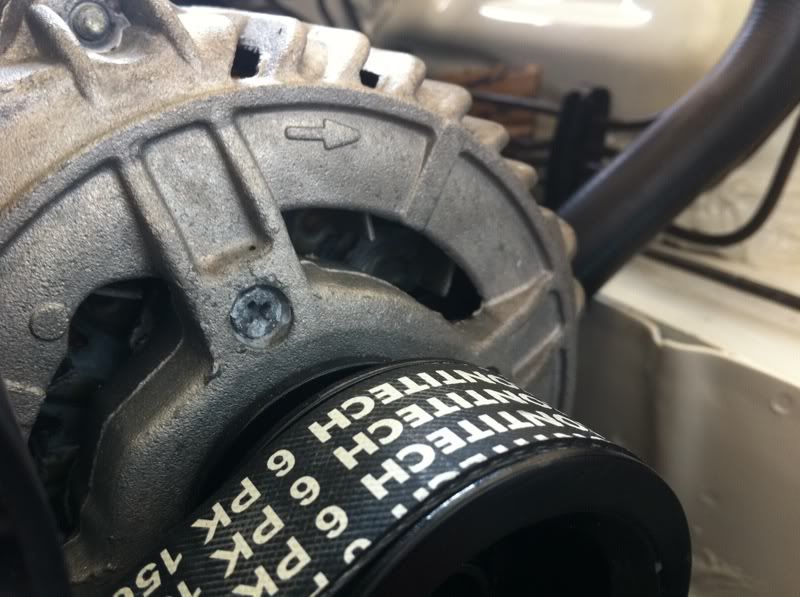
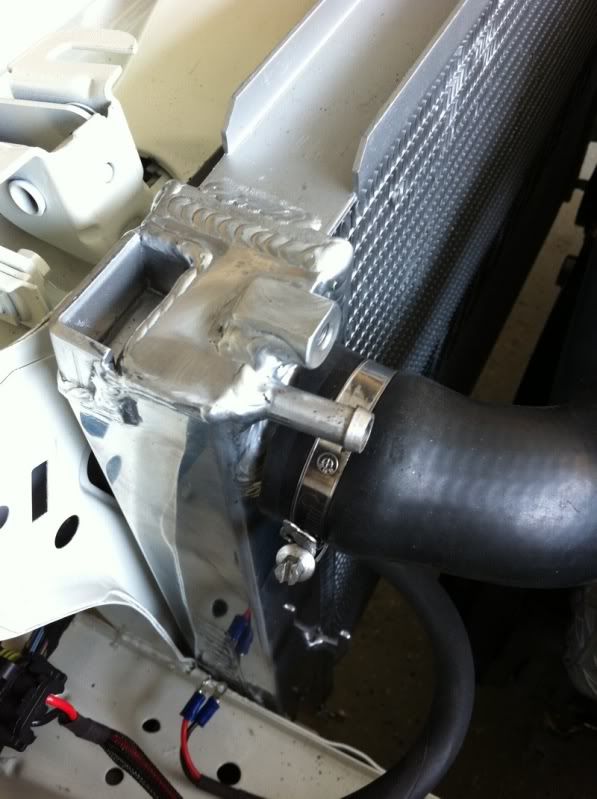
I wanted to install the belts first before I put back in the radiator.

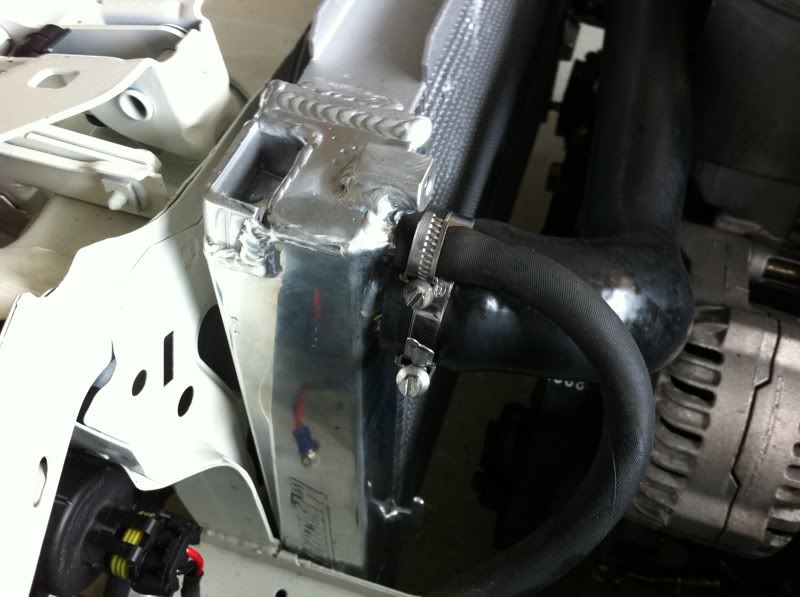
Hooked up my trimmed E34 and E36 hoses.
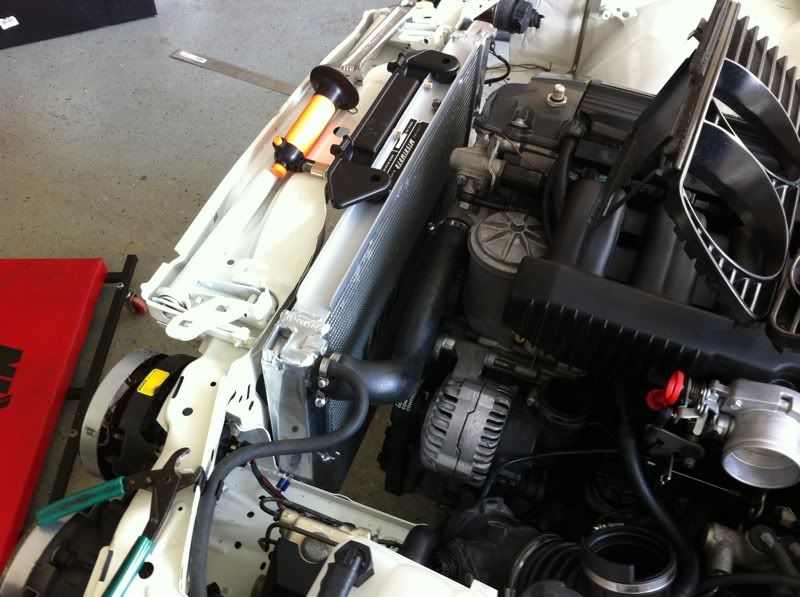
Installed the new bracket and hardware
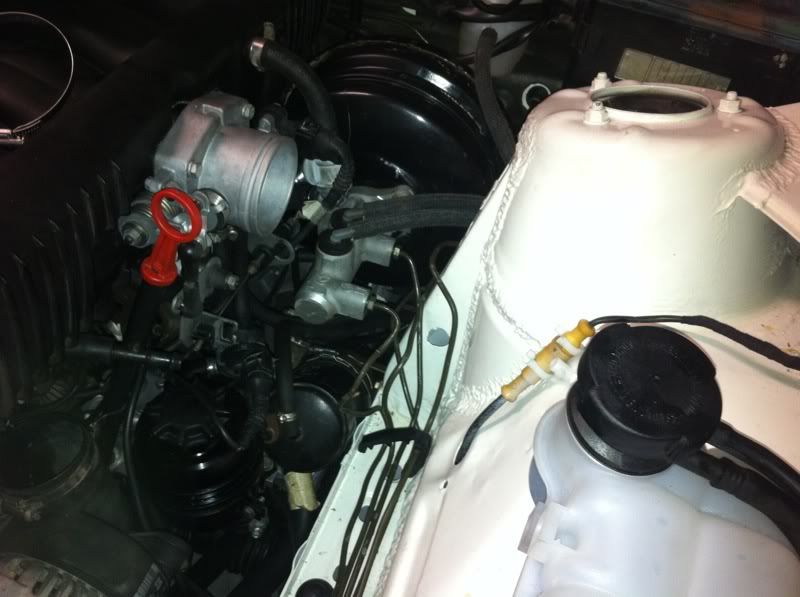
The reason I went with a late model set up is so I can use my preferred method of bleeding, forcing coolant into the system. :)
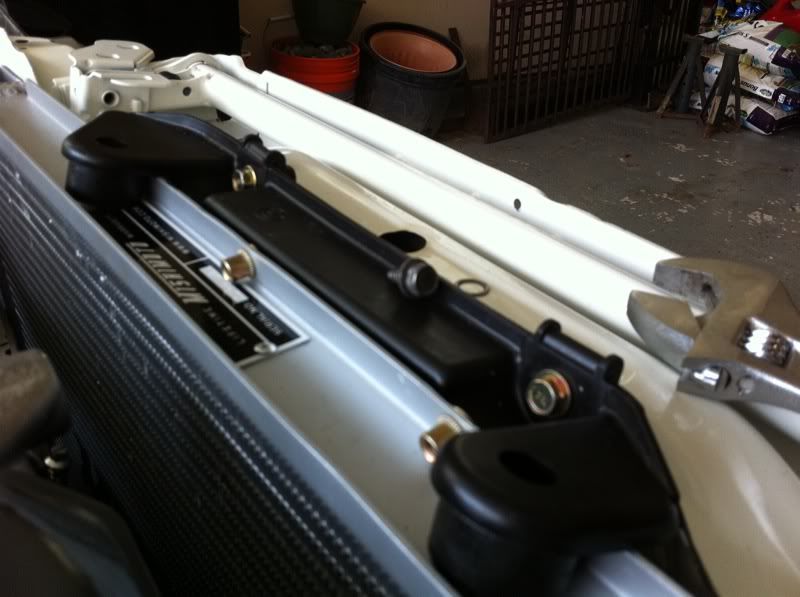
See this overflow nipple? This is where we are going to forcing in coolant.
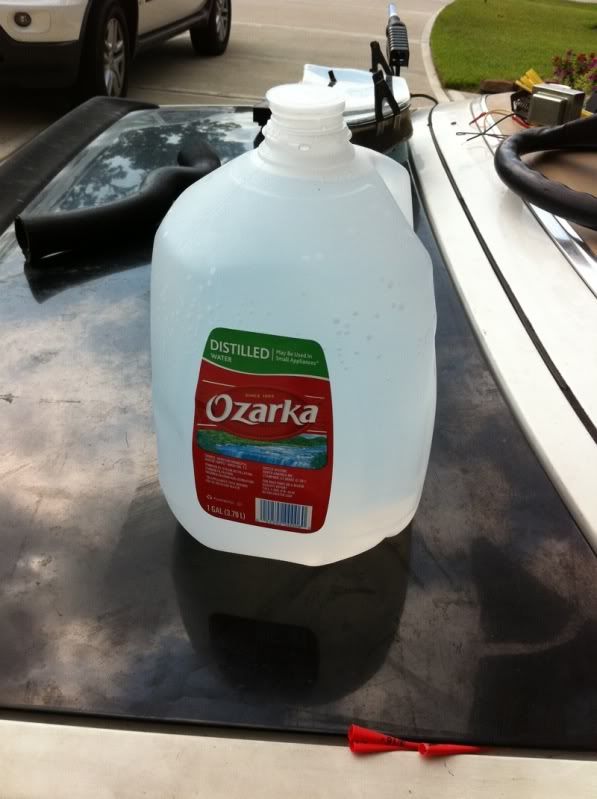
With a pump on the coolant bottle mixed to a 50/50 concentration of coolant and distilled water.
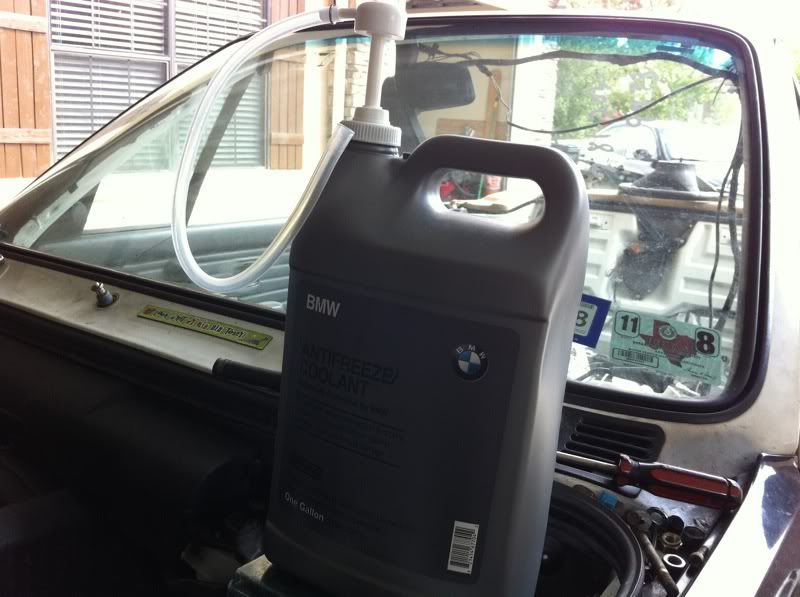
Procedure:
1. Hook up the pump on the coolant bottle to the nipple on the radiator.
2. Turn the temp knob in the cabin all the way to the right
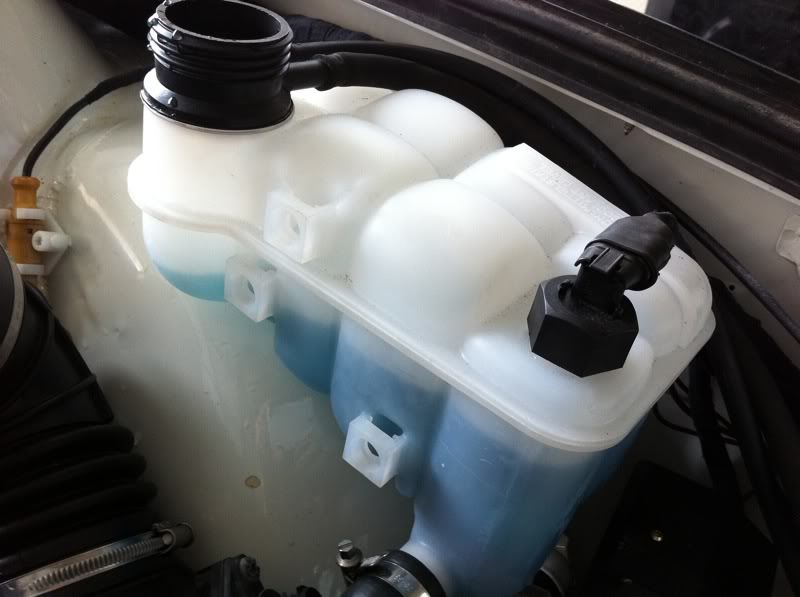
3. Start pumping, it will take about 3 mins to fill up the overflow tank
4. Once full, reinstall the hose coming from the overflow to the radiator
5. Start up the car and let it warm up to get the thermostat open
6. Top off the coolant in the overflow while the car is running to replace the displaced coolant from the opened thermostat.
If you've done this right, the car should be completely bled and shouldn't require anything else. :)
Topped off the power steering res
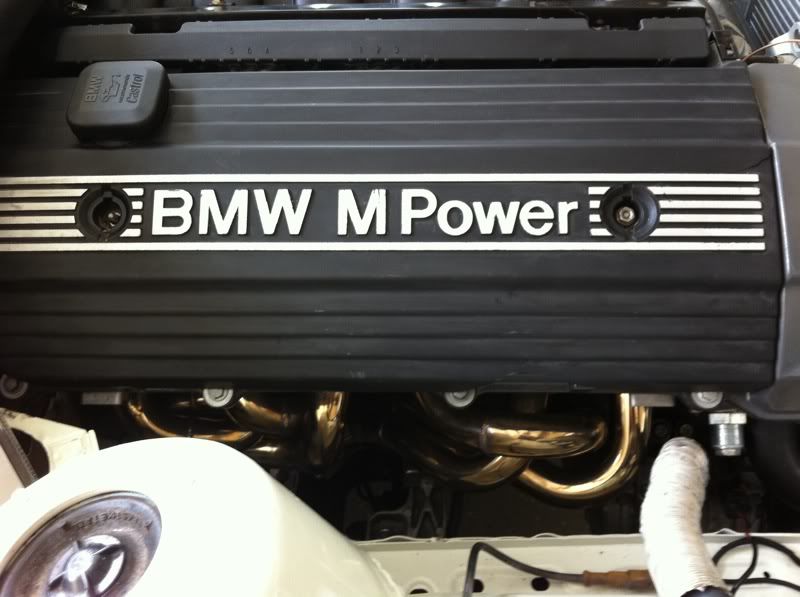
Deep Tireshine seemed to do miracles for my valve cover
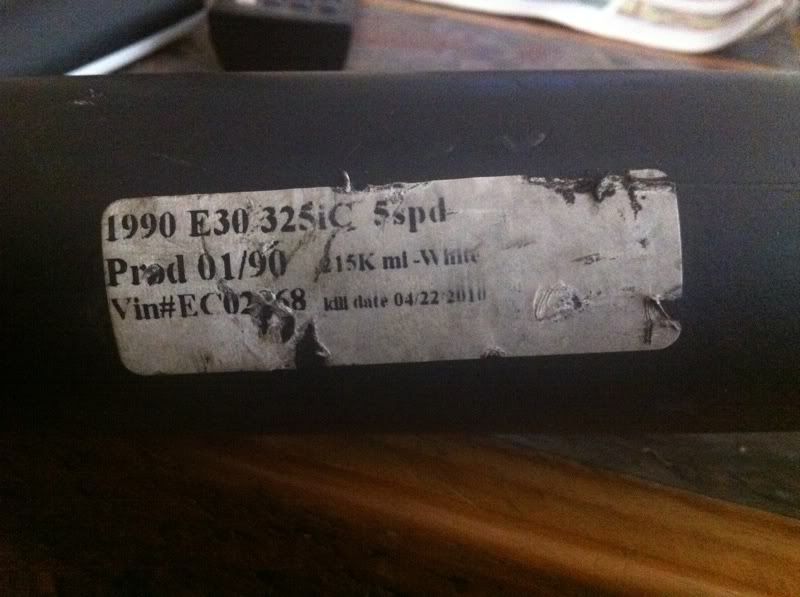
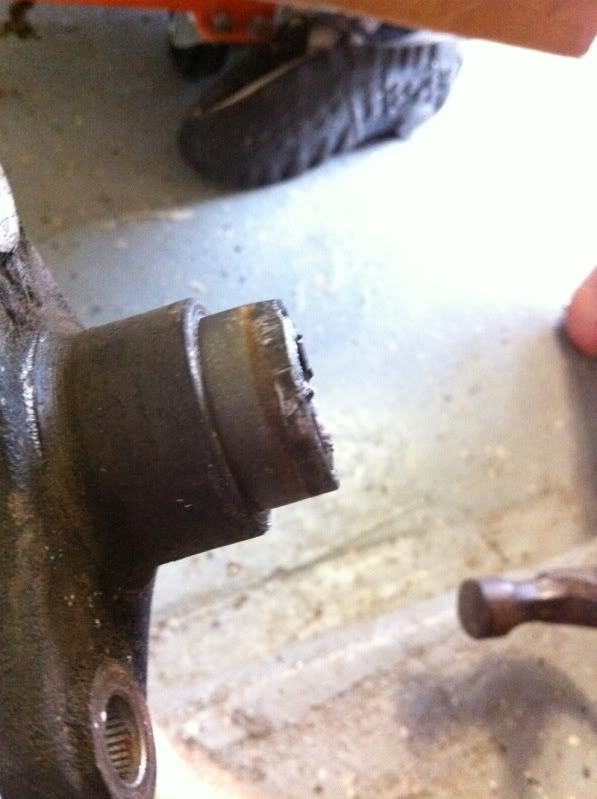
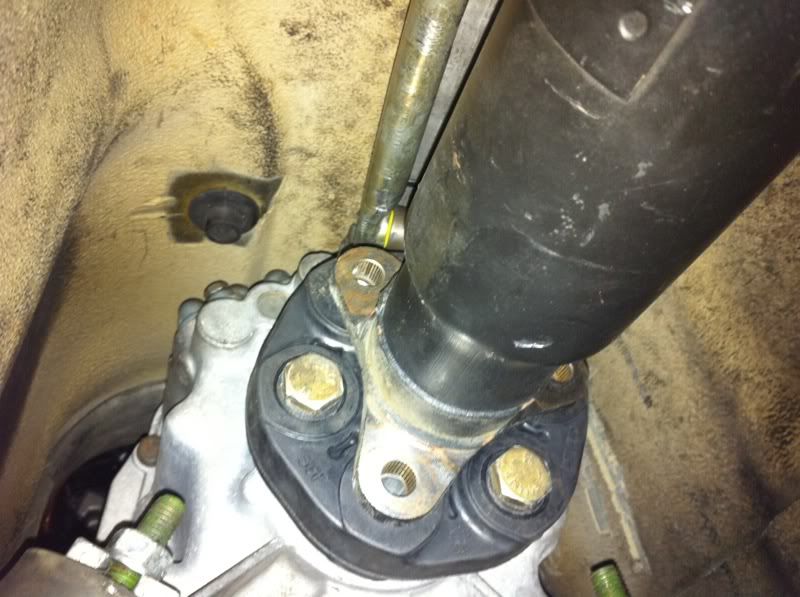
Alright here's the driveshaft. I removed the harmonic balancer that's on it. I hate them and all they do is get in the way, so off it came. You can drop it on the ground a few times to accomplish this.
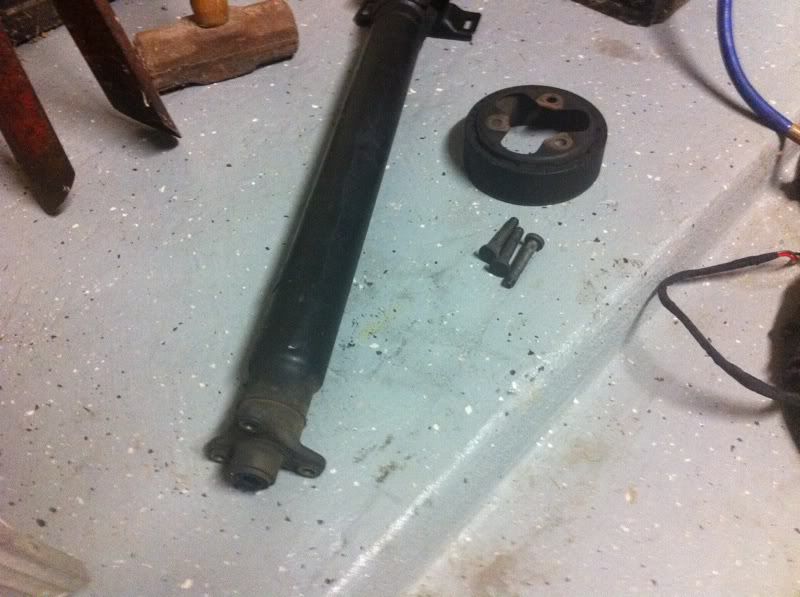
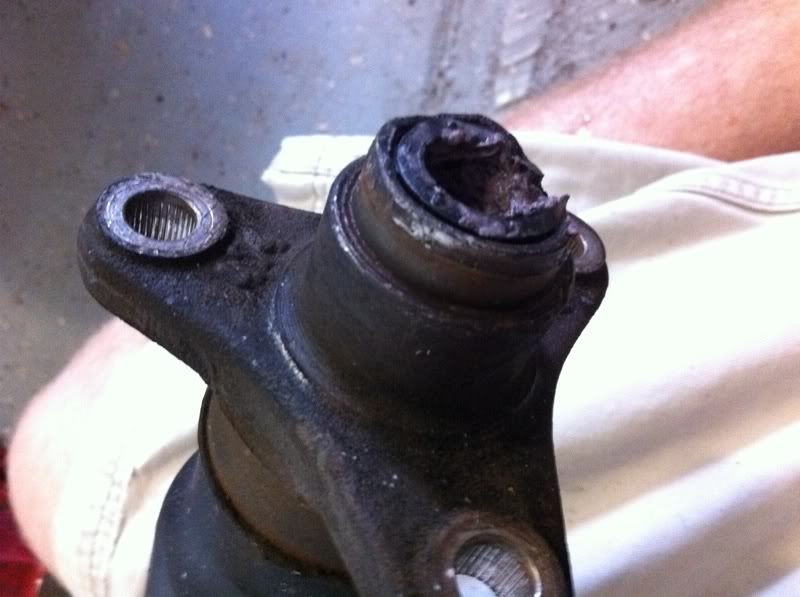
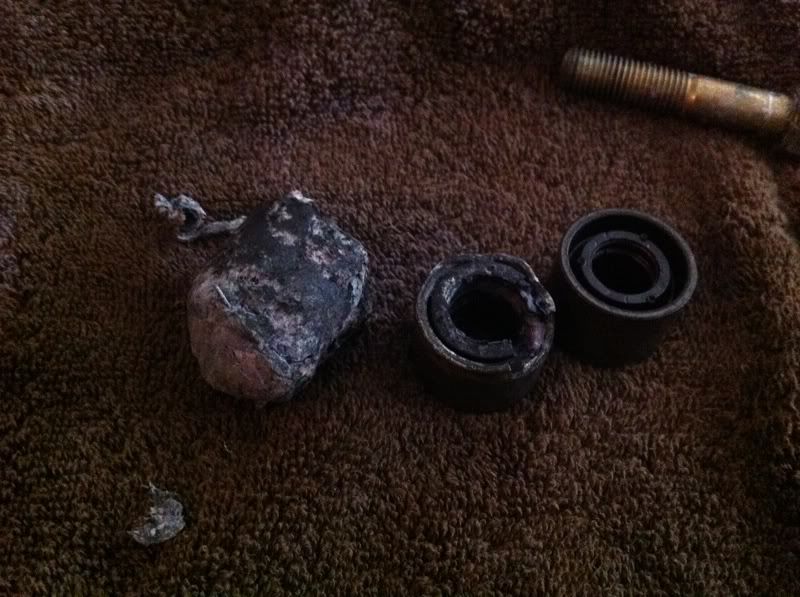
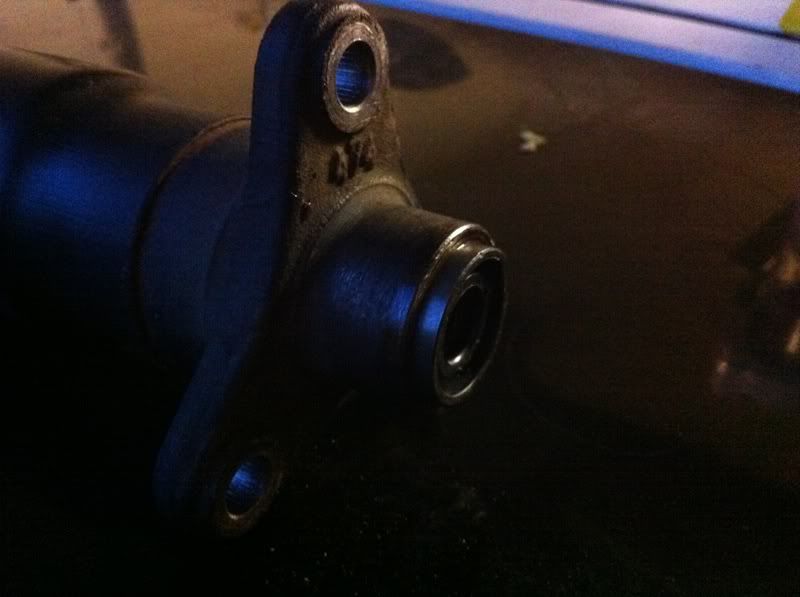
See this rubber bit? Safe to say very few e30s have had this replaced. It's what the shaft on the flange on the transmission (<-used because this sentence sounds dirty) slides into. I tried cutting and prying it out to no luck. So I did this......
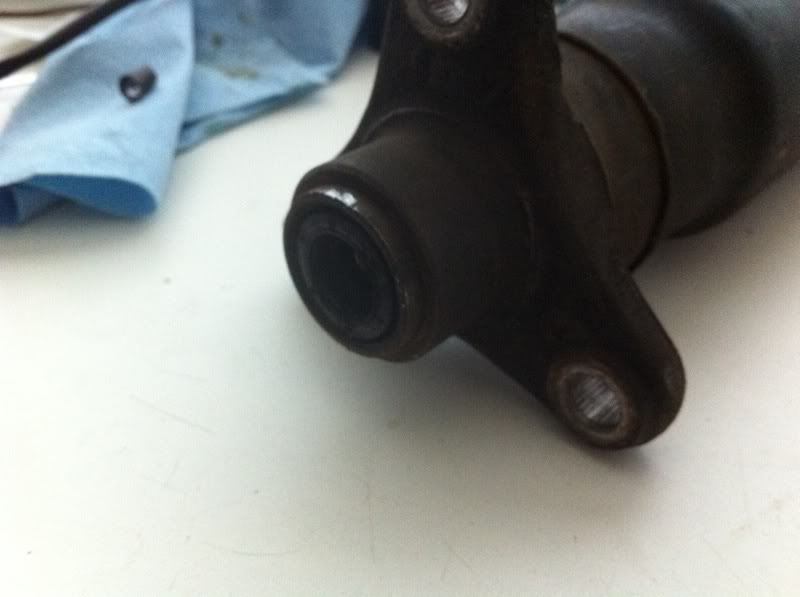
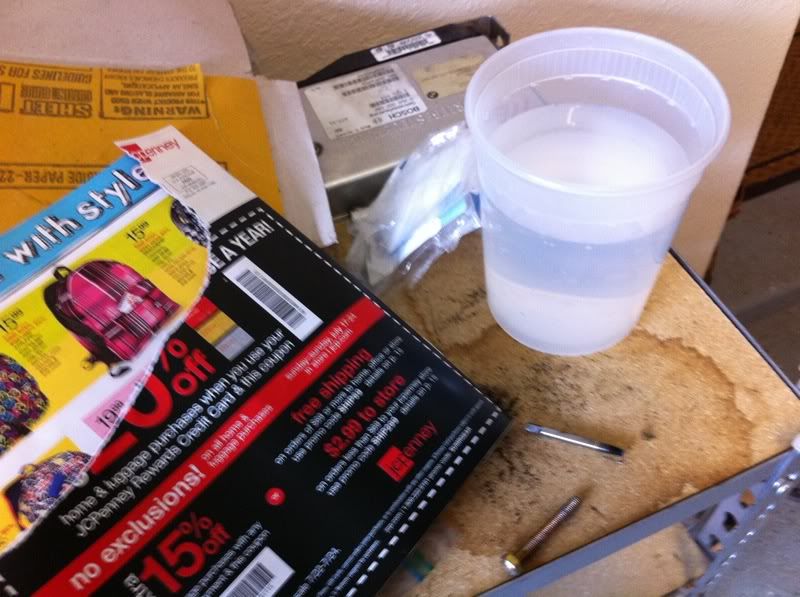
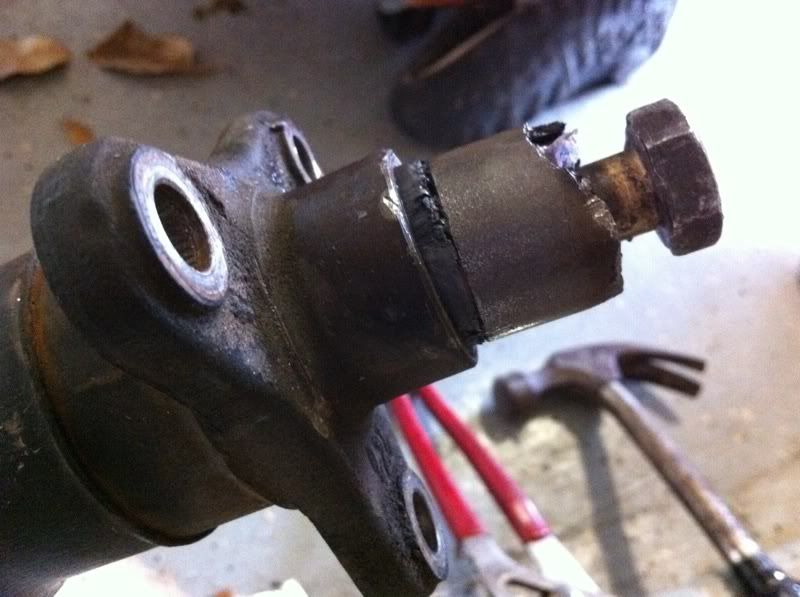
You can remove it the same way I did to take out the bearing inside of the crank, with paper! + some water...
I put the flange in a vis to hold it in place.
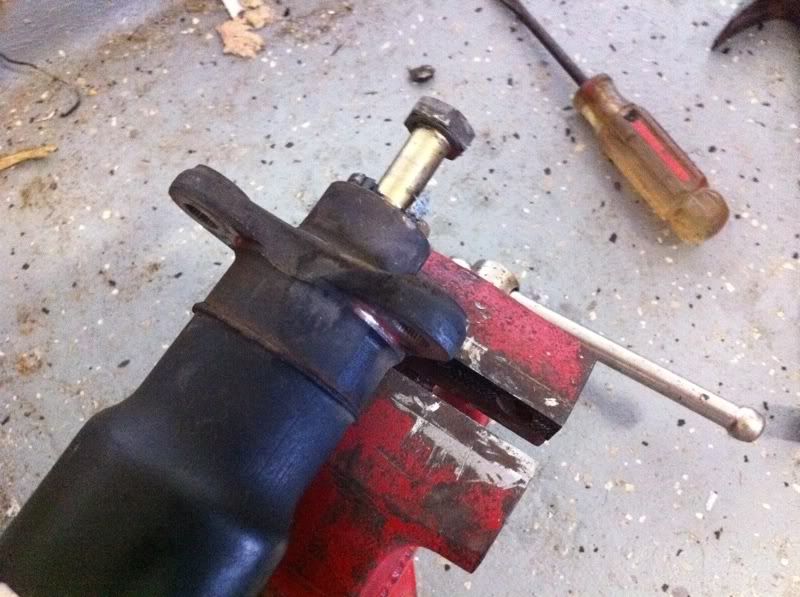
Hammer the bolt into hole to compact the paper.
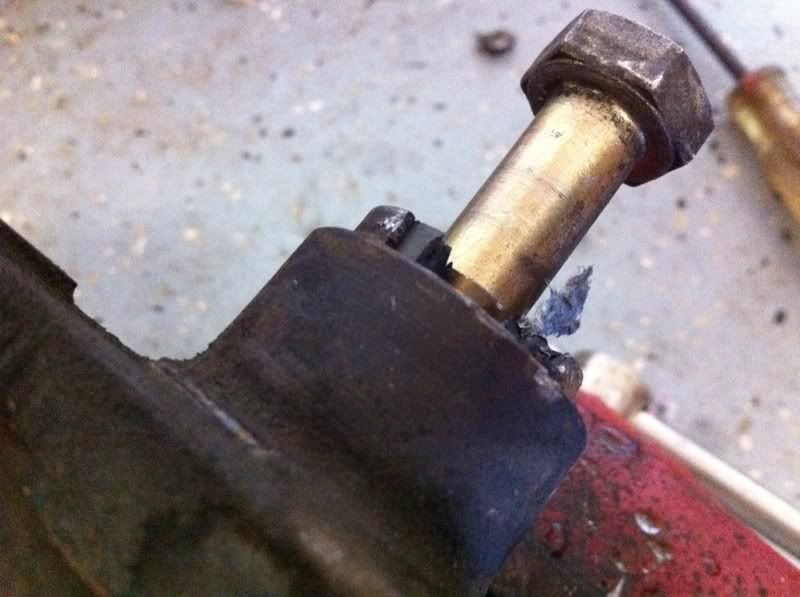
Slowly but surely
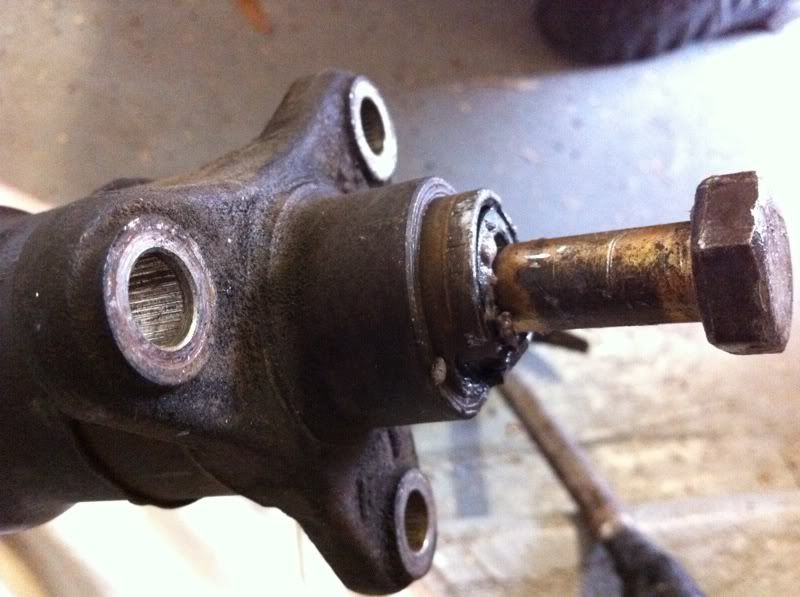
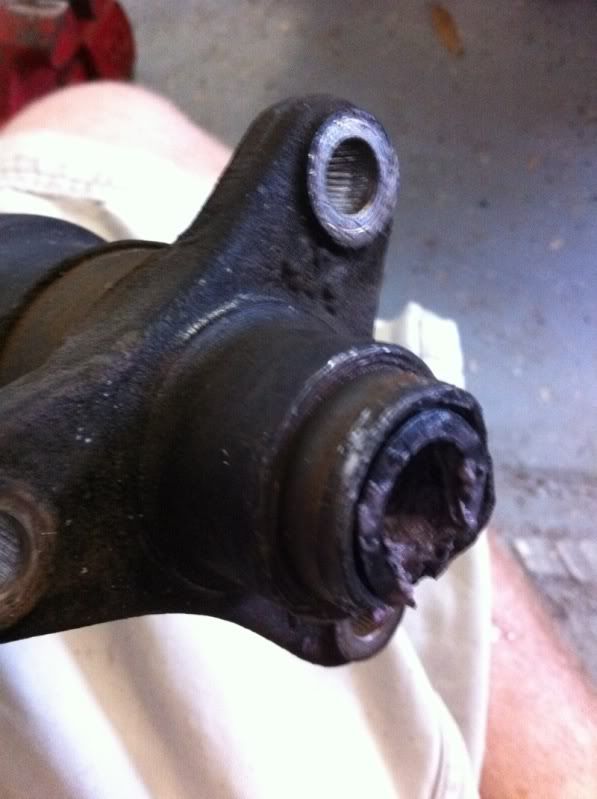
Success!!!!!!
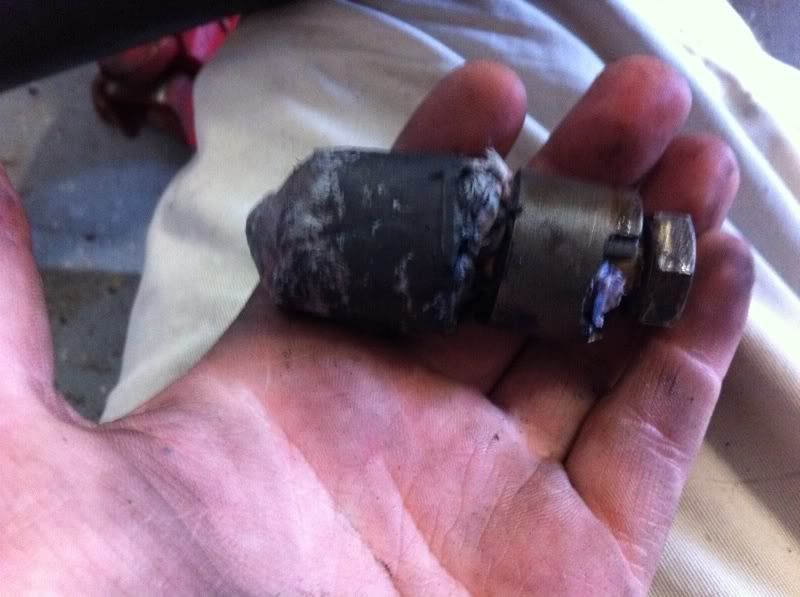
Old, new, and the paper
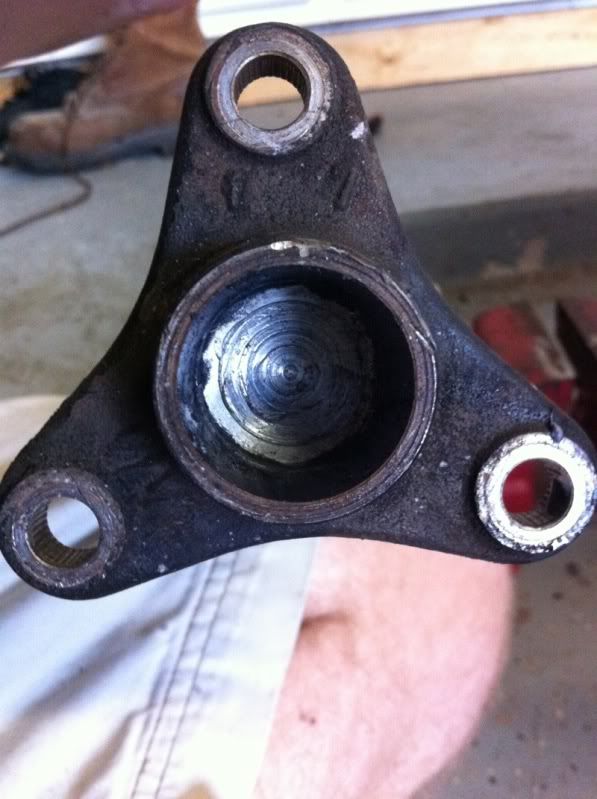
Front
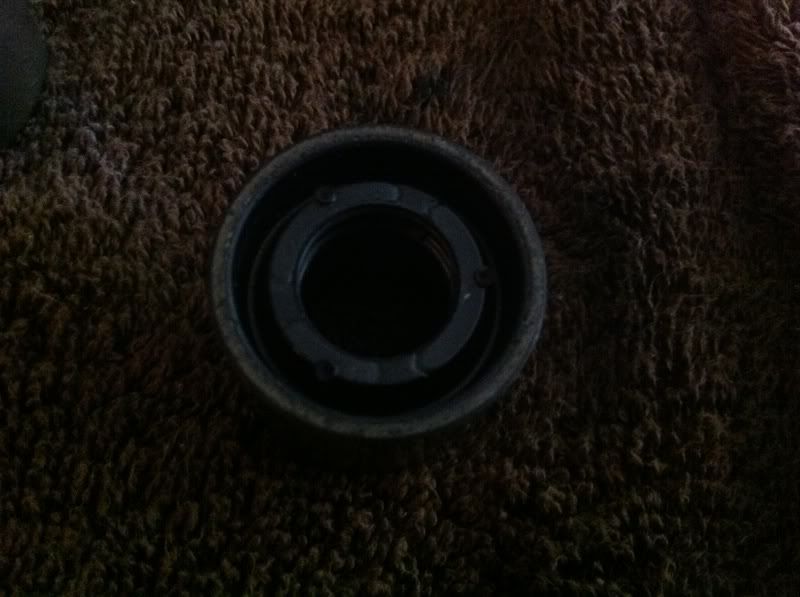
back
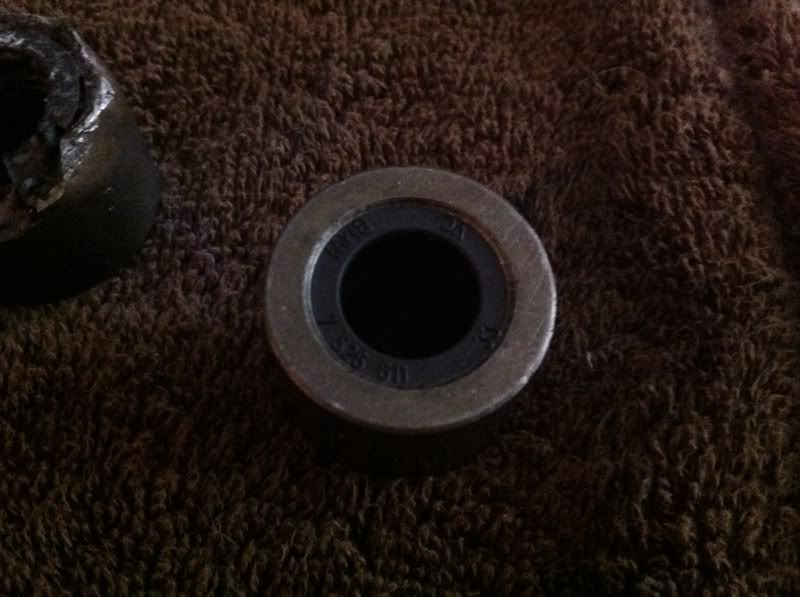
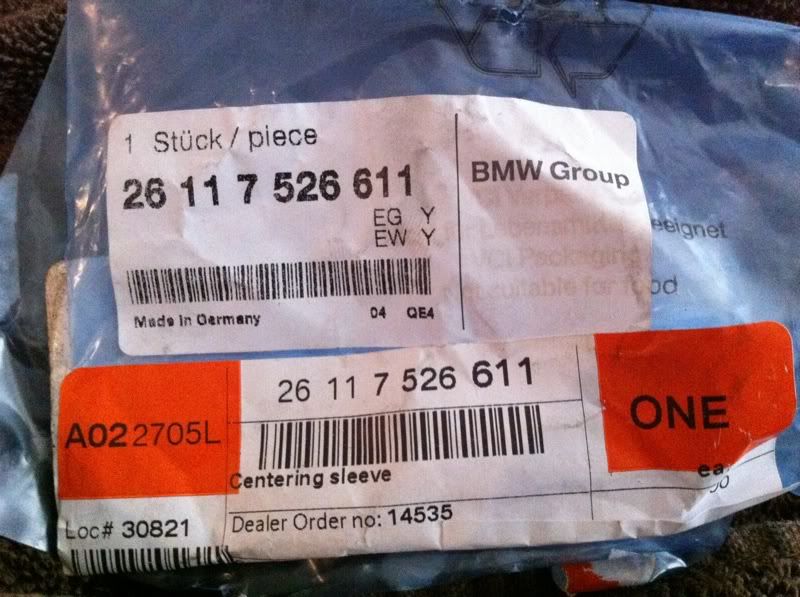
Part number
Installed with grease and quick hit
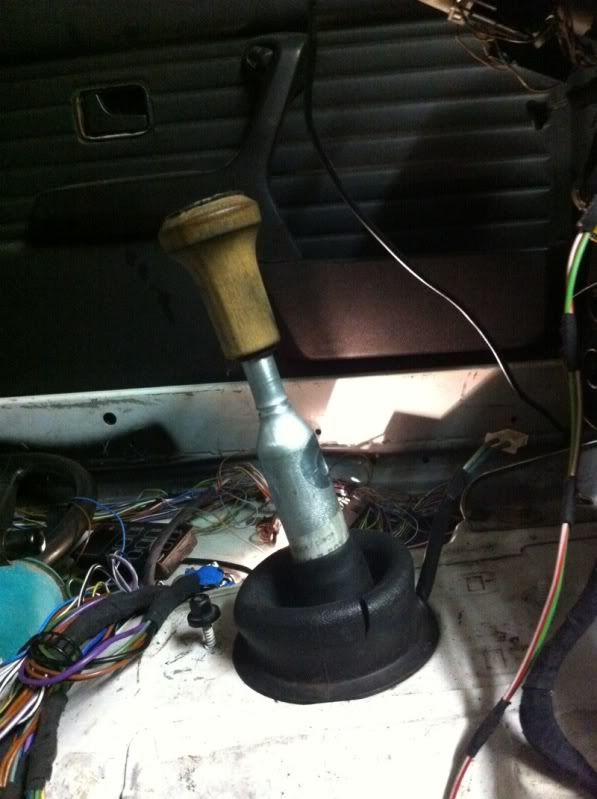
Installed the new Z3 shifter
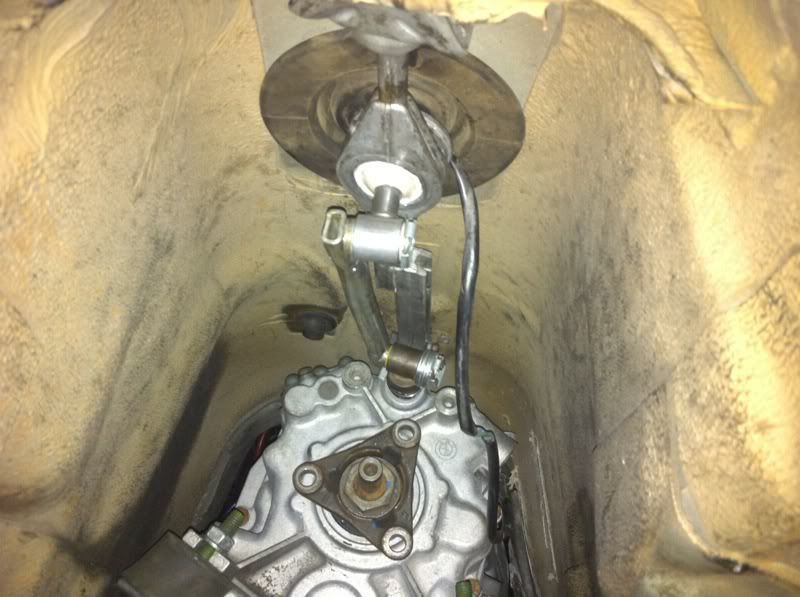
Had to rig this up because of the wrong part number ordered. I'll fix it one of these days.

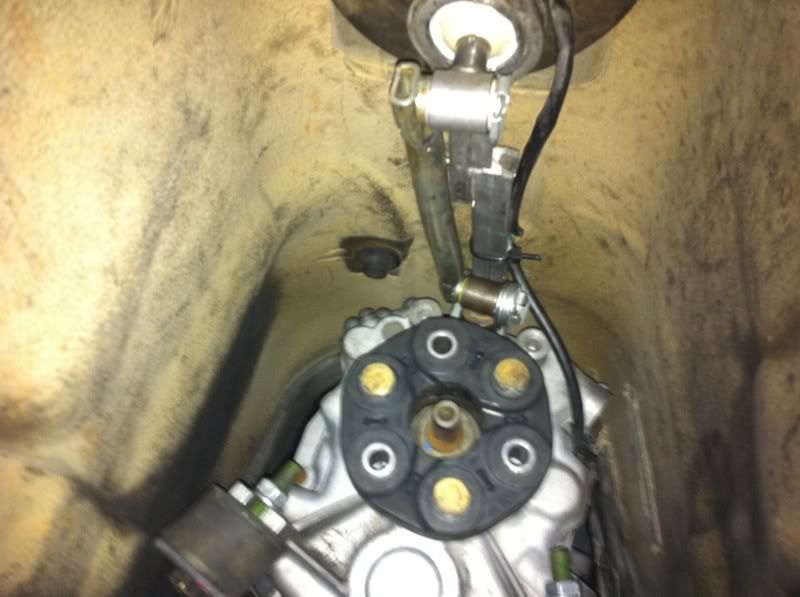
Installed the guibo with new hardware (locking nuts are 1 time use folks)
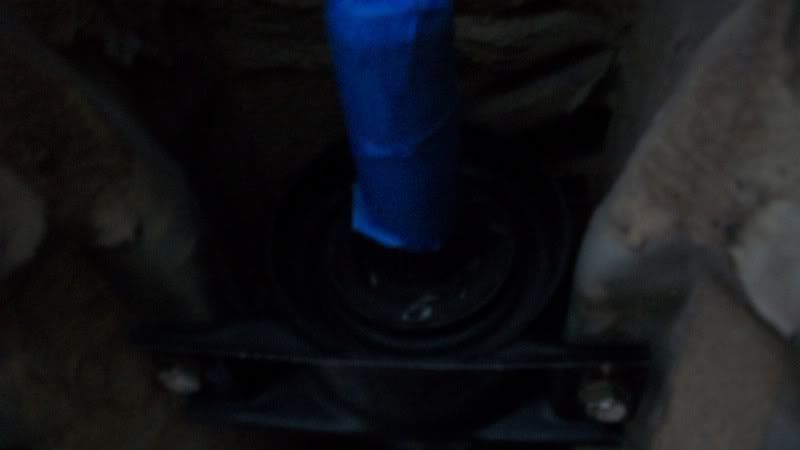
Mounted up the driveshaft and bolted in the new center support bearing. Since I'm lacking the rest of the pics, I can't really explain how to preload the CSB other than you push it forward.
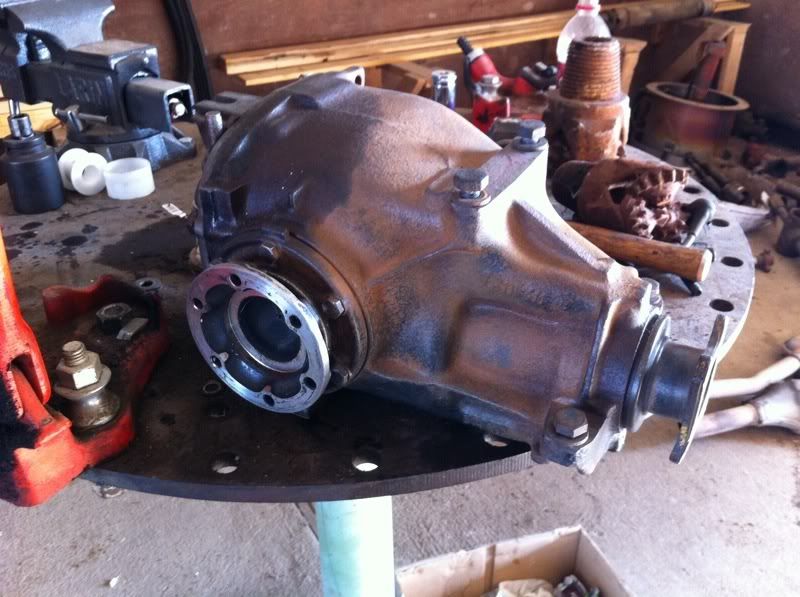
Threw in the diff out of my 318i at the time as I hadn't started on the refresh of its diff.

Gets a bit random from here on out
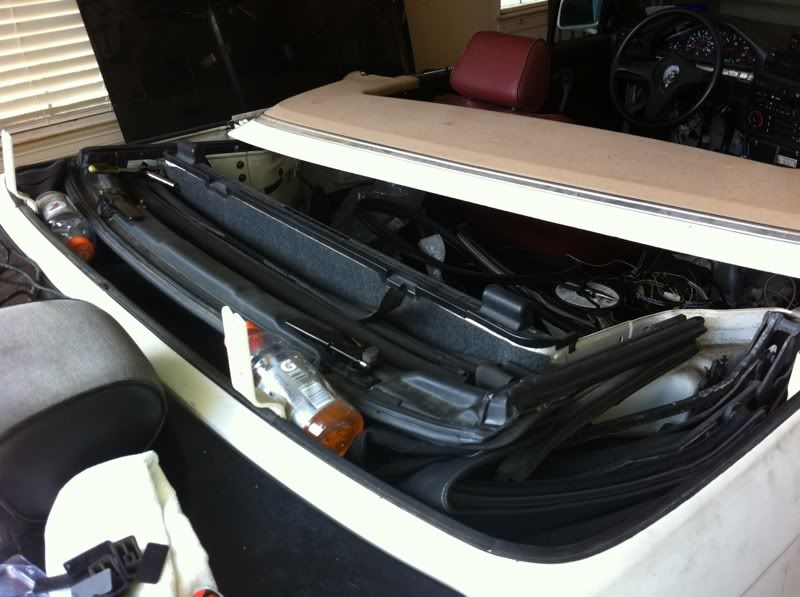
This is the foam gasket for the dash vents, well a 20 year old one.

Used some goobie gone gel and a razor blade
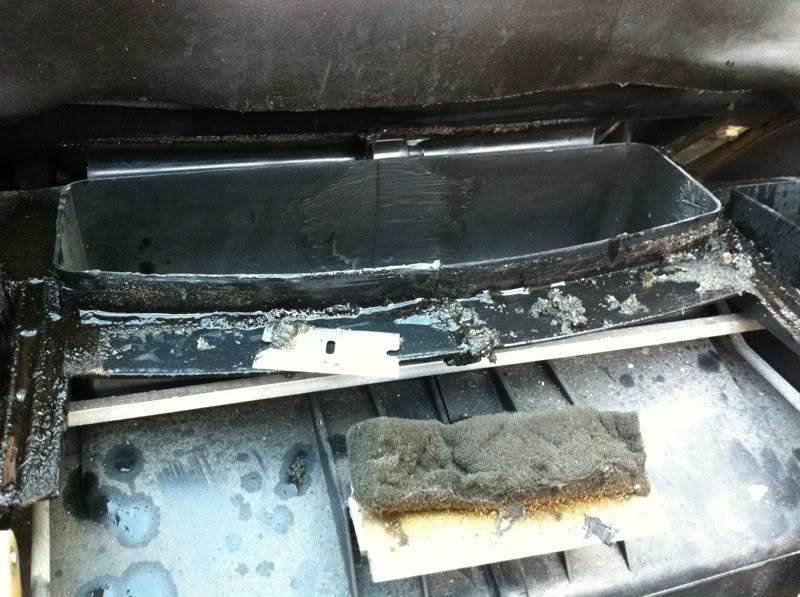
New seal PN

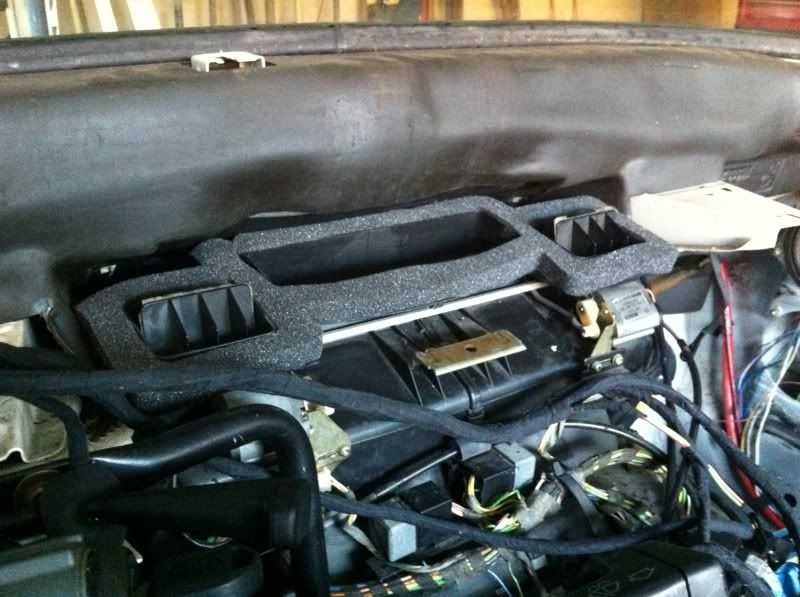
New seal installed. Take your time with this, you can only do it once.
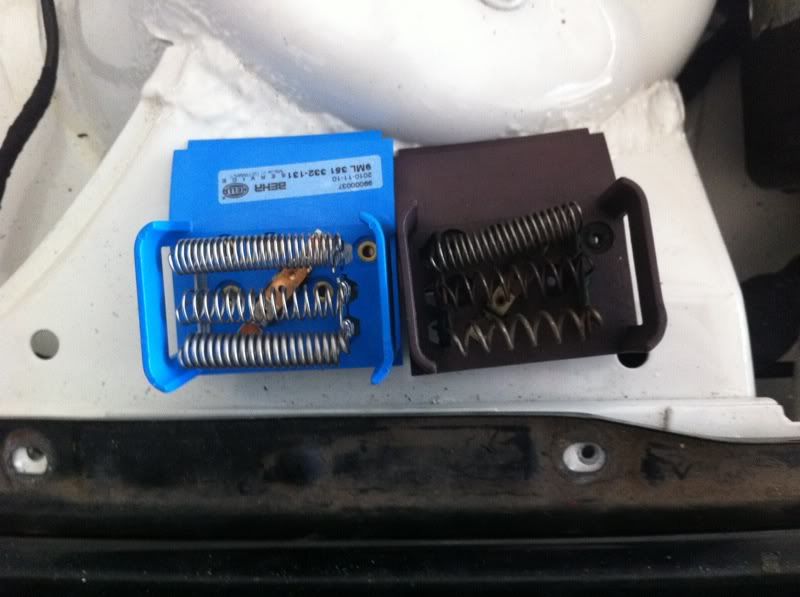
My old ICV was seized in the open position, as a result the S50 had trouble idling smoothly. So I bought a new one as well as a new blower resistor as mine was bad. Intake needed to come off for this. I've unfortunately become a pro at remove it by this point. :/
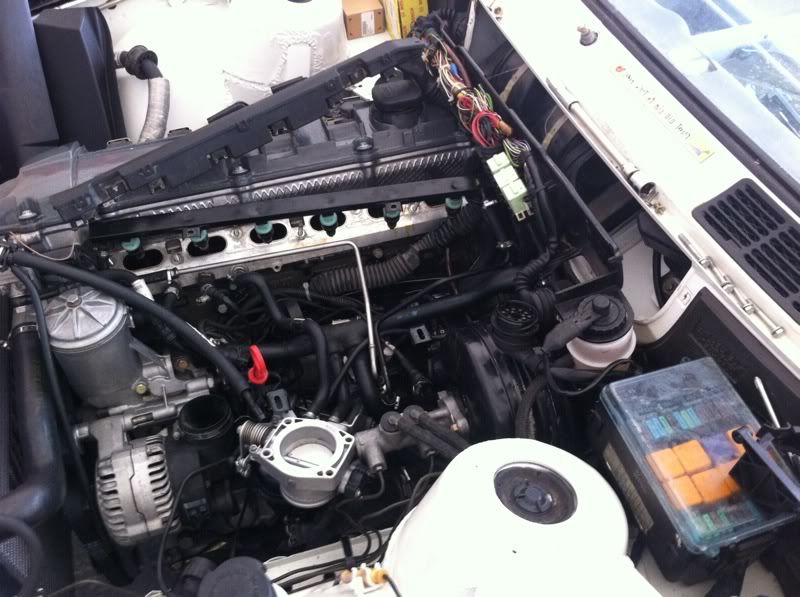
New ICV
New resistor vs. Old
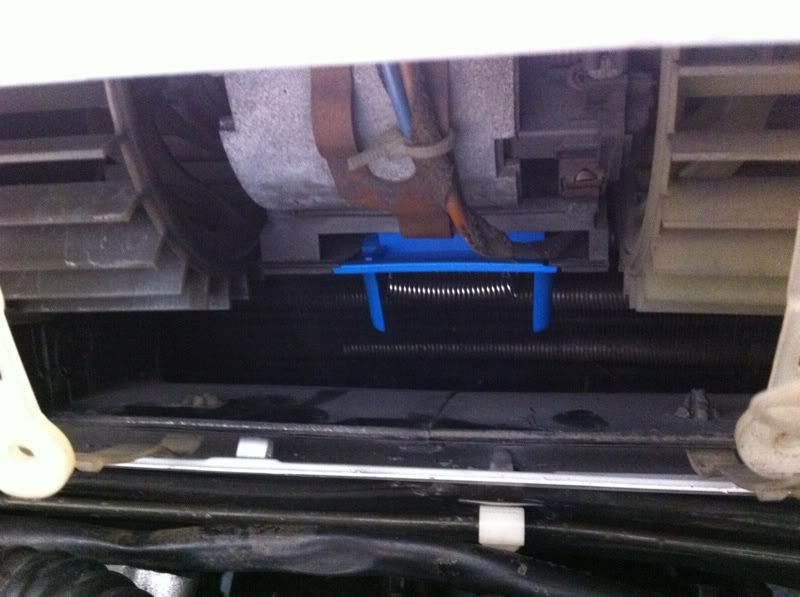
Installed
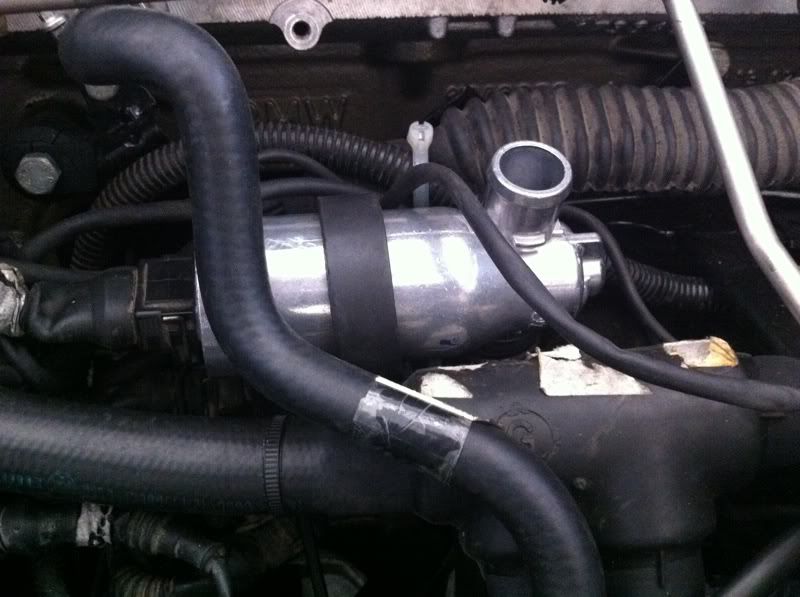
New fuel hardlines as mine were sectioned because of the old OBD2 set up.
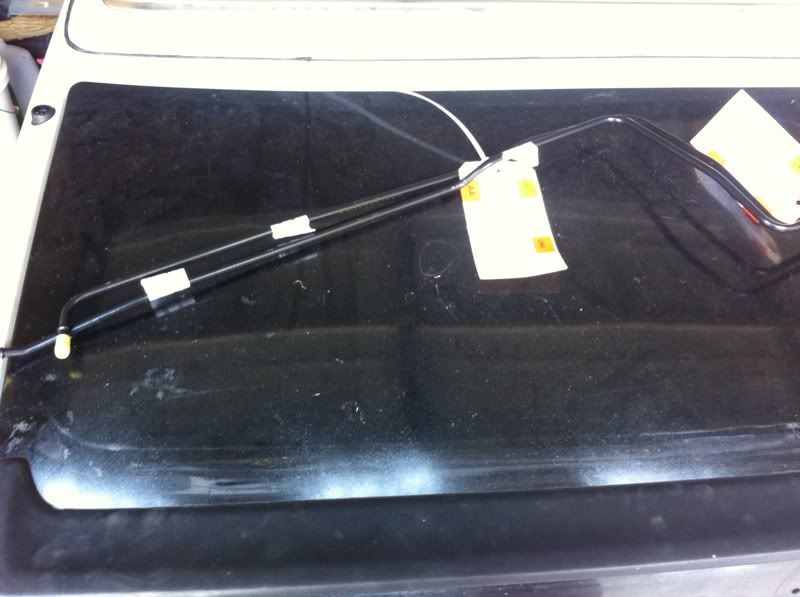
PNs
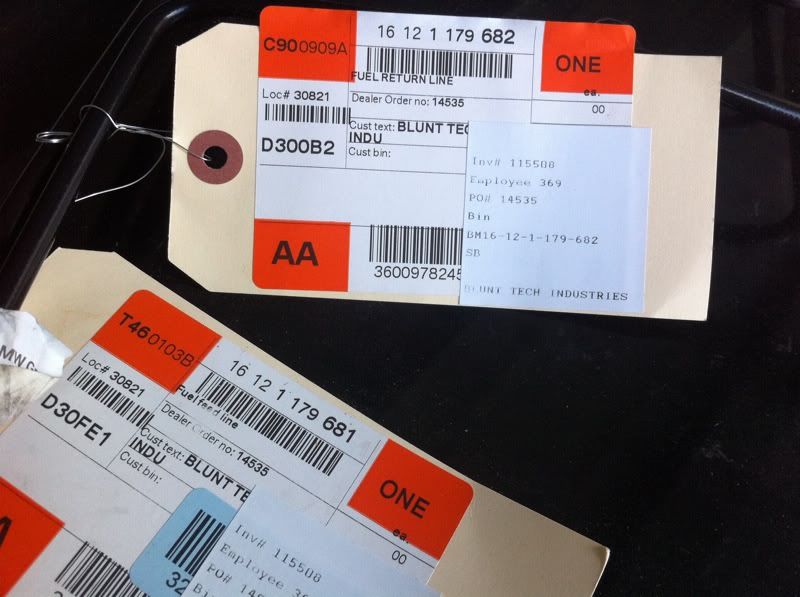
I have no pics of that install because it was an absolute mess to get in there. Apparently my fuel return is in the bottom of the tank unlike my 318i's that's in the top, so basically during the install I had drained almost my whole tank when I went inside to eat lunch with everything disconnected. Lesson learned and Lake Smelly Old Ass Gas was christen in my garage that afternoon.
To top off my mess, I spilled quite a bit of Redline MTL on the floor filling up the tranny.
Hooked up the brake lines to the MC. I bought new ones since I facked up the old ones the first time I attempted this. I followed up with bleeding the system to test my clutch engagement.
My rear door card inserts to match the interior showed up from England.
Unbolted the horseshoe to install my new black vinyl one I snagged from the yard. I would like to point out that it came off of a black cabrio. So installing this had officially made the cabrio's body panels 80% black. The only part that isn't is the driver's door and the unibody.
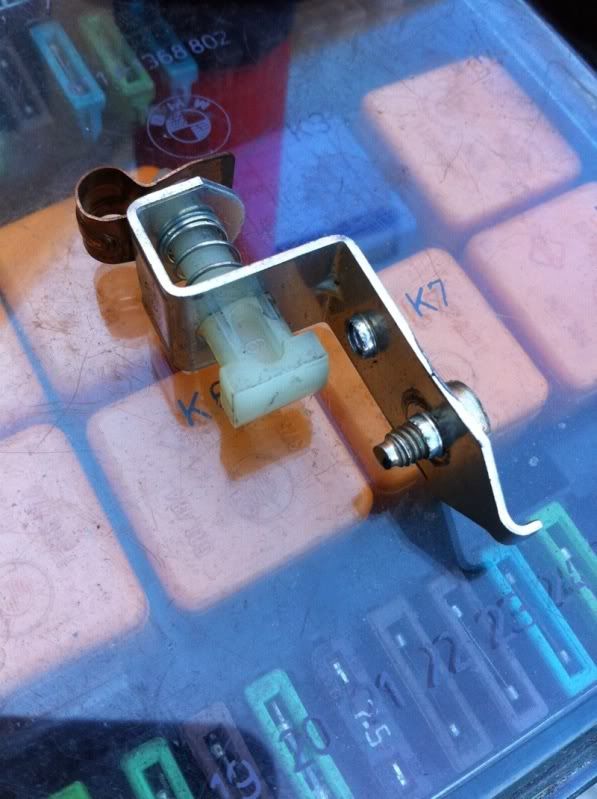
Also installed my now not missing parking brake switch from the yard. When that white piece is in its current position in the pic, the light is on because the wire coming from the cluster is being grounded. When you put down the lever, it has a raised section that pushes that white piece off of the bronze loop to stop the connection.
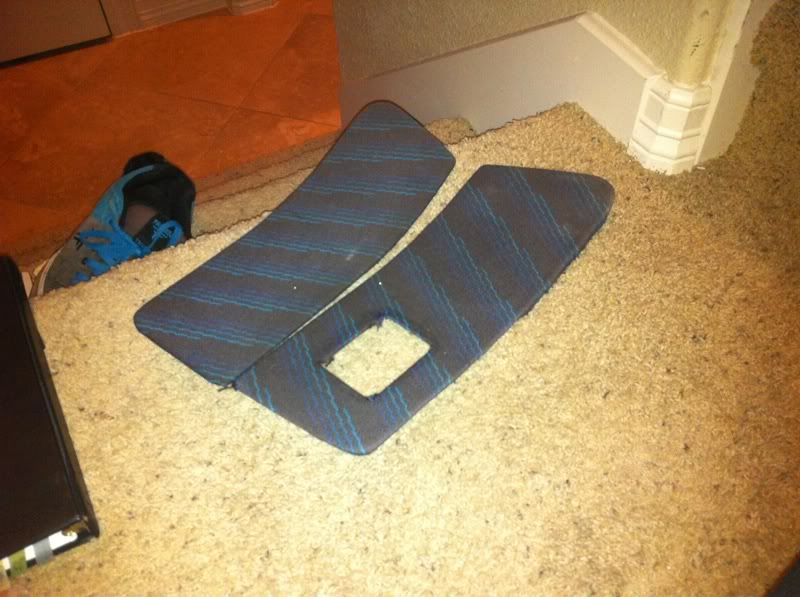
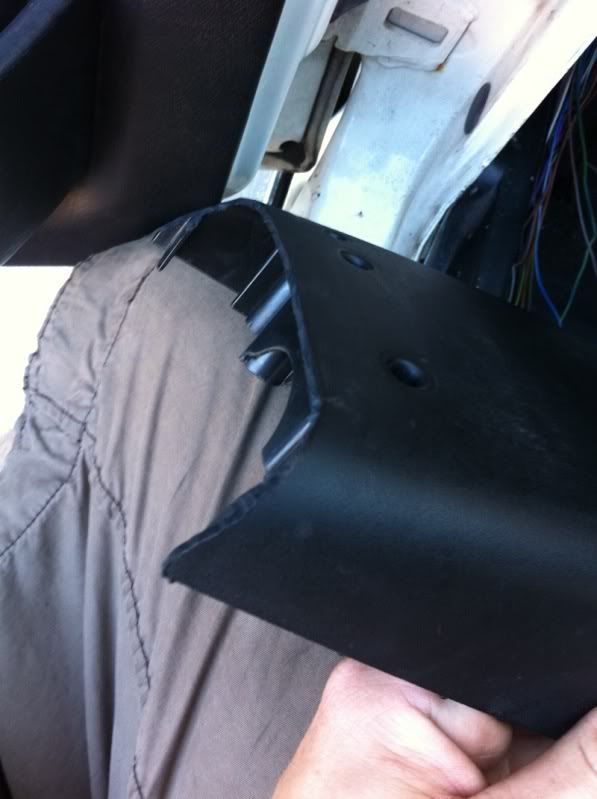
Retrofitted a non airbag column trim. This isn't a plug and play install. I had to trim the top piece like you see here to clear the column support. It started out square on the end.
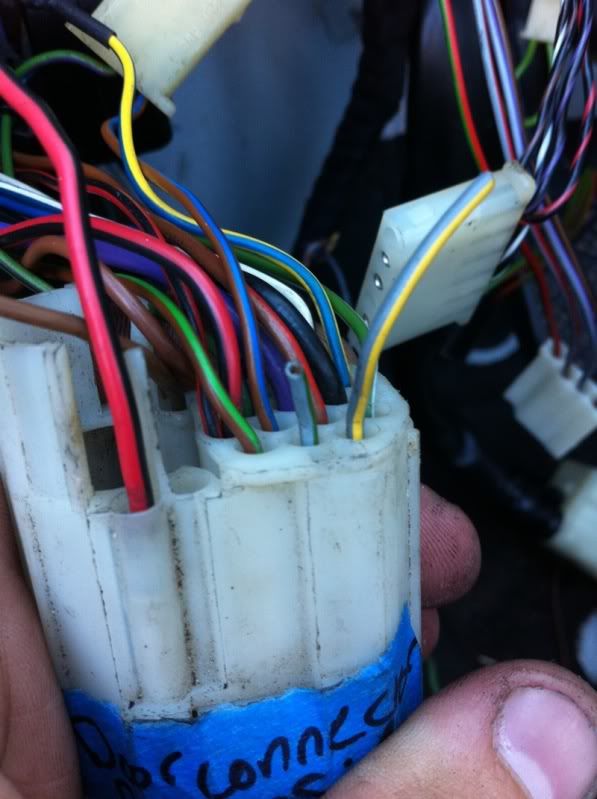
Also stumbled upon this, I thought I checked it after the same story on the passenger side, but apparently not. Fixed it afterwards.
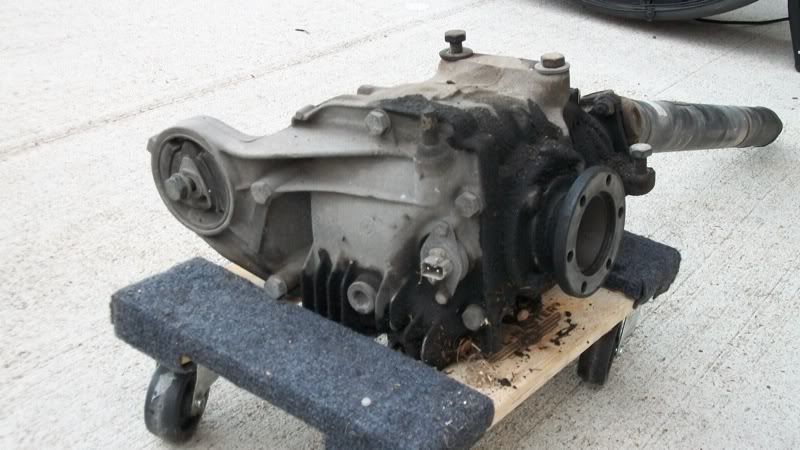
Lastly I found my unicorn I've been after for a long time before settling on the 3.25 LSD, it's a 3.46 LSD! I've refreshed it since taking this pic, but that will come in the next update.
Comment
-
I paid $240? They're made by Carr Industries, but I don't believe they still make them.Originally posted by castros View PostComment
-
And a crappy video. The 335i is apparently louder than a dumping-off-the-header S50. I had to use it to jump start it and it ruined the audio. :/
Comment
-
So I bought a new maf this week for shits and giggles. It came in today and the S50 now runs like it should. GODFUCKINGDAMMITASSwaffleswaffleswaffleswafflesSHITTITS!
I also ordered new Bosch coils and knock sensors. All the other sensors on this engine are new, these might as well be too.
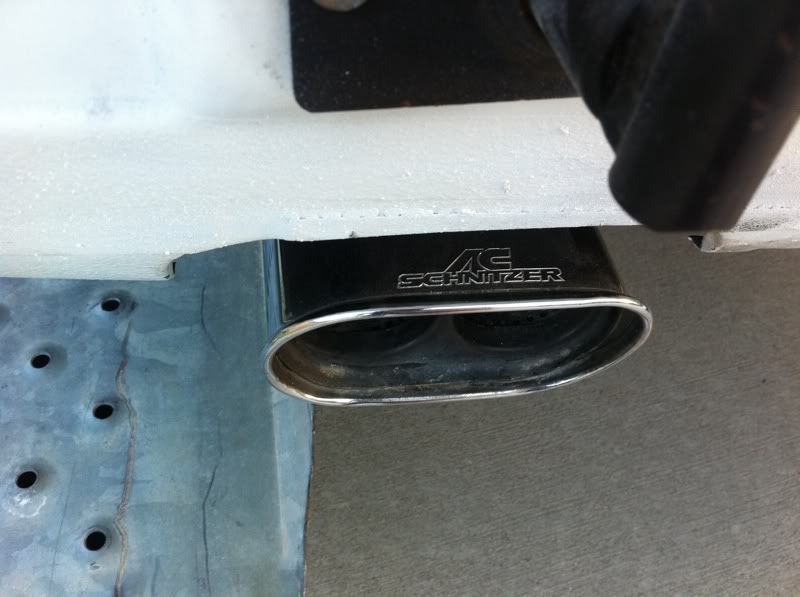
I brought the car to the exhaust shop 2 weeks ago to finally get one put on. I'm running dual 2" off the headers to a dual 2" to single 2.50" Magnaflow (94007) Cat then on to a SLP Resonator and finally to the E39 AC Schnitzer muffler.


The result is a nice growl at idle and through the RPM range that isn't too loud. My only complaint is there's no rasp, which I attribute to the resonator.
As a result, I plan on bringing it back to install a x-pipe, relocate the cat, and remove the resonator. I had dropped off the car and the shop's owner wanted me to leave it for a few days. I told him where I wanted everything, but not exactly. My fault not his. Although for $200 out the door for tubing and labor I can't exactly complain. He had a lot of fun clearing the subframe coming off of the shorty headers. ;)
Pics:
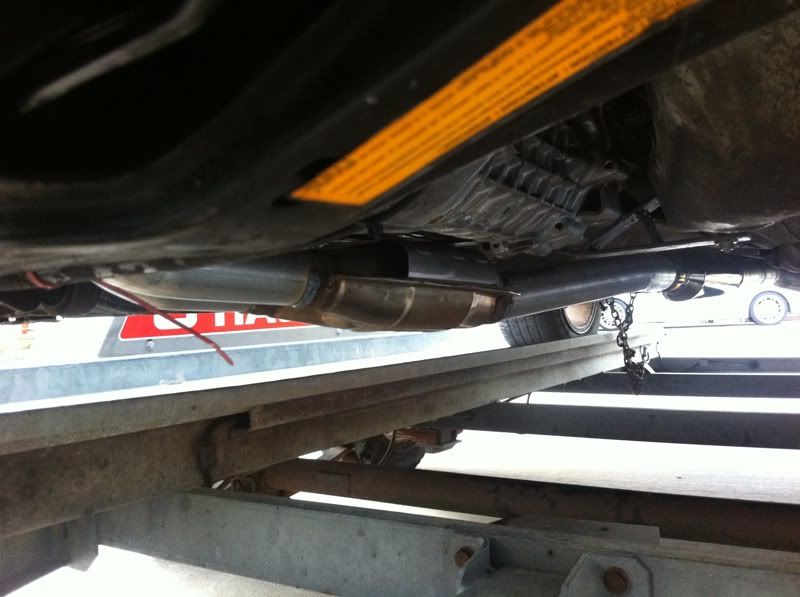
Back from the Shop

I like it sort of flush
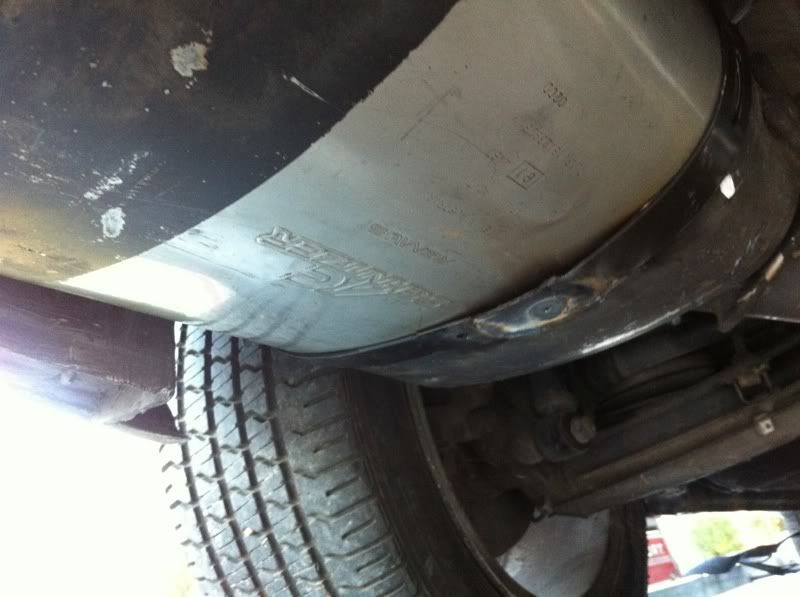
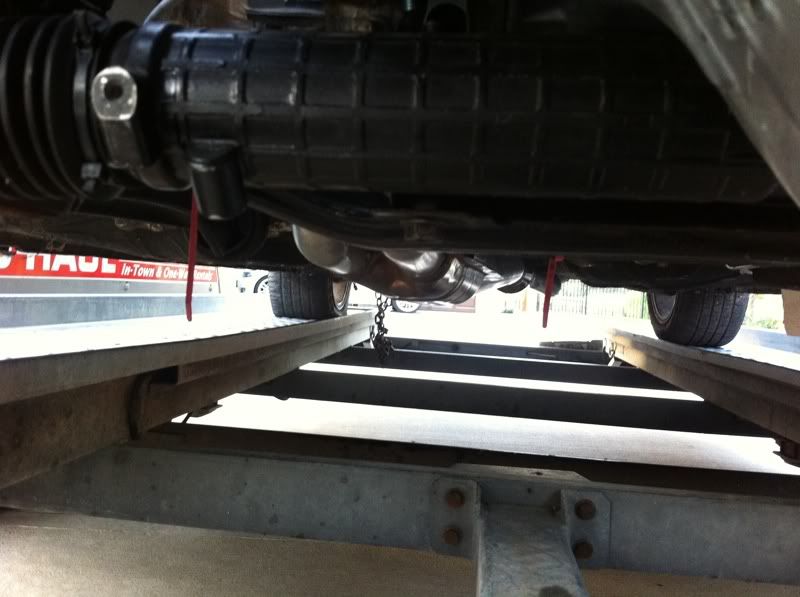
We used new factory hangers that were cut in half and rewelded to accommodate the larger width of the muffler.
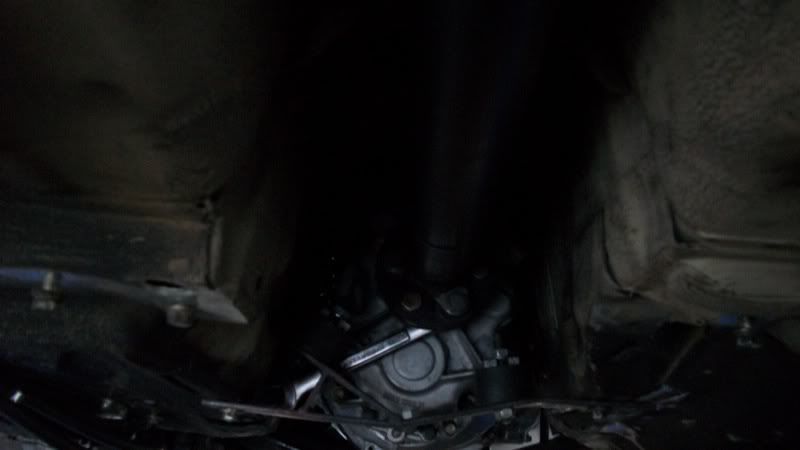
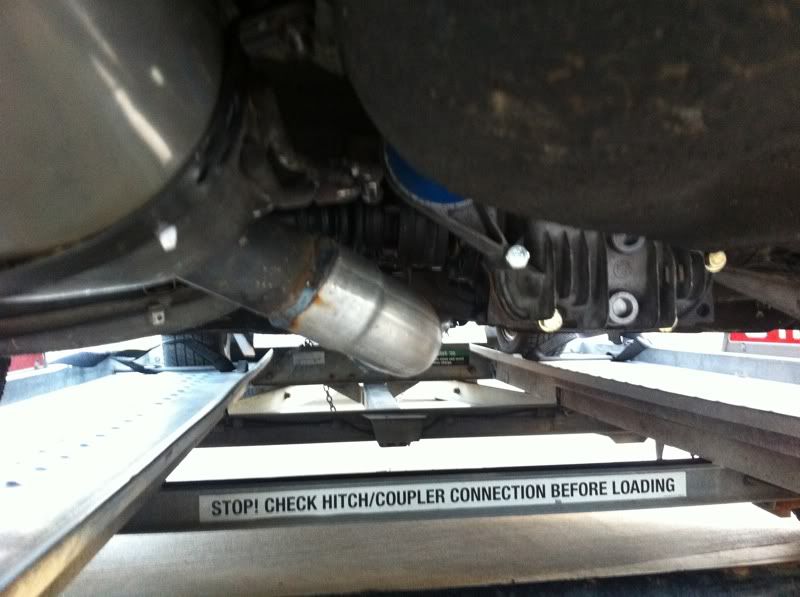
The exhaust guy (Frank) cut off all the pipeing and welded his own on to clear the diff.
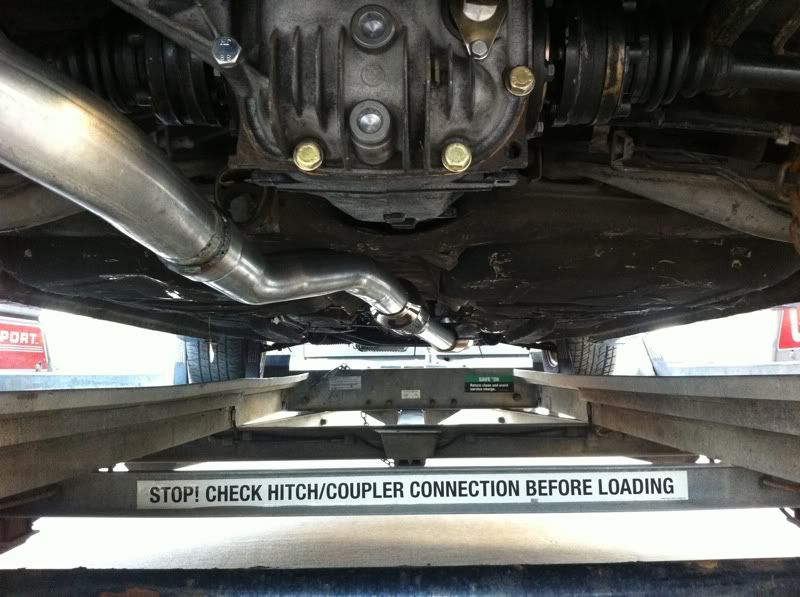
In addition to being in the "not so ideal" location it's going to scrape EVERYWHERE
The paint shop where I got the bay done (for free) can't return phone calls, so I'm looking else where to get the paint done.
The interior is being dropped off at the upholsterer Tuesday. He said we should have it back by the end of the week. So a win there!Comment
-
Excellent work so far. Enjoyed looking through the last few pages. :D
Ohioriders.com
OhioBimmers.comComment
-
-
keep the updates coming :)Comment
-
I replaced that seal on the HVAC unit too, only I didn't buy a new one from BMW. I knew it'd only take a few years until it crumbles into dust again. I used some thin dense foamy tape and cut it into sections.
Comment
-
holy shit..
just found this thread..
Wow. Mad props on all the work. Sooo close now..
Love the cleanliness..Comment
-
-
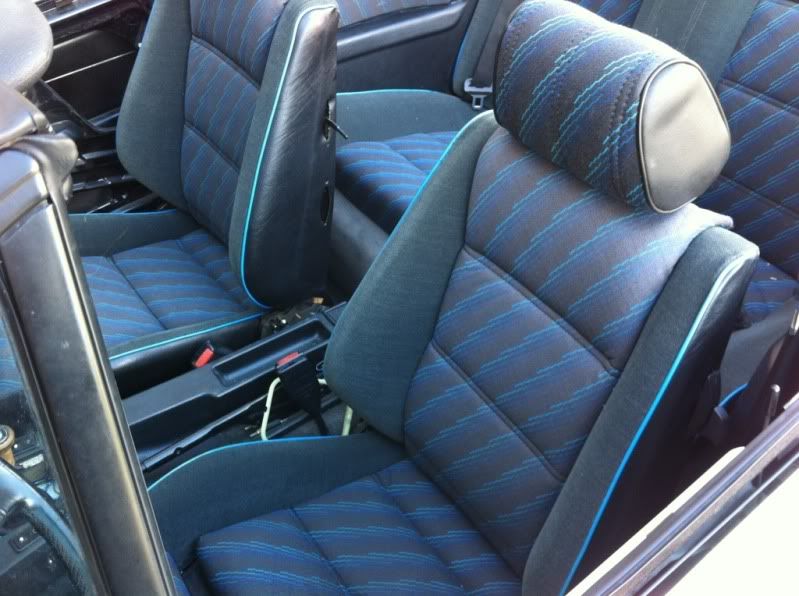
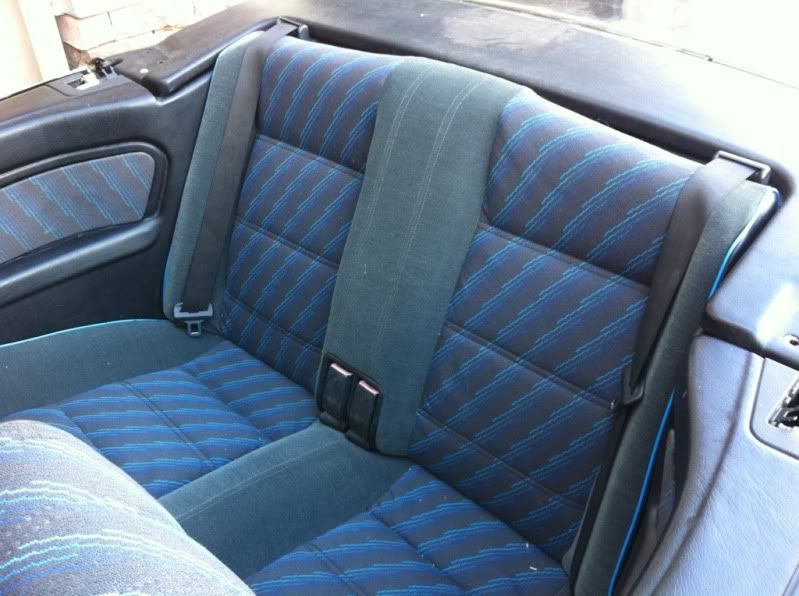
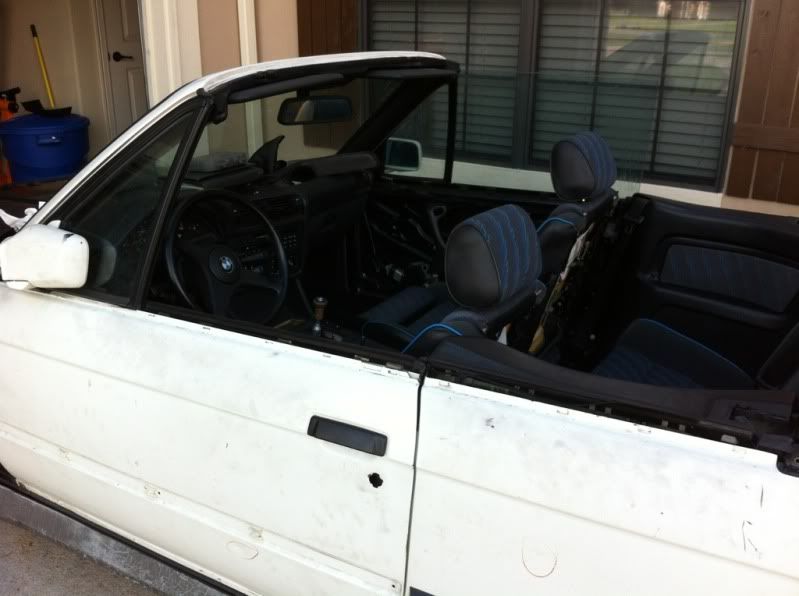
Since I'm sick and a wimp, I came home from Austin to get better. While here I finally got to see the new interior. The front seats still need the new shocks installed so the backs are off and the rear headrest still need to be installed, but something is better than nothing! :)
I'm not so sure about the M-tec cloth on the headrest, but we shall see. My upholster was able to track down factory Anthracite cloth that's NLA so that's on the bolsters. Cloth sport seats are freaking comfy as hell BTW.
Also been slowly acquiring 5 lug stuff.
That's it for now.Comment
-
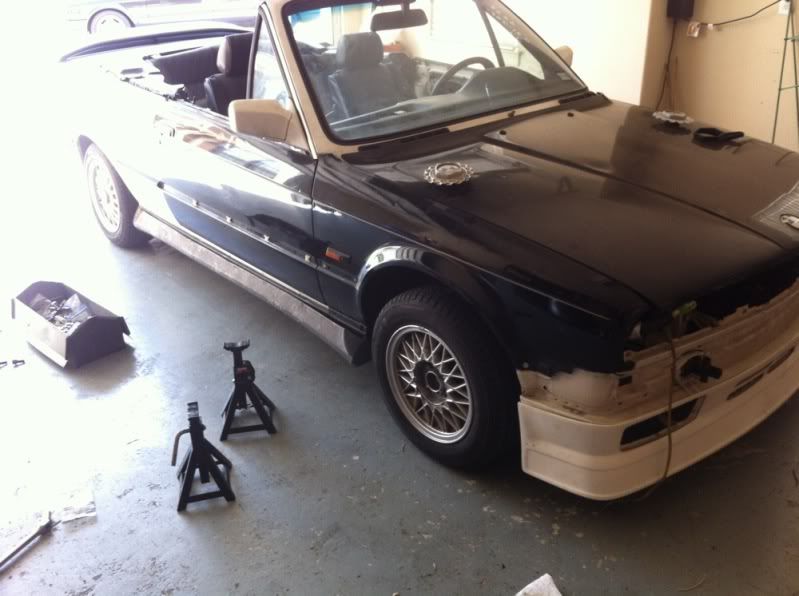
So I went to Houston to do my front wheel bearings and stoptec pads on my new 4 door. I spent the rest of the weekend doing the front 5 lug swap.
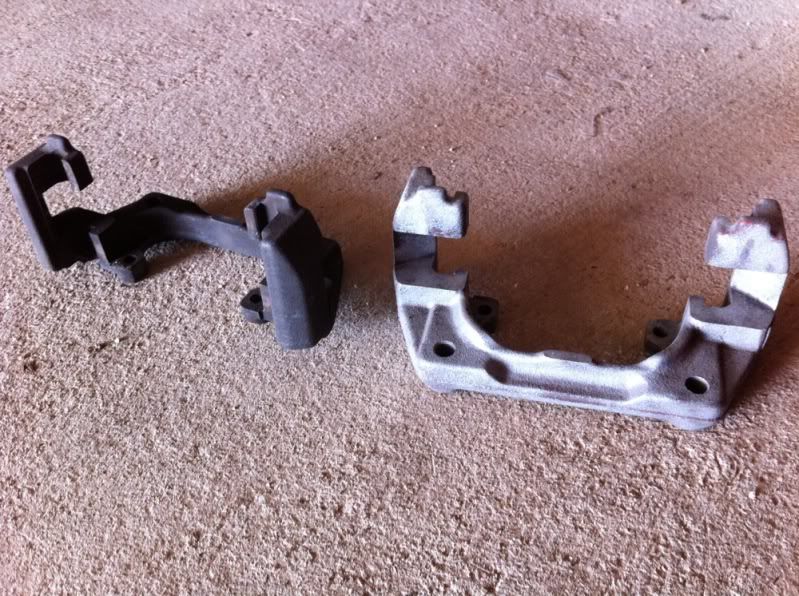
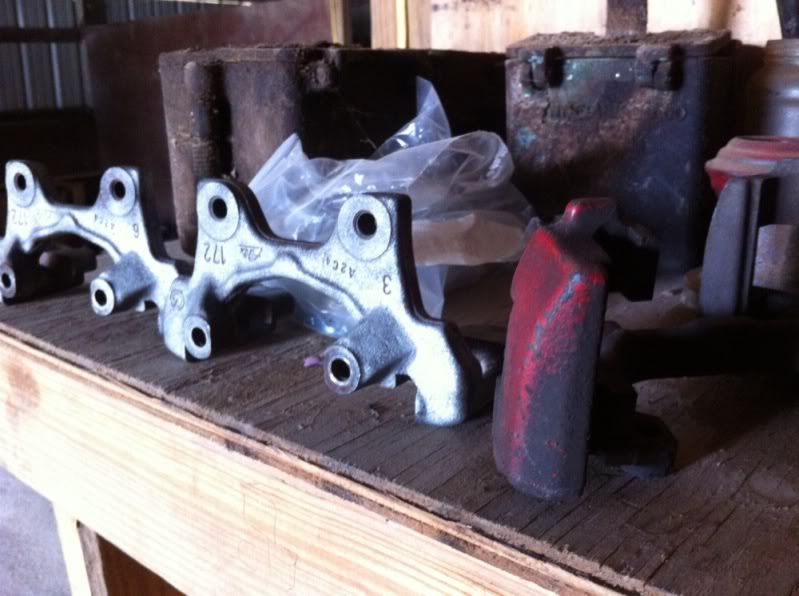
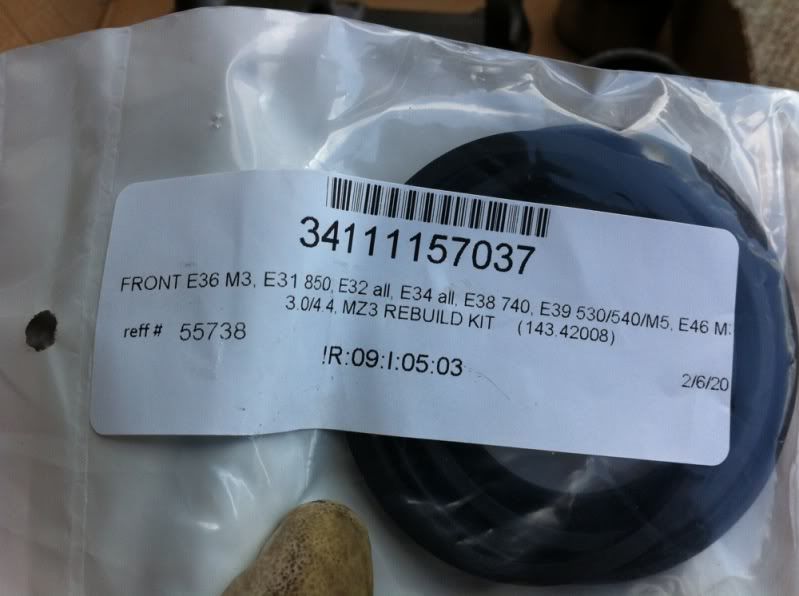
Did a quick caliper rebuild. I chose used calipers instead of new ones for the sake of cost. The calipers themselves weren't that expensive, the brackets that hold them on are. The rears cost more then the fronts!
Anyway before and after sand blasting
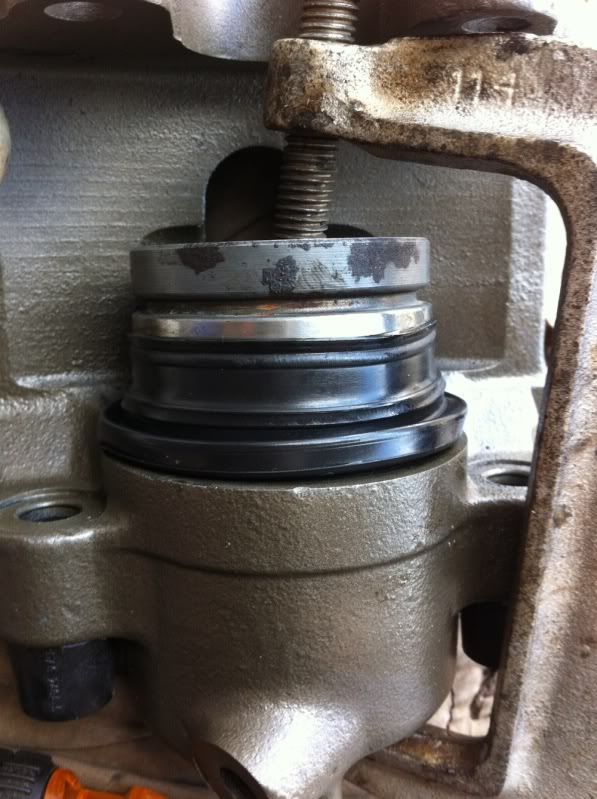
Popped out the piston with some compressed air
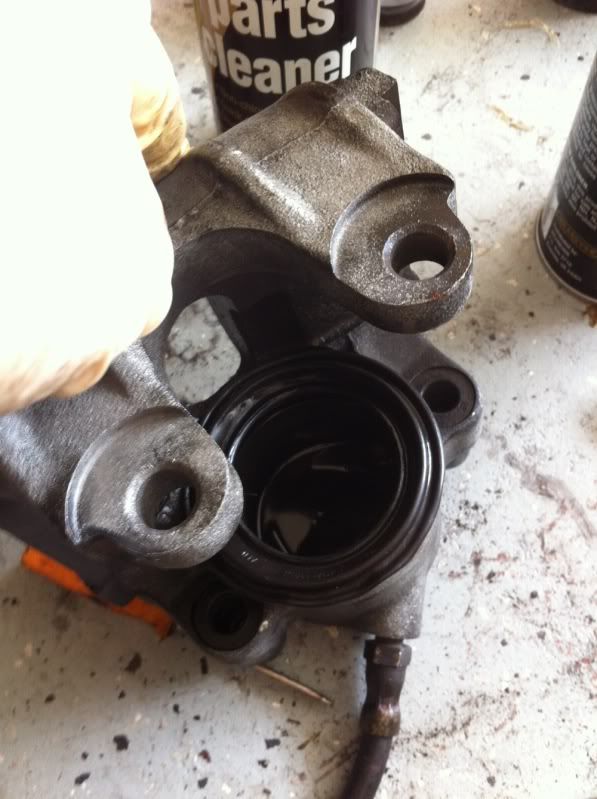
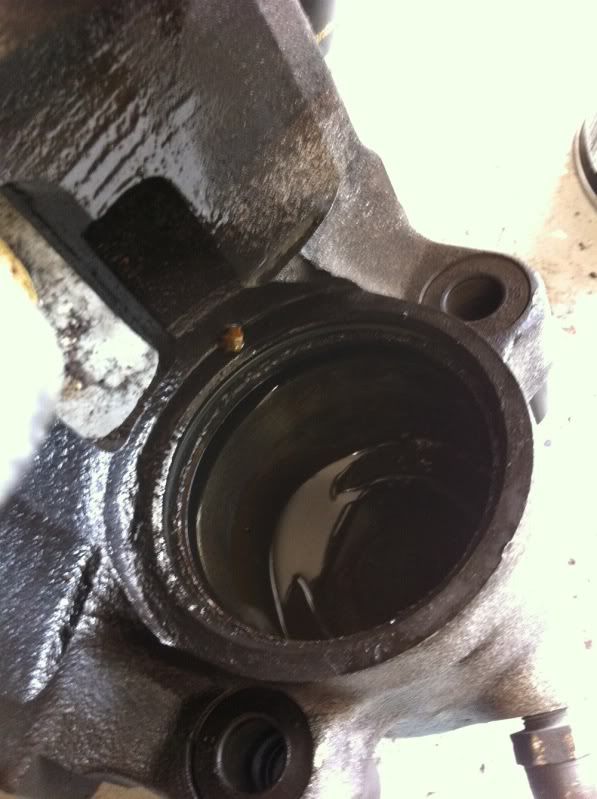
You can see the old seal in there, pulls straight out.
Rebuild "kit" Note the different models with this same size pistion
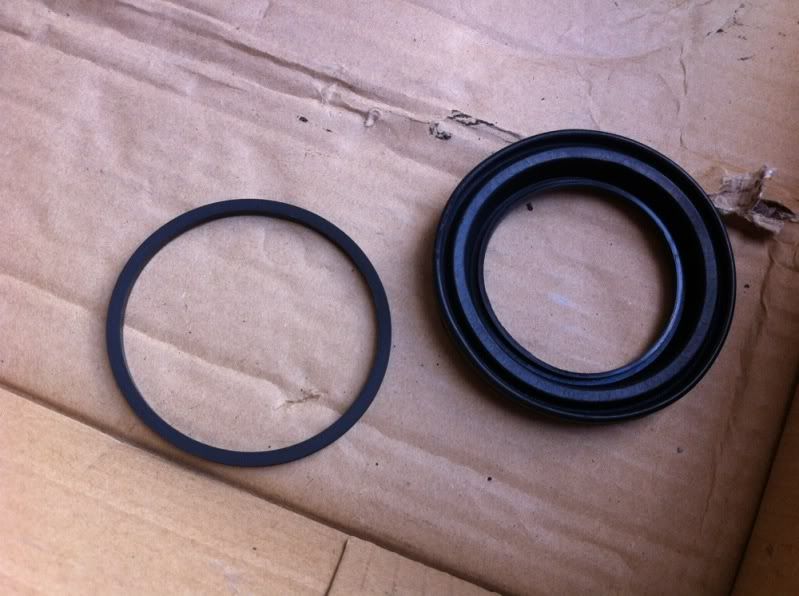
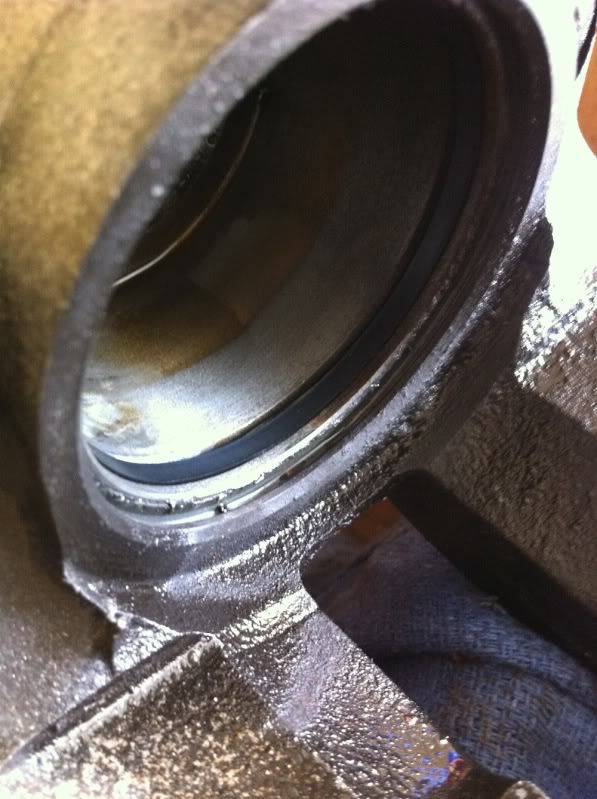
New seal installed with a little brake fluid after a good spray of brake cleaner on the inside

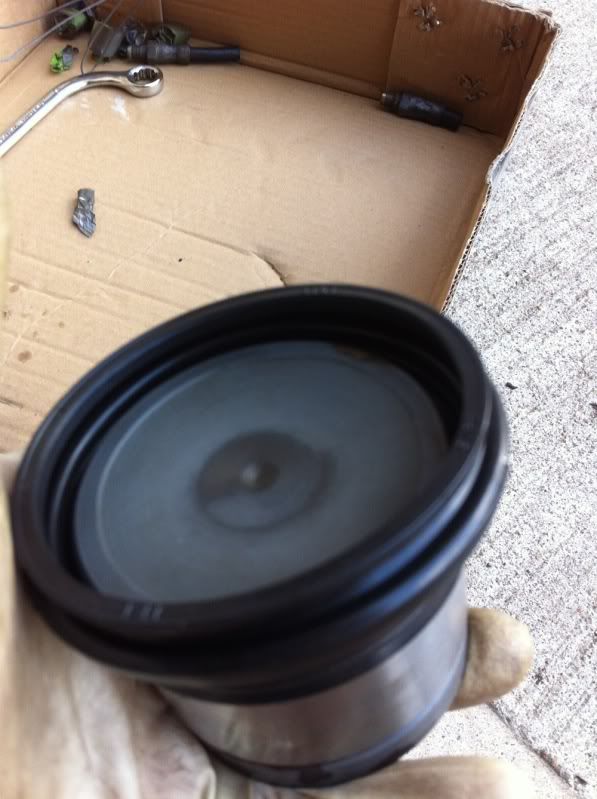
I installed the dust boot before I compressed the piston all the way in
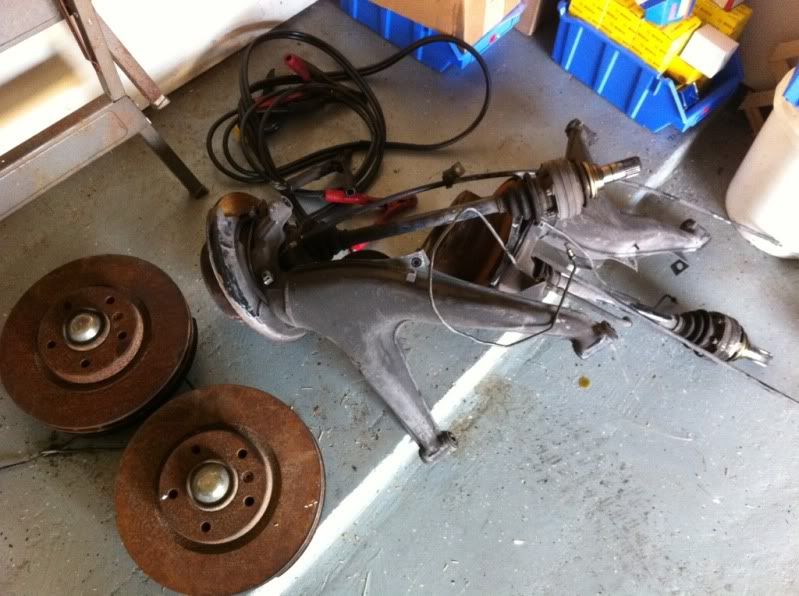
Started like this:
Popped off the tierod, control arm ball joint, and brake line.
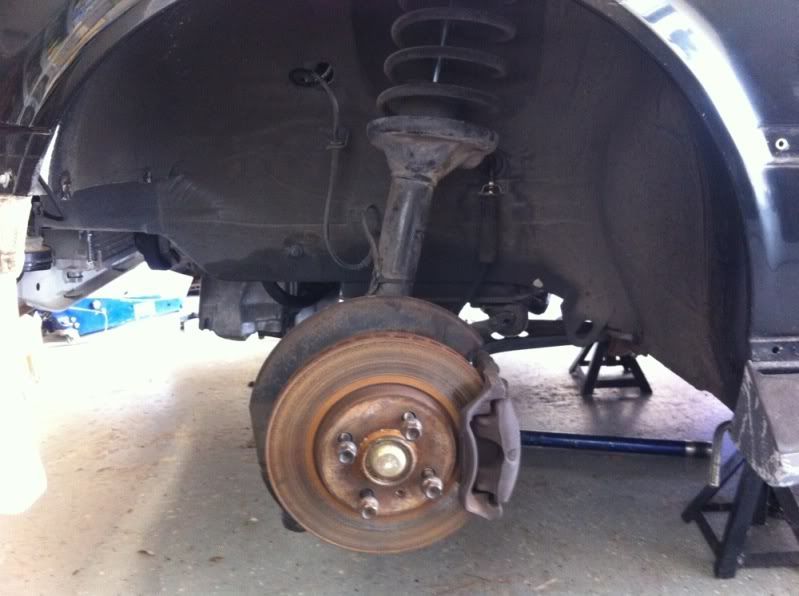


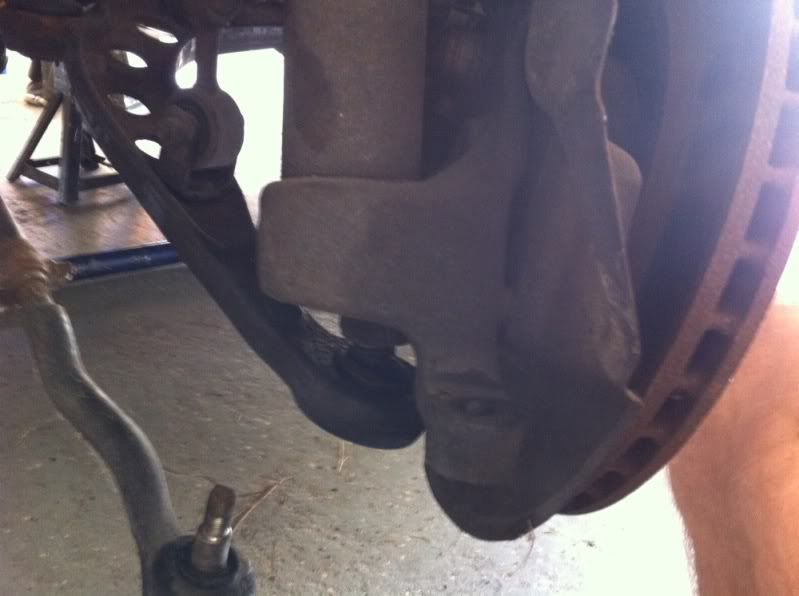
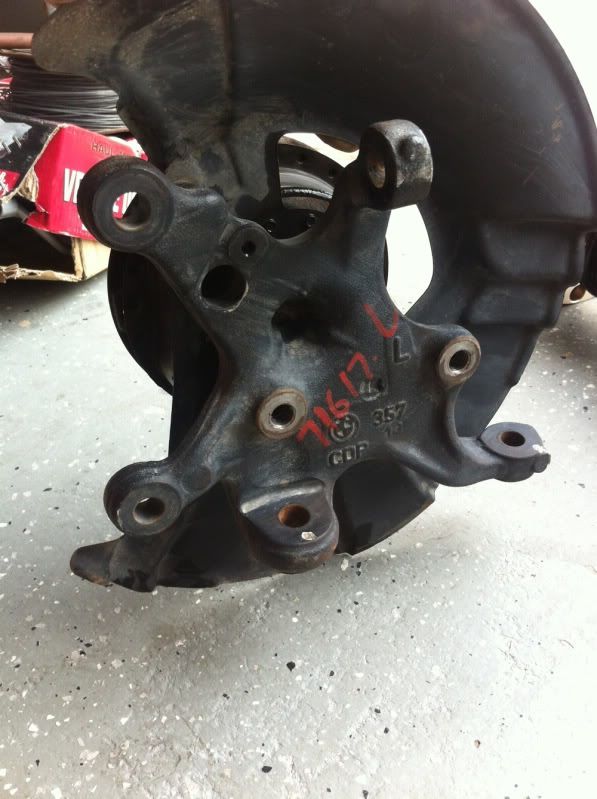
Removed the spindle. Note the control arm still there....

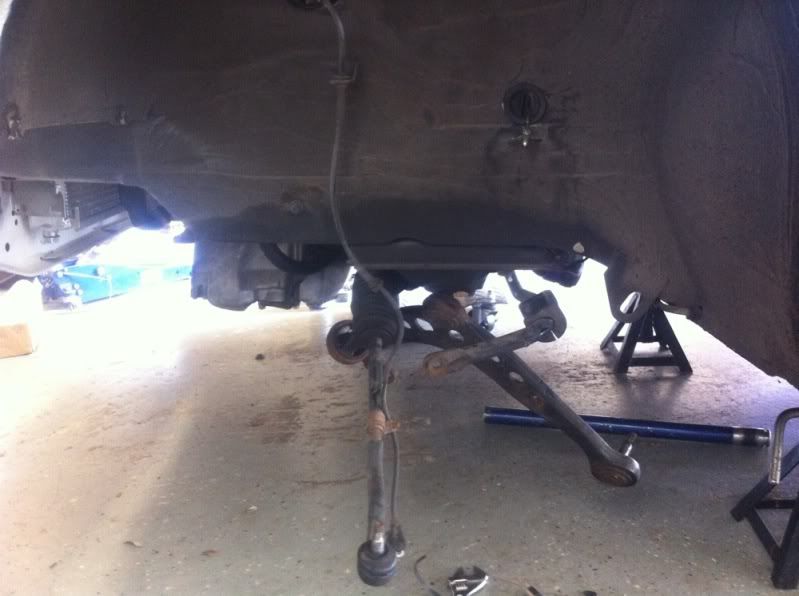
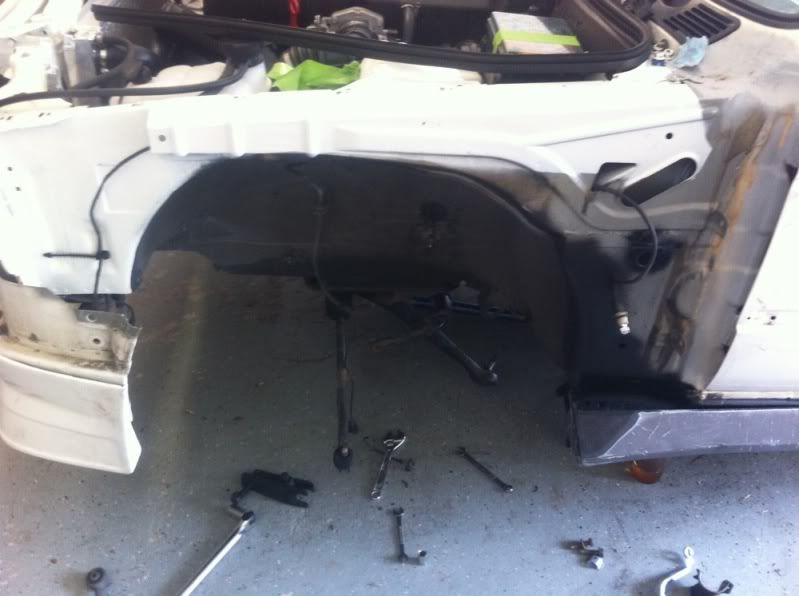
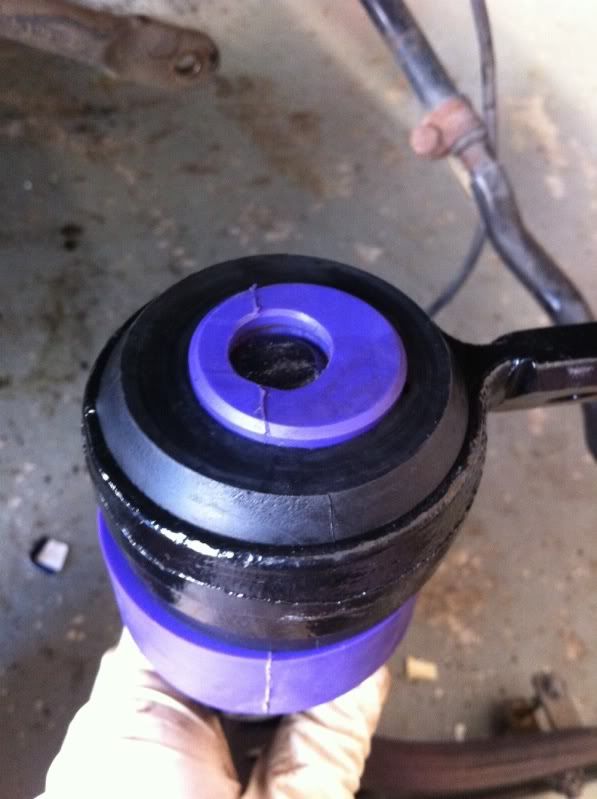
The reason the control arm is there is because these Powerflex bushings I ordered. For the 3rd time in a row they do not fit. Mind you I'm trying to put them on a new factory BMW control arm that it's listed for. It needs to slide on an additional 1/4" or so. This is why the factory control arm is still on, I needed to be able to move the car around. The fenders were also removed for the time being. OEM M3 bushings have been ordered to replace the powerflexes.
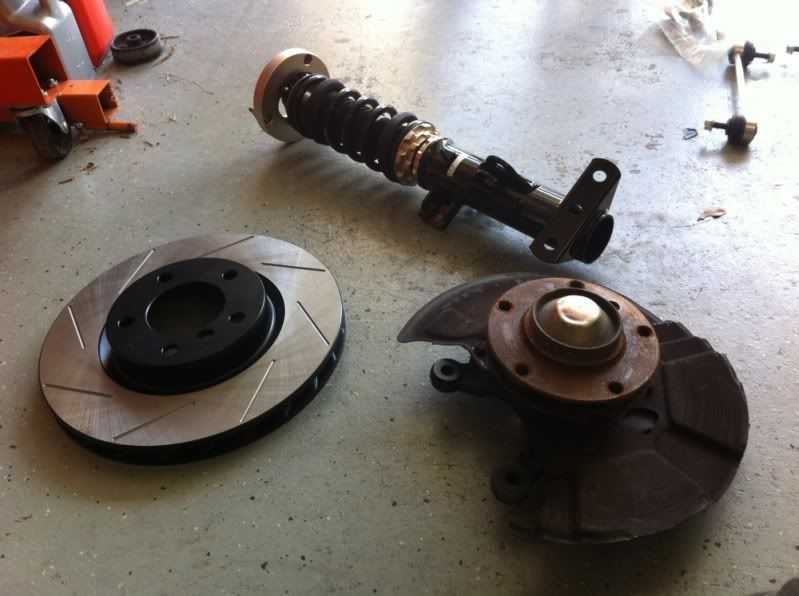
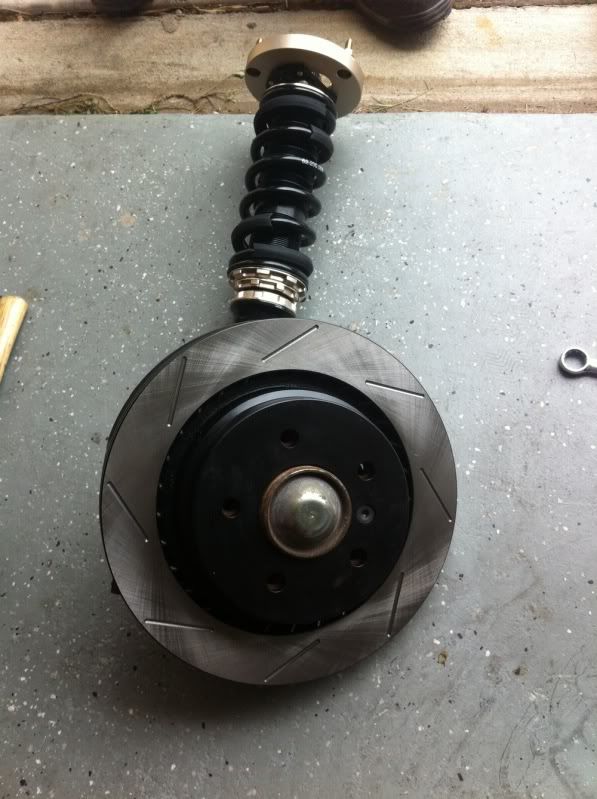
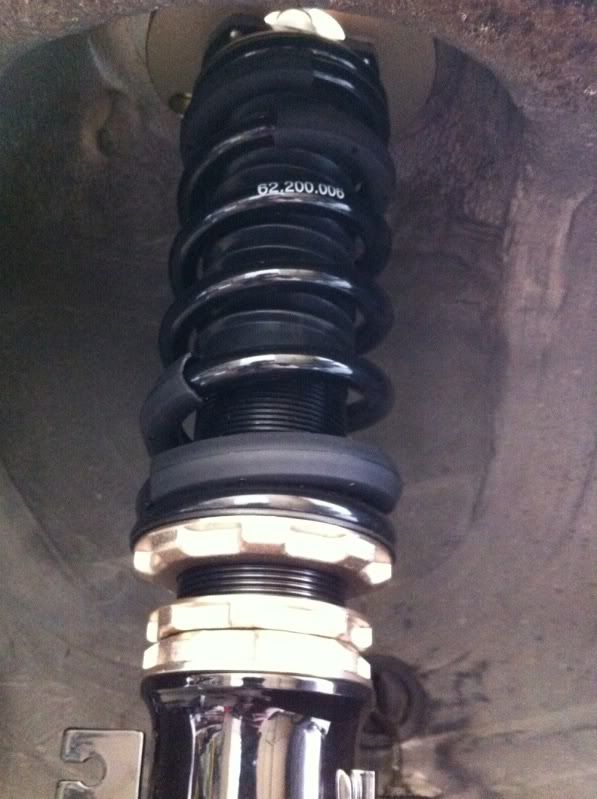
Anyway, I went with BC Racing coilovers. They bolt onto the spindle through the holes with the machined surface.

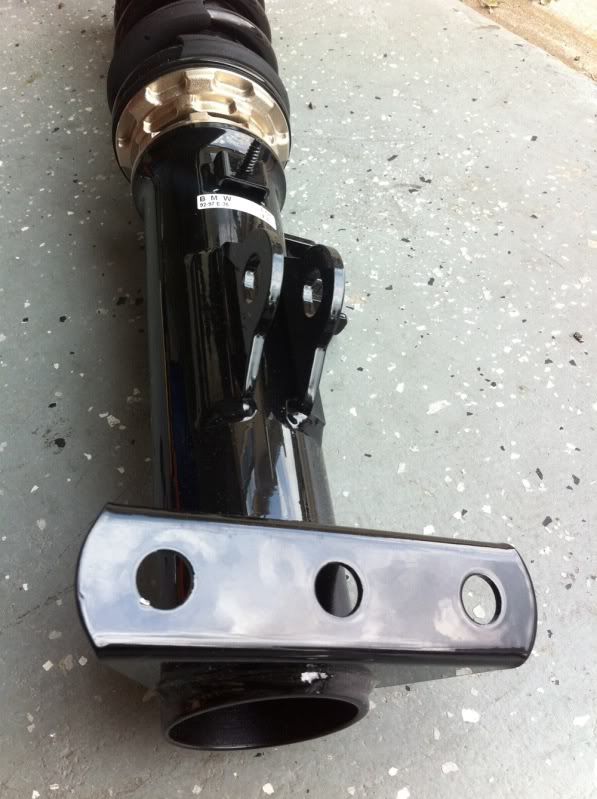
Mounted the strut assembly in the car. I had to lower it quite a bit. I didn't want the car to drag bottom.
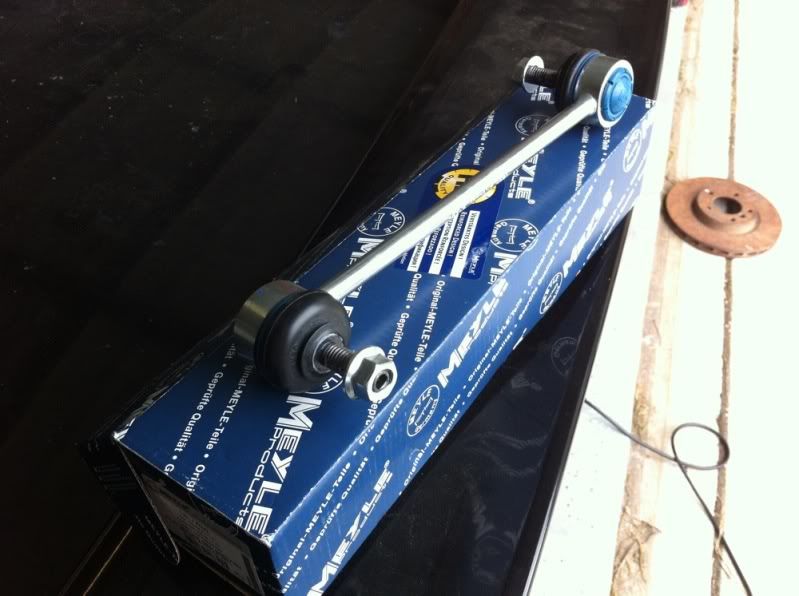
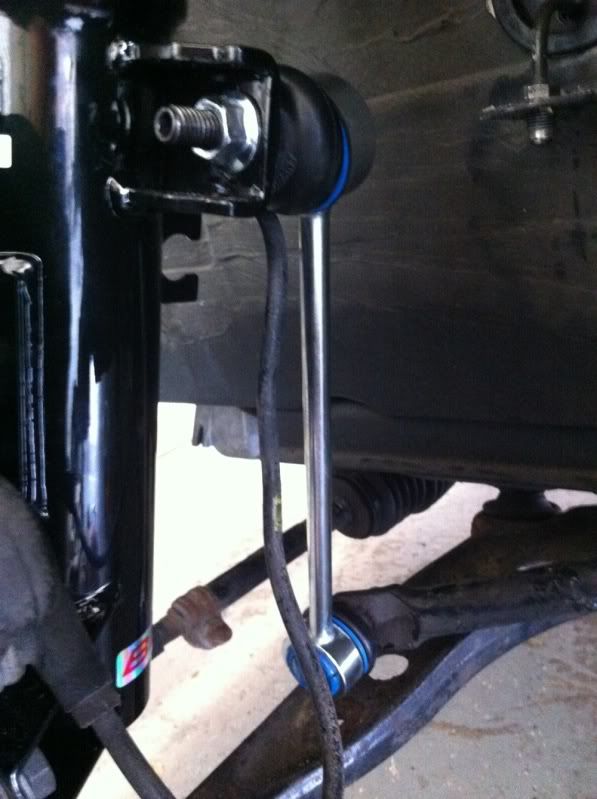
Meyle HD sway bar links
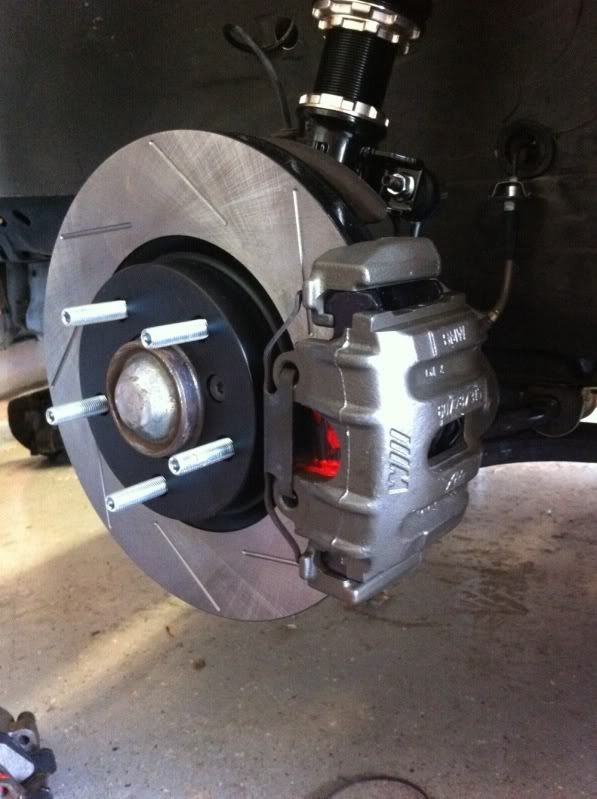
Installed the 57mm studs from Kaliboy

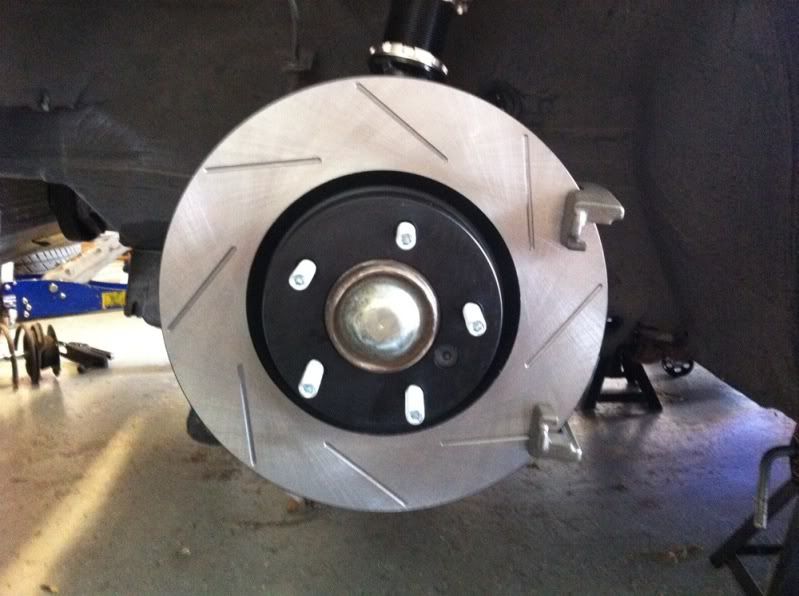
Rotor and caliper bracket installed from Anthony @Bimmerbrakes
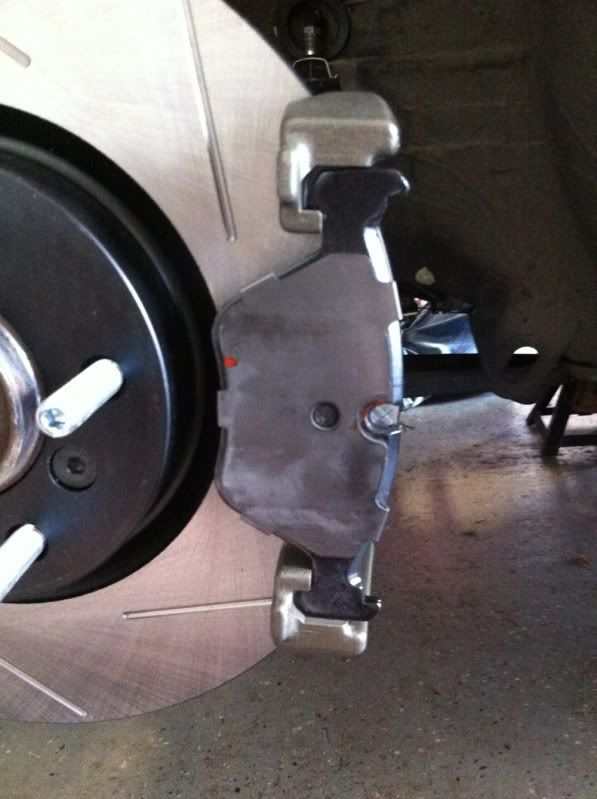
Stoptec pads from Bimmerbrakes as well
Caliper installed, ain't it sexy. ;)
SS Brakelines from Turner
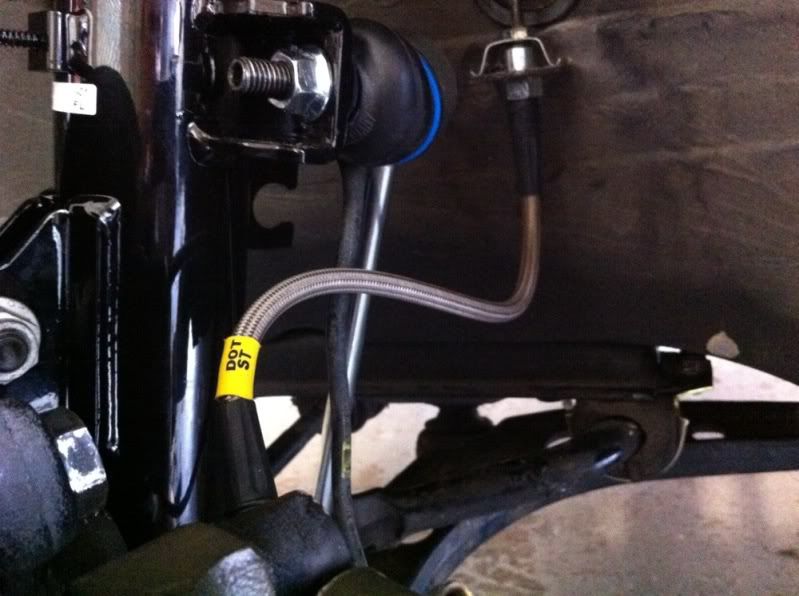
Result, the CAB wasn't attached for this pic

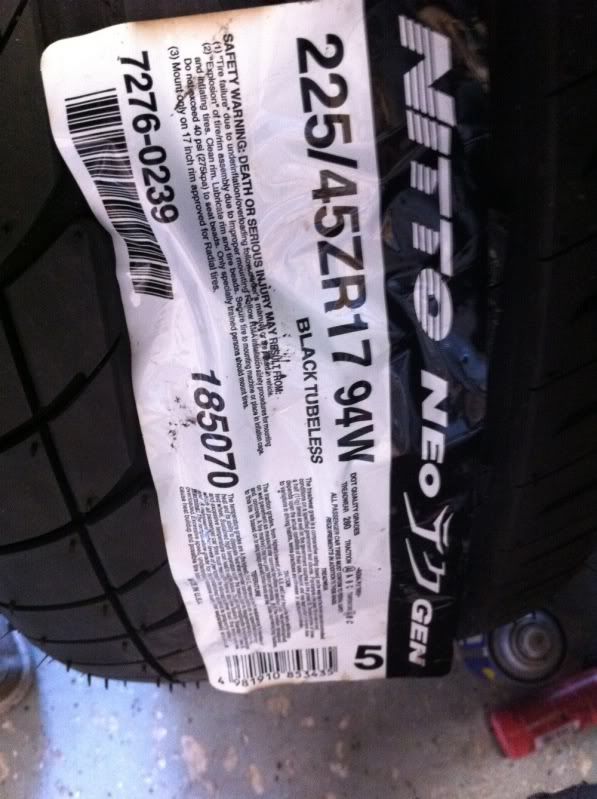
Tires are this:
Favorite pic from this weekend:

More to come in three weeks when I go back to do the rear!Comment
-


Comment