
That's good to know now just a matter of getting in there, it rained today so I could not go out to work on it, will try later in the week.
-
sigpic
WTB-Strut Bar -
convertible top handle install..
old thread new again..Going to do this right now....so do those black caps just pop off or do i unscrew them.....
Shouldn't be that hard right........sigpicComment
-
the black caps pop off, they don't unscrew. Try to catch them so they don't fall down into the car. Taking off the side panel the handle is mounted in may help.
It's not hard, but it is cramped and you have to work with the handle to get the wires back into their slots and then the handle mounted up. It takes maybe a half hour in all.

it's a Kenny Powers quote on wheelsComment
-
Well I manage to get ur done .It was a tight squeeze thank god i have small hand..
All i did was latch on to the bottom cable installed black caps then pulled it out and installed the top one plastic cap..all screwed in
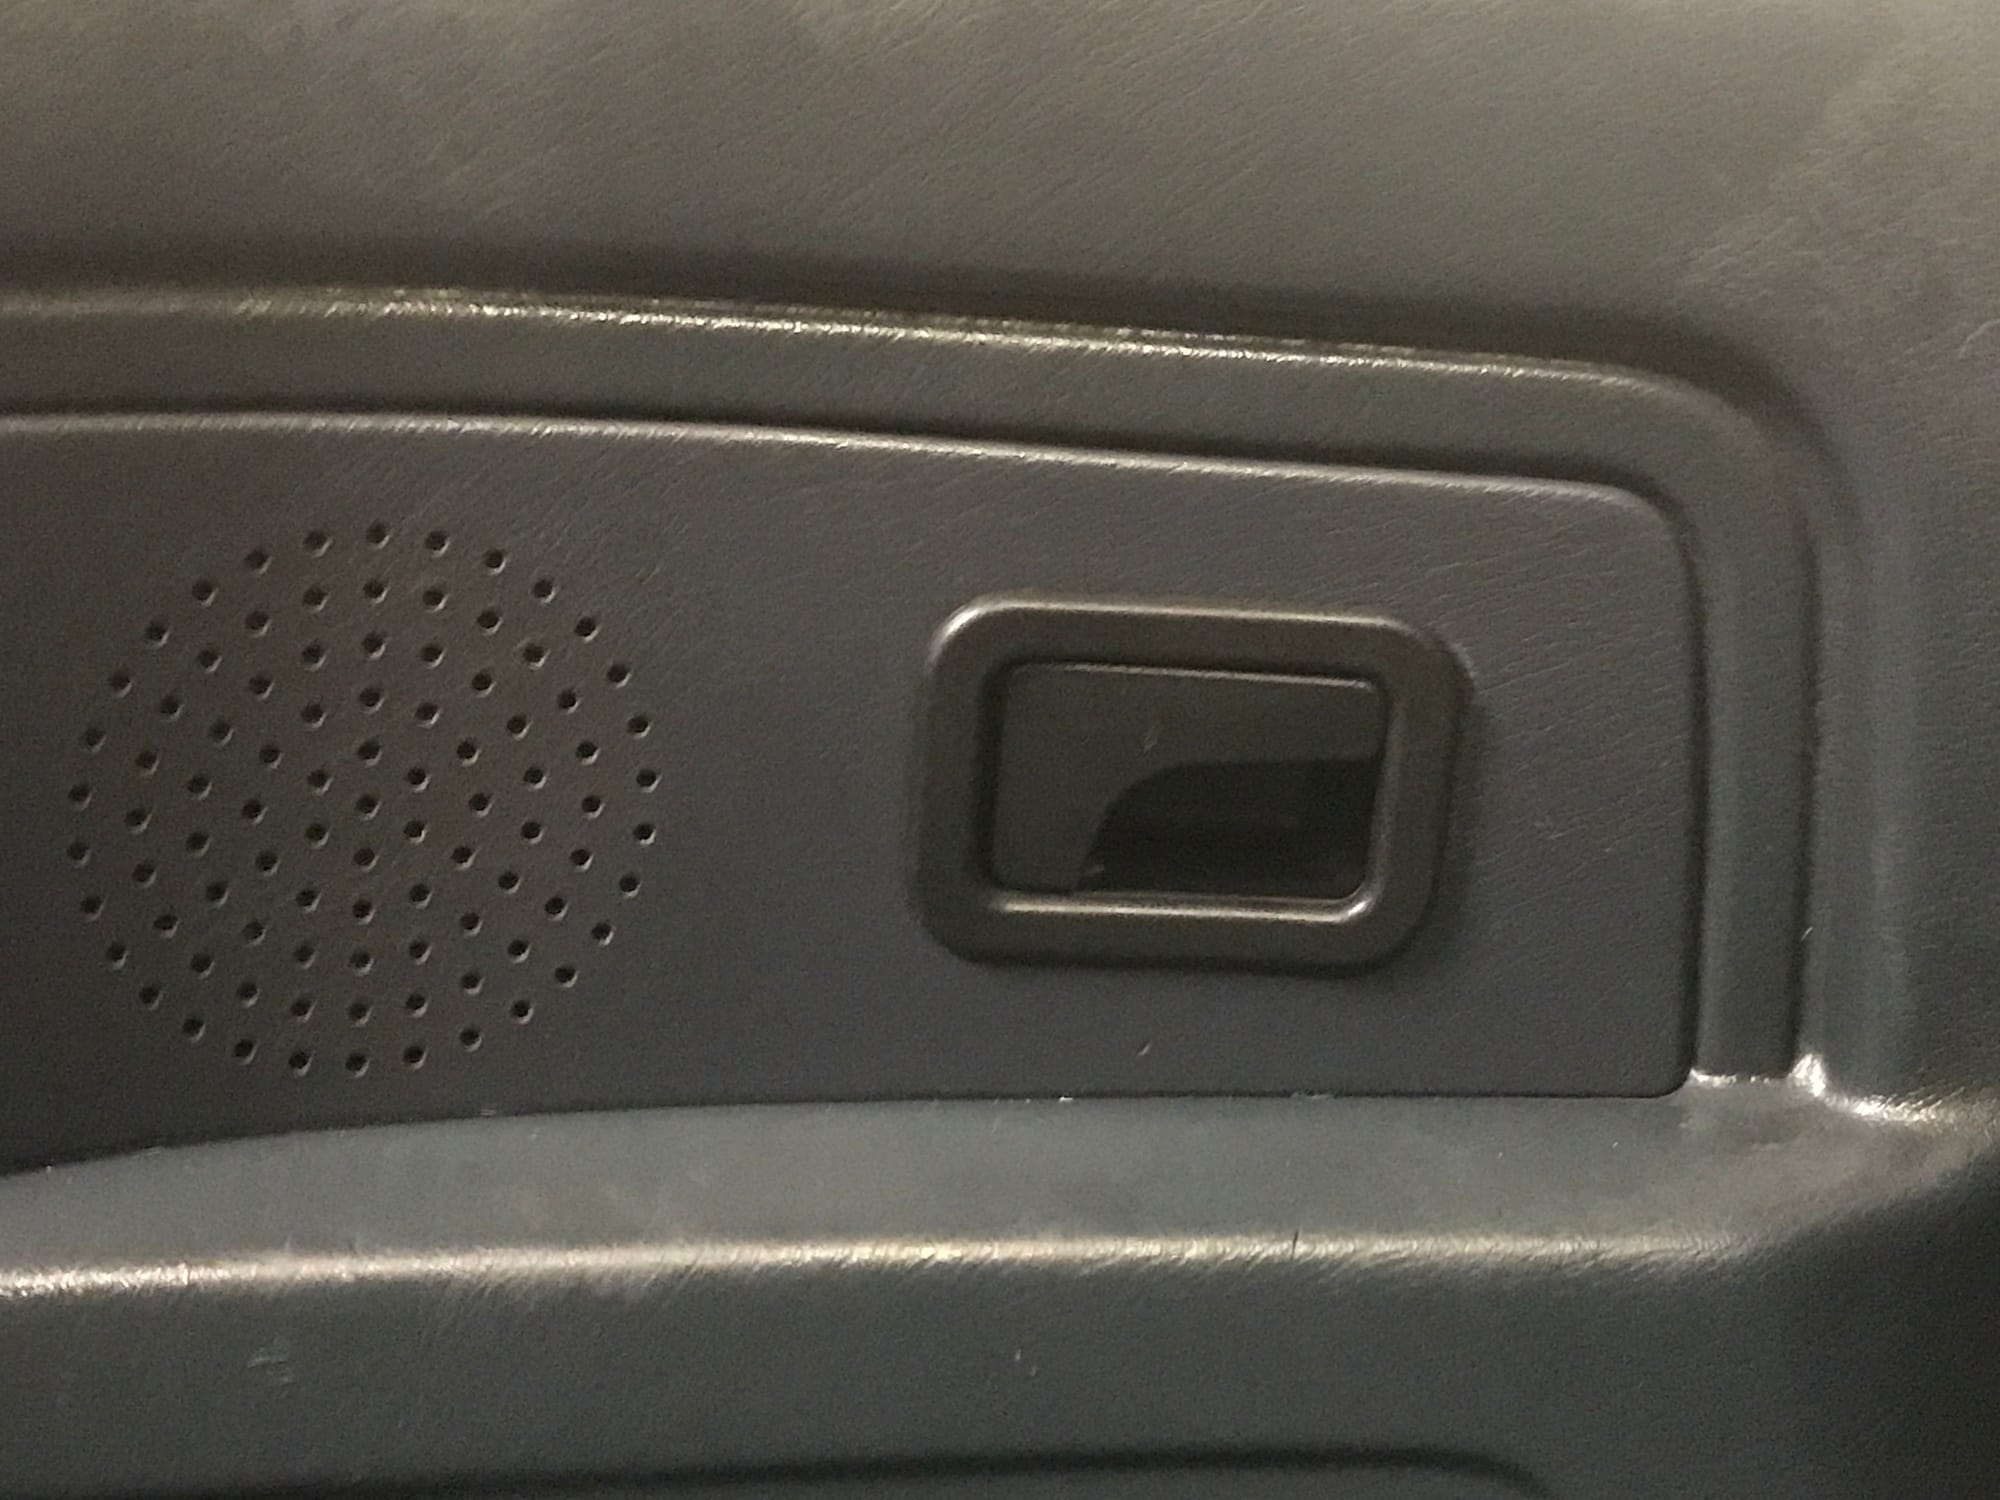
But I;m having a problem putting back the cover over the speakers..
those top clip don't want well clip it's the middle one giving me a hard i get it all together and just pops off...I'll figure it outsigpicComment
-
Use a small screwdriver to gently ease the clips down and in to place one by one. Just be patient so you don't mangle themOriginally posted by rustneversleeps View PostSeat Shocks....I have passed the baton to John Christy from Ninestitch. Email John or Garrett at ninestitch1@gmail.com
https://www.r3vlimited.com/board/sho...86#post4944786
Alice the Time Capsule
http://www.r3vlimited.com/board/showthread.php?t=360504
87 Zinno Cabrio barn find 98k and still smells like a barn. Build thread http://www.r3vlimited.com/board/show...20#post3455220Comment
-
Got it... I had the speaker on the outside instead of the inside and then screwed in While i was there i tighten the drivers side latch for the cover .It was loose and i had to figured out how to tighten it.I thought i had to go on the inside but seen a hex head on the outside turn it and tighten it up.Now the cover closes nice and tight now....sigpicComment
-
Replacement handle out for delivery, not looking forward to doing this but ADD prevents me leaving it broken.
Damn you ADD!!!
[IMG]https://cimg4.ibsrv.net/gimg/my350z.com-vbulletin/550x225/80-parkerbsig_5096690e71d912ec1addc4a84e99c374685fc03 8.jpg[/IMG
Comment
-
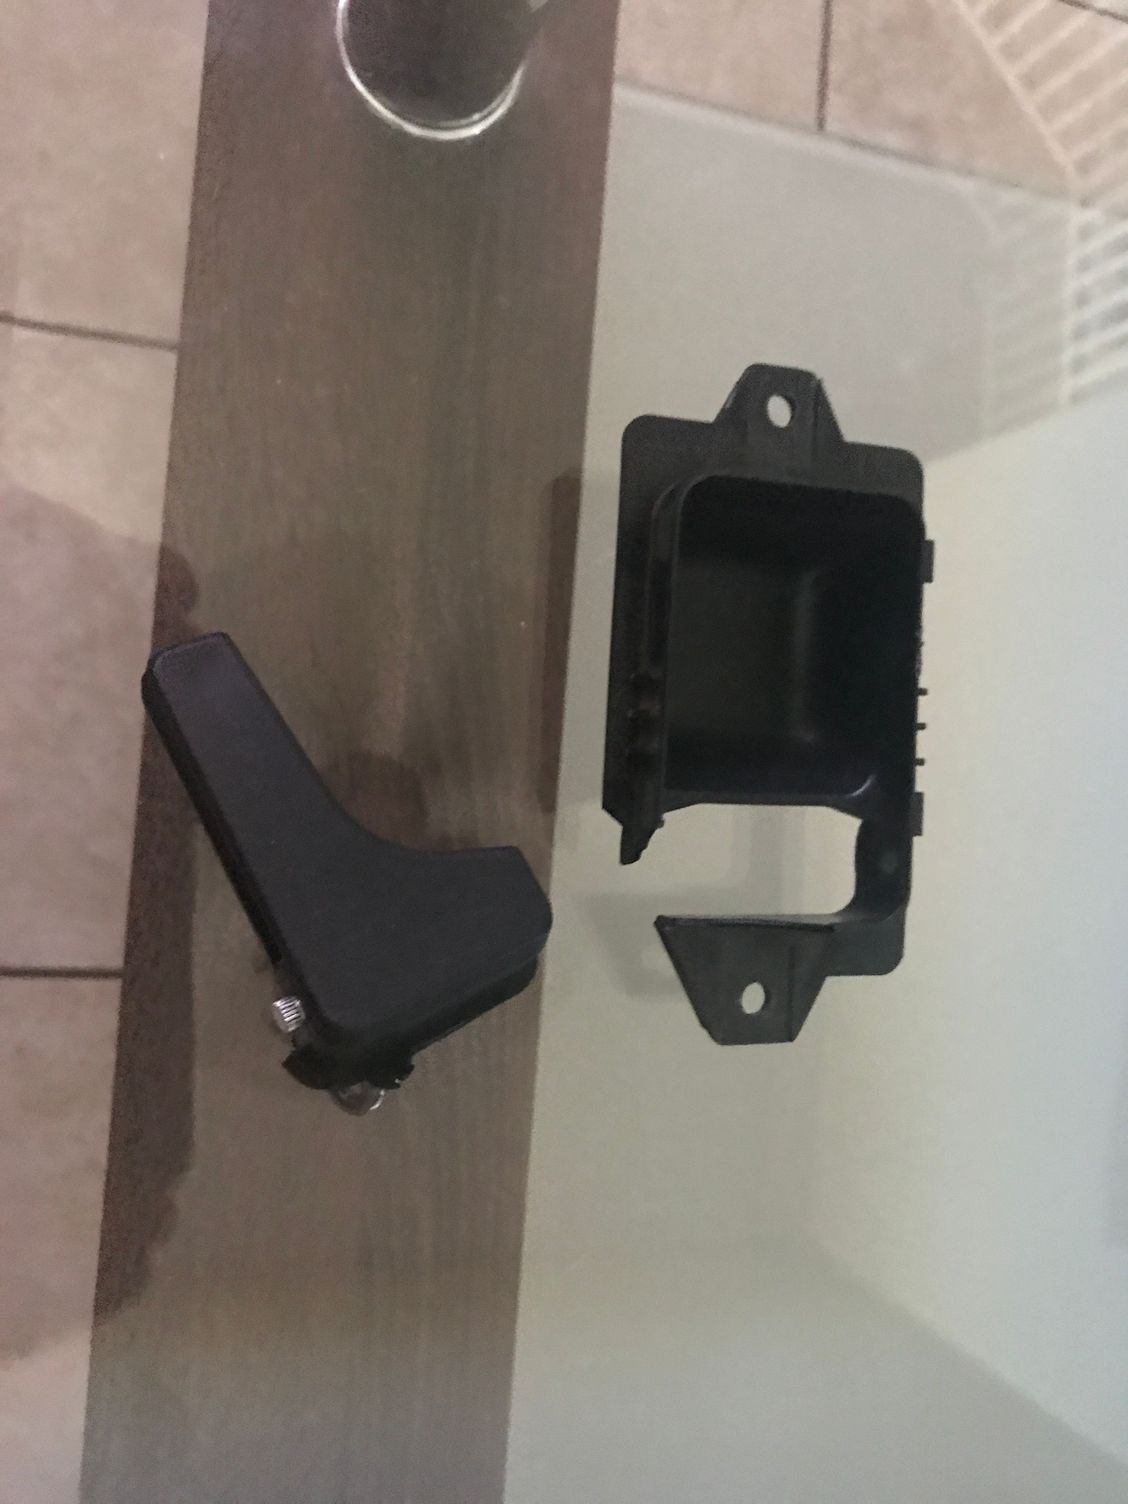
Pretty simple really i have faith in you.....Do bottom first then the top will slide on don't lose any screws ...buy a a telescopic magnet just in case..
here what mine look like..
sigpicComment
-
Thanks, it just came but it's 107 and I am sure more in the garage. I'll deal with it in the morning before it heats up.
[IMG]https://cimg4.ibsrv.net/gimg/my350z.com-vbulletin/550x225/80-parkerbsig_5096690e71d912ec1addc4a84e99c374685fc03 8.jpg[/IMGComment
-
Came down to 102 and I'm a masochist.
Luckily I was able to retrieve the missing 98% since the fasteners needed are on the handle.
Fun it was not.
[IMG]https://cimg4.ibsrv.net/gimg/my350z.com-vbulletin/550x225/80-parkerbsig_5096690e71d912ec1addc4a84e99c374685fc03 8.jpg[/IMGComment
-
Thank you guys for the tips! I was just able to do this possibly even quicker and easier.
(I bought my car with the lever floating around inside the panel, but i could still crank it and use the top how i wanted. Then it started knocking around somethin' fierce.)
Since my housing was pulverized and not my lever, which seems to be the norm, i just slid out the pin and reused the lever in the new housing. No caps, no screws, no stuff falling into car. I did remove the panel to reach down from the top.
What i didn't do is recover the bulk of the old housing LOL! i thought i reached where it would have fallen but now i realize that it is probably dangling on the cables somewhere (still knocking around).
d'ohDarien
1974 2002 "Careen"
1988 325i vert "Serene"
1994 Ferrari 348 spider "Fiora"Comment
Comment