Announcement

Collapse
No announcement yet.

Das Beast: My E30 track / street build

Collapse
X
 
  • Filter
  • Time
  • Show
Clear All
new posts

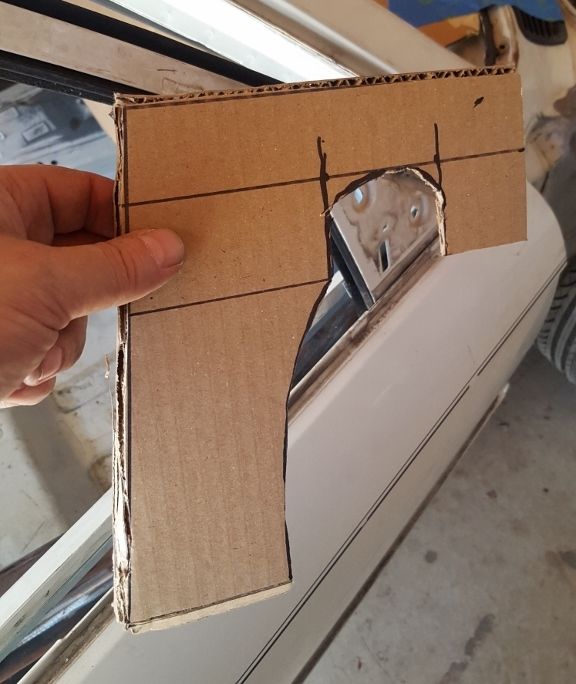
    Metal working in the rain

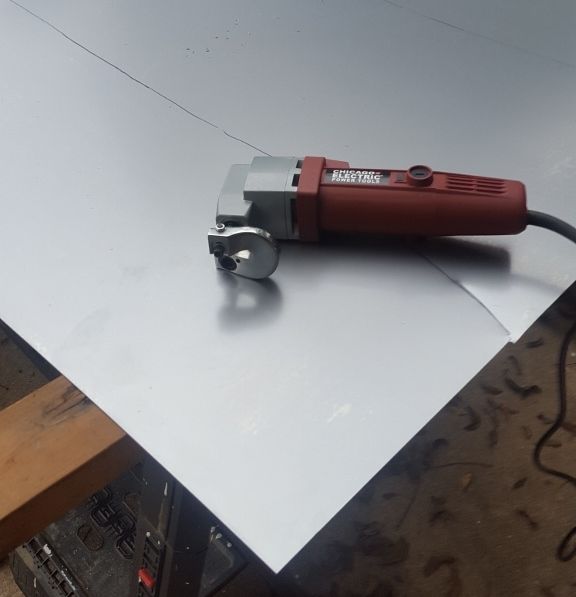
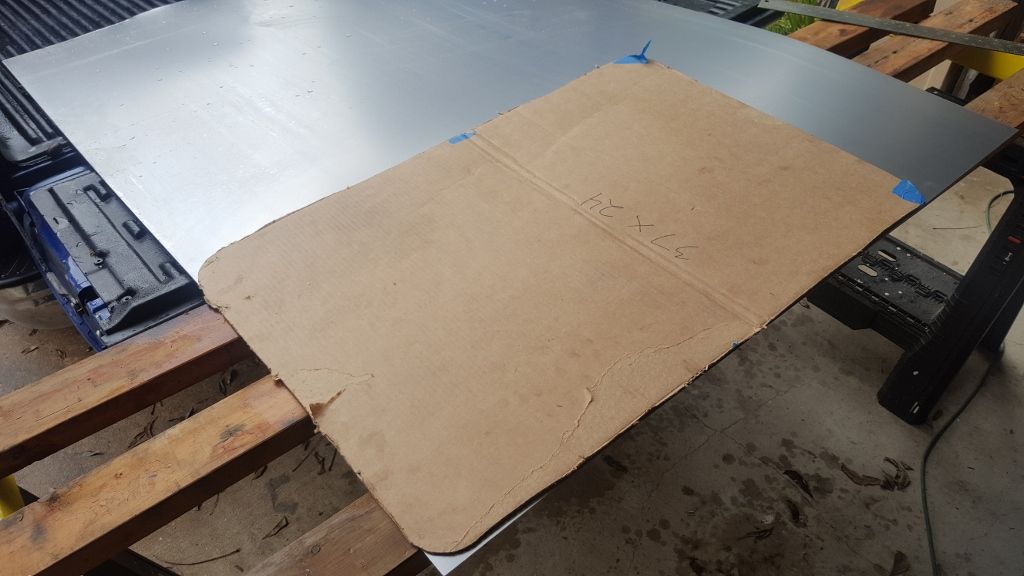
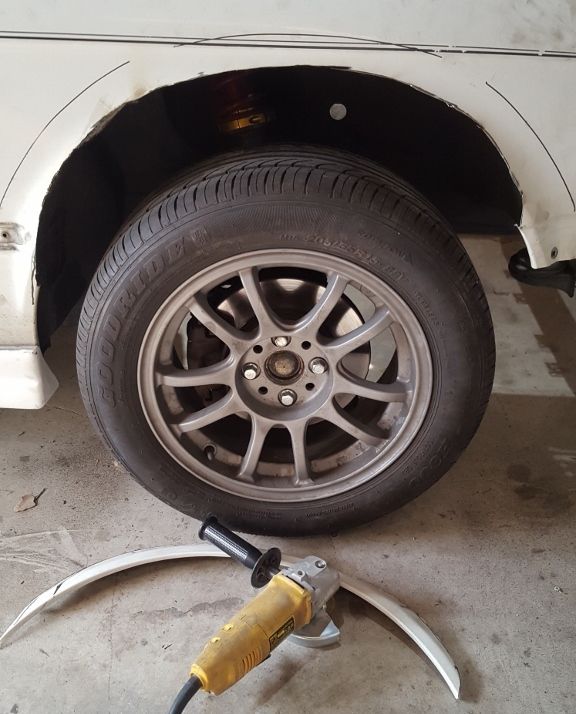
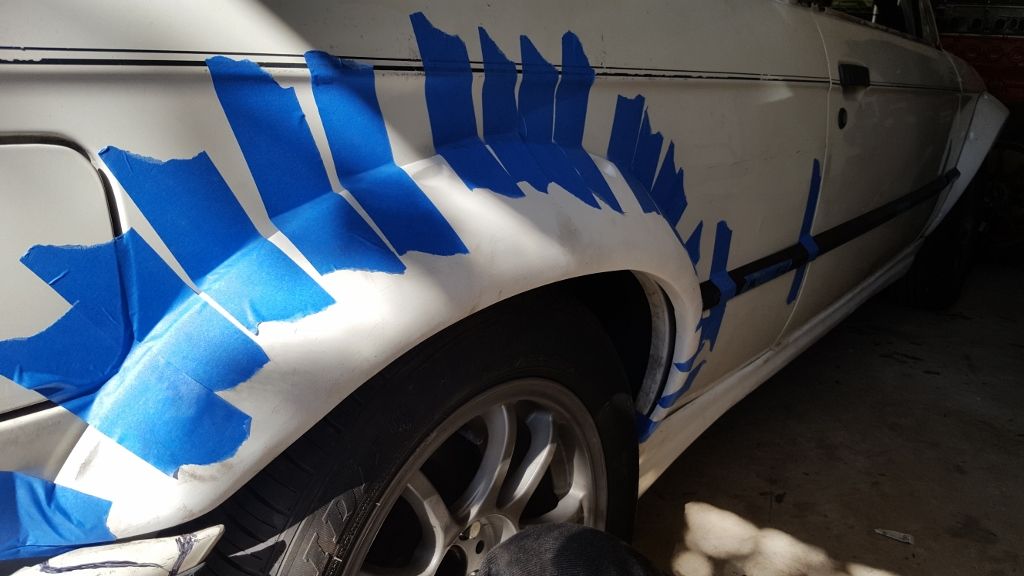
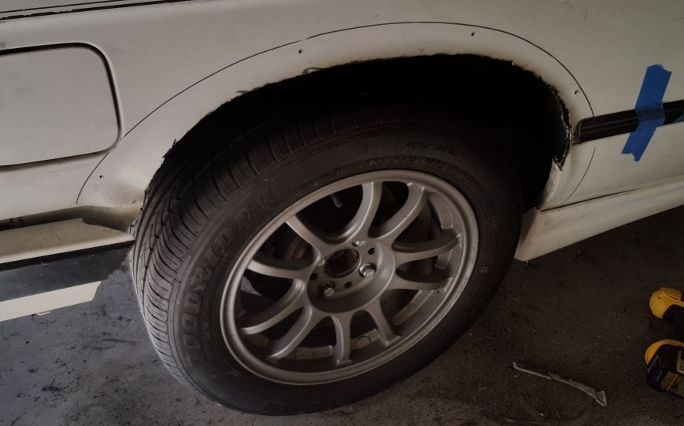
    Getting started converting cardboard templates to metal parts. Here's the tool of choice: $40 electric shear from Harbor Freight. Forget the air nibblers. They are useless without a very serious air tank.


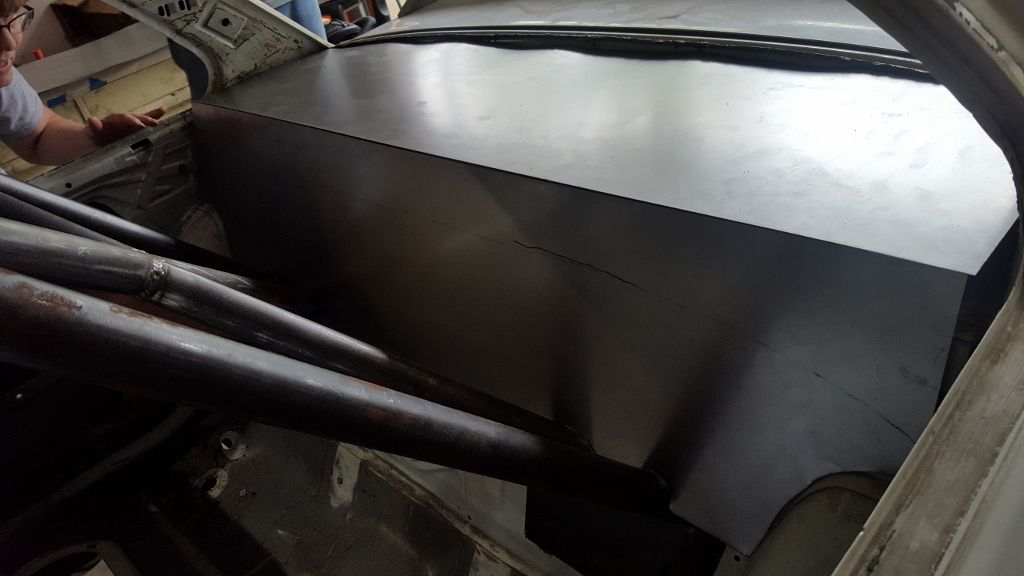
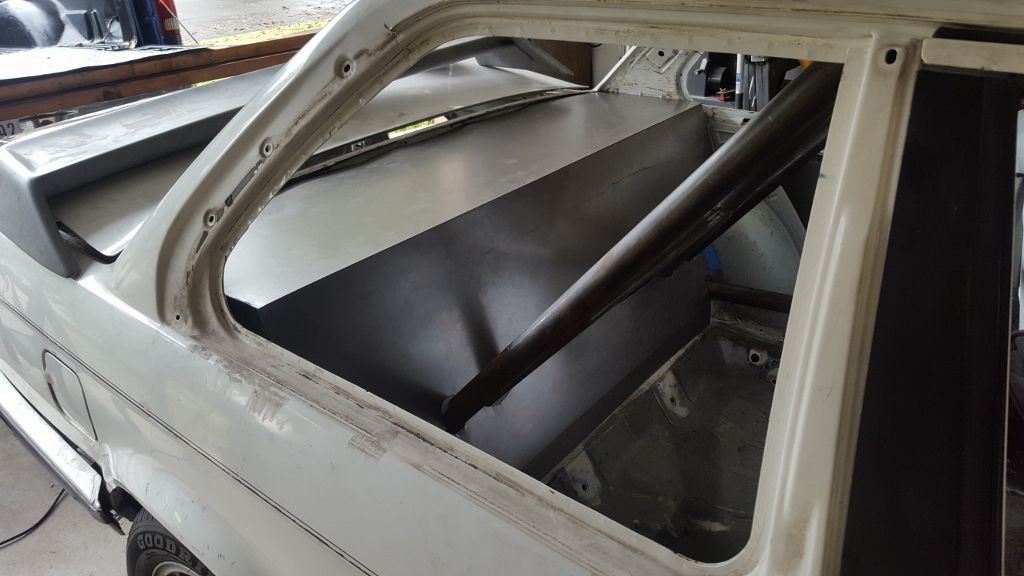
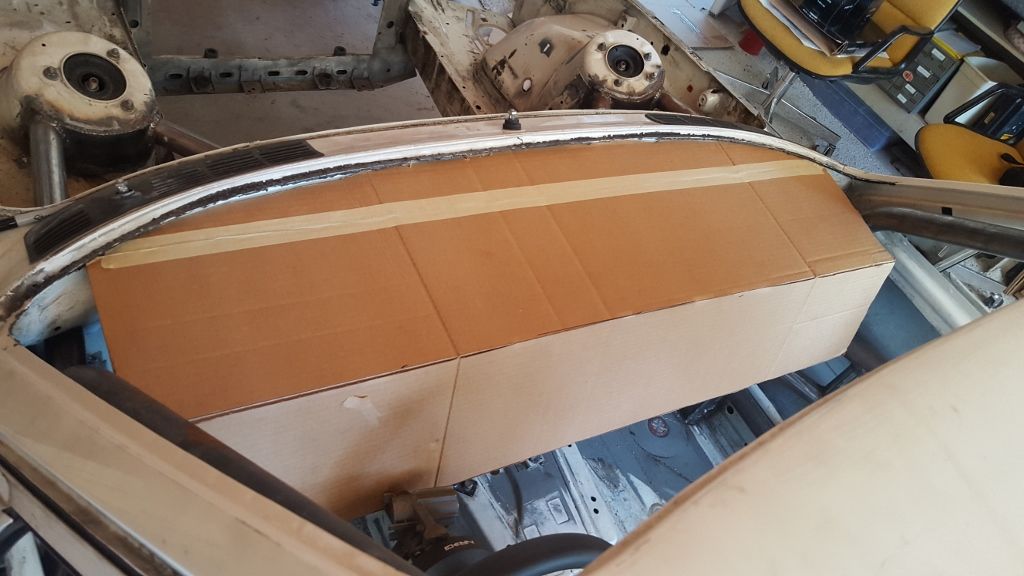
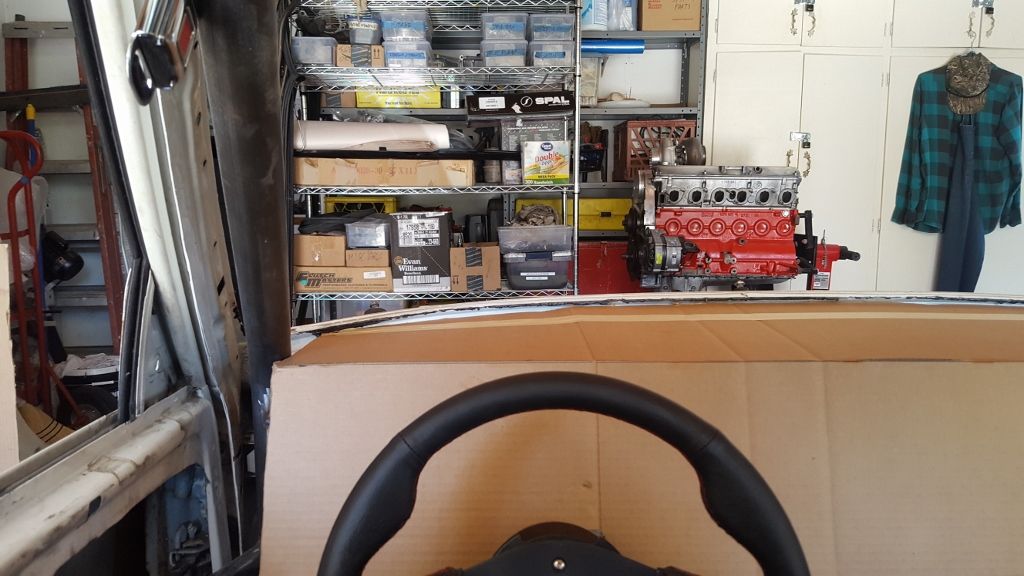
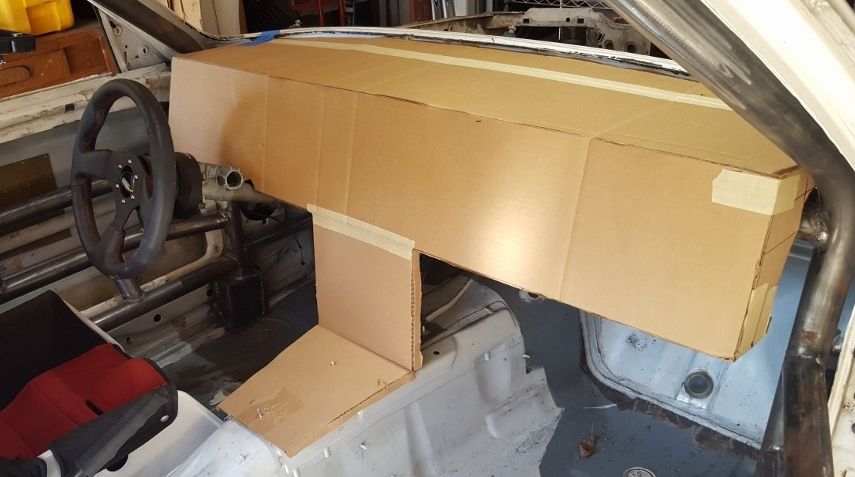
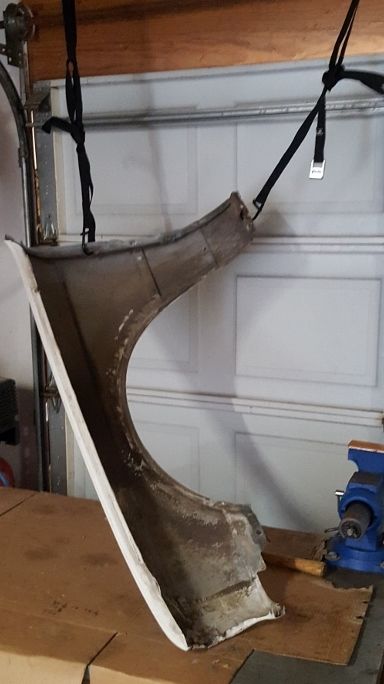
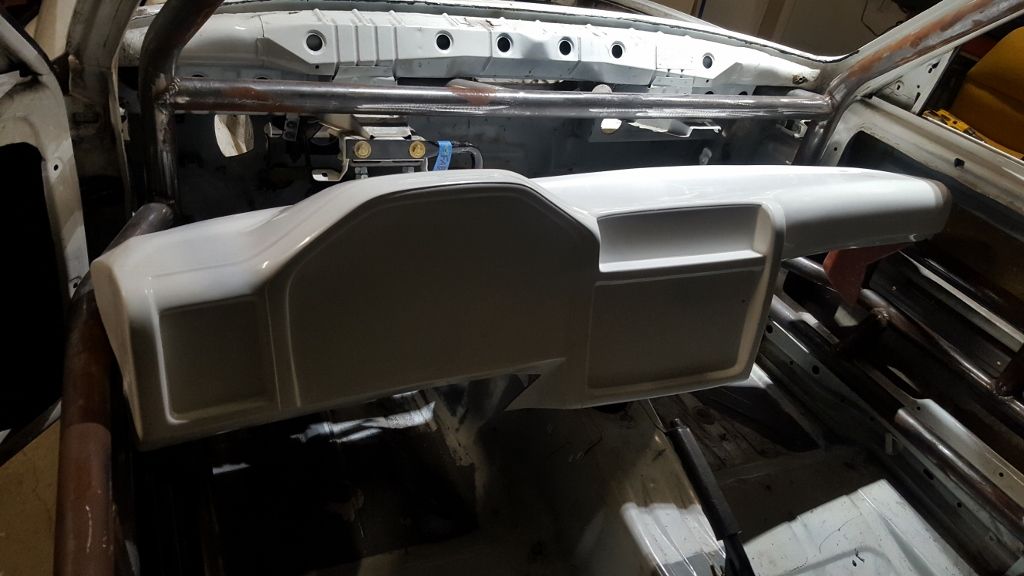
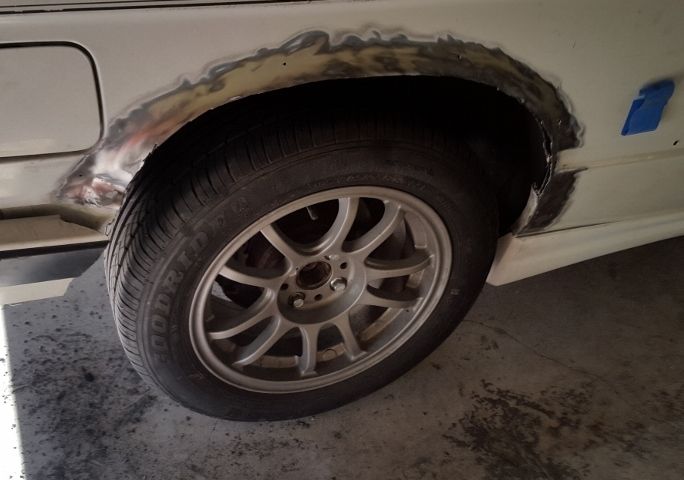
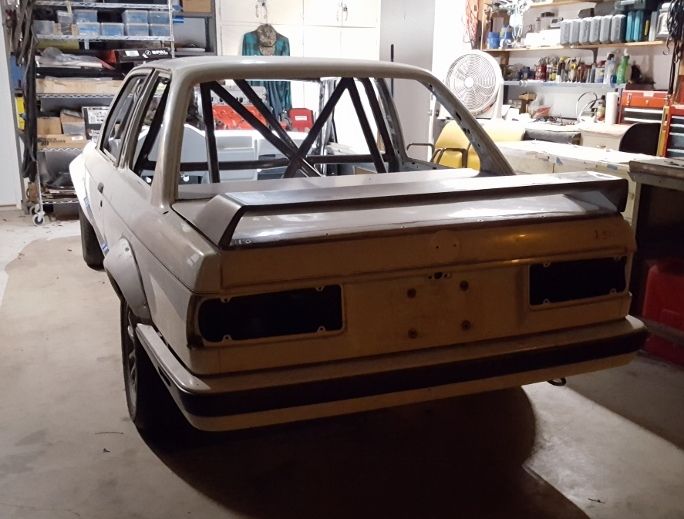
    Here's the back deck taking shape. It conveniently started pouring rain.


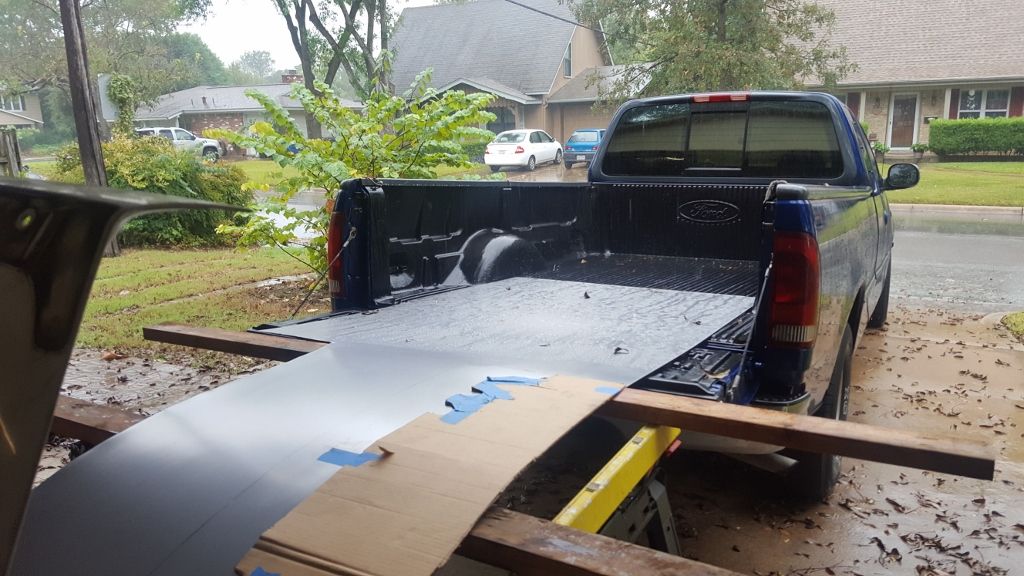
    Impressive results so far.


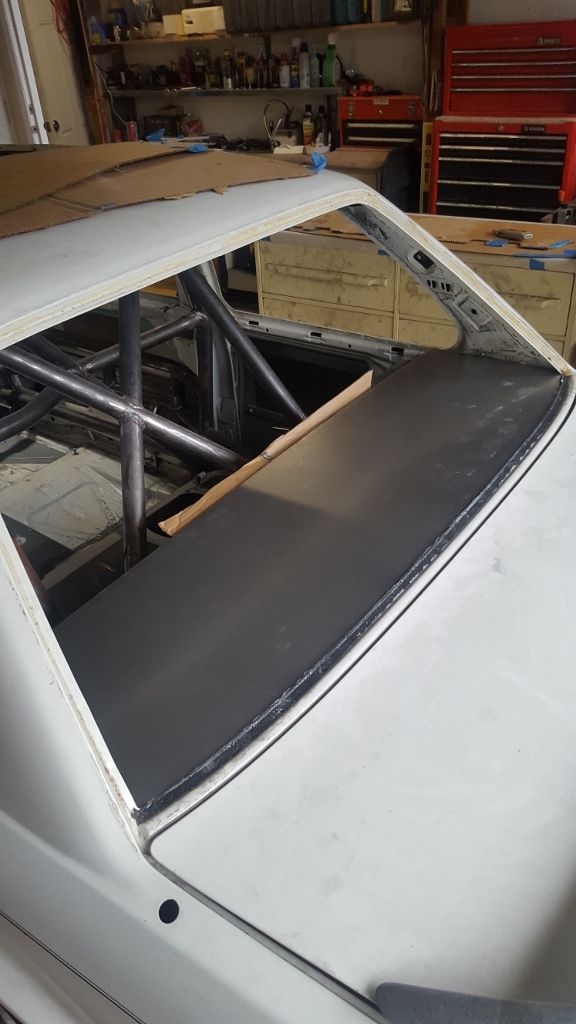
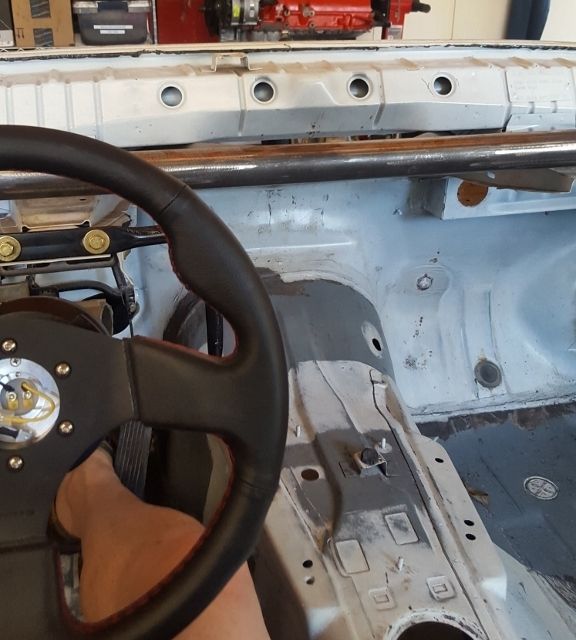
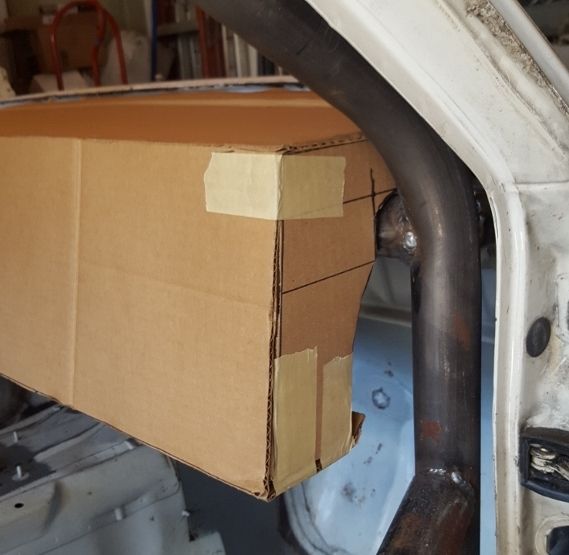
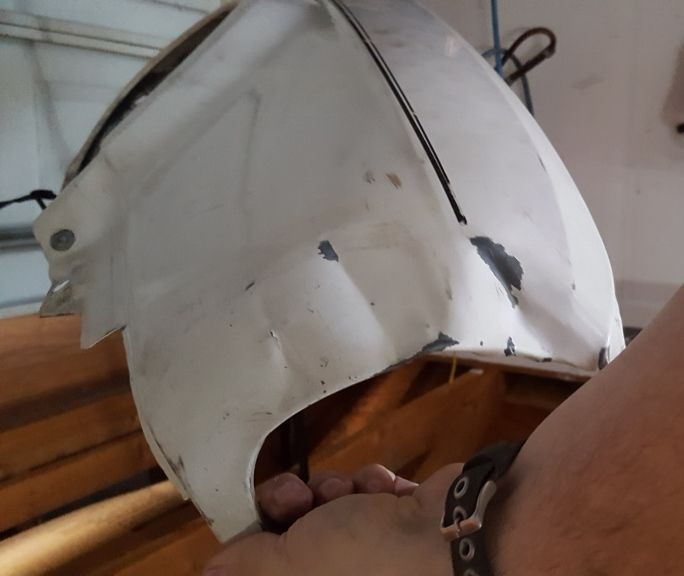
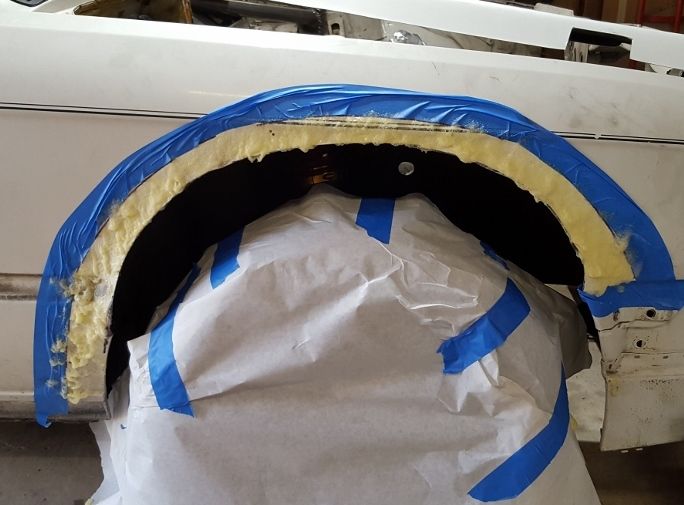
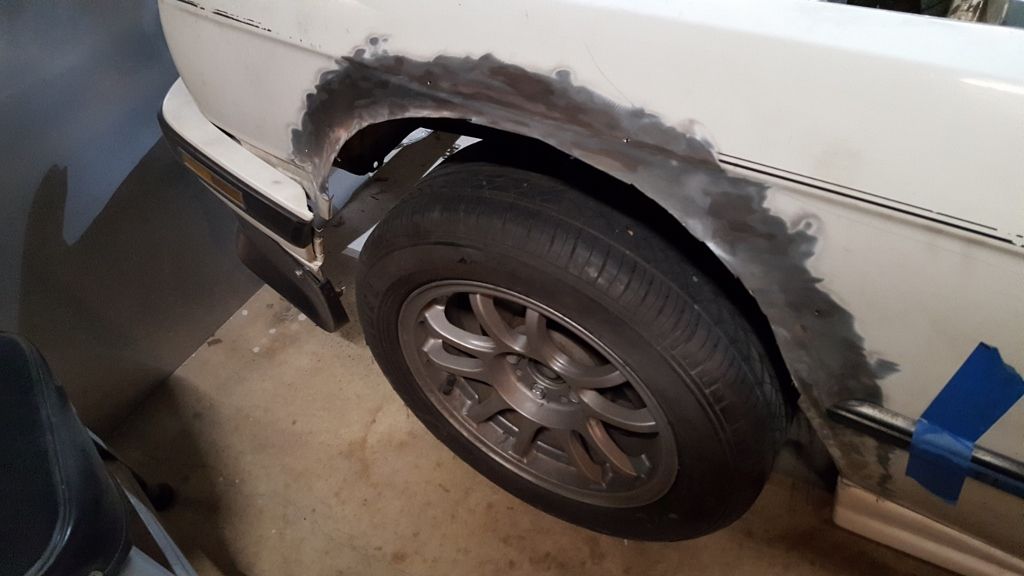
    Forming the upper inside piece


    Fits nicely


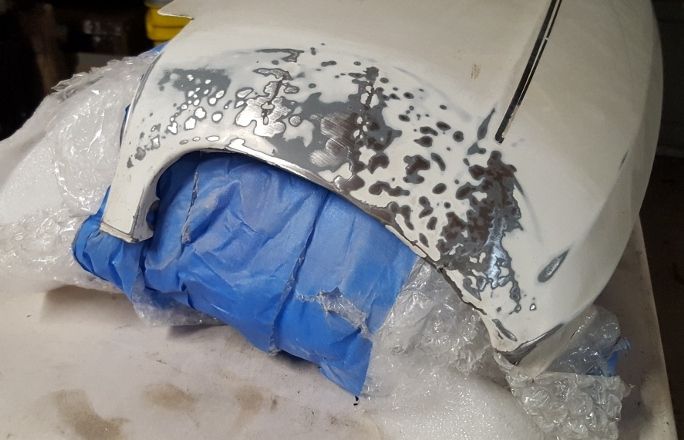
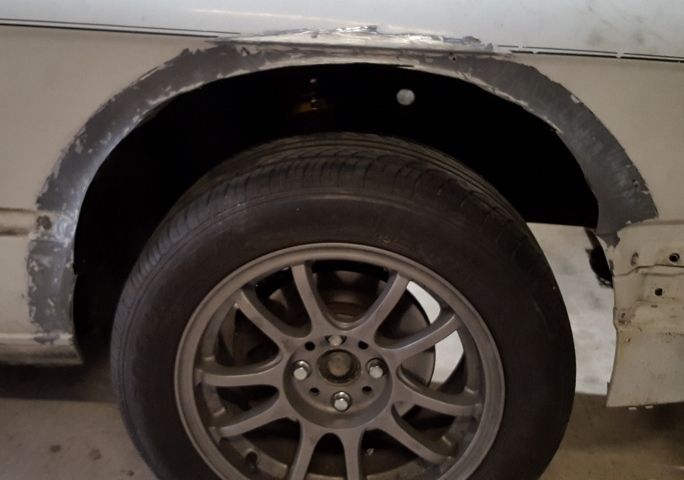
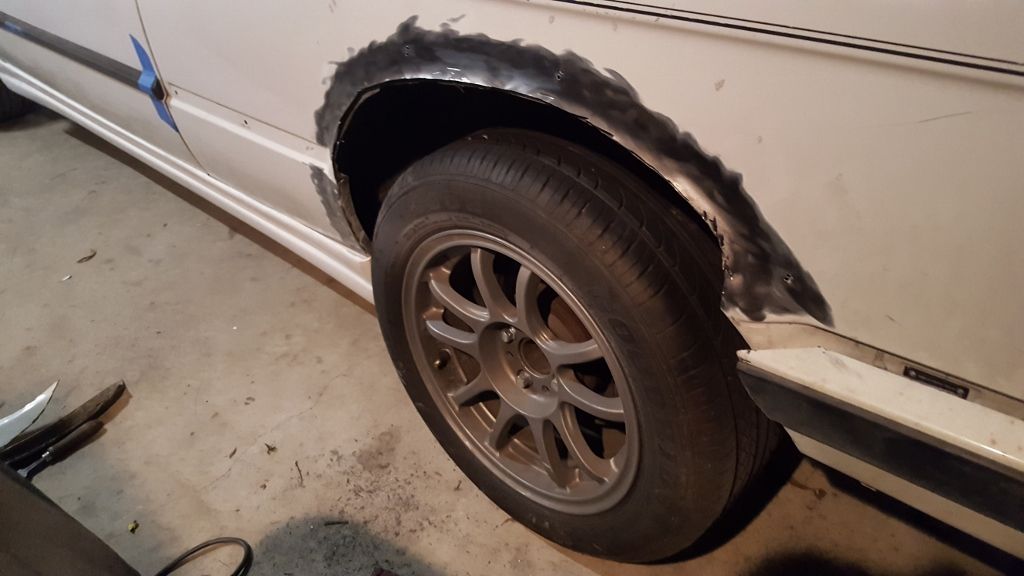
    Forming the lower piece


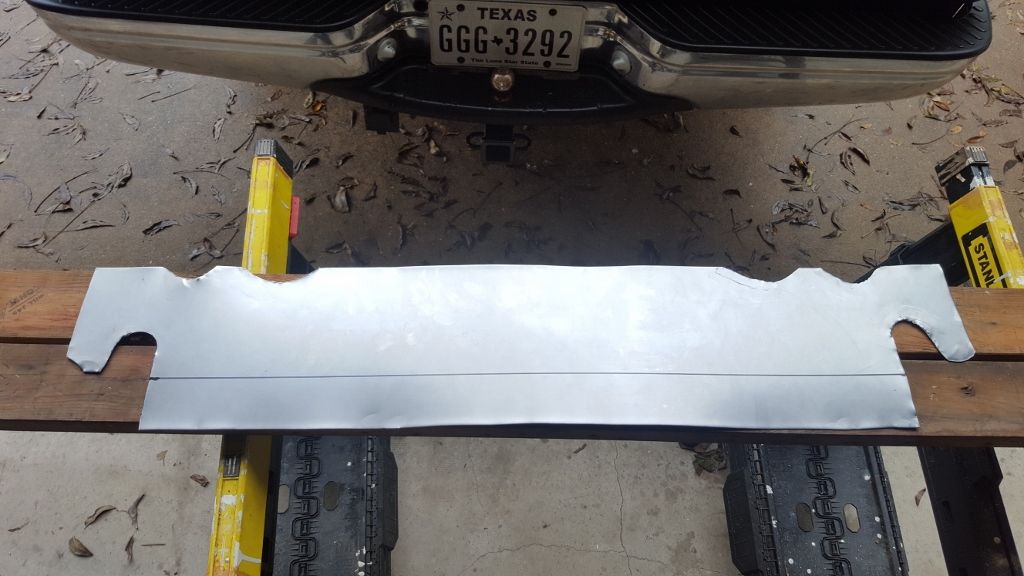
    Our ghetto metal break using 2x4s and clamps


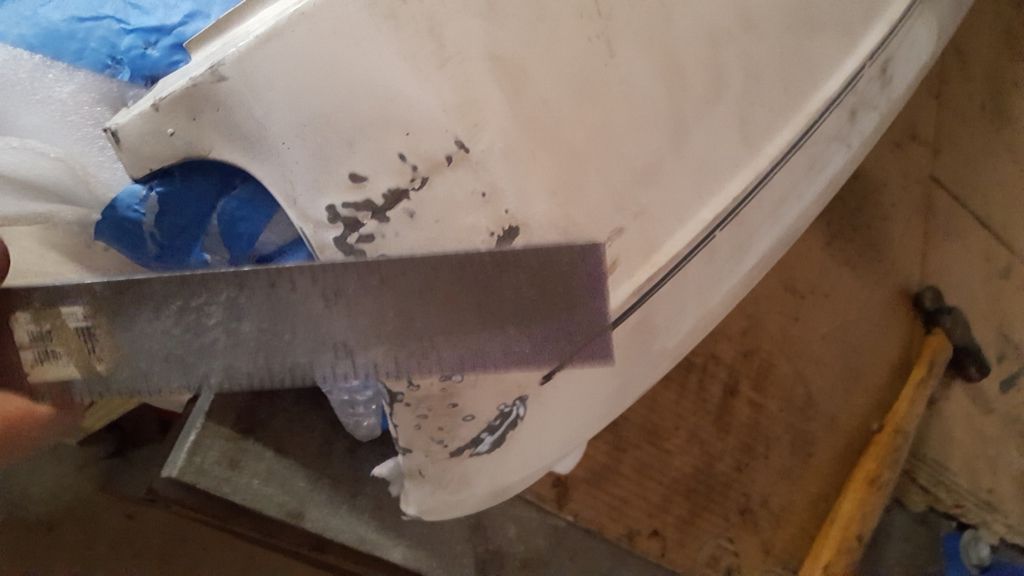
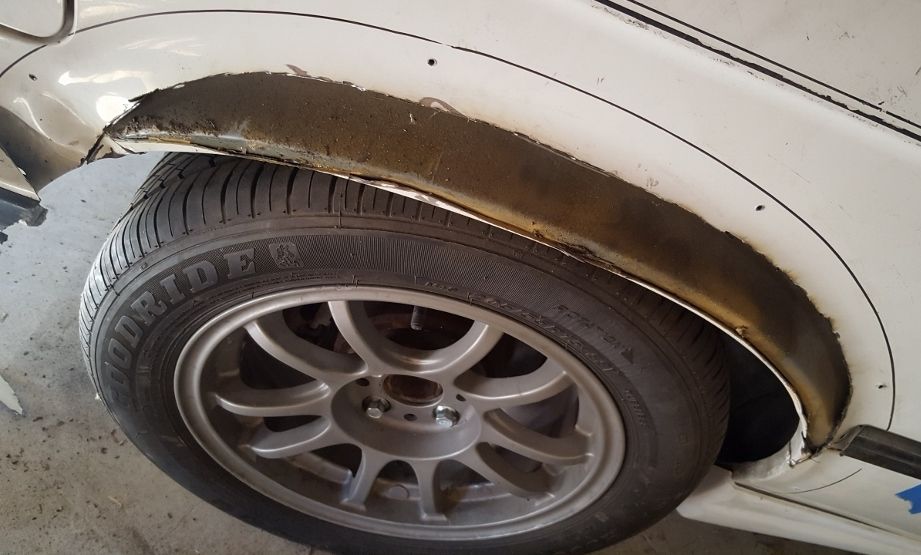
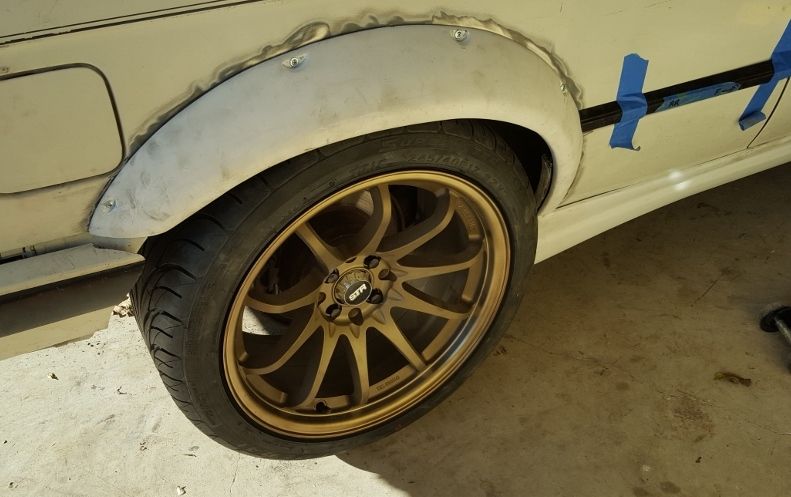
    Excellent results given the available tools. Needs a bit of trimming.


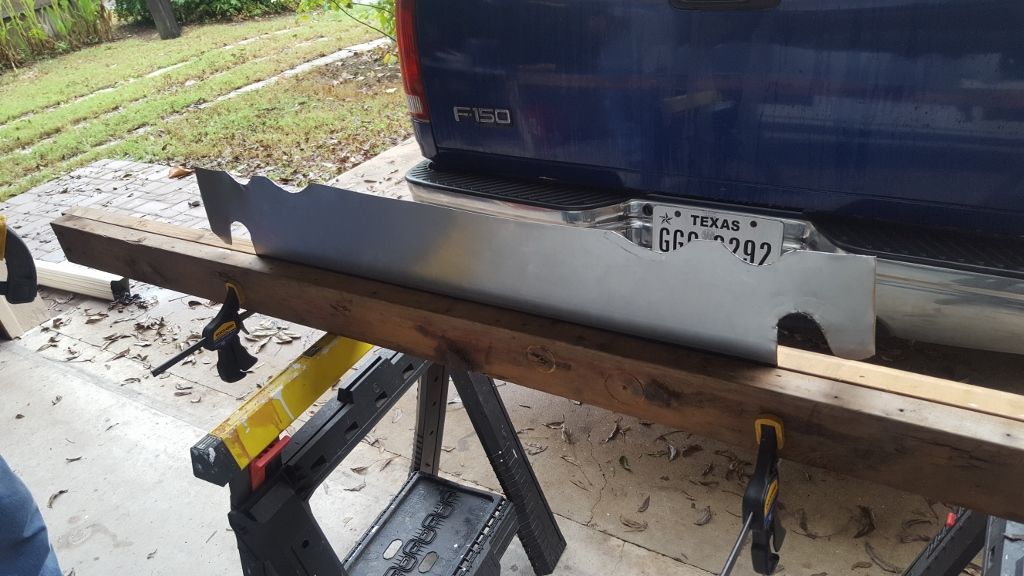
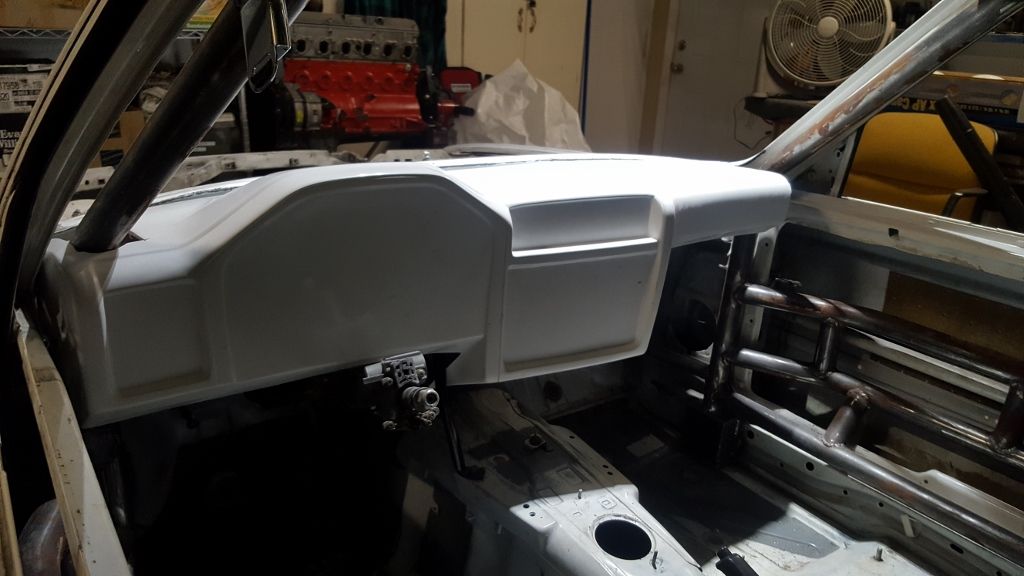
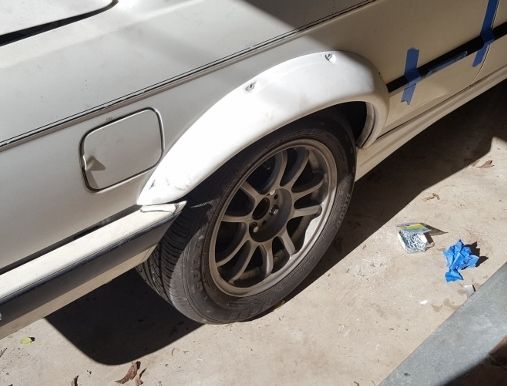
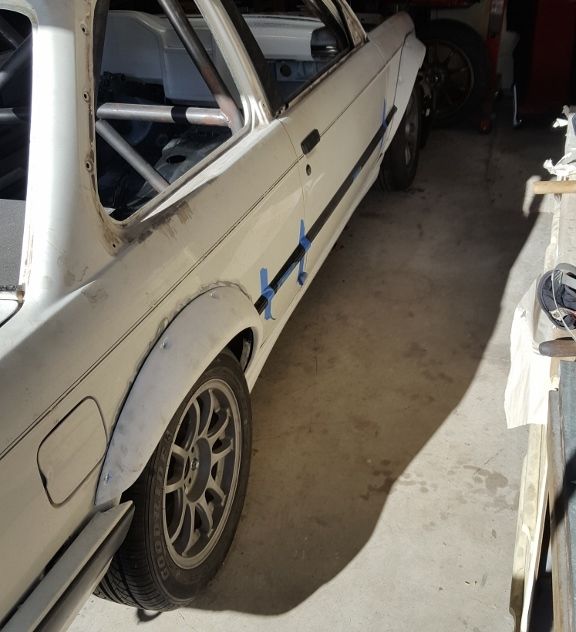
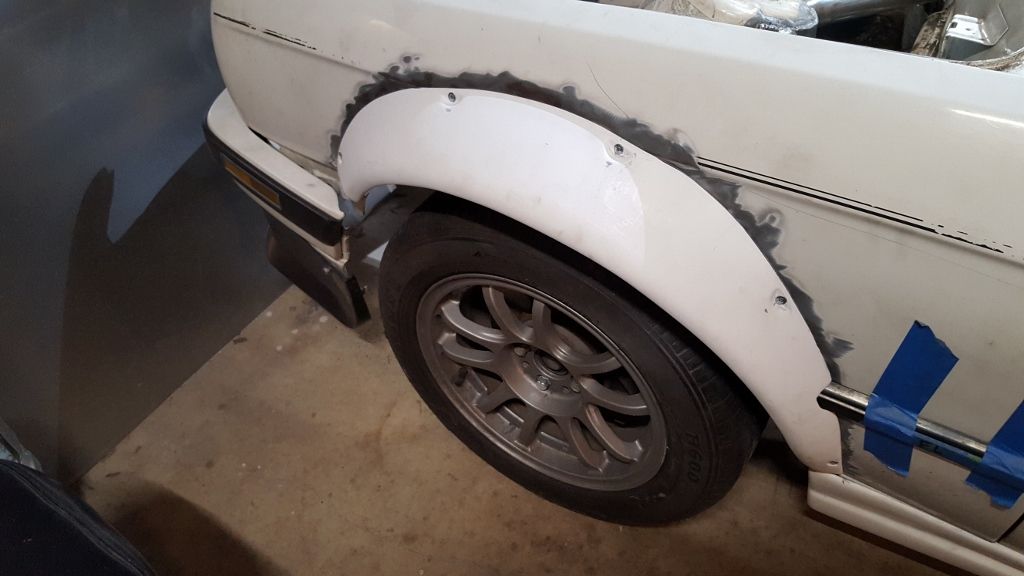
    Final product looks great.


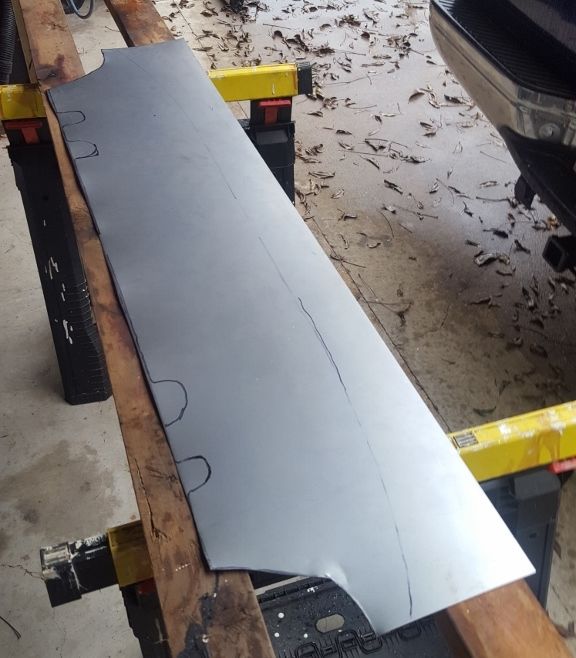
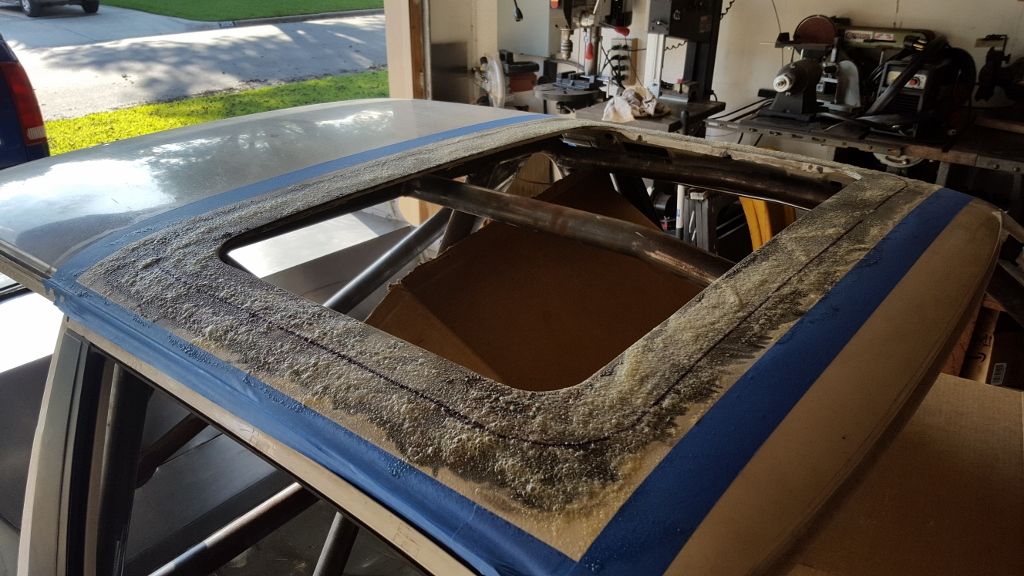
    Cutting out the roof patch.


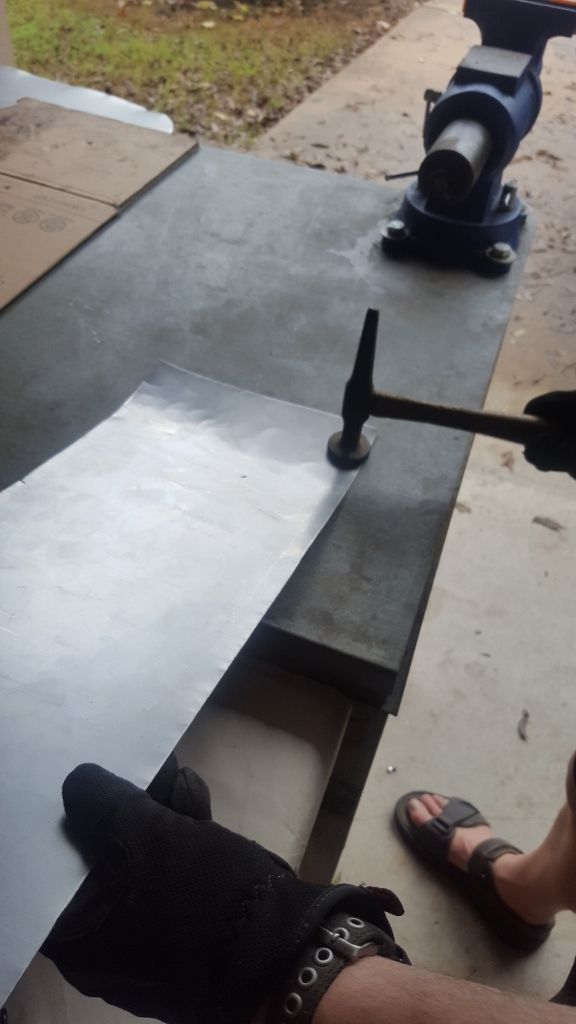
    Practicing hammer shaping metal so it conforms to the roof


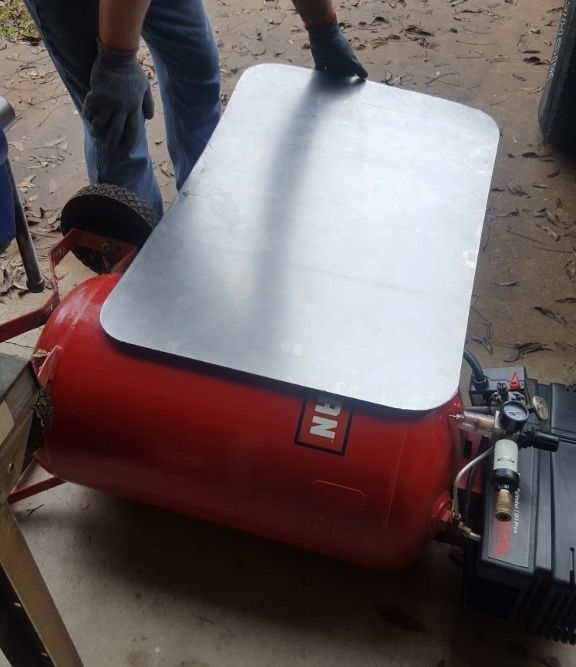
    We used the compressor tank as a large radius bend press.


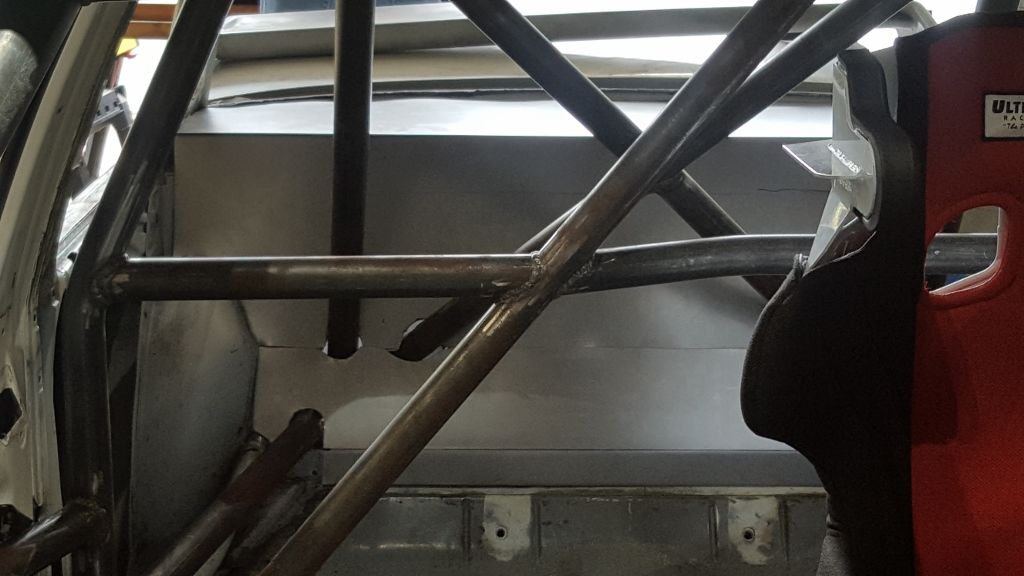
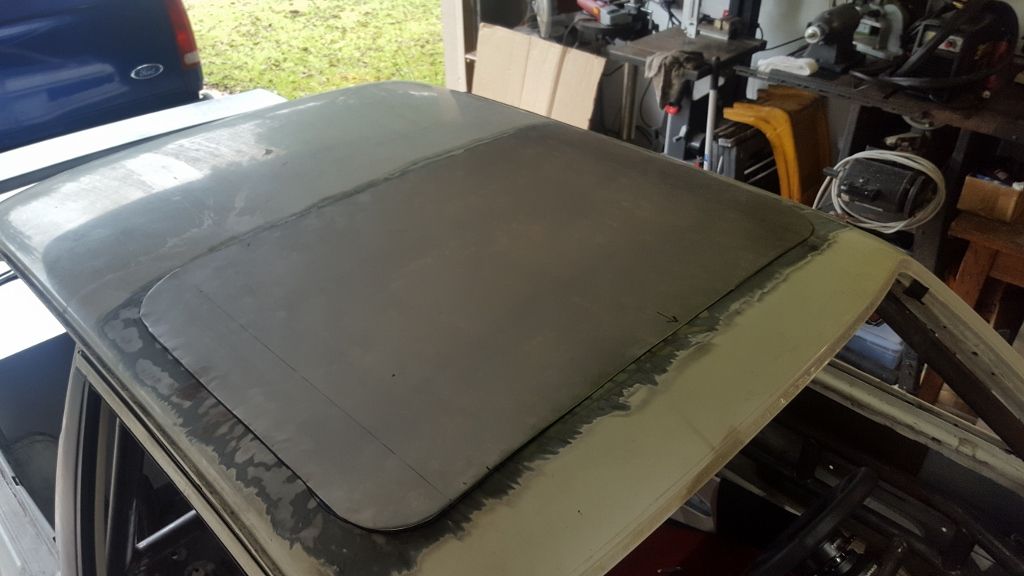
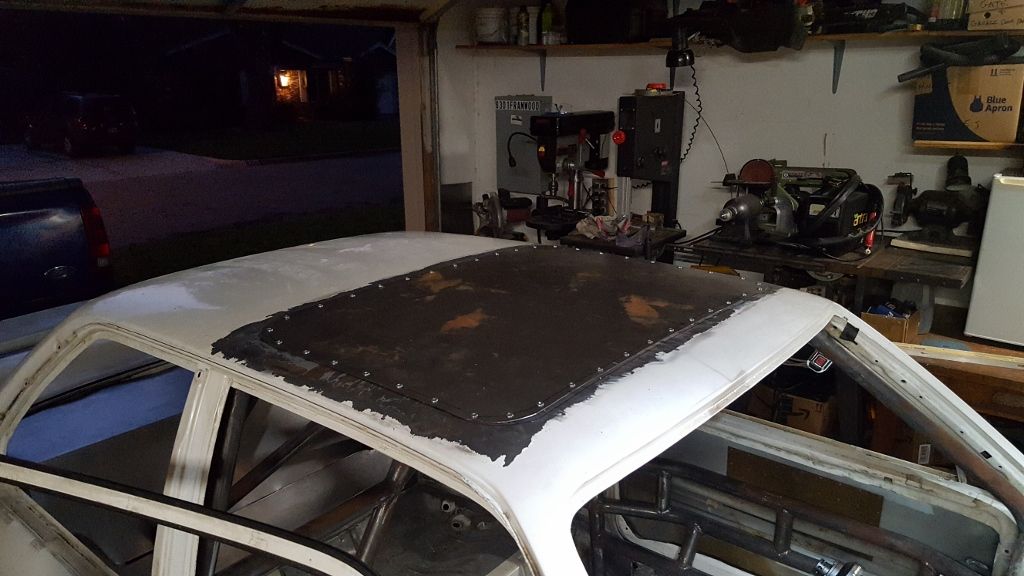
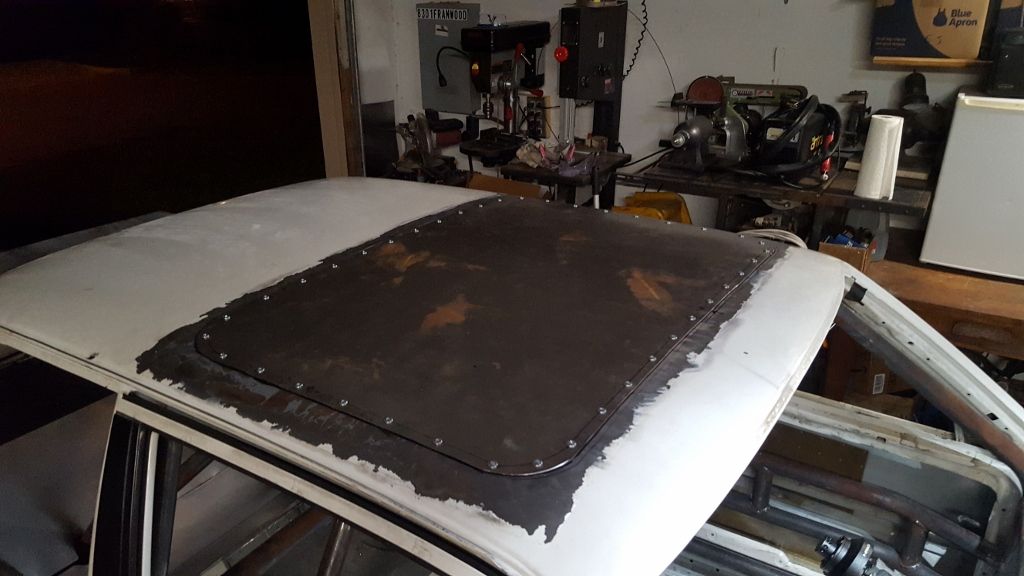
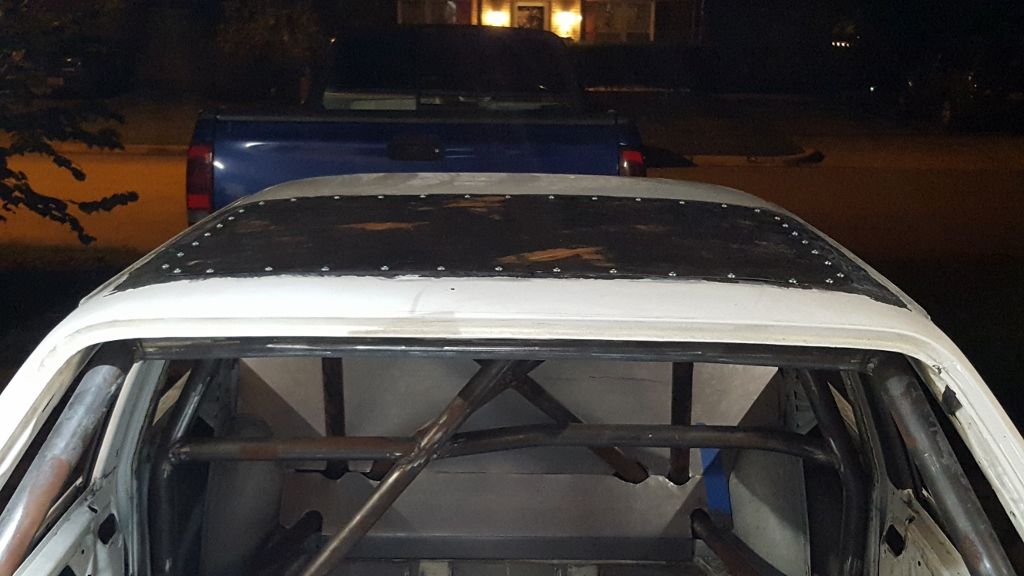
    Here it is in place. Not bad quality. Definitely good enough for a race car.


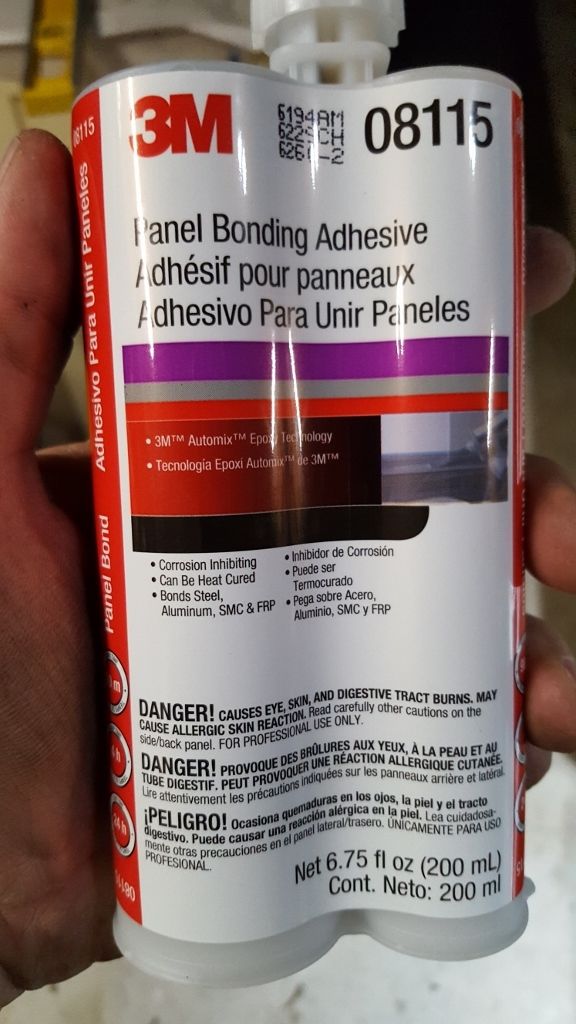
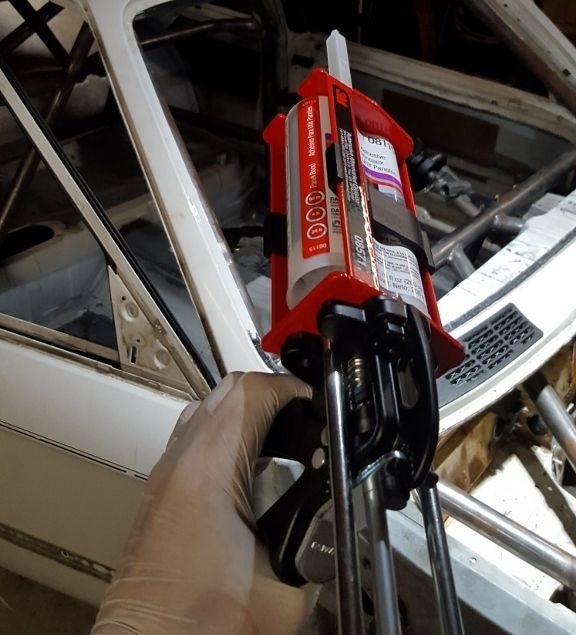
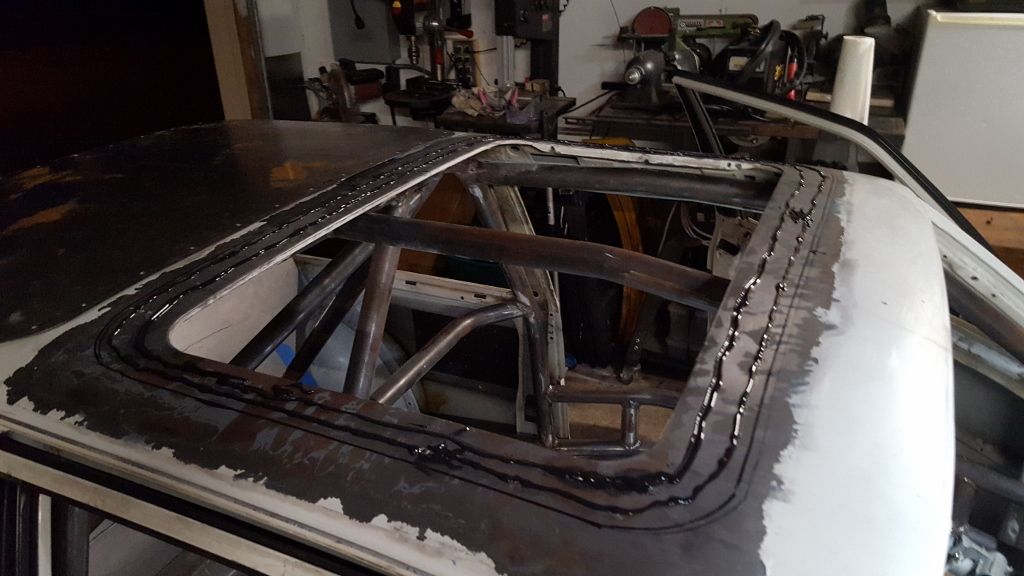
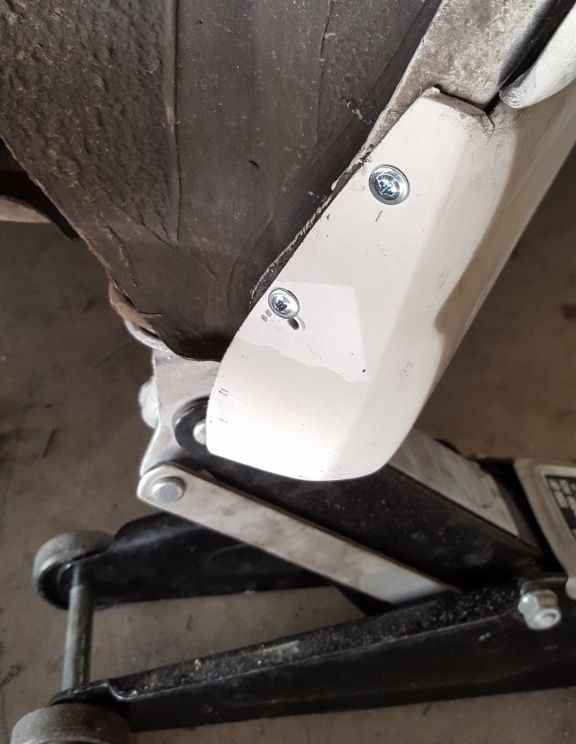
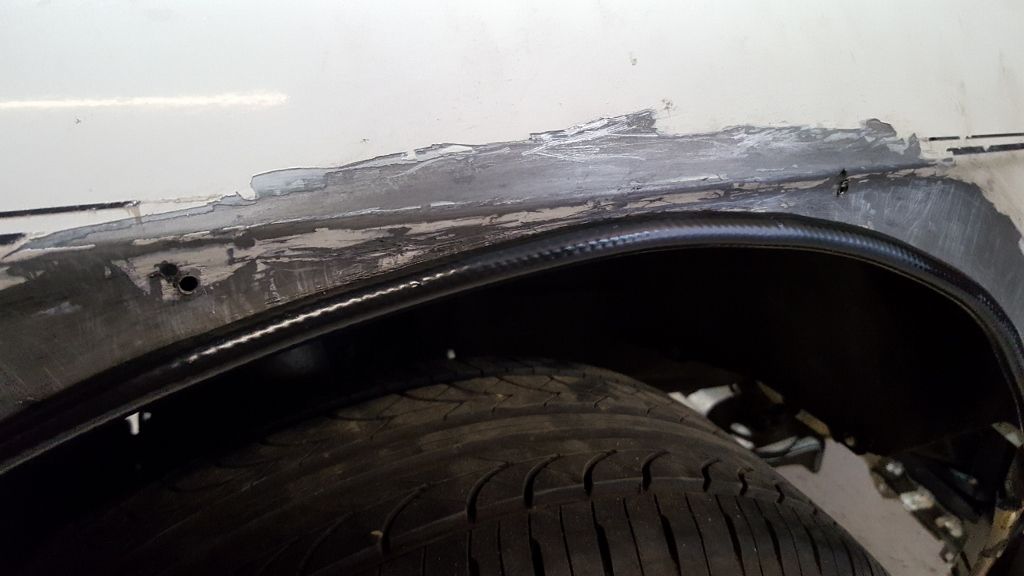
    Metal prep, clamping, bonding and sheet metal screws next.
    "And then we broke the car. Again." Mark Donohue, "The Unfair Advantage"

    1987 E30 3L Turbo Stroker Das Beast
    2002 E39 M5

    Comment


      Lowered steering column

      Originally posted by dvallis View Post
      Time to tackle more custom interior work. First step: assemble the new wheel, hub and quick release.


      View from the driver's seat. Wheel is too high for my liking. Need to lower it.


      First drill out the shear bolts. They are a pain in the a$$.


      Now pound a star head socket into the hole and break the thread loose.


      Here's the damn thing removed. Repeat for the other side,


      Temporary ghetto lowering spacer. Will fabricate a real bracket later.


      New view from the driver's seat. Much better.


      View of where the center console will go.


      Now, our plan for this build is create a custom metal dash without welding. Plasma cutter, break bends and sheet metal screws only. Dash will be made in removable modular panels. Here's it is starting to take shape.


      New view from the driver's seat. My gauge layout is definitely going to change.


      Making the dash end caps. Cuts and bends only.


      Fits great.


      Center console is shaping up. Getting too darn hot in the garage so I called it a day.

      I would like to lower the steering wheel on my 90 325is. How much did you end up lowering at the bracket? Did it cause any issues with steering geometry, universal joint, etc?

      Great build!

      I might be interested in your check panel if you are removing it.

      Comment


        What IS it ?!

        Bastard love child of octopus and shop vac? :devil:


        Nope. This is my $50, lightweight racing HVAC system. Starts with a $20 marine bilge blower, 12V, 2.5A, 130 CFM. Intake will be a vented plenum on the passenger side transmission tunnel. The plenum does not penetrate the tunnel. It just picks up waste heat from the exhaust. Blower 3" outlet goes into a 2.5" Y pipe, then high temp flex hose to dual dash vents. All the plumbing is available as a $30 kit.

        Should work great.
        "And then we broke the car. Again." Mark Donohue, "The Unfair Advantage"

        1987 E30 3L Turbo Stroker Das Beast
        2002 E39 M5

        Comment


          Because RACECAR !

          Time to finish the sunroof delete once and for all.

          Using aircraft paint remover to strip the final remnants of paint from the sunroof edges. This is NASTY stuff. Full hazmat gear required.


          Fitted and shaped the metal patch with self tapping sheet metal screws. I was going to remove them after the glue dried but this "Because Racecar" look is growing on me.


          The secret goop. 3M 8115. As my grandmother used to say, this stuff is "Stronger than the hobbs of hell". :devil:


          3M requires you use their $60 glue gun. It's a nice piece of kit, but annoyingly expensive.


          Patch removed. All metal cleaned with soap and water to eliminate VOCs. Goop applied.


          Patch and screws back in place. Once the goop dries it will be strong as a weld.


          Metal is conforming nicely to the roof. Patch is drum tight. No wobbling.


          Declaring victory and calling it a day.
          "And then we broke the car. Again." Mark Donohue, "The Unfair Advantage"

          1987 E30 3L Turbo Stroker Das Beast
          2002 E39 M5

          Comment


            Time for some body work!

            Flares and side skirts arrived today.


            Skirts fit the stock body panels very well.

            "And then we broke the car. Again." Mark Donohue, "The Unfair Advantage"

            1987 E30 3L Turbo Stroker Das Beast
            2002 E39 M5

            Comment


              Just killed a good few hours at work reading this. Wow :shock: awesome build. I like the ethos: simplify, then add lightness... and a big ass turbo :devil:

              Interesting stuff reading through your engine build, and excited for the rest of the bodywork. BTW, digging the IS air dam on the plastic bumper look. I have a soft spot for those cow catchers.

              Comment


                More Das Beast Body Shop

                Taught myself how to form sheet metal with simple hand tools today. No English Wheels or other $10K shop equipment required. Sand bag, ball peen hammer, rasp file and a flat piece of sheet steel are all you need.

                Here's what we're starting with. Frigging front fender looks like crumpled bag of chips.


                Strung it up from the rafters so I can get the right angle to hammer on. Using a steel workbench with cardboard cover and ball peen hammer to reshape the metal. Vice grips to bend the edges back.


                At this point the metal is looking more like the correct shape, but it's got 1000 dimples from the hammer. This is where the flat metal strip comes in. You basically whack on the curve with the metal strip 100,000 times, working back and forth. This flattens the dimples. Use sandpaper occasionally. It brings out the high spots. I used Rob's small T-square. Was just the right weight. :devil:


                After about an hour, it started looking really good. Once its painted you'll never know the difference. Time to move on to the flares.


                Here's the new DTM front flare and side skirt test fitted. It's a nice piece of work. Needs some trimming by the skirt though.


                Now it's REALLY in place. Ready for marking and drilling.


                Body marked and ready to cut.


                No going back now. :devil:


                Using the infamous aircraft paint stripper for paint removal. In retrospect it was a pain in the a$$. I'll use a wire wheel angle grinder for the others.


                Ready for final mounting, BUT we goofed up and removed the body trim earlier. That needs to be in place before the flare is glued and bolted down.

                "And then we broke the car. Again." Mark Donohue, "The Unfair Advantage"

                1987 E30 3L Turbo Stroker Das Beast
                2002 E39 M5

                Comment


                  Originally posted by WestCoastEta View Post
                  Just killed a good few hours at work reading this. Wow :shock: awesome build. I like the ethos: simplify, then add lightness... and a big ass turbo :devil:

                  Interesting stuff reading through your engine build, and excited for the rest of the bodywork. BTW, digging the IS air dam on the plastic bumper look. I have a soft spot for those cow catchers.

                  Thanks man. It's definitely a process. My wife says I'm #determined. :devil:
                  "And then we broke the car. Again." Mark Donohue, "The Unfair Advantage"

                  1987 E30 3L Turbo Stroker Das Beast
                  2002 E39 M5

                  Comment


                    More Body And Paint

                    Back from a business trip and in the garage again. Late model body trim arrived. Here's a test fit. Needs a few clips. Will be painted body color.


                    Sorting out the trim and clips


                    15mm hub centric aluminum spacers with 73.1mm aluminum centering rings.


                    Perfect fit.


                    Fiberglass dashboard arrived. Will need some trimming to clear the roll cage.


                    After some chopping with an angle grinder. Works for me. Will finish it with some metal trim and removable metal plates for the gauges.

                    "And then we broke the car. Again." Mark Donohue, "The Unfair Advantage"

                    1987 E30 3L Turbo Stroker Das Beast
                    2002 E39 M5

                    Comment


                      More bodywork

                      Getting to the right rear fender flare today. Here it is test fitted.


                      Screwed in place with the rest of the trim. Bumper needs a trim.


                      Angle grinder took care of this.


                      Hmmm. Rear wheel arch is double walled. It was a pain cutting through.


                      Arch fully cut.


                      Used an angle grinder wire wheel to remove paint this time. Much easier.


                      Everything test fitted. Can't glue it until I get grommets and clips for the bodywork. Fit of the rear bumper to arch could be better. Good enough for a race car. The bracket holding the bumper to the body sits a bit too far out. Not worth 5 hours of metal fab though.

                      "And then we broke the car. Again." Mark Donohue, "The Unfair Advantage"

                      1987 E30 3L Turbo Stroker Das Beast
                      2002 E39 M5

                      Comment


                        More body shop

                        Gotta Zen out an become one with the bodywork process. This will take some time .....

                        Bolting on the side skirts


                        Test fitting new wheel and spacer


                        Front left wheel arch cut and prepared


                        Flare fitted


                        Rear left arch cut and prepared


                        Flare fitted


                        That took a few hours to get right. At this point everything is test fitted and ready for panel bonding. I'm waiting for side molding clips and grommets to start the final step.

                        Flares look funny with the shop wheels instead of wide rubber. :devil: On the plus side, Das Beast is looking more like a race car every day.

                        Last edited by dvallis; 11-22-2016, 04:33 PM.
                        "And then we broke the car. Again." Mark Donohue, "The Unfair Advantage"

                        1987 E30 3L Turbo Stroker Das Beast
                        2002 E39 M5

                        Comment


                          Zen And the Art Of Bodywork

                          Holy Hell. I am renaming this blog (temporarily) Zen And The Art Of Bodywork. It really takes a lot of time to do a decent job.

                          Finally got the side molding clips. RealOEM does not do a good job of calling them out. They snap in as shown, then the center pins get pushed in. This anchors them. Front end of side molding slides into the front clip, then the rest of the side "snaps" into the H-clips. There is screw anchor at the rear. (not shown)


                          Molding in place. I like it. Will look good painted white.


                          Decided to put a protective guard on each wheel well sheet metal edge. I don't want them cutting the tires if we get any extreme suspension deflection. This is thick rubber tubing from home depot, held in place with Gorilla Glue. FYI, that stuff is a Pain In The Ass. Cover anything you are working near. Like tires.


                          3M 8115 panel bonding adhesive applied to the inside of a flare.


                          Everything in place. Das Beast is starting to look like a race car again.
                          "And then we broke the car. Again." Mark Donohue, "The Unfair Advantage"

                          1987 E30 3L Turbo Stroker Das Beast
                          2002 E39 M5

                          Comment


                            This stuff is next. MarGlass short strand fiberglass filler.

                            Last edited by dvallis; 11-24-2016, 03:22 PM.
                            "And then we broke the car. Again." Mark Donohue, "The Unfair Advantage"

                            1987 E30 3L Turbo Stroker Das Beast
                            2002 E39 M5

                            Comment


                              you should bond the inside and outside of the wheel arches together. they're sort of structural-ish.
                              cars beep boop

                              Comment


                                Originally posted by kronus View Post
                                you should bond the inside and outside of the wheel arches together. they're sort of structural-ish.
                                You're talking about the rear arches? They're still bonded together at the bottom on each side. Not so much of a structural stiffness worry with a 10 point roll cage holding everything together.
                                "And then we broke the car. Again." Mark Donohue, "The Unfair Advantage"

                                1987 E30 3L Turbo Stroker Das Beast
                                2002 E39 M5

                                Comment

                                Working...
                                X