If this is your first visit, be sure to
check out the FAQ by clicking the
link above. You may have to register
before you can post: click the register link above to proceed. To start viewing messages,
select the forum that you want to visit from the selection below.
Announcement
Collapse
No announcement yet.
My Official "E30/M50 (+ S52) Improvement Effort Thread"
It's been really tough to find time to work on the car lately, but today I was determined to enter into the weekend with a little bit of momentum.
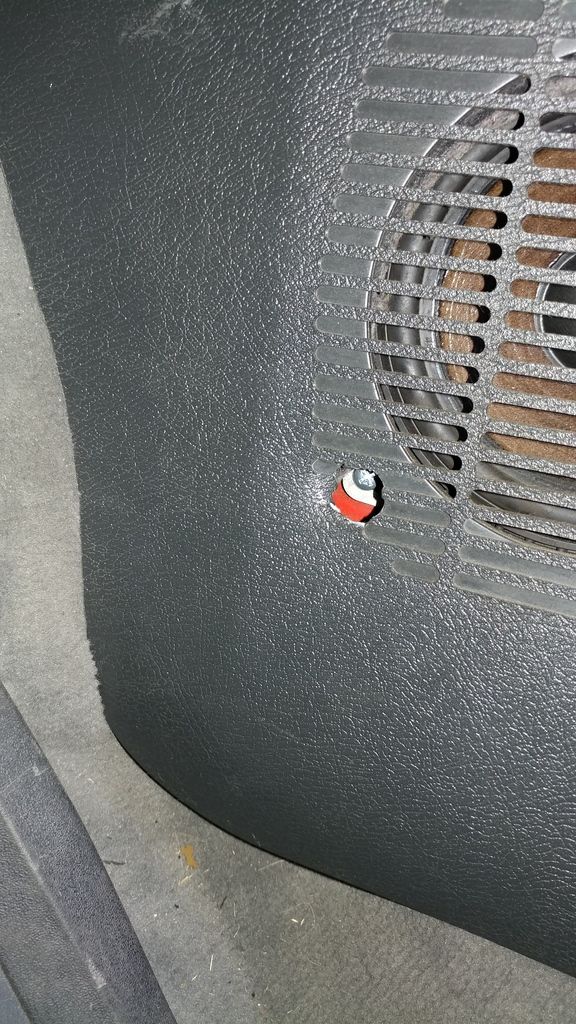
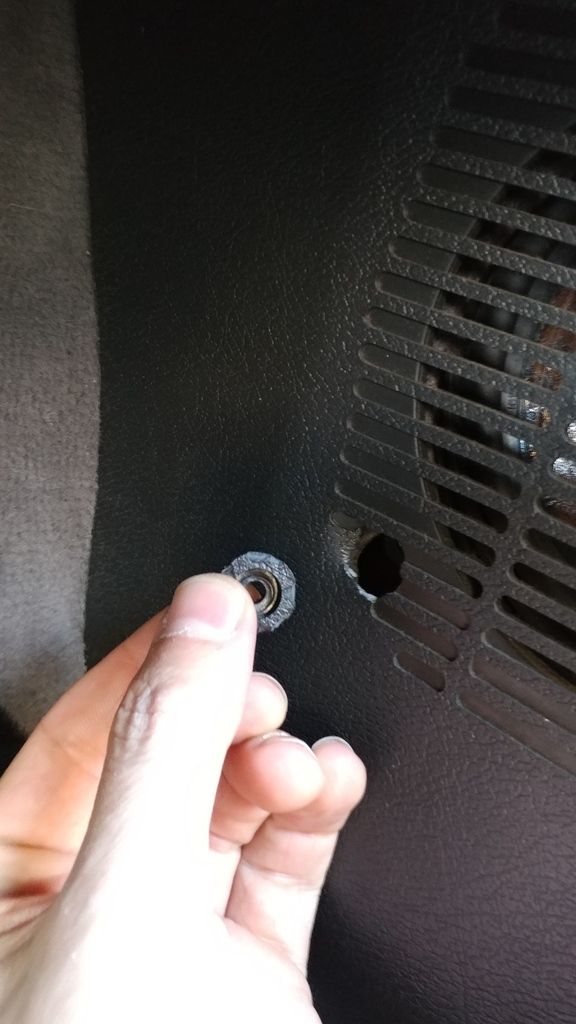
This wasn't really any huge accomplishment, but it was bugging me so I took care of it. The passenger side footwell trim panel was broken and was showing an ugly hole where the mounting screw was supposed to go.
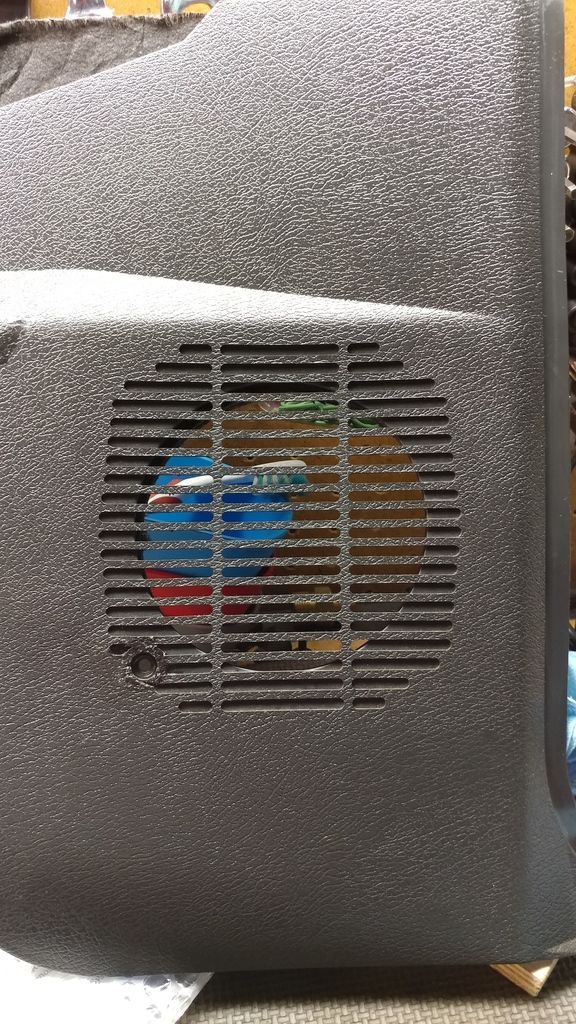
I located a replacement panel locally but to my surprise and frustration I could not get it to fit properly. A little investigation revealed that a previous repair resulted in some minor 'misfitment' in the footwell and consequently the trim panel was going to have to be shaved down in order to get it to fit flush. I didn't feel like experimenting with my new-to-me trim panel in mint condition, so I elected to shape and repair the original one and keep a perfect spare in case I needed it.
I had to cut back the rear edge of the panel repeatedly until it finally fit properly flush against the footwell rear. I went slowly and incrementally and took my time so that I didn't take off too much material. I used an air die grinder with a filing attachment to contour the shape. Finally got it shaped perfectly and then it was time to fix the hole.
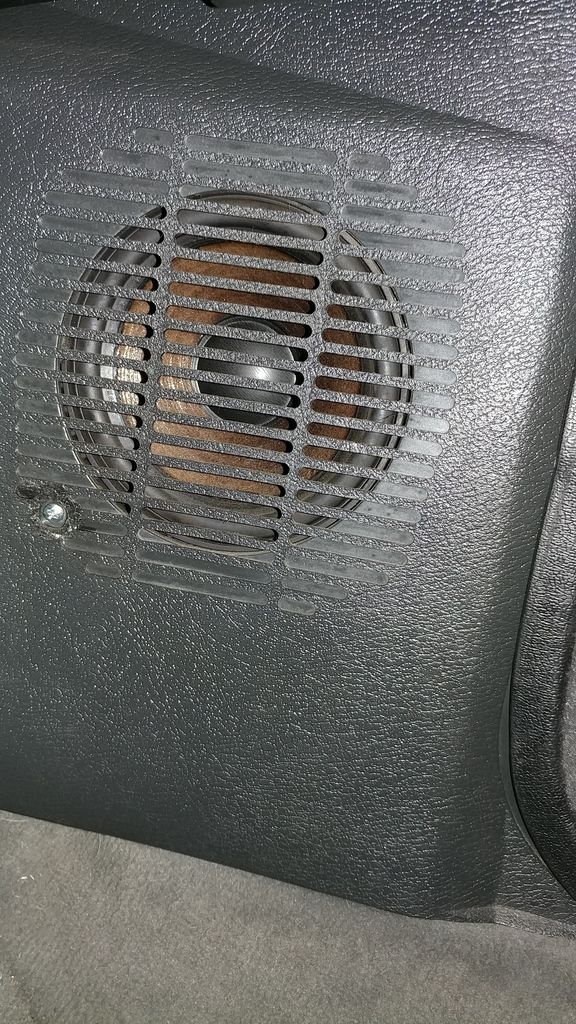
I had to use a heat gun to first reshape the damage surrounding the hole that was bent inward. Then I carefully took the broken piece and figured out the exact orientation it was in before it broke. A little bit of Gorilla Glue and 24 hours of set time later, the hole had been properly patched and repaired and I could once again secure the panel properly with the mounting screw. Yes, this was a bit of an OCD repair but I find little detail projects like that enjoyable for some strange reason. :p The end result came out pretty decent:
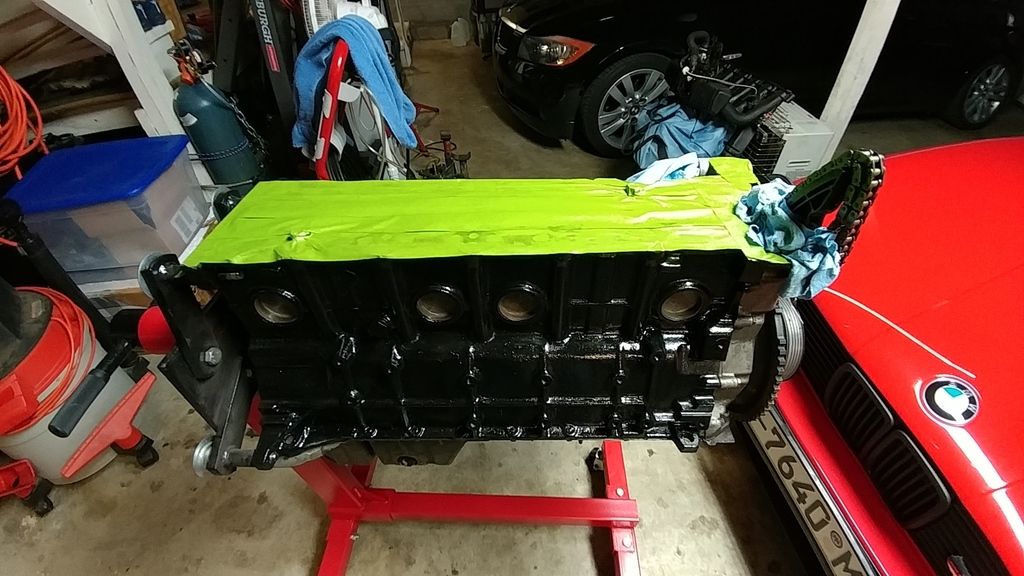
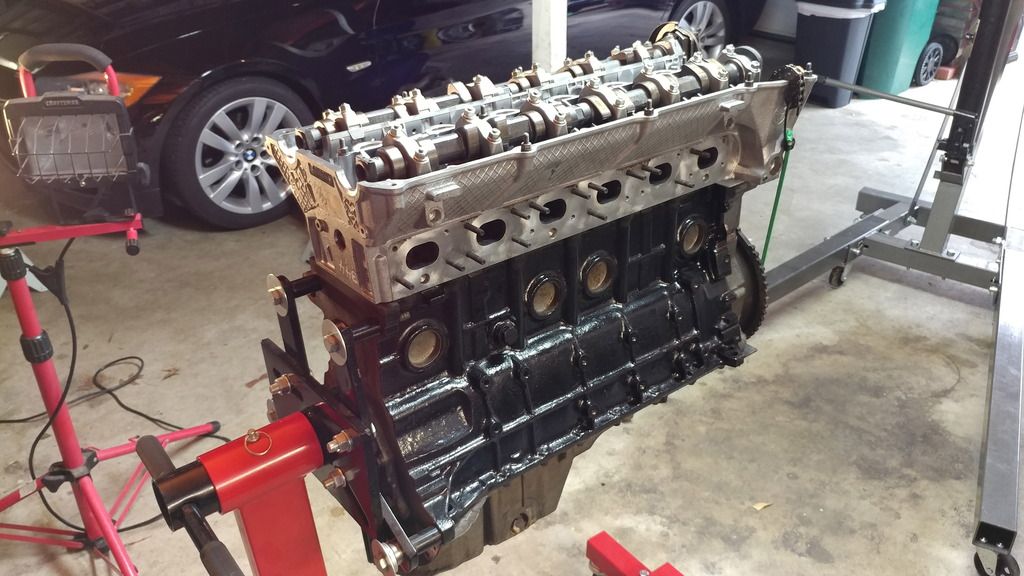
I decided the next thing I wanted to do was reinstall the camshafts. I vacuumed off my work area to make sure things were clean, and then sat the head on the bench. Because was going to be replacing the camshafts on the bench before installing the head, I made sure to seat the head on a couple of blocks so that any valve movement below the head surface would not result in me bending anything.
This is how I did the same job on my m52 build recently and it saved a little bit of time and hassle having the camshafts already mounted and timed before mounting the head to the block.
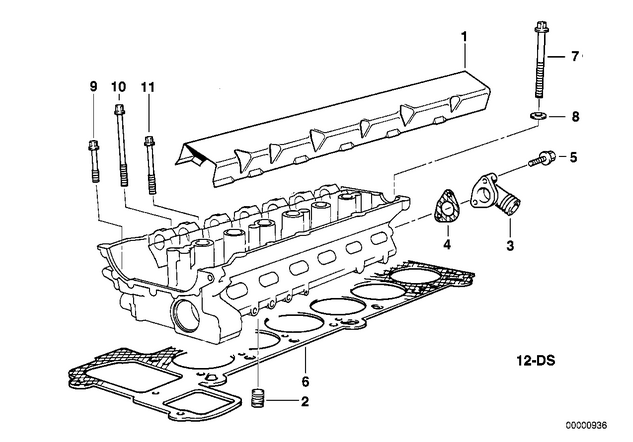
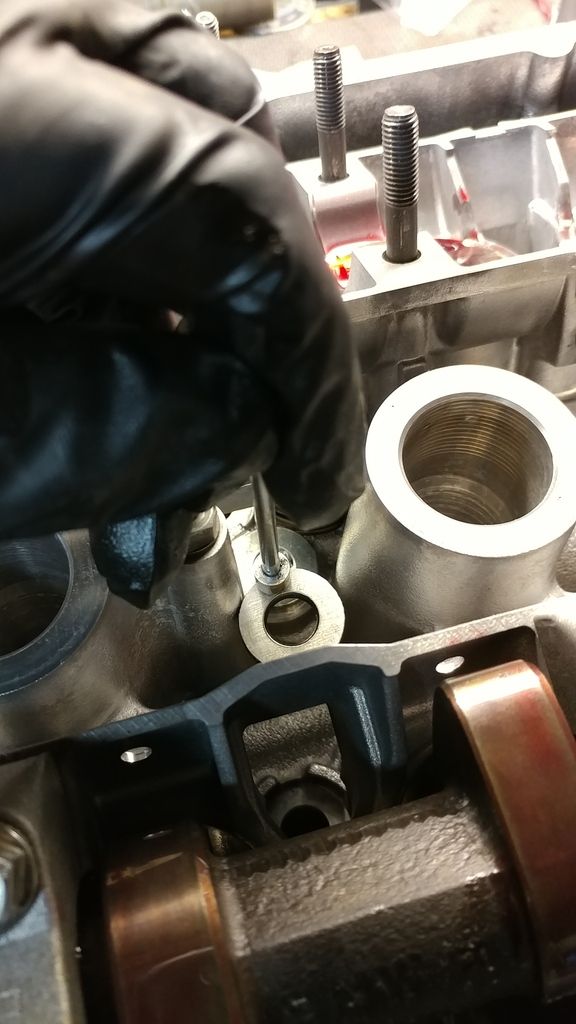
Next order of business was replacing the non-return valve in the bottom of the head. Although not everyone replaces these when doing a head gasket, I think it's good insurance to go ahead and do it because over time these lose their ability to keep oil in the cylinder head, resulting in 'dry' startup conditions that make for noisy lifters and whatnot... Unfortunately I forgot to take a picture, but in case anybody was wondering this is part #2 in the following diagram:
I then proceeded to apply assembly lube to the friction points in the valvetrain.
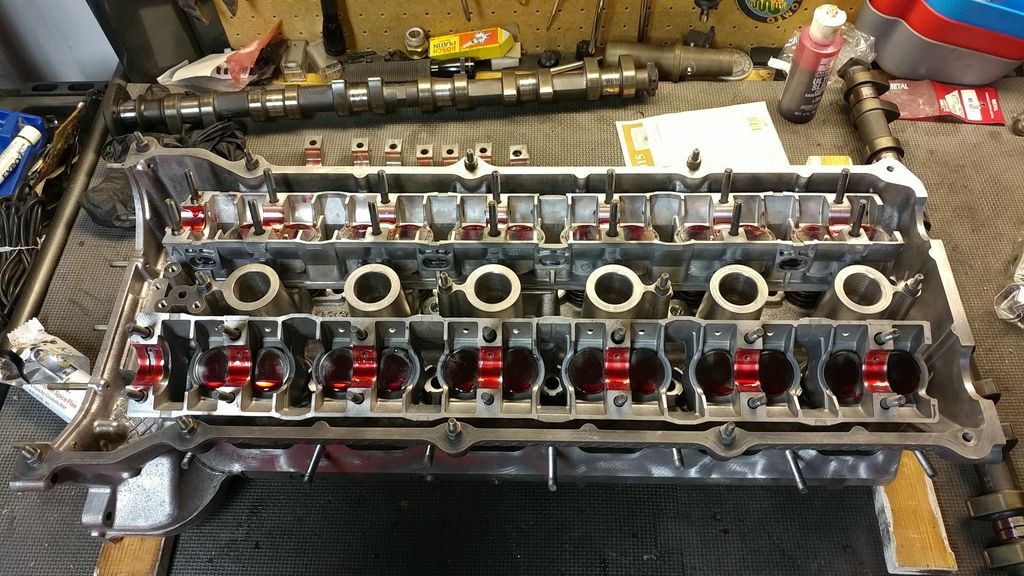
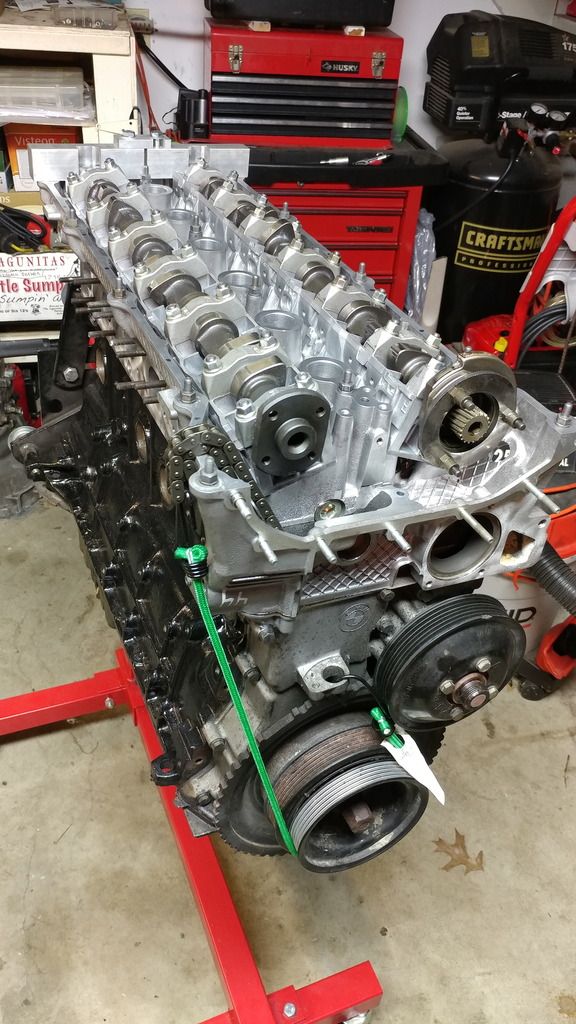
Then installed the intake side camshaft.
After installing the first camshaft I realized I should probably go ahead and install the cylinder head bolt washers so I wouldn't forget later! This was made easier with the trays and camshaft already in place by using a magnet to point them where they needed to go. Then I just released the washers using a thin screwdriver once they were in place.
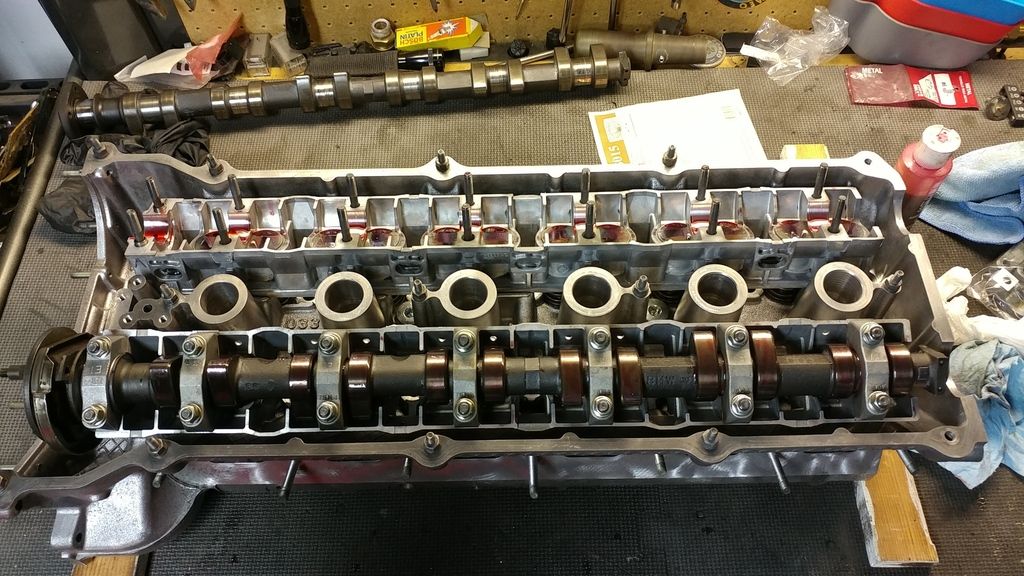
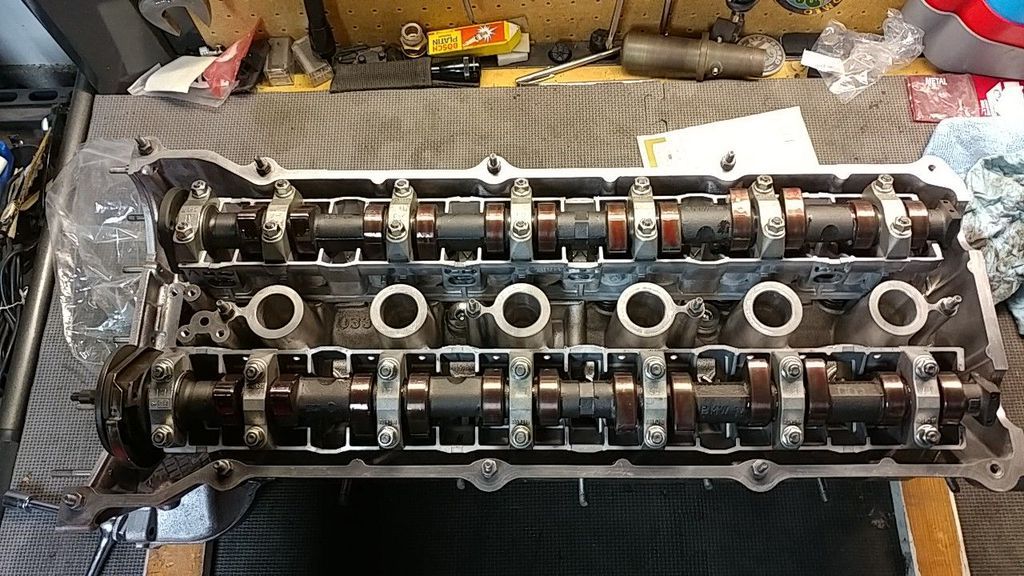
I then installed the exhaust side camshaft:
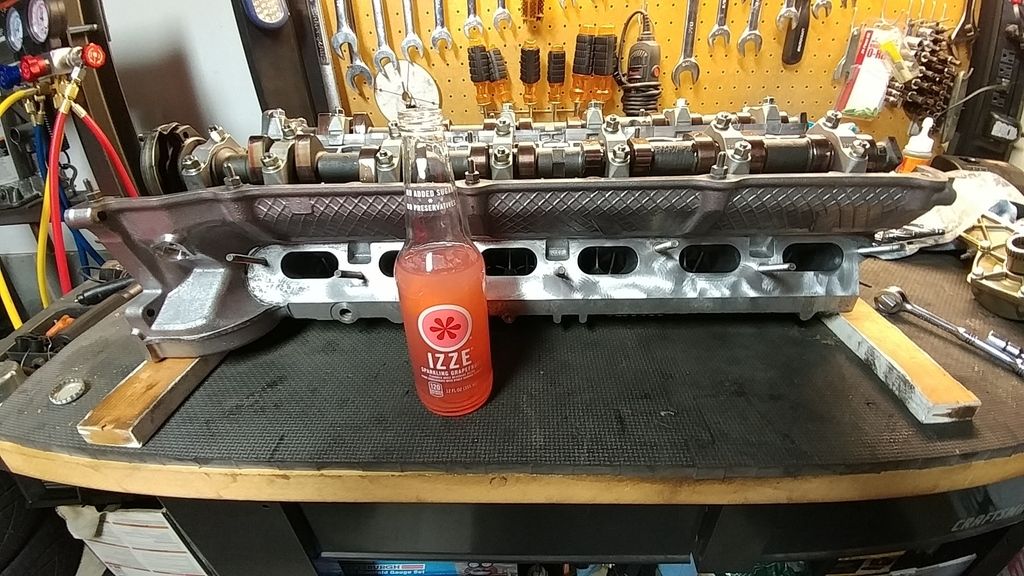
I then torqued all of the bearing cap nuts to 15 nm and celebrated with a tasty Izze sparkling grapefruit beverage since I ran out of beer!!! :)
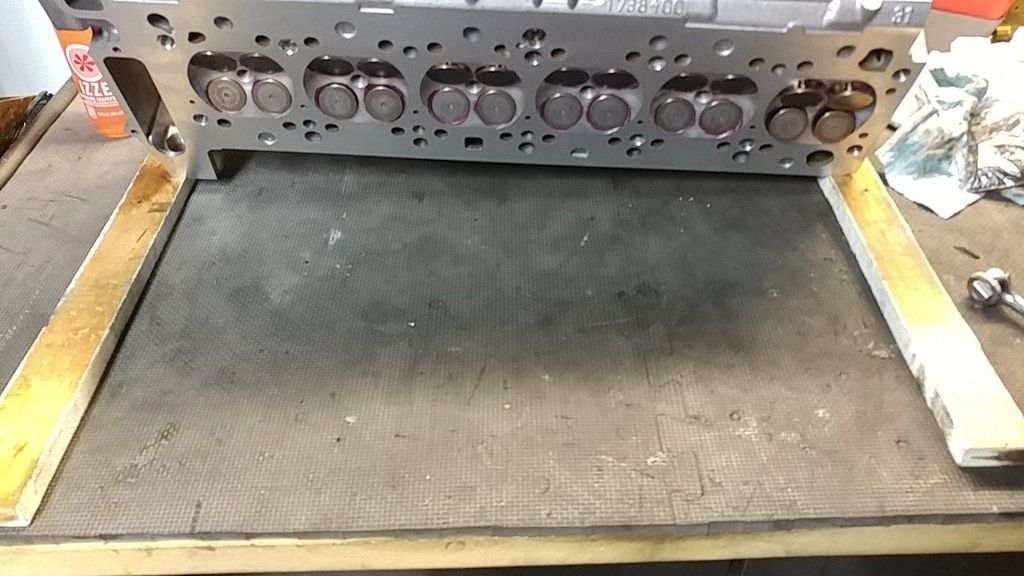
Tomorrow I will time the camshafts using my cam-timing tools to get the head ready to be reunited with the block. Just to reiterate my earlier point, this is why you want to maintain clearance between the head surface and your work surface:
Next step: Clean the block surface to insure the integrity of the head gasket seal and then reinstall the cylinder head!
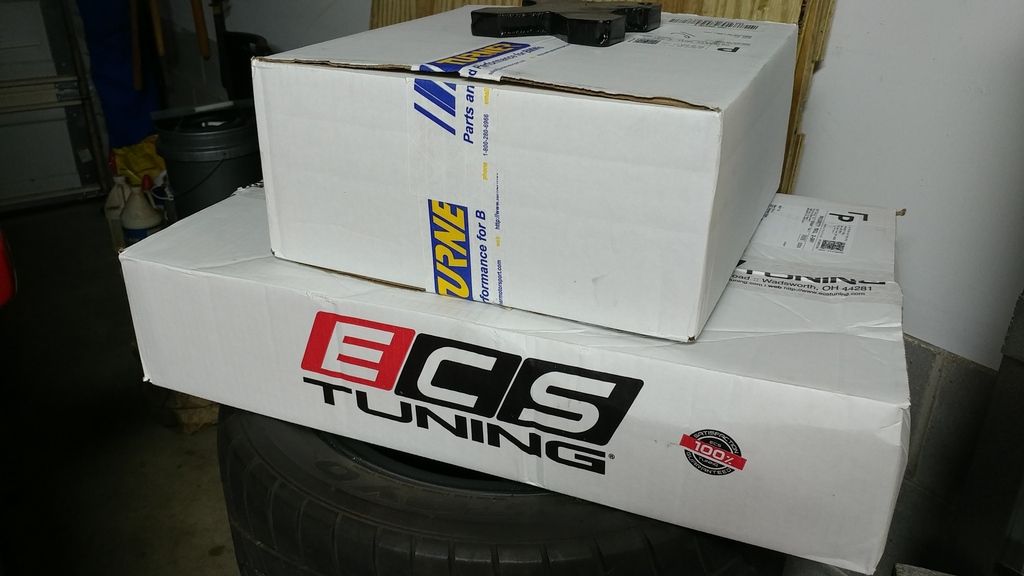
And... in my next installment I'll tell you guys and girls what the UPS man brought this week for my build... :D
It has been quite a while since I've posted. Work on the swap was massively slow over the holidays. Really didn't get much done, but in the past couple of months have made some progress that I'm just now putting together to post.
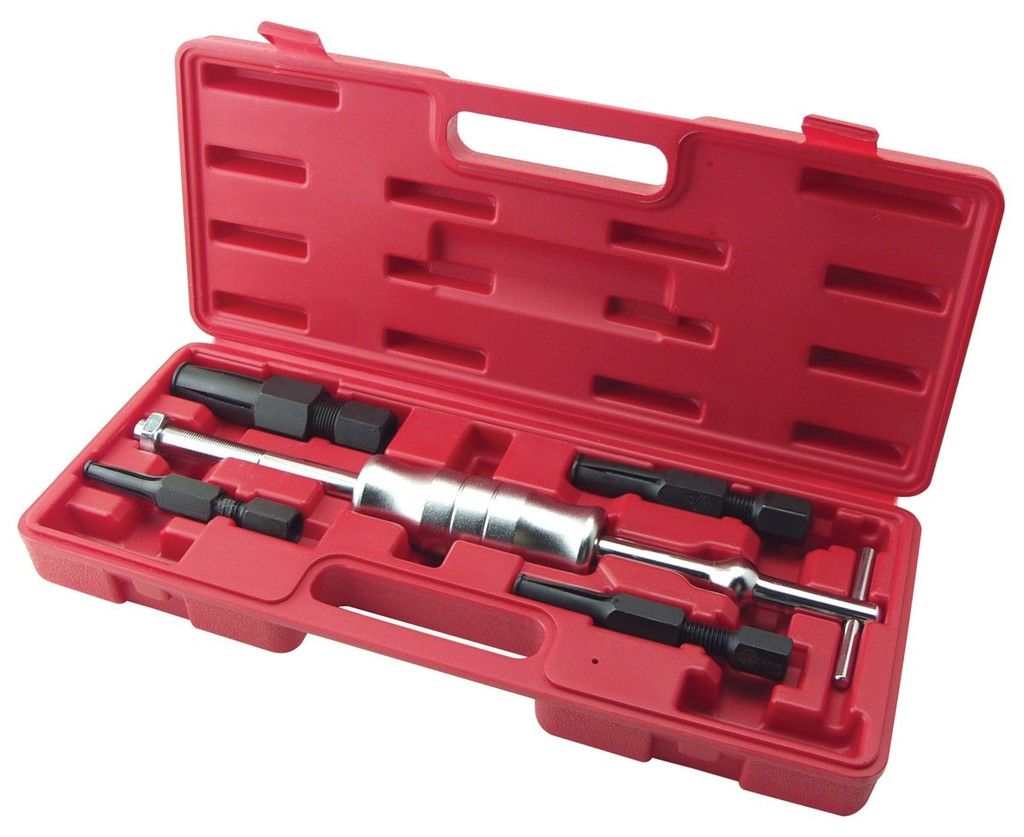
Since I am going to be swapping the current Getrag 260 transmission in the car with the ZF S5D320Z (E36 M-car 5 speed) I bought with the motor, I decided to to the shift pin service before installing it in the car. Having owned an E36 M3 in the past that suffered from the sticking detent issue that put the neutral shifter position out of whack, I made the call to preemptively address the issue. Lucky for me, a buddy of mine had the ZF service tools already that included all of the various drifts needed for the job, so I didn't need to purchase them. If you need to buy them you can get them from Thayer Motorsports (www.thayermotorsports.com):
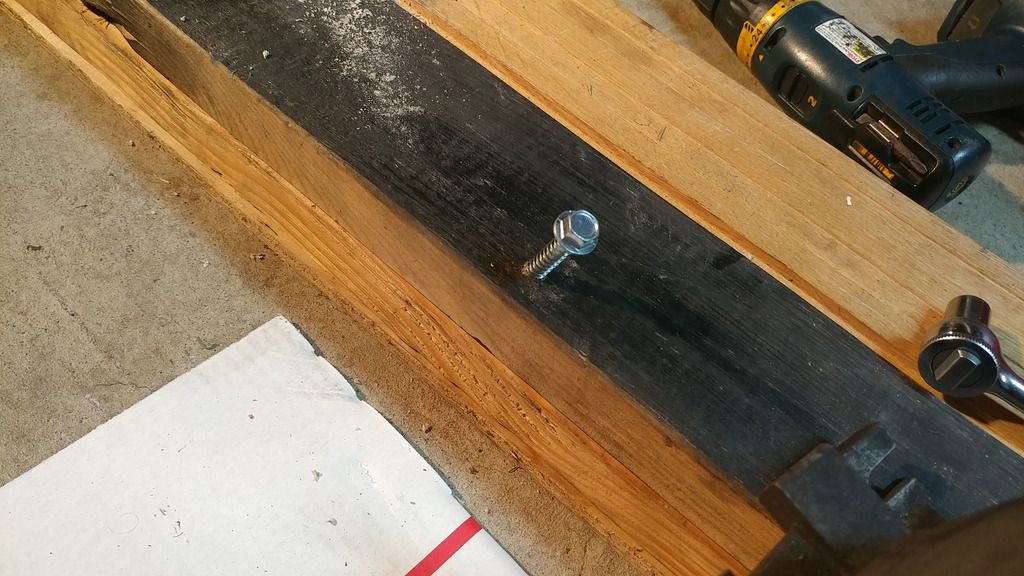
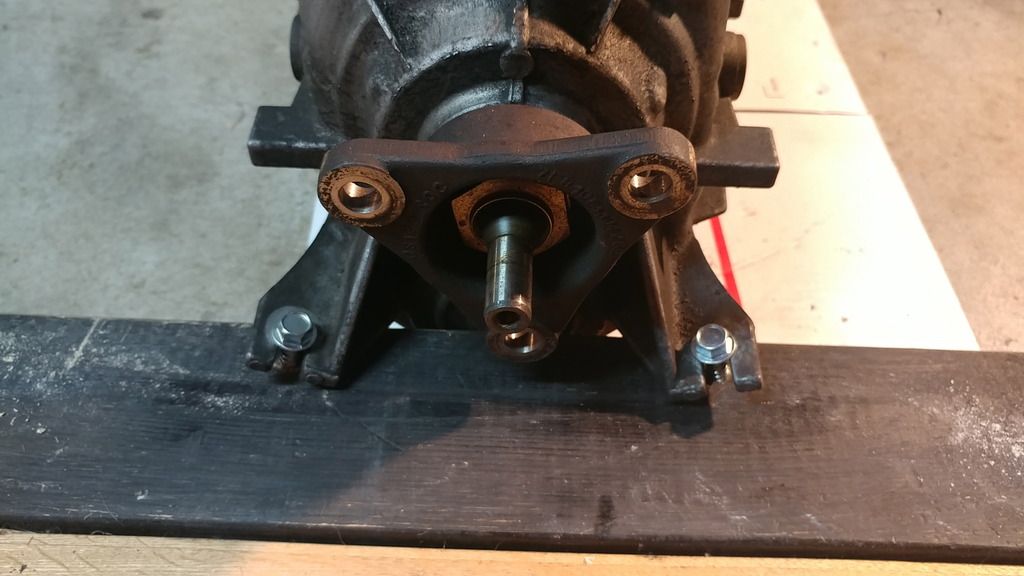
Transmissions don't like to sit perfectly upright on their own when you are working on them, so I made a makeshift 'stand' by simply putting two threaded bolts into a couple of 2x4s that I passed through the trans mount ears:
This kept it from rocking back and forth as I was working on it. Pretty simple solution. Then I proceeded to do the service. It starts with replacing the pins and sleeves for gears 1-4. First you remove the pin caps:
Removing the shift pins:
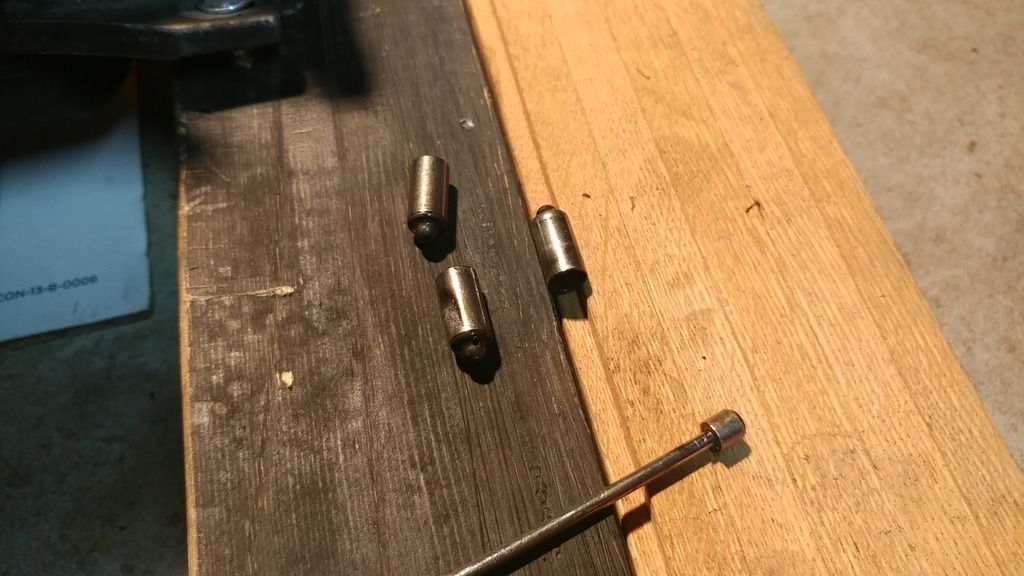
Old pins removed:
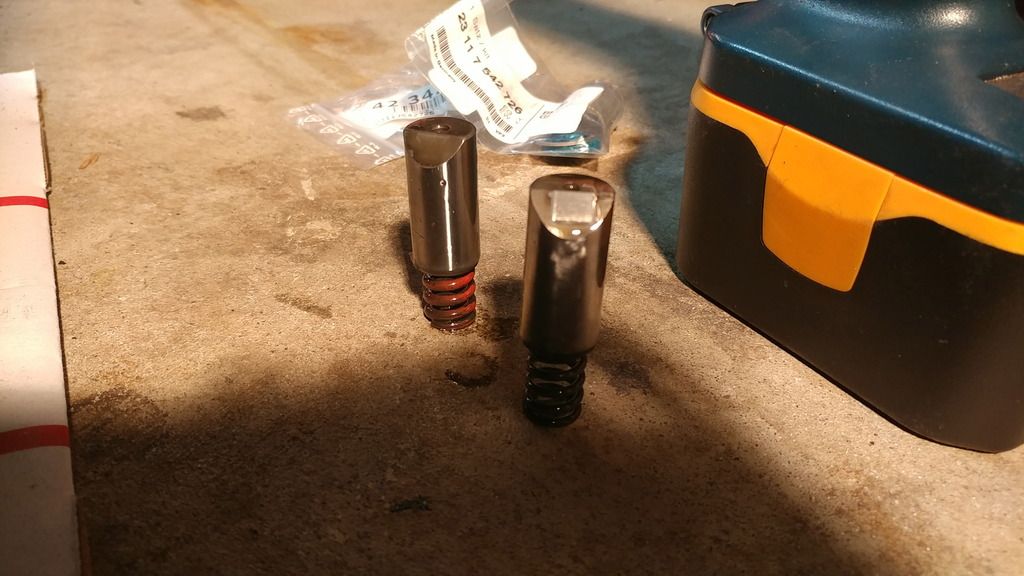
Old and new pins. Notice that the diameter of the newer pins is a little different. Hence, the replacement sleeves that go in the trans have a slightly different I.D. as well. The newer design supposedly does a better job of preventing binding and sticking.
Installing the new sleeves:
New sleeves installed for gears 1-4 and lookin' purty:
Installing new pins:
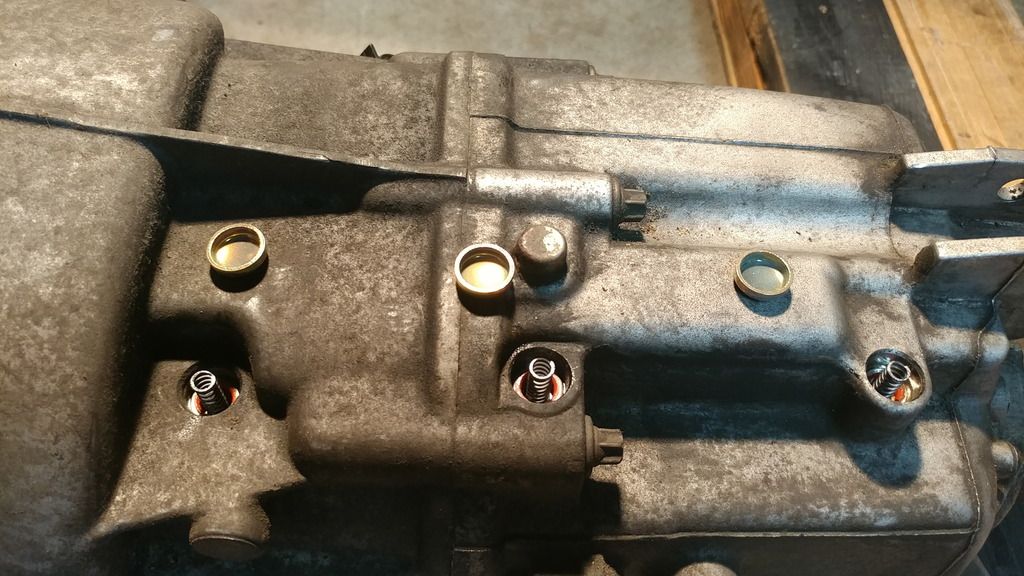
New shift pins and springs installed and capped:
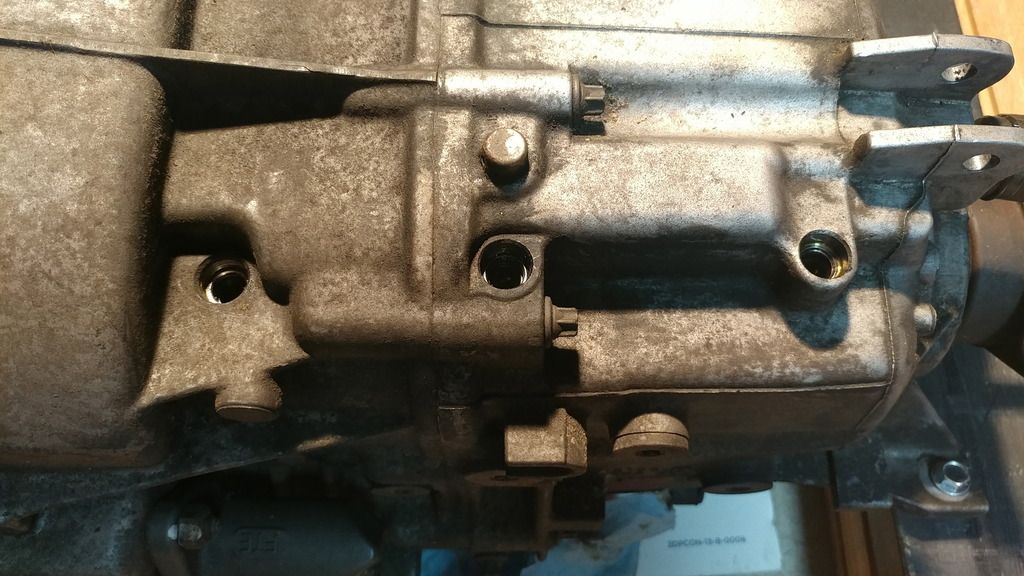
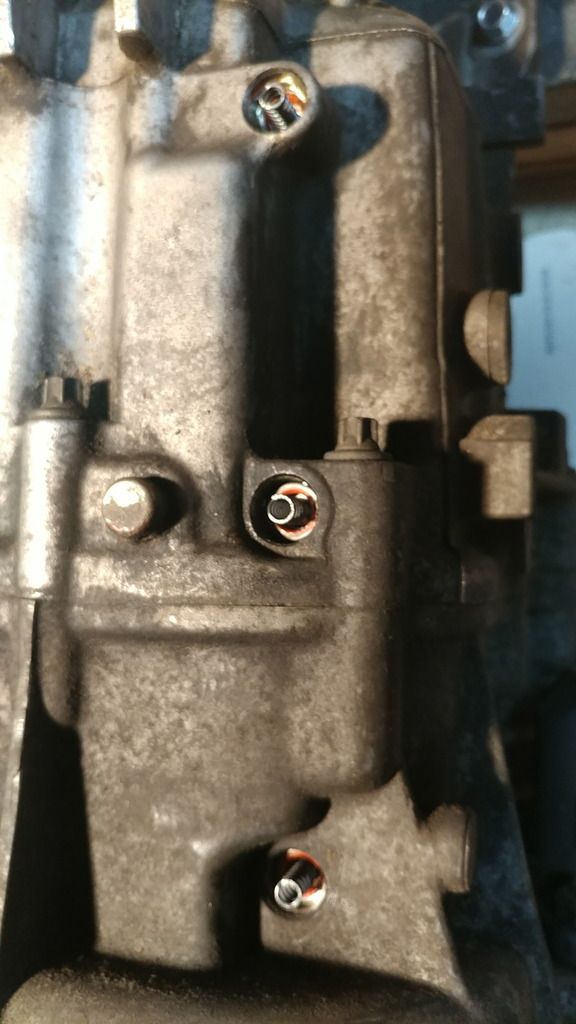
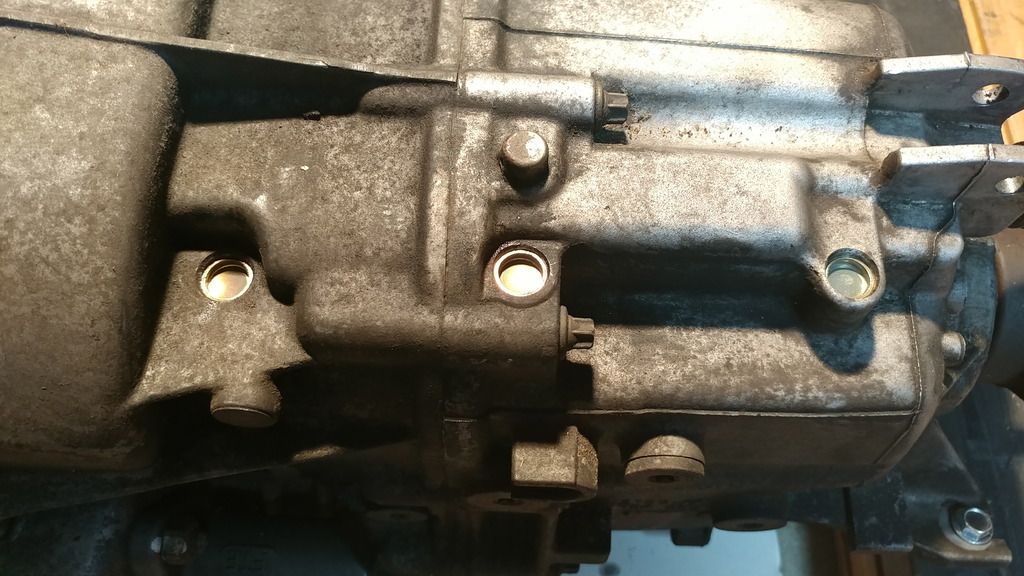
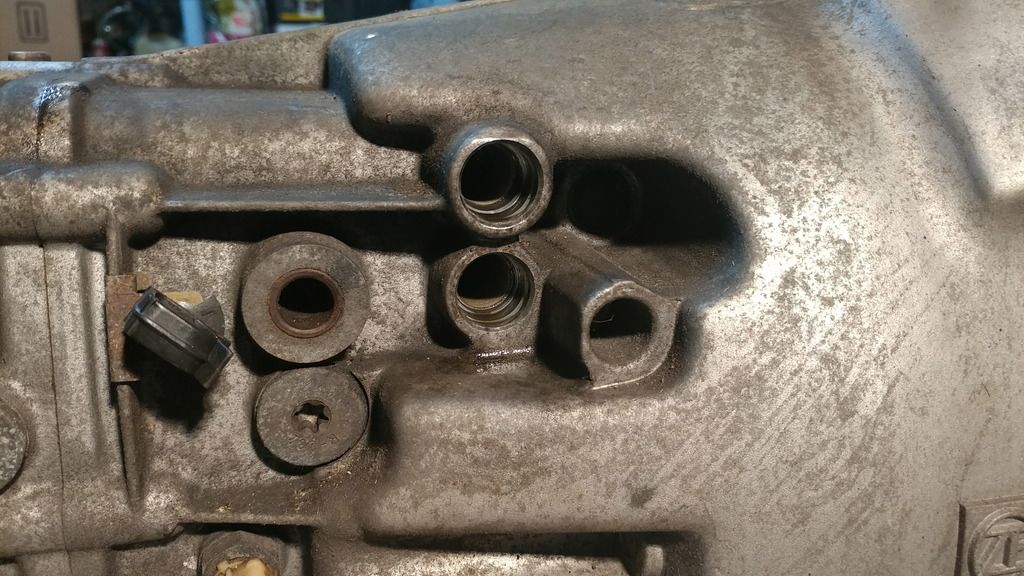
Shift pins and springs for 5th and reverse removed:
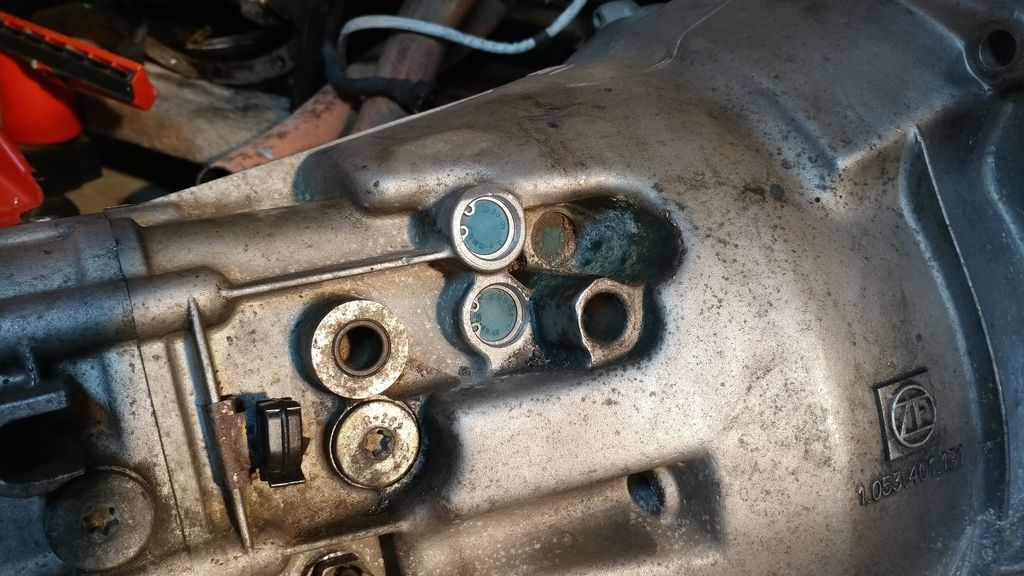
Now for the hard part... These sleeves in the 2 bores need to be removed. Without going into too much boring detail, the big challenge with these is getting the cylinder sleeves out without damaging the bores. The DIYs online suggest using a small screwdriver or pick to try and deform the sleeves, allowing enough room to grab and pull them out. In the real world, this is virtually impossible to do without scoring the bores. I learned this the hard way and ended up having to purchase 2 new cylinder sleeves, only after having to restore the smoothness of the bores by patiently using j.b. weld and super fine grit sandpaper... Ugh.
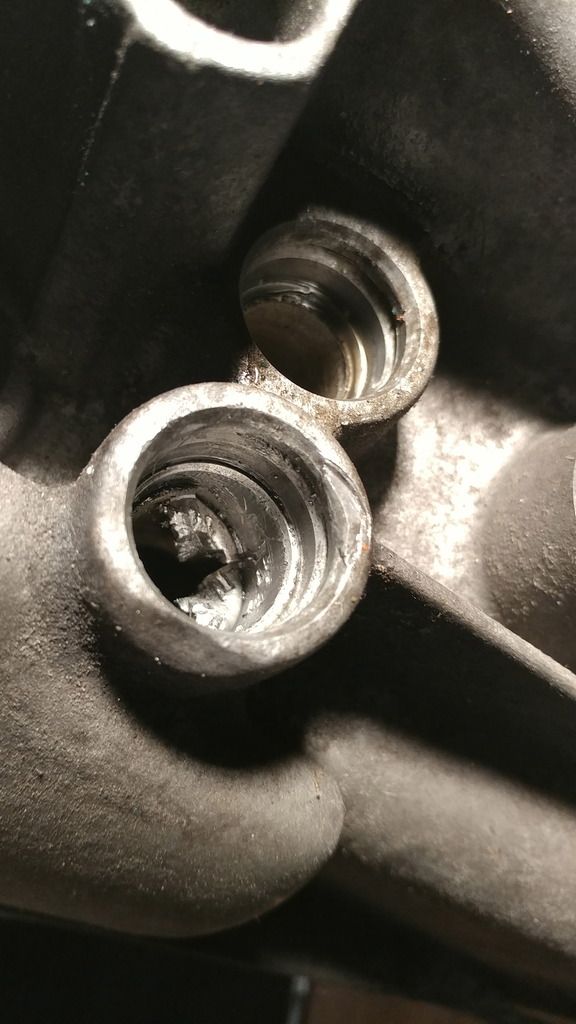
Removal using the screwdriver deformation method. You can see how the bores were unfortunately scored during this process. This was my first time doing the job before learning of the blind hole puller tool...
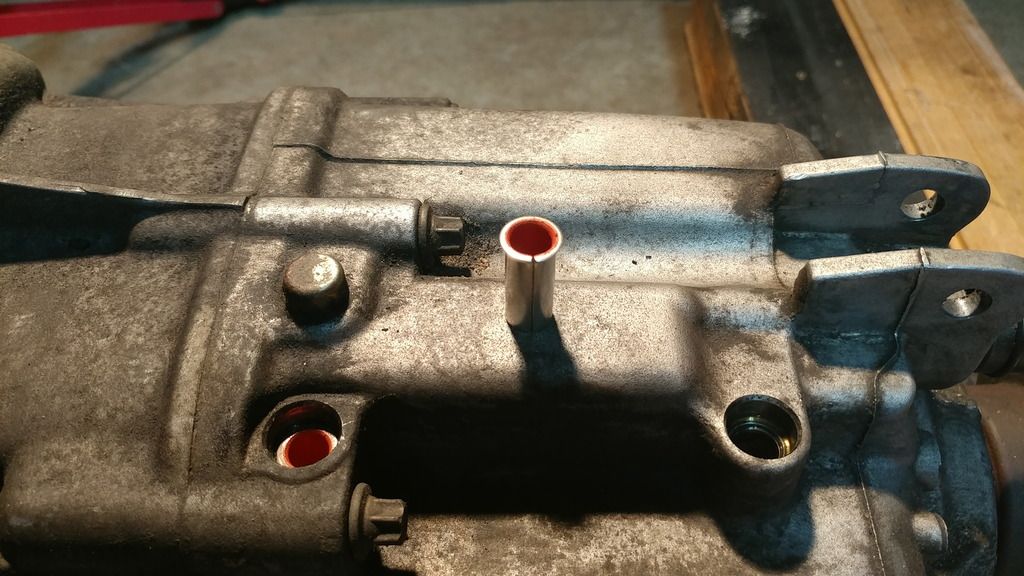
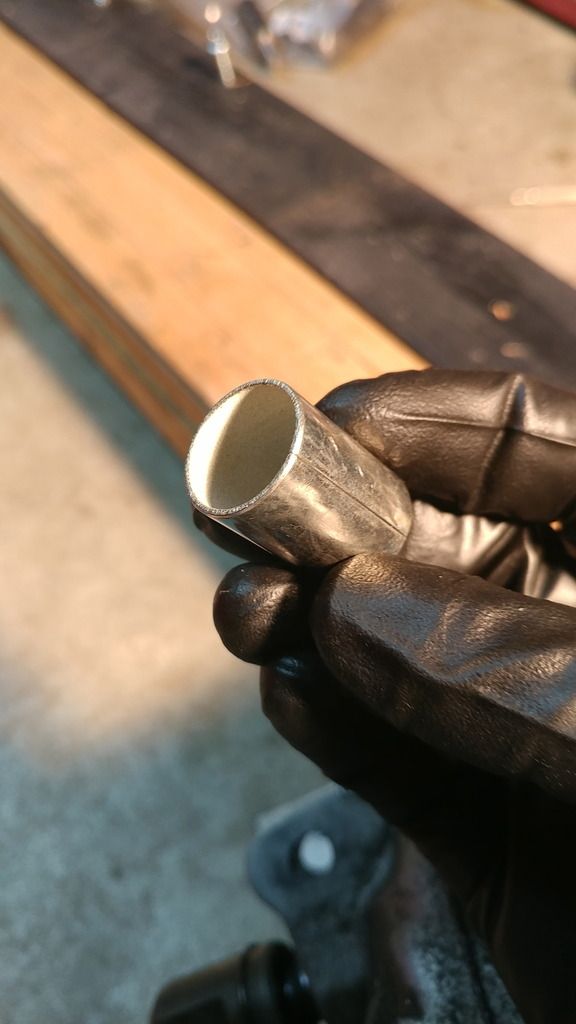
New sleeve getting ready to be installed. There are 2 of these. One for reverse, and one for 5th gear:
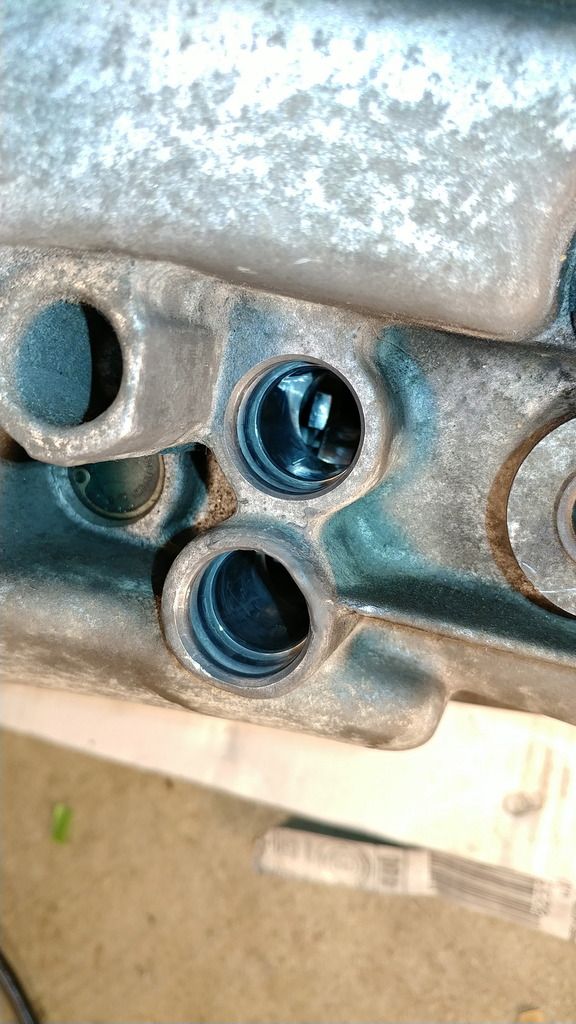
New sleeves installed:
In the end, I got everything restored and working, but let me save you a HUGE hassle if you are going to do this job. Go to AutoZone and rent their "blind hole puller". It is essentially a glorified slide hammer with attachments that grab the O.D. of the sleeve and extract the sleeve without destroying the bores. Don't even waste your time without this tool if you have an AutoZone anywhere nearby. Wish I would have known about that tool before trying this the first time! :D
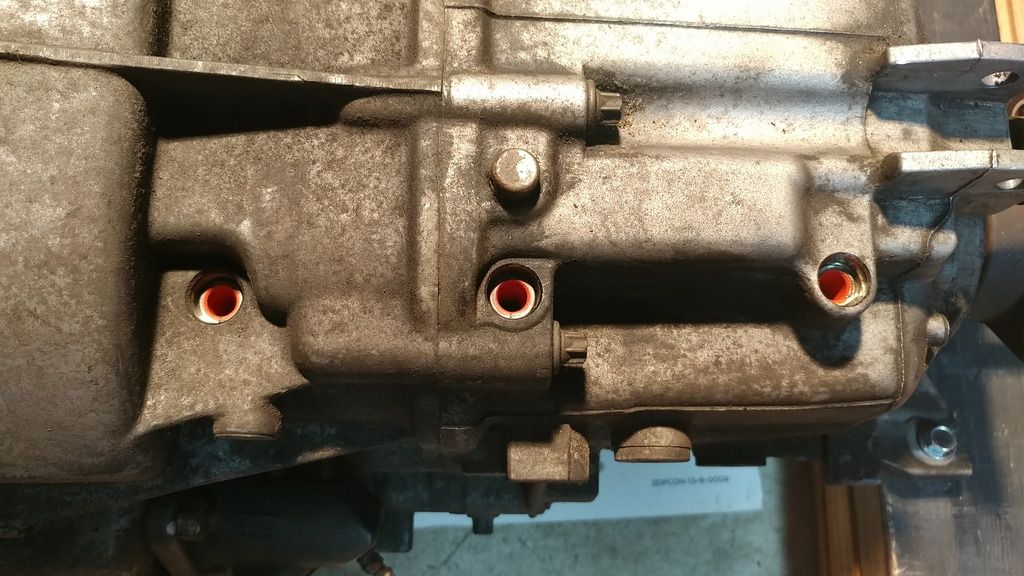
New 5th and reverse pins and springs installed, with new caps and circlips:
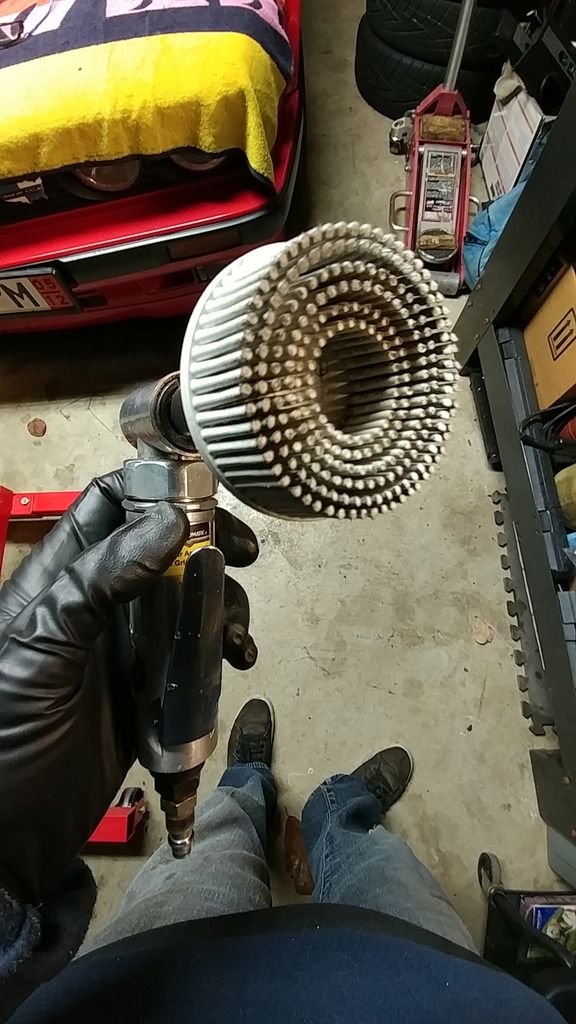
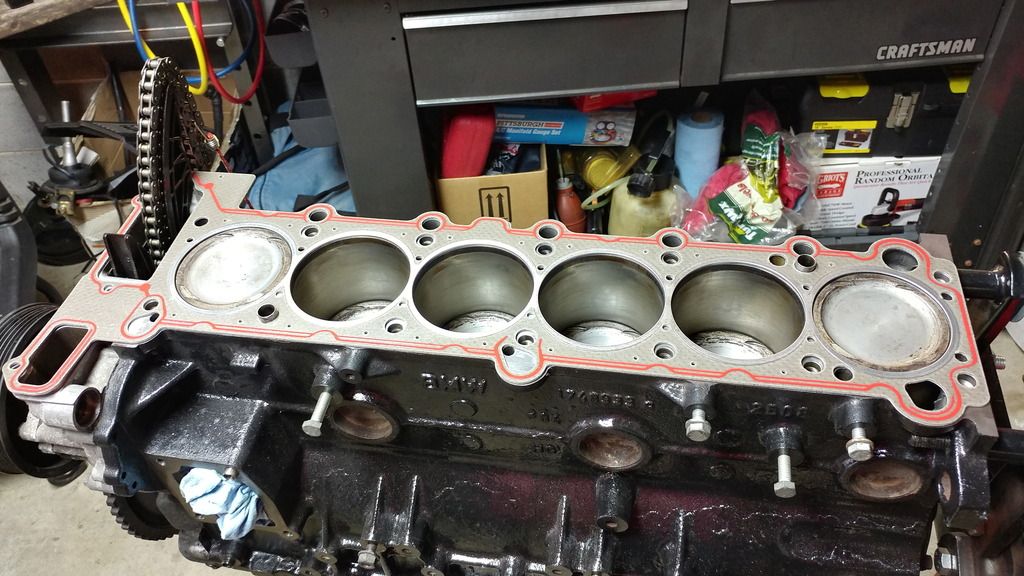
Next on my list was cleaning the block surface. On the last motor I put together, I ended up using a lightly-abrasive scotchbrite type of pad attachment with an air die grinder to remove the old gasket residue, taking care not to dig in too much and score the surface. That worked well, but I didn't want to go as aggressive this time around. After doing some research, I found a fantastic tool for the job made by 3M: A Roloc Bristle Disc (white) that does an incredible job of removing gasket residue and grit without damaging the surface.
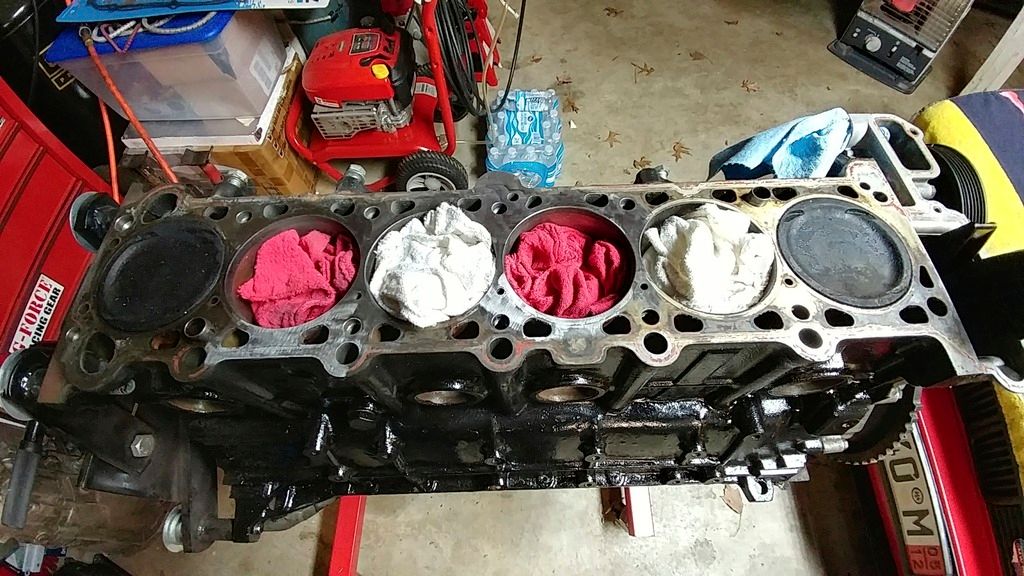
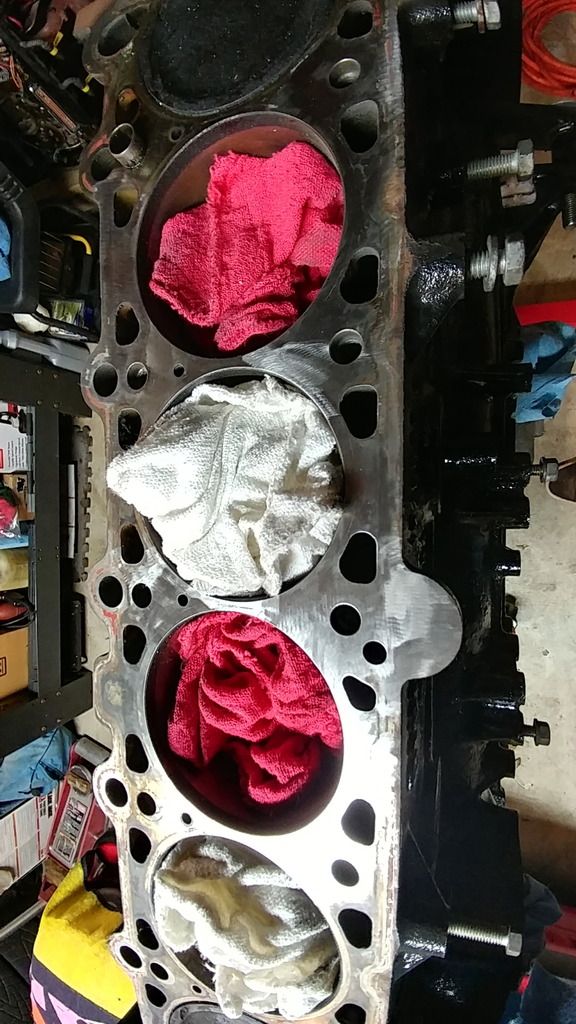
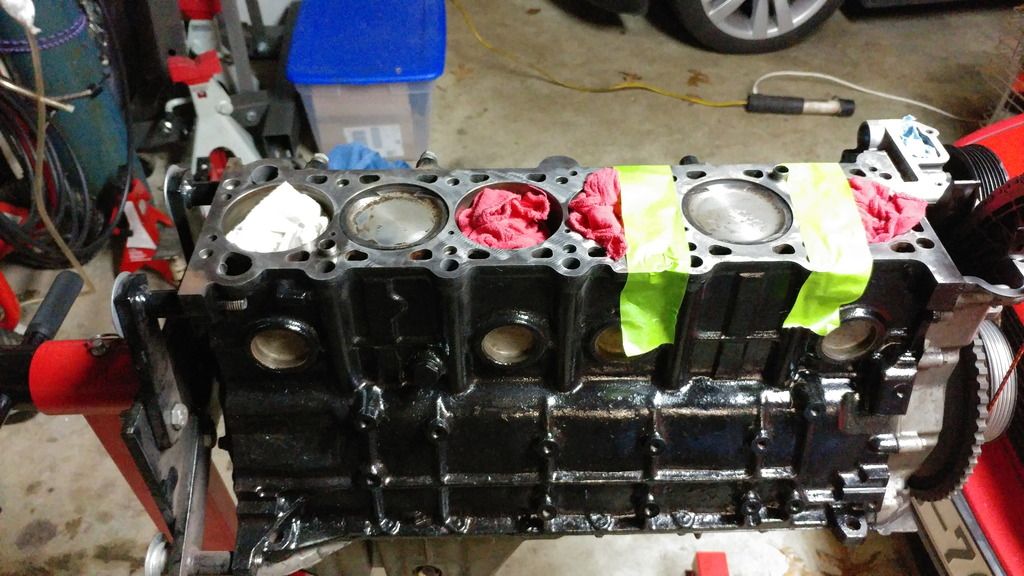
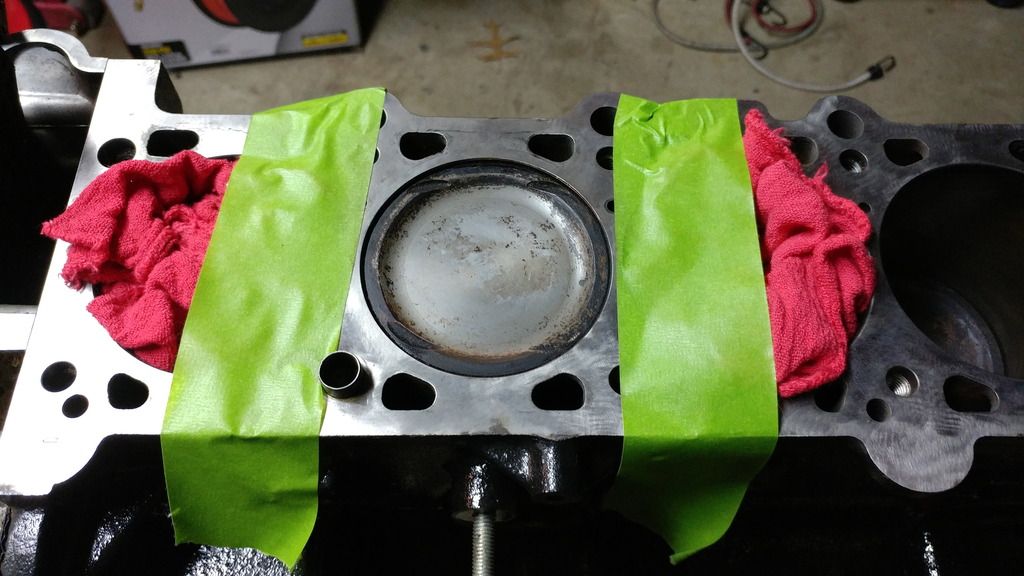
First I stuffed clean rags into the cylinders so as not to get any debris in there that could score the bores.
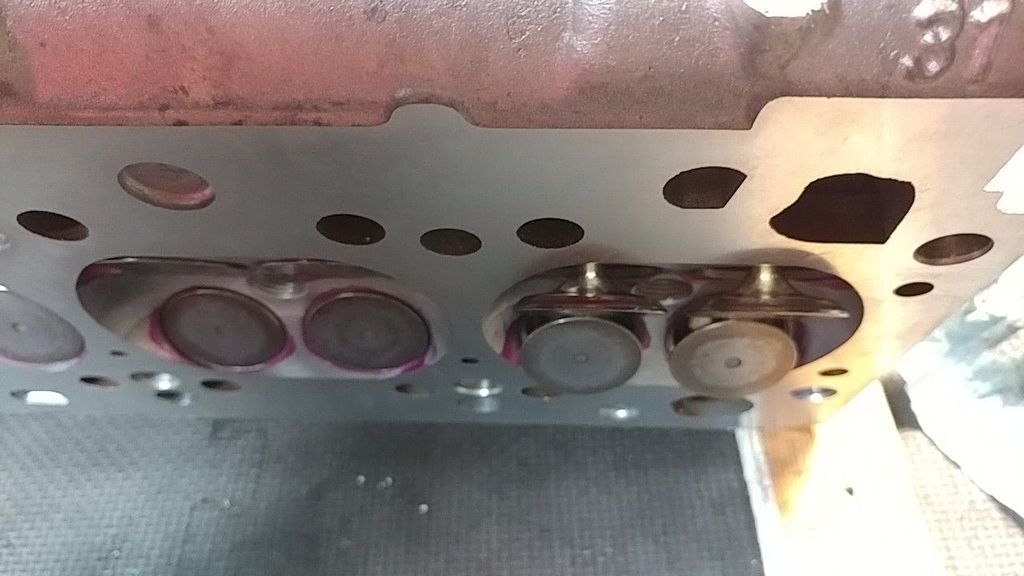
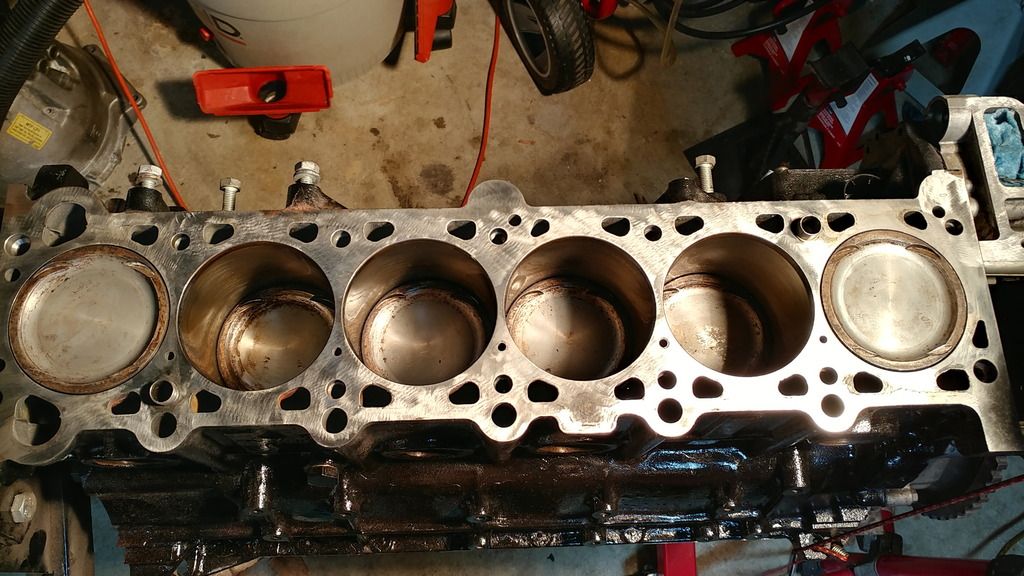
Then I started cleaning the surface with the die grinder/Roloc attachment. Here are a couple of pics of the surface after working on it:
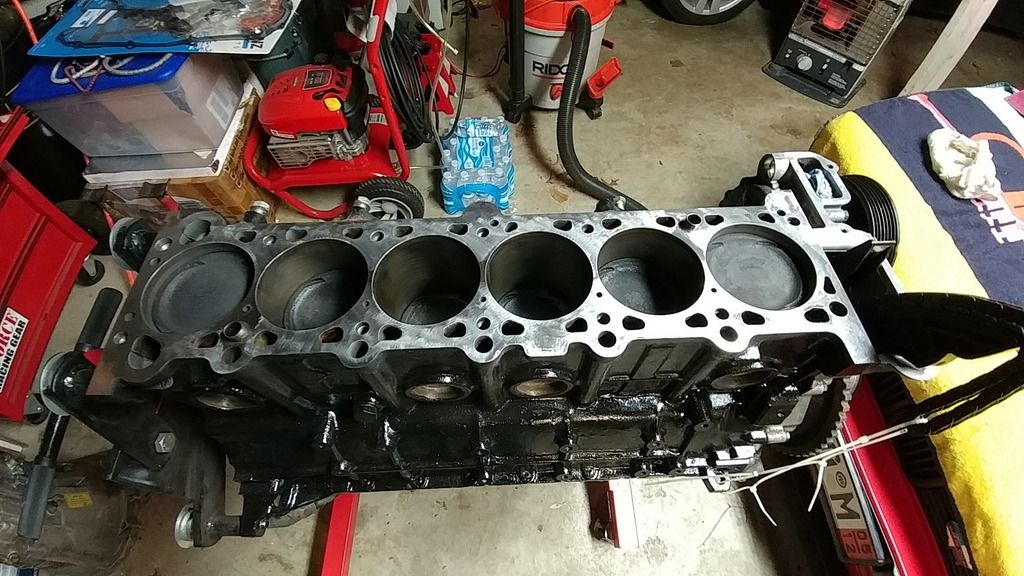
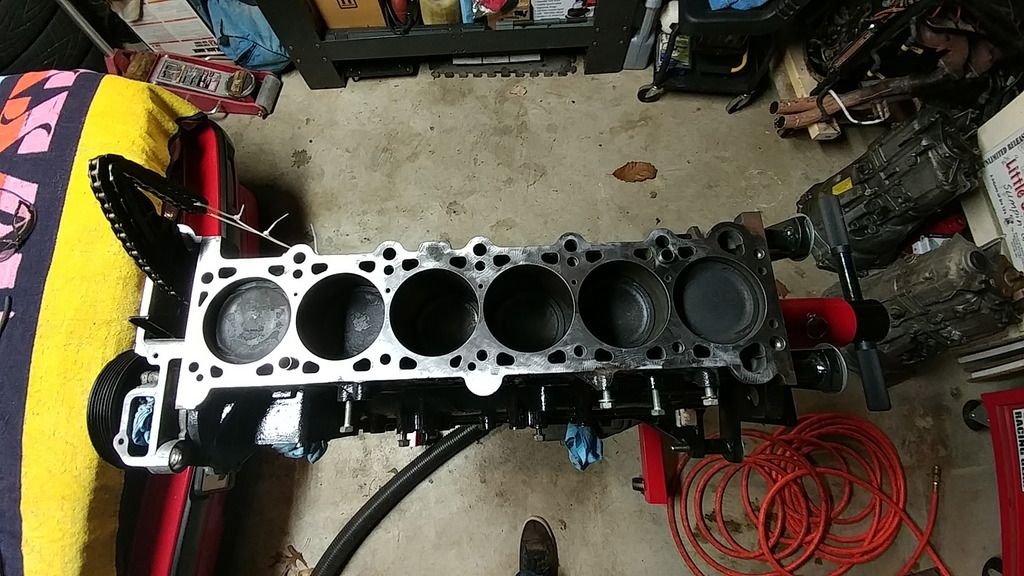
As you can see, there was quite a bit of bit of carbon buildup on the pistons. Depending on who you talk to, some folks will say it's a waste of time to clean them or that you're risking getting carbon pieces in the cylinders that will damage them, etc... I elected to take my chances and very very carefully clean the tops, mostly because they were sitting right there beckoning me with their dirty, ominous black stare....
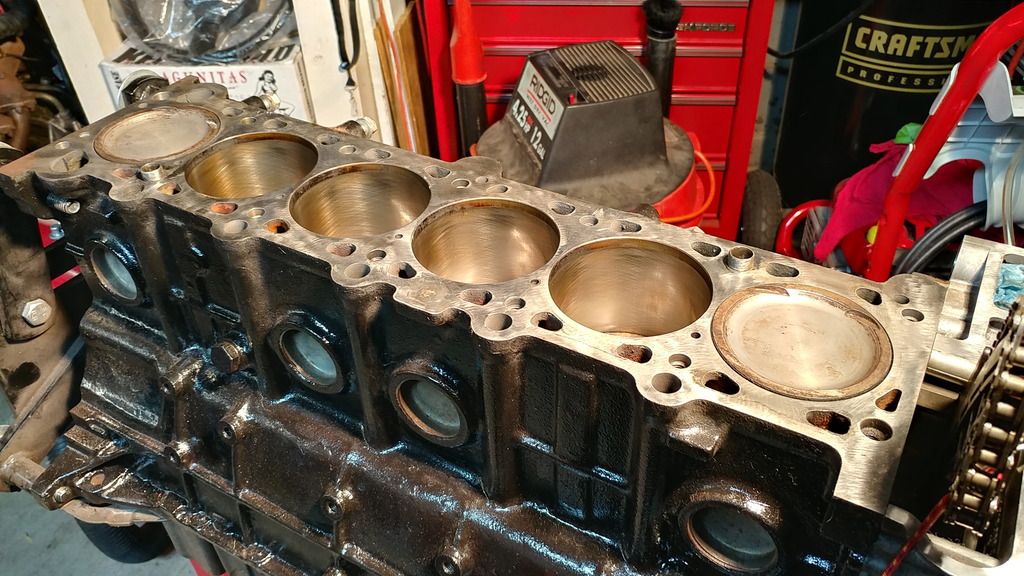
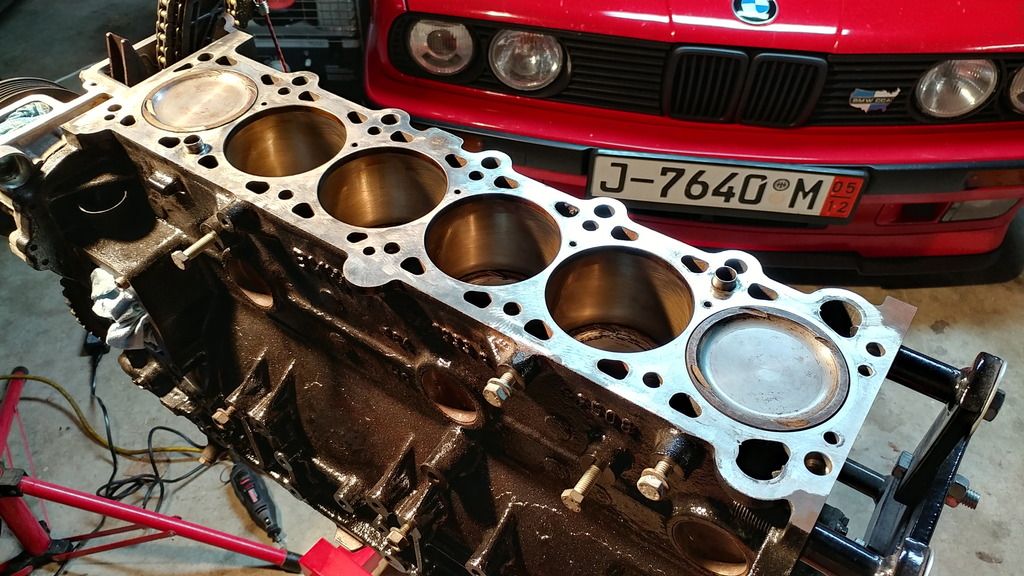
The safe way to clean, I decided, was not to use any sort of air or rotating tools which might throw little tiny carbon flecks everywhere. Instead I went old school and used a small putty knife to first work off the excess with one hand while I held a shop vac cleaner attachment with the other. This allowed any carbon broken off to be immediately sucked into the vacuum, and safely away from the rags that were stuffed in the cylinders. This was a long and tedious process, but it worked. After removing the excess, then I sprayed parts cleaner onto a microfiber cloth and scrubbed what I could of the remains off of the surfaces. I had to repeat this process for each cylinder several times, but this effectively removed 99% of the carbon and made the piston tops completely smooth again. Here are some pics from steps during the process:
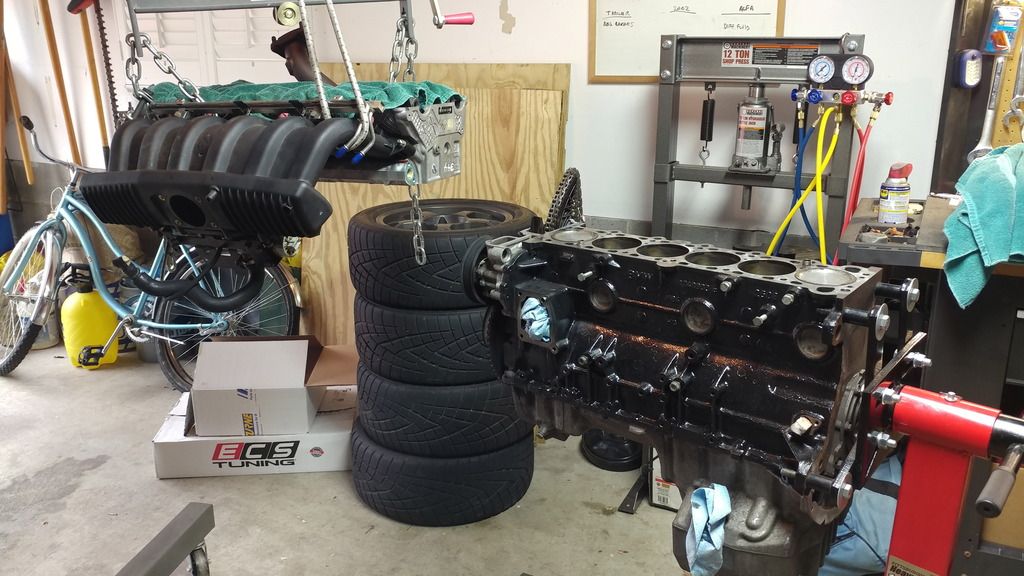
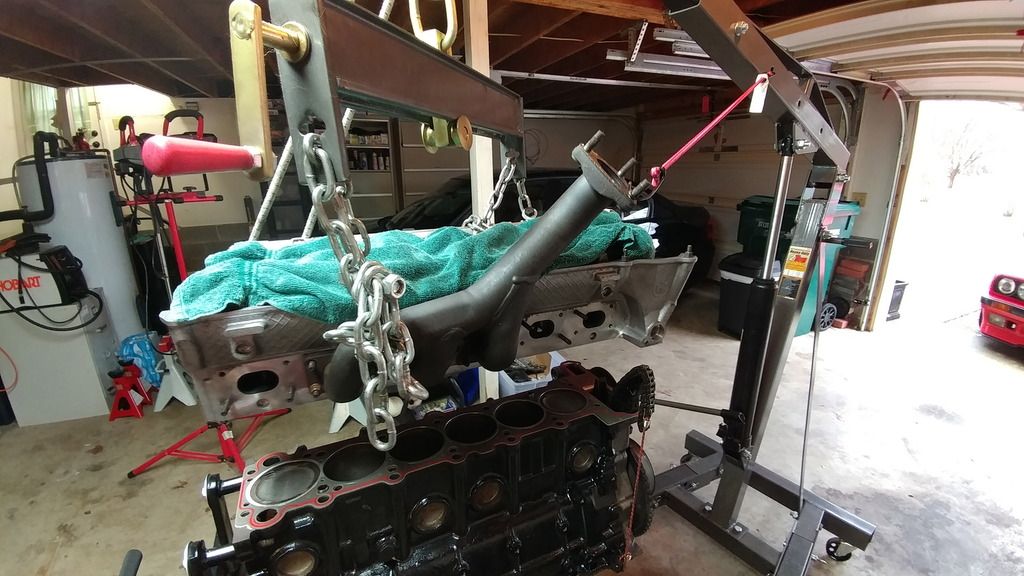
After the block surface and pistons were all clean and shiny, it was time to reinstall the reconditioned head. Since I was working by myself, my main challenge was figuring out how I was going to simultaneously guide the timing chain through the head while singlehandedly lowering the head onto the block without dropping the chain, damaging the head gasket, or bashing a valve into something and messing it up. So, after some head scratching I decided that I was going to use my engine hoist to lower the head while I monitored the threading of the timing chain.
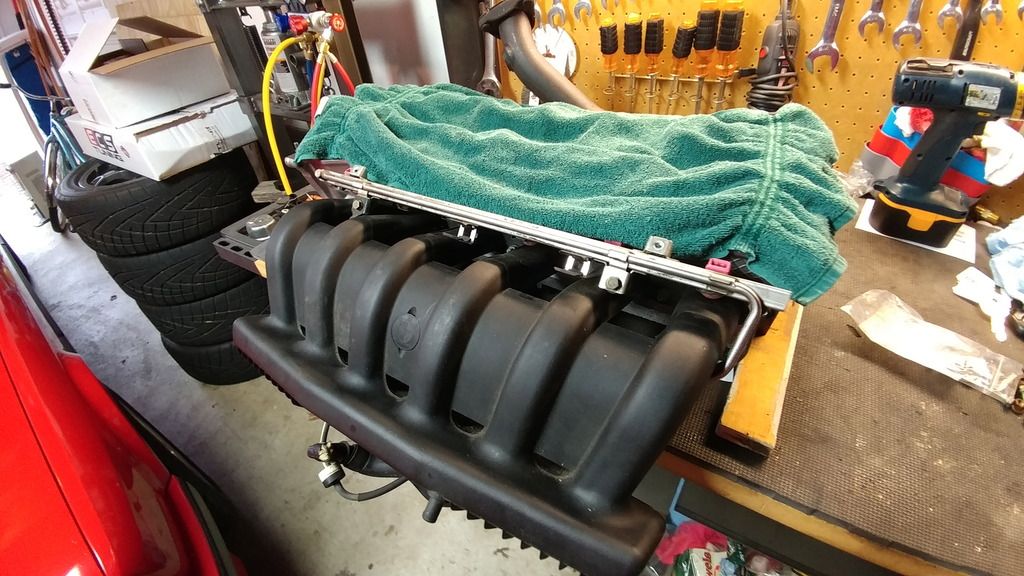
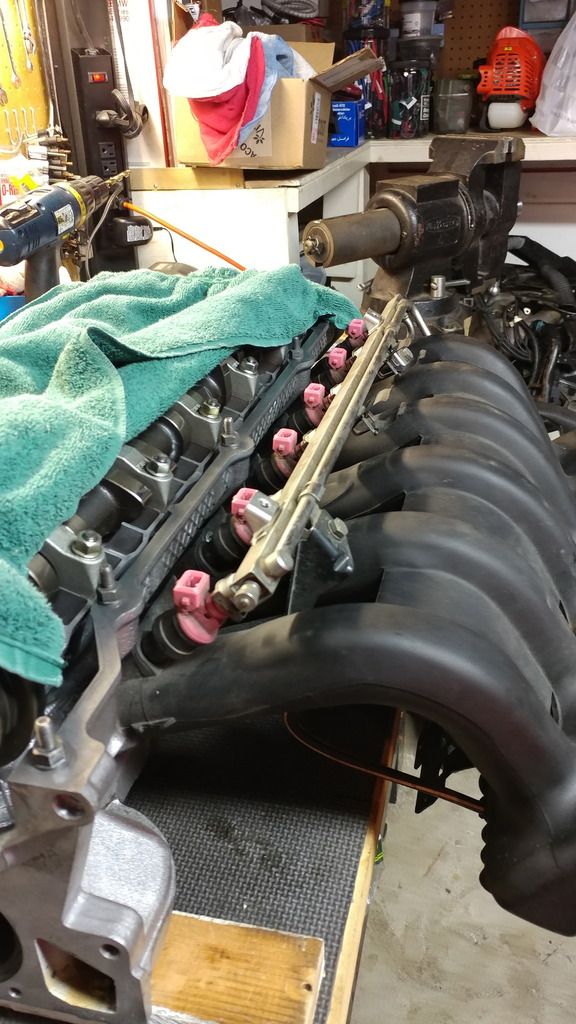
I needed to figure out how to suspend the head with the hoist in a balanced, horizontal fashion, so I eventually decided to temporarily attach the intake manifold and one of the S52 headers.
Intake attached on the bench:
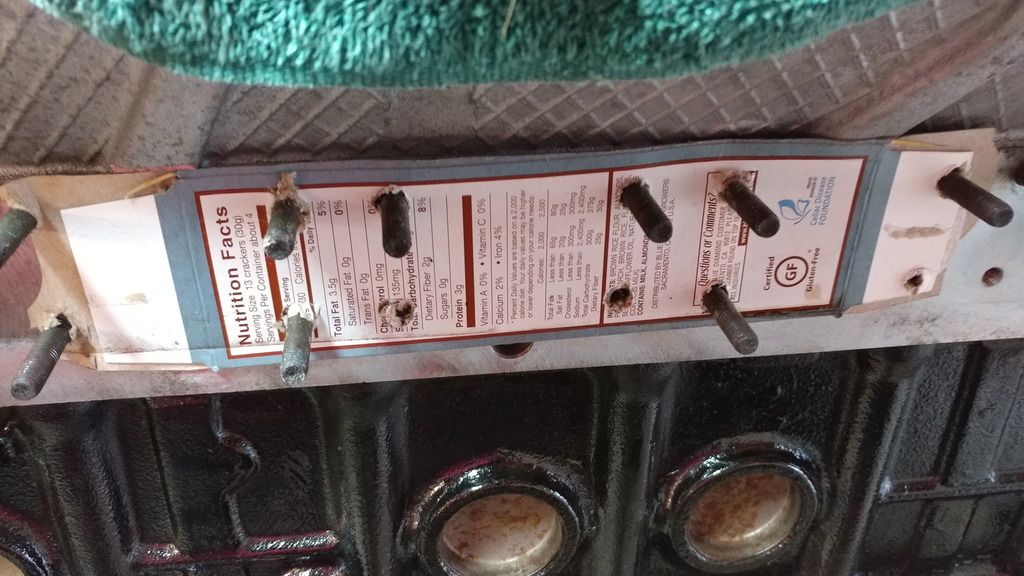
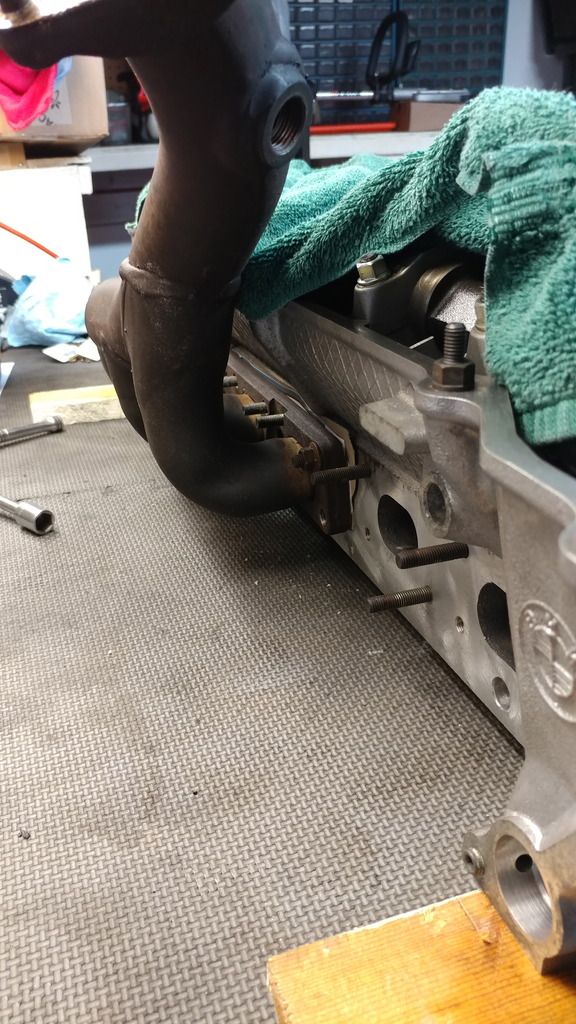
Anal-retentive nature resulted in my making a makeshift 'gasket' out of cardboard for the exhaust side to protect the aluminum surface during hoisting. :D
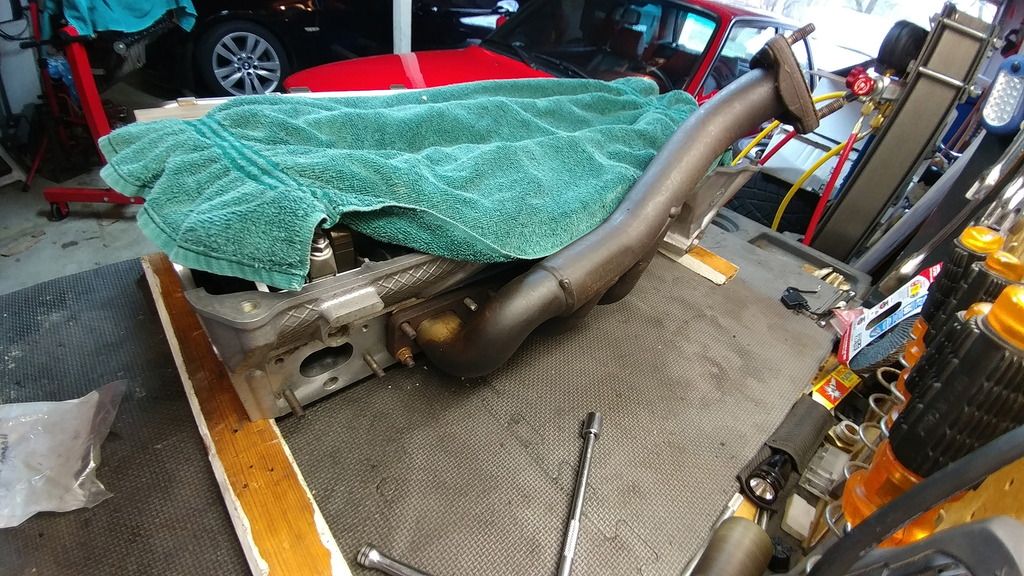
After some experimentation I realized that I would have to mount the exhaust header upside-down to facilitate the balance I was looking for:
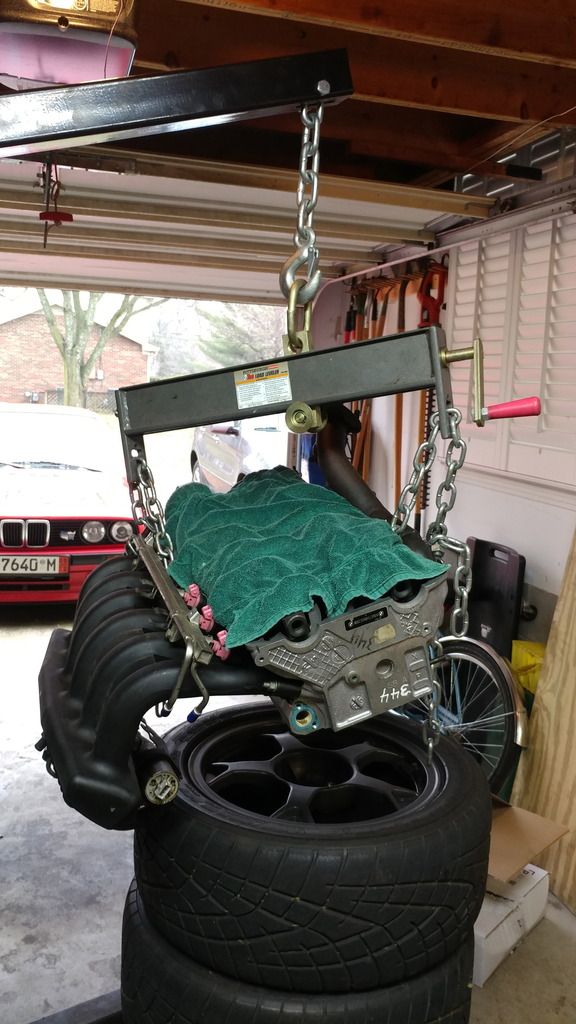
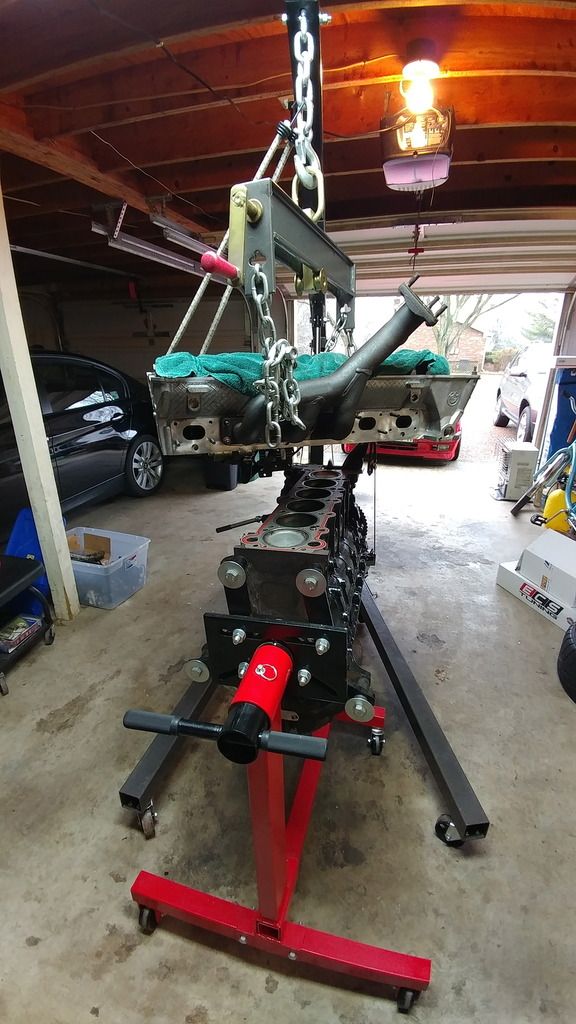
Ready to hoist:
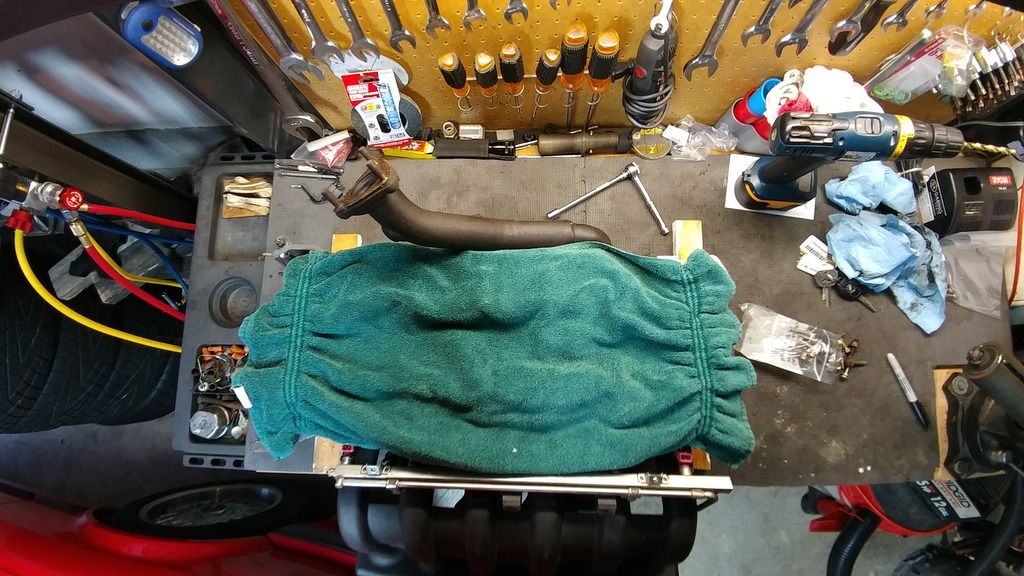
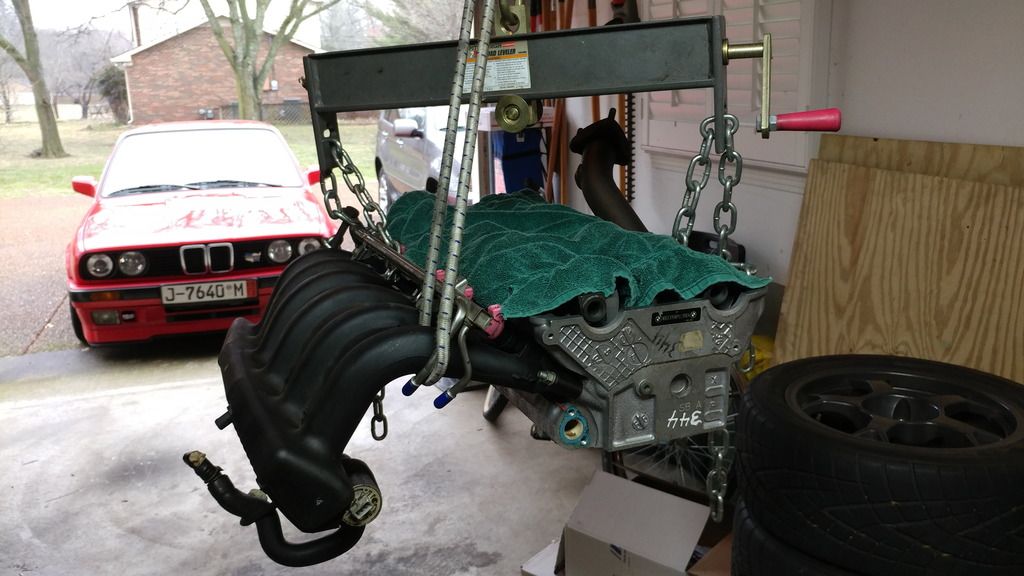
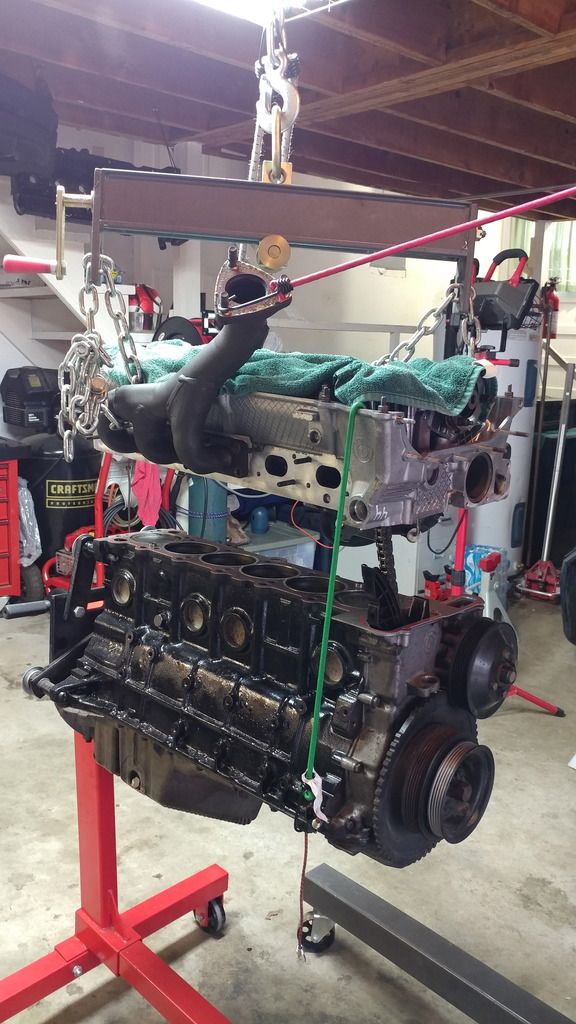
Initial 'liftoff' resulted in an out-of-balance suspension, so I had to move the mounting point of the exhaust header and also change the lift points:
Corrected with new lift points and a bungee cord 'tweak'.
Head gasket installed and ready to go:
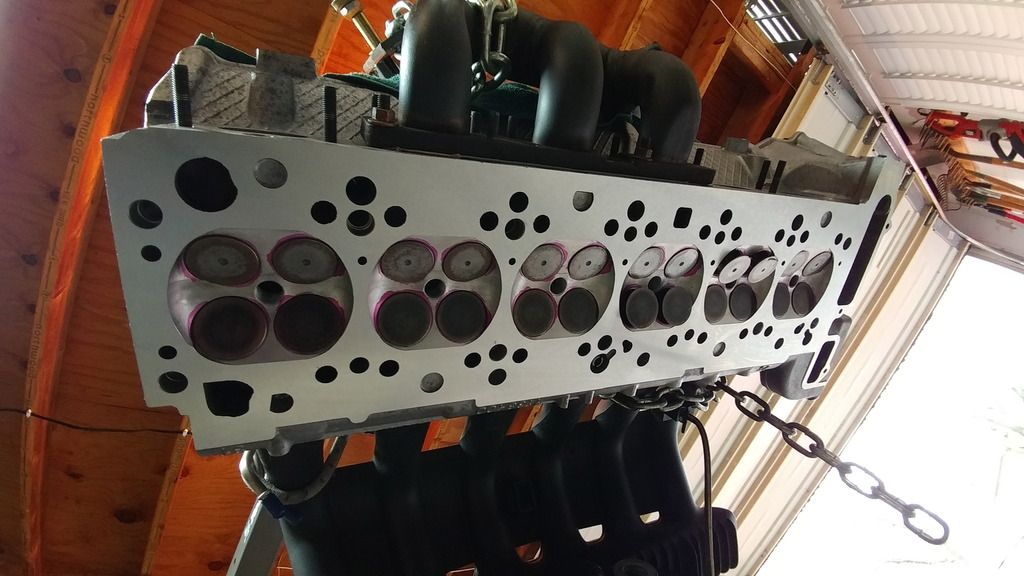
Neat shot of the underside of the head while in the air:
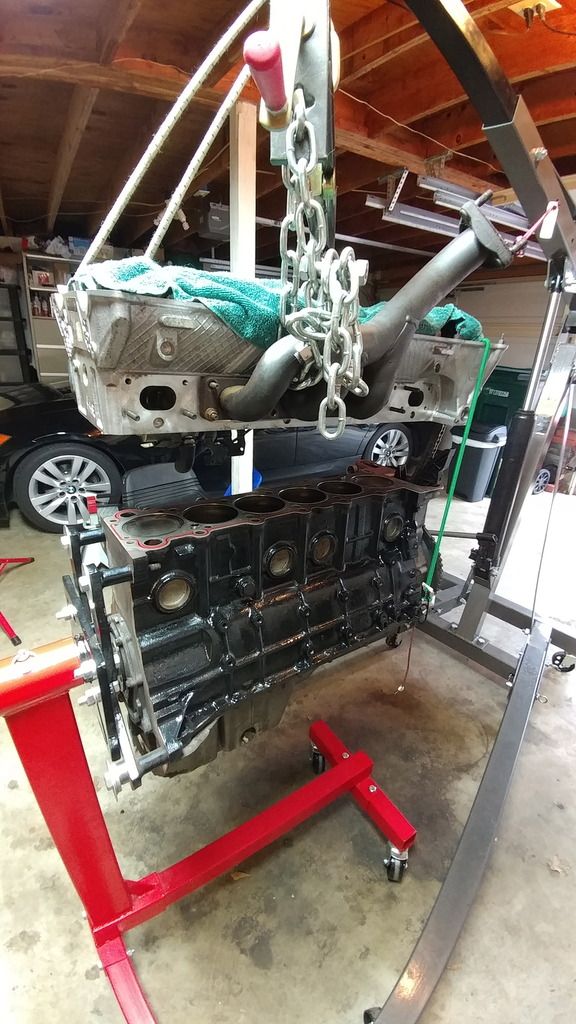
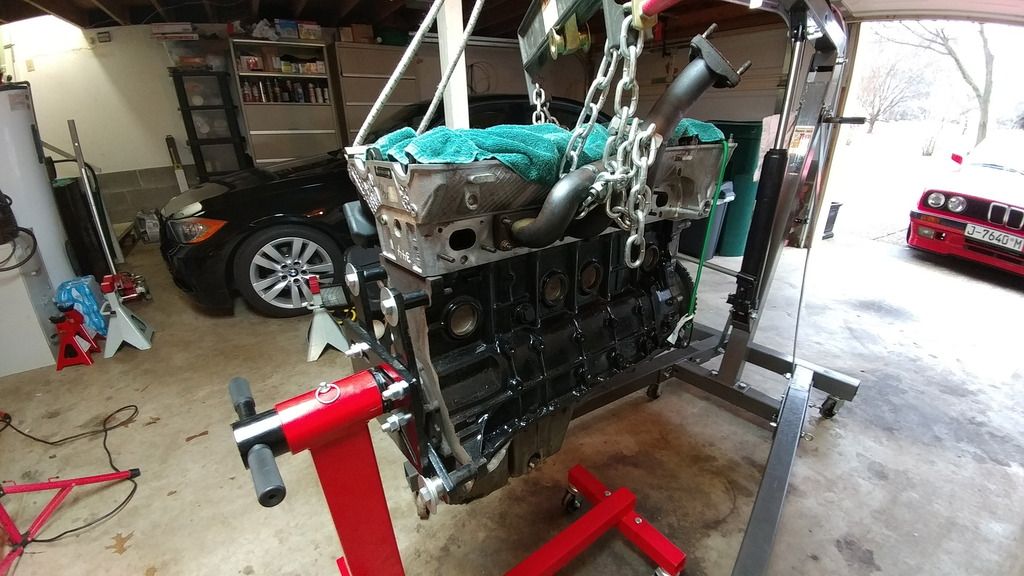
A couple of bungee cord tweaks later, I had my solution and I was ready to drop the head. Here we go!
the most elaborate contraption to assist in installing a cylinder head lol. why didn't you simply grab it with two hands and position it on the block?
Because that would have been too easy. :D A bit of overkill I know, but it only took about 10 minutes to rig and made guiding and holding the timing chain through so much easier.
Hm. That looks like a 318ti a/c compressor. I've never seen anyone use that with their 24v swap. I wonder if it works as well as the larger units from the 24v motors...
Hm. That looks like a 318ti a/c compressor. I've never seen anyone use that with their 24v swap. I wonder if it works as well as the larger units from the 24v motors...
I'm pretty sure you can't use it with most 24v swaps due to difference in orientation. I am using a regular e36 compressor on my car.


Comment