
U R doing it right! M42 4 life!
-
FEEDBACK:
http://www.r3vlimited.com/board/showthread.php?t=316212
BMWCCA #398608
IG @yagayo38
"The Best E30's were built with two camshafts four cylinders and sixteen valves!". -
wow.Comment
-
It's great to see an is being enjoyed as it should.
Please don't M20 it! We need more rev happy E30s aroundComment
-
He won't M20 it. :) (also, engine swaps (with other engine types than the original engine) are illegal over here :( ) His car is now in the E30 shop for a total revision/rebuild of the M42 engine! If he ever visits this thread again, I'm sure he'll tell you more about it. ;)Originally posted by econti View Post
1990 BMW E30 318is | 1989 Mercedes-Benz S124 250TDComment
-
-
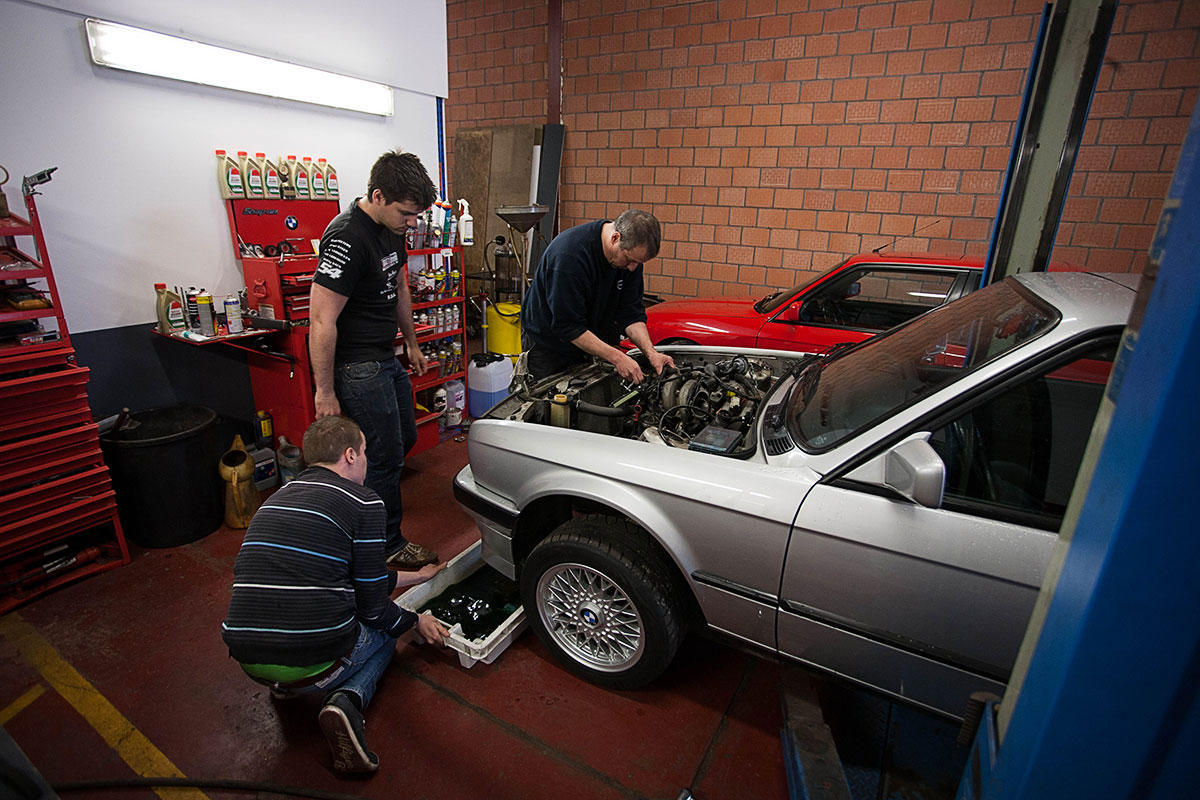
Part 1: preparation
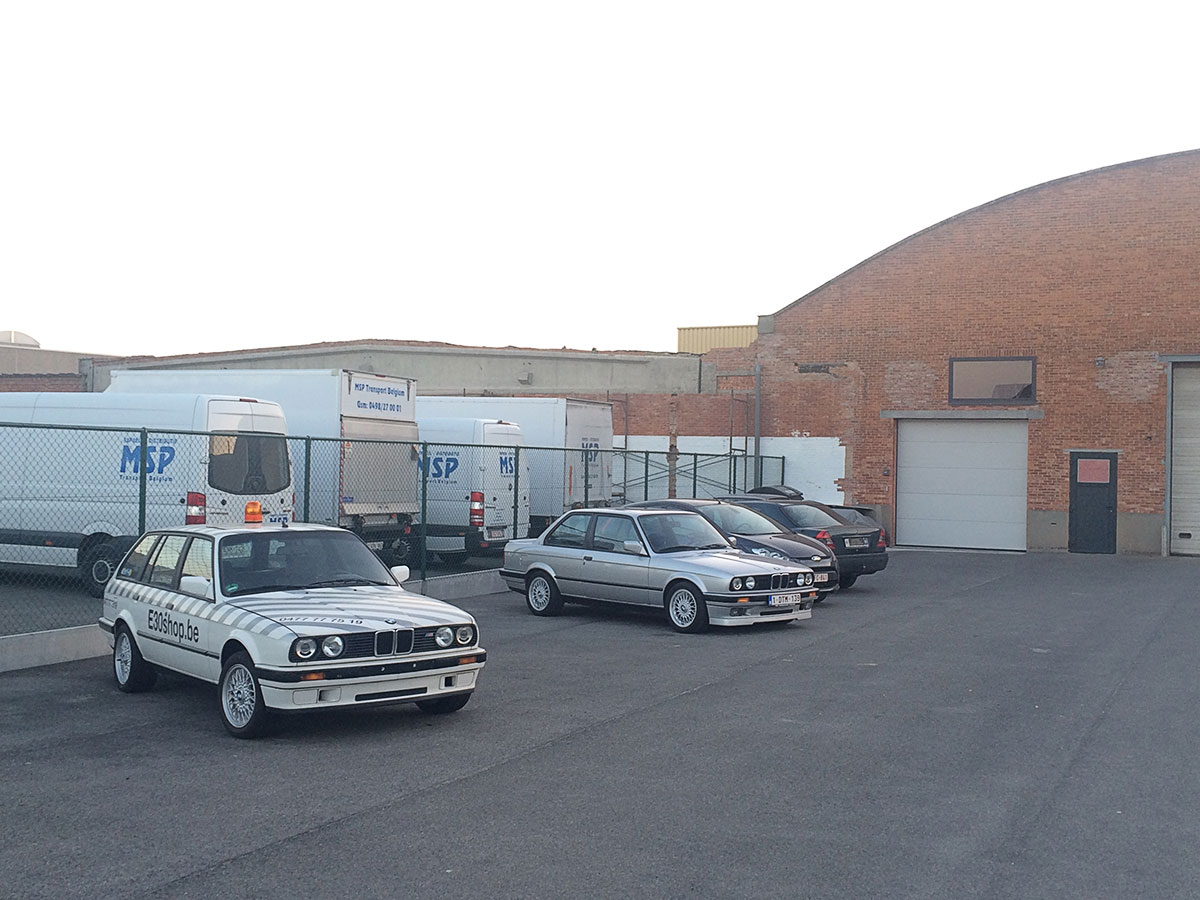
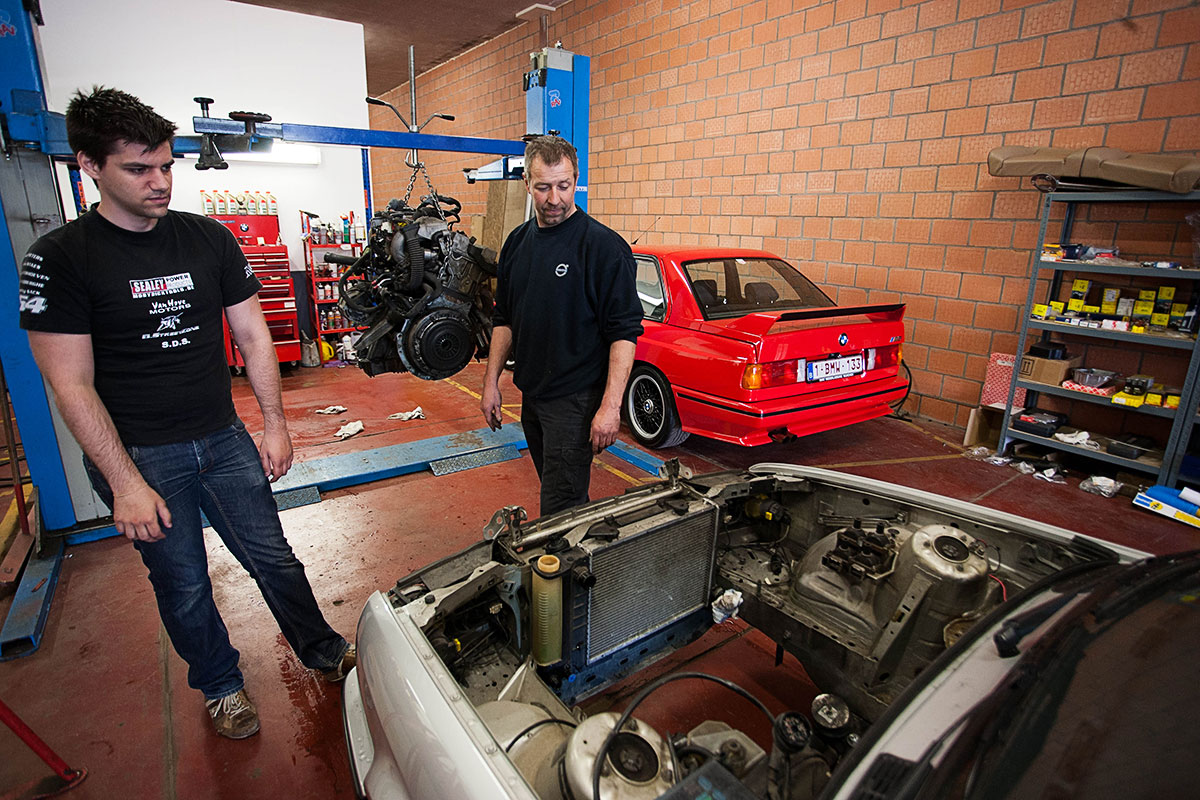
It all started on a sunny saturday somewhere in April. The car was dropped off at a Belgian E30 specialist called E30shop.be where the car checked thoroughly and was also partially stripped from its first parts in order to assess what needed to be done.
The complaints that needed to be solved:
- Leakage at the valve cover
- Leakage at the profile gasket
- Oilconsumption
- A very light chain rattle
- A somewhat rough idle, not temperature related
- General technical inspection of all parts that could be worn
- General cleaning of the engine, inside and out
The engine always sounded very healthy when under heavy load, and it never really missed a beat, but I did notice that it had gotten slower over time. I was suspicious that the engine was down on power, what was most noticable in the middle of the revrange. I also thought that throttle response wasn't what it used to be, but of that I was never really sure.
Time for a visit to the doctor ;)
Comment
-
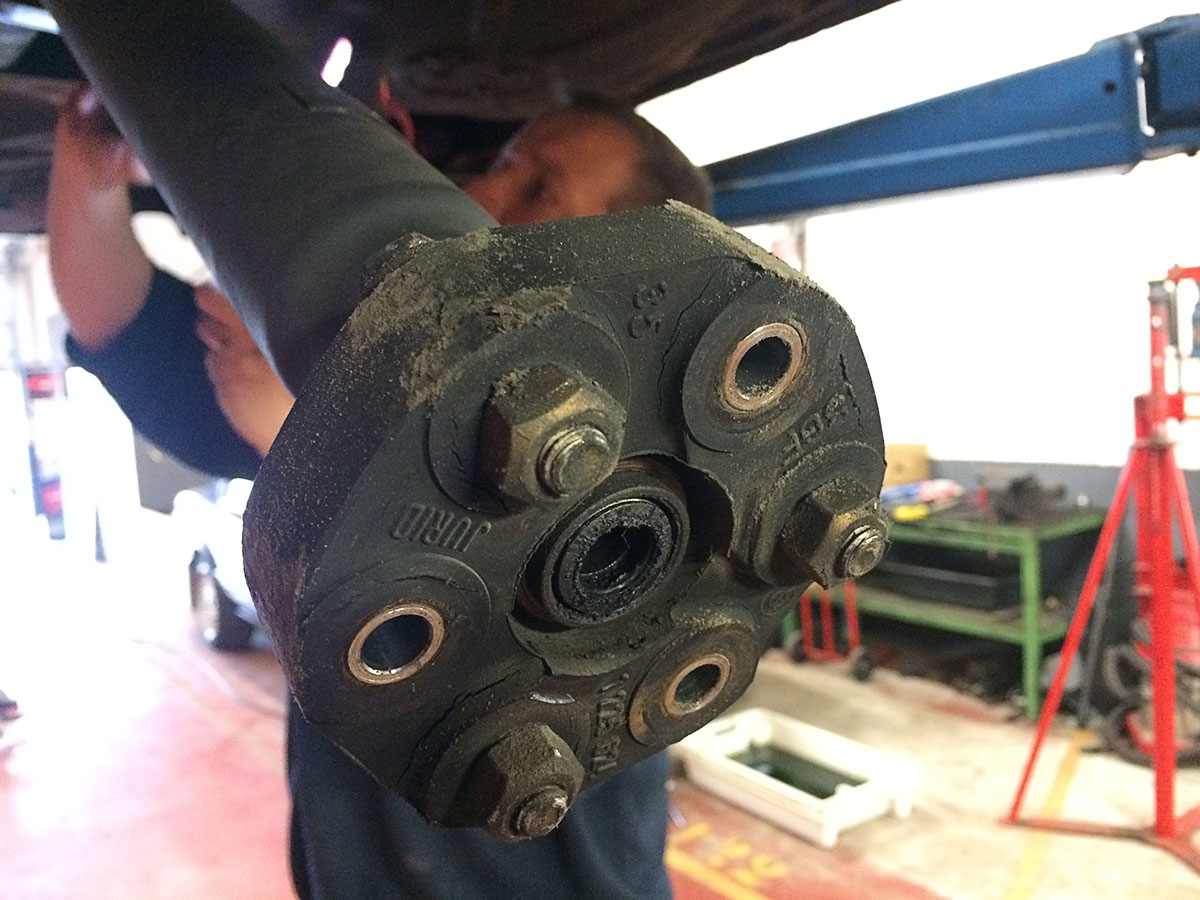
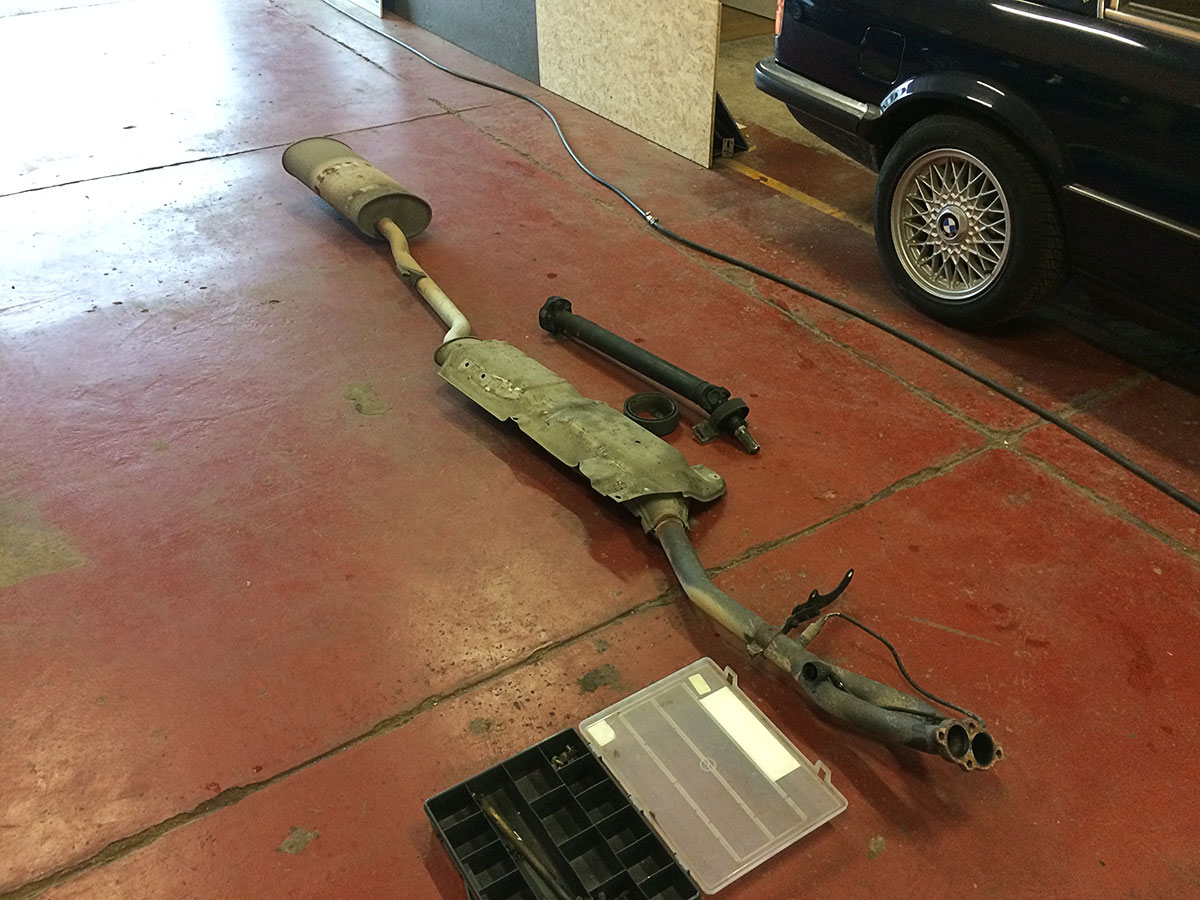
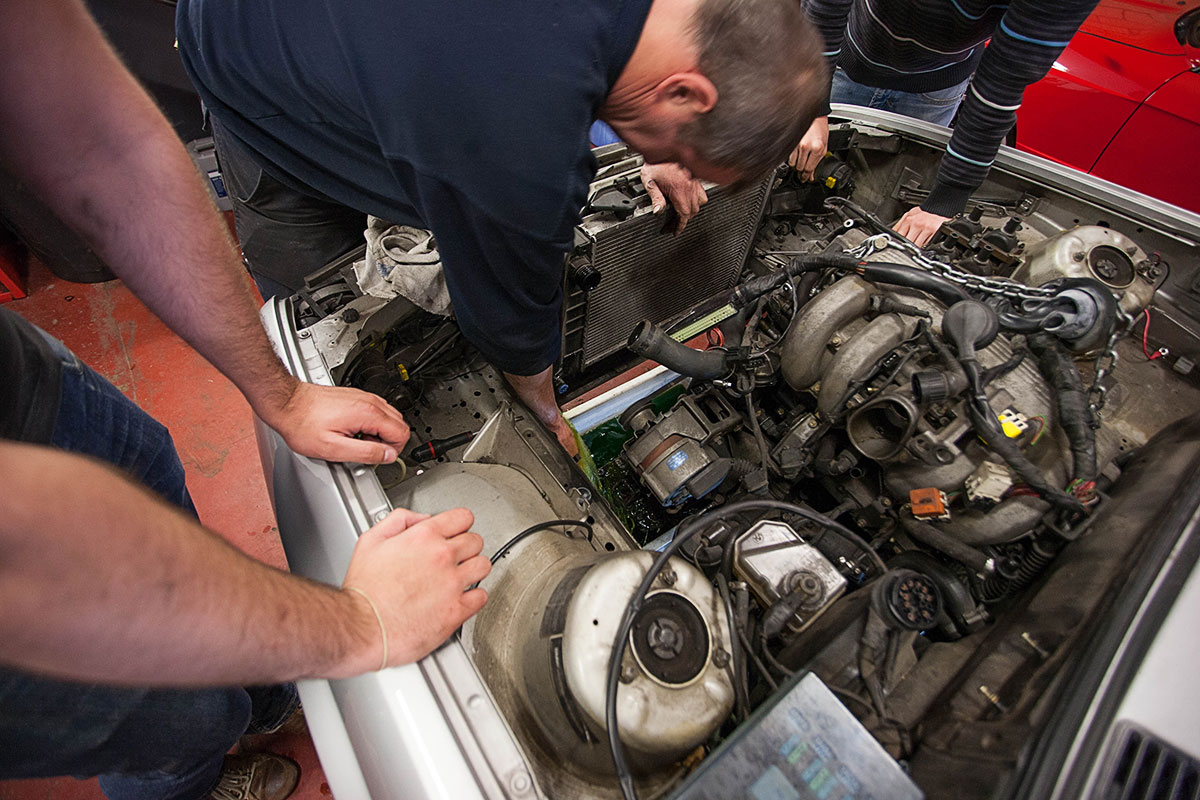
Before we can get the engine out, we need to disconnect a number of parts, check them and replace if needed. As usual you start with the battery and wiring loom, soon followed by the propshaft, gearbox, exhaust, waterhoses and spark plug leads.
Disconnecting the loom from the ECU

Guibo has seen better times....
The silencer was rusted through, it was later welded but will be replaced in due time.
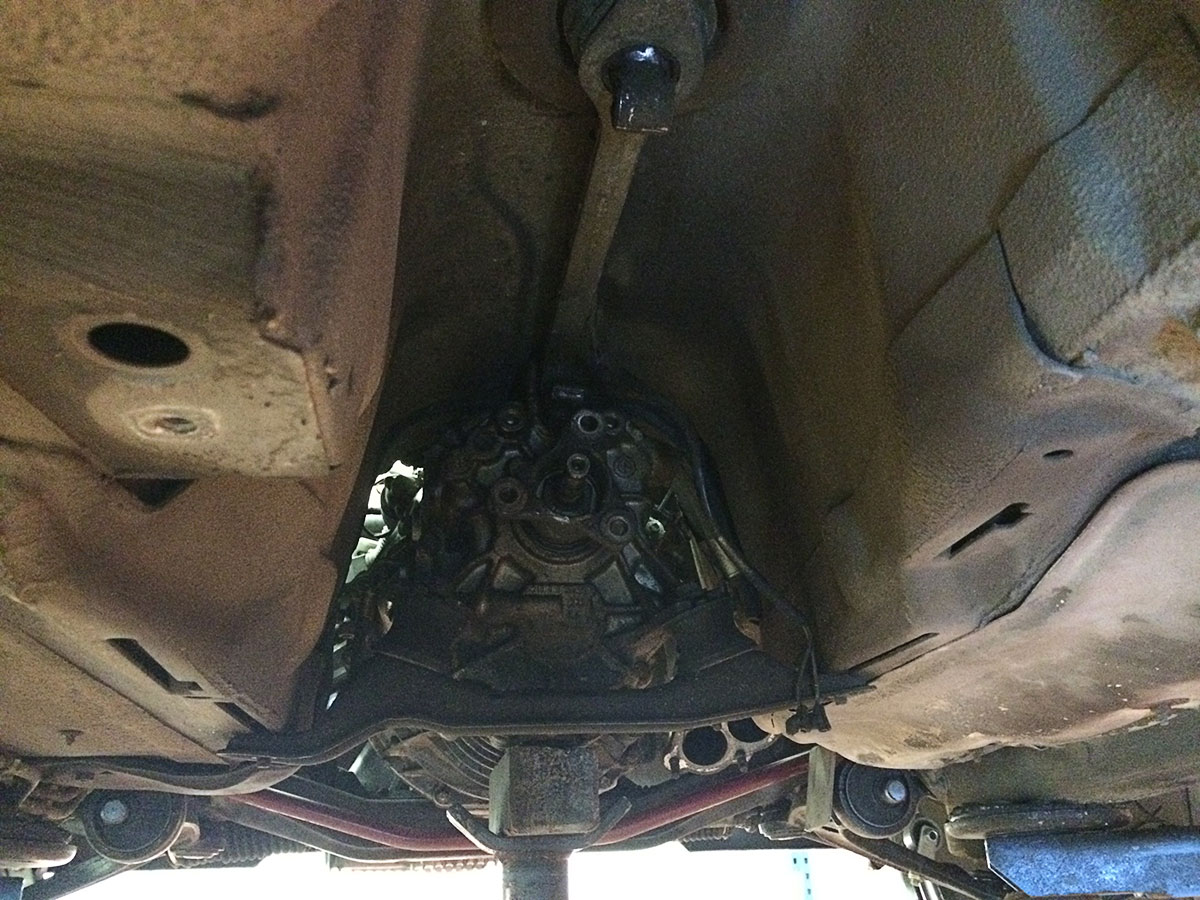
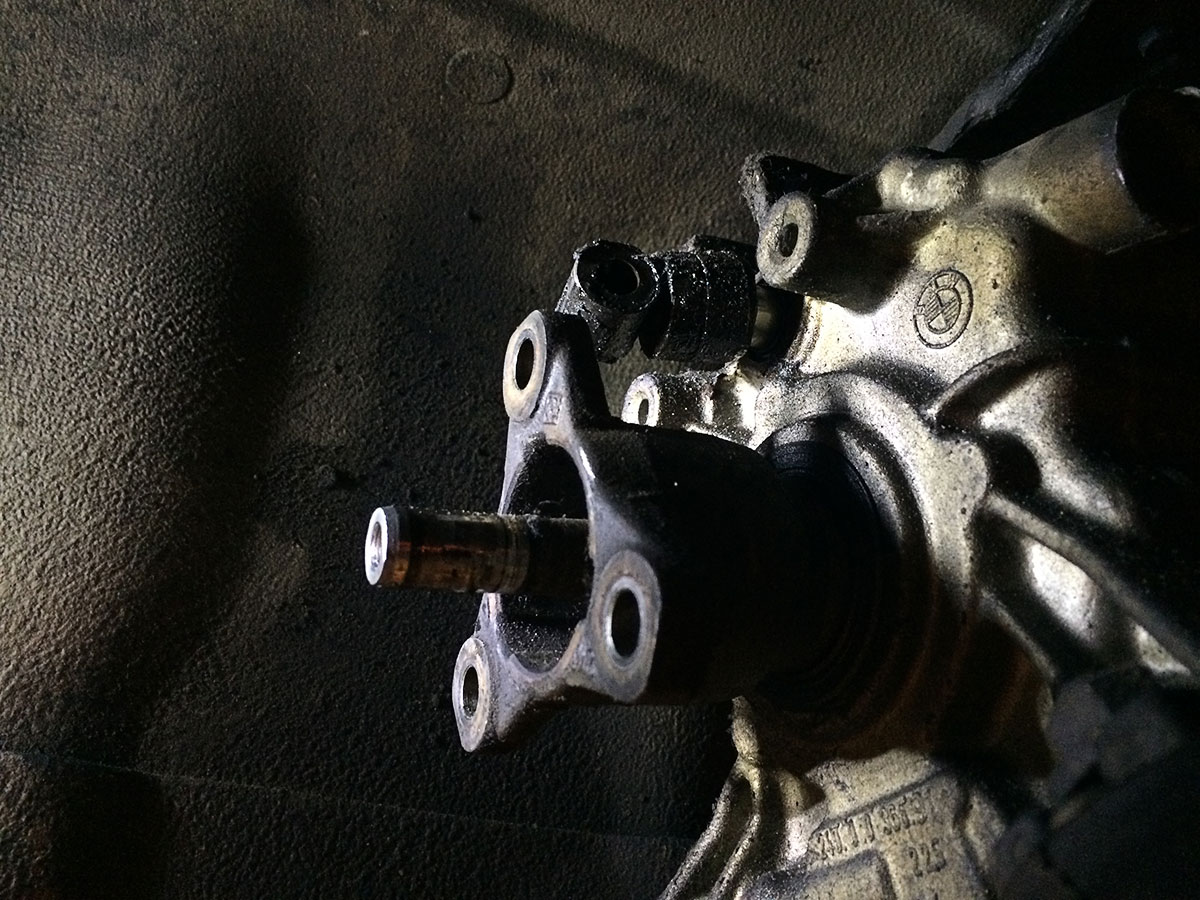
After getting the propshaft loose, we can see the gearbox. Immediately we noticed an oil leak here as well. Lots of greasy parts to be seen, not good.
Comment
-
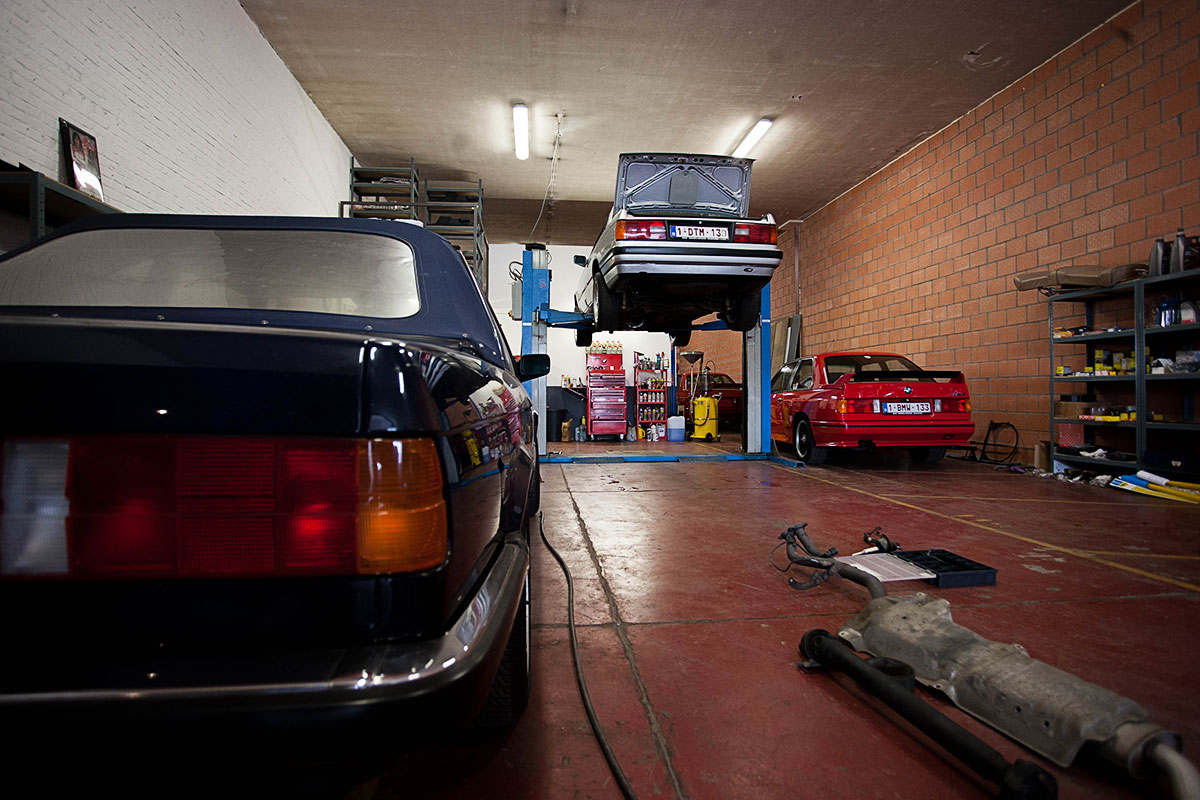
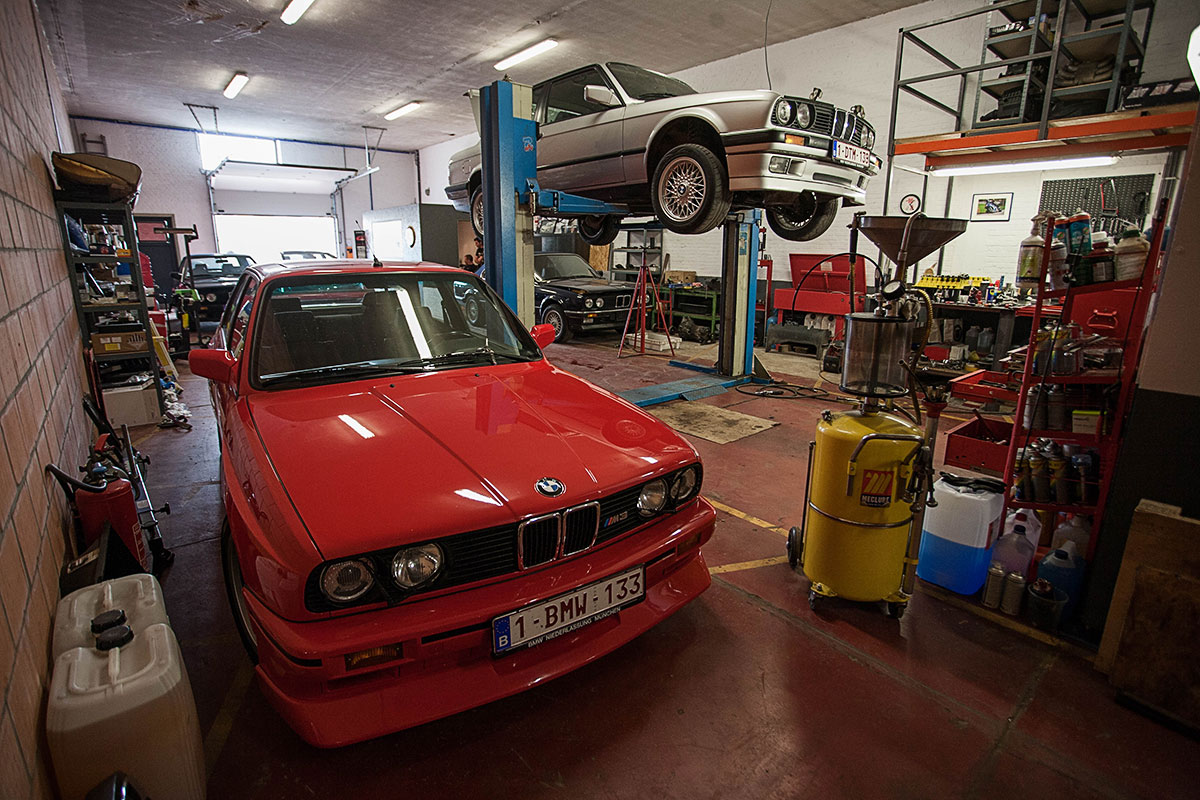
In good company...(the red car in front of the M3 is a Hartge H35-24, very rare. That one is also almost finished)
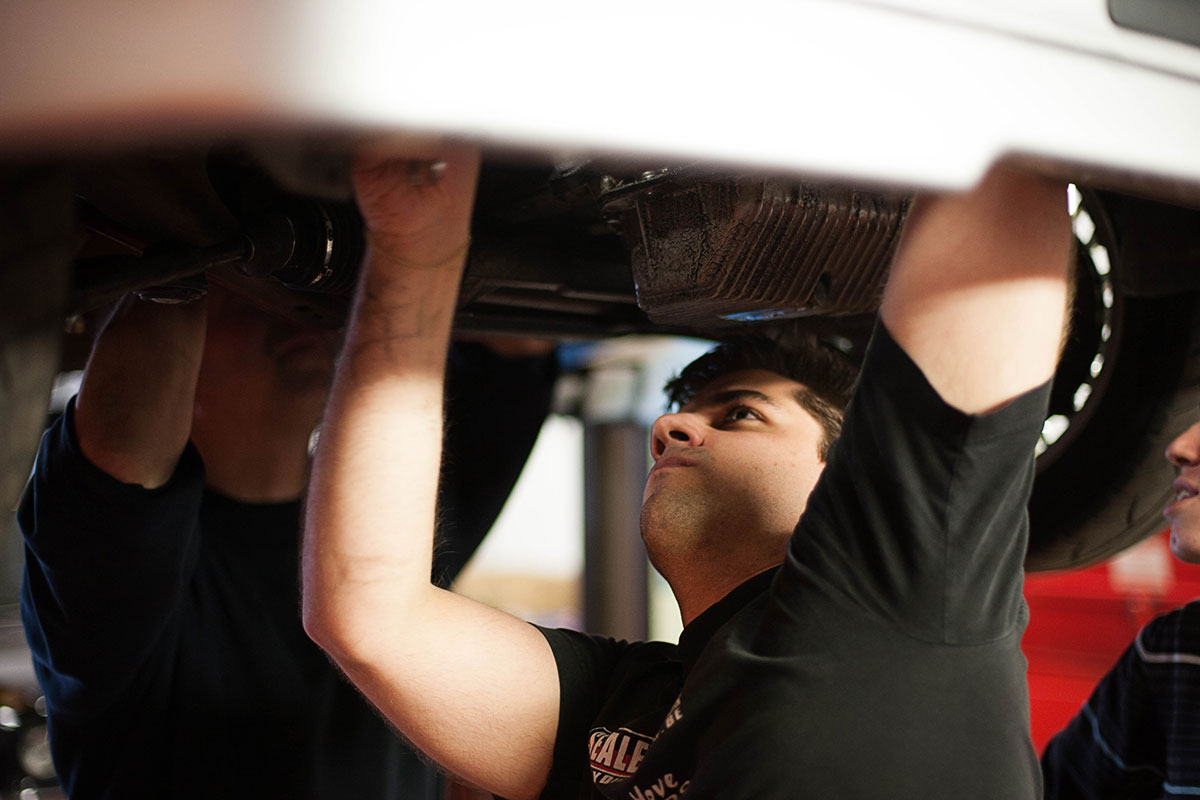
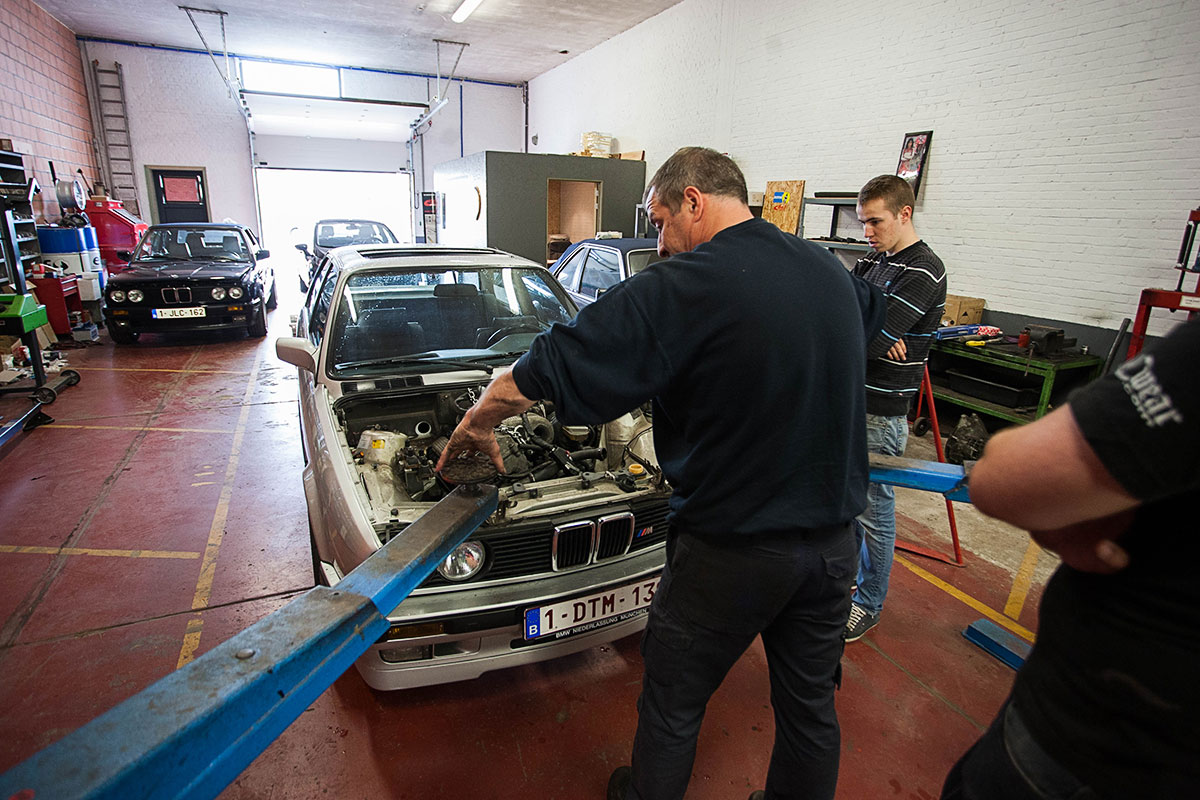
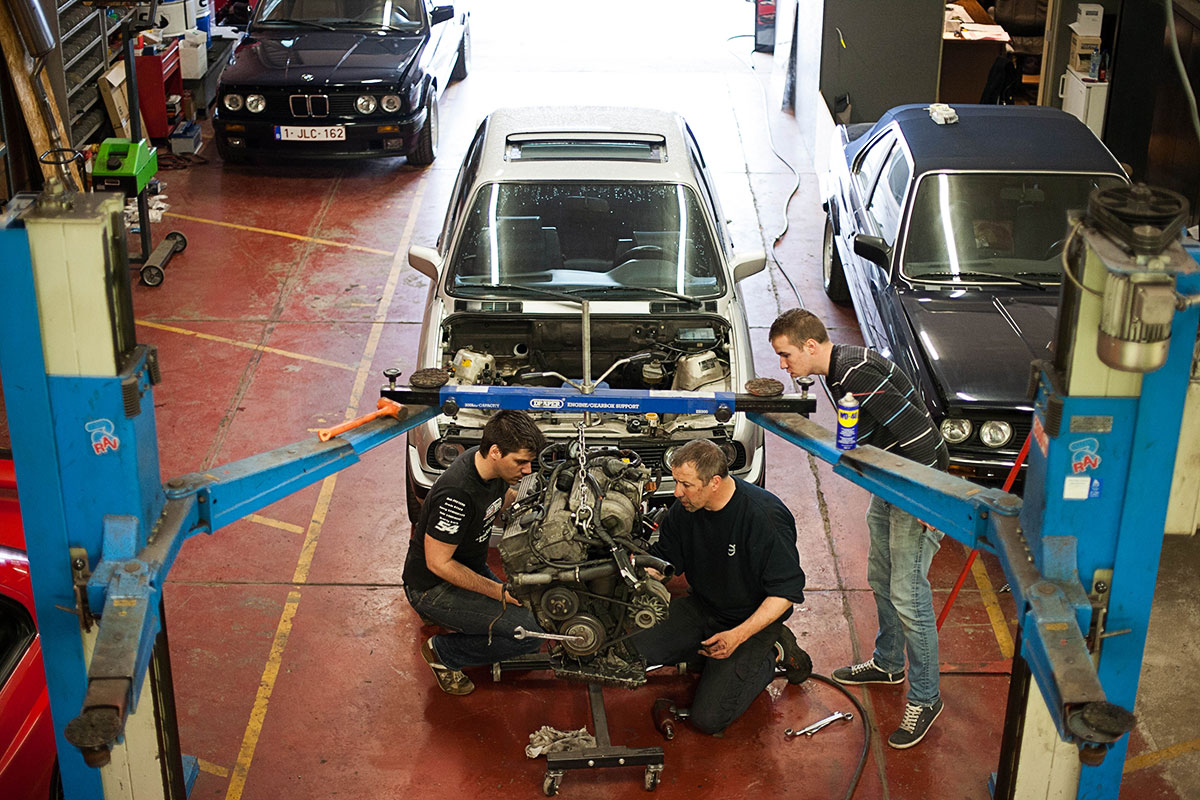
Working hard

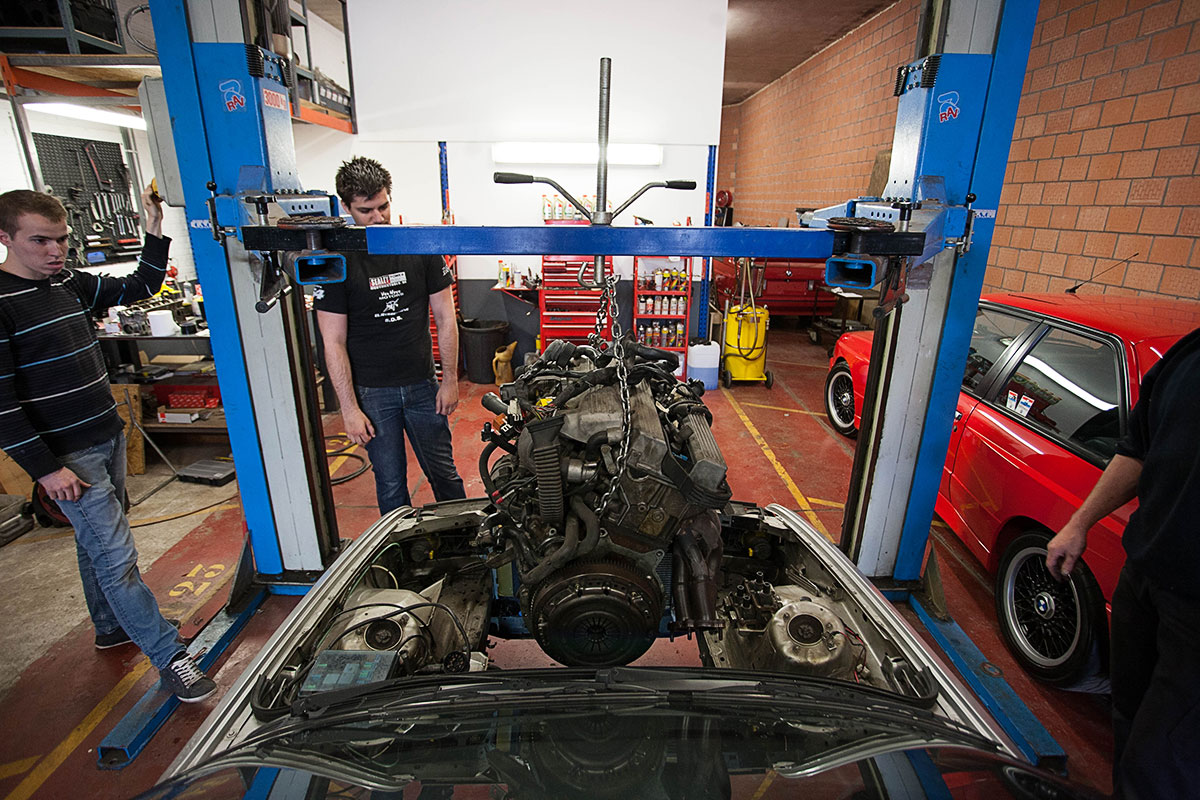
The last fluids are drained, the chain to lift the engine out is attached....the moment is almost there.
Out comes the mighty PTSCU (Petrol To Smile Conversion Unit)
Comment
-
Part 2: Getting the engine apart
Once the engine is out the car and placed on an engine support, we can start stripping away all the parts from the block. Current mileage is about 115.000 miles. Knowing that most M42's start ratteling at some point in their life, usually around the 130k miles mark, and that there already was some oil leakage, this is a good time to do a complete rebuild so that the car is ready for the next 25 years.
Stripping of the block went fairly easily. Everything is put together in a logical way by the boys and girls at BMW, so if you think a little bit every now and then, there are no real big challenges to get the thing apart. Taking it apart takes about as long as getting it out of the engine bay, so it really isn't that bad.
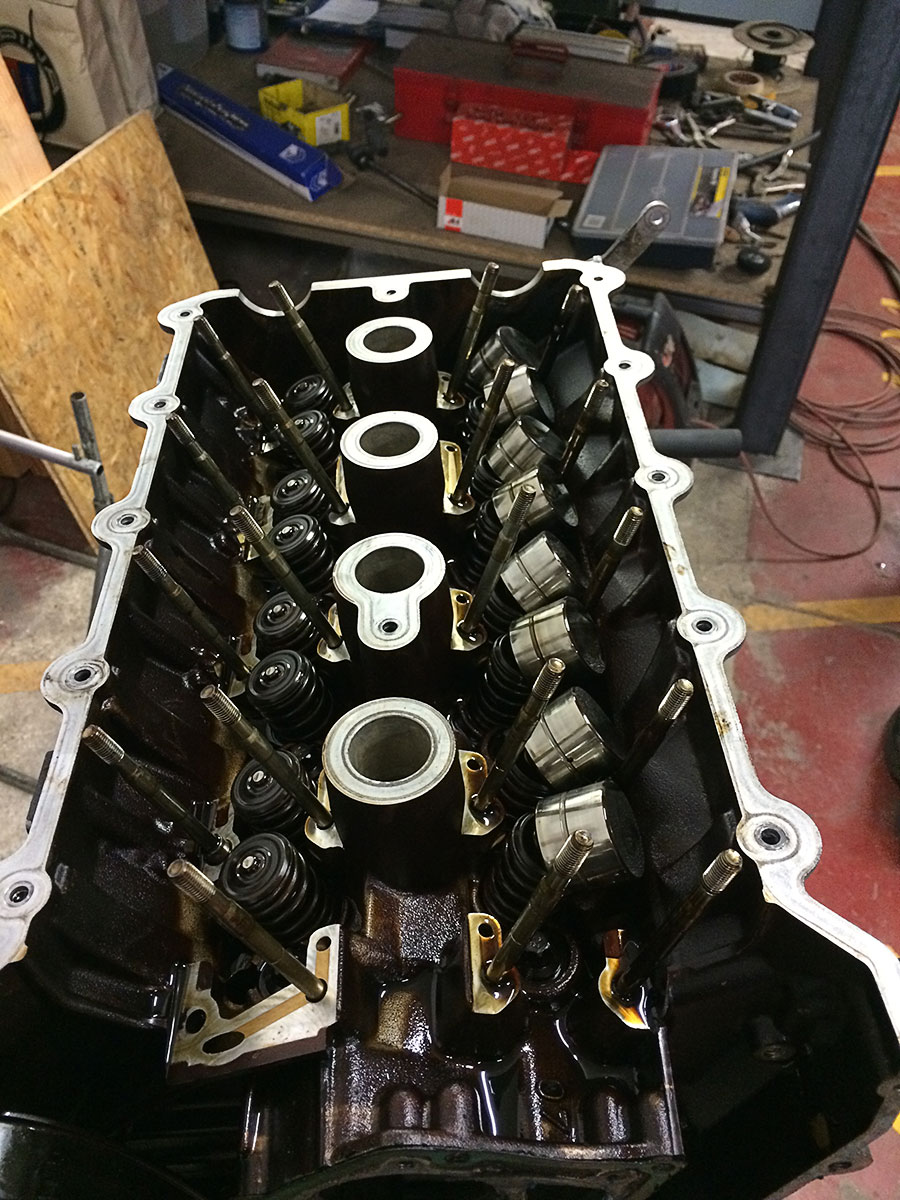
You start from the top, with the valvecover and the intake.
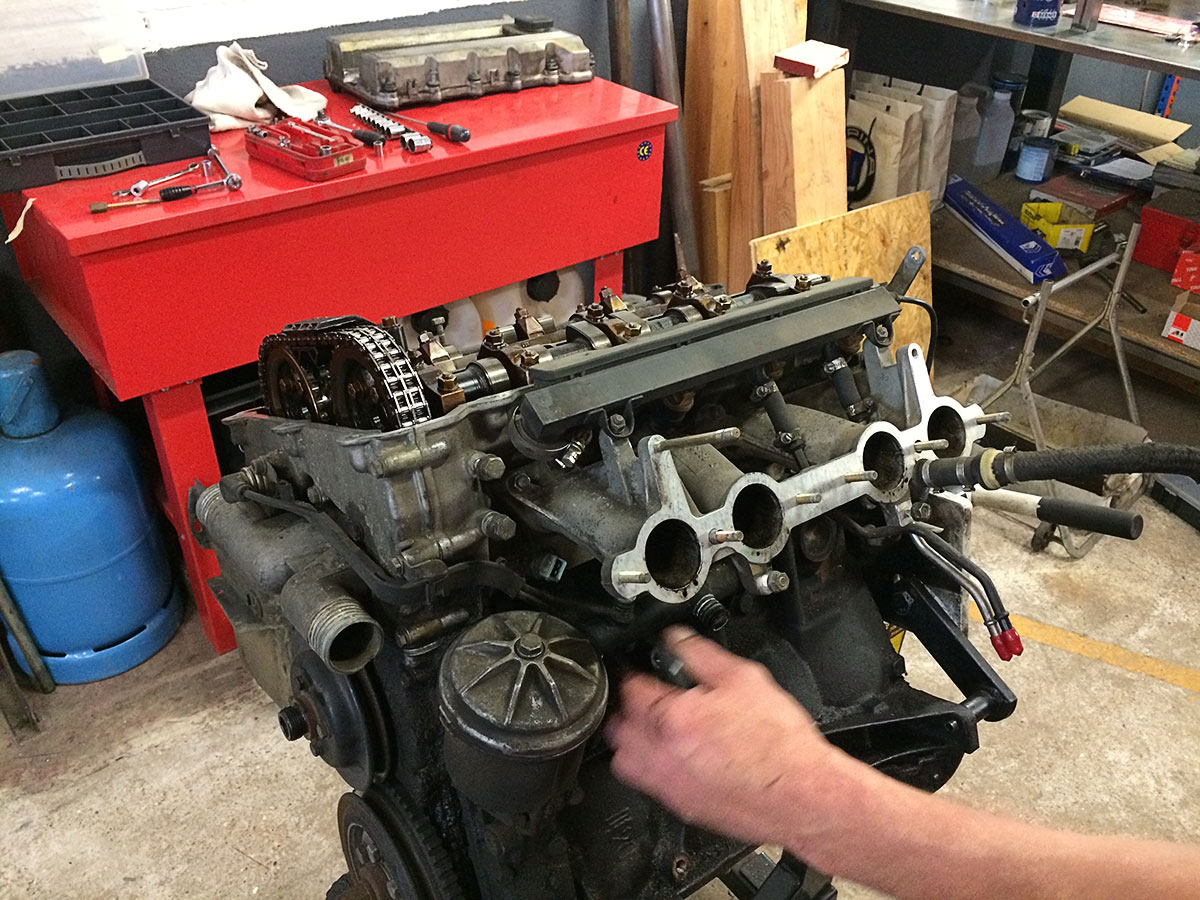
Next up, the bolt on parts like thermostat, waterpump, oilfilter, ... Once all that is gone, you really start to see how much dirt the engine has picked up in all these years. You can also easily see where the leaks are. I always found it very important to properly clean my car every now and then, so seeing this much dirt came as a bit of a shock.
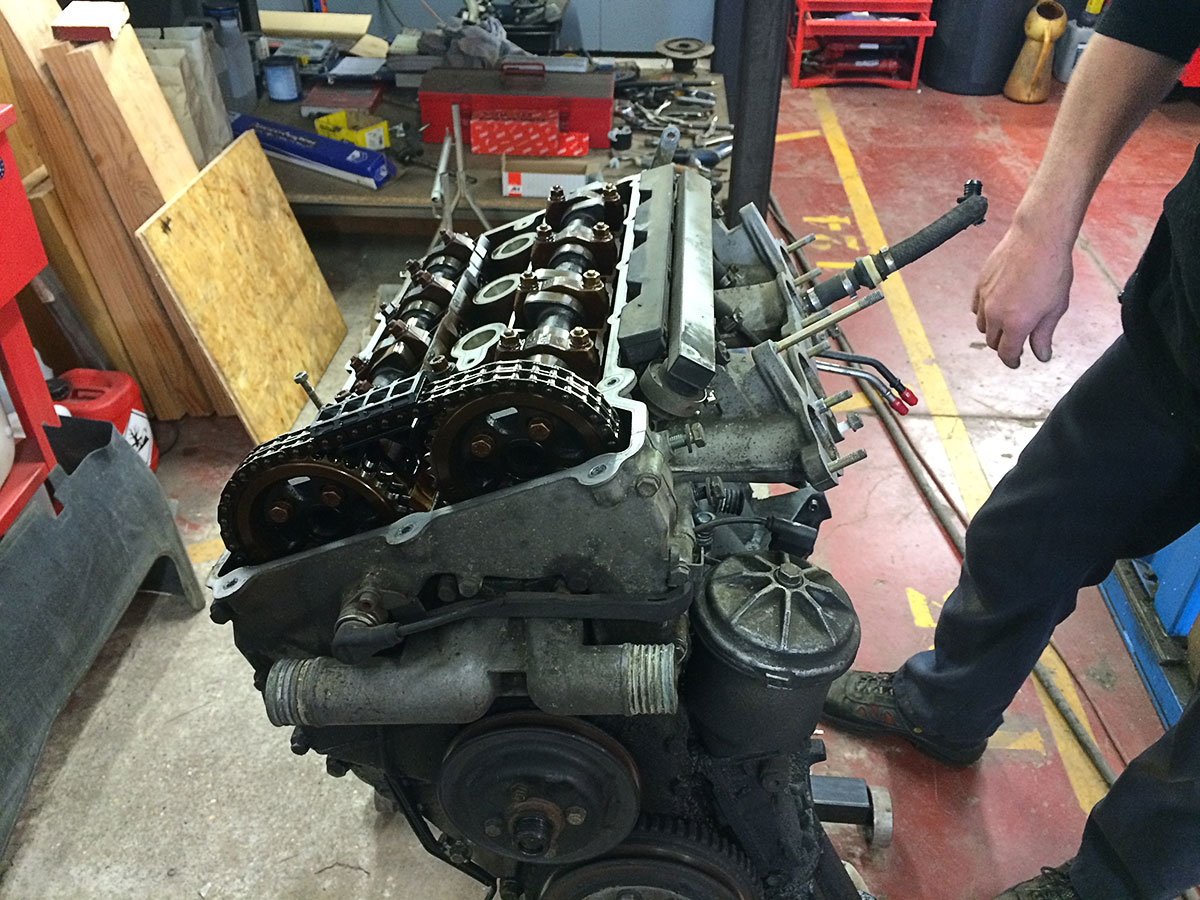
De most important parts on an M42 are the cilinderhead and the timing system. Those are the biggest differences that make this engine special compared to other E30 engines like the M10, M20 and M40. This thing has four valves for every cilinder, and those are connected to the double overhead camshafts. The M42 also features a timingchain instead of a belt. All this makes the engine a lot more complicated on the inside, which I see as an advantage because it really makes it into a work of art. You have to tear an M42 apart to really appreciate the design and engineering.
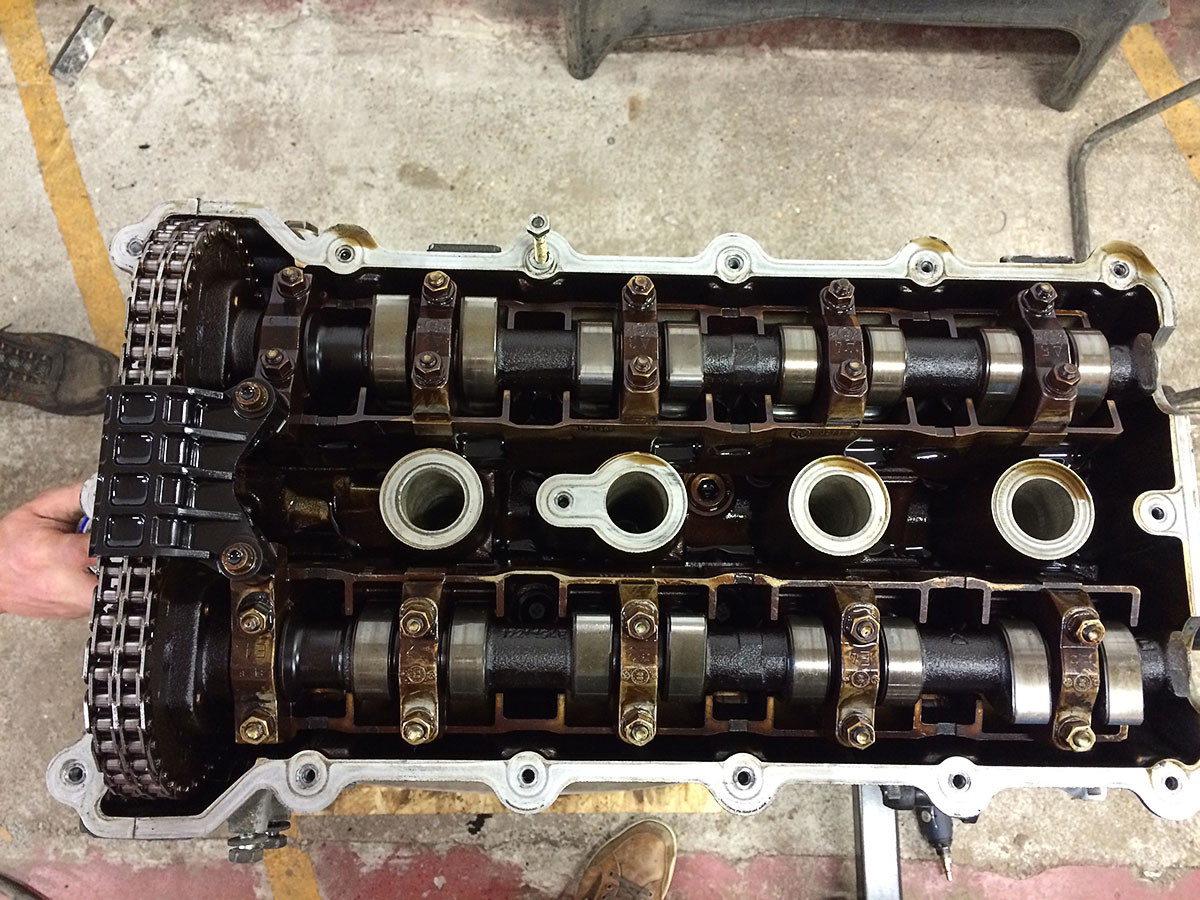
Camshafts, I expected to see damage or wear here, but after 115.000 miles they look as good as new. Good news, because a set of new ones doesn't come cheap. They look a little brown, but that is just a small film of oil that is still covering them.
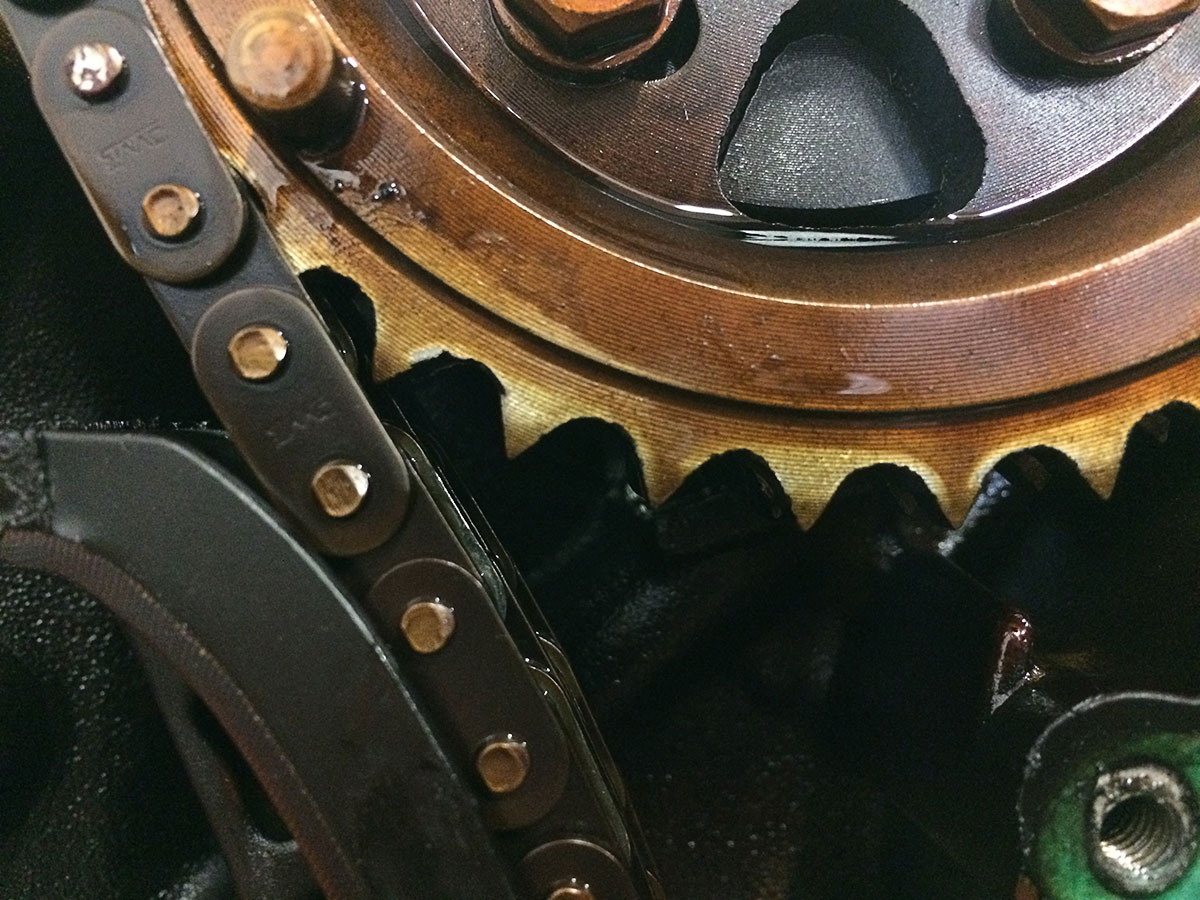
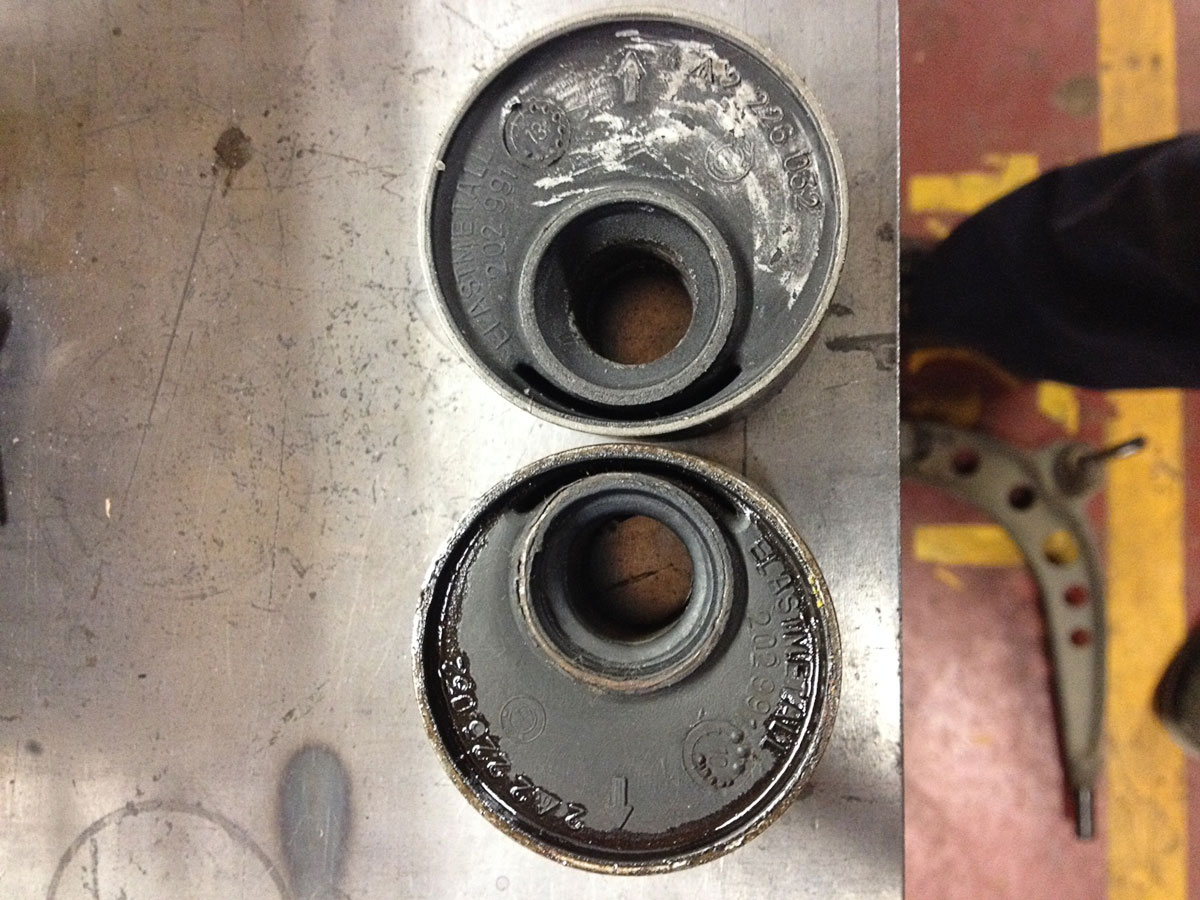
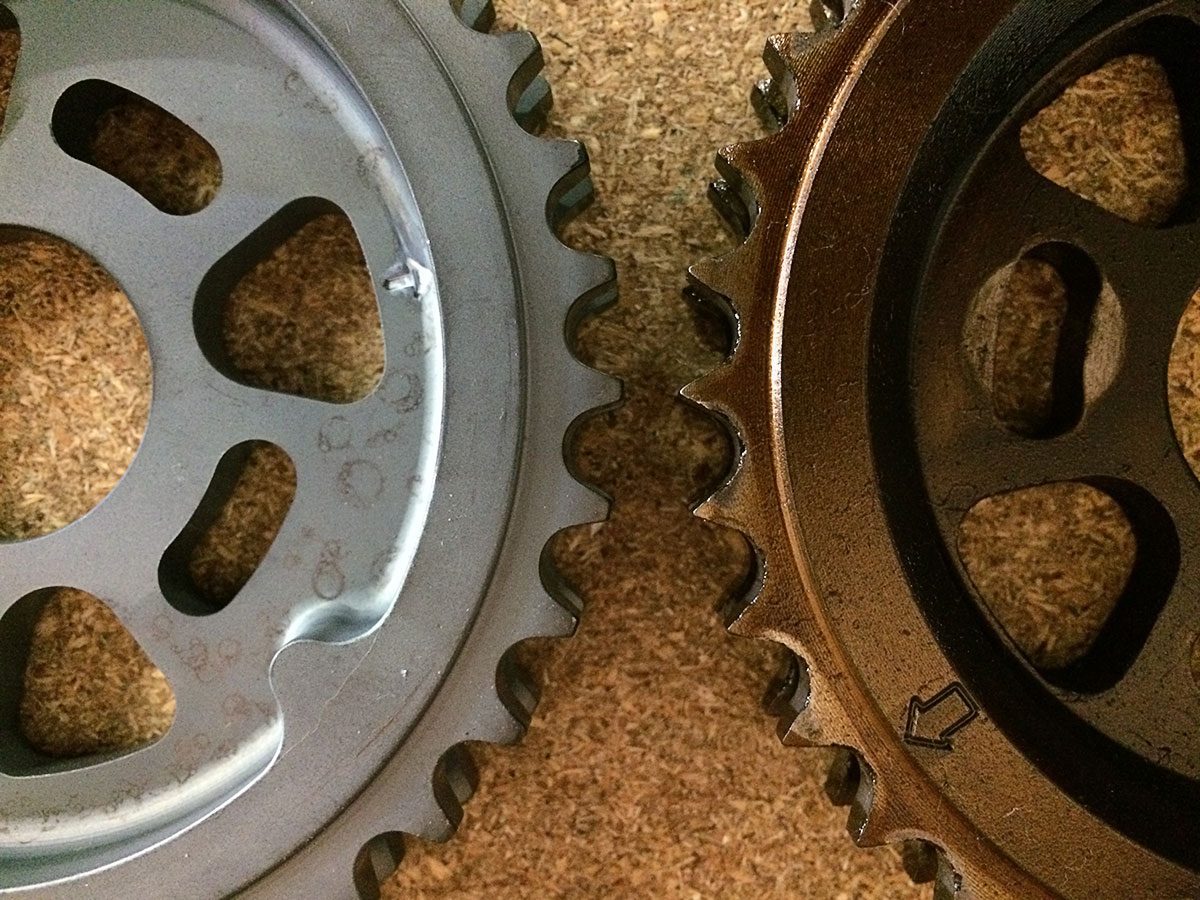
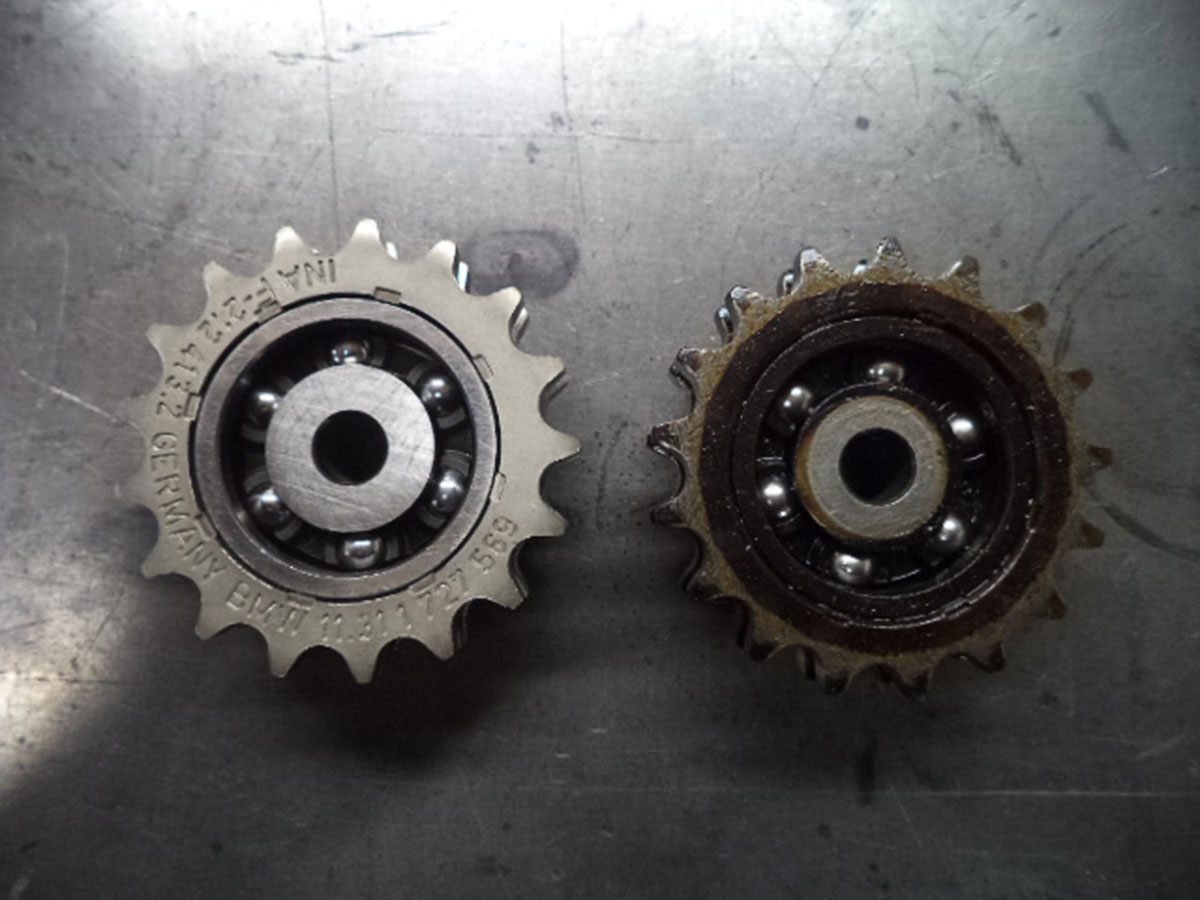
The sprockets that are placed on the camshafts do show some signs of wear and tear. You can clearly see that the teeth themselves are fairly sharp, and if we look closer we can even see that there are some small segments missing. The big question then is: where did they go?
Comment
-
Stripping of the engine continues with the chain distribution. The tensioner as already replaced a couple of years ago, and it still looks in good shape, but I'll replace it again just to start from a completely new engine.
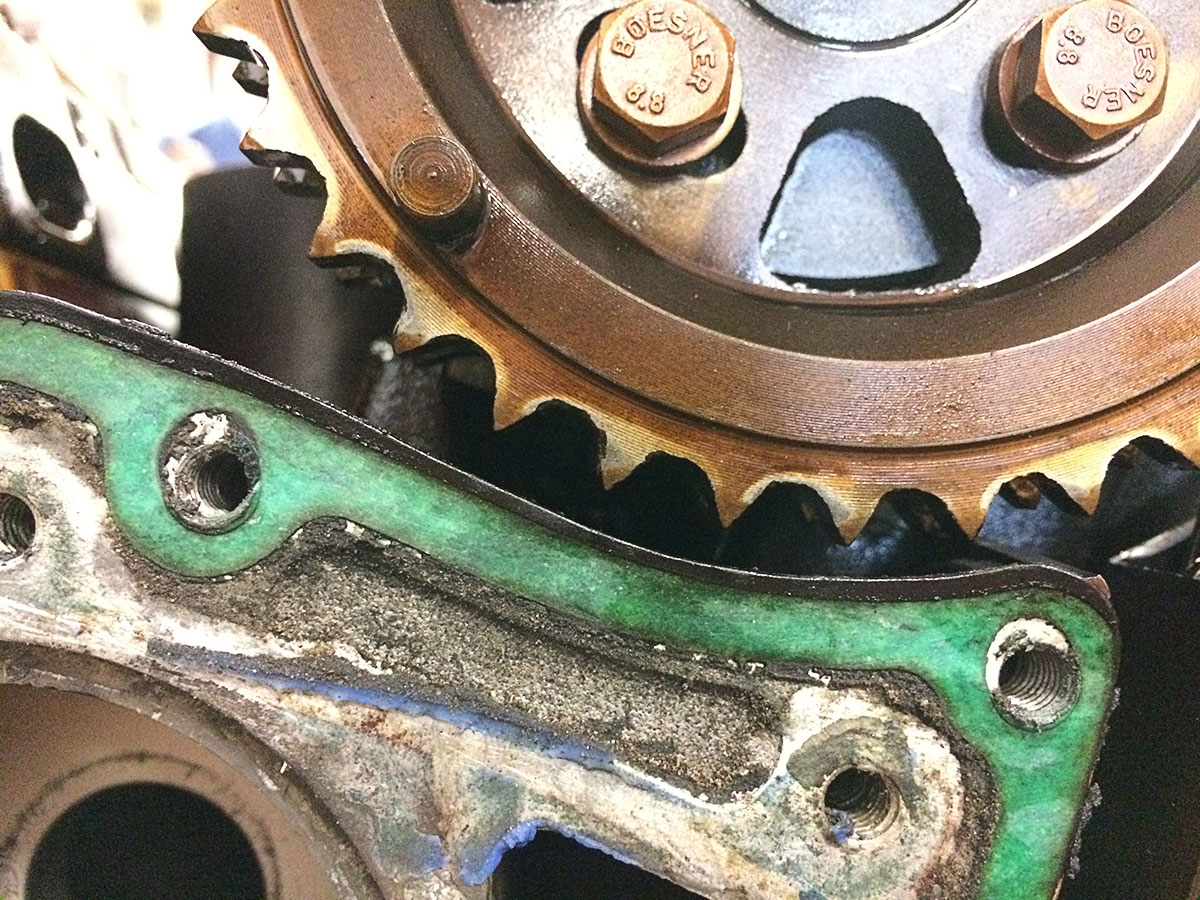
We did see that the chain guides showed signs of wear. The guide on top of the engine was good as new, but the ones on the left and right that take most of the beating when the engine is loaded had a nice imprint of the chain forced into the plastic. The plastic was also very hard compared to the new ones, so we changed them all.
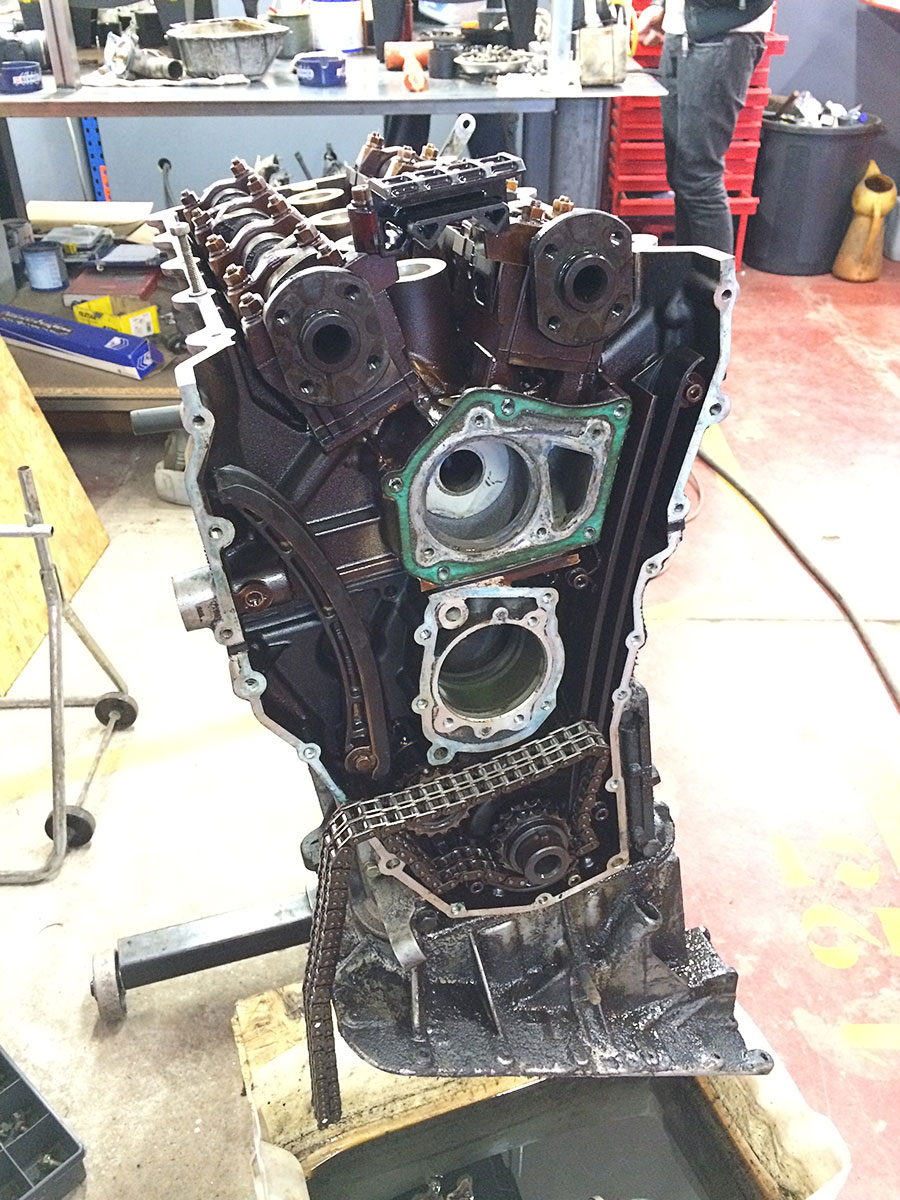
Once the distribution hardware has been removed, we can further strip the head. Out go the camshafts, and the big metal bits (don't know the correct english word) that contain the hydraulic lifters soon follow. The lifters themselves will be replaced.
Comment
-
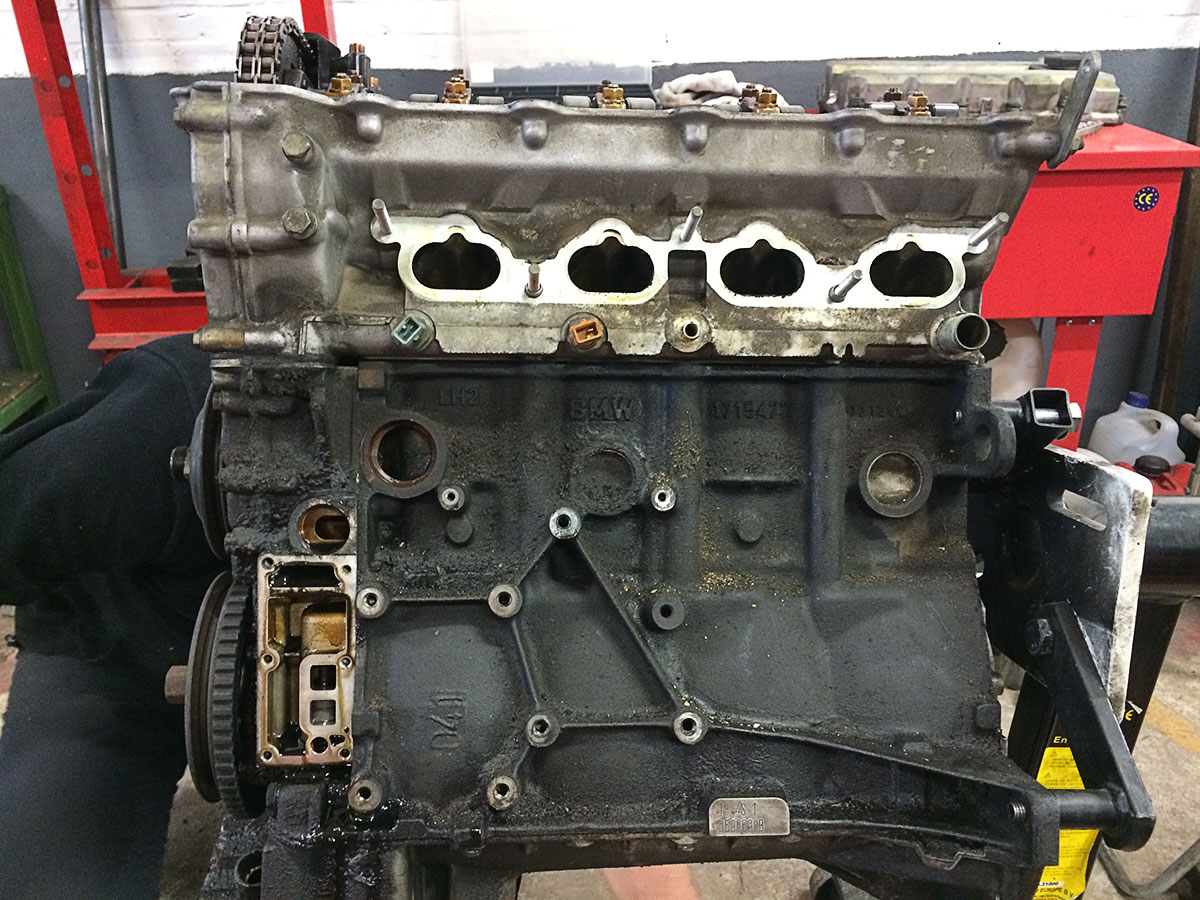
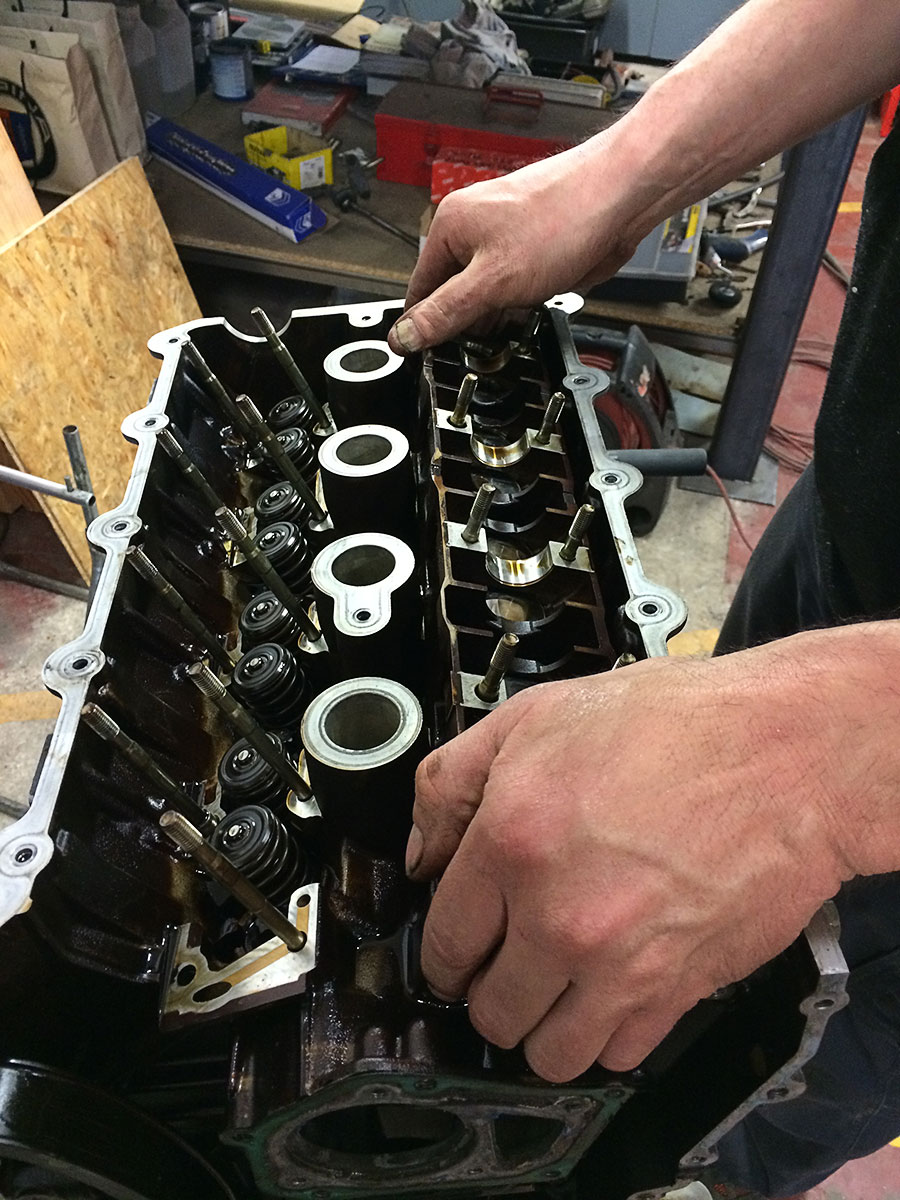
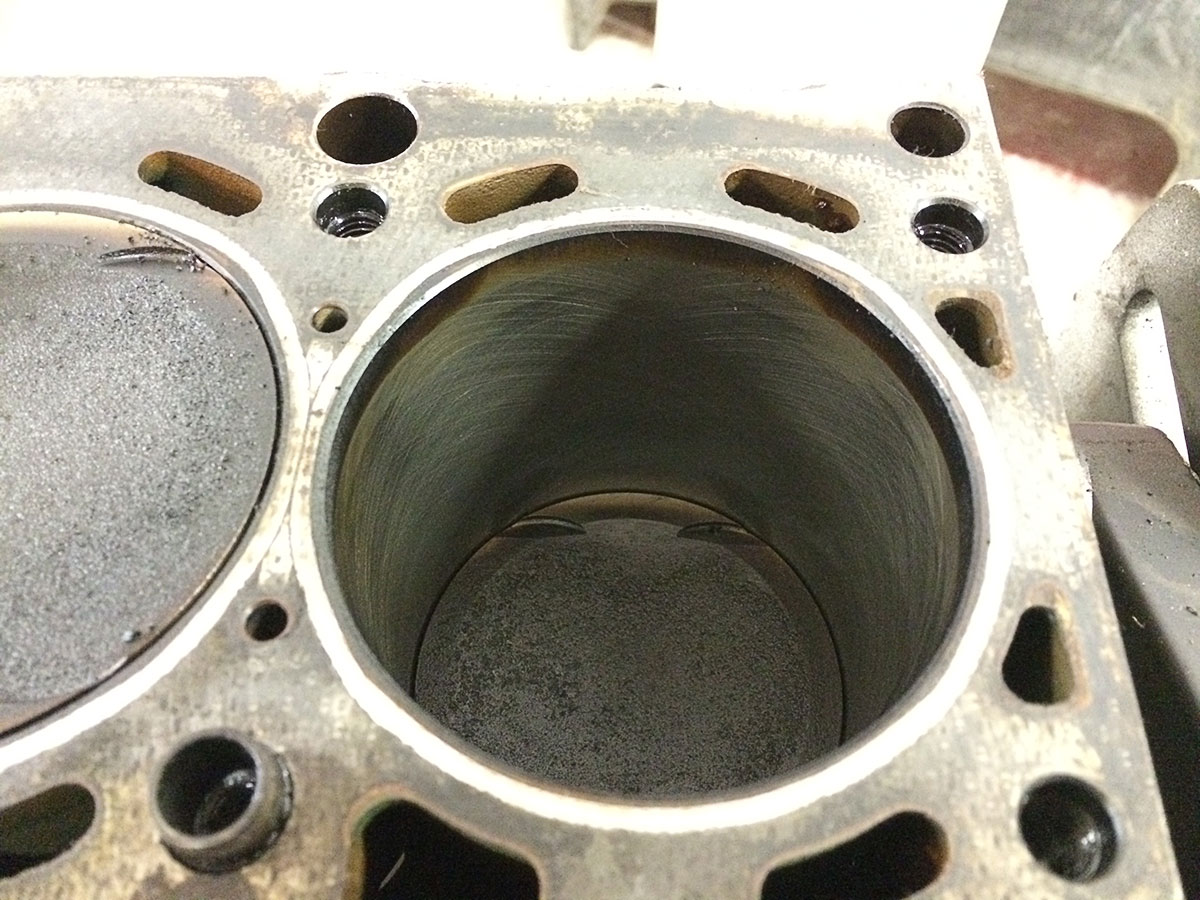
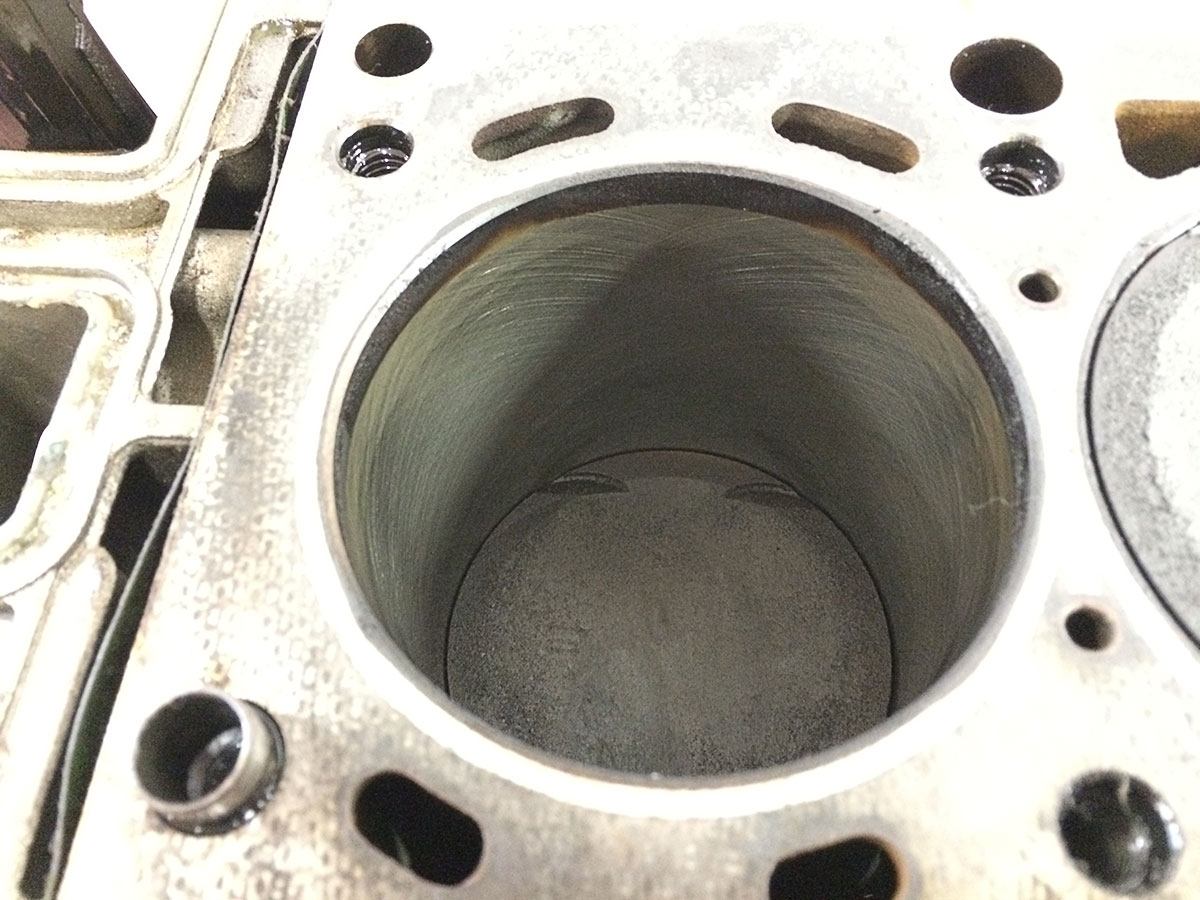
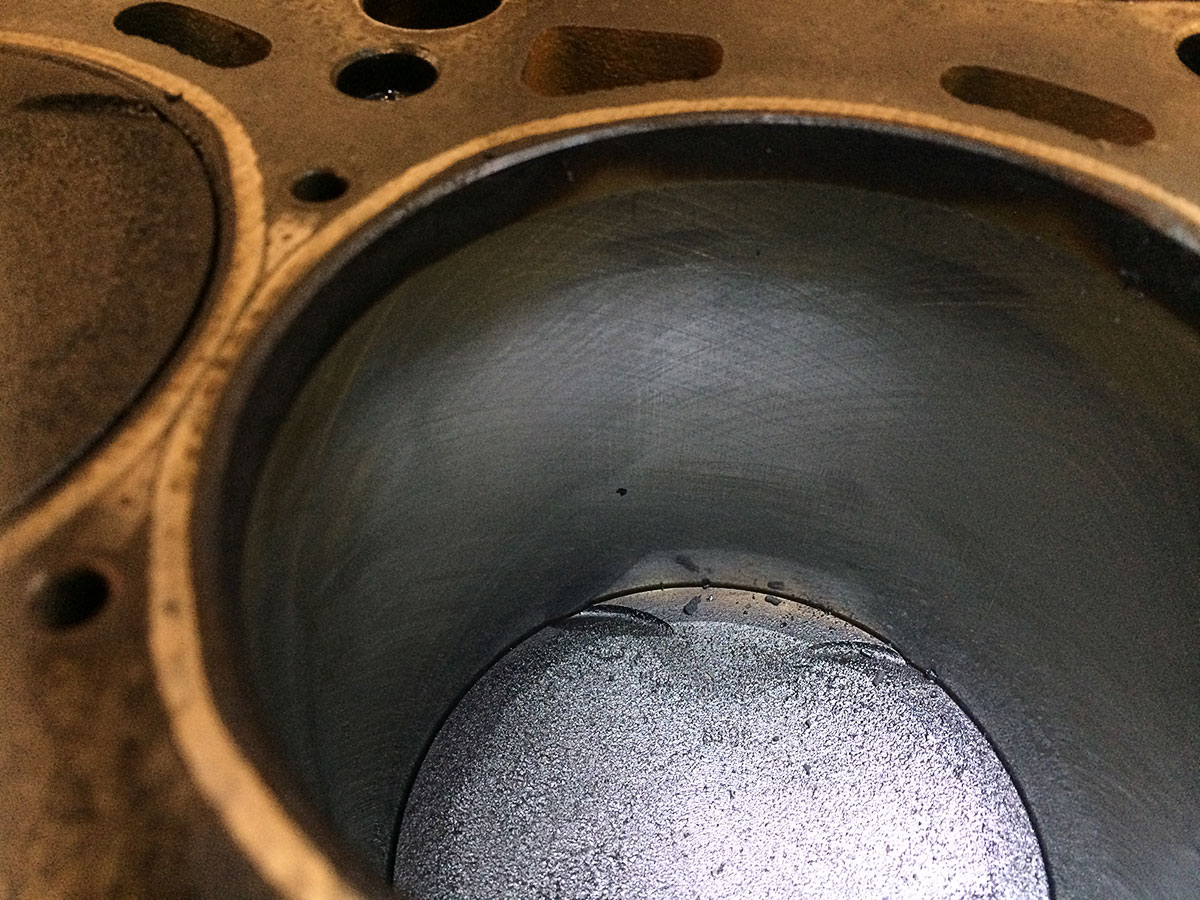
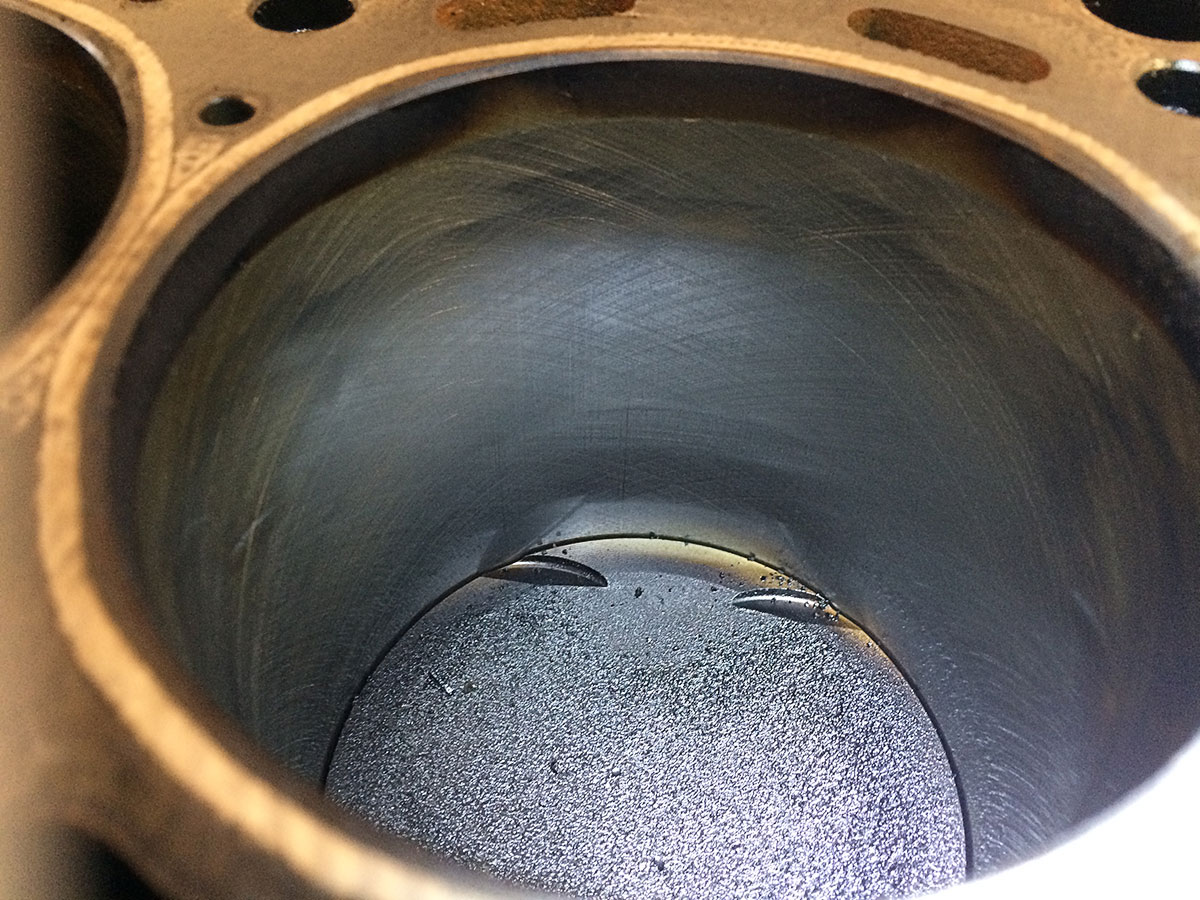
After taking the head off the block we can see the cilinders. Deze are checkt for scrape marks and measured to see if they are still round. After that the cilinders will be cleaned. We can clearly see the that 3 of the 4 cilinders are still in very good shape, with the original lines still visible in the sides. Cilinder 4 has a bit of a scrape mark, but nothing serious.
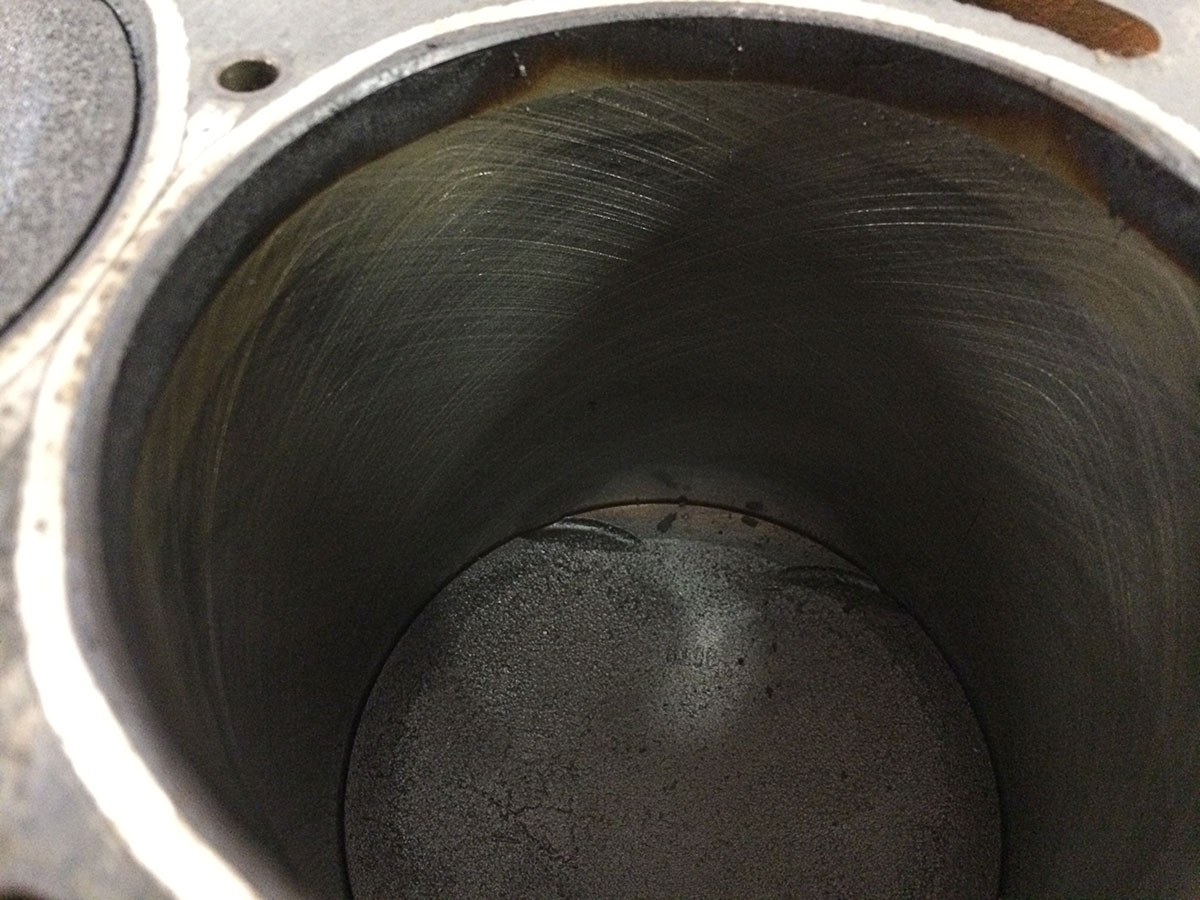
Cilinder with light scraping visible. Nothing that can't be fixed though.
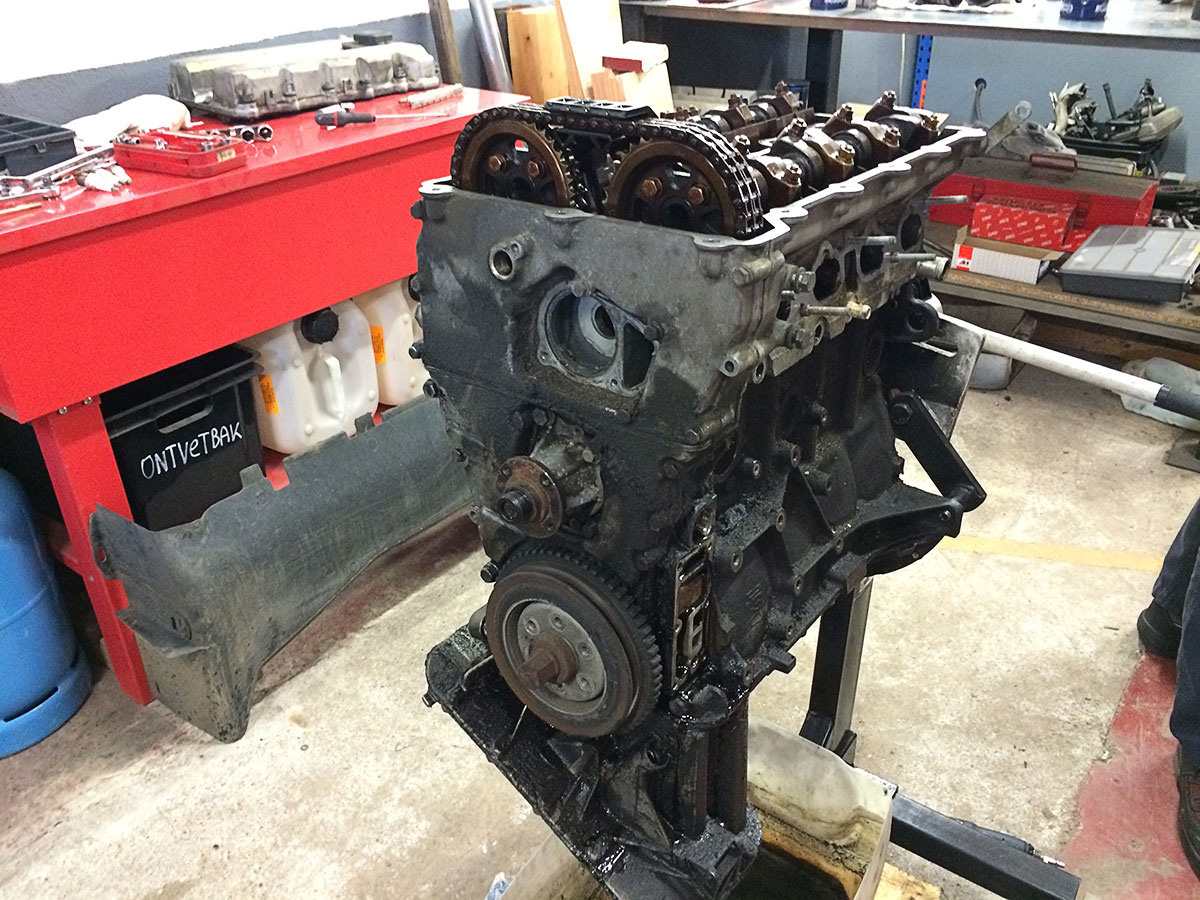
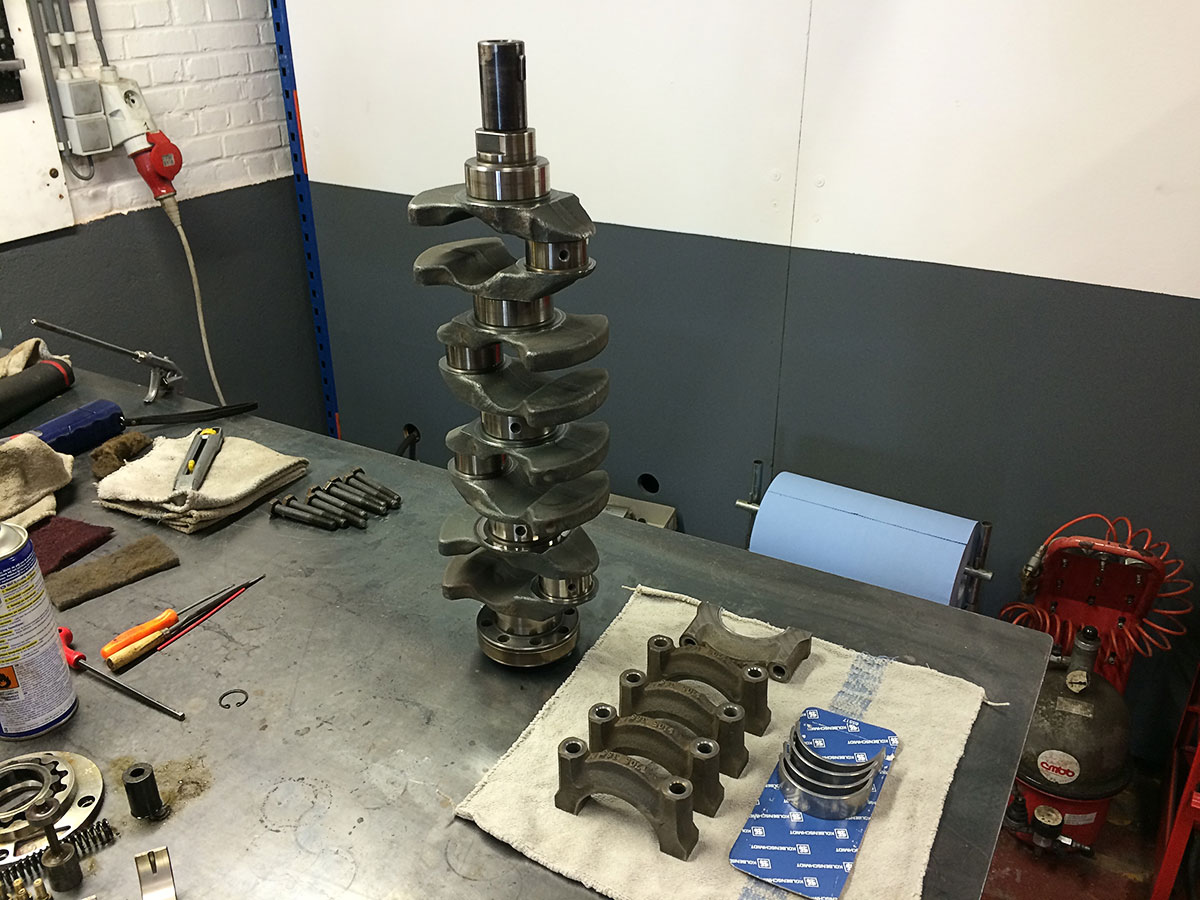
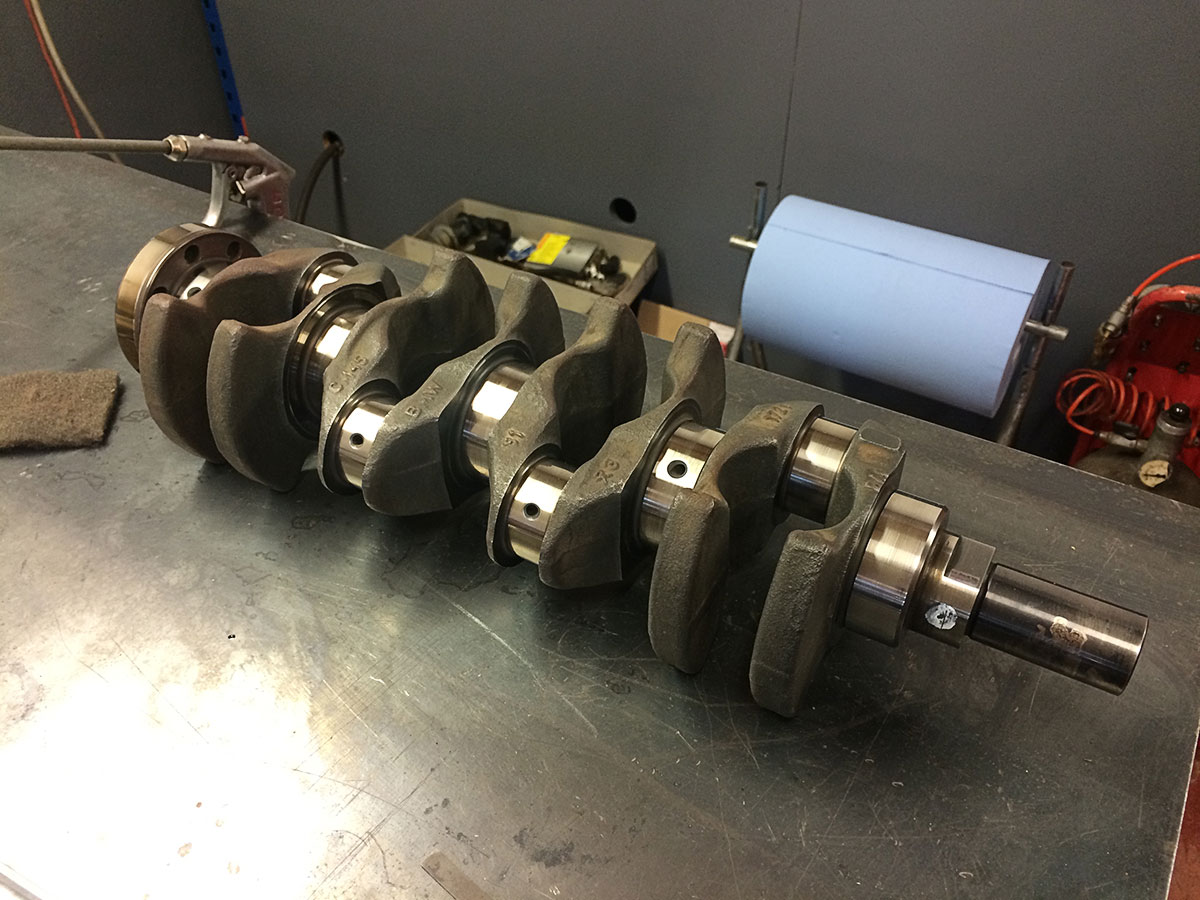
On a later point in time we also removed the crankshaft, its bearings and the upper part of the oil pan. All these parts also looked fairly good.Comment
-
Part 3: new parts
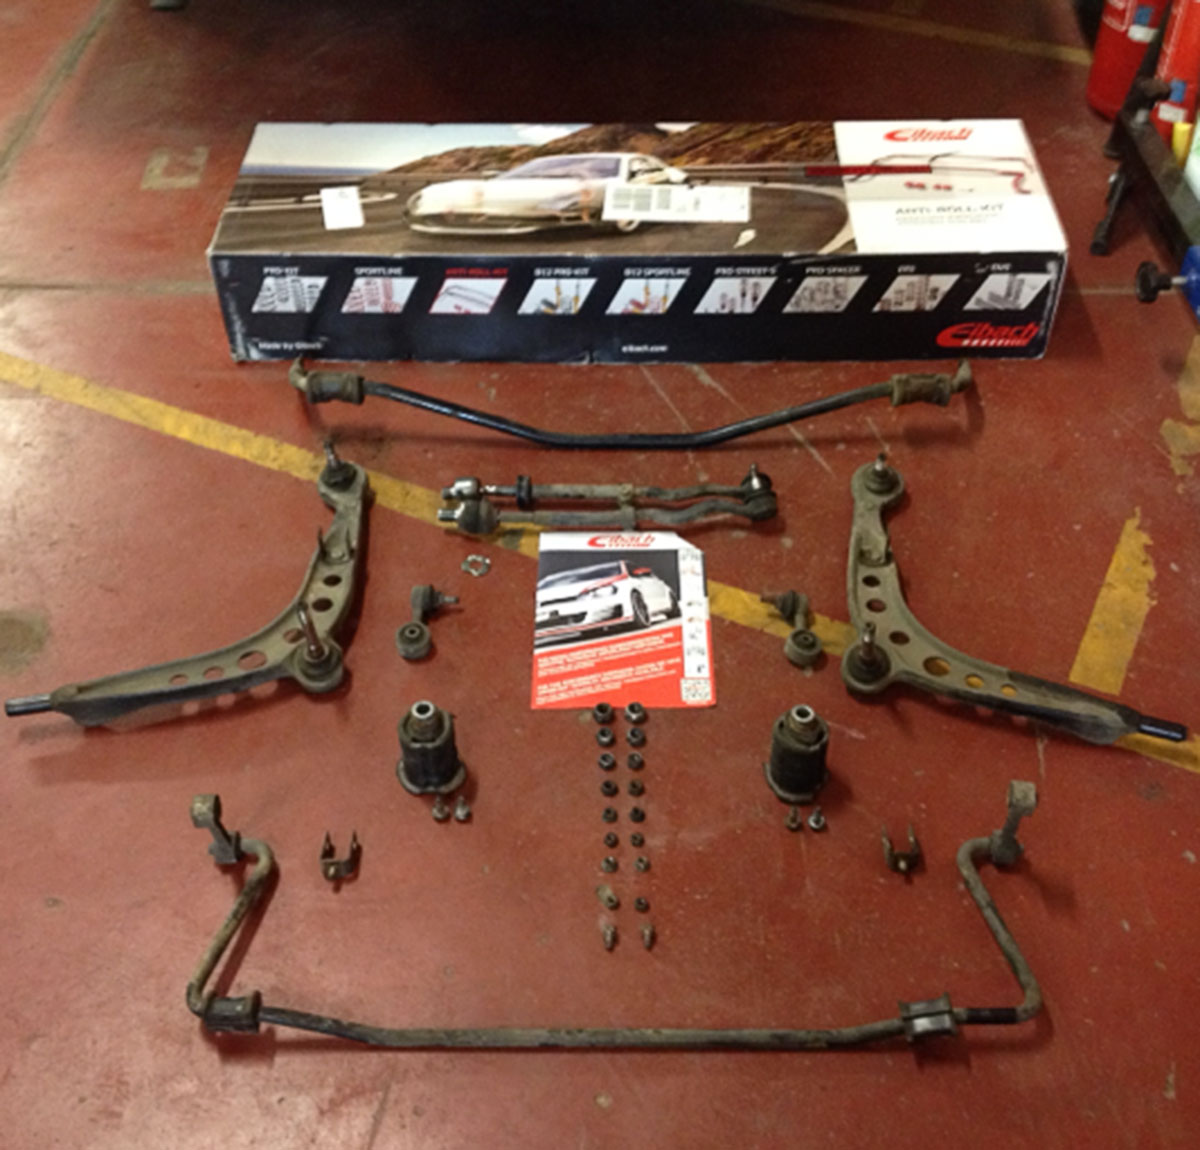
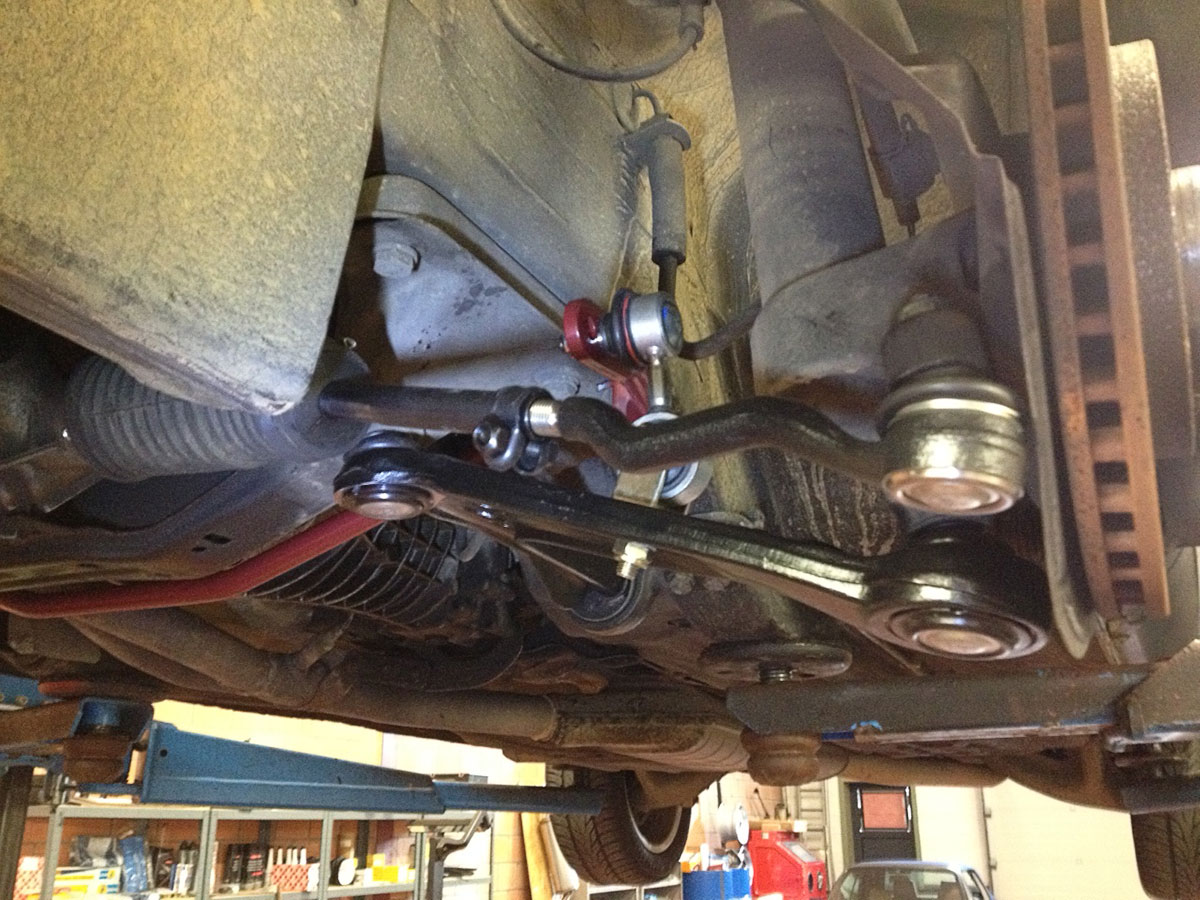
during the initial check of the engine, we noticed some other parts at the end of their lifespan as well. So part of the suspension was also revamped to get this car as fresh as possible for the 2016 season.
We changed:
- Suspension triangles
- End links of the stabilisers
- The stabilizers themselves have been replaced by an Eibach adjustable kit
- Brakelines: BF Goodridge steel
- Rubber bushes of the rear subframe
- Excentric M3 bushes in the front lollipops

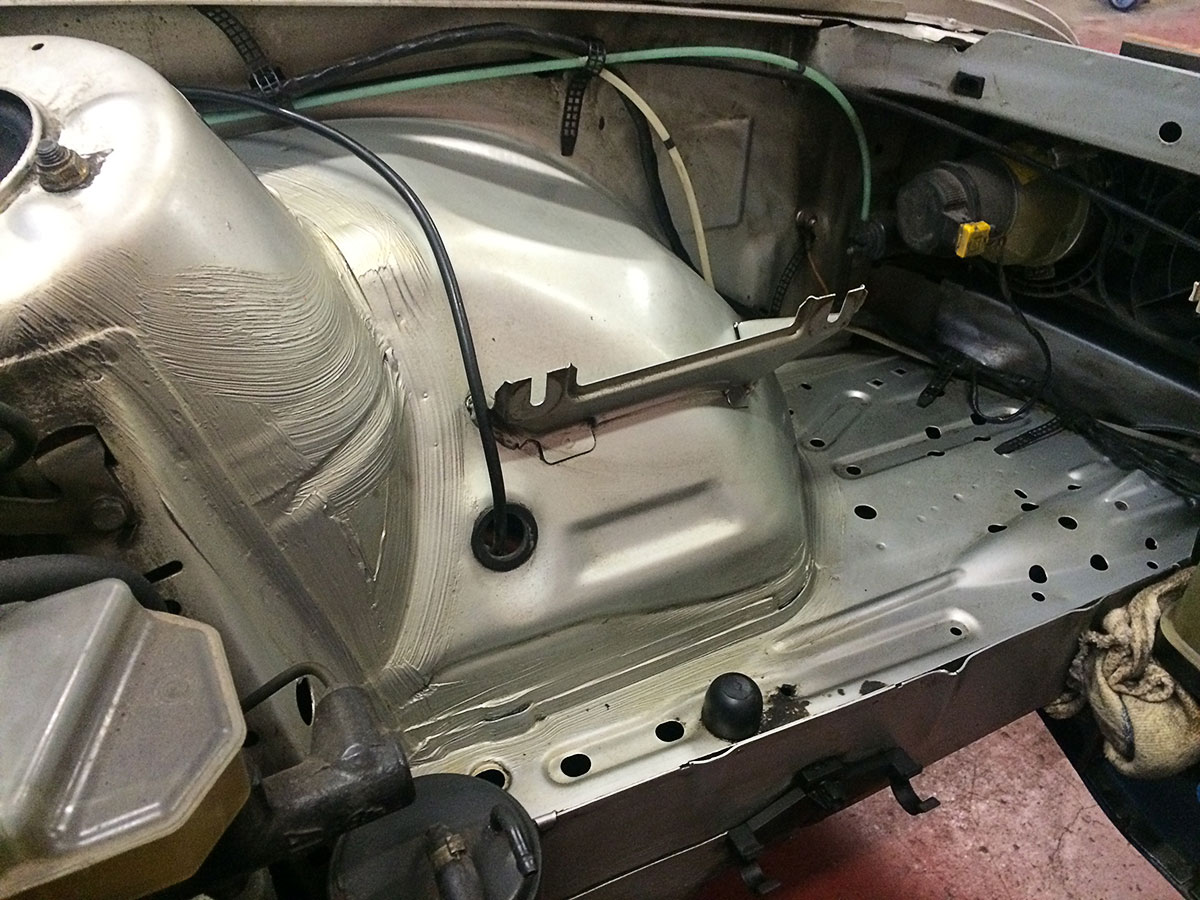
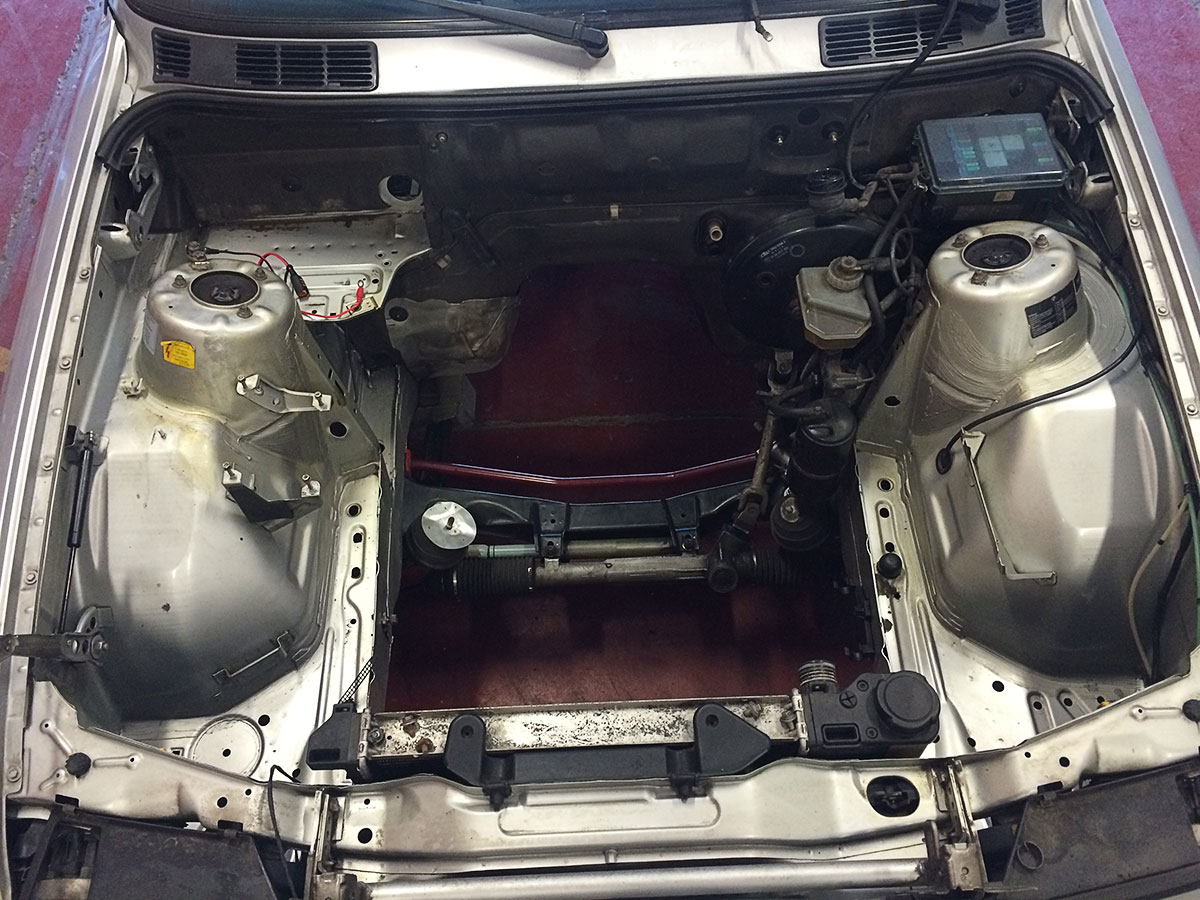
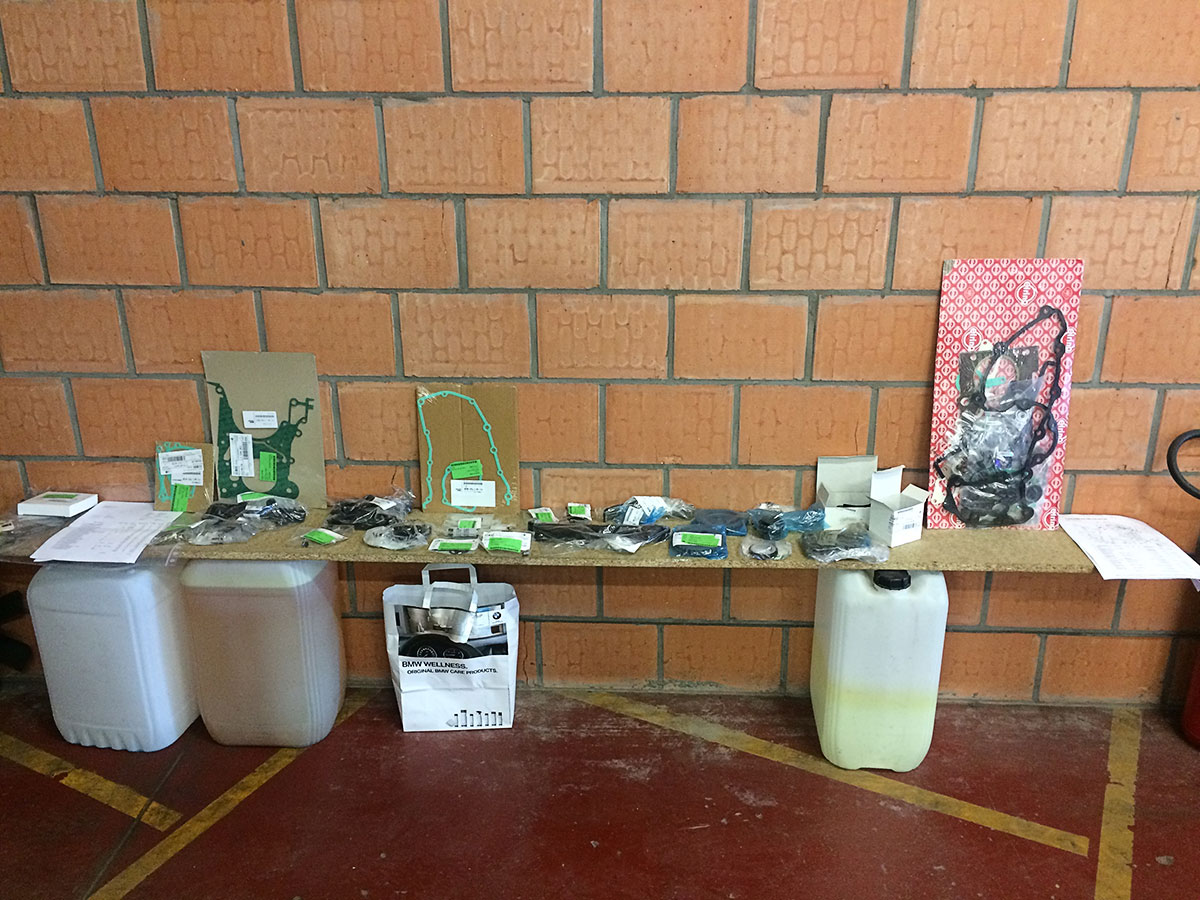
The biggest cost of a full rebuild is always the new parts, that means that you reuse as much as possible when you can. A lot of parts are in perfect shape and basically only need a good cleaning. A lot of time during this rebuild went to the cleaning of engine parts and the engine bay, and to media blasting the outer casing of the engine itself.
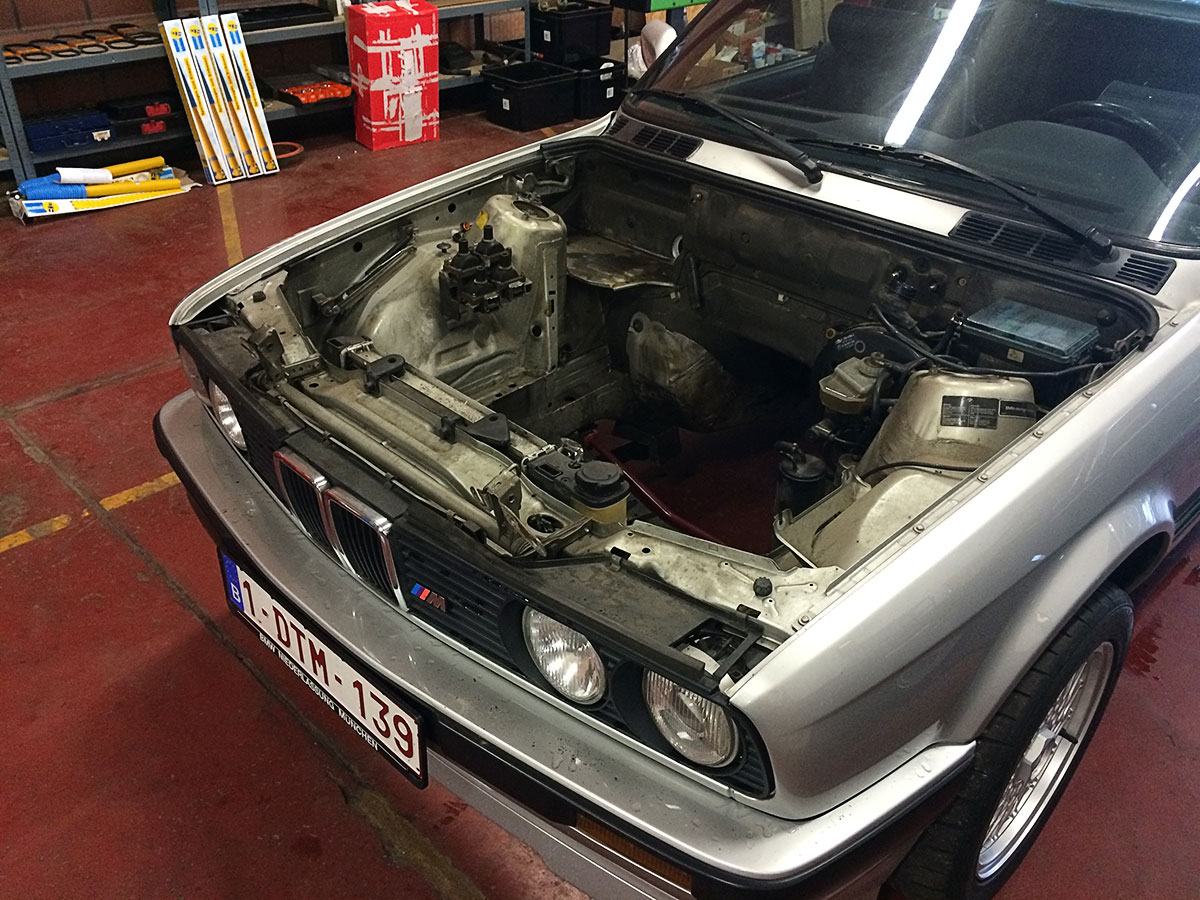
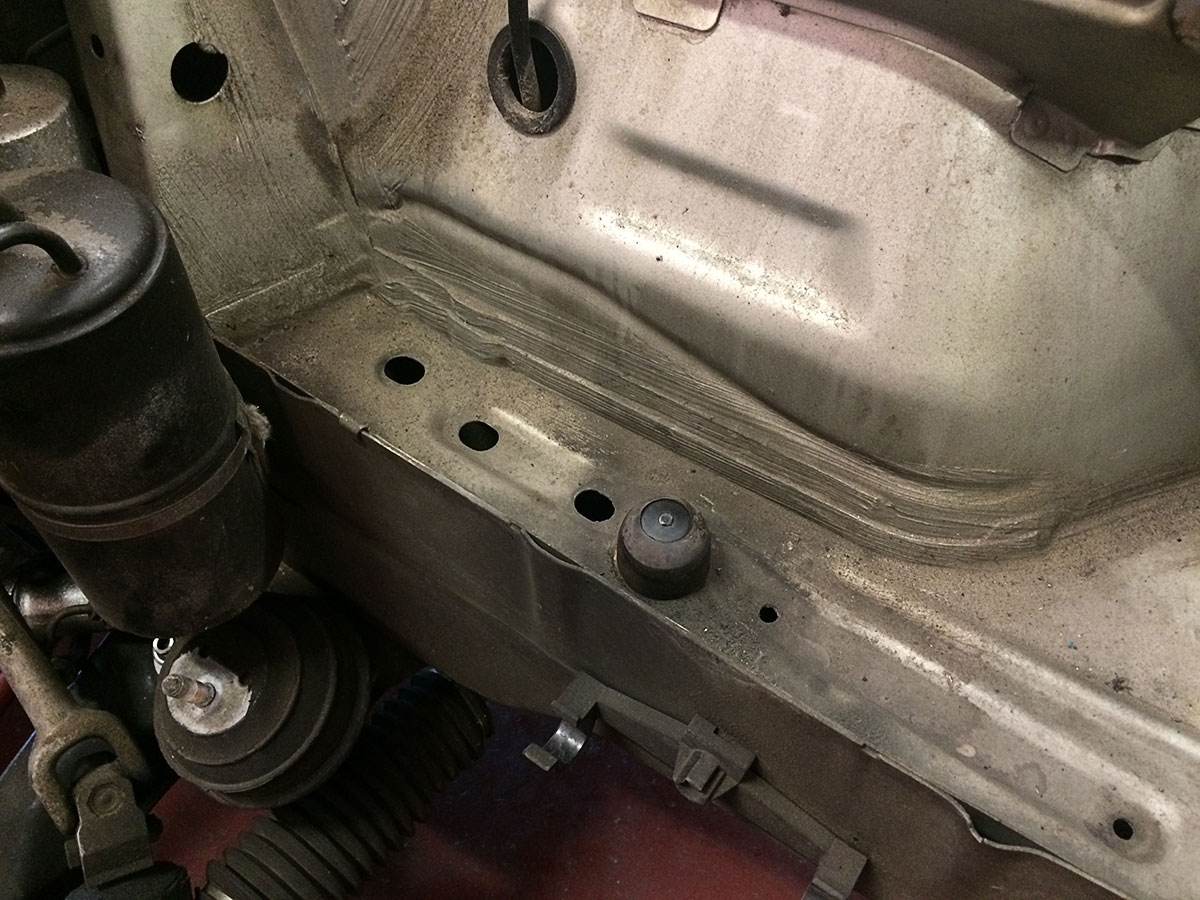
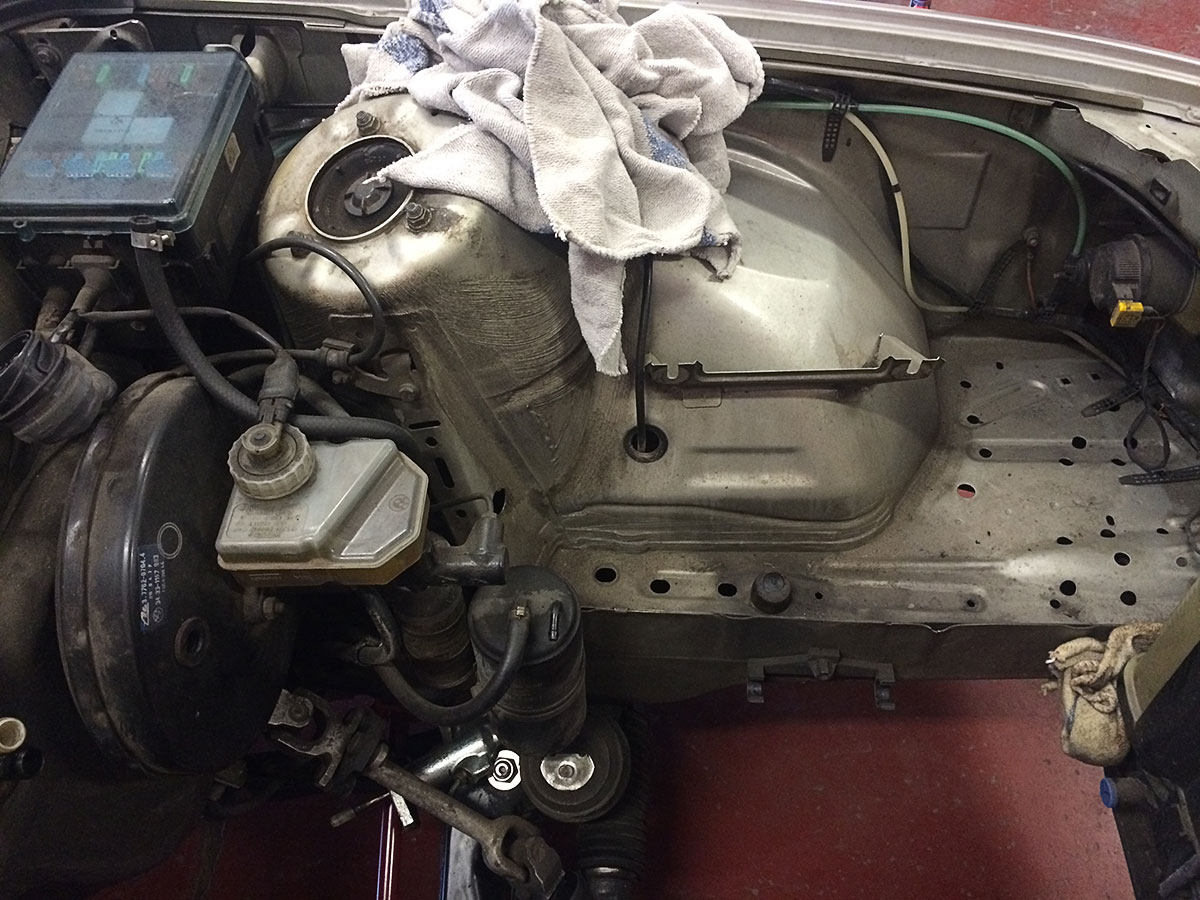
The car is 25 years old and was always well maintained in that timespan, but you just can't get into every nook and cranny with the engine still in the engine bay. This was the perfect time to get everything clean and shiny before the new engine goes in.
As you can see, it needed a bit of cleaning:
Comment
-
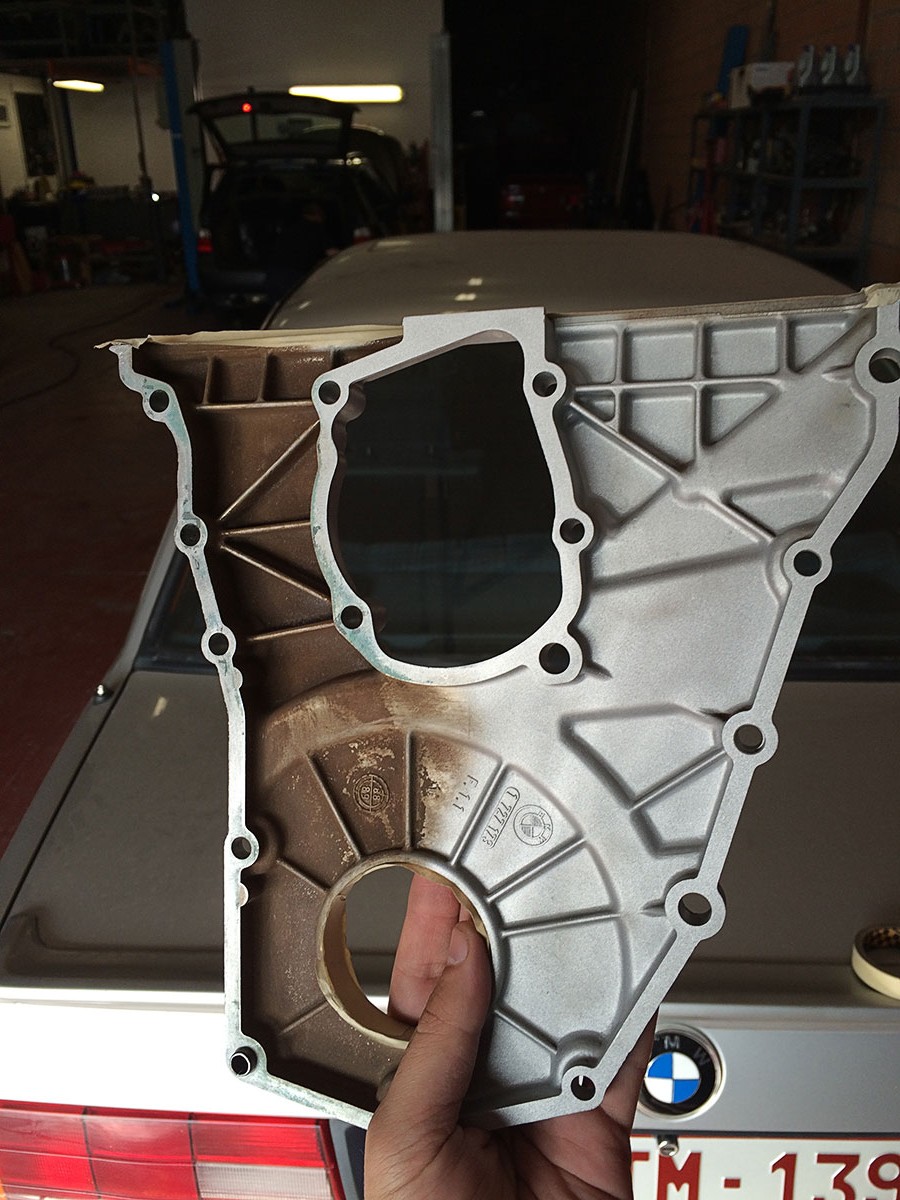
All done:
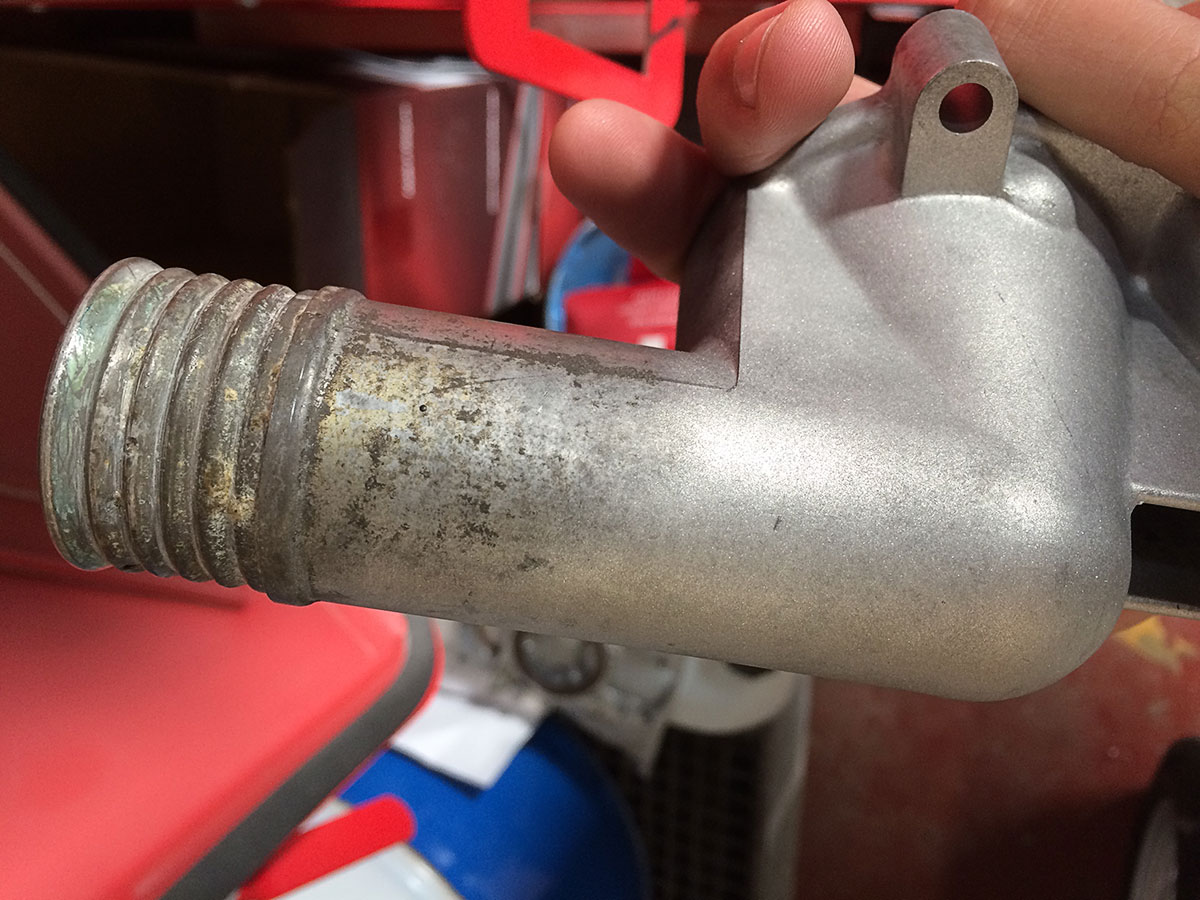
Parts of the engine are in cast steal or aluminium, and these will be reused. They have been through a lot: heat, dirt, water, salt, coolant, oil, gasoline, dust, ... you name it, these parts have been there. The only way to get this clean again, is with a proper media blasting treatment.
50/50: you can see that the metal shines once again after the dirt has been blasted into oblivion.
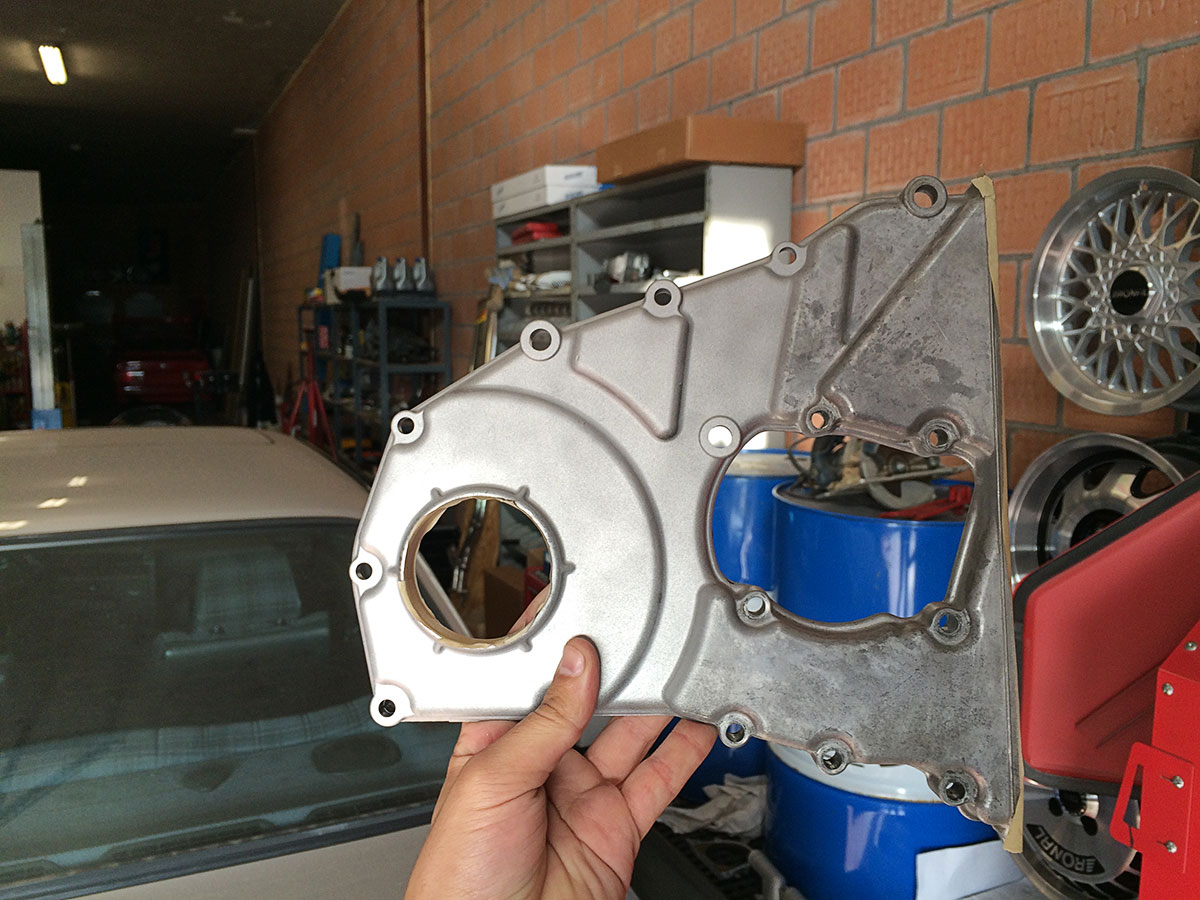
You can't blast everything, especially not the internal components, so a lot of parts have been changed by brand new ones.Comment
-
The total list of every part and machining that has been done to the engine:
Machining:
- Hone the cilinders
- Test the head
- Grind and adjust the new valves and valveseats so that they match up perfectly
- Machining of the flywheel (not a weight reduction, just a clean up)
Parts
- Gaskets of the block and head
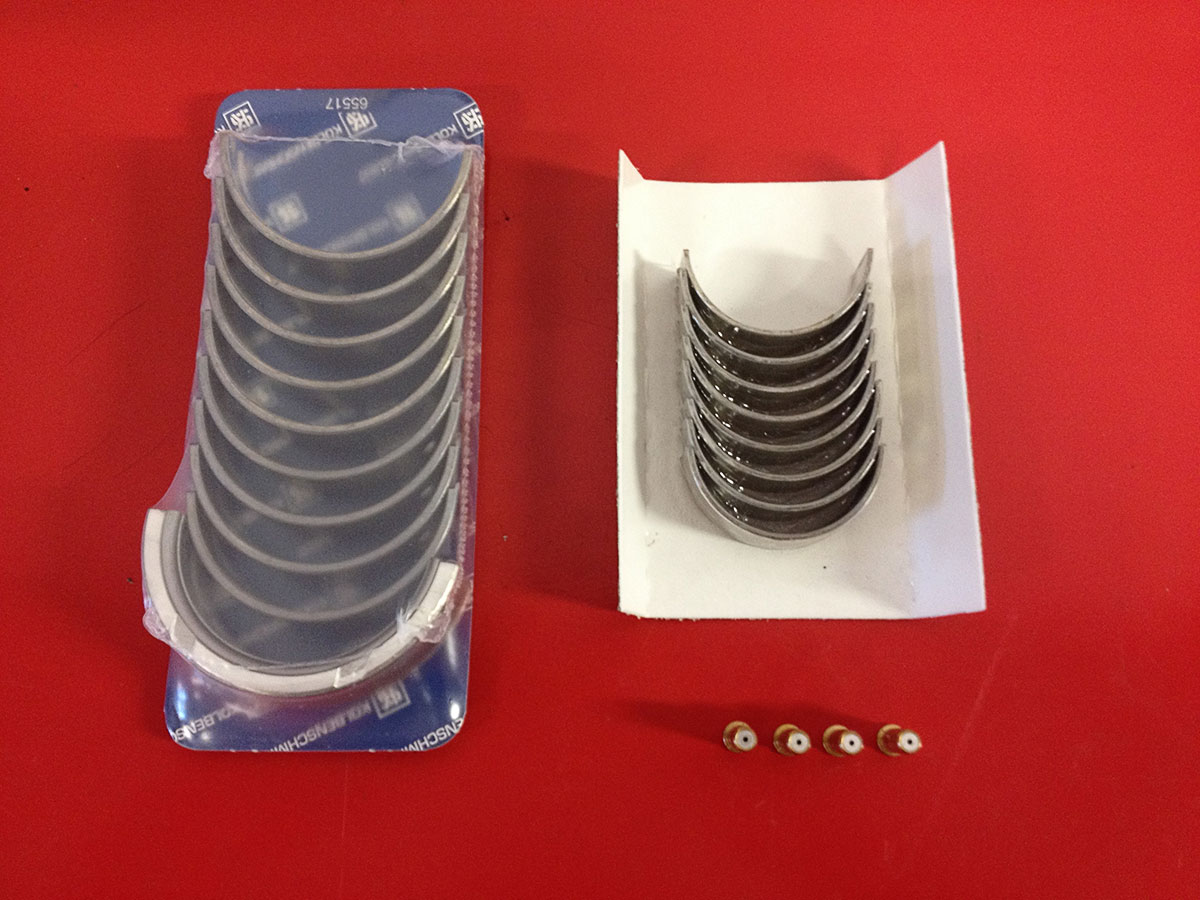
- big and small end bearings
- Bolts that hold the crank to the crankshaft
- Bearings of the crankshaft
- Position bearings of the crankshaft
- Pistonrings
- Cilinderhead bolts
- Distribution set (Chain, guides, sprockets, ...)
- Waterpump
- Thermostat
- Oilfilter
- Sparkplugs
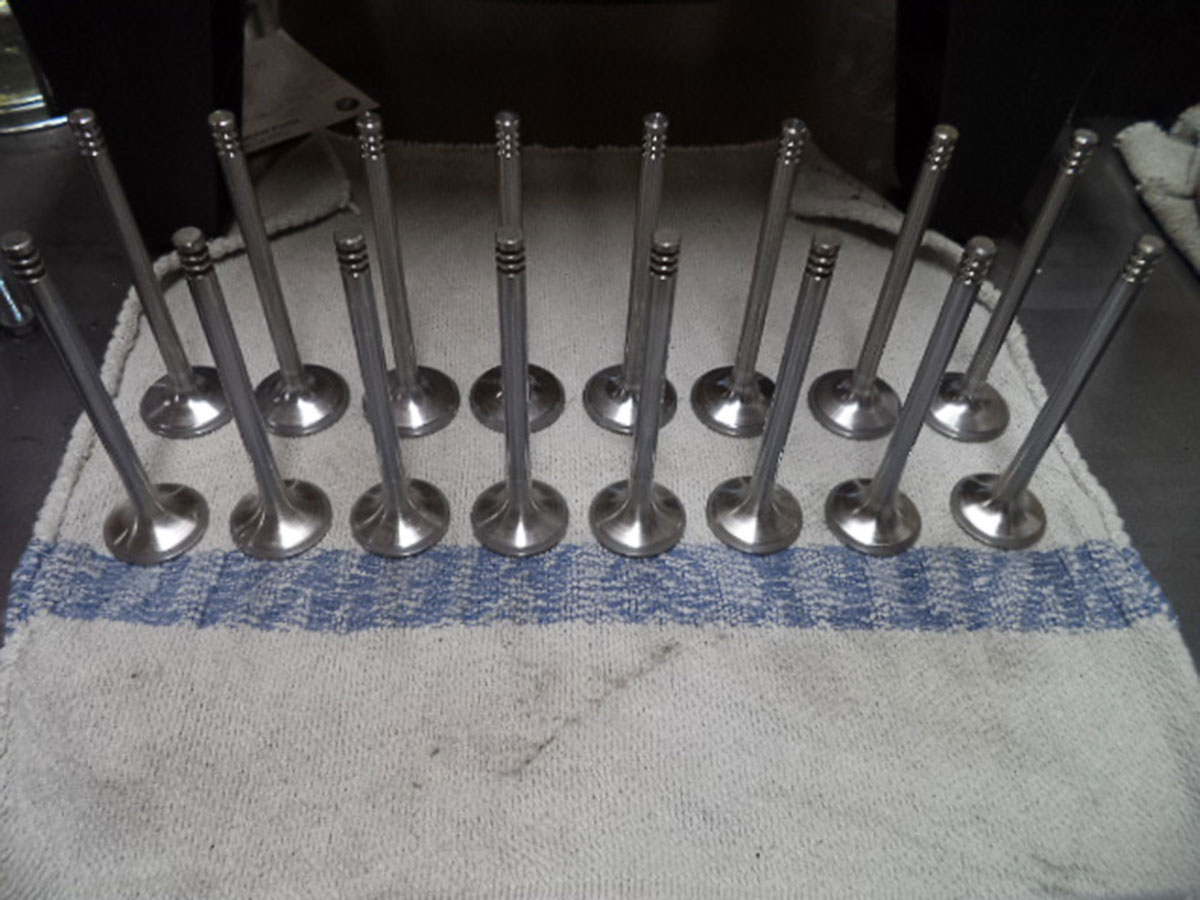
- 8 exhaustvalves
- 8 intakevalves
- Hydraulic pushers
- Oilsprinklers that cooling the pistons from the underside
- Chaintensioner
- Seals of the crankshaft
- Waterhoses under the intake (so no mess under the intake mod i'm afraid, we get cool temperatures here)
- Waterhoses to the radiator and heatercore
- Gearbox seals and bearings
- Alternator bushings
- Guibo
- Shortshifter from a Z4
- Clutchkit
- Oilpressure sensor
- Watertemperature sensors
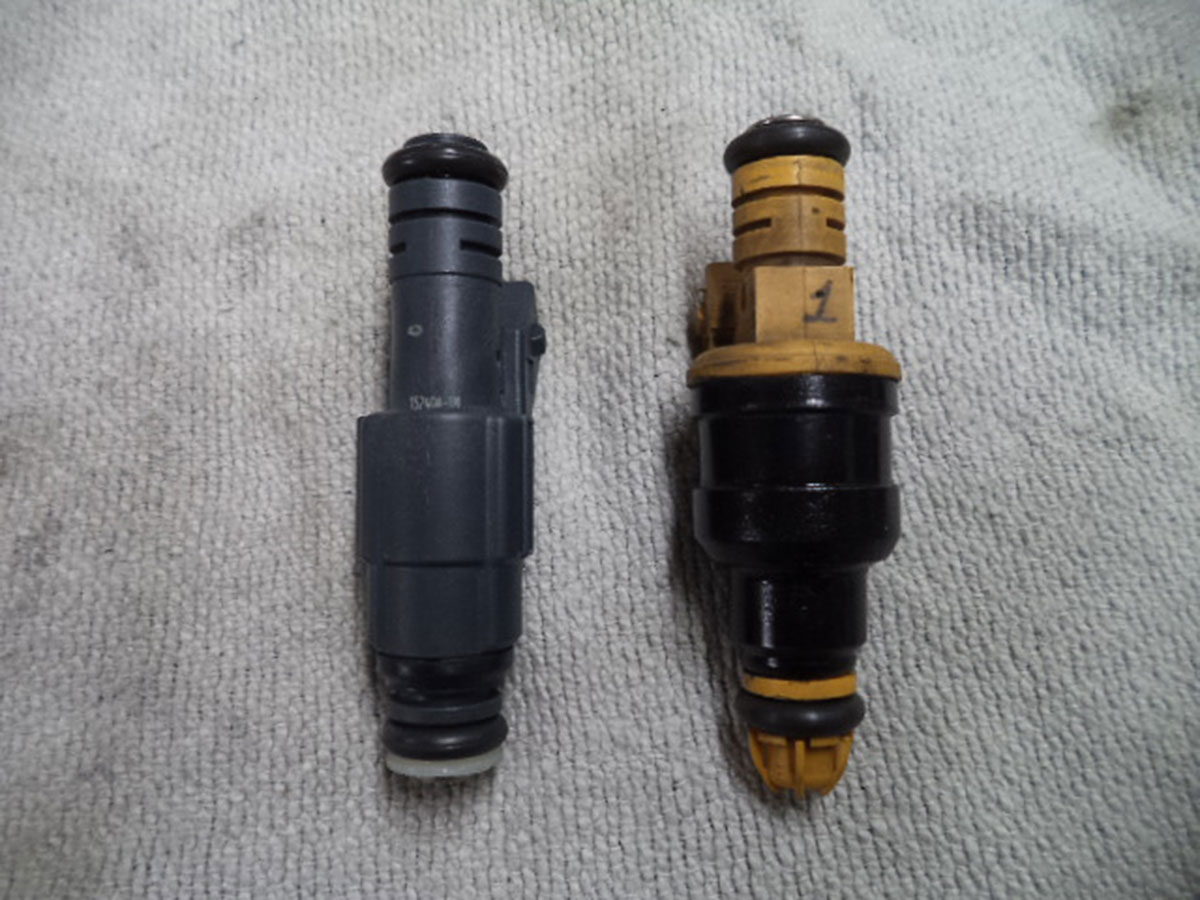
- Injectors
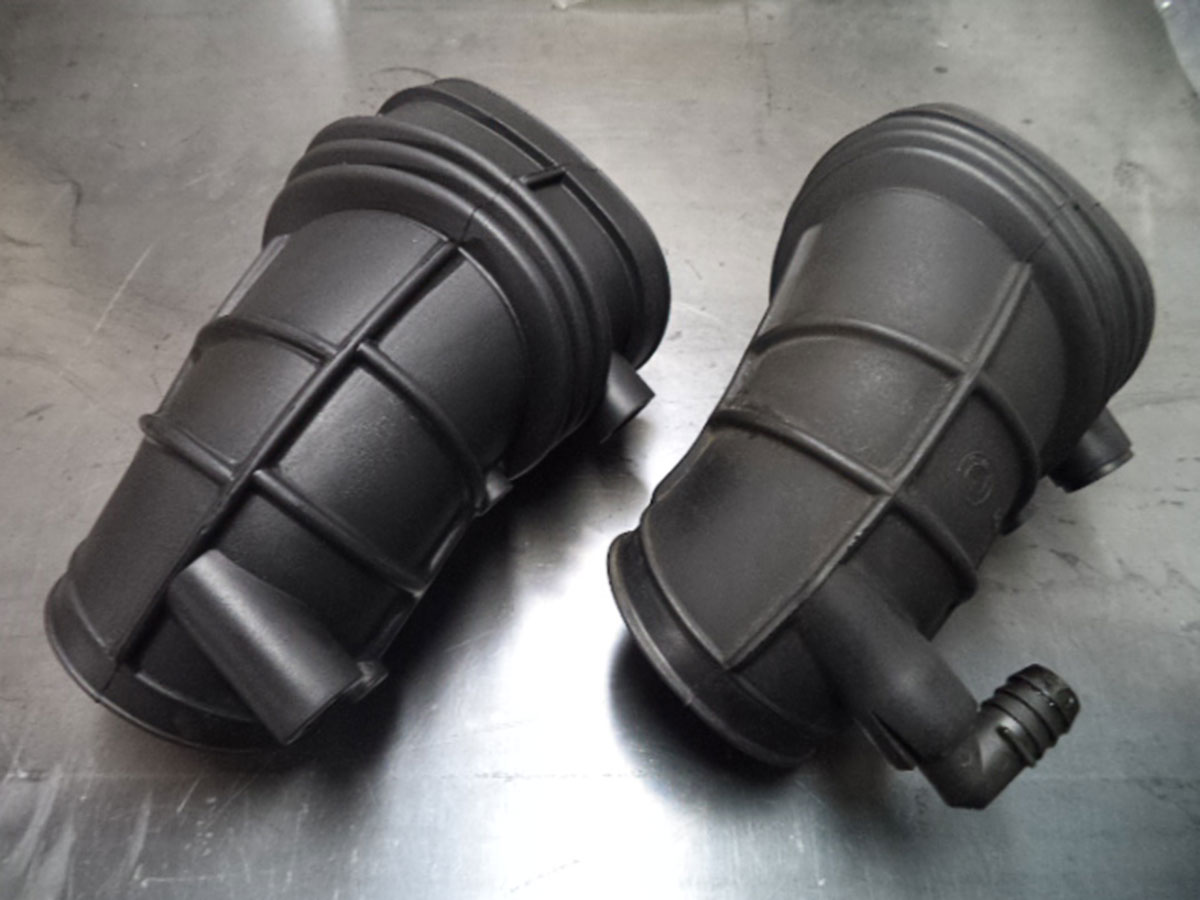
- Rubber inlet thingy between the filter and the intake port
- Heatshield above the exhaust
And a lot of small stuff like bolts, bushes, gaskets, seals, ... for the valvecover, oilfilterhousing, exhaust, inlet, ...
Sprockets, new vs. old. Notice the difference in thickness of the teeth.
16 new valves
The injectors have been tested for leakage, pressure and squirtpattern. Two of them did not look good, so they are replaced.
All rubber hoses are replaced to avoid vacuum leaks. The inlet showed multiple small tears.
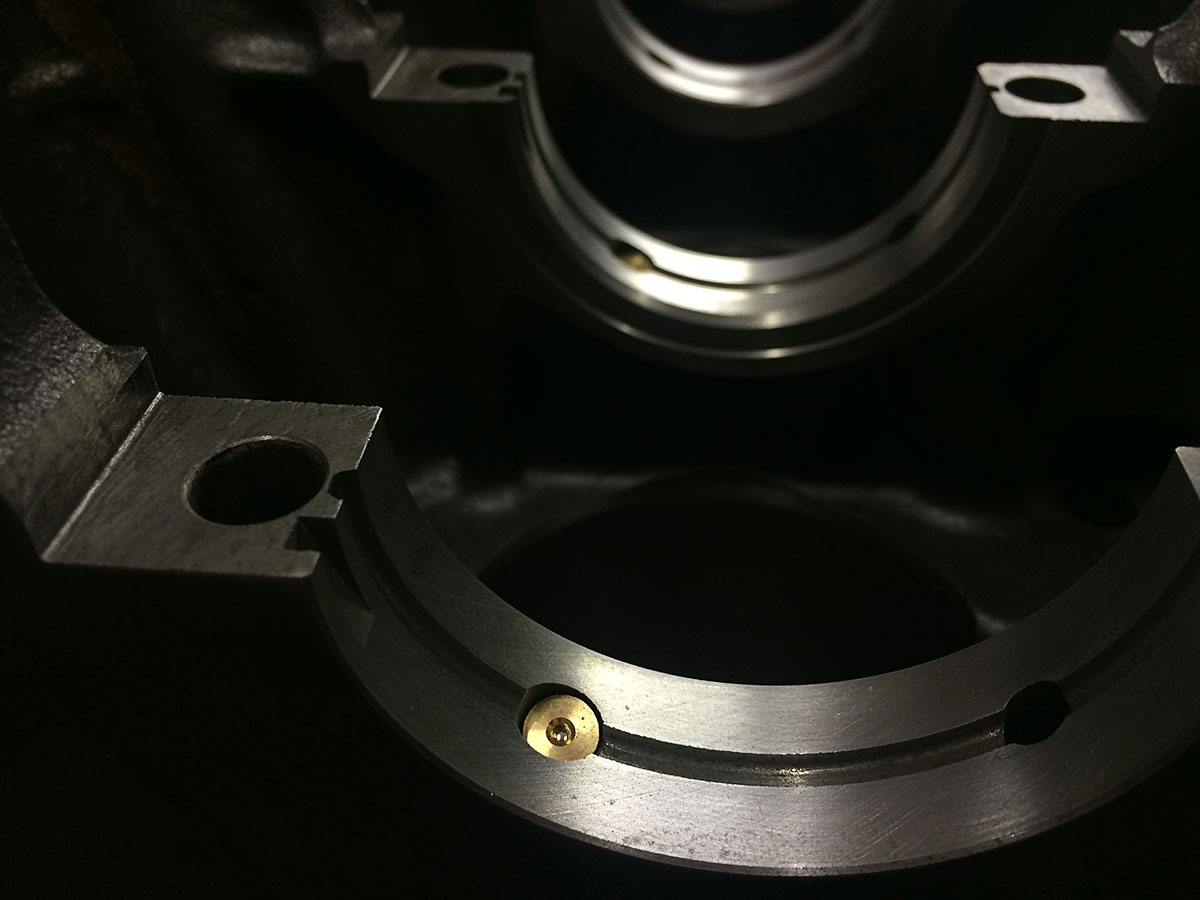
New sprinklers and bearings. The bearings hold the crankshaft in place while the sprinklers cool and lubricate everything even during the hardest loads.
Comment
-
Part 4: building the engine
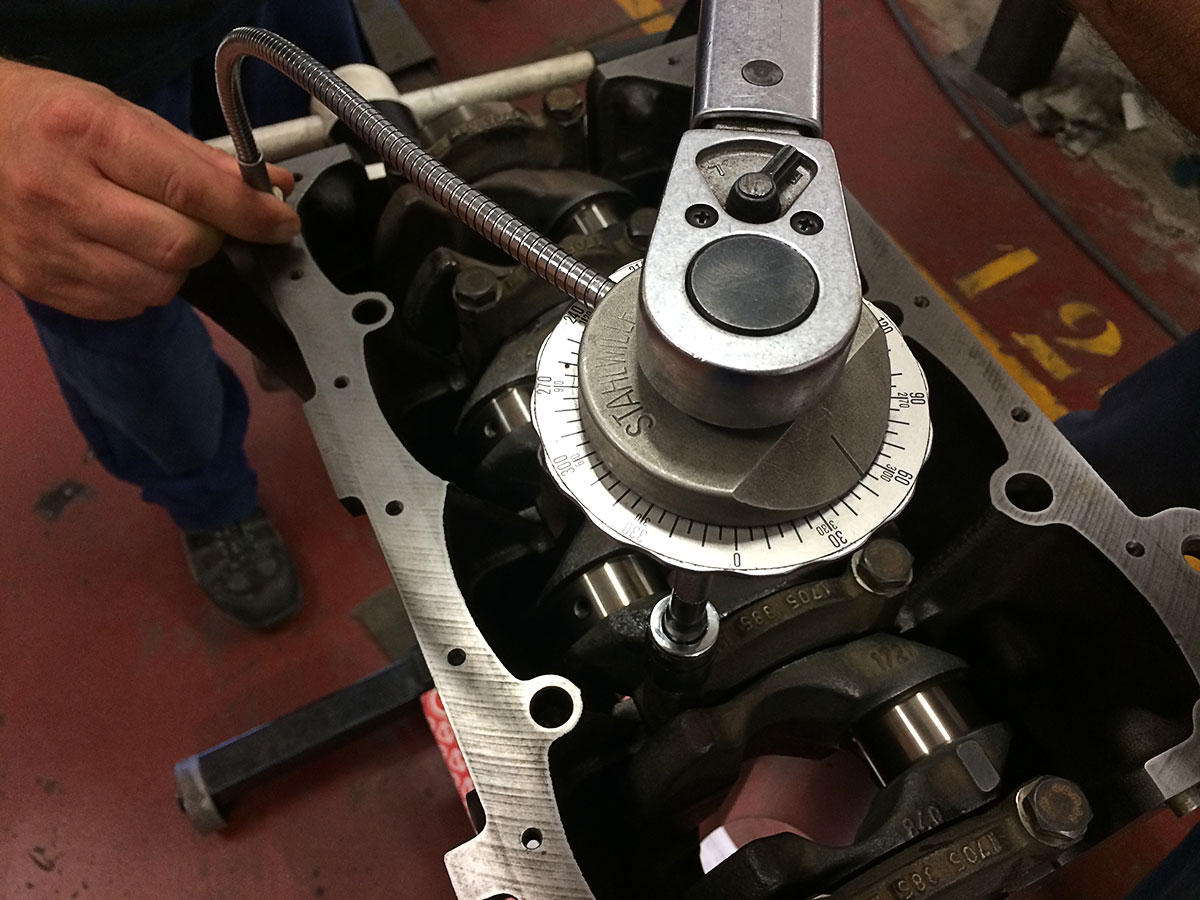
We start with one of the most crucial steps of the rebuild, gettings the crankshaft in. This step needs to be done in a very precise way as it determines the lifespan of the engine more than some people realize. When you do not torque the bolts correctly, the bearings will not line up perfectly and in the long run this will cause premature wear on the bearings and the shaft. The reason why tensioning these bolts is difficult, is because they are designed to stretch when tensioned too hard, and then they do not load up anymore as you have made them longer. When torquing a bolt with a torque wrench, you use part of the indicated torque just to overcome the internal friction of the bolt, thus giving you a wrong torque spec. The correct way to do it is by using a rotational measure.
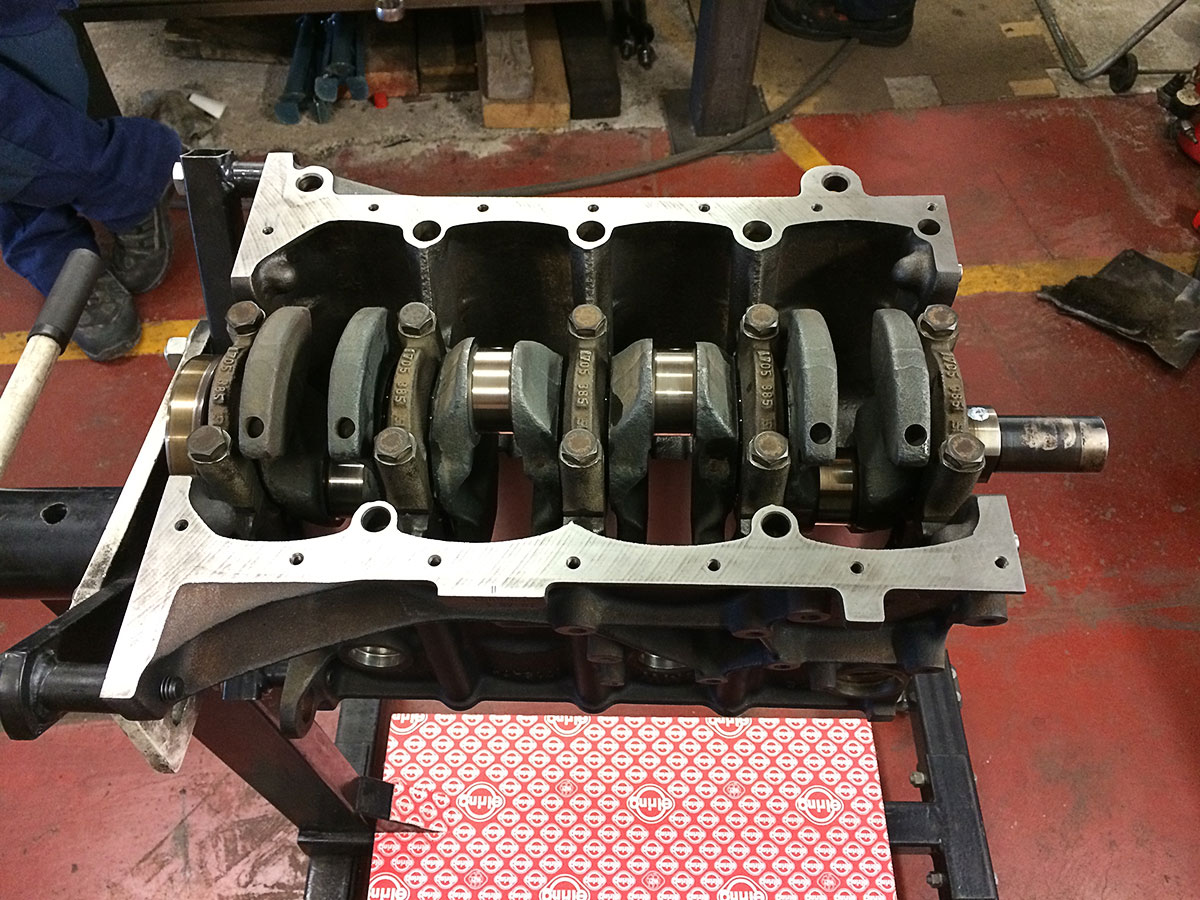
We start with a crankshaft and the block itself.
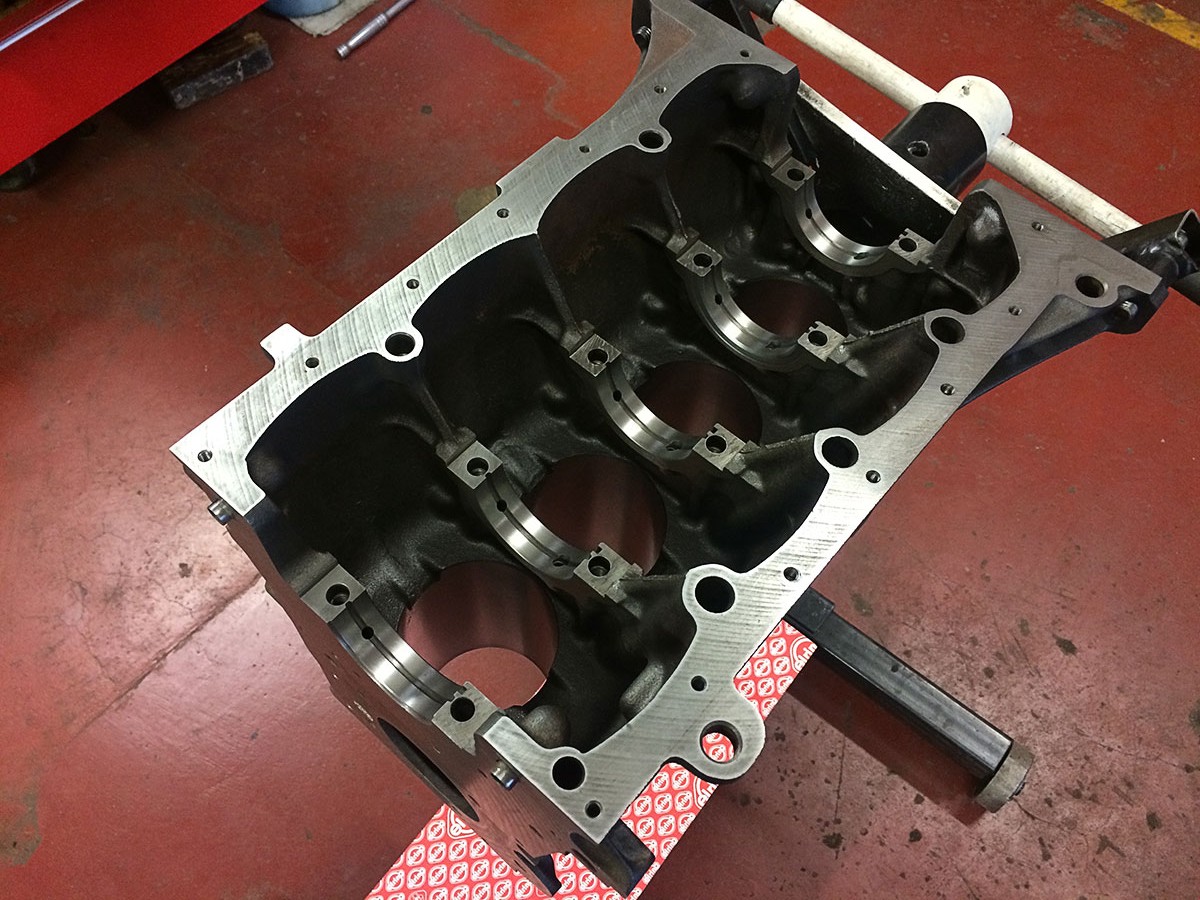
Oilsprinklers and bearings go in next.
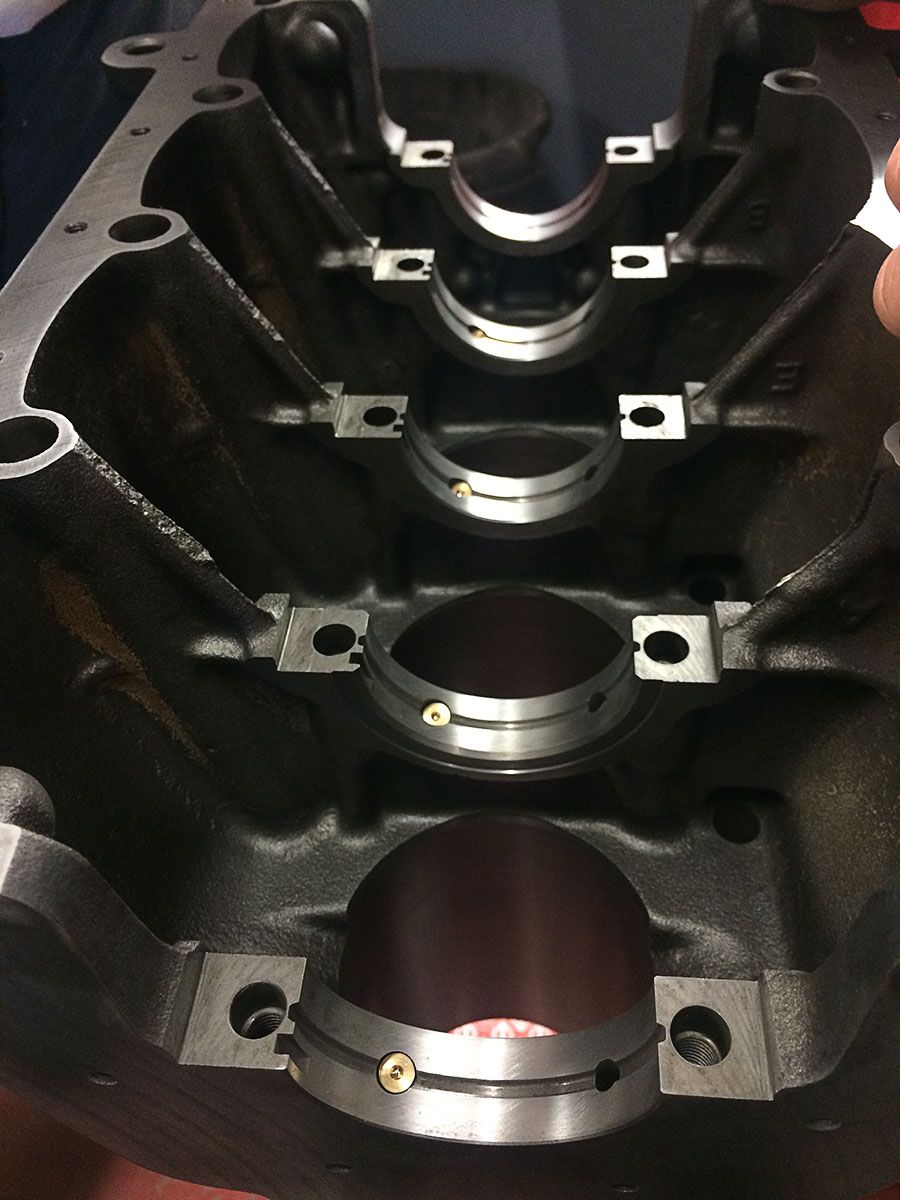
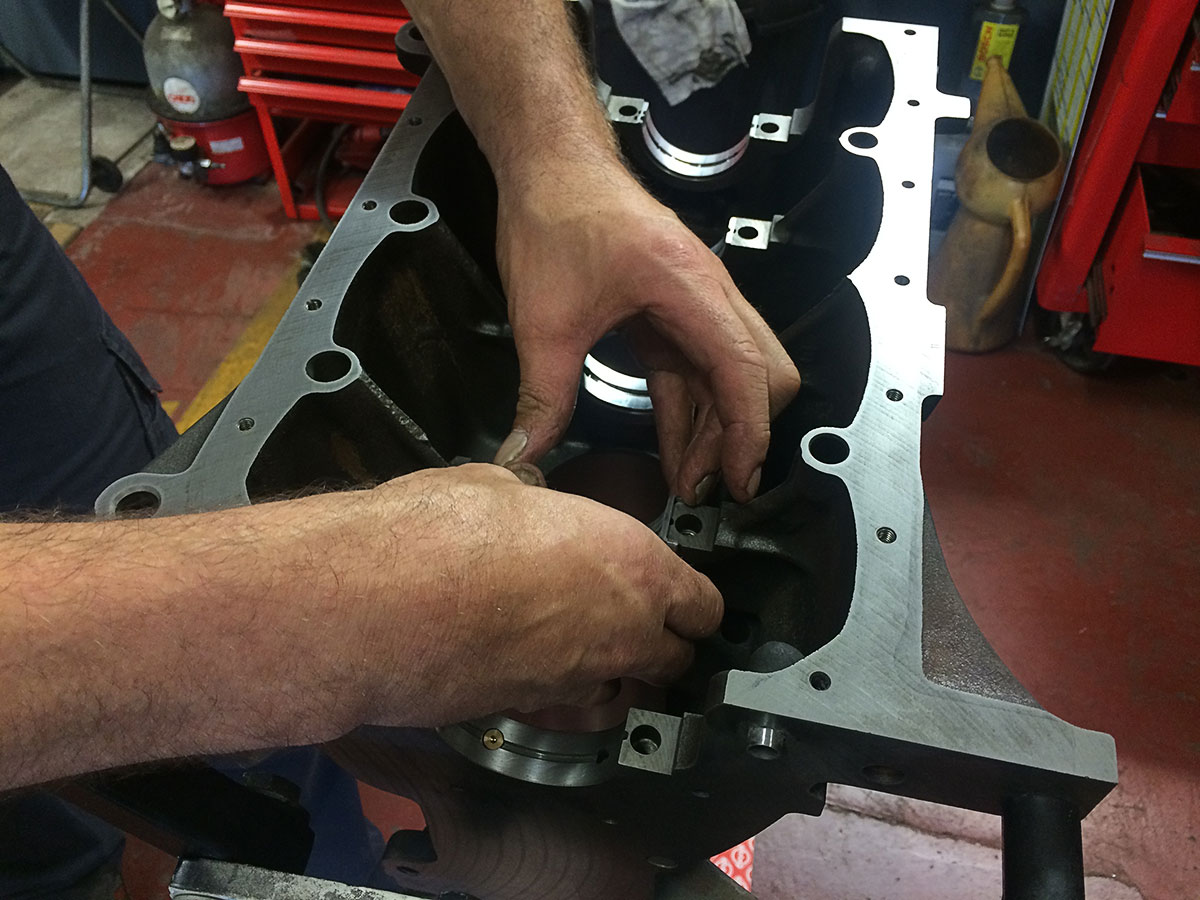
The bridges that hold everything into place are put in position and then torqued in steps. You need to do this in steps so that the parts have the time to settle in. You could clearly feel this because in the beginning the crankshaft turned with some force, and in the end it turned very smoothly eventhough there was more pressure on the bolts themselves.
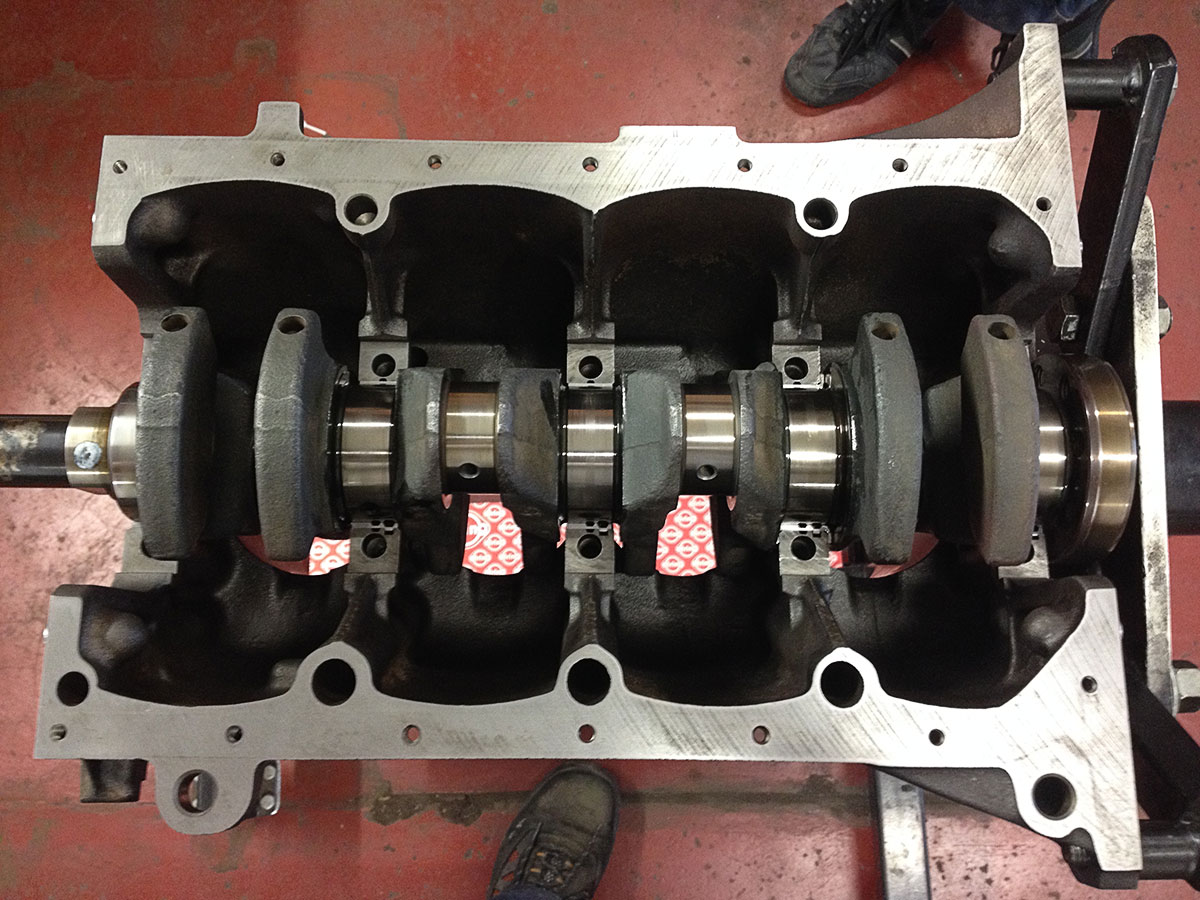
Once in place, the pistons go it.
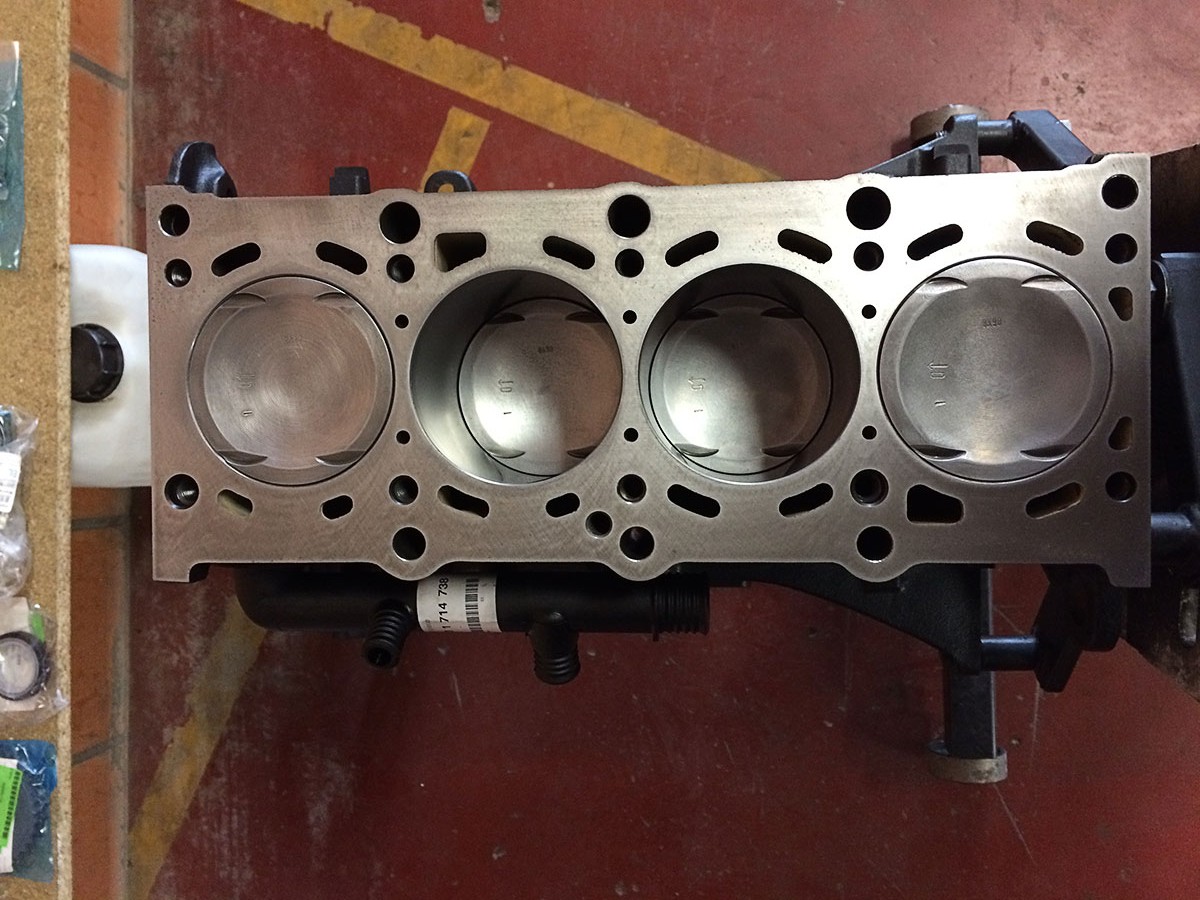
The block is as good as ready.Comment
Comment