Announcement

Collapse
No announcement yet.

Das Beast: My E30 track / street build

Collapse
X
 
  • Filter
  • Time
  • Show
Clear All
new posts

    Originally posted by dvallis View Post
    So, here's your chance to see what's inside an E30 oil pump. The damn things are No Longer Available from BMW, so online shops are selling them for $500 each. What a crock! Fortunately you will see there is not really anything to wear out, and the pump is really well built. Odds are you'll never replace it.


    Here's the stock oil pump from Das Beast. Doesn't look too bad.


    Here it is disassembled. Check out how beefy the pump gears are. Like I said, nothing really to wear out.


    However, the pump can be improved on. Notice the small, sort of square oil intake hole. This supplies your ENTIRE ENGINE!


    We can do better. Some time with a Dremmel tool and various files results in this: A much better oil intake.


    Something we can't do very much about is the upstream oil intake. Once the pump sucks oil from the sump through the bigger hole we just made, it forces oil FOR THE ENTIRE ENGINE through THIS little hole. German engineers were having a bad day perhaps? I have seen the hole opened out into a "funnel" but honestly it won't change much. Oil still has to flow through the same diameter hole through the pump housing. And there is no room to work a Dremmel in there. Pass.


    Here's the re-assembled oil pump. Looks pretty good.


    One more way to improve the oil system is a sump baffle. Here's the inside of your oil pan. You can see there is a small baffle on the left side. However, when in a left hand turn under hard acceleration, oil will slosh out of the right side and starve your oil pump. That's especially a disaster for a turbo engines.


    Enter the oil pan baffle. Surrounds the entire pump to prevent slosh. It fits nicely over the old baffle and bolts in place. Oil pump fits where my hand is. IE shipped the wrong nuts, so I won't show it bolted in place today.


    On to weighing engine rotating components. New ARP rod bolts are nice and shiny. They all weigh the same within 1/10 of a gram. Also stronger than stock bolts and 5 grams less per pair.


    The M20B27 rods, new bearings and rod bolts are all remarkably well balanced when combined. All within 0.5 g per cylinder, right out of the box.


    And now the pistons. They all weighed in around 373 grams +- 1g except ONE. It weighs 366 grams. WTF? I can't run an engine with 8 grams imbalance!


    The pistons look pretty much identical from side on. Can you tell which one is lighter?


    On closer inspection the lighter piston was 0.050" shorter than the others. (1.900" vs. 1.950") That makes sense as I was able to take 4 grams off a test piston with just a file.


    So, need to take the pistons back, have the other 5 shaved down to 1.900" and matched to 366 grams.


    The adventure continues.


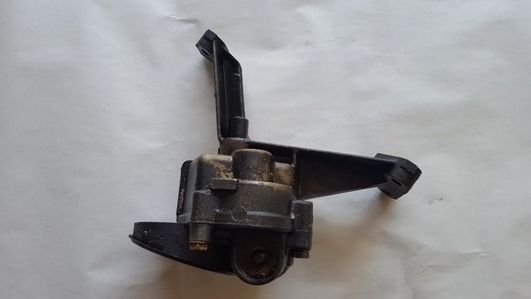
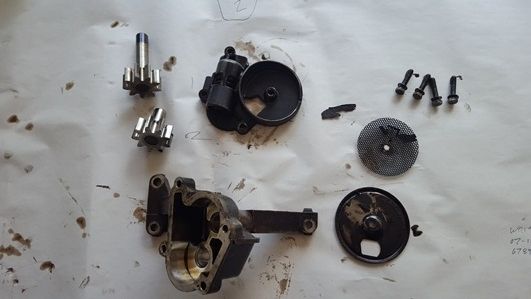
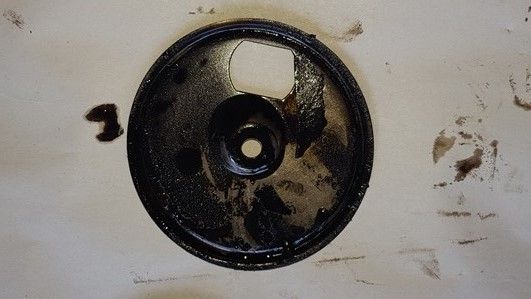
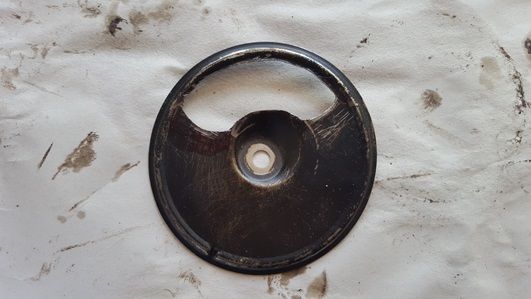
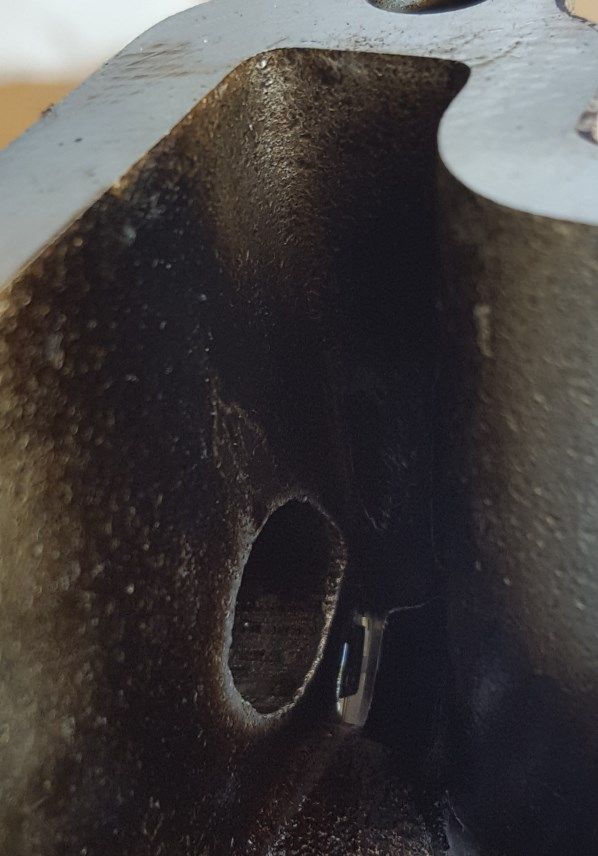
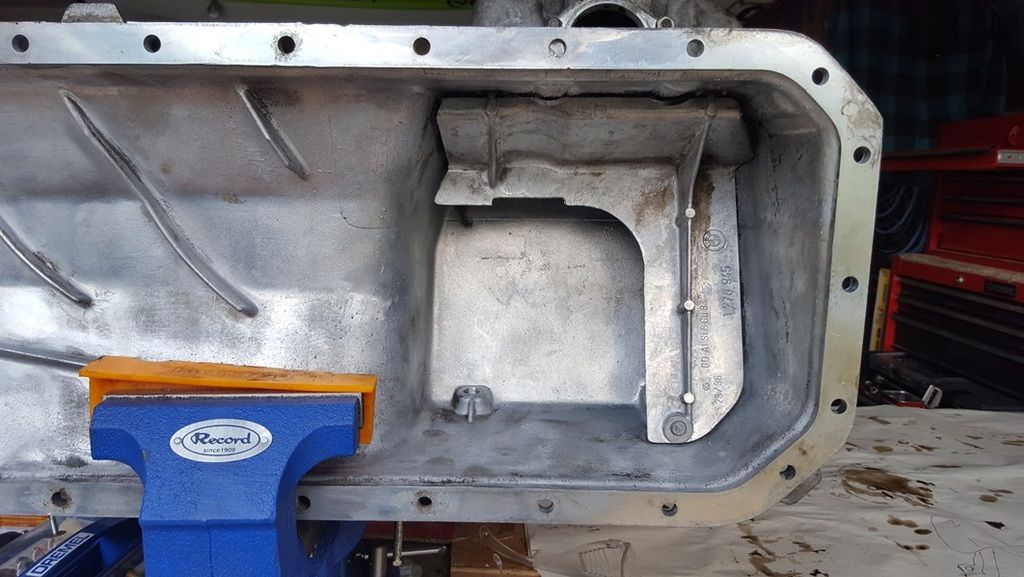
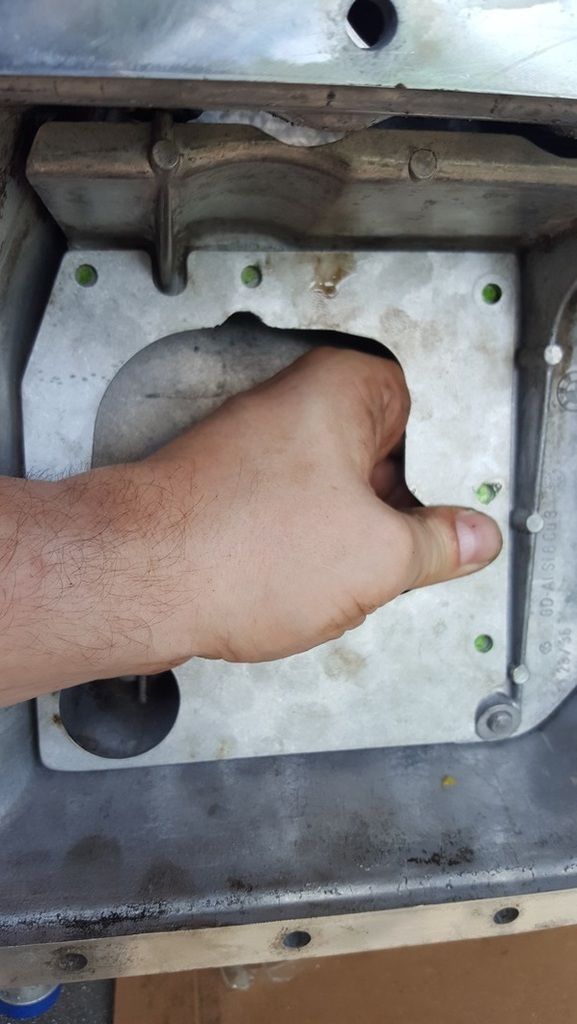
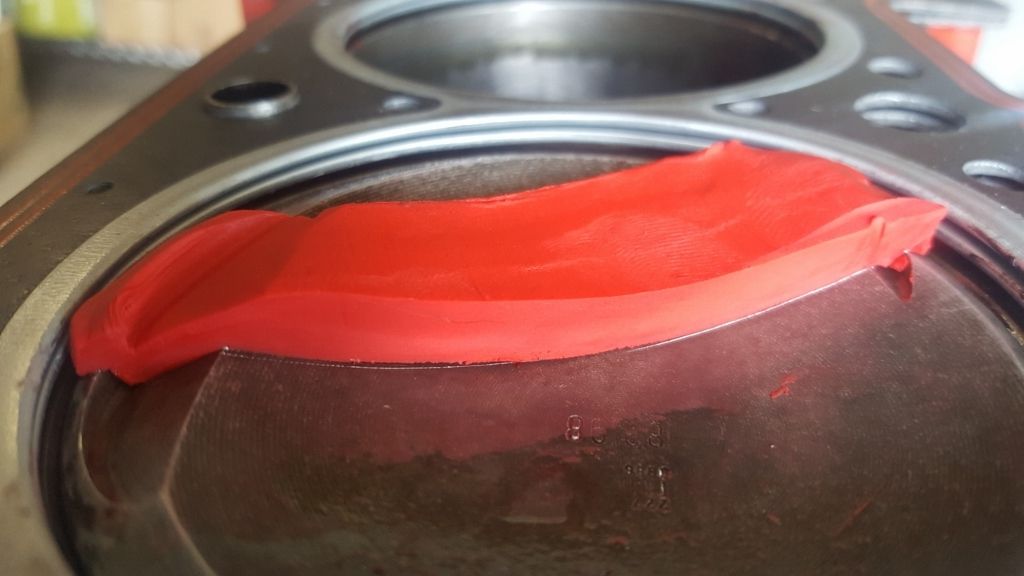
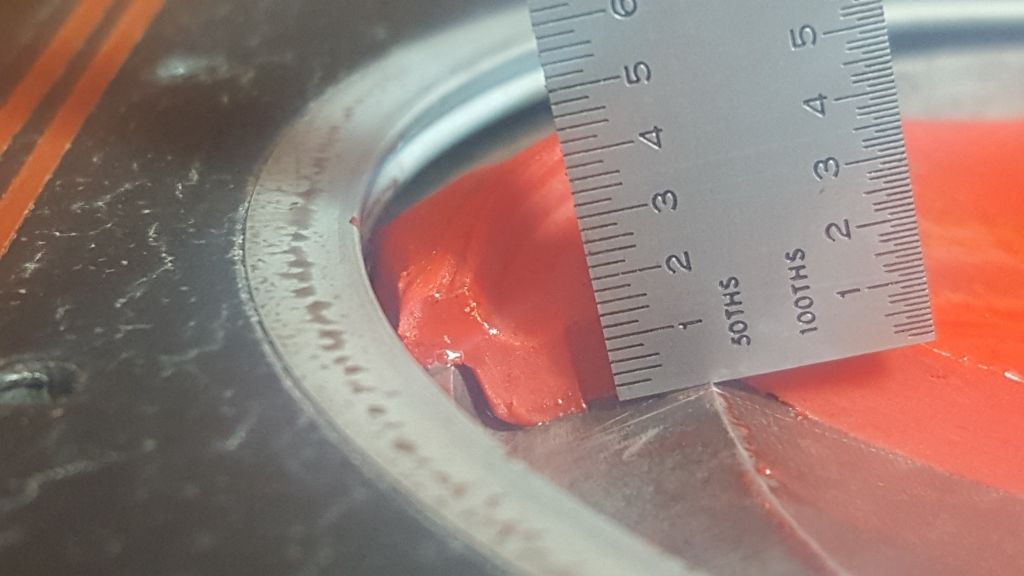
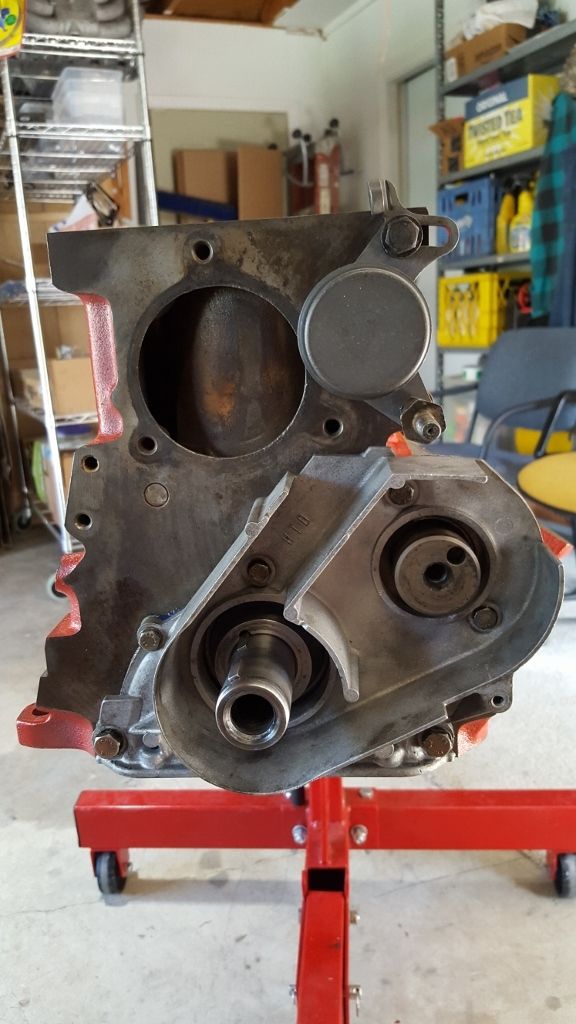
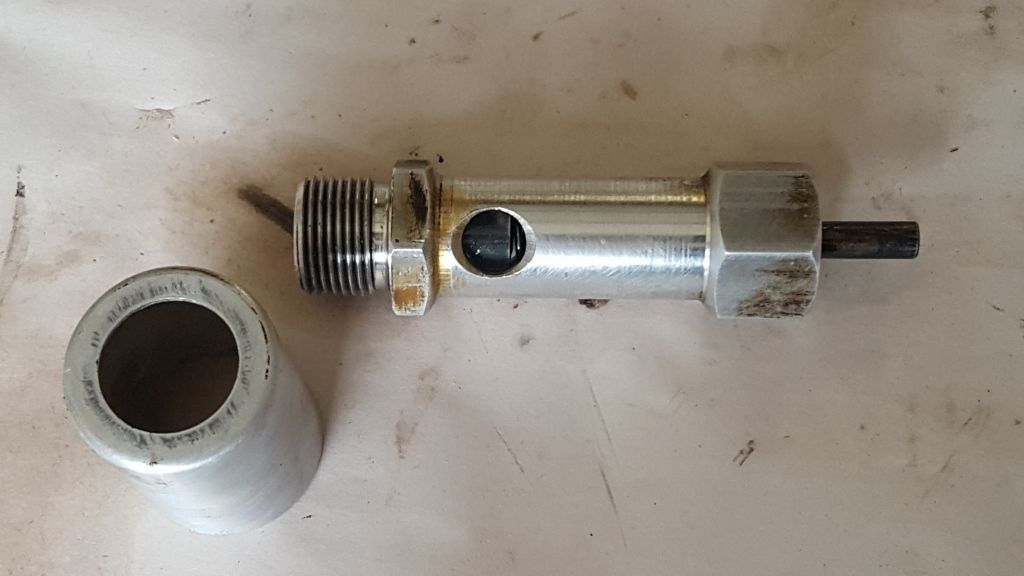
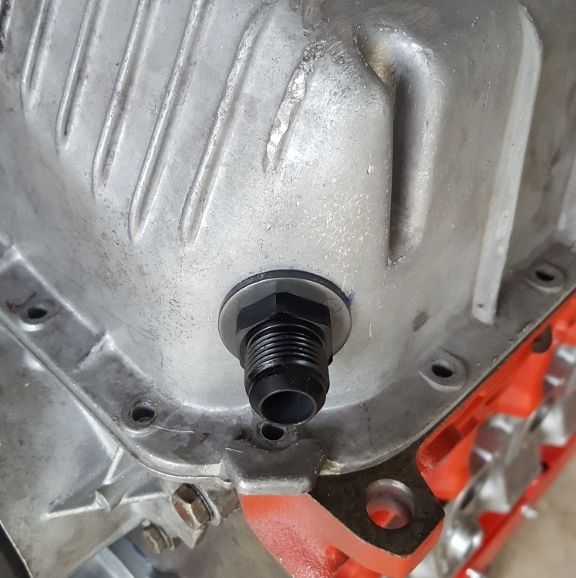
    I did the same thing with my oil pump but I was wondering if there will be a noticeable difference because the hole that the pump sucks in from remains the same.


    Sent from my iPhone using Tapatalk

    Comment


      Will let you know. It's a turbo engine so every bit helps.
      "And then we broke the car. Again." Mark Donohue, "The Unfair Advantage"

      1987 E30 3L Turbo Stroker Das Beast
      2002 E39 M5

      Comment


        Digger, you saved me from yet another spectacular M20 failure mode. :devil:


        Sintered intermediate shaft timing gear. BMW P/N 11311717398. Special order 3-5 days from the Usual Suspects. Looking for a local supplier.


        Any more glaring M20 mechanical weak points come to mind? So far I've got new:

        - HD rockers
        - Schrick cam, valve springs
        - Adjustable cam timing gear
        - Timing belt
        - Water pump
        - 0.140 MLS head gasket
        - ARP head studs
        - All the misc. gaskets, seals, hoses
        - Oil pump intake mod
        - Crank scraper
        - Oil pan baffle
        - Crank bearings
        - ARP main studs
        - Rod bearings
        - ARP rod bolts
        - Deeves rings
        - Wrist pin clips
        - Balanced rotating assembly to 0.1 g
        - Heater core delete
        - Throttle body heater delete
        Last edited by dvallis; 07-30-2016, 11:30 AM.
        "And then we broke the car. Again." Mark Donohue, "The Unfair Advantage"

        1987 E30 3L Turbo Stroker Das Beast
        2002 E39 M5

        Comment


          The Good Stuff

          NOW, we're ready to get some real data.

          Re-assemble head: valves, keeper springs, rockers, rocker arms, rocker clips etc. Make sure the damn eccentrics are all in the same orientation, since they are directional. Notice how one side is larger than the other?


          Adjusting all rockers to 0.010" clearance per spec.


          Cutting clay slabs. Best method I found was chop off a chunk ~0.200 thick, press it between a couple of boards, then use a knife to trim the edges.


          Head aligned to TDC.


          All pistons clayed, with a nice coating of oil. Piston 1 set to TDC.


          Head gaskets on (stock 0.068" x 2) to simulate the MLS 0.140", old head studs torqued down to 20 ft-lbs. It's enough for gasket compression. Timing belt is on. Ready to turn.


          Spin the crank (several times). Take it all apart. Here's the result. Looks great. All pistons have an identical cross section.


          Clearance for all pistons is 0.140" intake, 0.180" exhaust. That's great. We have 0.040" room for a thinner head gasket if off-boost compression turns out to be too low. I'd sooner start with looser tolerances in any case.


          Time for full reassembly to begin.
          "And then we broke the car. Again." Mark Donohue, "The Unfair Advantage"

          1987 E30 3L Turbo Stroker Das Beast
          2002 E39 M5

          Comment


            Roll cage in progress. That's the main hoop.

            "And then we broke the car. Again." Mark Donohue, "The Unfair Advantage"

            1987 E30 3L Turbo Stroker Das Beast
            2002 E39 M5

            Comment


              Yes, CAGE TIME! I can't wait to start deleting stuff like you are. Did you use the Chase Bays Brake line relocation kit to delete the ABS?

              Comment


                I used a "Big Pocking Wrench" and hacksaw to delete the ABS .... and all my brake lines. We are running all new stainless lines.
                "And then we broke the car. Again." Mark Donohue, "The Unfair Advantage"

                1987 E30 3L Turbo Stroker Das Beast
                2002 E39 M5

                Comment


                  Nice Rack

                  Totally scored yesterday. Found an original BMW Z3 2.7 turns to lock, linear ratio steering rack, BMW P/N 32 1 31 092 031. (No Longer Available) It was laying around in a really hard to find wrecking yard run by some interesting characters. Paid $200 for the rack and got my ass out of there. :devil:


                  Guys reading this might be wondering "How do you know which BMW rack part number to get?" There is a lot of "I know a guy who's friend said" BS out there. Here is some real info to help you out:

                  Z3 non-M racks are all the same
                  - LINEAR ratio (same rack travel per input turn across the entire rack length)
                  - 53.5 mm of linear rack travel per 1 360 degree rotation input.
                  - 144.5 mm of total rack travel (translates to 2.7 turns L2L)
                  - installed 13.9:1 ratio

                  Z3 M racks and '96+ E36 M3 racks are the same.
                  - PROGRESSIVE ratio (rack is slower on-center, quicker towards L&R rack locks)
                  - 45.5 mm of linear rack travel on-center per 1 360 degree rotation input.
                  - 145.6 mm of total rack travel(translates to 3.2 turns L2L)
                  - installed 15.6:1 mean ratio
                  - Same p/n rack as E36 non-M, but locks were modified to shorten gear travel from 154.7 to 145.6mm

                  '95 M3 racks are the slowest and shortest of all US-spec E36 racks, until 200 deg of rotation from on-center.
                  - PROGRESSIVE ratio
                  - 39.0 mm of linear rack travel on-center per 1 360 degree rotation input.
                  - 117mm of total rack travel (translates to 3.0 turns L2L)
                  - installed 17.6:1 mean ratio

                  Model ------- Per Turn ------ BMW Part #
                  - E30--------------36.5 mm--------32 13 1 092 335
                  - E30 M3-----------38 mm---------32 13 2 225 556
                  - E36 M3 '95--------41 mm--------32 13 2 227 191
                  - E36---------------45.5 mm-------32 13 1 096 280
                  - E36 M3 96+-------45.5 mm------32 13 1 096 280
                  - E36 Z3 M---------45.5 mm-------32 13 1 096 280
                  - E46 (9/99-4/01)--46 mm---------32 13 6 753 438
                  - E46 (4/01-9/01)--50 mm---------32 13 6 755 065
                  - E85 Z4 M---------51 mm---------32 13 7 836 844
                  - E36 Z3 non-M-----53.5 mm-------32 13 1 092 031 OEM ORIGINAL NLA
                  - E36 Z3 non-M-----53.5 mm-------32 13 1 092 611 SUPERCEEDS 031
                  - E36 Z3 non-M-----53.5 mm-------32 13 1 095 575 REMANUFACTURED

                  E36 Z3 Non-M 32 13 1 092 031 Rack
                  "And then we broke the car. Again." Mark Donohue, "The Unfair Advantage"

                  1987 E30 3L Turbo Stroker Das Beast
                  2002 E39 M5

                  Comment


                    Had to share this. Bad Engine Build.

                    "And then we broke the car. Again." Mark Donohue, "The Unfair Advantage"

                    1987 E30 3L Turbo Stroker Das Beast
                    2002 E39 M5

                    Comment


                      I asked Rich (the rackdr) to clarify which e36 racks were progressive and his response was

                      "only the 1995 M3 (and the 98-02 Z3 M 3.2L roadster not the coupe) had the progressive gear"

                      I'm more inclined to believe him than the internets
                      Seat Shocks....I have passed the baton to John Christy from Ninestitch. Email John or Garrett at ninestitch1@gmail.com

                      https://www.r3vlimited.com/board/sho...86#post4944786
                      Alice the Time Capsule
                      http://www.r3vlimited.com/board/showthread.php?t=360504
                      87 Zinno Cabrio barn find 98k and still smells like a barn. Build thread http://www.r3vlimited.com/board/show...20#post3455220

                      Comment


                        More Motor

                        Today we're doing final assembly on the head and installing on the block. Big day. First some photos of the head assembly:

                        Valve spring compression tool: One side goes on the valve spring


                        Other side goes on the valve


                        Valve springs under compression. Our "grip test" says they are MUCH stronger than the stock springs. Could barely squeeze the compression tool closed.


                        A liberal coating of oil helps collets stick to the valve stems


                        Completed spring. Repeat 12 times. (Ow. Sore forearms!)


                        All springs installed, new 284/272 cam in place


                        Removing the old cam seal. 1st try. Don't do it this way. Needs to be set on a solid surface, not rubber, to get some impact into the seal.


                        Pressing in he new cam seal. Note our sophisticate gasket press.


                        Now add the rocker shafts, rocker shaft lock, rocker shaft seals, HD rockers, rocker clips and oil sprayer. Head assembly is like solving a Rubics Cube. You have to position the cam at a particular angle, with all the valves in specific positions on or off the cam so no tension is on the system. A 90 degree turn drops the final lobes and you can slide rockers into place. After that it's easy. Took us 2 or three times experimenting to get that right. Here's the final assembled head. Looks great.


                        Now some engine block bits. Note for beginners: RealOEM web site is your friend. It literally has exploded views of the entire car. Memorize the last 7 numbers of your VIN. Enter that into RealOEM and it takes you straight to your car details. Going slowly and methodically you can find every single piece.

                        Take this for example. Intermediate shaft retaining clip. pretty hard to identify if you're not an M20 expert.


                        Here it is on RealOEM. Items 12, 13. Easy too find.


                        Installed.


                        Other timing bits test fitted


                        Crank lined up TDC


                        Cam set to TDC


                        Head on the block, checking set depth of all studs. Making sure they are all threaded to the same height. We want the stud shoulder (non threaded part) far enough into the block to that it does not prevent gasket compression.


                        Final step. Head gasket in place, nuts and washers hand tight. Torqued all studs down to 20 ft-lbs per the ARP recommended pattern (see previous post), then 40 ft-lbs and finally 65 ft-lbs. ARP recommends 70 ft-lbs, but after reading horror stories about snapped head studs we went a bit conservative. We'll check and re-torque after the first heat cycle.

                        Nothing snapped. (whew) Here's the final assembly. Looking good.

                        "And then we broke the car. Again." Mark Donohue, "The Unfair Advantage"

                        1987 E30 3L Turbo Stroker Das Beast
                        2002 E39 M5

                        Comment


                          Intake manifold preview. Got fortunate and found this on eBay.


                          By the way, watch out for some maroon going by "Ben Joshua". He tried to pass off stock web site photos of an RHD Engineering ITB setup and carbon fiber plenum to me as a "Turbo intake manifold". Buyers beware.
                          "And then we broke the car. Again." Mark Donohue, "The Unfair Advantage"

                          1987 E30 3L Turbo Stroker Das Beast
                          2002 E39 M5

                          Comment


                            Thar She Blows

                            So, check out what arrived in the mail today. Turbo intake manifold goodness. Really nice looking. With some weld grinding and overall polishing it will be spectacular.


                            Throttle body is 80mm! :devil: (Stock is 60mm) This thing is going to move a LOT of air.


                            Manifold flange looks good and flat.


                            Came with a quality throttle cable mechanism. Throttle position sensor slightly mangled but easily fixed.


                            Can't wait to bolt this thing on.
                            "And then we broke the car. Again." Mark Donohue, "The Unfair Advantage"

                            1987 E30 3L Turbo Stroker Das Beast
                            2002 E39 M5

                            Comment


                              Oil System Revisited

                              So, let's go back and look at the oil system. I'm going to share a couple of nice tricks that Spec30 racers have used. Could not find the whole process spelled out anywhere, so here are clear instructions.

                              E30 oil system has two pressure relief valves: one in the block and one in the oil pump.

                              The oil pressure relief valve is this widget. Screws into the block, inside the oil pan. It's a good idea, but unfortunately has a spring like a freaking ballpoint pen. Tends to stick open sometimes and reduce your oil pressure to something really low. Not good


                              First trick is we are going to throw that thing away and replace it with this: Oil drain plug from a Subaru. MPN W0133-1902603. Do not buy a "Subaru Oil Drain Plug" on eBay or Amazon as they are hollow, $25 and break easily. Just go to a Subaru dealer part department and ask for the "Old style, larger drain plug." It's a M20 x 1.5 solid metal plug. Perfectly matches the oil pressure relief valve. Ask them for the crush washer as well. Total cost ~$10.


                              Here it is installed on the block and torqued down to 20 ft-lbs. Looking good.


                              Now at the this point Digger should chime in and say "YOU CAN'T DO THAT". :devil: Hold on, I'm getting there.

                              The oil system needs some kind of pressure relief. Otherwise you will start breaking oil pump drive shafts and other bad things. The only relief valve we have left is on the oil pump. It operates by a spring which compresses when oil pressure is high enough. Unfortunately, stock setting is about 95 psi cold, which is too high for us.

                              The spring is here, behind this thing on the oil pump cover.


                              Take the assembly apart and it looks like this:


                              Now, like the astronaut says in "The Martian": "We're going to engineer the crap out of this." :devil:

                              Outside diameter: 24 mm
                              Free length: 43 mm
                              Installed height: 33 mm (from measuring the oil pump spring cavity)
                              Oil pressure: 95 psi


                              Starting to look suspiciously like a valve spring, right? We need to figure out what the spring rate and installed seat pressure, then replace it with a spring that will provide ~75 psi.

                              No need for a spring testing tool. Just a digital caliper and 40 lb dumbbell. The weight compresses our spring by 7 mm with 40 lbs.

                              Doing the math:

                              Compression: 7mm / 25.4mm/in = 0.2756 in
                              Applied force: 40 lb

                              Spring rate = 40 lb / 0.2765 in = 145.1 lb/in

                              Seat pressure = (10mm / 25.4mm/in) * 145.1 lbs/in = 57 lb

                              So now we know 57 lb pressure ~= 95 psi

                              Desired spring rate = (75/95) * 145 = 114 lb/in


                              So where the heck do we get valve spring with the right diameter, rate and free length? A few hours of Google later: Voila. Crower 68160-1. Matches the specs perfectly. Happens to be used in the Toyota 1ZZ engine, 1998 - 2007 Celica GT, Corolla, RAV4 and MR2. Toyota MPN 9008050248. Lists for $2 at the dealership.


                              Topped it off by adding the turbo oil return drain line fitting to the oil pan.


                              Oil system mod complete.
                              Last edited by dvallis; 08-20-2016, 06:26 PM.
                              "And then we broke the car. Again." Mark Donohue, "The Unfair Advantage"

                              1987 E30 3L Turbo Stroker Das Beast
                              2002 E39 M5

                              Comment


                                Body is coming together

                                Cage is coming along. Seats arrived too. White powder coating will look great with the black and red covers.


                                Had to sneak in on Saturday and take these. My cage builder is an Artiste and won't have her creativity cramped. :devil:
                                "And then we broke the car. Again." Mark Donohue, "The Unfair Advantage"

                                1987 E30 3L Turbo Stroker Das Beast
                                2002 E39 M5

                                Comment

                                Working...
                                X