

Hey R3v. I recently had to take apart my cluster to swap batteries on the cluster so I thought I would post this up to help others that need to do it.
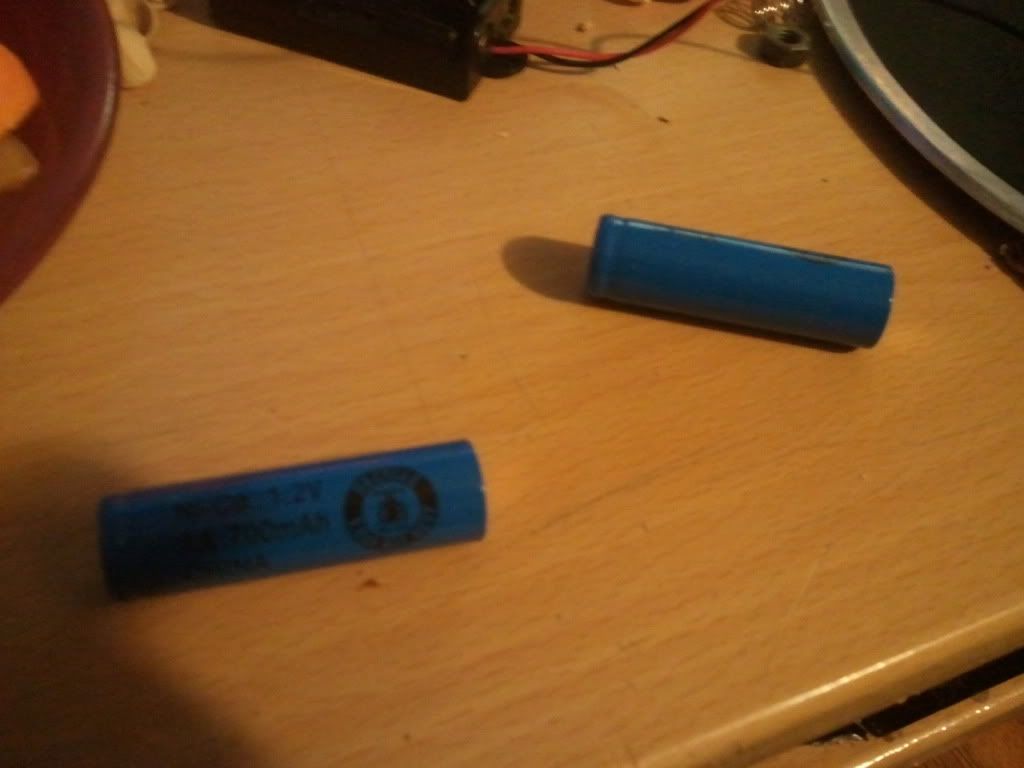
Your going to need new batteries that are Ni-cad and check in at about 1.2 volts a piece. the original batteries are 500 mili-amp and the new ones I got are 700 mili-amp. (got mine at batteries plus)
for relocation I picked up a little AA sized battery holder like this:
after that you just have to pick up a little wire and some solder tabs and/or solder.
Now lets get to removing the old batteries off the board (make sure to mark which side is positive and negative!) The smaller solder tab is positive and the larger negative in case you forget.
I used diaginol pliers and a utility knife to get the batteries out as shown here:
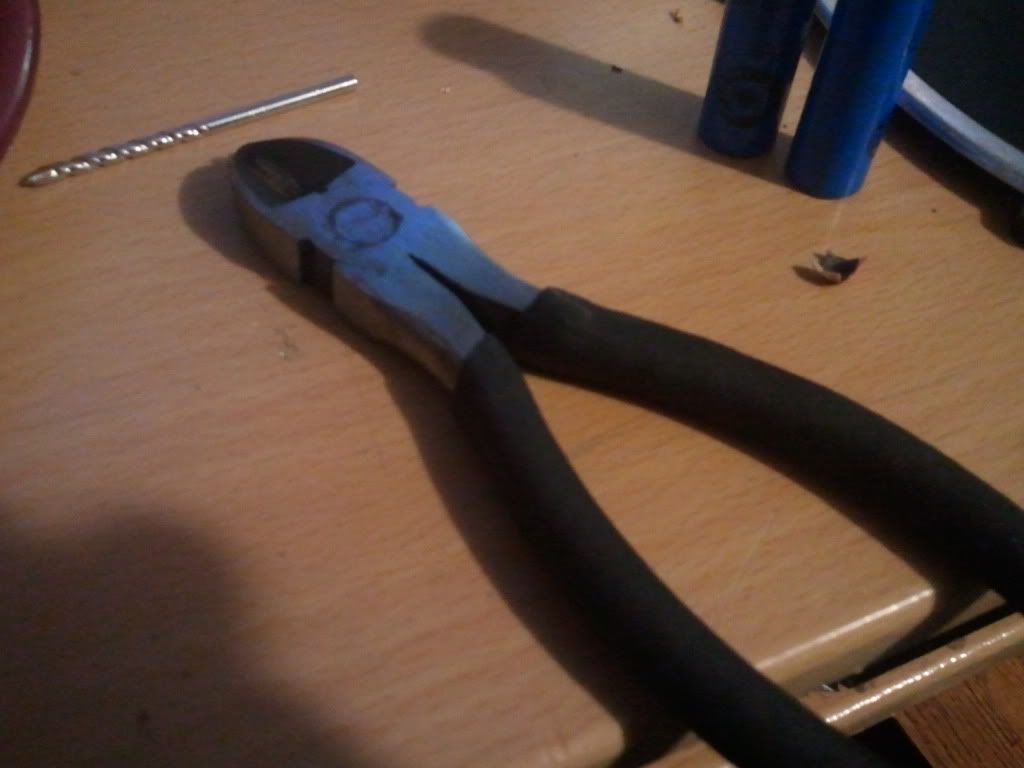


You want to use the utility knife to pry the batteries back and forth to loosen them up and cut away the glue like substance holding them together and then using the pliers to gentle wiggle the solder tabs back and pry them off the batteries.
Reminder: mark positive and negative, I used masking tape with sharpie to mark them.
If you are just replacing them on the board place them in and drop some solder or other conductive adhesive on the battery terminals and solder tabs.
For relocation:
I used this type of box which I got at the same place I picked up my batteries (simple AA sized 2 battery holder that you can pick up fairly cheap at any electronics store)

Now sadly this box is not setup to be good to go out of the box. You will need to cut the metal springs as they are connected to the other leads (wired in series) and we want 4 separate contacts (you can reuse the springs hooked up to some wire or solder tabs that contact the battery and go through the hole to some wire)

the batteries positive side is identified by a small bulge around the battery on one side. Now you should have 4 pieces of wire hooked up to 4 different terminals. now put the batteries in the box according to the correct wires (I used red for positive and black for negative)
use a volt meter to make sure you have voltage on both sets of wires.
Now for the tricky part where patience will pay off in the end. You will need to look at the terminals you marked on your board and wire the 2 sets of leads to the respective terminals on the board. This can either be done by wiring directly to the 4 large solder points on the bottom of the board or the original solder tabs that held the old batteries in place. In my case the black wires went to the negative terminals on the S.I. board and the red to the positive terminals. make sure the leads you solder/ attach to the tabs are coming from the same battery. here is an example:

The set up isn't final in the picture as I am still deciding how much wire length I want but the wiring is correct. Your done!
I hope this is helpful for the R3v community.
Your going to need new batteries that are Ni-cad and check in at about 1.2 volts a piece. the original batteries are 500 mili-amp and the new ones I got are 700 mili-amp. (got mine at batteries plus)
for relocation I picked up a little AA sized battery holder like this:
after that you just have to pick up a little wire and some solder tabs and/or solder.
Now lets get to removing the old batteries off the board (make sure to mark which side is positive and negative!) The smaller solder tab is positive and the larger negative in case you forget.
I used diaginol pliers and a utility knife to get the batteries out as shown here:
You want to use the utility knife to pry the batteries back and forth to loosen them up and cut away the glue like substance holding them together and then using the pliers to gentle wiggle the solder tabs back and pry them off the batteries.
Reminder: mark positive and negative, I used masking tape with sharpie to mark them.
If you are just replacing them on the board place them in and drop some solder or other conductive adhesive on the battery terminals and solder tabs.
For relocation:
I used this type of box which I got at the same place I picked up my batteries (simple AA sized 2 battery holder that you can pick up fairly cheap at any electronics store)
Now sadly this box is not setup to be good to go out of the box. You will need to cut the metal springs as they are connected to the other leads (wired in series) and we want 4 separate contacts (you can reuse the springs hooked up to some wire or solder tabs that contact the battery and go through the hole to some wire)
the batteries positive side is identified by a small bulge around the battery on one side. Now you should have 4 pieces of wire hooked up to 4 different terminals. now put the batteries in the box according to the correct wires (I used red for positive and black for negative)
use a volt meter to make sure you have voltage on both sets of wires.
Now for the tricky part where patience will pay off in the end. You will need to look at the terminals you marked on your board and wire the 2 sets of leads to the respective terminals on the board. This can either be done by wiring directly to the 4 large solder points on the bottom of the board or the original solder tabs that held the old batteries in place. In my case the black wires went to the negative terminals on the S.I. board and the red to the positive terminals. make sure the leads you solder/ attach to the tabs are coming from the same battery. here is an example:
The set up isn't final in the picture as I am still deciding how much wire length I want but the wiring is correct. Your done!
I hope this is helpful for the R3v community.

Comment