Announcement

Collapse
No announcement yet.

The transformation of a discarded 1984 318i

Collapse
X
 
  • Filter
  • Time
  • Show
Clear All
new posts

    The transformation of a discarded 1984 318i

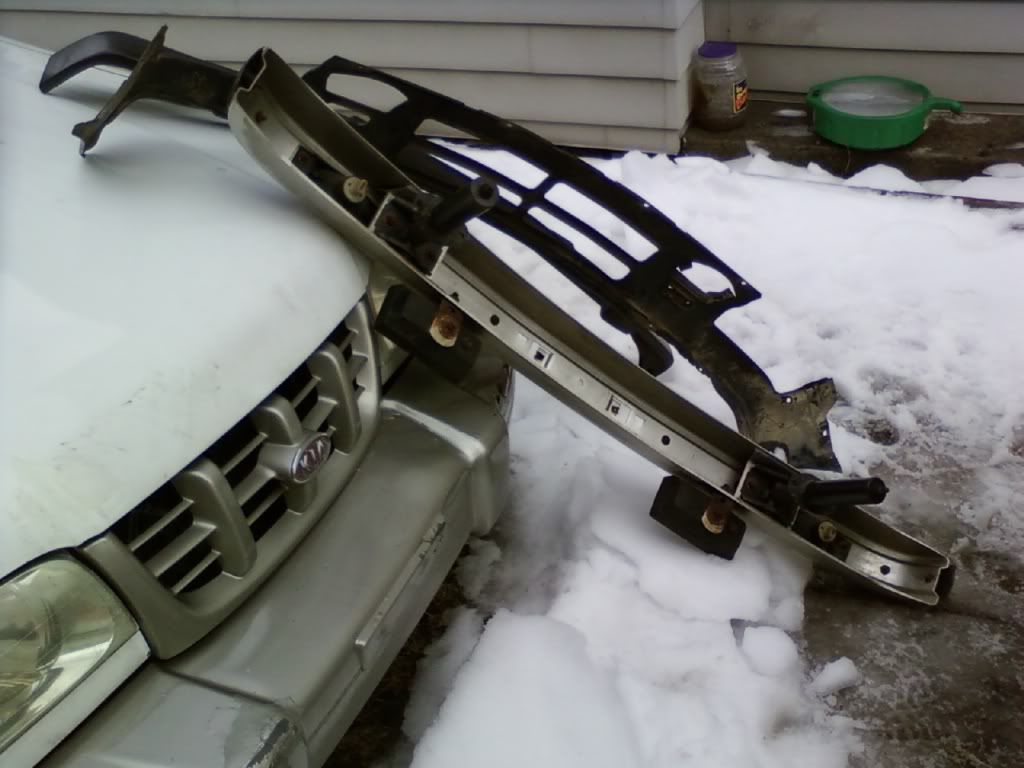
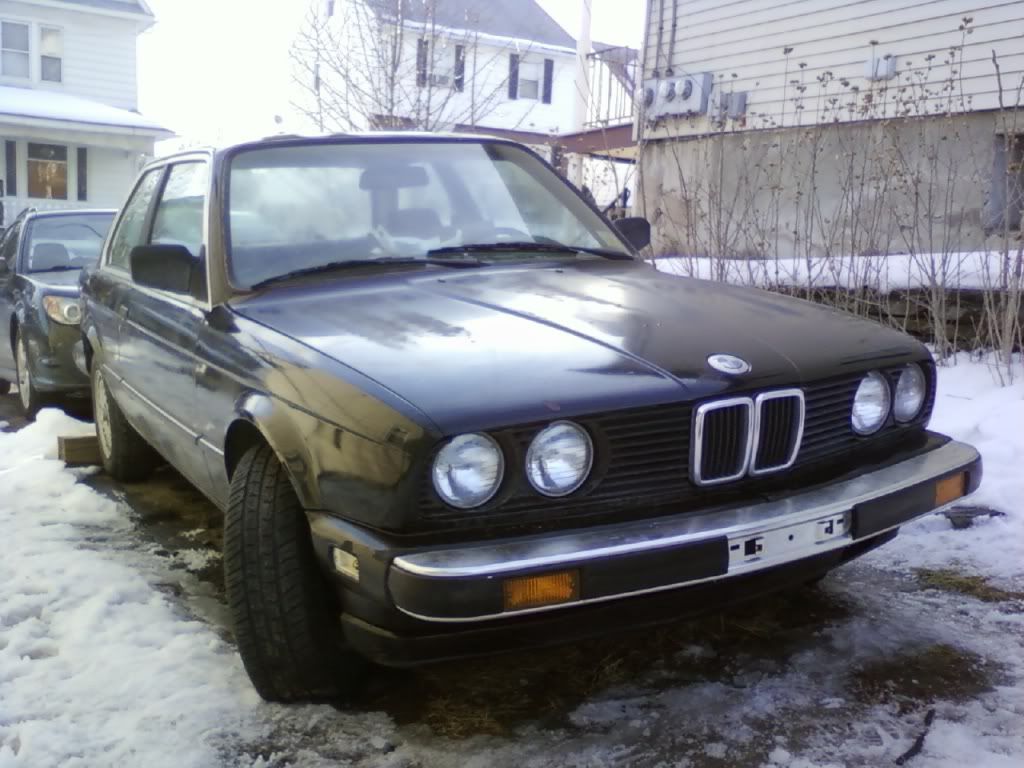
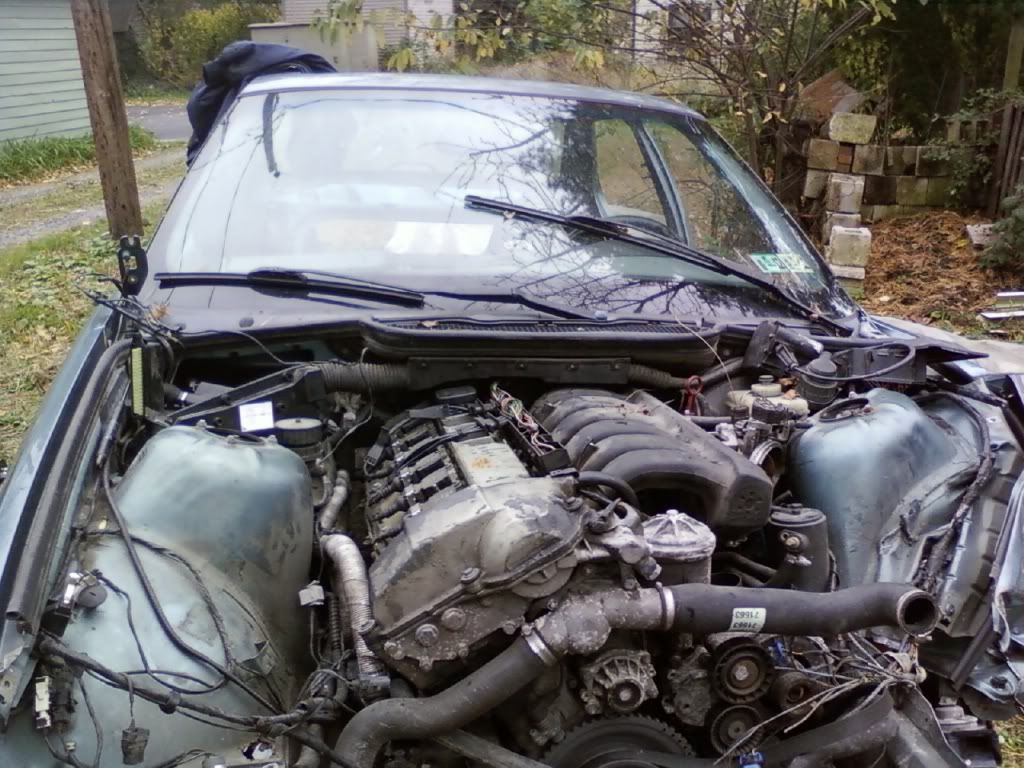
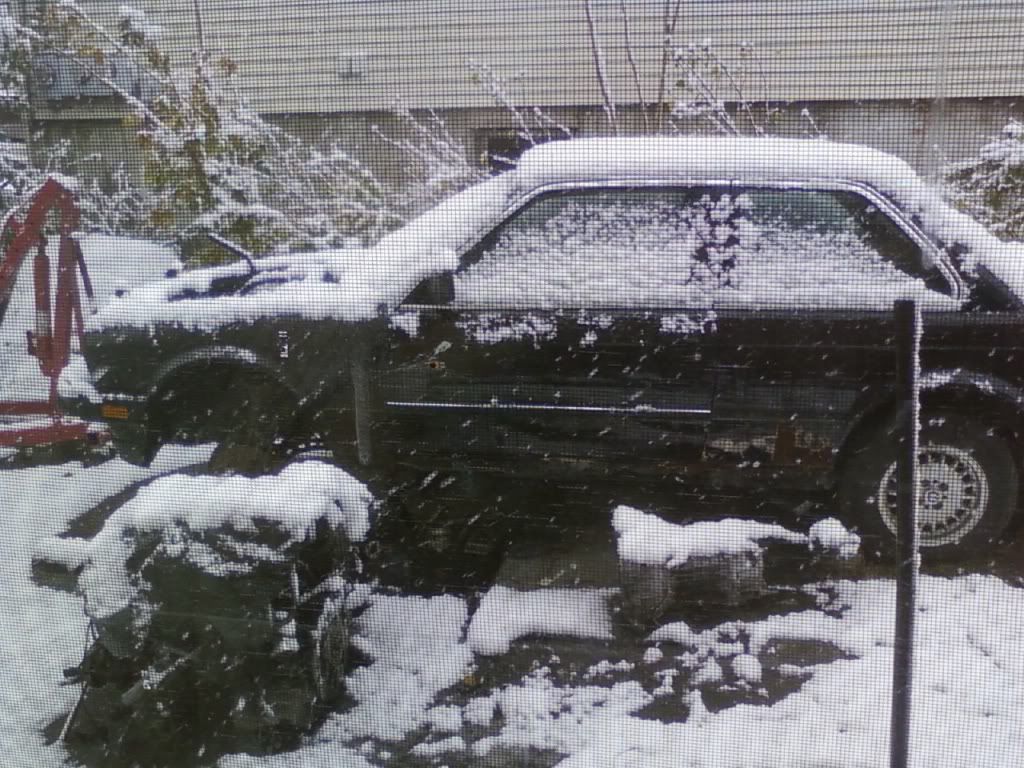
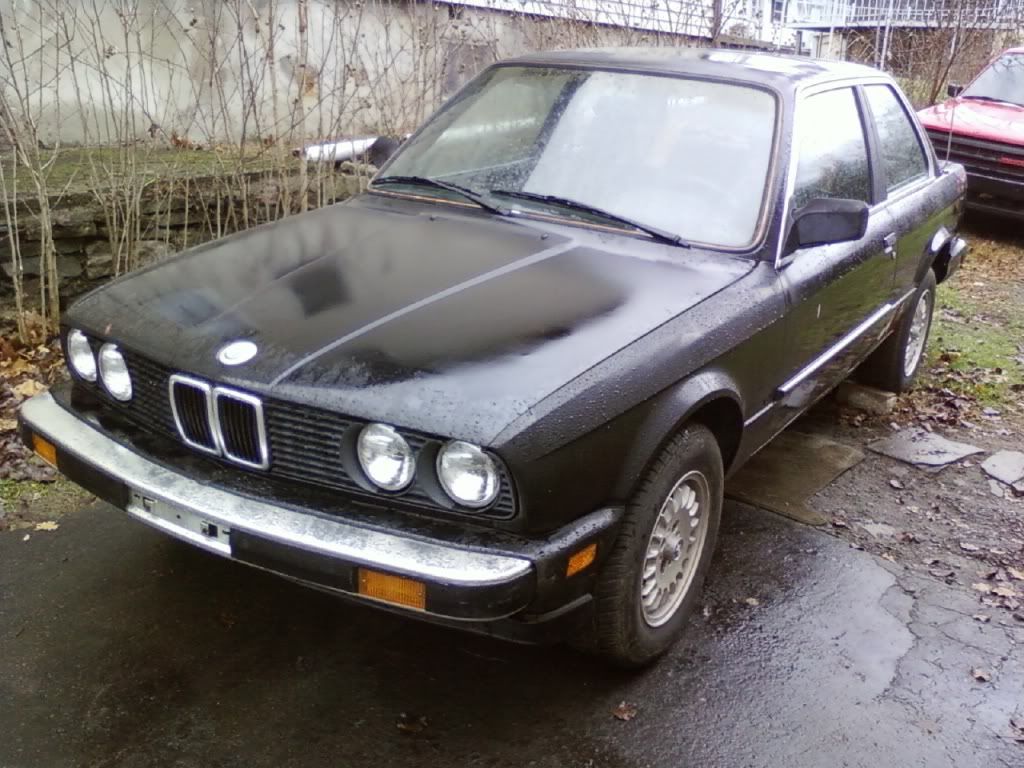
    This is my first post, although I have been a member and reader of this forum for almost a year. With the help and advice of everyone on this site, I was able to build my car. And the car I am working on was a started project that I bought from a friend who is stationed in Korea. His plan was to swap in an M20B27 with a Getrag 260. I had helped him work on the car a few times, and even heard it run for a few seconds at a time, so I figured it would not be to hard to finish it. This was the condition of the car when I picked it up:
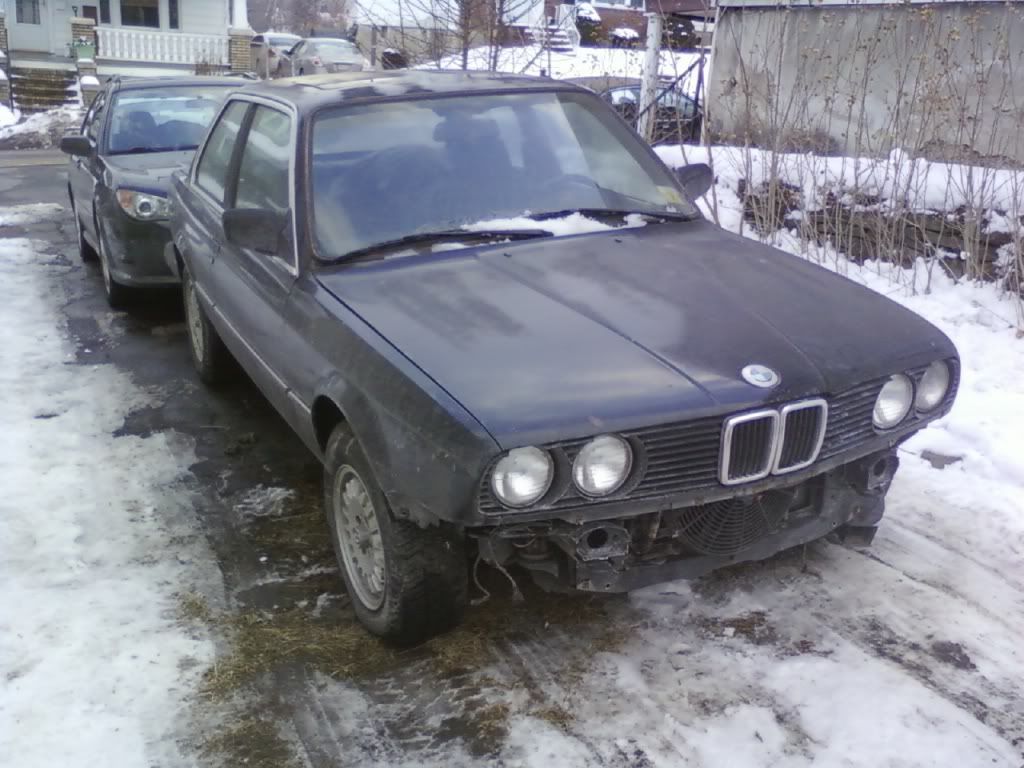
    And the rear:
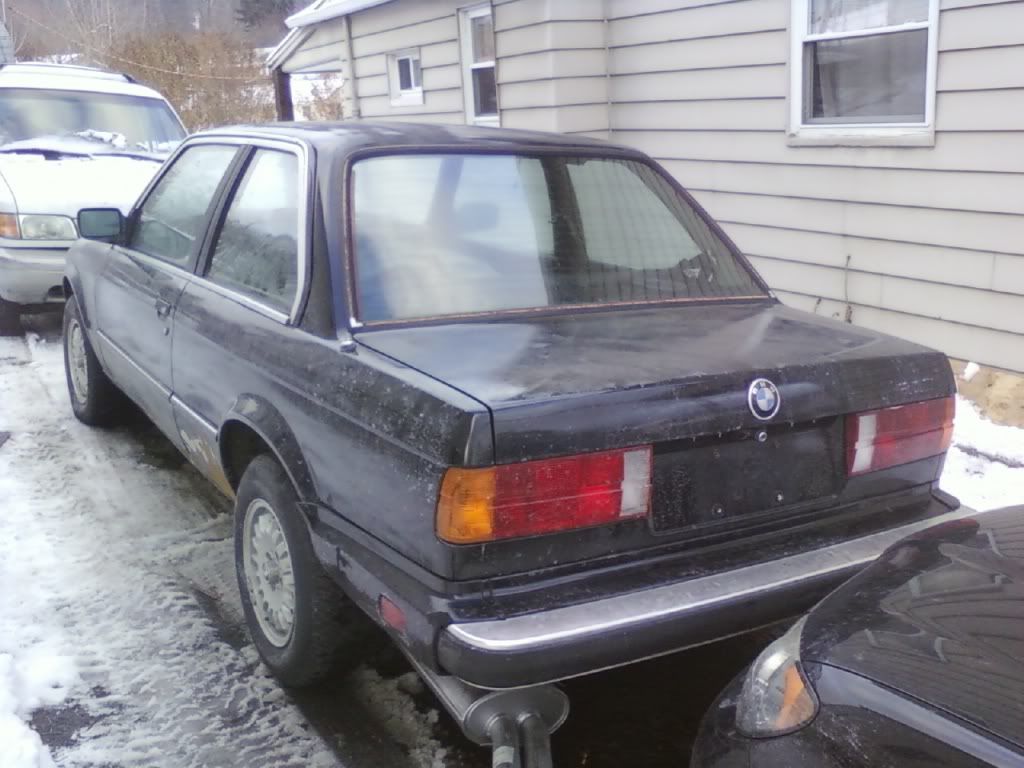
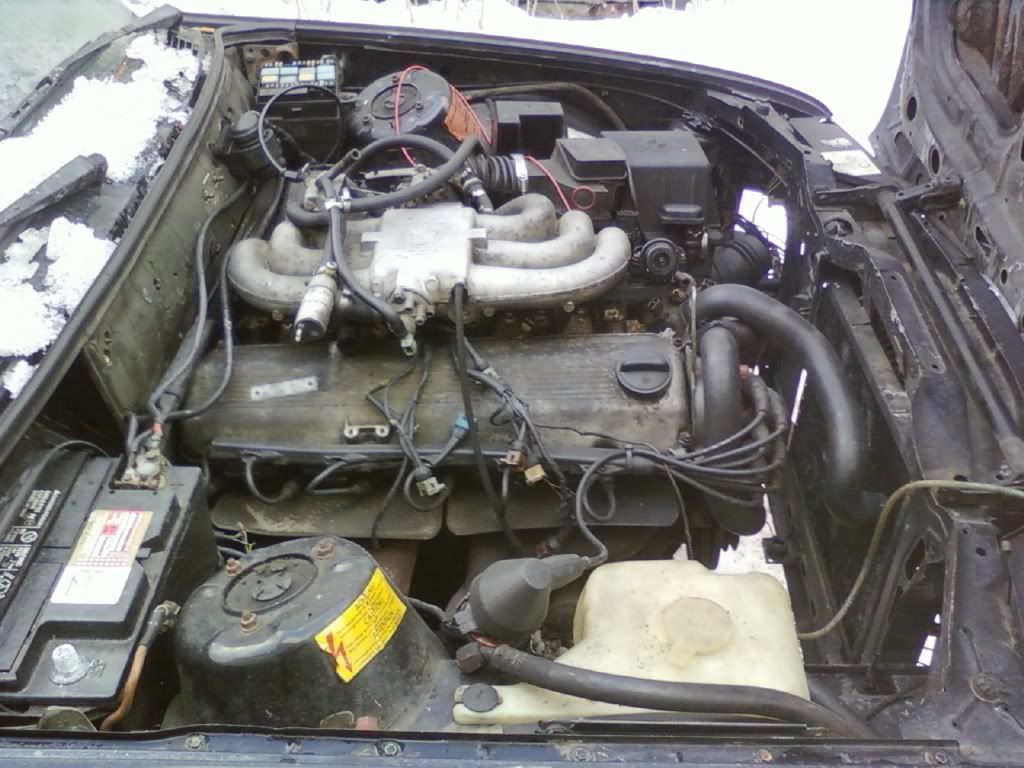
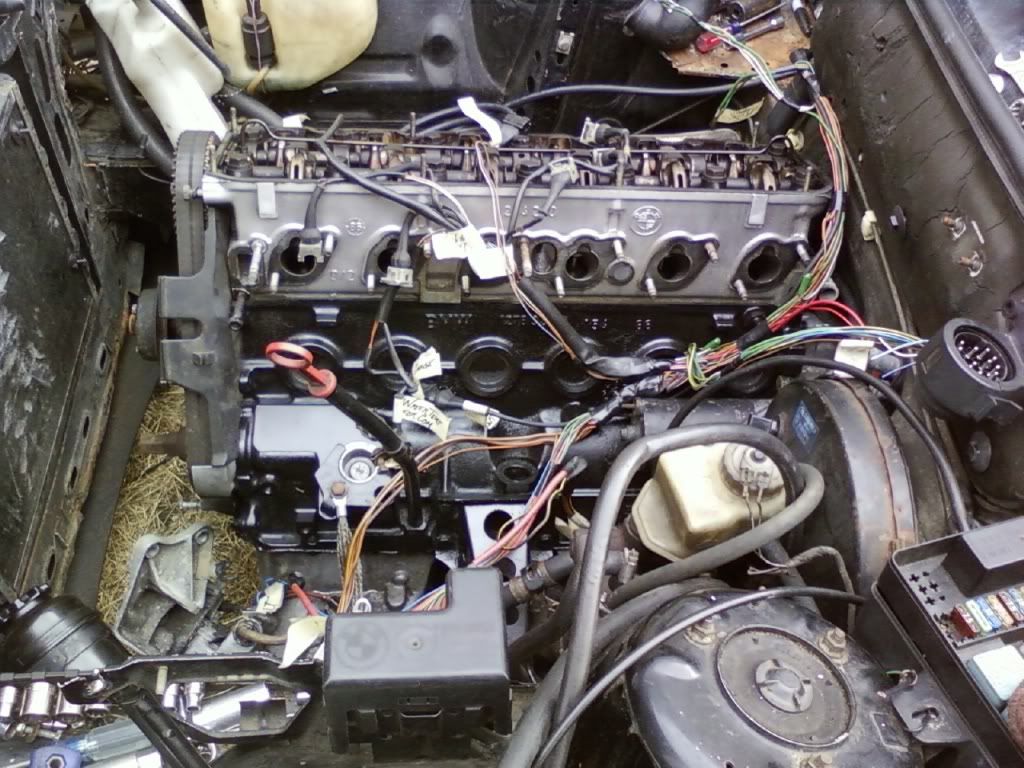
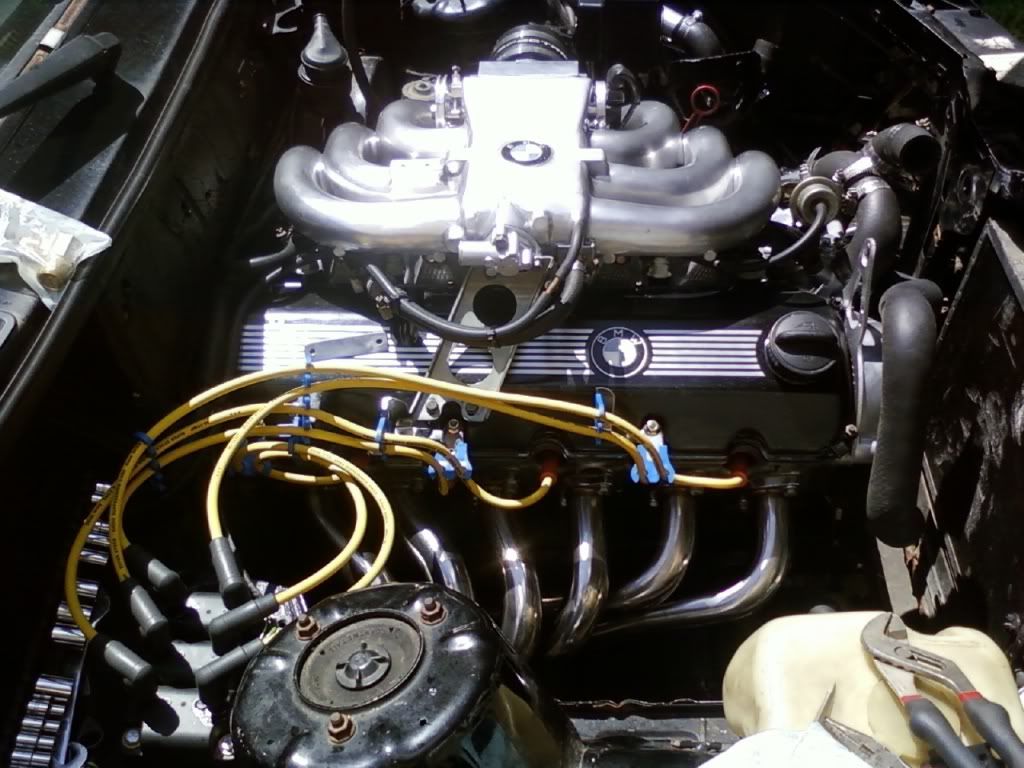
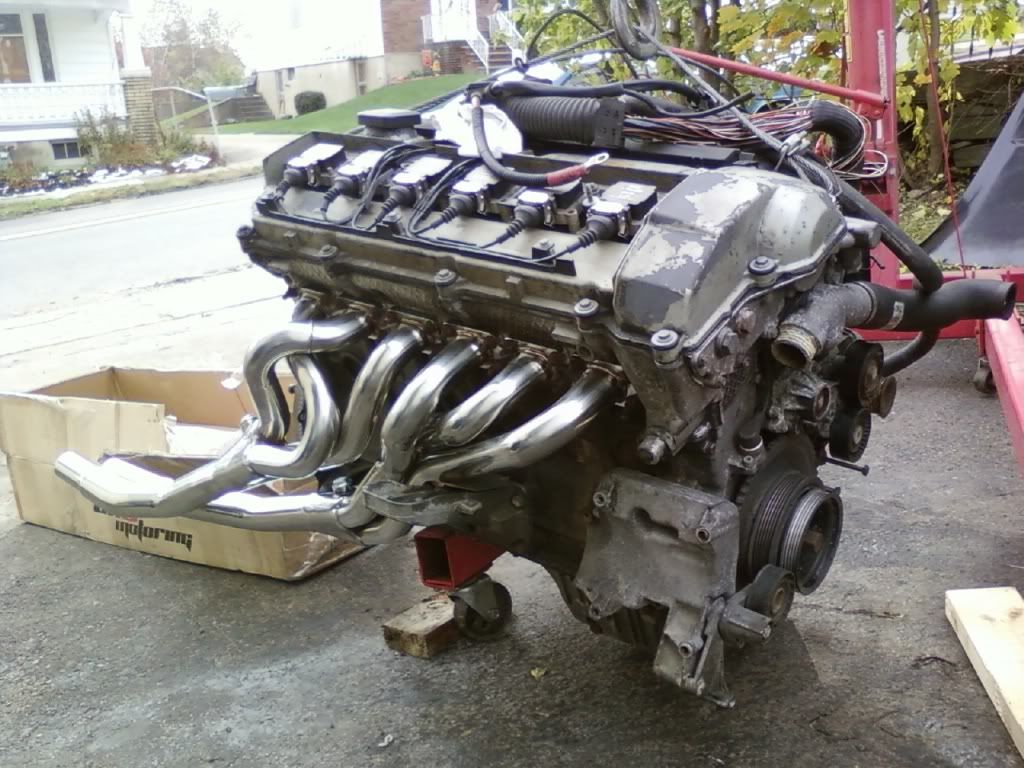
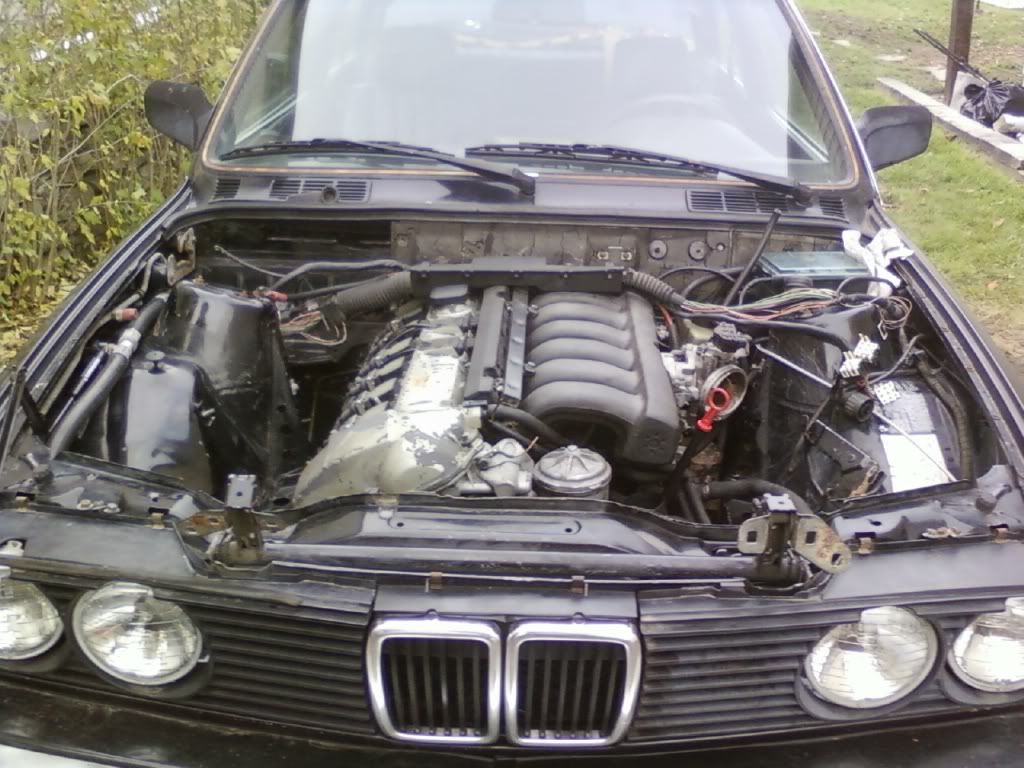
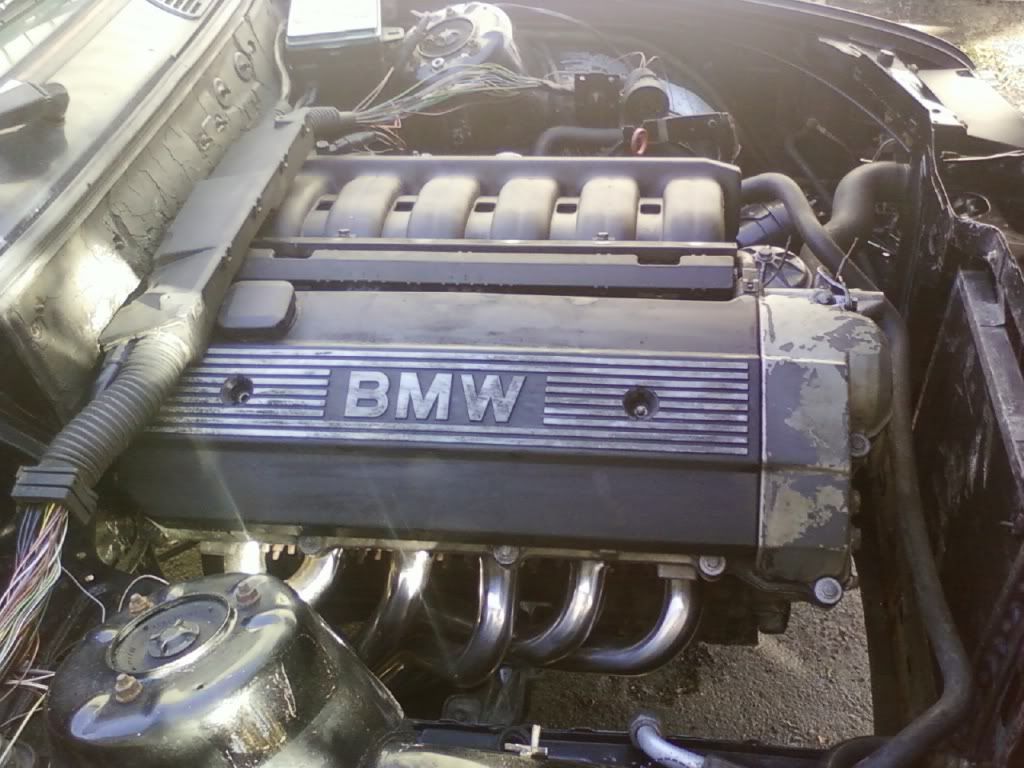
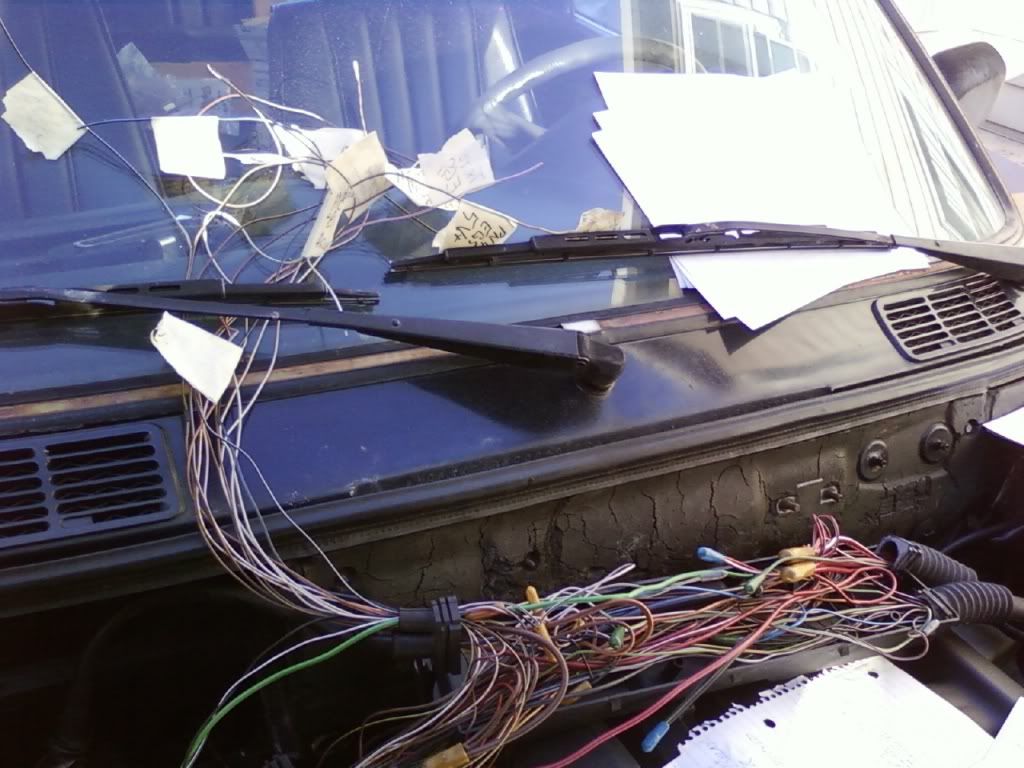
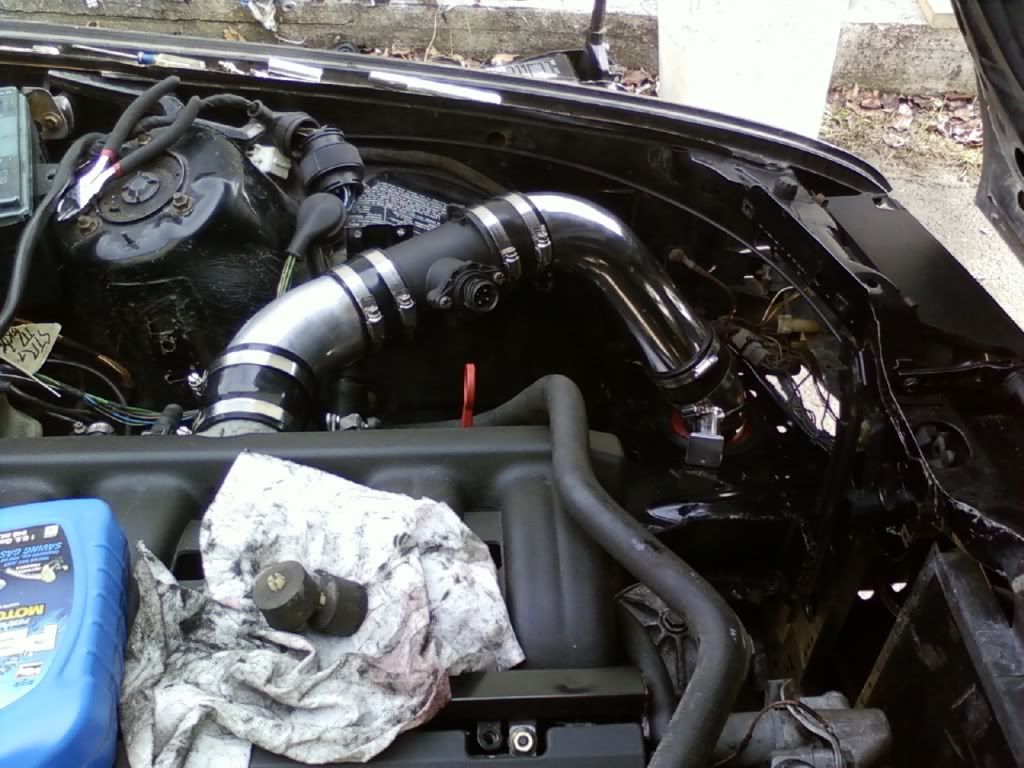
    The engine bay was a mess after the PO had a fire and disconnected the harness trying to find the cause of it:

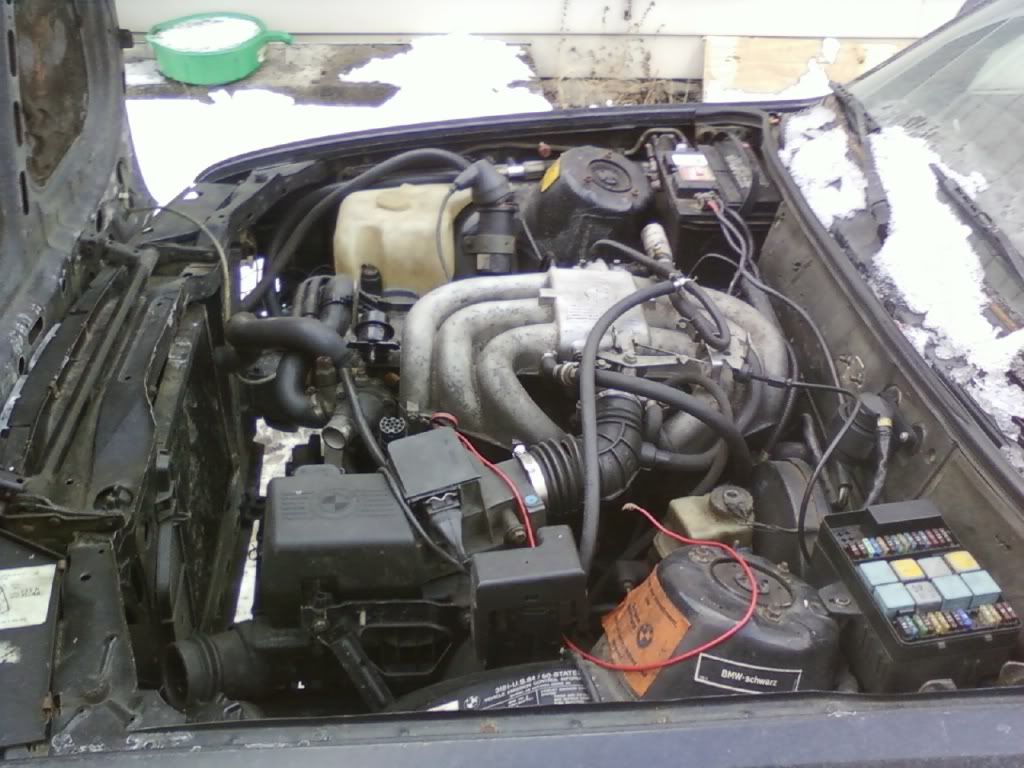
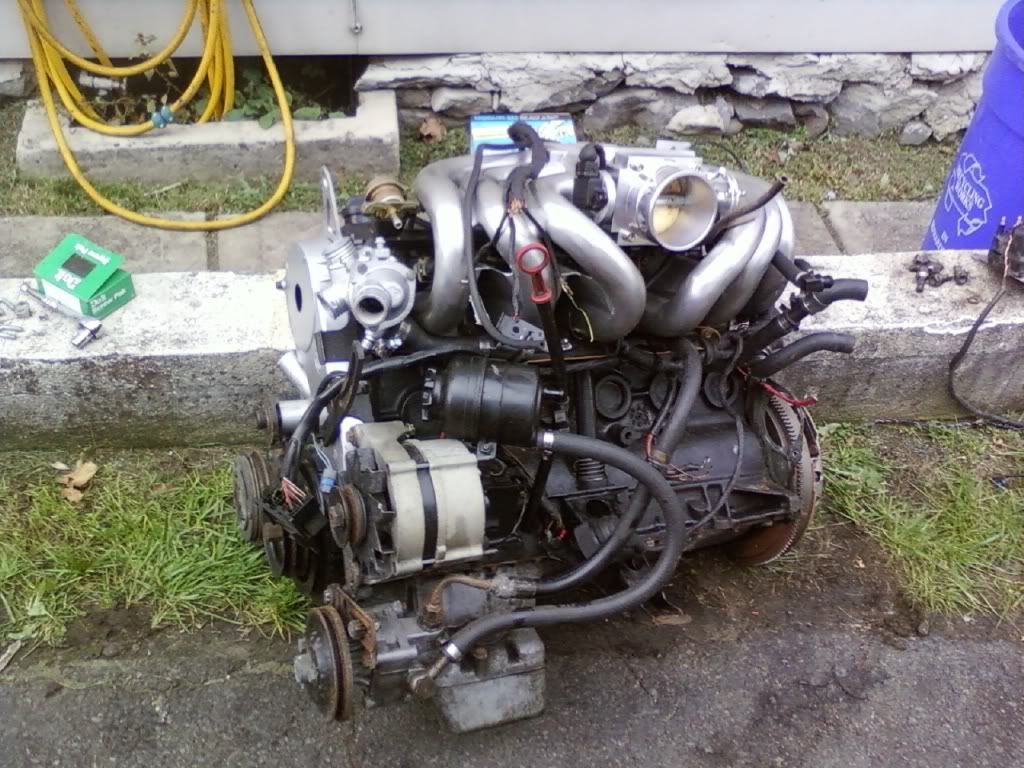
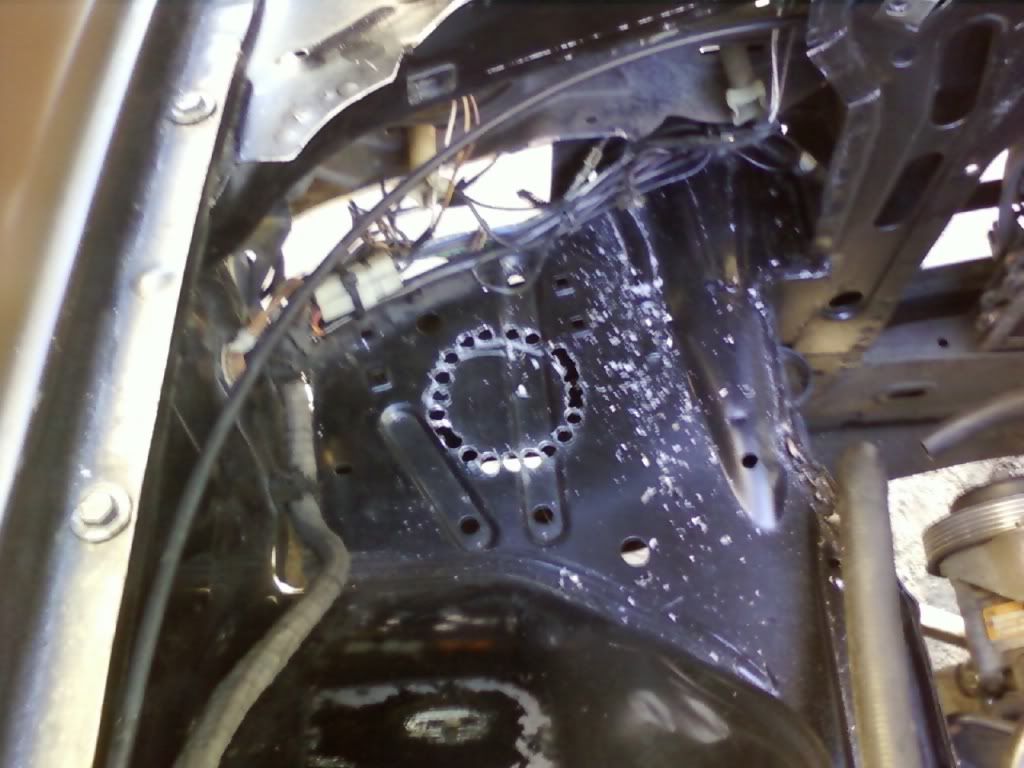
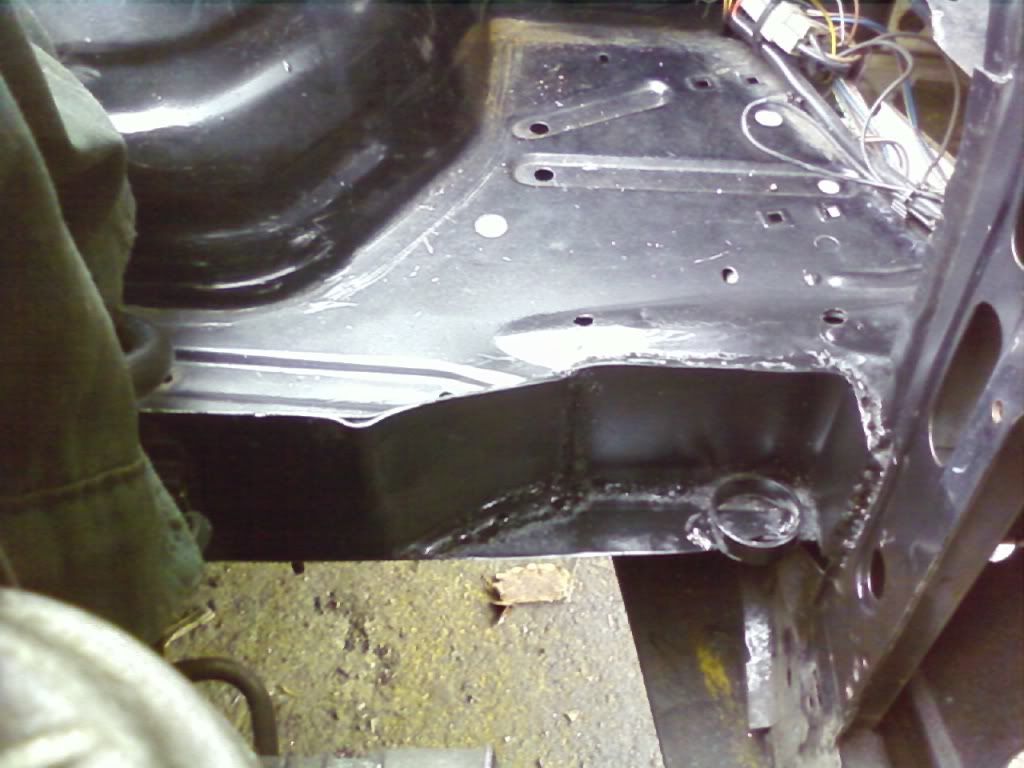
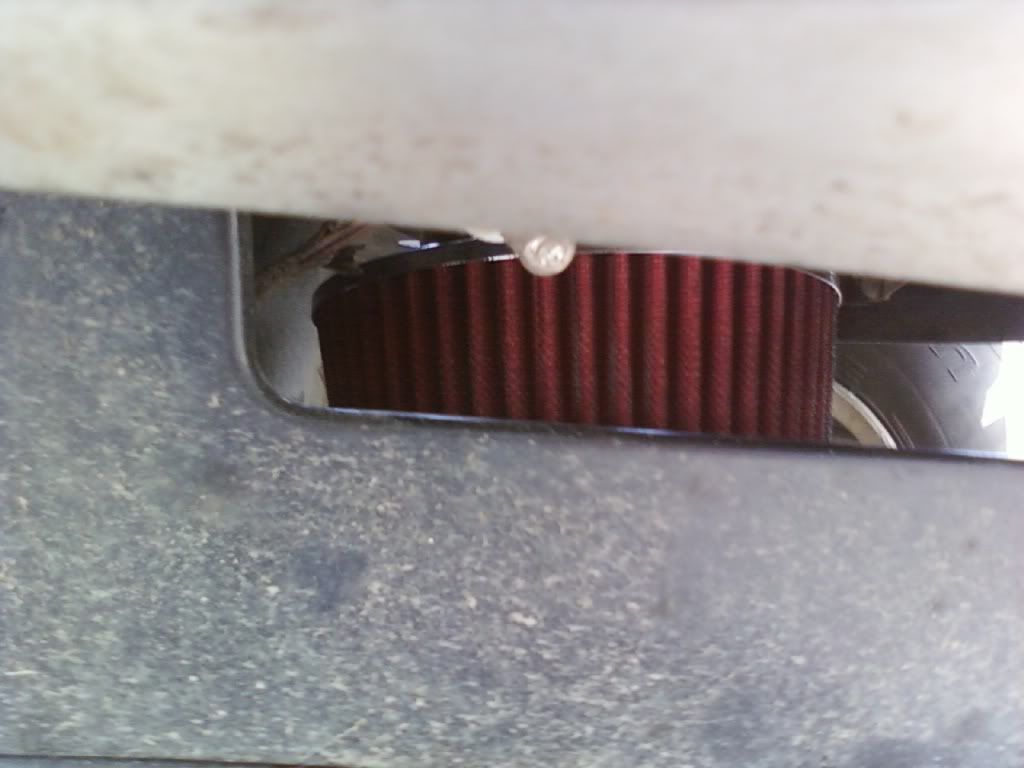
    The car was in pieces. I loaded all of its parts and whatever spares the PO had bought for it, like disk brake RTABS from an i-series, new body parts, etc. and put them into my already too small shed:

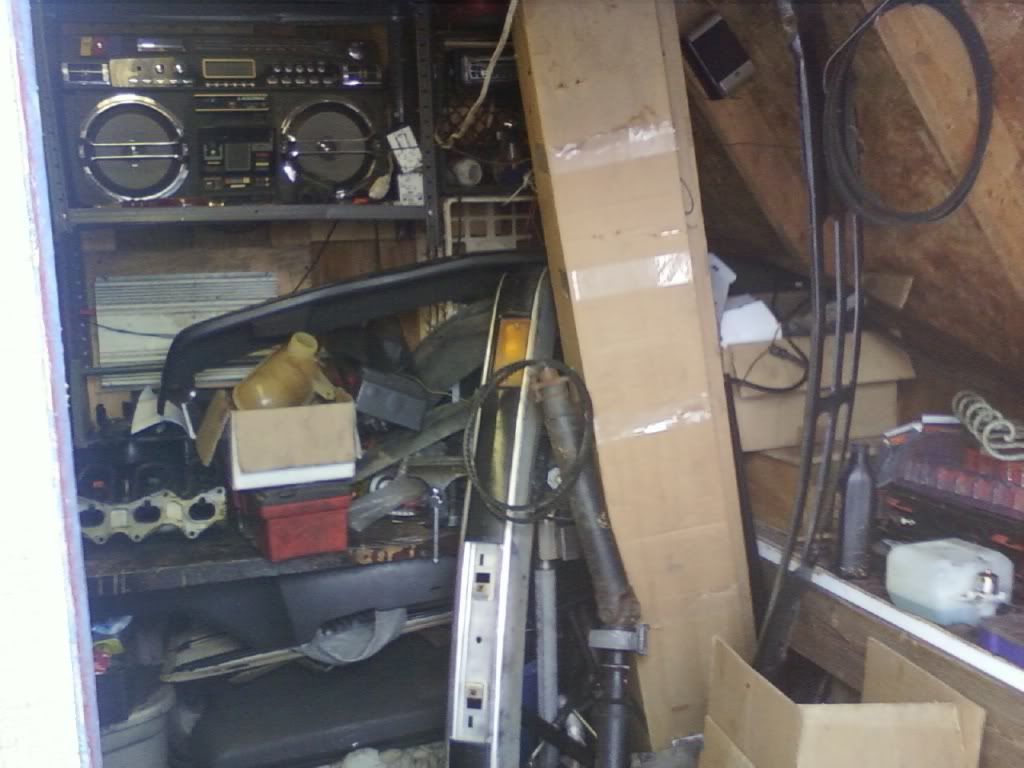
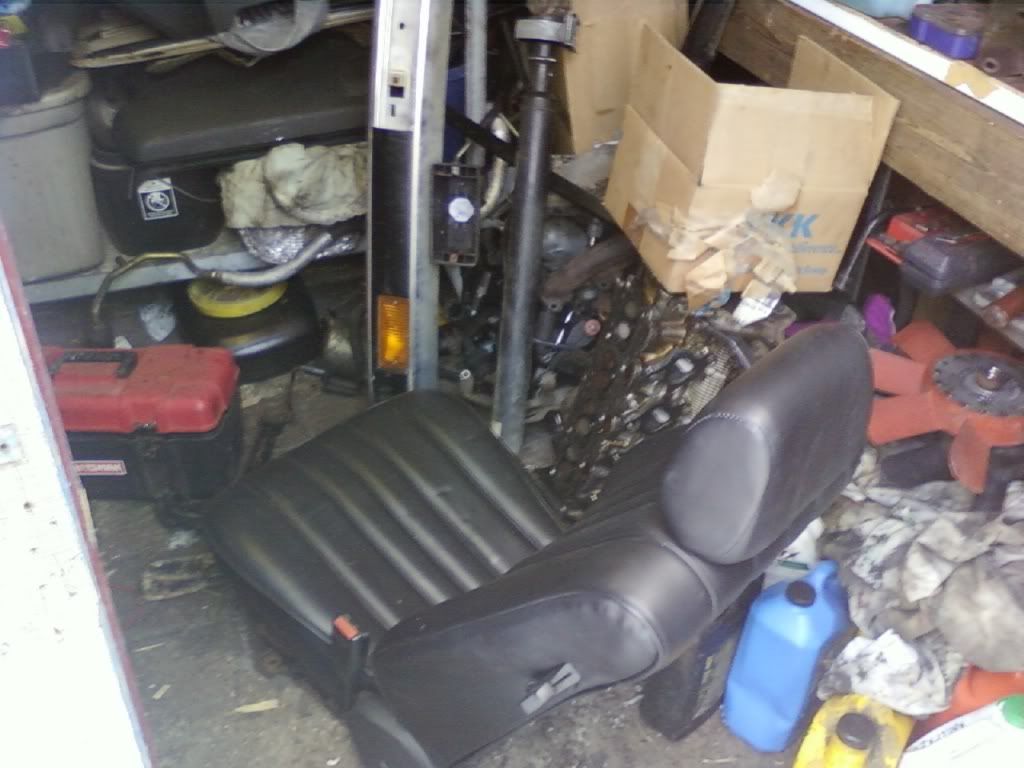
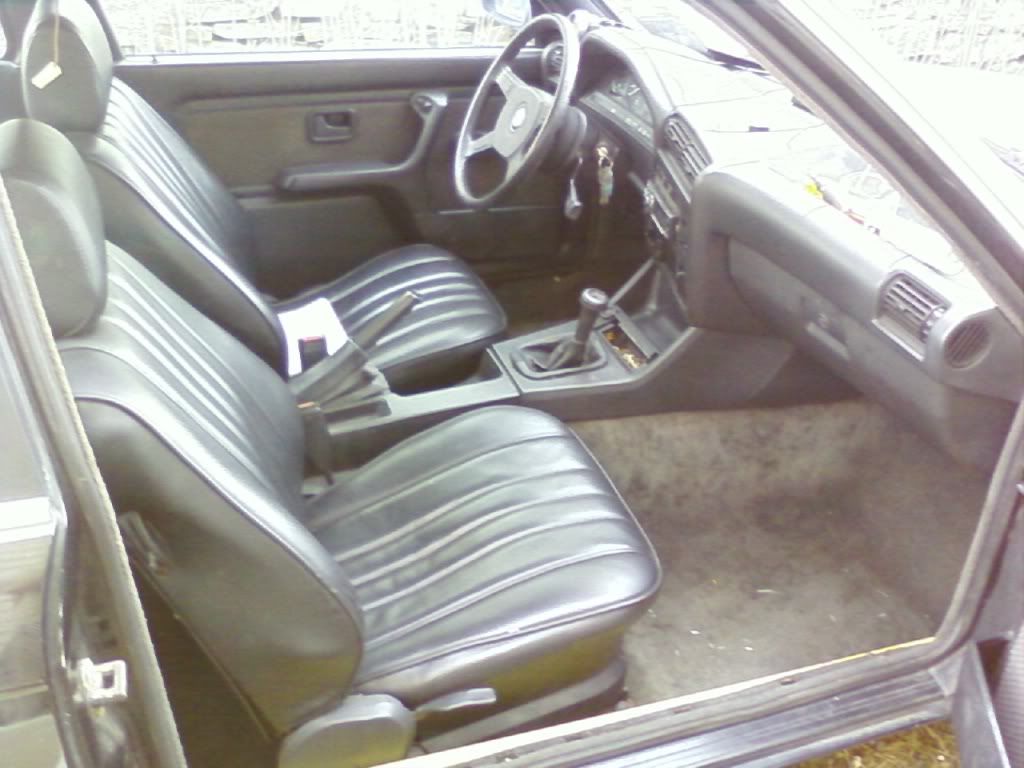
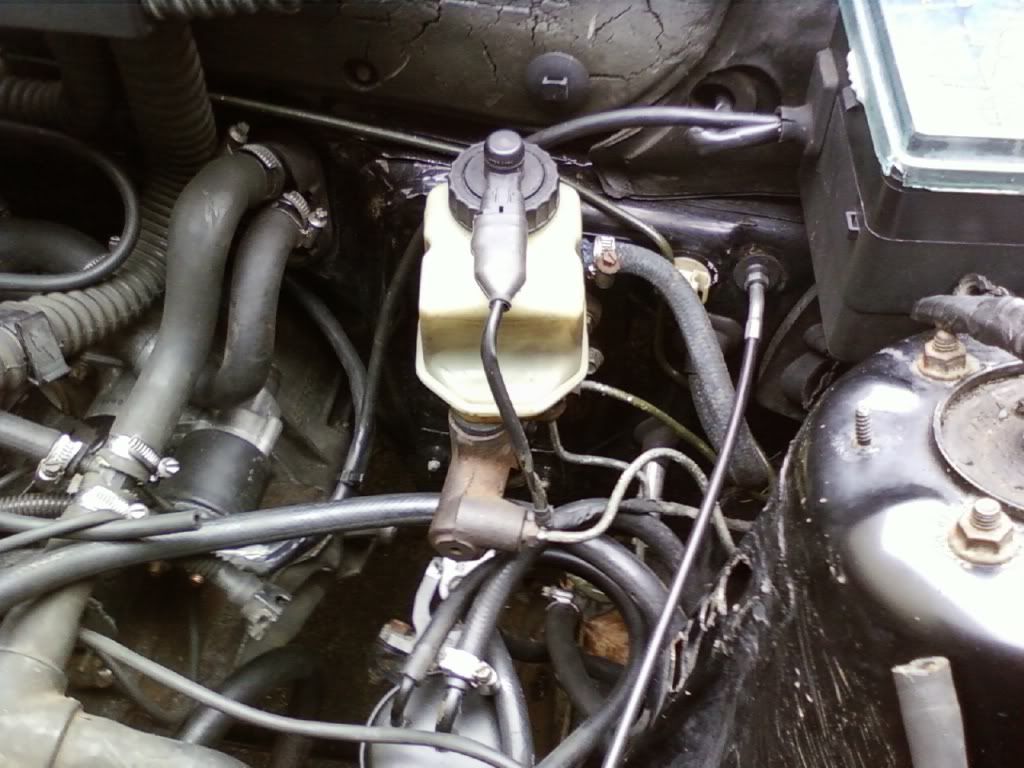
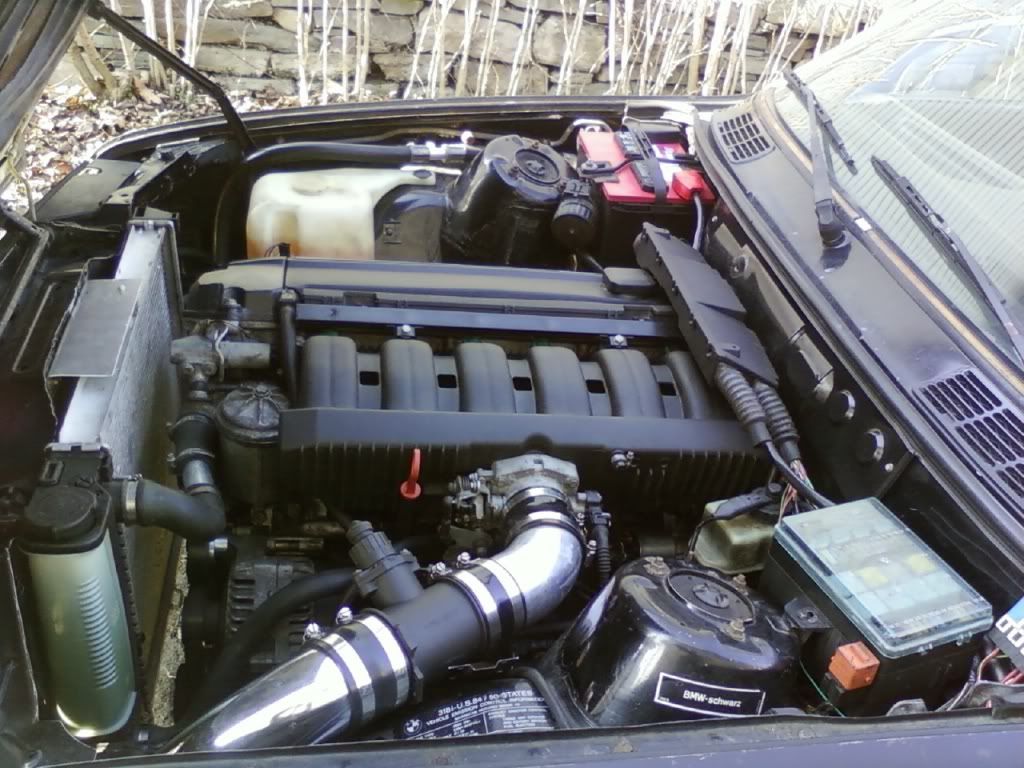
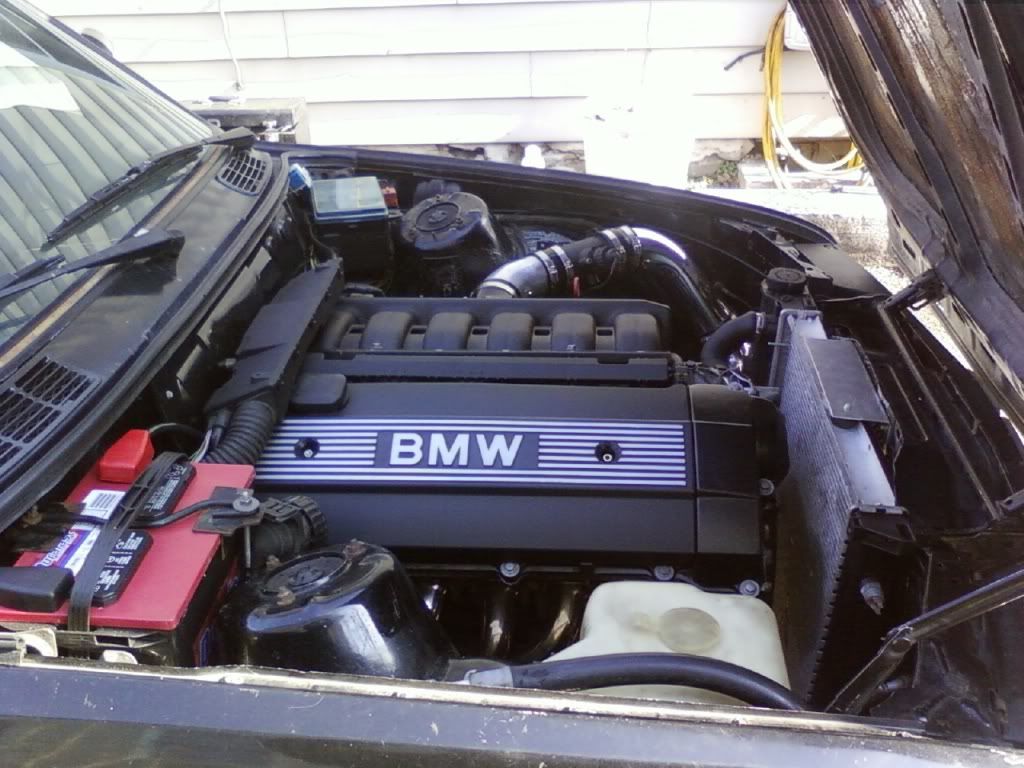
    The car itself was a bit of a storage shed as well:

    #2
    This was my starting point early February of last year. The original plan was as stated, to fix the fire damage and get the M20B27 running. I'll add a condensed version of my attempts, but short story long, it didn't work.
    The first thing to do was find the front bumper, its brackets, and the valance:
    And put them back where they belong:
    The more I worked on the car the more I found wrong, especially with the engine:
    While I had the intake removed, I decided to have the modified to accept an 80mm throttle body that used a potentiometer type TPS for Mega Squirt 2:
    My machinist did an excellent job fabricating the intake, but now it was shiny and new in the center but old and oxidized everywhere else. So I decided to spend the next 3,000 hours cleaning it up. This is the result:
    I even hand painted the roundel:
    This is the level of detail I put into my projects, regardless of how much more time it adds to the job. I put that same amount of time into the interior as well:
    This is the completed engine bay:
    I decided to set up the ignition to use a GM DIS module since I eliminated the distributor:
    Unfortunately, this was the downfall of the M20. Despite all of my research, and numerous e-mails with the tech department of DIY Autotune I could not get a usable crank trigger from the VR crank sensor. I took a six month break from the car to work on other projects. I decided to go a completely different route and install an M50B25TU. The time away from the car was spent reading these forums and understanding what was involved. As stated early, much appreciation to the knowledge of the members of this forum. I found a complete engine on craigslist out of a '94 325i that had been crashed:
    This was removed, and loaded into the back of a Subaru Impreza Wagon. Out with M20:
    The M50 being prepared for its rightful home:
    Unfortunately, since I live in North East PA and I had taken such a long break from this project the elements caught up with me:
    Once the snow melted and new parts arrived, I was able to get back to work:
    And get the engine in the car:
    Although its not pictured, I used the right hand e36 mount on the passenger side with part of its outer metal rim ground flat to clear the subframe and an M20 mount on the driver's side to offset the 12* twist of this engine. I still had to cut and reweld the DSSR, but the transmission mounts pretty much lined up with out having to modify the mount.
    I should also mention that I met White IS, and got to see his cabriolet at the pick and pull yard when I was collecting all of the 5 series bits for the swap.
    I would recommend getting the engine and trans lined up before installing the header:
    Since I didn't have the other x20 connector, I decided to cut it off and splice on the c101 from the M20 harness. The ETM's listed at wedophones saved the day!
    I was able to sort out the harness and label everything appropriately:
    After studying the ETM's I discovered my car's c101 had been spliced at some point with a round plug, along with other "mods" to the wiring that weren't right. Since my car was a base model that did not have cruise, I did not have the Blue/Yellow VSS out from the C6 connector. I was able to splice directly into the VSS signal directly from the VSS. I also was lucky enough to pick up a red label 413 DME from the 5 series car at the junk yard, so that eliminated the EWS issue.
    I also picked up the 5 series radiator with the integrated expansion tank. Since my car is an early model, I had to fabricate mounts in the subframe:
    Finished mount:
    I decided to eliminate the booster, since I had read the M50's generate more vacuum than the booster needs:
    I made a plate that used the booster's holes on the firewall, and bolted the master cylinder directly to it. I made a pushrod out a metric bolt that was the same thread as the clevis. The brakes feel solid and give good feedback.
    I also decided to locate the air filter behind the valance. So I cut a hole for the inlet tube next to the radiator mount:
    And pieced together something similar to a Miller W.A.R. piece, but much cheaper:
    The filter now gets fresh air from the gap in the valance and bumper:
    This is the finished product, for now:

    This is the car now, finally running on its own power:
    I hope this inspires others to do the M50 swap. In all honesty, it was cheaper than what I invested in the M20 and it was not that difficult. An estimated cost of the swap was under $1,000 since I found the engine and harness for $500, and there is a pick and pull yard less than thirty minutes from here which charges flat rates on all of their parts.

    Comment


      #3
      So glad people are understanding that M50's are actually a better idea to swap in then doing a full m20 refresh.


      Awesome work man. What else do you have planned for it?

      Comment


        #4
        After reading these forums and finding out it was an eta and not an M20B25 like the PO thought it was, I'm glad I chose to put in a better engine.
        I have the i series disk brakes and trailing arms, so I'll pull the subframe and weld in IE's camber and toe-in correction kit. I'm also looking at Bilstein shocks and some upgraded springs. I don't want to lower the car since the roads here are terrible, plus having the e34 oil pan hang an inch and half lower than the rest of the car is a deterrent to getting it lower than it is.
        Once I get the materials, I want to build a cross brace and skid plate. In the future I would like to upgrade the headlights, get new wheels and tires, you know, nothing radical.

        Comment


          #5
          Originally posted by tcanin00 View Post
          Finished mount:


          HOLY NOTCHED FRAME DUDE!!!!

          you do realise that you have seriously compromised the strength of the unibody there by doing that do you not?
          I saved 15% on my Bimmer parts by switching to ...


          Comment


            #6
            Yes, I never like the idea of weakening anything structural. The bottom of the notch is the subframe itself, and the metal I used to box in the bracket is an 1/8" thick plus it is welded at every contact point around the plate to the subframe itself. I would not do something like that closer to the crossmember or actual load bearing points of the subframe.

            Comment


              #7
              Looks good mate! Grate work!

              Comment


                #8
                Since this thread is supposed to be the "Transformation of of a discarded 1984 318i" I feel I owe it to the R3V community to update this old thread I had started. Much work has been done to the car since the engine swap, so I'll hit the high lights. One of the first things, as funds provided were a set of wheels and tires. I ordered a set of ASA Revolutions and Goodyear Eagle Gt's from Tire Rack:


                And I also had an obnoxiously loud exhaust system put on the car because I was too cheap to buy a proper muffler:


                Then I bent one of the new wheels courtesy of PENNDOT:


                I decided to upgrade the lights with HID's from Depot (also a decision based on price)


                Comparison of light output:


                Then I had access to real money and chose to spend it on a full Ground Control suspension kit. So out with old:


                Comparison (for whatever reason I thought this was necessary)


                New components in place:


                Another unnecessary comparison of the reduced amount of droop:


                The kit came with race plates and the ability to make adjustments will come in handy later:


                Replaced the rear springs and shocks as well:


                Current ride height:

                Comment


                  #9
                  The last post was progress prior to my recent deployment to Kuwait. This phase as of now will be showing some of the more recent work and the parts I have collected so that I can properly continue (as no project is ever finished).
                  Since I made some repairs without taking pictures, you will have to take my word on them. Those are the replacement of the power steering pump, rack and pinion along with new tie rods, and a new radiator. I decided to buy another set of wheels instead getting one ASA. I never liked using the 10mm hubcentric spacers that came with them and I wanted a different offset. So I ordered a set Beyern Mesh style 17x7's with a 27mm positive offset from Bavarian Auto:


                  I also revised the exhaust with two Vibrant resonators and a Magnaflow dual inlet/outlet muffler as an attempt to quiet down the angry M50. Not so much.
                  I plan on doing version three of the exhaust once I complete my 1979 Ford F-250 that is in my buddy's shop that I am working out of. No more working in my driveway!
                  I also found an is trunk lid and spoiler on craigslist:


                  Before anyone says, "That's not a 325is" let me say first that I hate clone cars. Especially something that is poorly executed. I justify calling this car a 325is since it actually has a 2.5L engine and has sport tuned suspension and sport seats, which I picked up from Chris4soc1:

                  Comment


                    #10
                    The collection phase started nearly when I bought the car, but I have been adding to the list of upgrades with a stock pile of parts since then. the first thing to be added was a completely rebuilt 3.73 LSD diff from agent's step father:


                    Great guys to work with, and his step dad is a former BMW tech so he was able to build the diff exactly how it should be. They have a for sale section on R3V.
                    Something that should have been dealt with long ago is inadequacy of the brake system, plus the fact I removed the booster. The solution comes from Ireland Engineering in the form of a big brake kit by Wilwood. The rear uses a 4 piston caliper and 290mm rotor:


                    That replaces the drum brakes:

                    I have had i series RTABS and a full set of Powerflex bushings waiting to go on for over two years now. They will soon be installed so I can use my new brakes.
                    The front kit uses 6 piston calipers and 310mm rotors:


                    I had to unbox everything and compare new to old, so here is one of the new front rotors compared to the stock front. The new rotor is discolored by the protective oil and not corrosion, by the way:

                    Comment

                    Working...
                    X