

I’ve had my car running and driving around for a bit over a year now, so I figured it’s that time. It’s time to start throwing money at it in hopes that it handles better. And, as we all know, the best place to start is the suspension. Originally I was considering the tried and true Bilstein Sport/H&R combo, but as much as I hate to admit that looks played a factor in this, they were not low enough. So my solution was to go with a coilover setup. Considering I am on a budget, my selection was pretty limited.
Coincidentally, just a month earlier Megan Racing released their Euro Street line for the E30. I have heard good things about them from my friends with Miatas, RX-7s and 240s so I figured I would give them a shot.
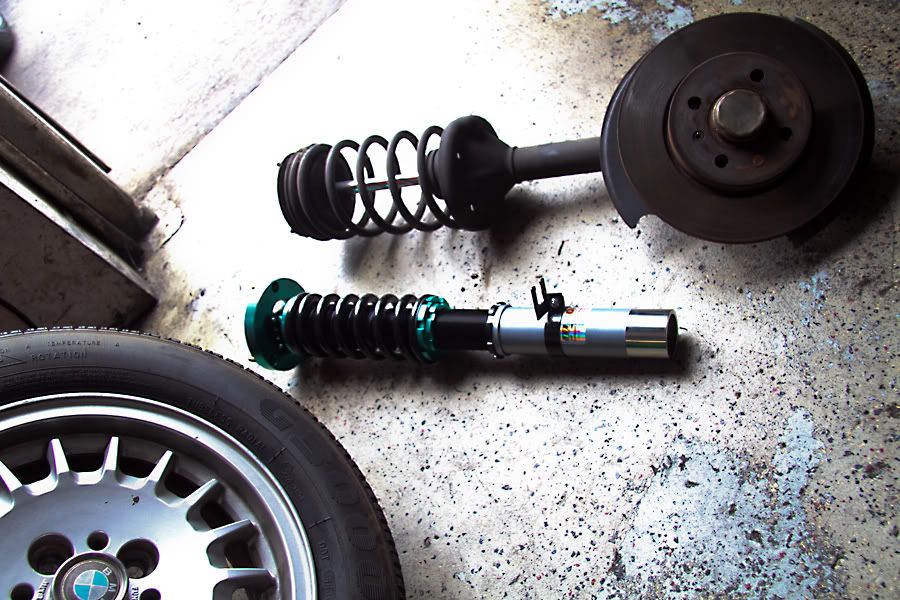
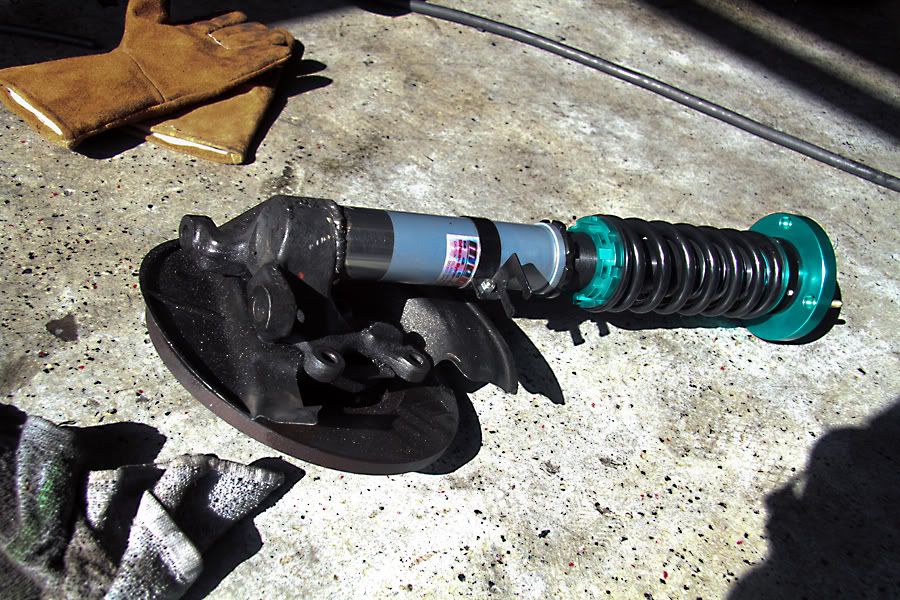
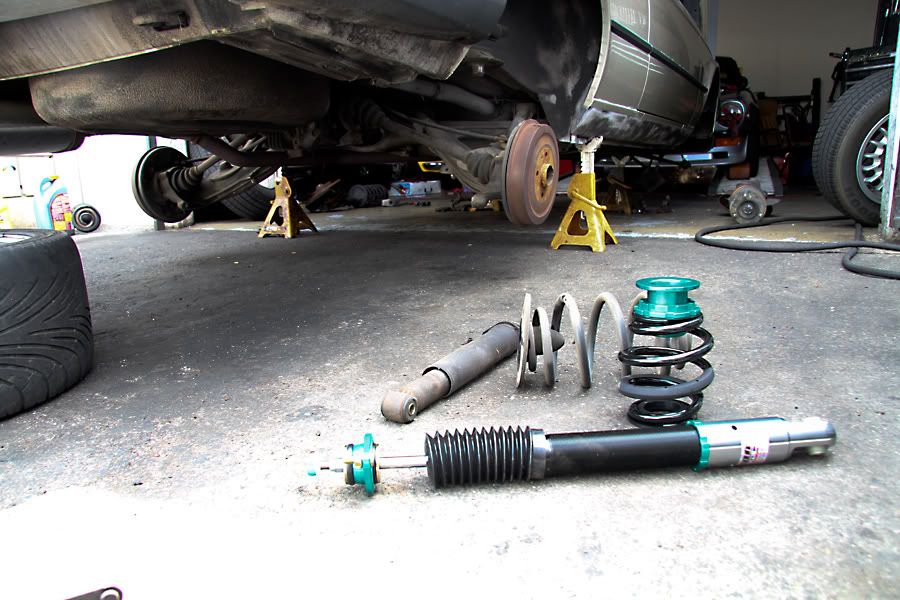
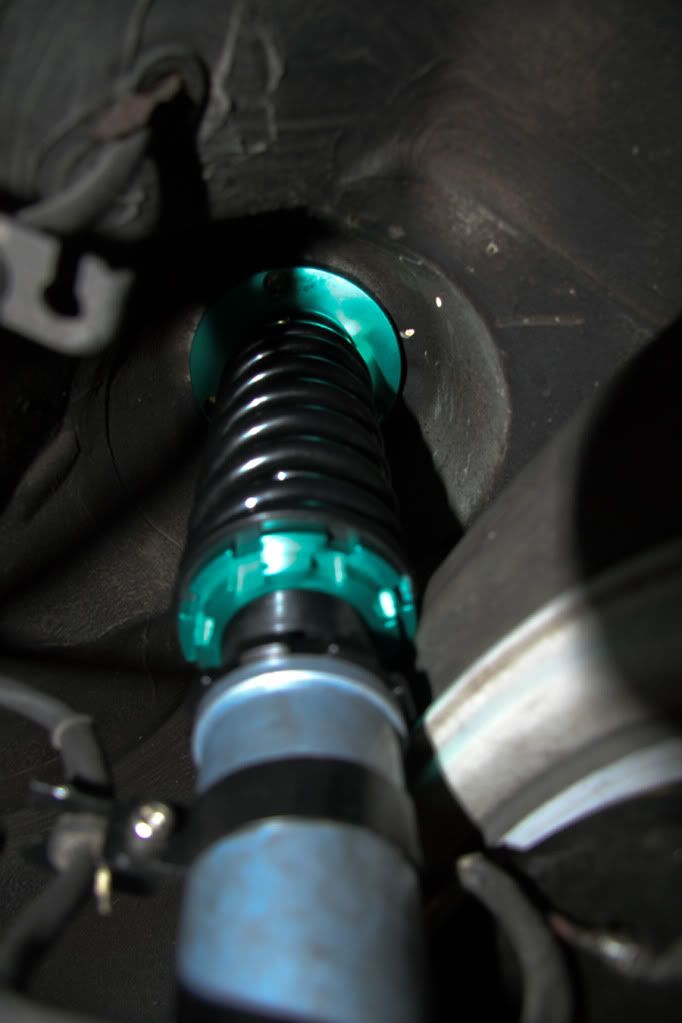
A few days and a couple hundred dollars later I got them in. I was really impressed by the quality. The machining was very clean as was the powdercoating. Based on looks, these are very solid units.
The only problem with these is that they have to be welded. As much as I wanted to do the installation myself, I figured that this is probably not the best project to learn to weld on, so I took it over to the guys at JER Development in Santa Ana.
Front
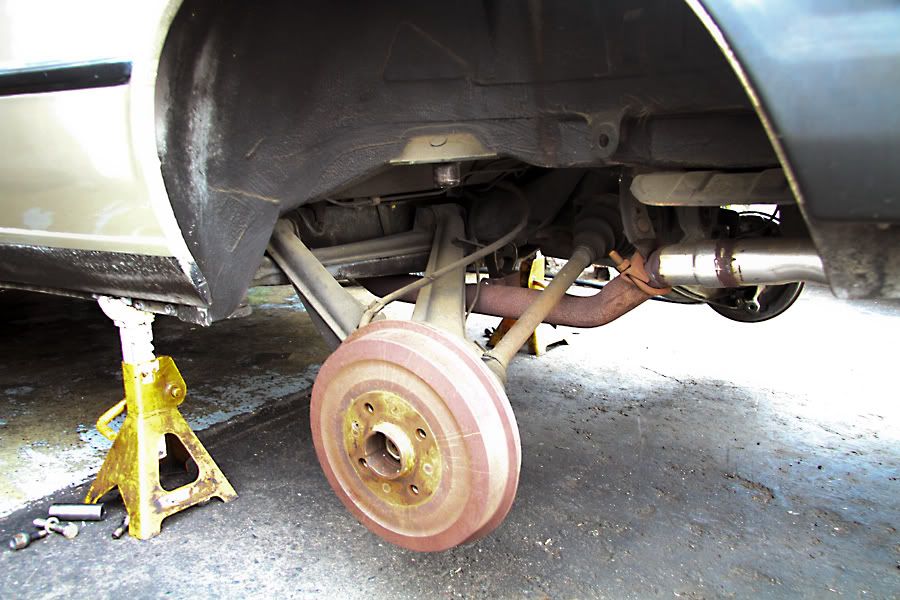
I’m assuming that if you are starting this project you know to remove the tires and brake calipers so I’ll start after that.
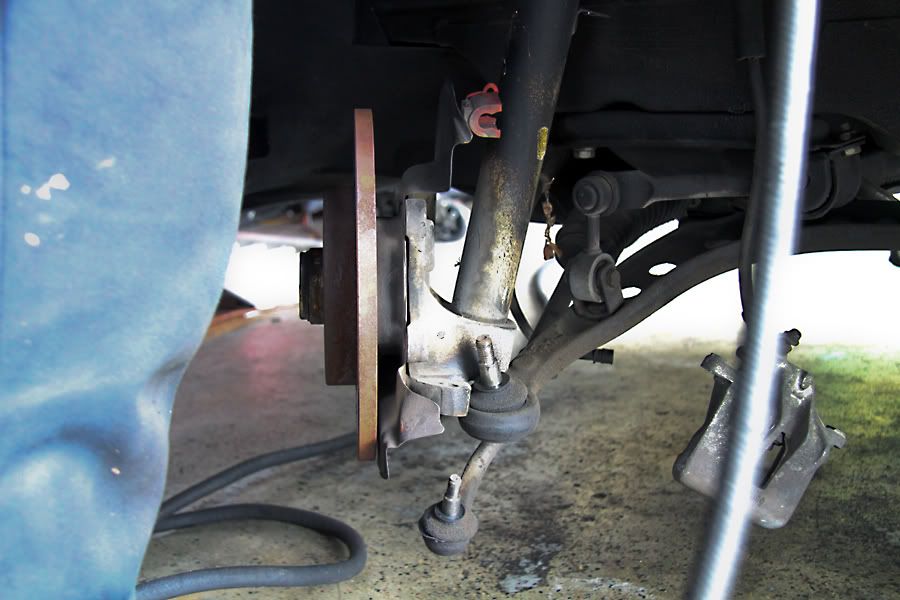
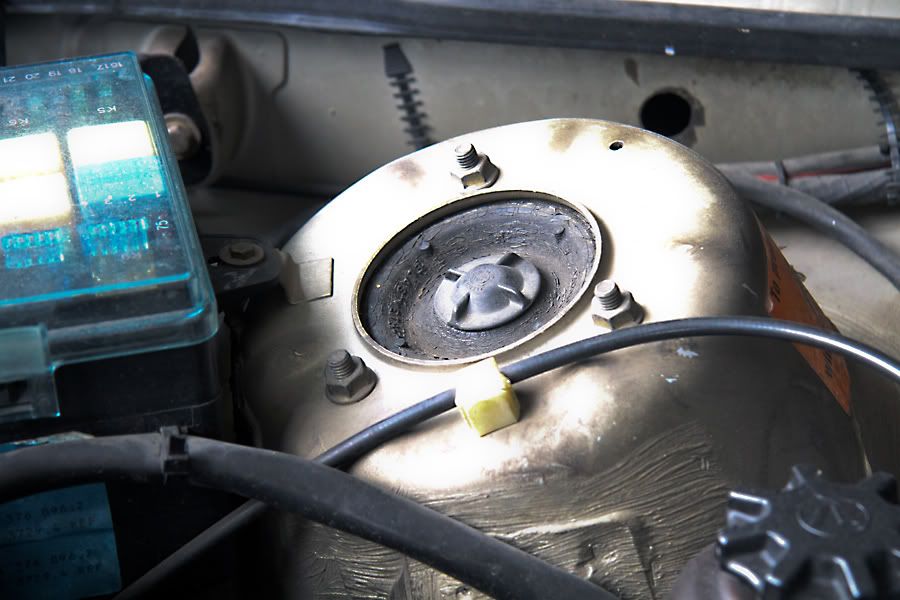
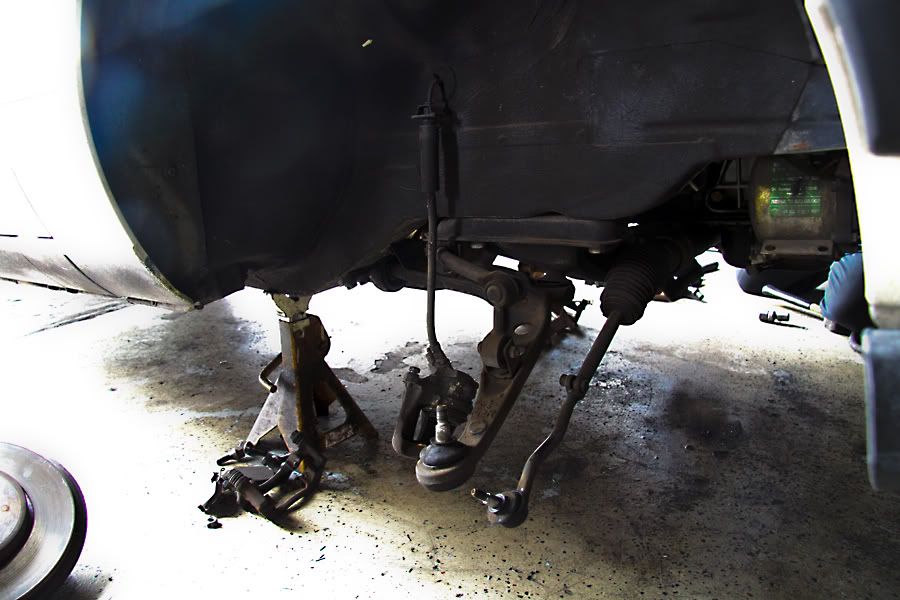
To start out remove the nuts supporting the (2) nuts supporting the hub assembly and the (3) nuts on the strut tower. Now the strut assembly can be lowered with hub and all.
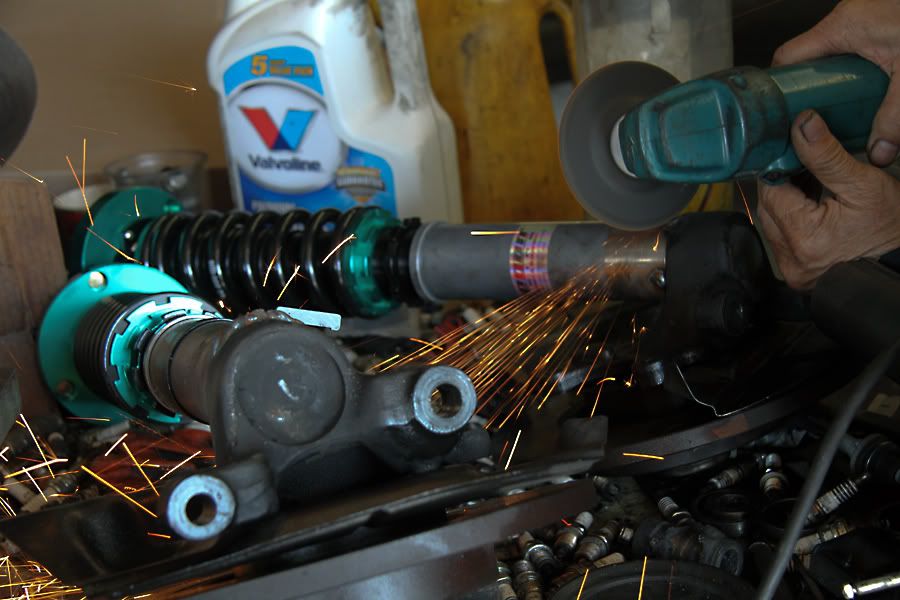
Next (sadly I wasn’t around for photos of this) the strut housing has to be cut from the hub assembly to allow the new sleeve to be welded in place. We left about 2” so that the new coilover can slide over and still have structural support from the inside while it was being test-fitted.
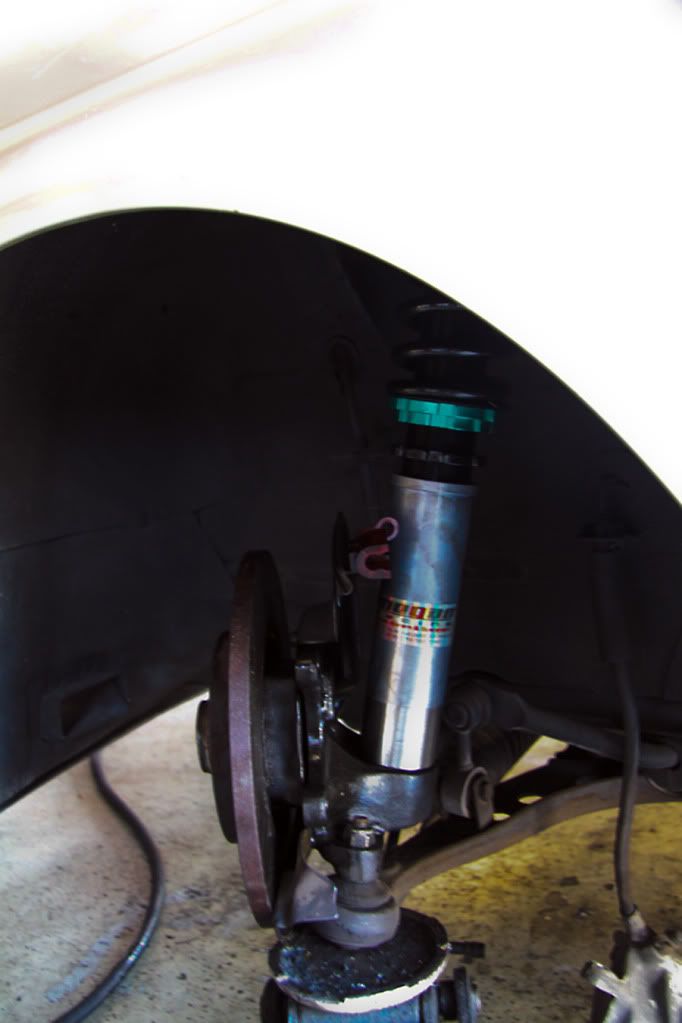
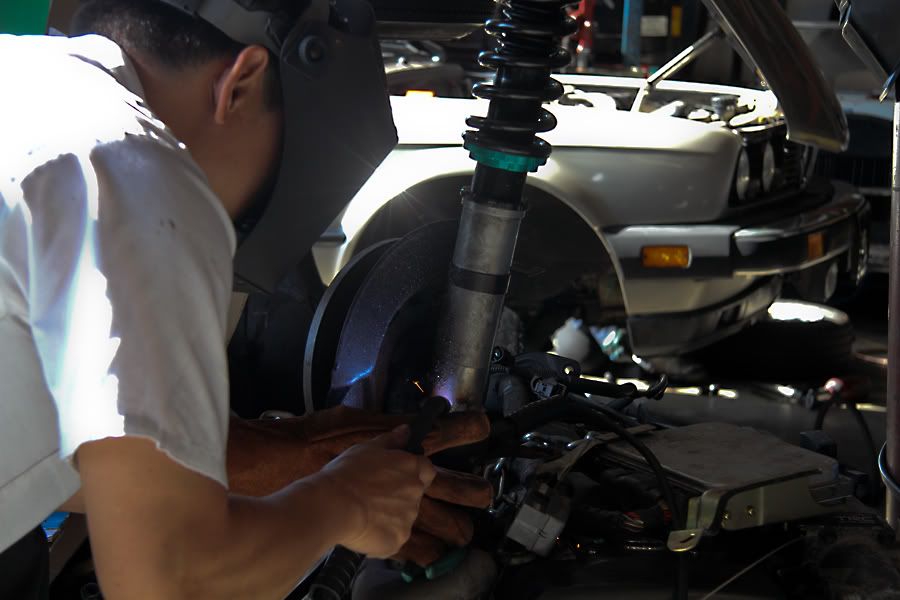
Next the coilover has to be test-fitted to ensure proper alignment and fitment on the car. Once fitment is satisfactory, spot weld while the coilover is still on the car to prevent slight movements.
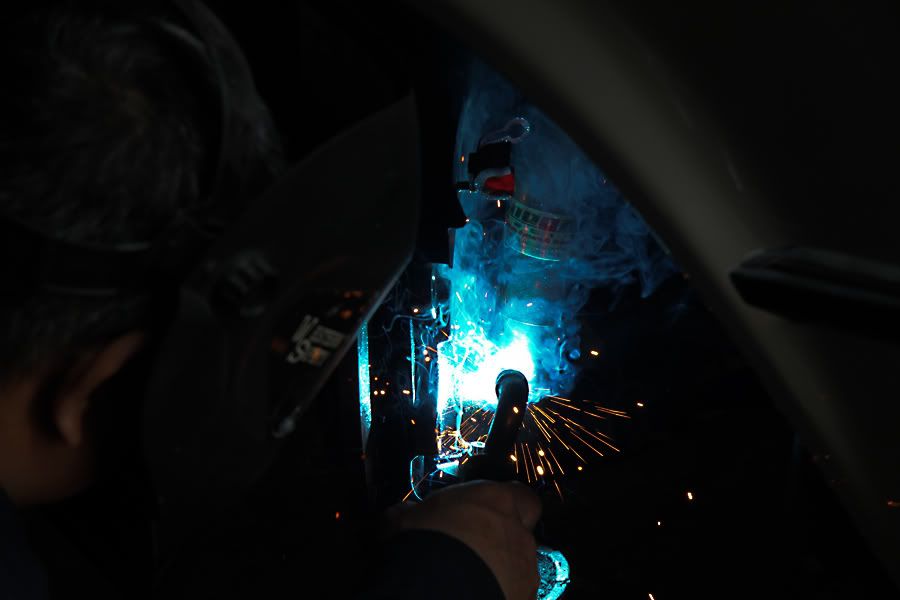
Now the spot welds should be cleaned up and the surface should be prepped for the final weld.

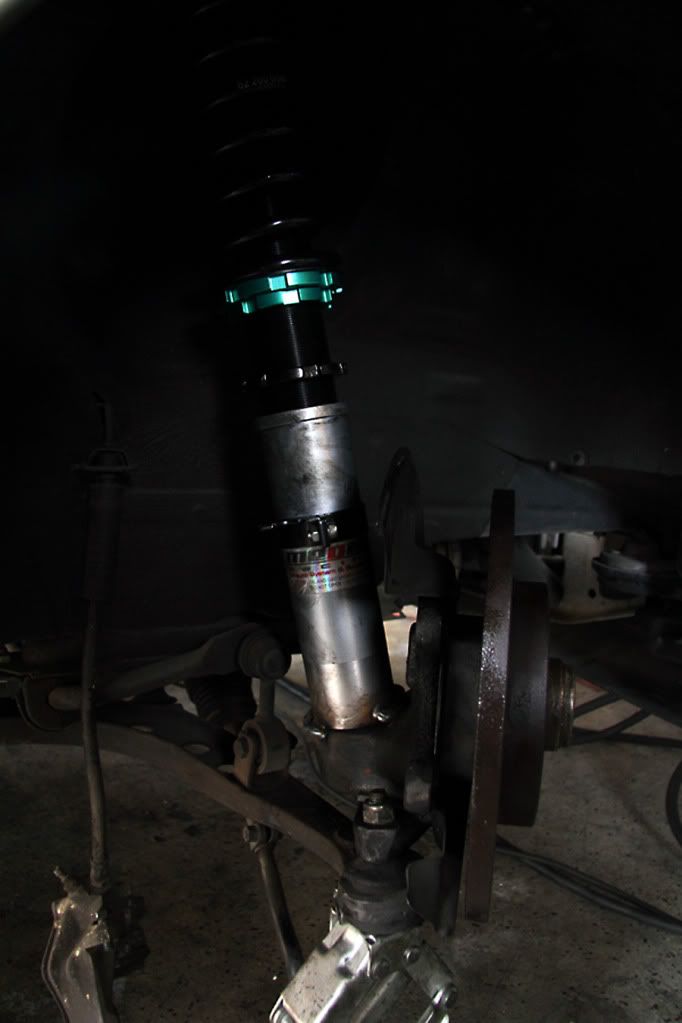
Once the welding is complete, front coilover is ready to install.
Rear
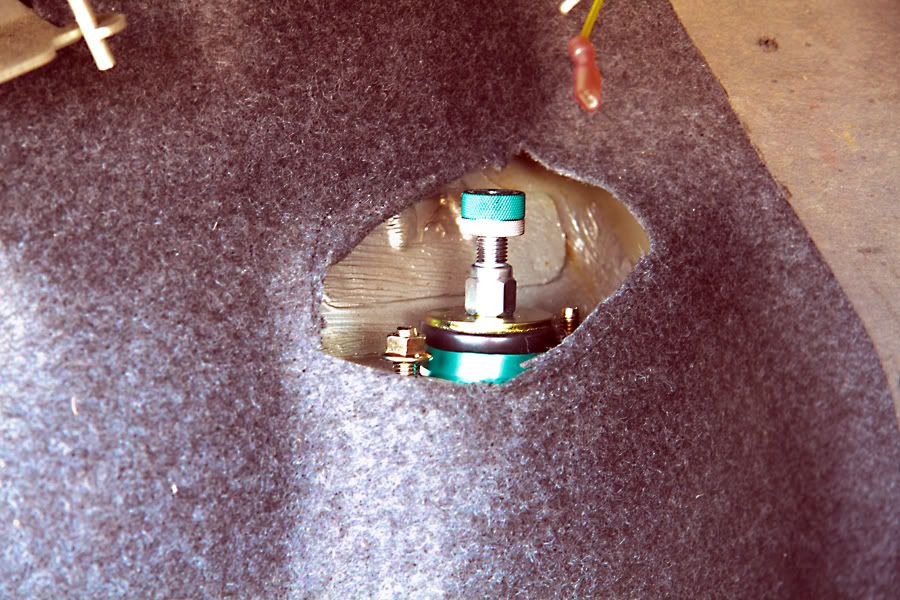
The rear is more direct. First, pull back the carpeting allowing access to the strut tower, or in this case I simply cut a hole in the carpeting since my coilover will be adjustable.
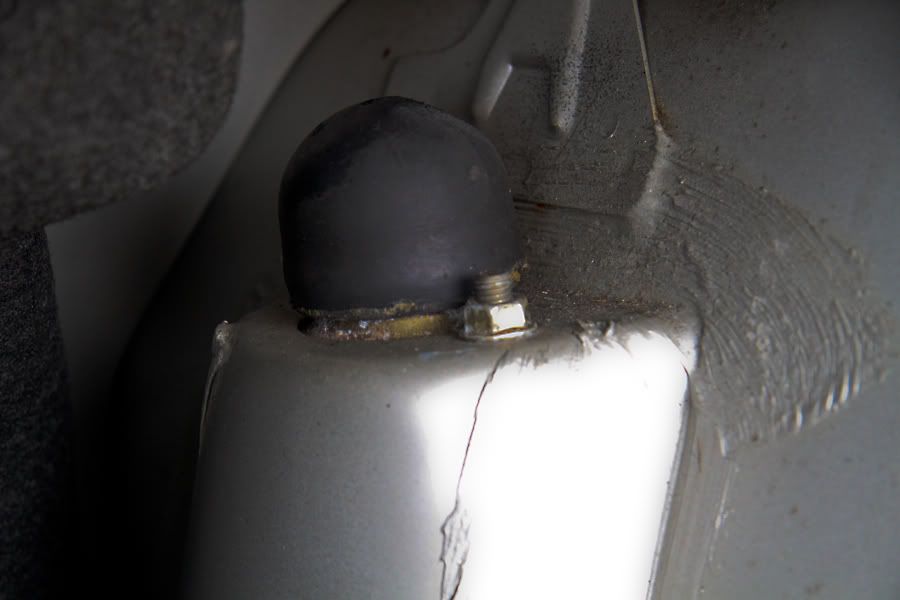
Remove the two bolts on top of the strut tower and remove the bolt securing the strut behind the brake drum.
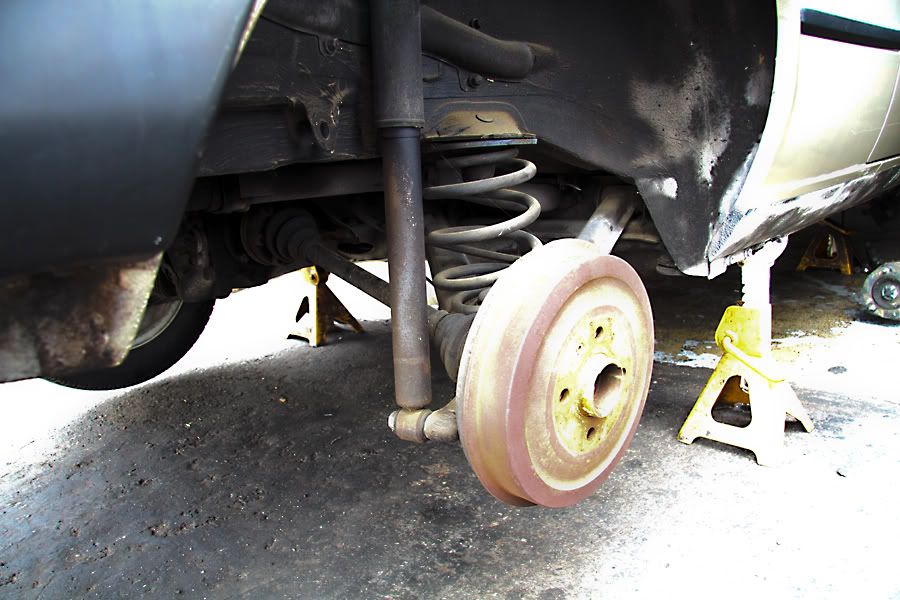
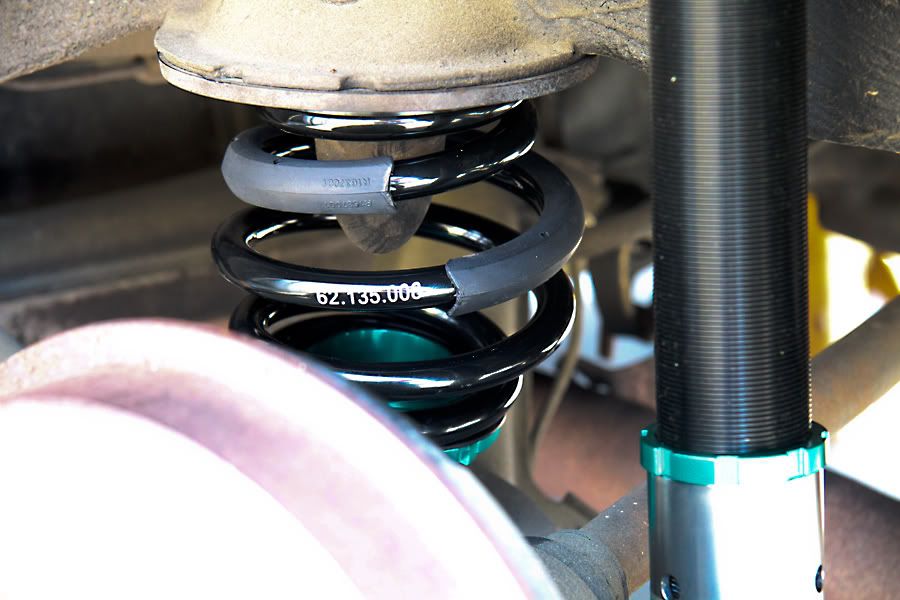
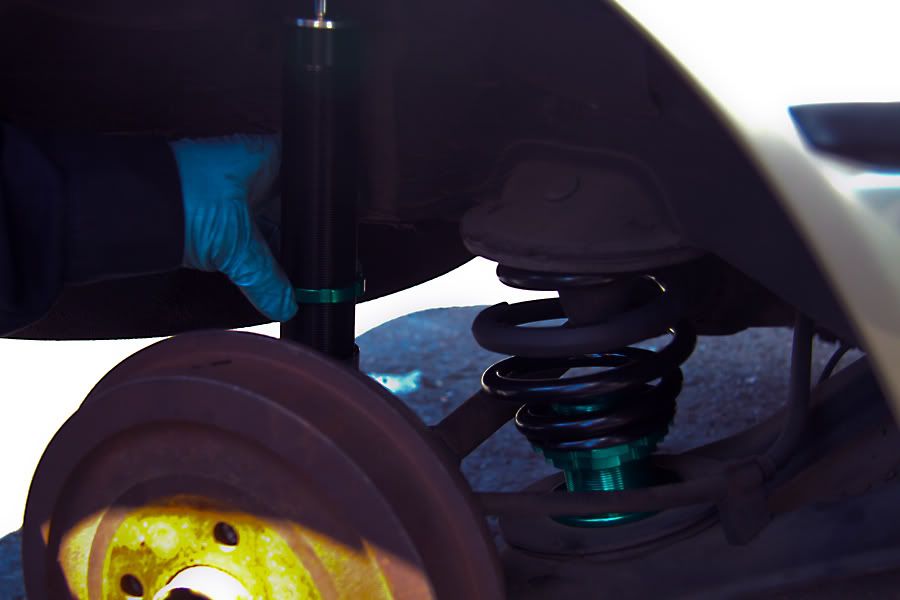
Once the strut is removed the spring can be removed and the new coilover and spring can be inserted.
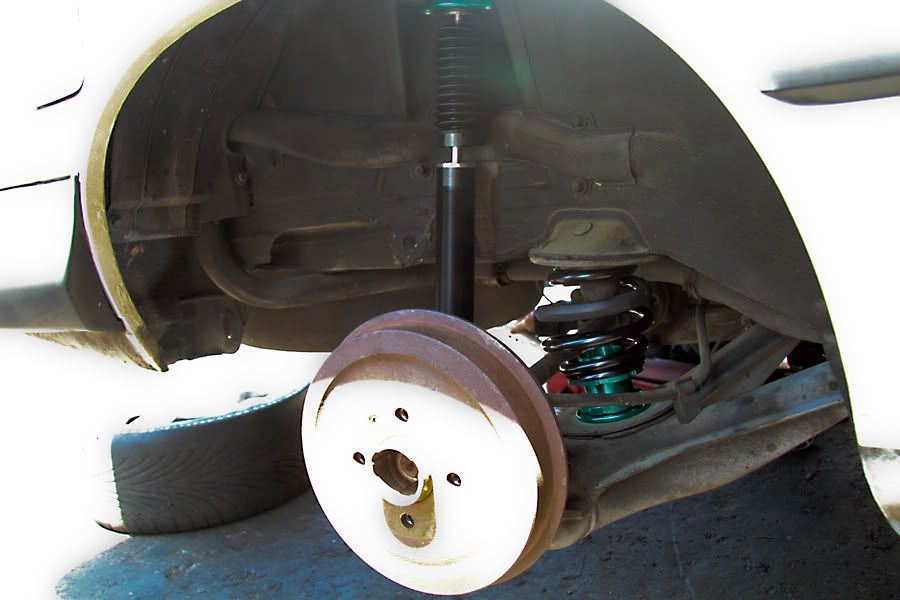
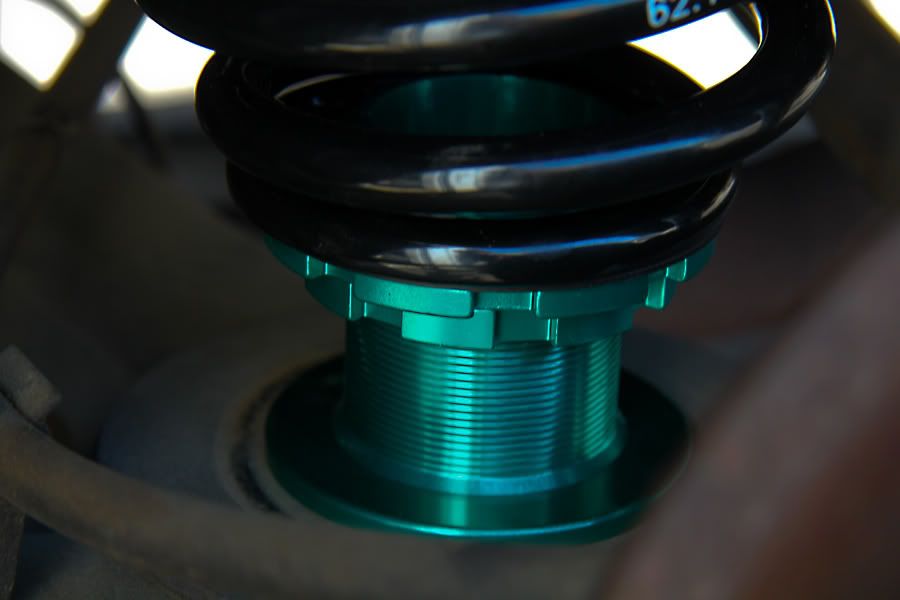
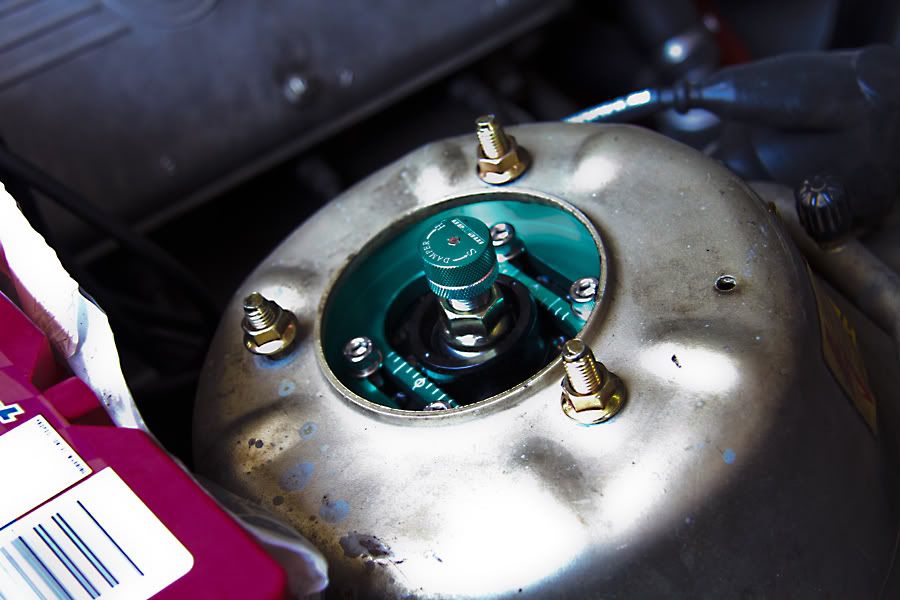
Once the coilovers are installed height/travel/preload adjustments can be adjusted using the collars. And dampening can be adjusted on the top of the strut towers.
Overall the installation is pretty straightforward, minus the welding.
I have driven around on these coilovers around LA for about a few months now and haven’t had any issues with them. There is no noise from rubbing springs that is apparent in some lower quality springs. On the softest dampening, even the bumps on the freeway aren’t too annoying, but in the mid-range setting you really start to feel them.
I haven’t tried them out on their stiffest setting since I have not taken the car out to a track setting, but even in the mid-range the body roll is greatly reduced through freeway onramps and windy roads.
I've also had a chance to mess around with them on the "skid pad," and the adjustability makes it really easy to get the car to perform the way you want it to.
Driving this car with these coilovers is like night v day. HUGE improvement.
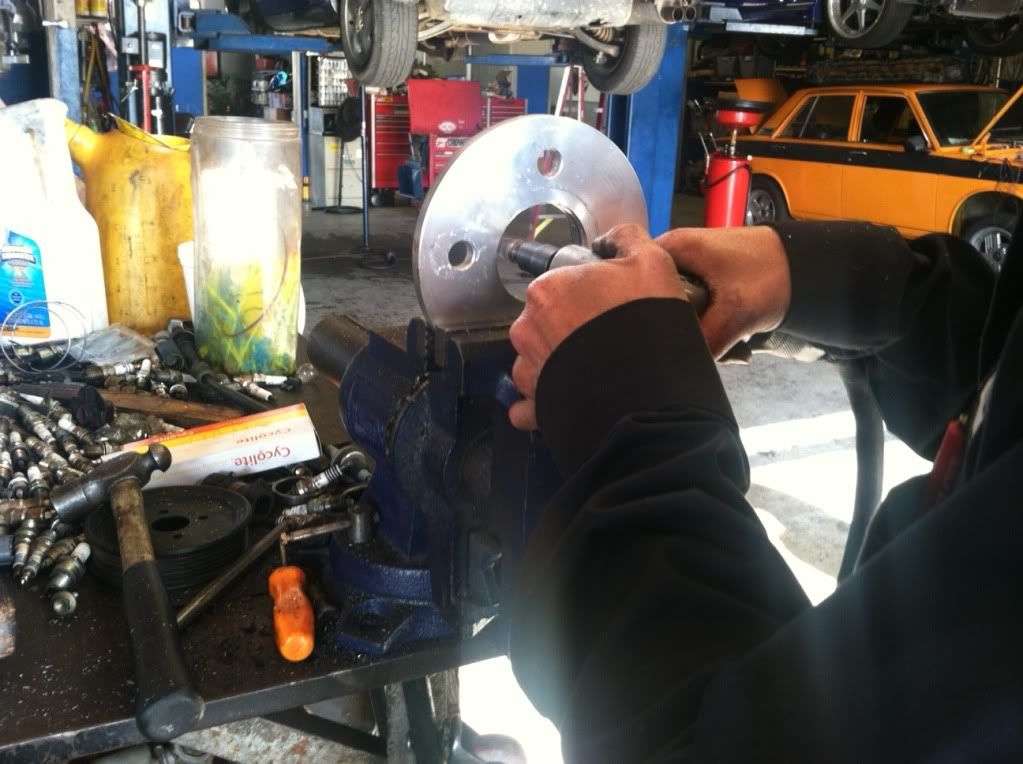
The only downside and WARNING, if you plan on installing these with stock wheels/tires be sure to get spacers for the front wheels. Because the strut tube is significantly shorter the tire rubs on the spring. Luckily the guys at JER were able to fabricate a temporary set for me to get me rolling. But if not for them I would be stuck with a car that wouldn’t roll and no way of getting back to the original parts.
PHOTOS:
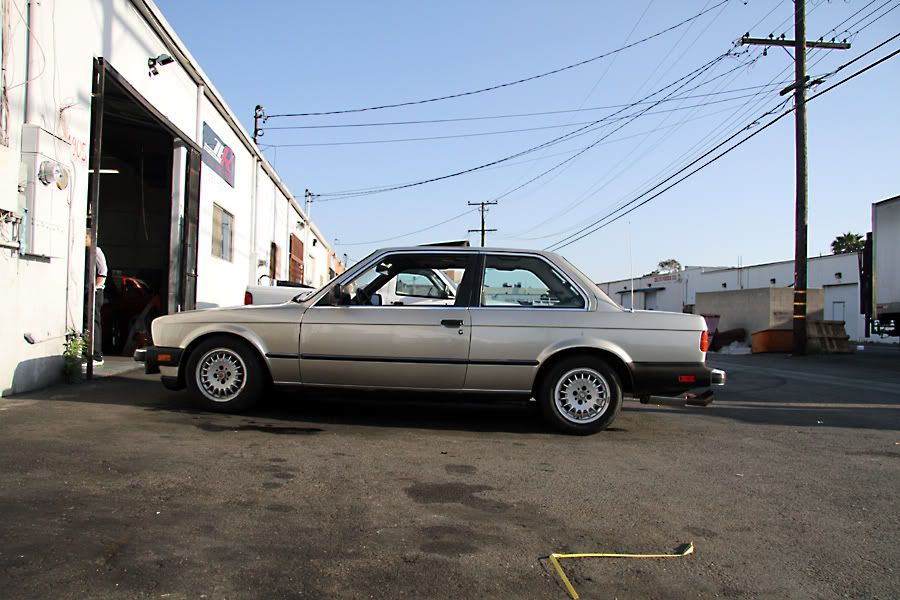
The front still sits about the same. The rear settled in and now sits lower. I will post more recent photos.
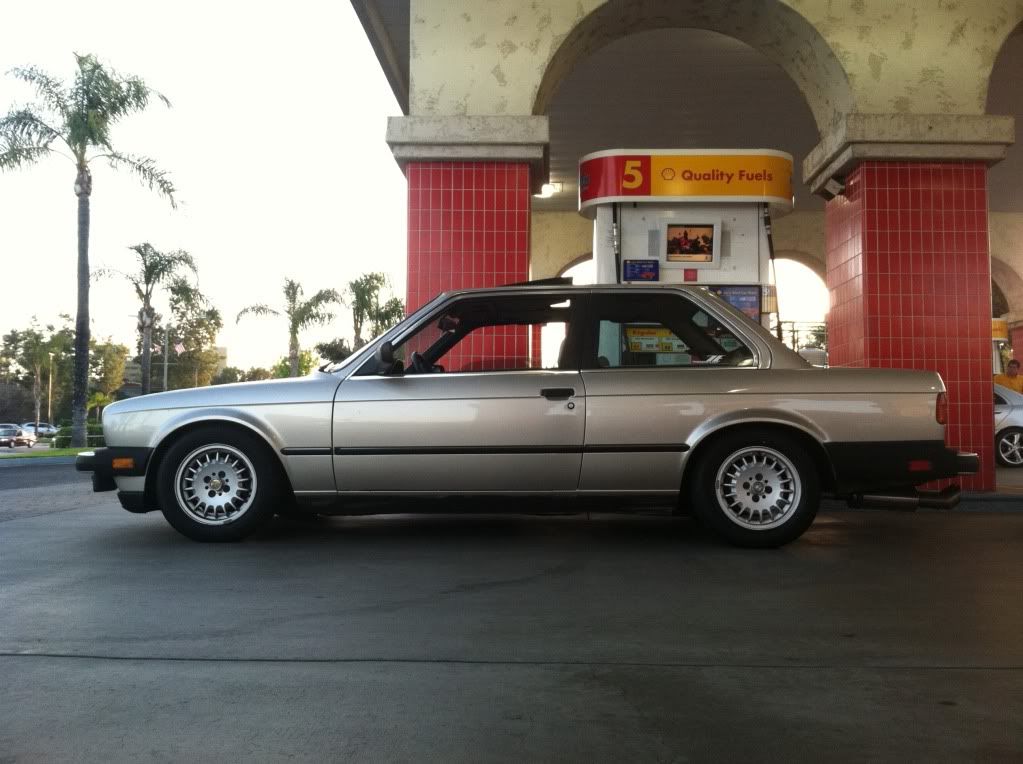
It was a bit high in the rear, so I removed the collars from the rear spring perch which gave about half an inch. I also drive the car regularly with the dampening at its softest which has allowed the springs to settle.
Coincidentally, just a month earlier Megan Racing released their Euro Street line for the E30. I have heard good things about them from my friends with Miatas, RX-7s and 240s so I figured I would give them a shot.
A few days and a couple hundred dollars later I got them in. I was really impressed by the quality. The machining was very clean as was the powdercoating. Based on looks, these are very solid units.
The only problem with these is that they have to be welded. As much as I wanted to do the installation myself, I figured that this is probably not the best project to learn to weld on, so I took it over to the guys at JER Development in Santa Ana.
Front
I’m assuming that if you are starting this project you know to remove the tires and brake calipers so I’ll start after that.
To start out remove the nuts supporting the (2) nuts supporting the hub assembly and the (3) nuts on the strut tower. Now the strut assembly can be lowered with hub and all.
Next (sadly I wasn’t around for photos of this) the strut housing has to be cut from the hub assembly to allow the new sleeve to be welded in place. We left about 2” so that the new coilover can slide over and still have structural support from the inside while it was being test-fitted.
Next the coilover has to be test-fitted to ensure proper alignment and fitment on the car. Once fitment is satisfactory, spot weld while the coilover is still on the car to prevent slight movements.
Now the spot welds should be cleaned up and the surface should be prepped for the final weld.
Once the welding is complete, front coilover is ready to install.
Rear
The rear is more direct. First, pull back the carpeting allowing access to the strut tower, or in this case I simply cut a hole in the carpeting since my coilover will be adjustable.
Remove the two bolts on top of the strut tower and remove the bolt securing the strut behind the brake drum.
Once the strut is removed the spring can be removed and the new coilover and spring can be inserted.
Once the coilovers are installed height/travel/preload adjustments can be adjusted using the collars. And dampening can be adjusted on the top of the strut towers.
Overall the installation is pretty straightforward, minus the welding.
I have driven around on these coilovers around LA for about a few months now and haven’t had any issues with them. There is no noise from rubbing springs that is apparent in some lower quality springs. On the softest dampening, even the bumps on the freeway aren’t too annoying, but in the mid-range setting you really start to feel them.
I haven’t tried them out on their stiffest setting since I have not taken the car out to a track setting, but even in the mid-range the body roll is greatly reduced through freeway onramps and windy roads.
I've also had a chance to mess around with them on the "skid pad," and the adjustability makes it really easy to get the car to perform the way you want it to.
Driving this car with these coilovers is like night v day. HUGE improvement.
The only downside and WARNING, if you plan on installing these with stock wheels/tires be sure to get spacers for the front wheels. Because the strut tube is significantly shorter the tire rubs on the spring. Luckily the guys at JER were able to fabricate a temporary set for me to get me rolling. But if not for them I would be stuck with a car that wouldn’t roll and no way of getting back to the original parts.
PHOTOS:
The front still sits about the same. The rear settled in and now sits lower. I will post more recent photos.
It was a bit high in the rear, so I removed the collars from the rear spring perch which gave about half an inch. I also drive the car regularly with the dampening at its softest which has allowed the springs to settle.


Comment