
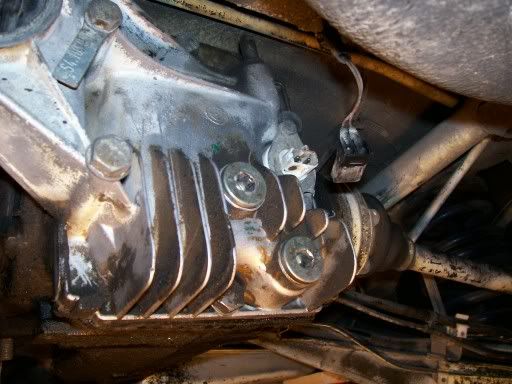
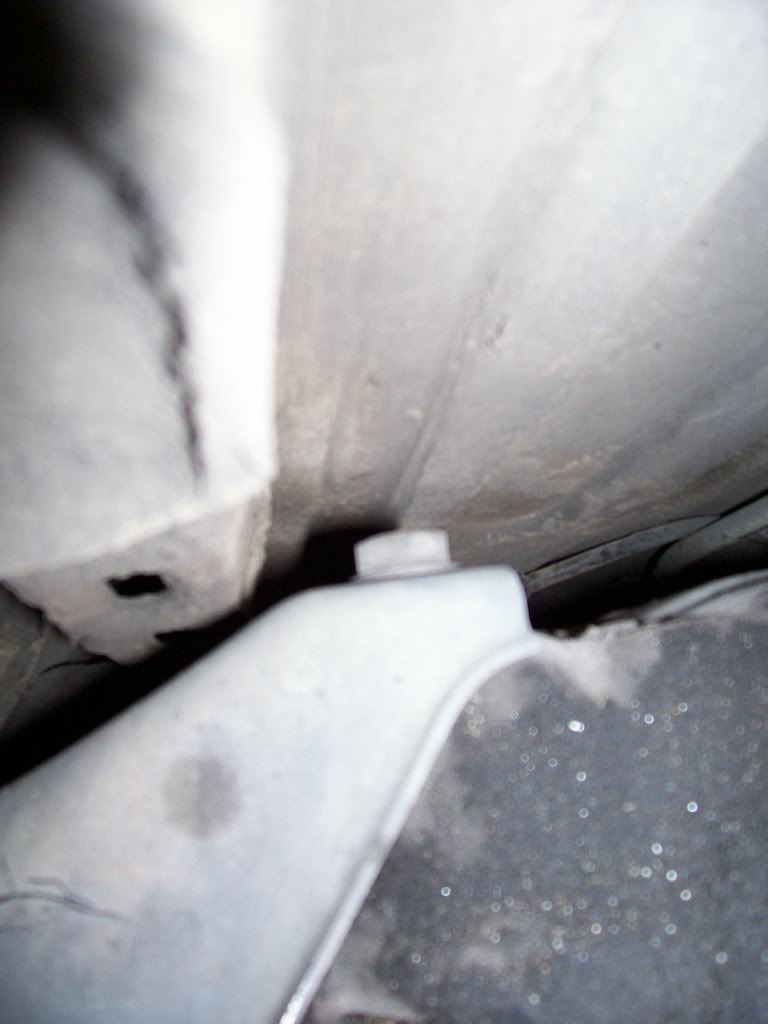
looking down at the diff you see where the four bolts attach to the diff.
First make matching marks on the driveshaft and final drive input flange. (forgot to do)
This is also a great time to flush out fluid.
disconnect sensor
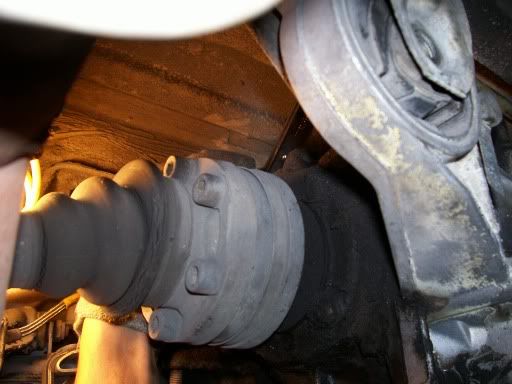
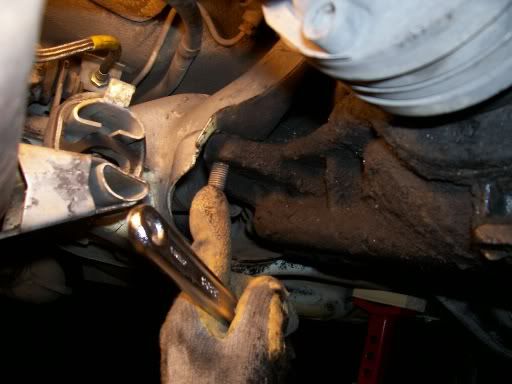
undo nuts that hold the drive shaft to diff. Bitch to do! Use some PB spray and let sit overnight. Rotate the driveshaft and use the ebrake to help hold it in place so you can get all the nuts.
undo bolts on halfshafts to diff. Bitch also, but not as bad as driveshaft nuts since I could get more leverage here.
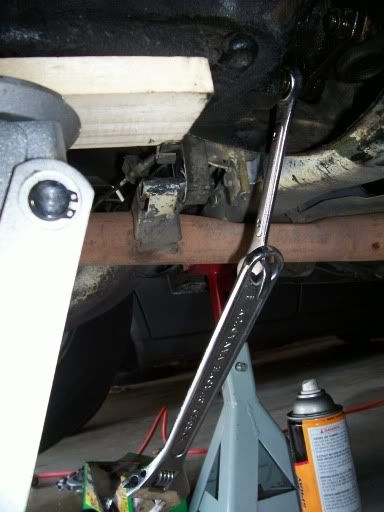
Remove the four bolts that hold the diff to the subframe.
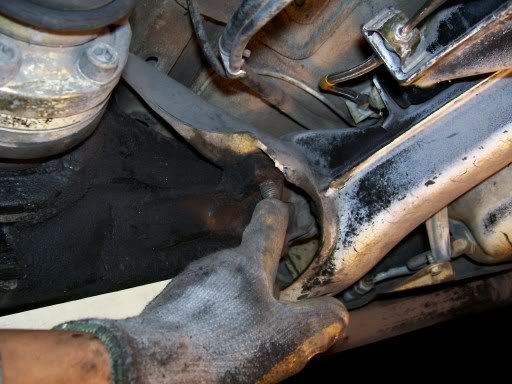
Bitch to reach. Good thing mine were only finger tight!
Undo the nut and bolt for the rubber mounting bushing.

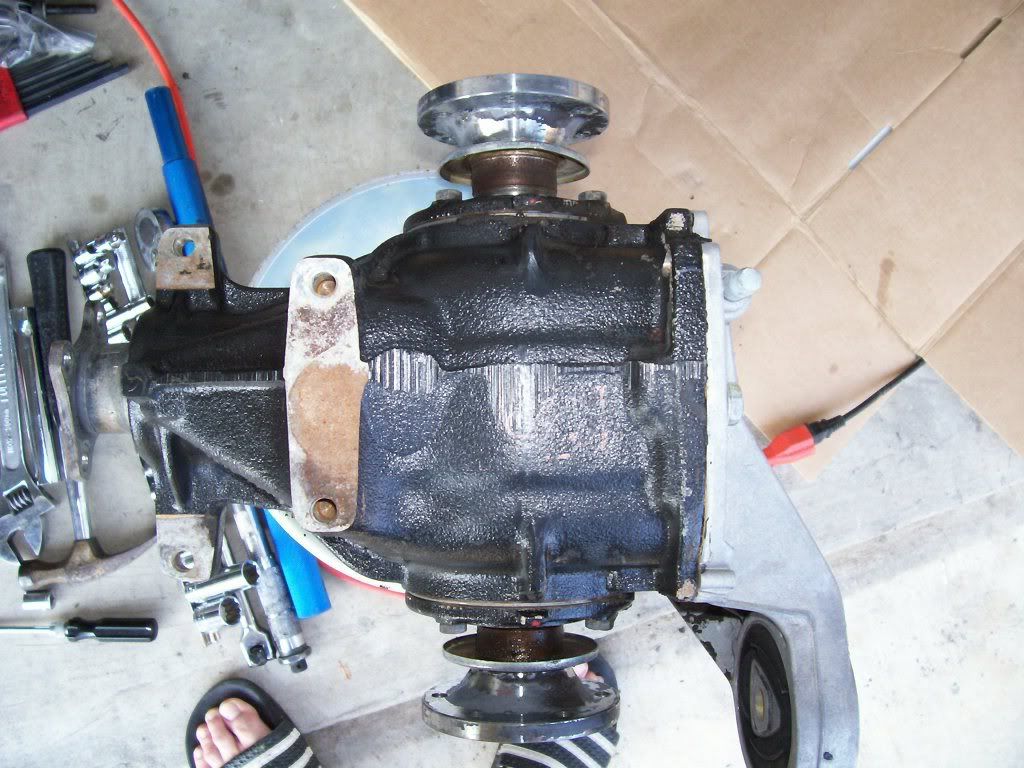
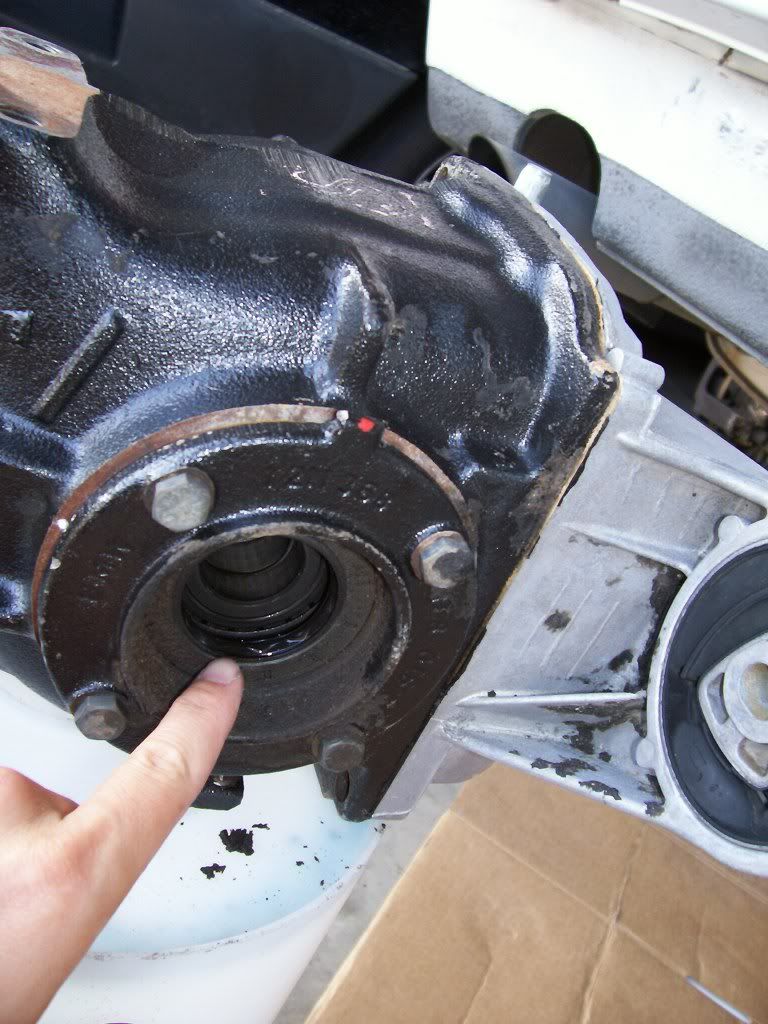
Heres my diff after some serious high pressure cleaning. I already popped the drive flange out with a flat head screwdriver.
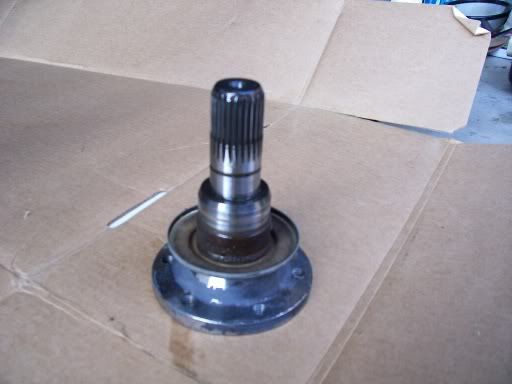
half shaft removed. Pulls straight out by hand.
Snap ring indicated by flathead screwdriver.
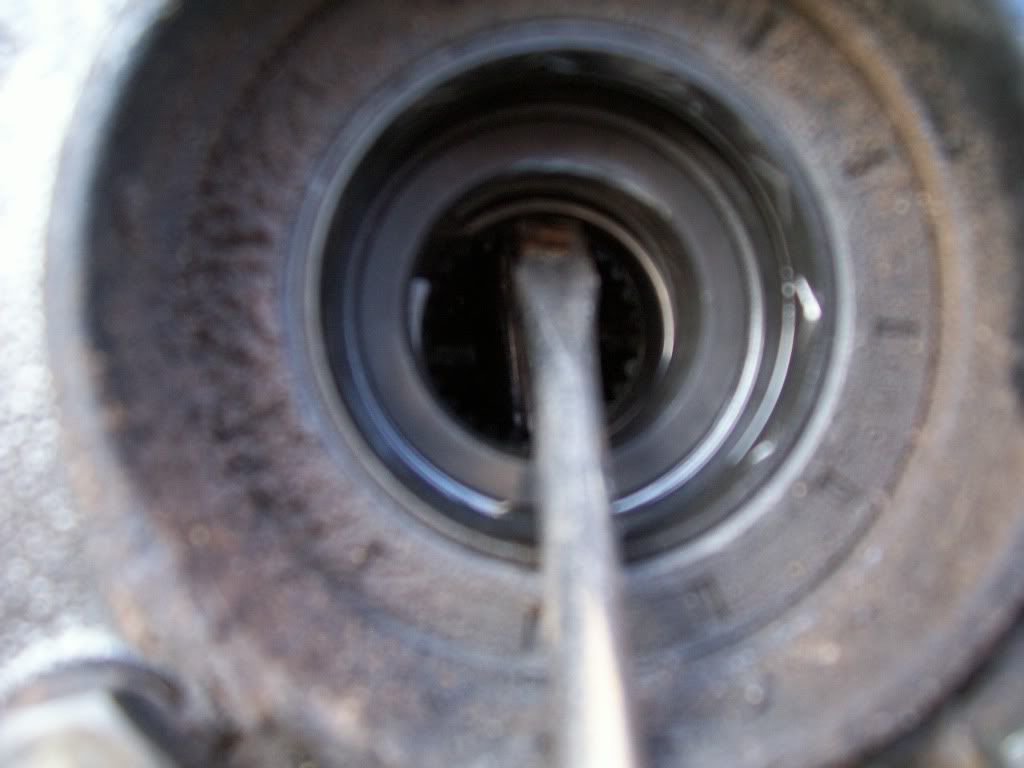
is this the output flange seal? is there a special way of popping this out?
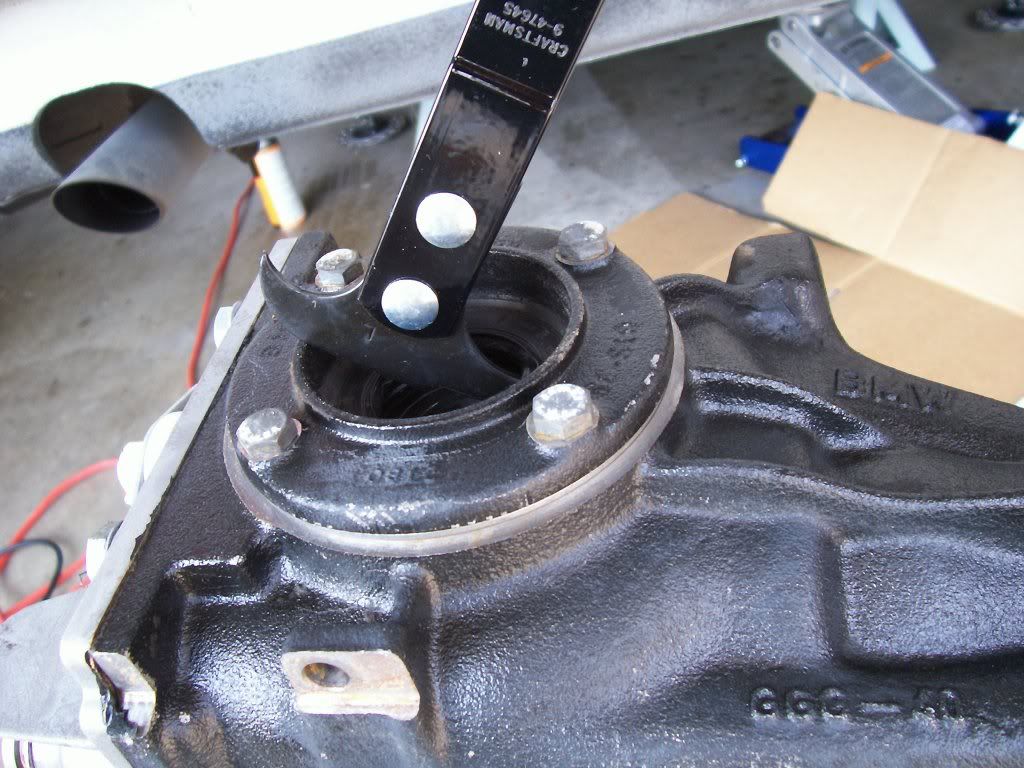
found this tool at sears. With some force they just pop out.
As for putting in the new seals, I used a big socket and tapped it in with a hammer.
Once your ready to put your diff back in, get ready to bitch and curse some more. I had a hell of a time lining the diff back up to the mounting points. Since I had the car on jackstands for 2 weeks, the subframe got a little tweaked. Just enough so that the top mounting points didnt line up. Pissed off, I jacked the car up by the diff, and magically it worked! Reinstalling diff took 6hrs. ](*,)

Comment