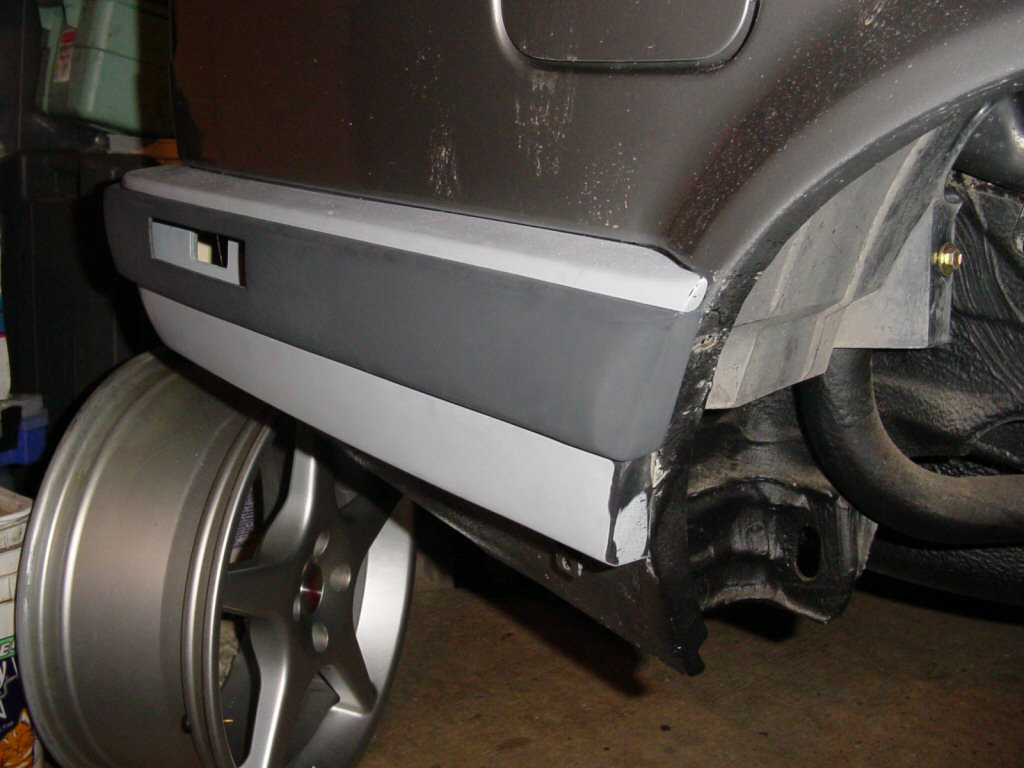
Now that you have trimmed down and fitted the rear
bumper you will no doubt notice that the bumper trim doesn't exactly
fit anymore. There are many ways one could go about trimming it
down, but this is how I did it.
I wanted to preserve
the factory angled cut and whatnot at the fender well end of the trim.
Start by snapping the rear of the side trim in. In the front you will
have several prongs that cannot snap in because of the shortened bumper.
Remove them. Measure back from the end of the trim about 2 inches and
mark a straight line vertically on the trim. Cut the trim on this line.
Set the small portion with the end cap aside for now.
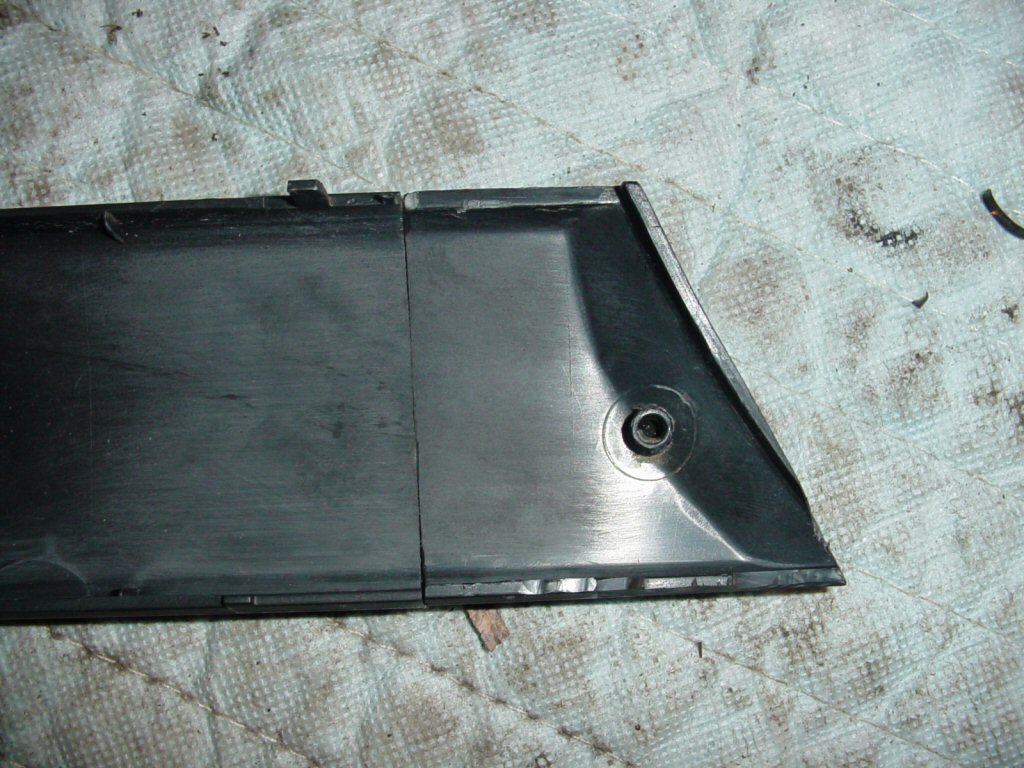
Now
you need to cut down the larger length of the side trim. I ended up
removing about 1/2 inch from it. You will have to remove a bit, then put
the end cap back in place and repeat until it all lines up well.
Once it lines up well carefully line the 2 parts up and glue them in
place. Personally I don't like waiting for glue, so I use a soldering
iron to melt and "weld" the plastic together. Go ahead and put a couple
"tack welds" on the front face to make it strong enough to work on.
After the glue has dried, or the plastic has cooled remove the trim from
the bumper.
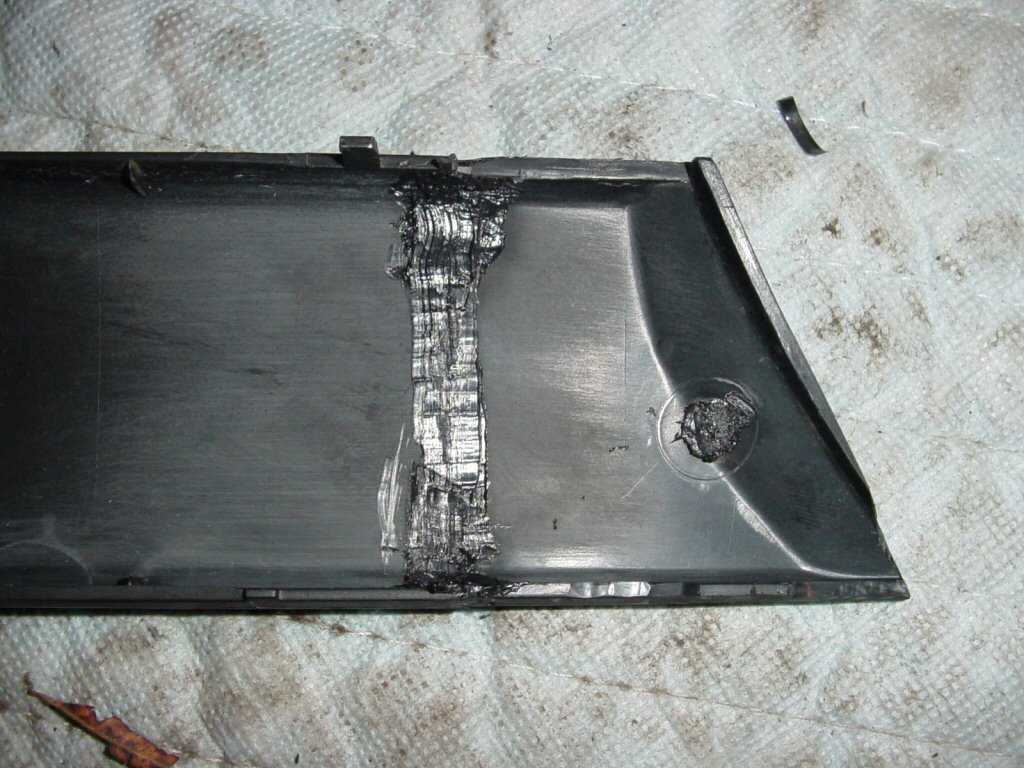
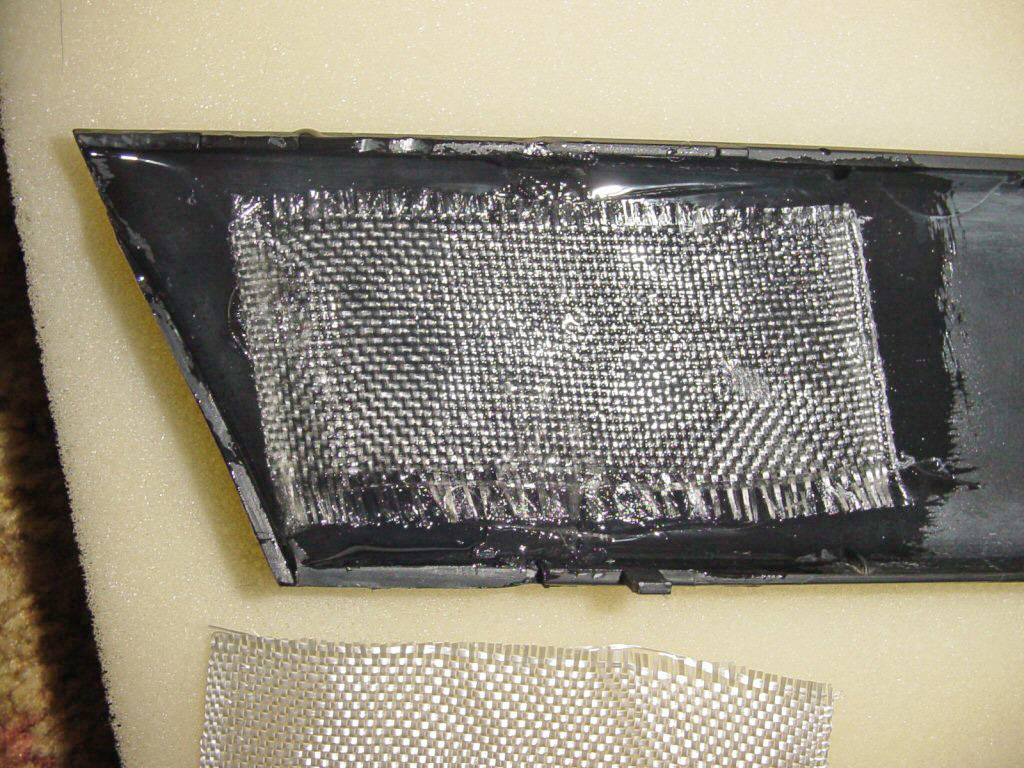
Scuff the back of the trim with 100grit sand
paper, or a 3M scuff pad. Then you can if you want "weld" the entire
back seam with a soldering iron like I did. After it cools mix up some
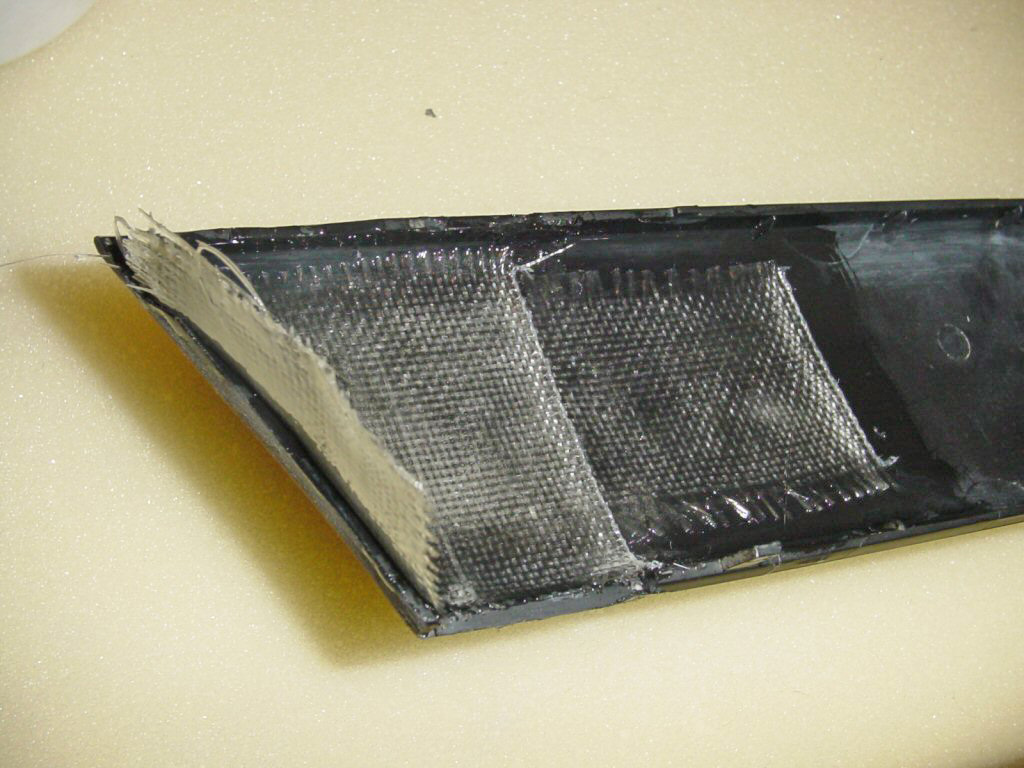
fiberglass resin and lay down 1 layer of fiberglass cloth. Look at my
pictures for size/shape help. This is a good time to build up the end
cap extender, again look at my pictures for this. Make the extender
longer then needed then trim it down once you test fit it on the car.
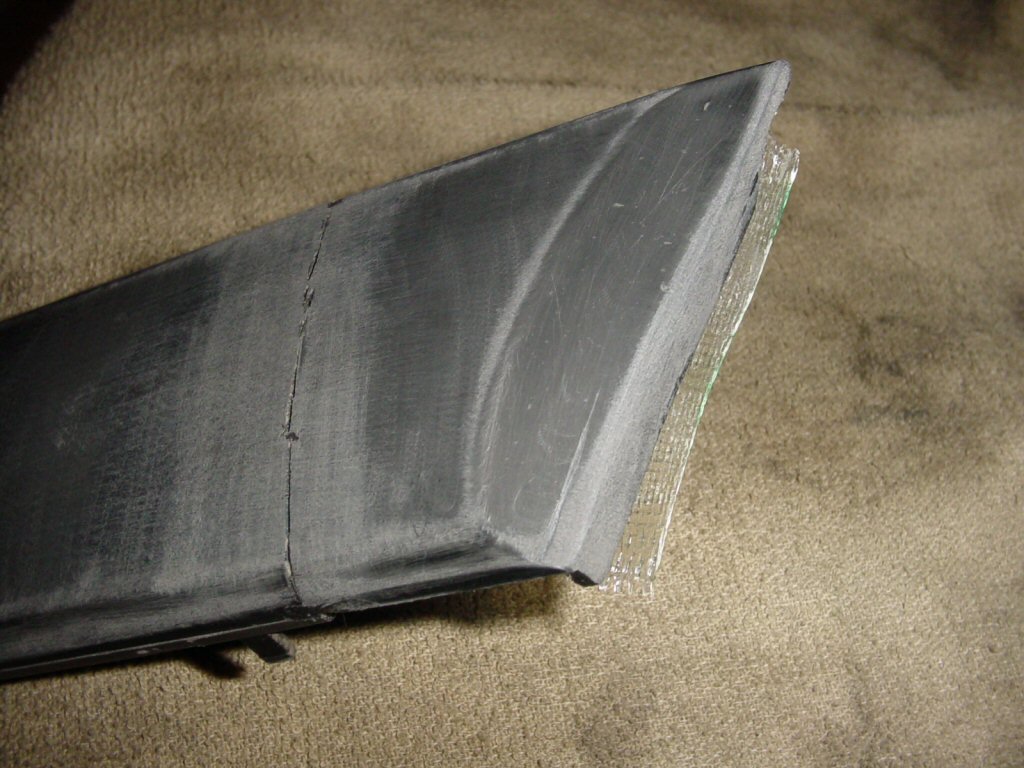
Once everything is test fit and lines up well go ahead and sand down the
front face and the end cap. Mix up some plastic filler and spread it
around on the front seam, any deep scratches, and on the front of the
end cap extender. My pictured example clearly illustrates this step.
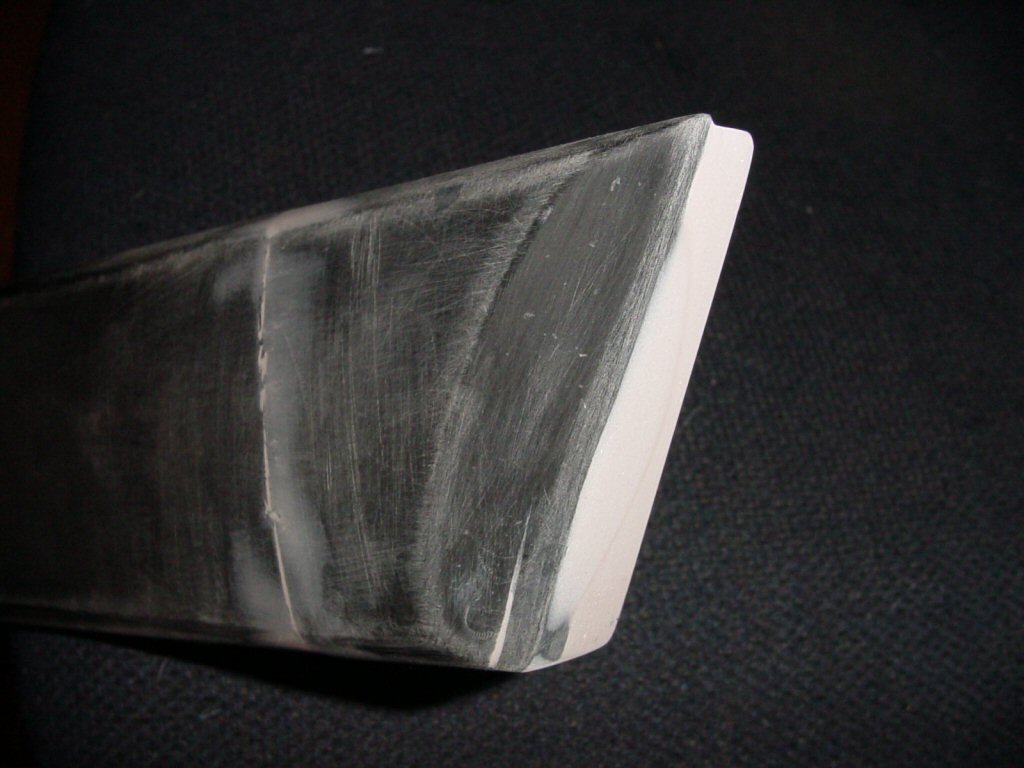
After the plastic filler has had ample time to cure sand it down and
block it out. A second coat may or may not be required depending on how
accurate you are. Minor trimming may also be required on the rear face
of the side trim to make it seat in the channel just right.
Once all the fabrication and bodywork is done go ahead and prime it, wet
sand the whole part, then paint it black. I recommend SEM Trim Paint
39143 BLACK for this.