
Uh. That's ... shiny. And, like all products, 99.999999999999999999999999999999% of how well it works is in the prep work. If you prep the surfaces poorly, it will come off in two days, if you do more work than is reasonable (see my various threads on the subject) you will get many years out of it (as in 10, not one or two).
-
-
The finish shouldn't come out shinny. it should be a satin finish leaning more towards mat - which is the factory color. The reason leather becomes shinny is due to sweat, oils from your skin, dirt and just wear and tear on the leather. I will be doing my seats also but they are indigo and will also do the soap cleaning, solvent cleaning and then shoot to paint. Will let you know how it turns out. Aside from this, anything is better then 20+ years of wear.sigpicComment
-
Thank you, and thanks a lot for hooking me up with a good deal on all the seats!Originally posted by BAVARIAN IRON View Post
I don't smell any ink and I live in FL, hot days are every day...except for today, must be a cold front coming through ha.Originally posted by Nairb View Post
As for the shine, it has definitely settled down a bit, I would say it's maybe a little more than satin, but not by a lot. I can take another pic tomorrow to show how it's been holding up in the sun/heat though people rarely sit back there...
Also I agree about the prep, don't think you can skimp on it. I actually got some dye on my WHITE tolex cabinet shown in the 1st post picture and it peeled right off. I haven't cleaned the cab in a loooong time so any surface grime, oil, or anything didn't let the stuff stick at all.
As for the front seats, I still plan on doing them but the FL heat(BAVARIAN IRON knows what I'm talking about ha!) has really made me not want to start again with the process. Now that it's cooling down a bit I'm going to get right back into it but I have some suspension work that needs my attention as well.
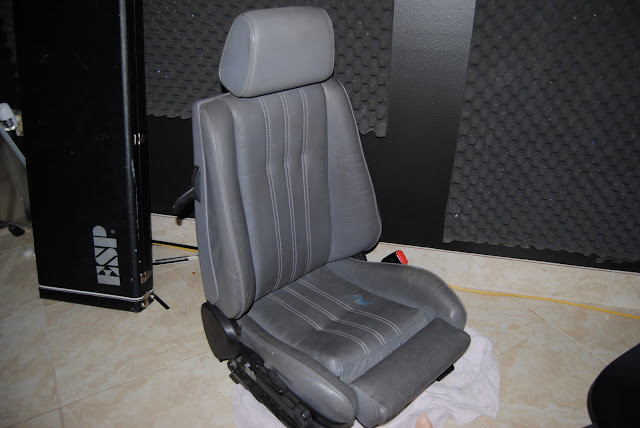
Here are some pics of the front passenger seat that will be done. Doesn't look too bad already, but with the close ups you can see some flaws.


Comment
-
Originally posted by Ceeker View Post
Post some before/after pics! And yes, for the money in product it really makes sense to do this project. I did it since these seats were going to be temp ones, I wasn't worried about screwing something up, but after seeing the results, I'll keep these seats and spend the $ on other important stuff.Comment
-
You *really* want to disassemble the seat before shooting. Also, that front pass seat (which doesn't seem to match the detail photos?) needs a LOT more cleaning and treating before shooting. Been there, done that... five times? Six?Comment
-
The photos of the pass seat are of all the same seat I assure you. Also, these are the before pictures, nothing has been done to them.Originally posted by nmlss2006 View Post
After re-reading my post I can see how you thought I had done something to them. What I meant by "here's how they look already" was "here's how I purchased it".Comment
-
Update!Comment
-
-
Hey guys sorry about the lack of updates.. I've been pretty busy lately and dont want to start on the seat unless I know I can complete the seat and not have it sit in a corner half done ha.
I plan on also doing two mtech 1 steering wheels, one I'm keeping and one I'll be selling. Maybe tonight I can get started on that and post up some pics. I'll be using a decent amount of crack filler on one of them which should be fun :DComment
-
I'm doing the seats on my vert in few days, I'd love to see how it comes outComment
-
I have a seat cover I want to do a color change from tan to black, any suggestions on which kit is best?
Any updates, pics??Rich!Comment
-
the leatherique seems to be popular kit as they have the crack filler component. I personally have never used it. but I hear it's between 200-300 for a complete one.
I have used "sem" and Surecoat as the dye for my seats which cost me considerably less but I rest assure you'll probably use up the pint which ran me about 70-80. It will give your seats about 2-3 coats. it really is all in the prep.sigpicComment
-
You want to color change your seat cover (fabric)?Originally posted by ///schwartzman View Post
All in all the updates are as follows:
-bought houndstooth seats in good condition
-abandoned re-dye of my gray seats
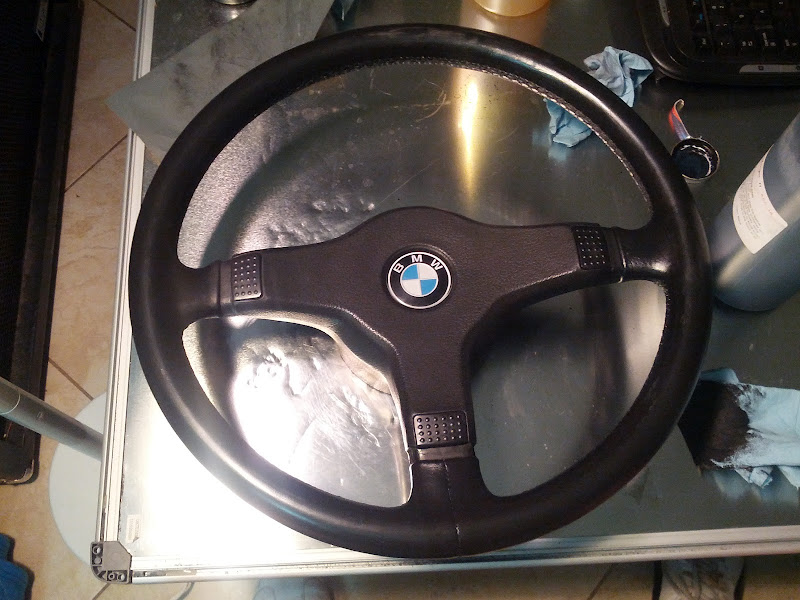
-re-dyed a decently OK M-tech 1 wheel, came out GREAT!
-currently working on a not so good M-tech 1 wheel and so far so good
-I apologize for slacking so much updating things here
I'll post some pictures tonight of my steering wheel, I just sanded down the crack filler yesterday. It's really the same thing as filling a crack in fiberglass with bondo or something like that. In the pic you'll be able to see the parts that were filled.
All in all the leatherique kit worked great for me, the pristine clean really does work and it's nice knowing you're using a product specifically for leather rather than just guessing.Comment
-
Here's the wheel with a rough first sand down. In these pics you can really see where the filler went. Just imagine what the wheel was like without it! There is a lot of excess which will be sanded off in case anyone was wondering why there is so much there.


Comment
-
Finally done!
Cleaned up the horn buttons:

Half way done dyeing:
Finished product!

Comment

Comment