
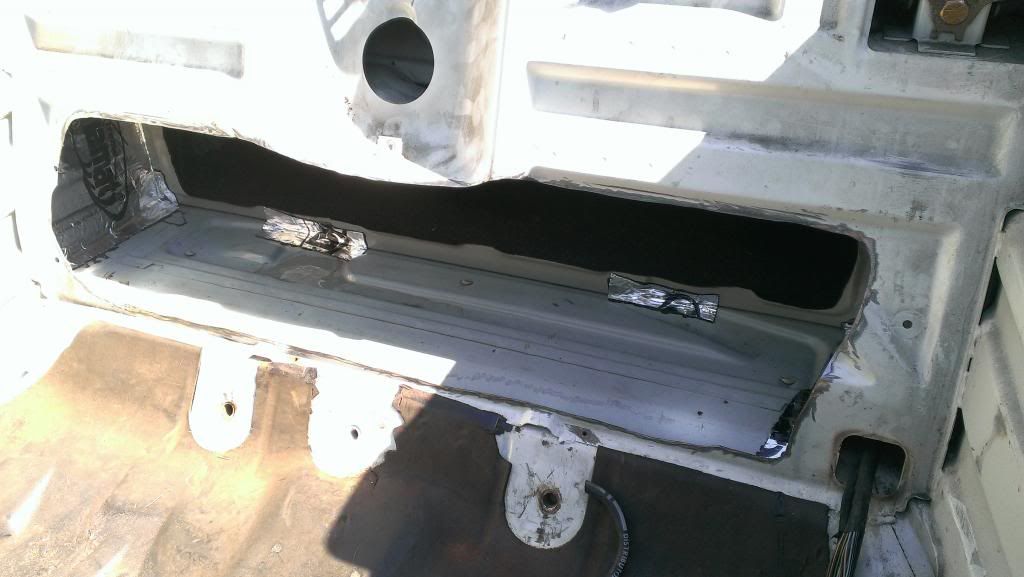
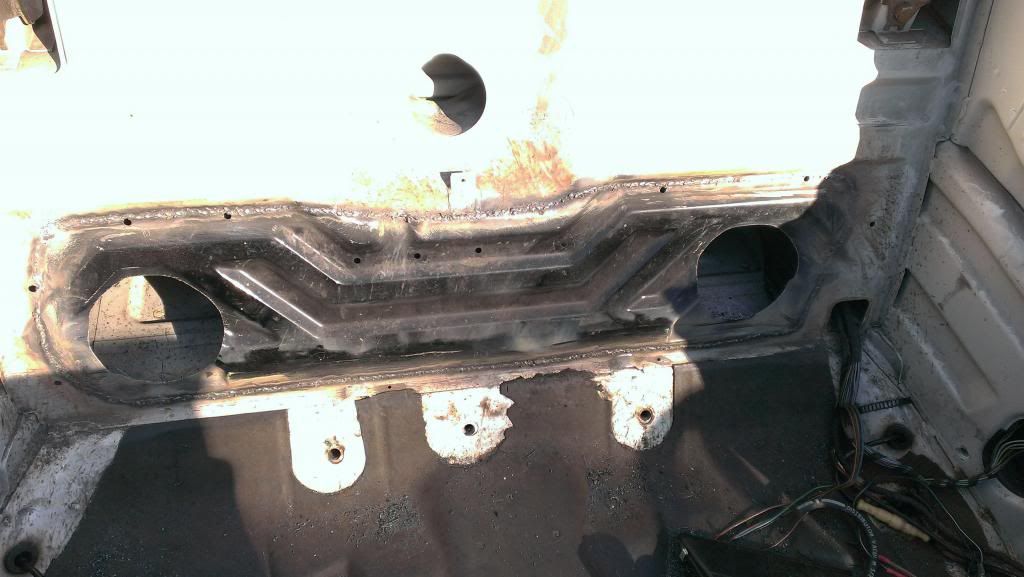
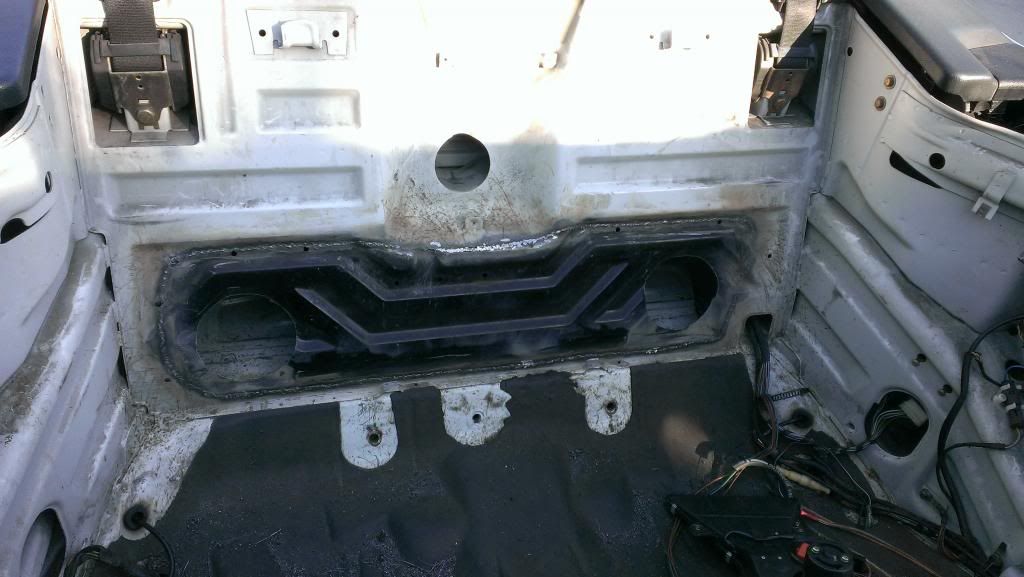
Have you taken off the board yet?
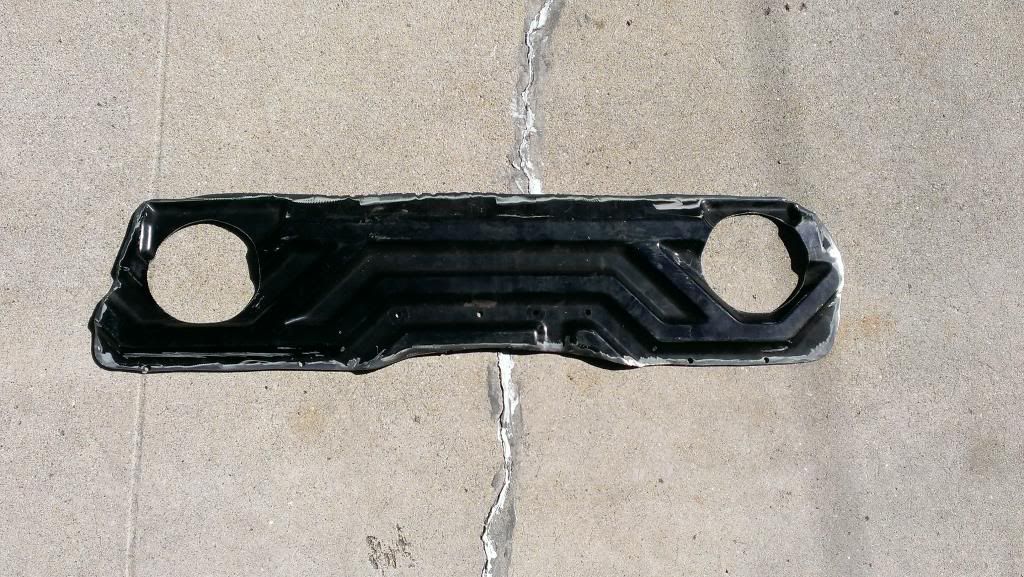
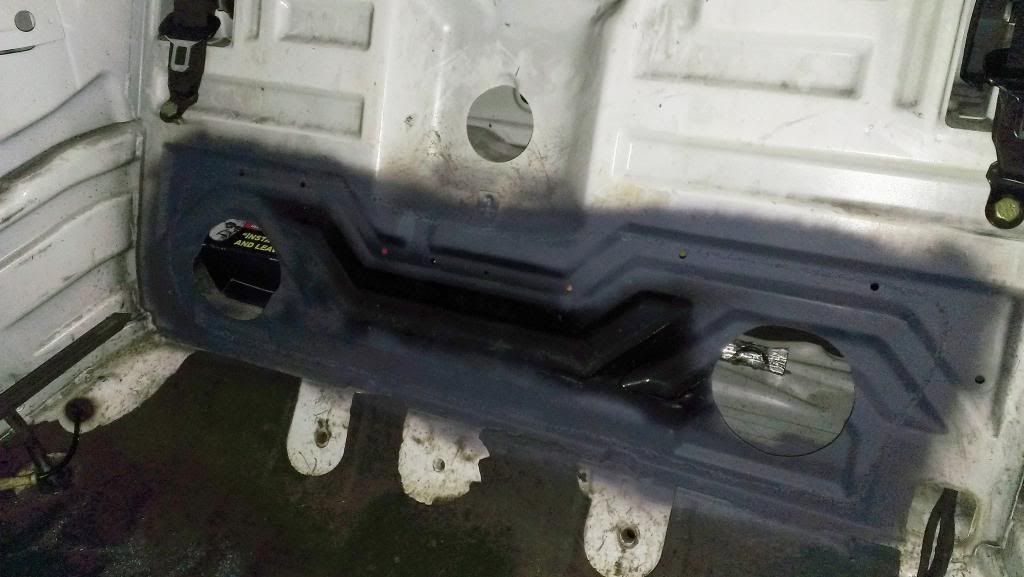
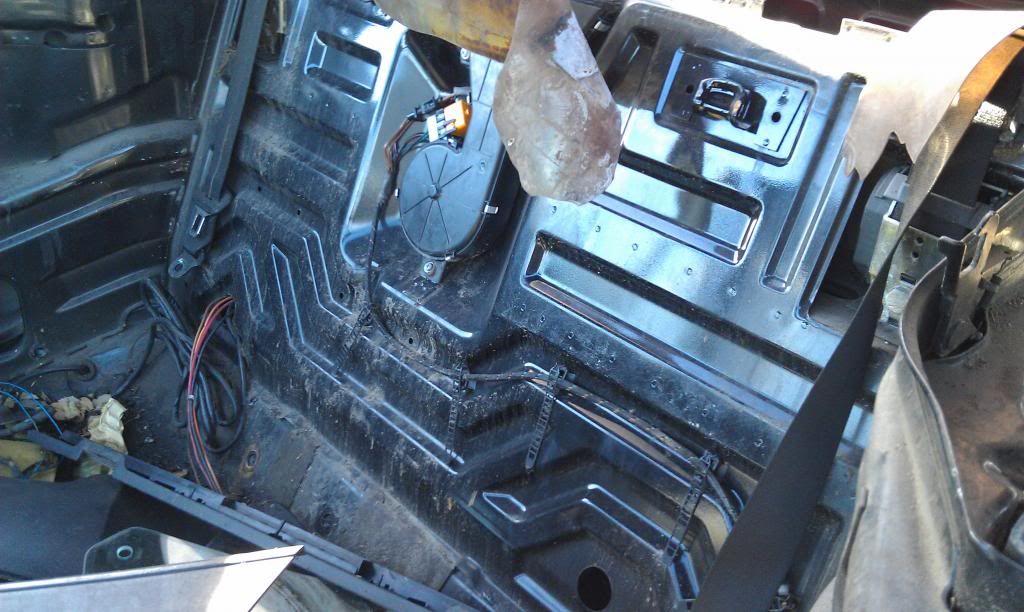
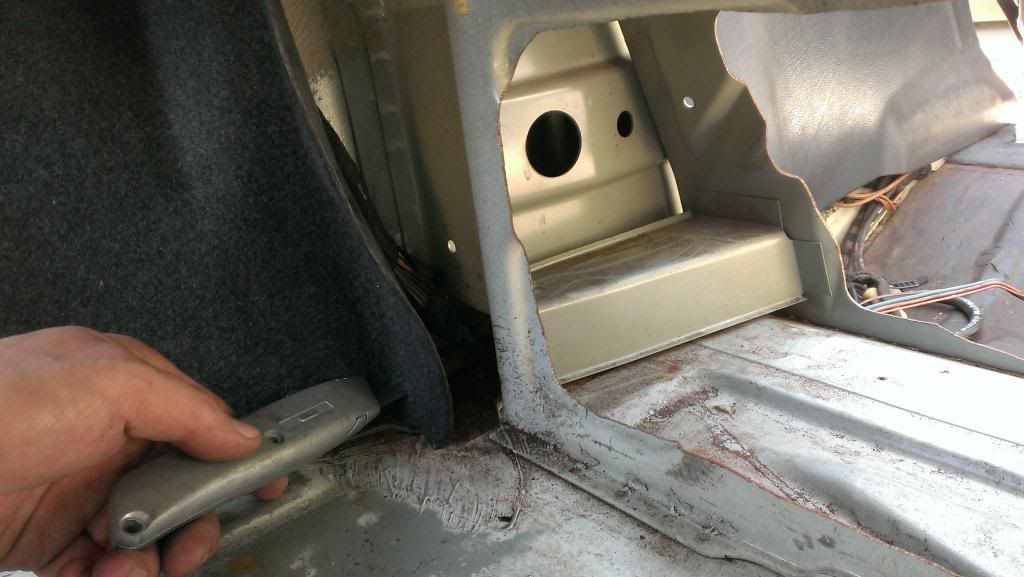
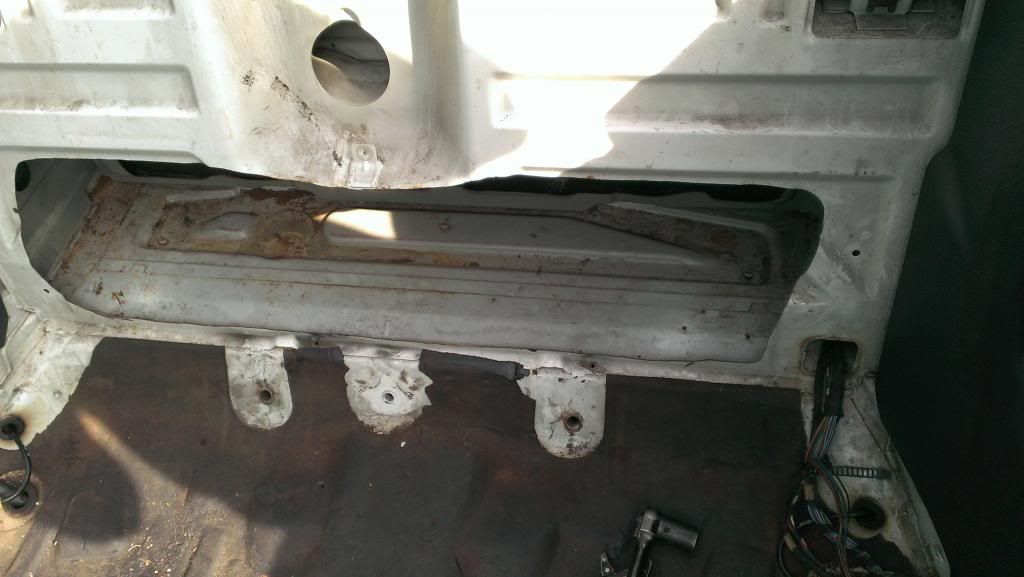
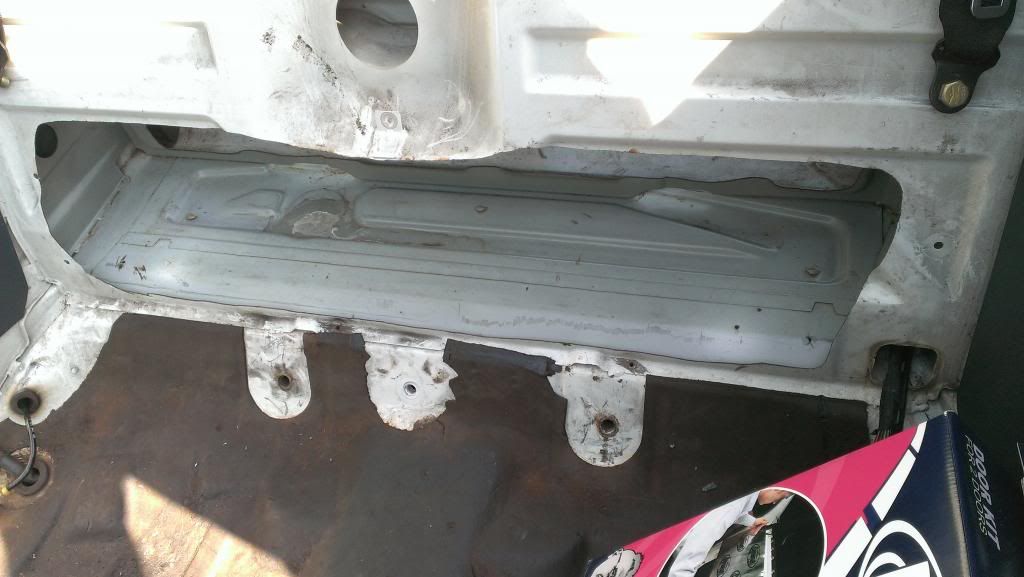
There were tons of drywall screws used to hold the board in place and the subwoofer surrounds had worn away from rubbing against the back seat (where he also removed copious amounts of seat foam). But it must have worked, as the owner kept asking me if, "...I had a chance to listen to that killer sound system yet?". Since it was pretty much fubar'd from when I bought it, I thought they were kidding me....


Leave a comment: