

Big Update!
As per usual, a series of unfortunate events lit the fire under my ass to tackle a project I've been shuffling my feet on. Fortunately, I was about as prepared as I could have been to get the ol'girl right again.
I'll get to that. But first, some more dumpy pics of my dumpy car ;)
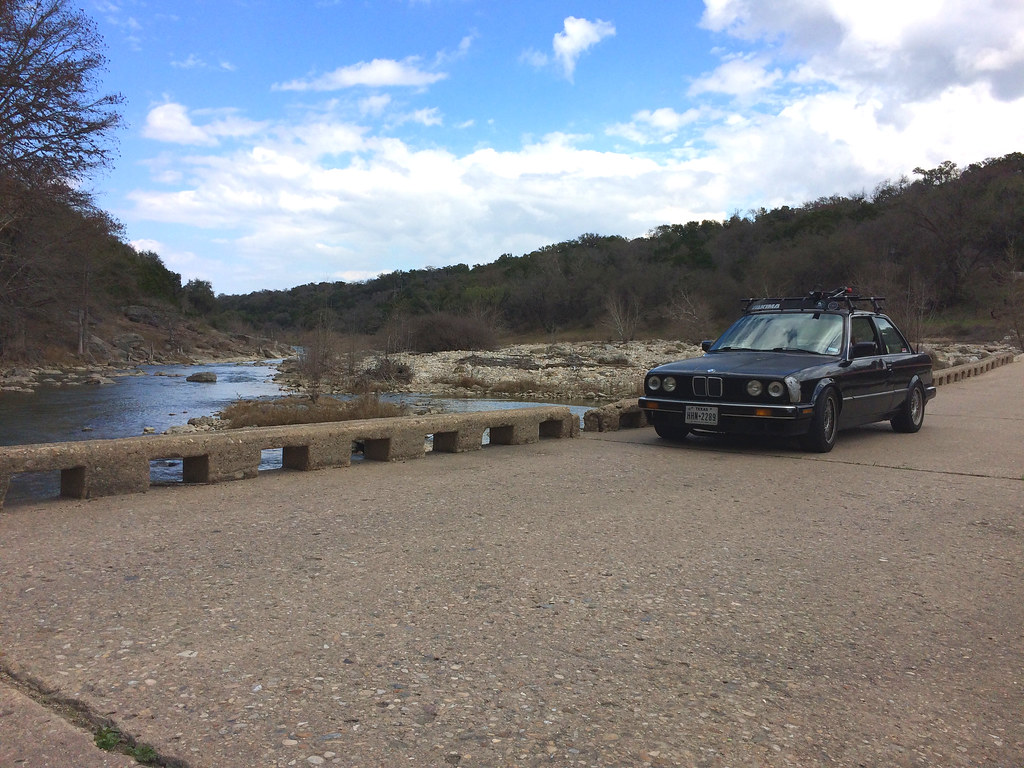
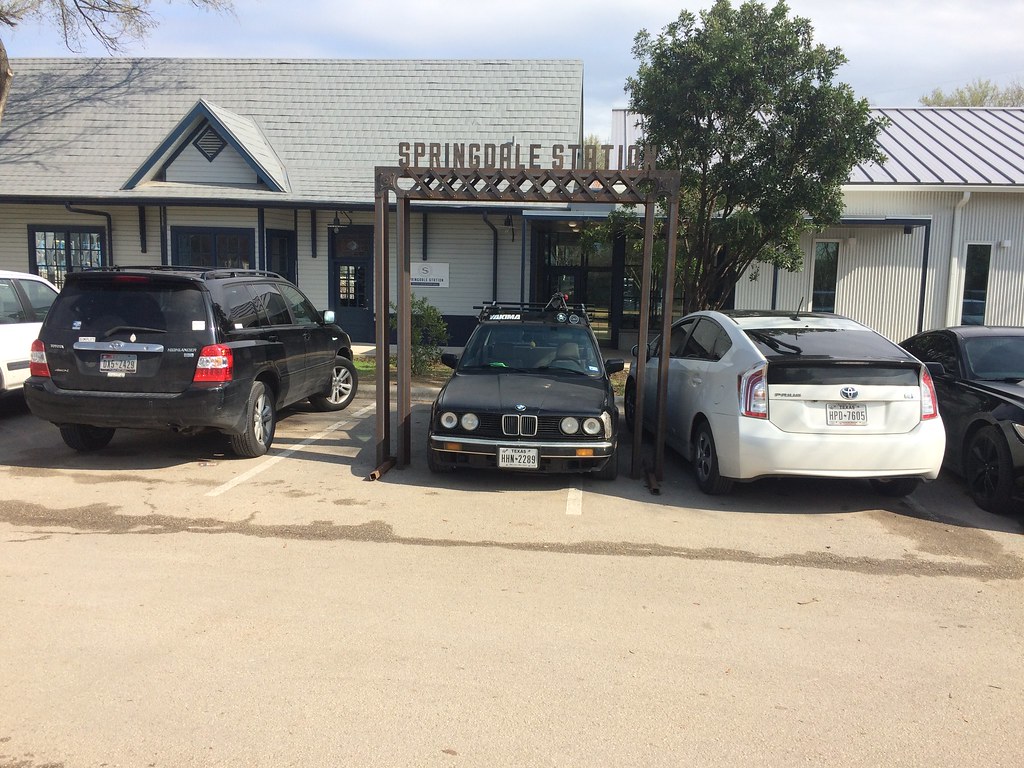
Sister came to visit so we went buzzin' around hill country:
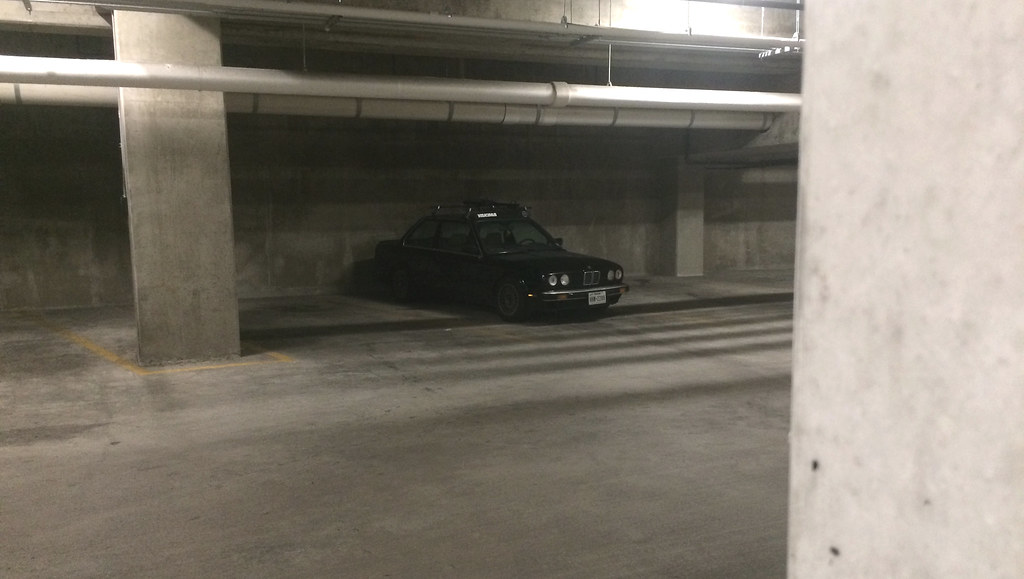
Lurking in the shadows:
My posts have been lacking in roof rack pics lately, so here is an old one to get it back on track:

Okay, back to a healthy dose of wrenching.
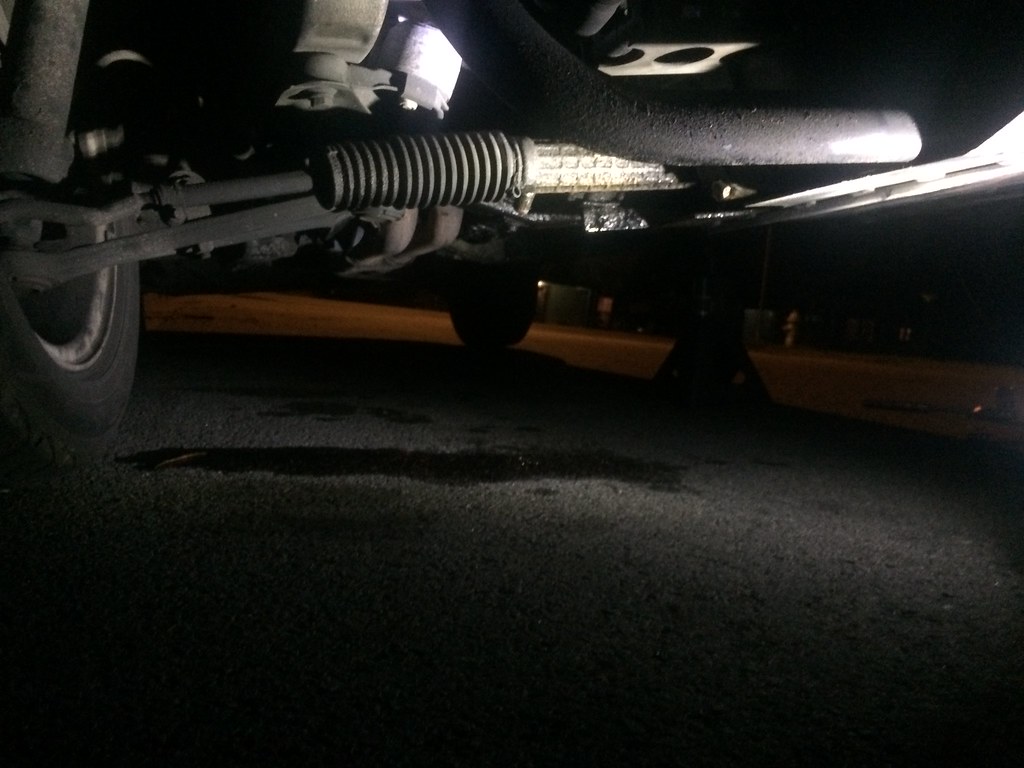
Heading home the other week, I noticed some wretched screeching coming from my power steering. Only being a mile or so away from the house, I decided to limp her home and inspect what was going on. I popped the power steering reservoir and sure enough - bone dry.
After jacking the car up it was apparent the rack itself had sprung a major leak directly under the oil pan. With the car running, ATF would completely gush from what I believe was a blown seal.
This annoyingly soaked the undercarriage in ATF, but I also saw it as the death sentence for my stock rack.
For nearly the past four months I've had a Z3 steering rack, extra front subframe, and ground control camber plates stuffed under my bed ready to get swapped in. So I used my rack leak as the motivator to get everything knocked out.
I gave a coworker a ring to explain the situation, and he begrudgingly obliged to drive me to work for the week ;)
With everything set in motion and extra parts ordered, it was time to get it knocked out.
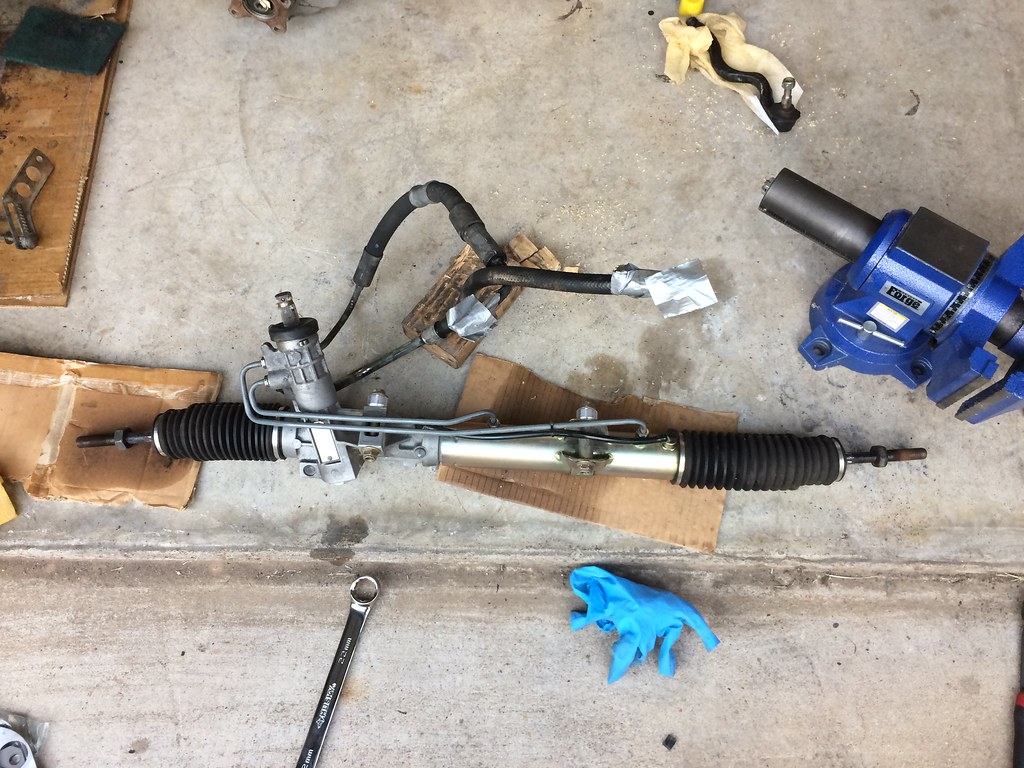
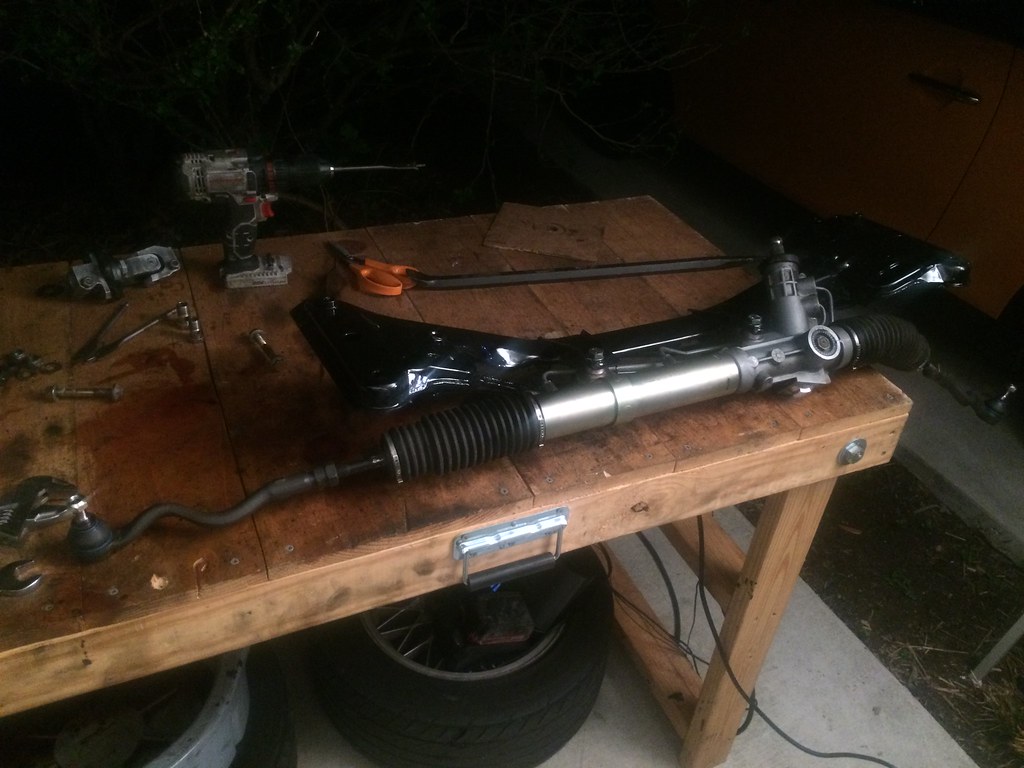
Steering Rack Prep:
Since the rack spent a few years in the junkyard, I cleaned it up and drained the old power steering fluid.
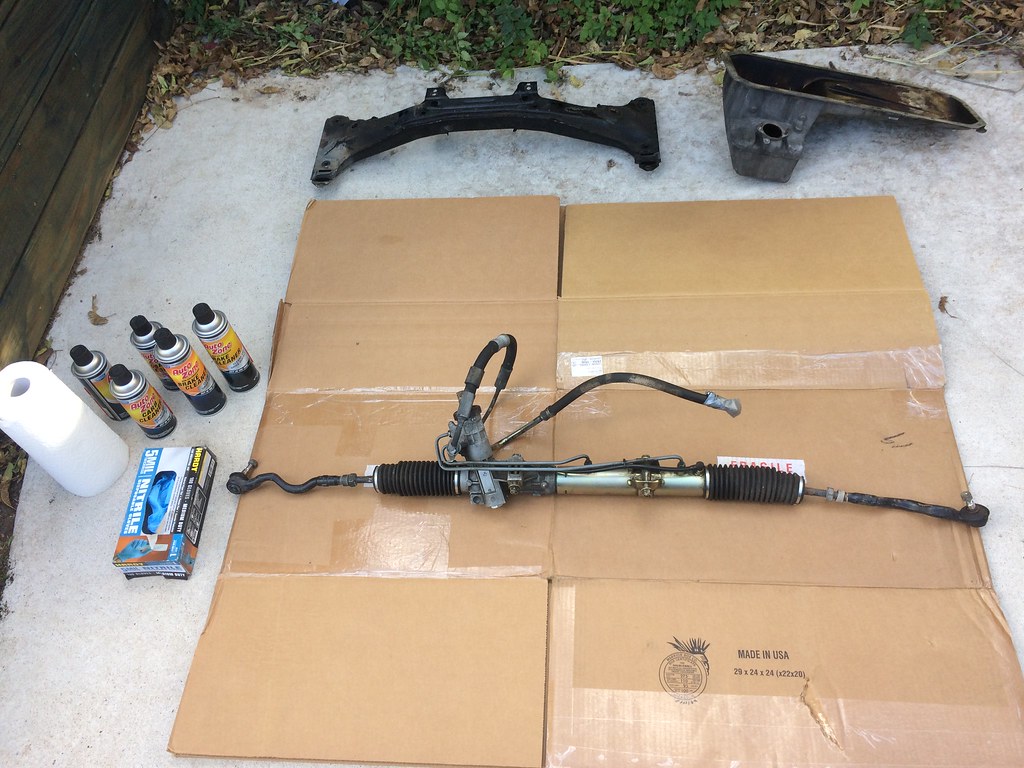
The tie rods were also shot, so I opted to replace them and save a buck by reusing the old inner tie-rods. Although, I had to pull out just about every trick in the book to get the old outers off.
A vice, PB Blaster, and some heat ended up doing the trick.
PB Blaster and heat!

Smack it!
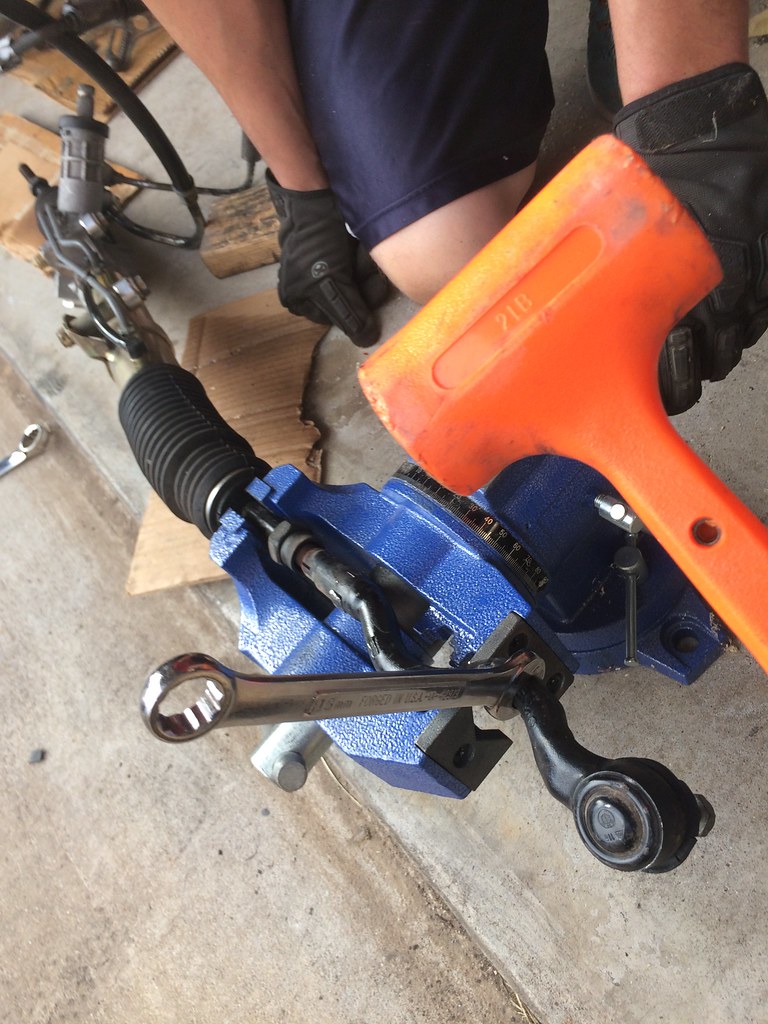
Freedom!
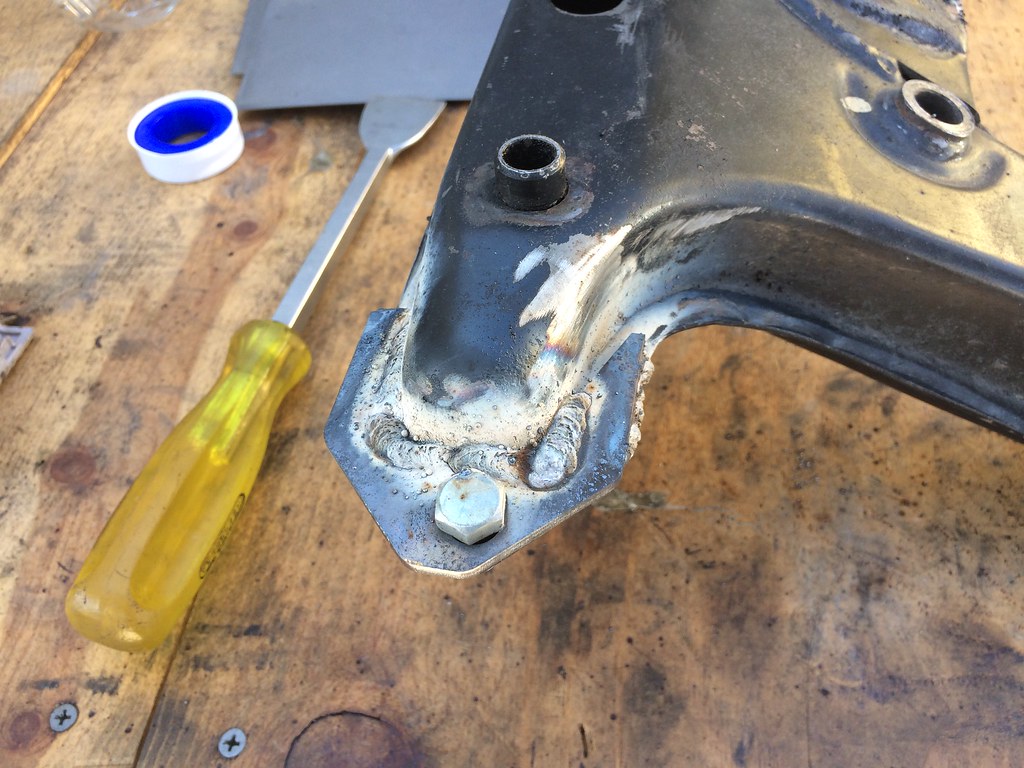
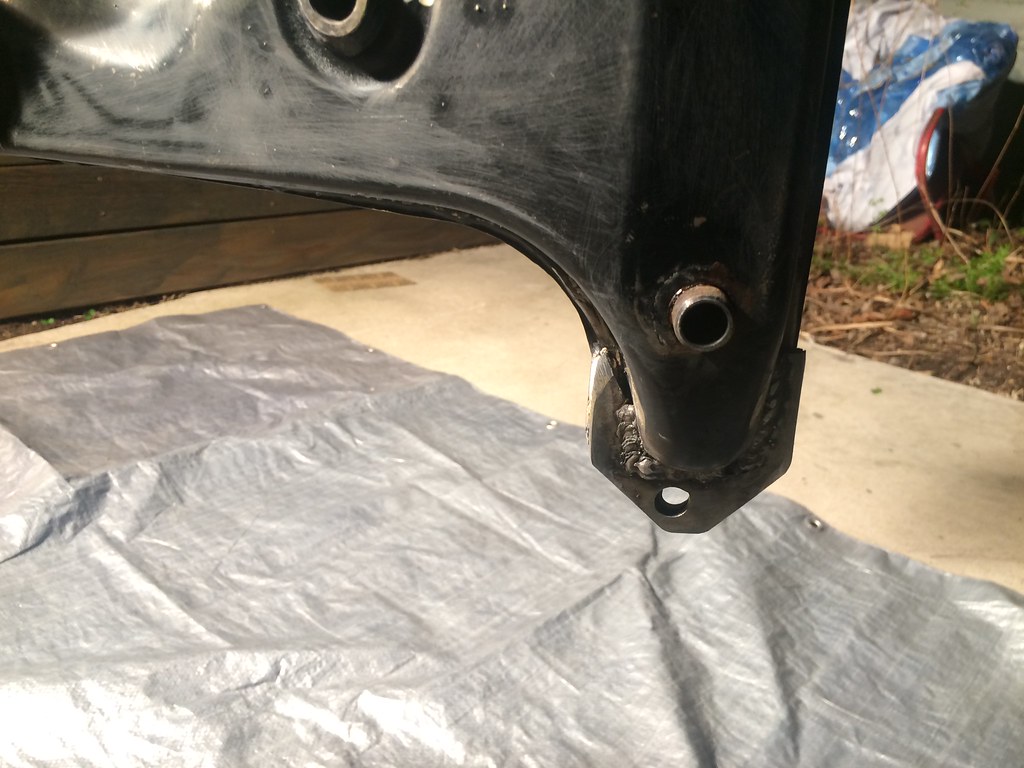
Front Subframe Reinforcement / Prep:
Front sway bar mounts reinforced, not the prettiest, but it'll get the job done :up:
Reinforced engine mounts and subframe partially boxed in. After this was initially welded, Kid8 and I used a torch and hammer to bend the rest of tab flush to box the rest in.
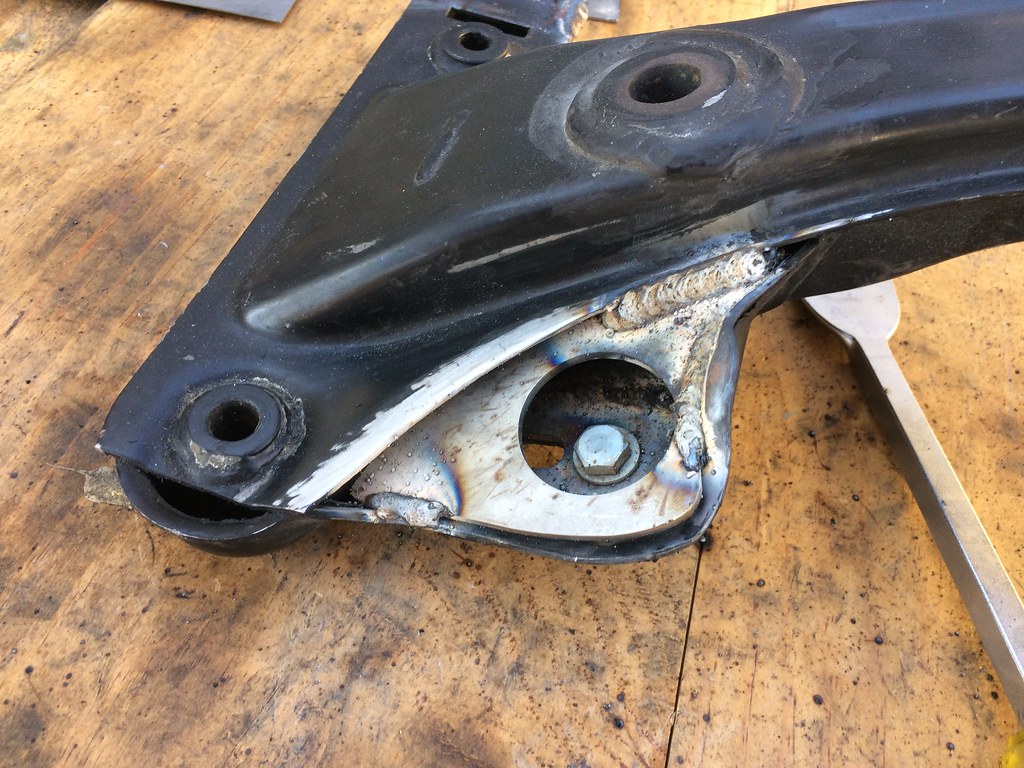
Fully boxed in:
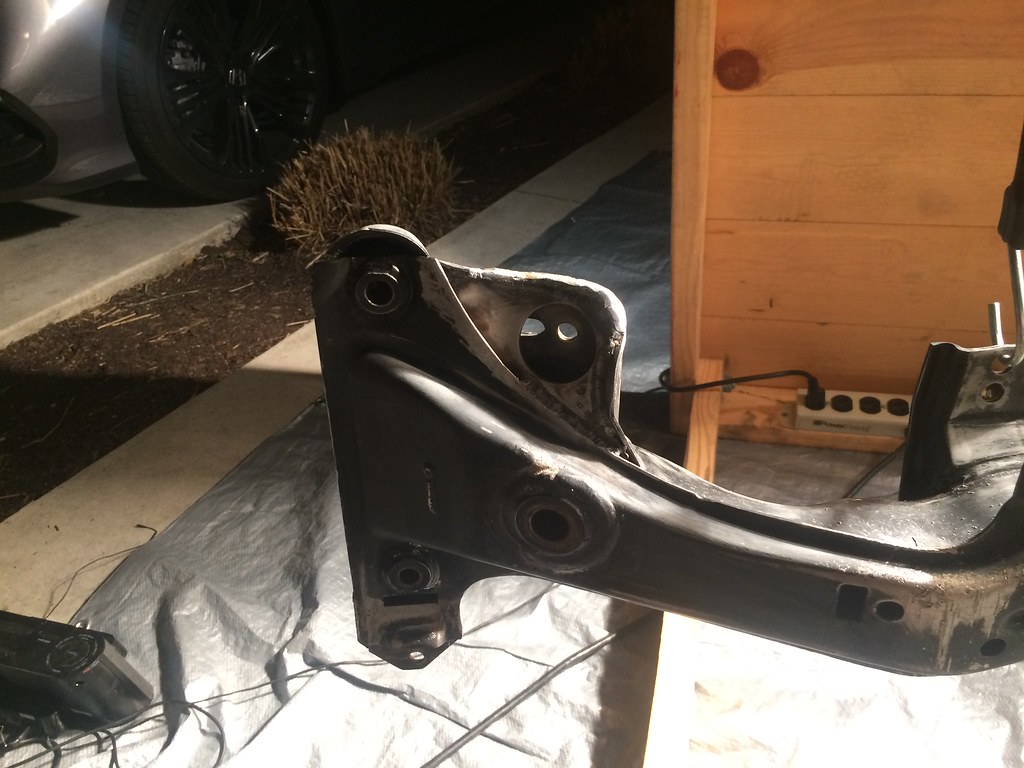
Sway bar mounts after a little clean up:
Painting jig:

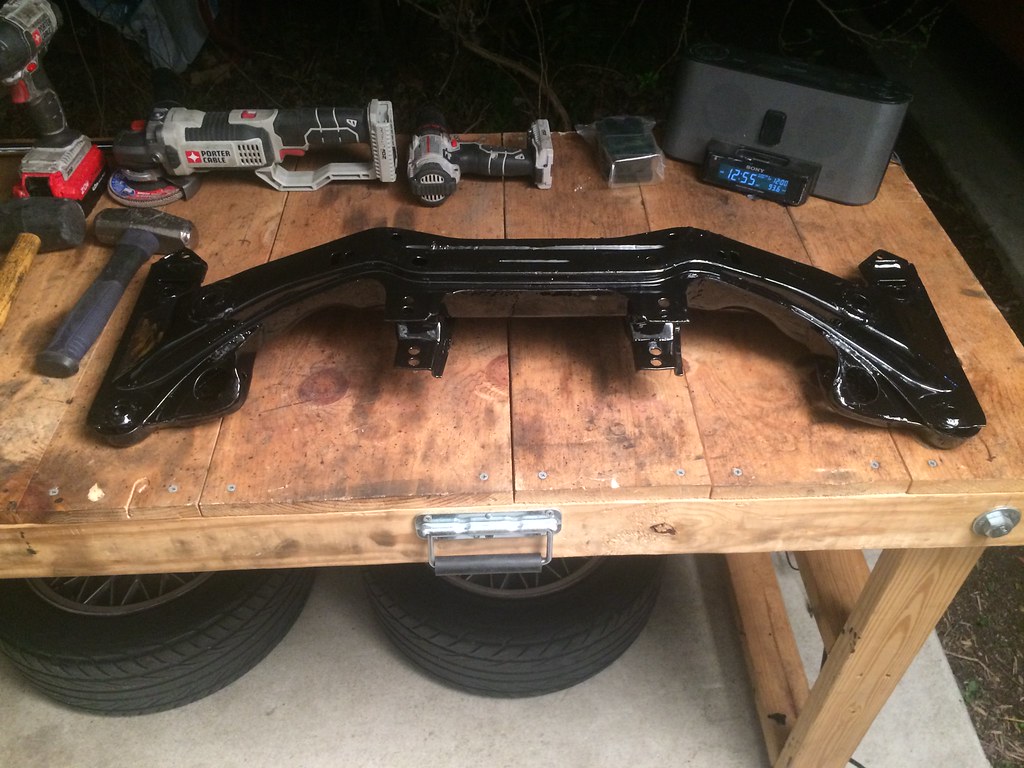
Painted up with POR15:
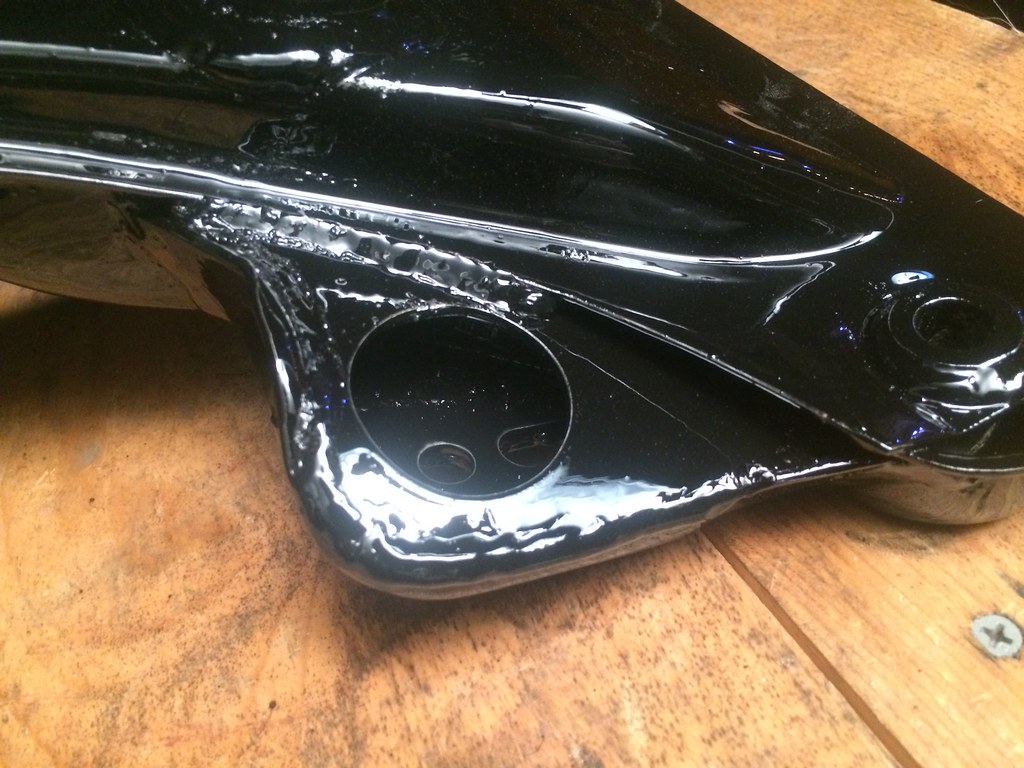
Finished! The subframe looks good from afar, but a couple bugs of course got stuck in the paint while it dried over night and it has quite a few runs. I've come to realize POR15 needs to be applied in very thin coats.
Steering Rack / Reinforced Subframe / Camber Plate Install:
Back to this leaky mess

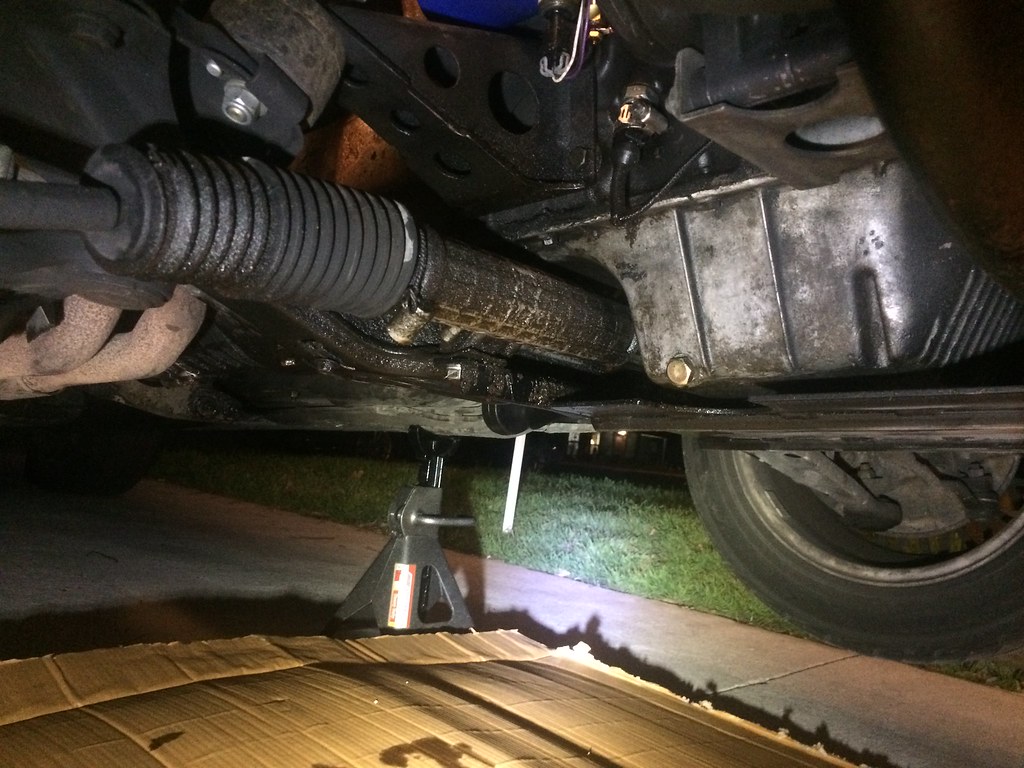
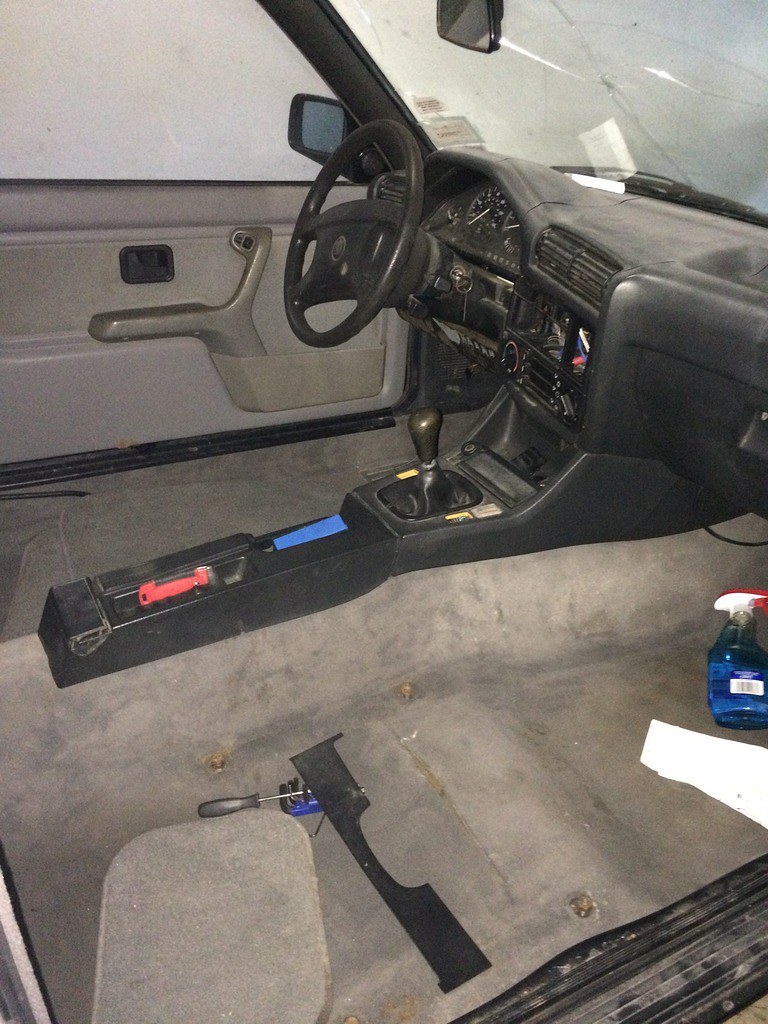
To get started I removed the skid plate, which is just two bolts for the hoop bar and the two steering rack bolts:
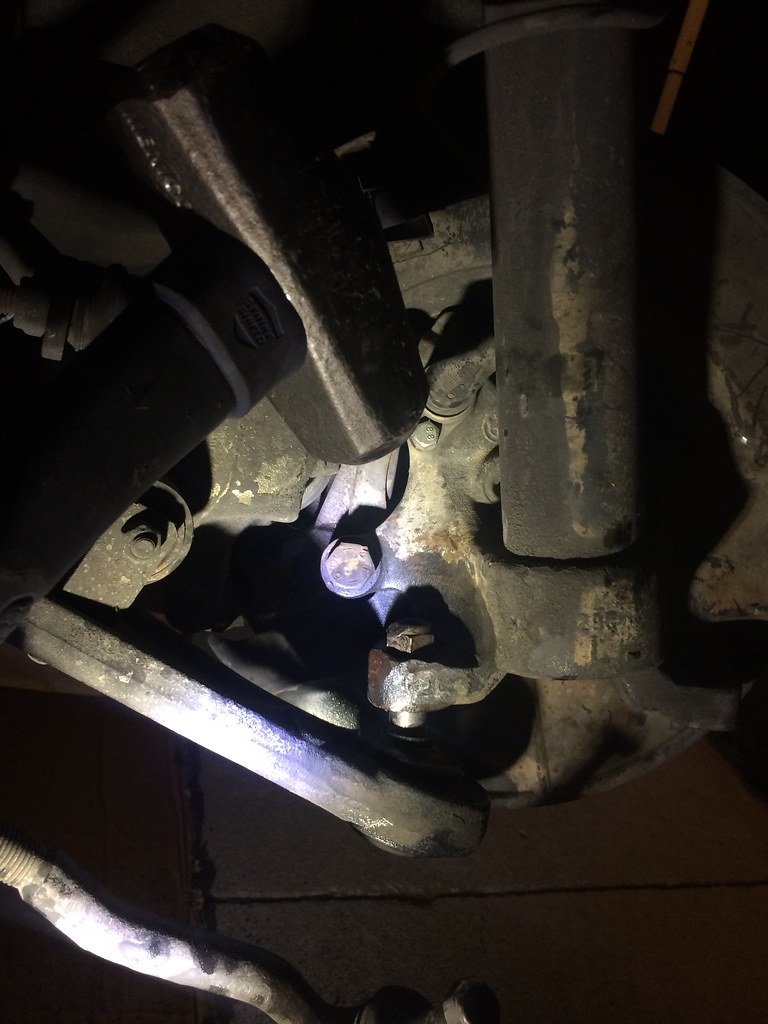
Then I removed the control arms, tie rods, etc. using the sacrificial nut technique:
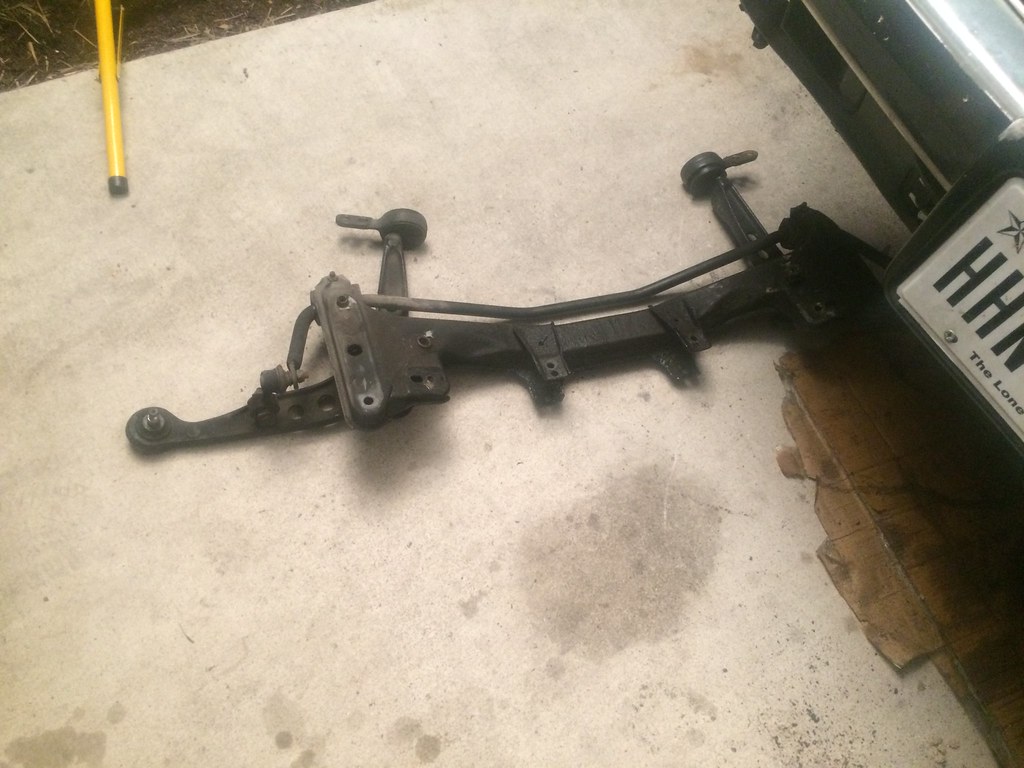
Subframe and steering rack (not pictured) removed:
GC camber plates installed.
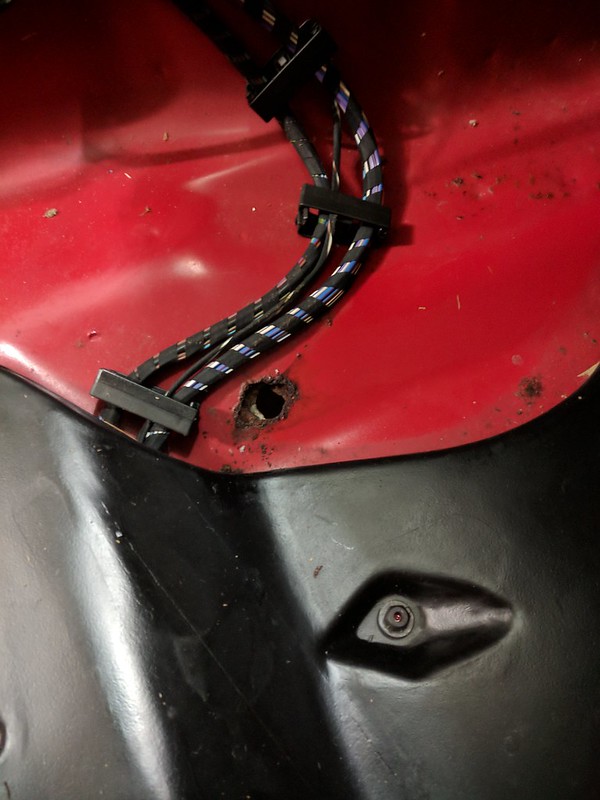
It's the same process as installing top hats, but realize that top strut nut is the only thing holding the strut assembly in. I mistakenly thought the three nuts holding the strut mounts also held the assembly inside the shock tower... wrong. I accidentally put stress on the brake lines because of this.
Might have to replace those for peace of mind
 Edit: Replaced them with new braided lines just to be safe.
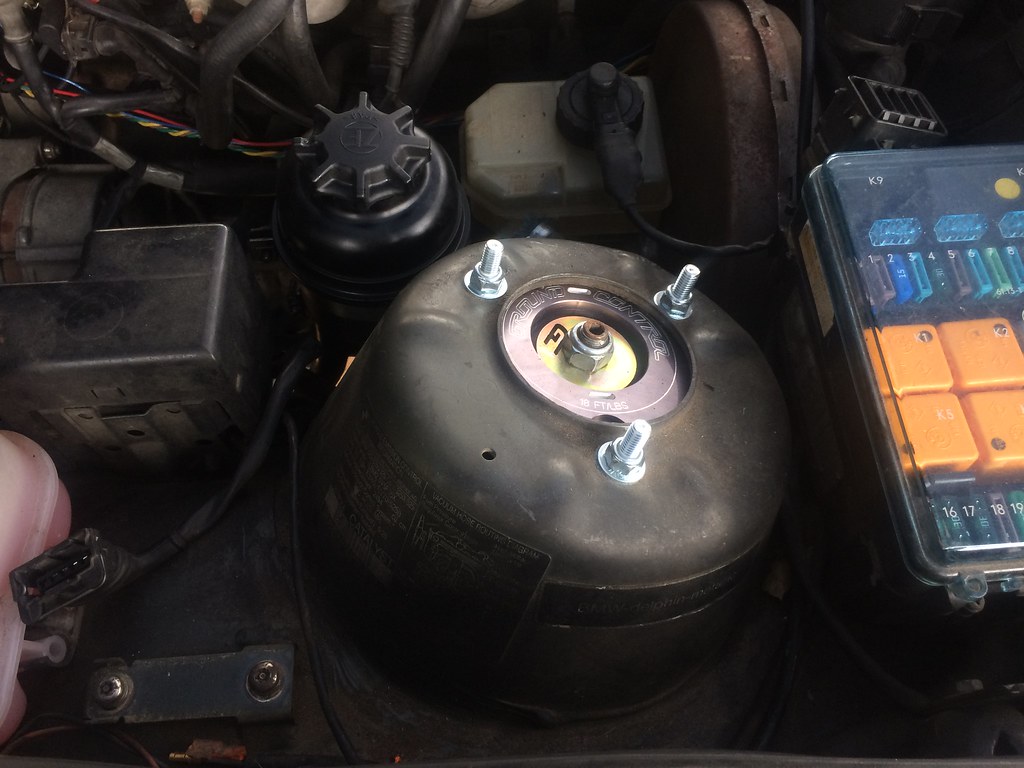
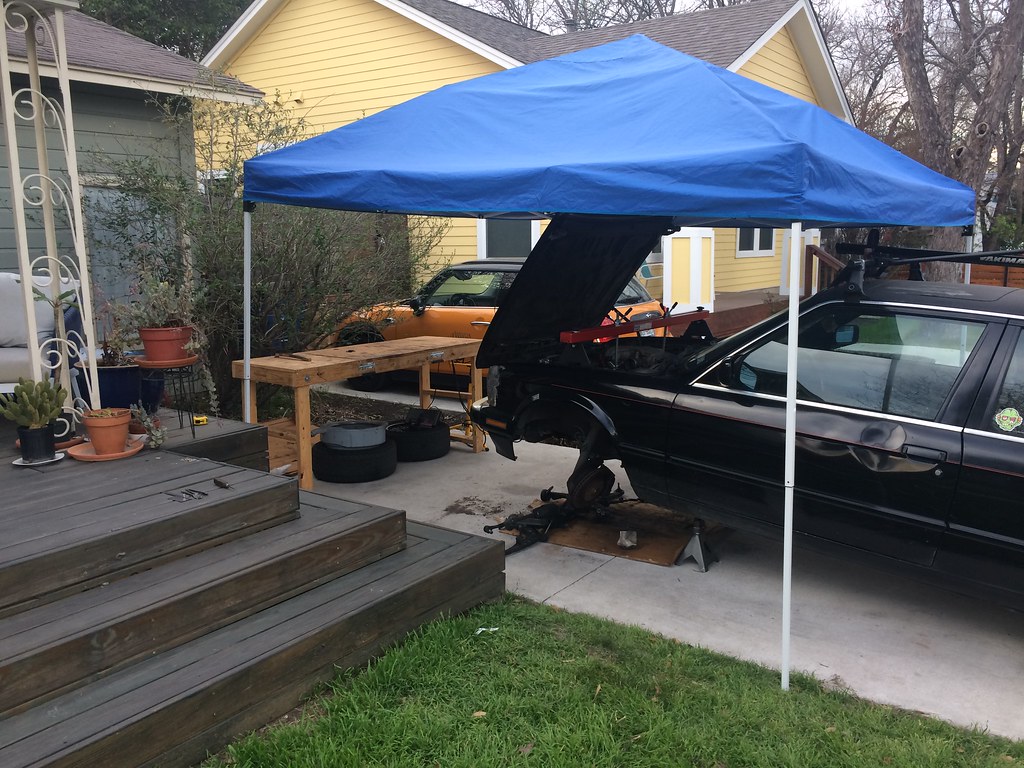
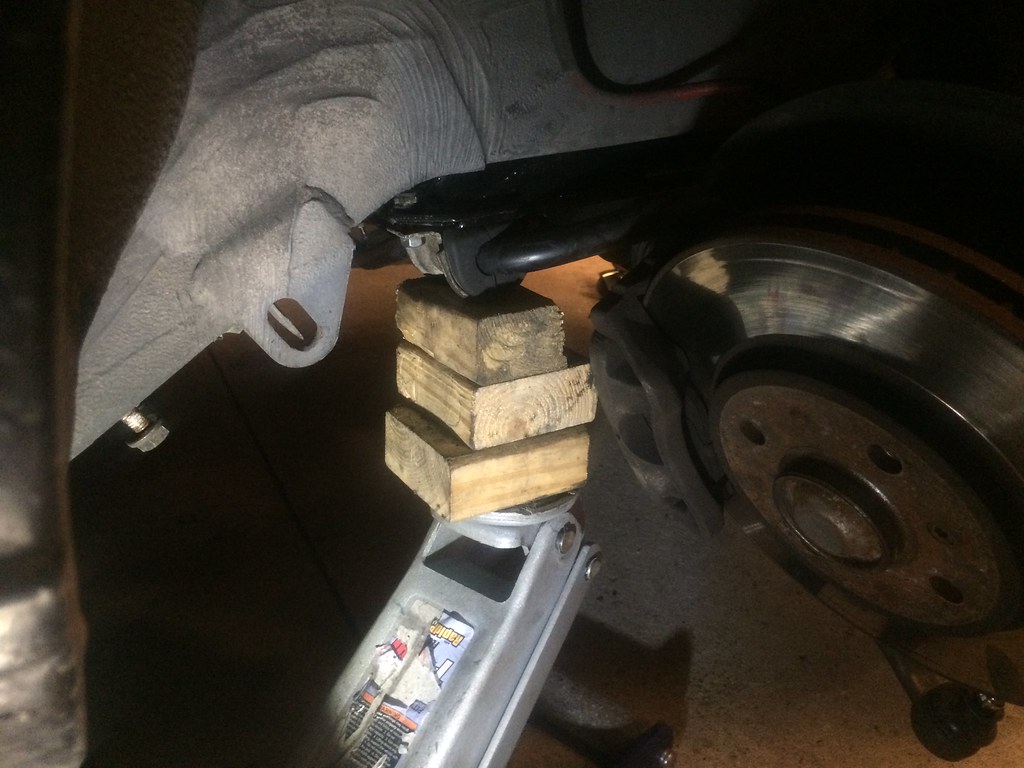
Used my engine support bar to hold the engine up while I cleaned the under belly and prepped for the subframe install:
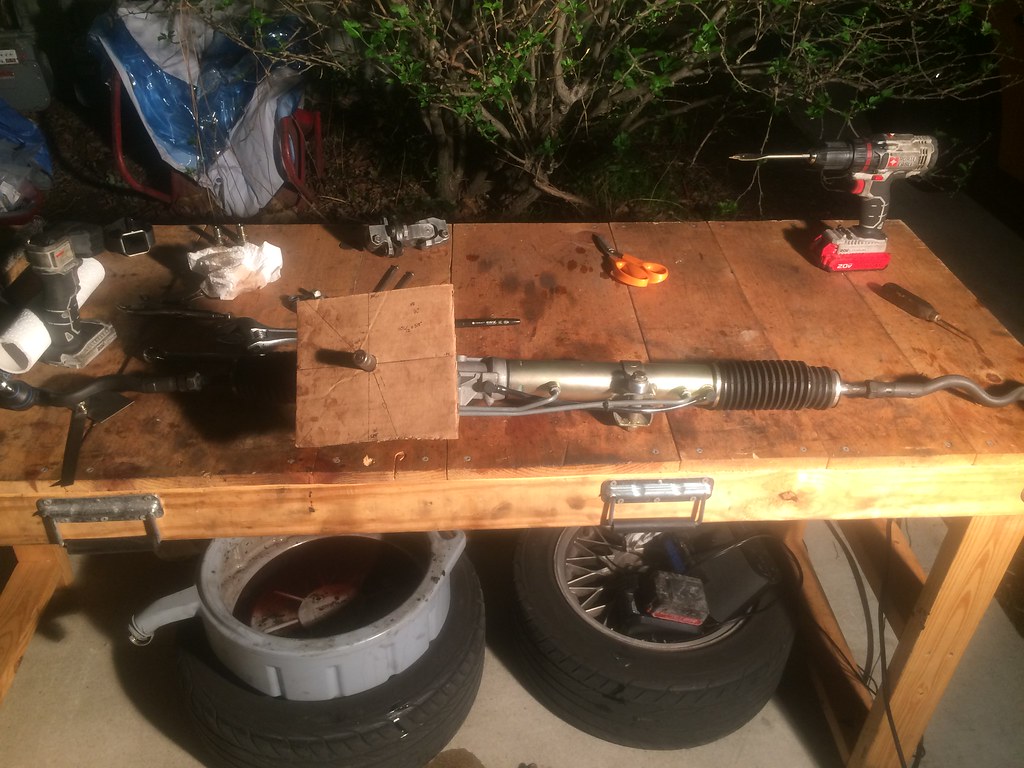
Next, I centered the rack by making a quick and dirty cardboard cut out with the start and end angle of the rack at full lock. I determined the angle at the center position and set the rack to it.
I found it doesn't need to be all that precise, it just helps with the overall rack length measurement. I inevitably adjusted the rack angle while installing the steering knuckle, so it really isn't that critical.
Funny enough I actually counted 2.8 rotations lock to lock, but the consensus seems to be 2.7 so I'm sure I was just a little off.
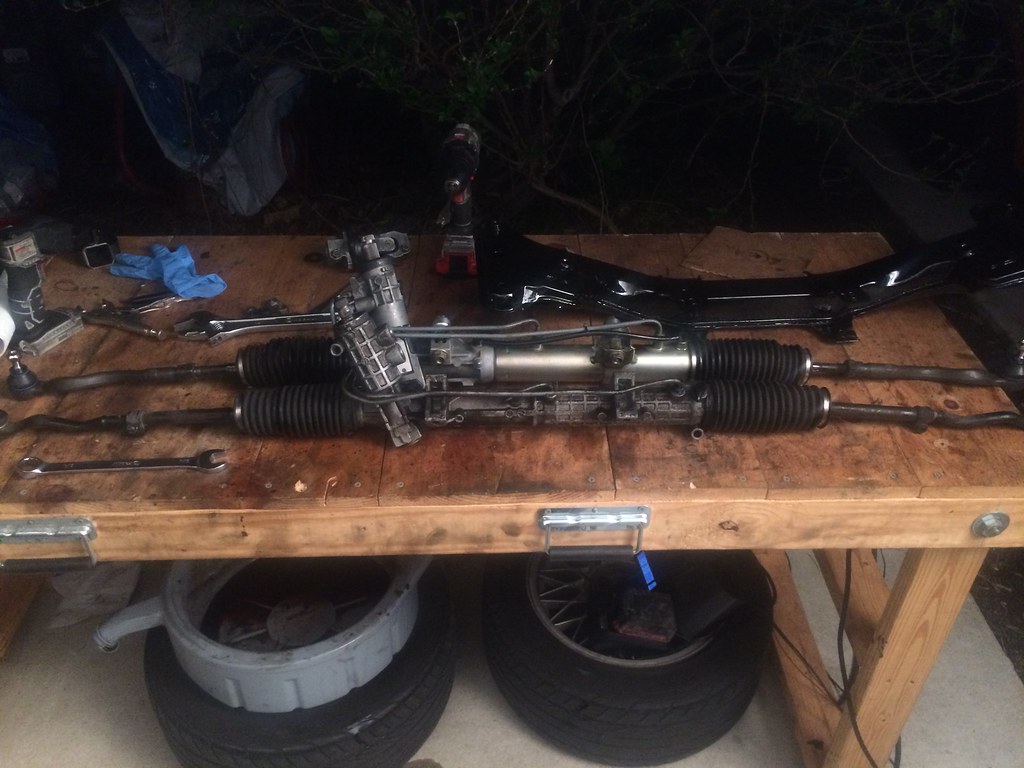
With the rack centered, I made a rough length approximation with the Z3 rack by positioning each rack's mounting holes parallel to one another:
Then I attached the steering rack to the subframe...
However, I made a really stupid mistake and installed the bolts from the top down... only to realize after buttoning everything back up, that they're suppose to go from the bottom up, i.e. nut on top of the rack. The only way to get them back out is to lift the engine back up out of the car, or drop the subframe...
This was really frustrating, but Kid8 convinced me to put down the torch I was going to burn the project to the ground with and grab the engine support bar instead. :fishslap:
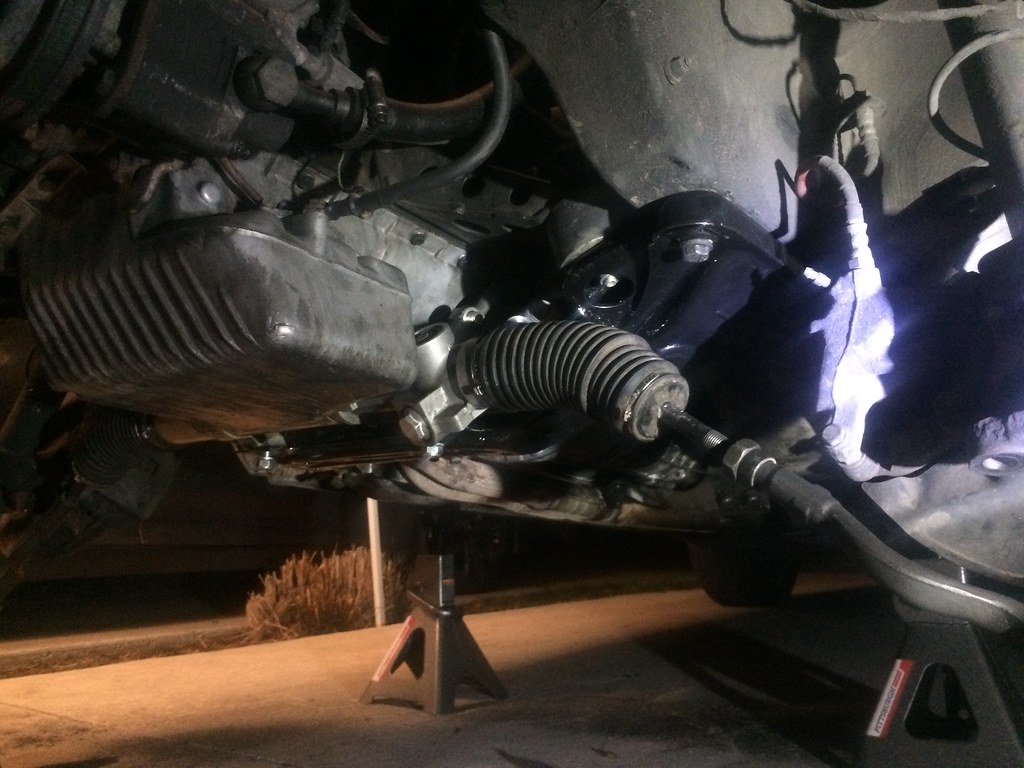
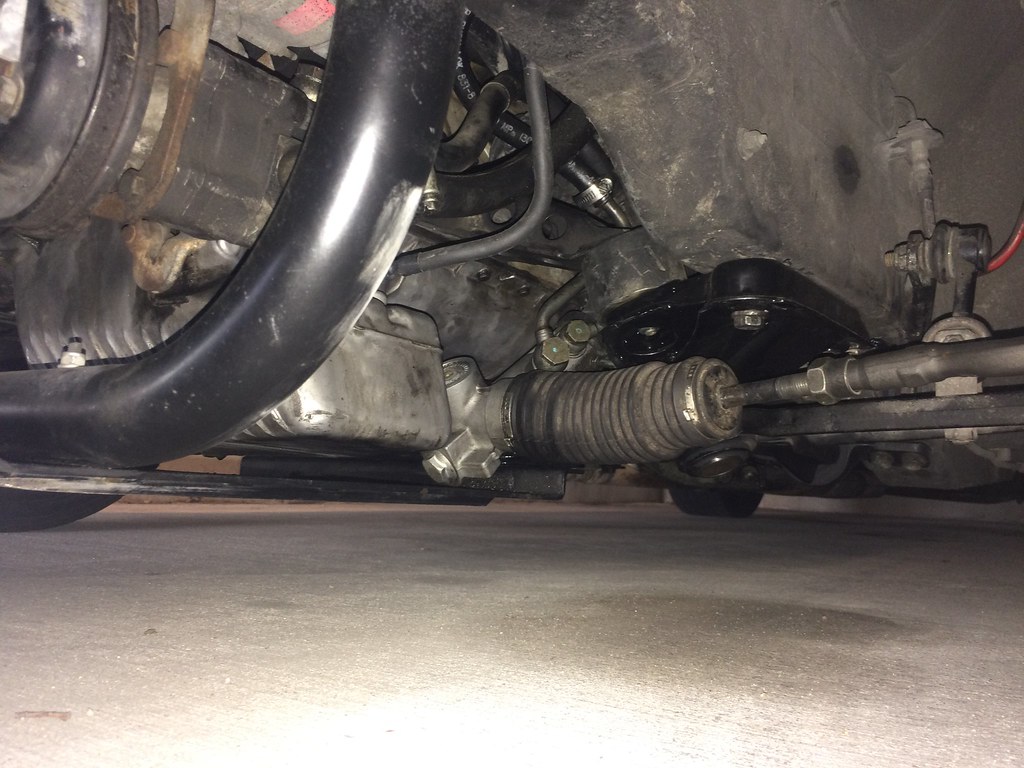
Steering rack and subframe installed:
Next, I installed new sway bar bushings. Kid8 recommended using a jack, and I'm honestly not sure how else you would get these bastards in.
Moving right along I reinstalled the control arms. Except I ended up botching the threads on the stud that mounts through the subframe so I had to re-cut the threads.
Harbor freight to the rescue!
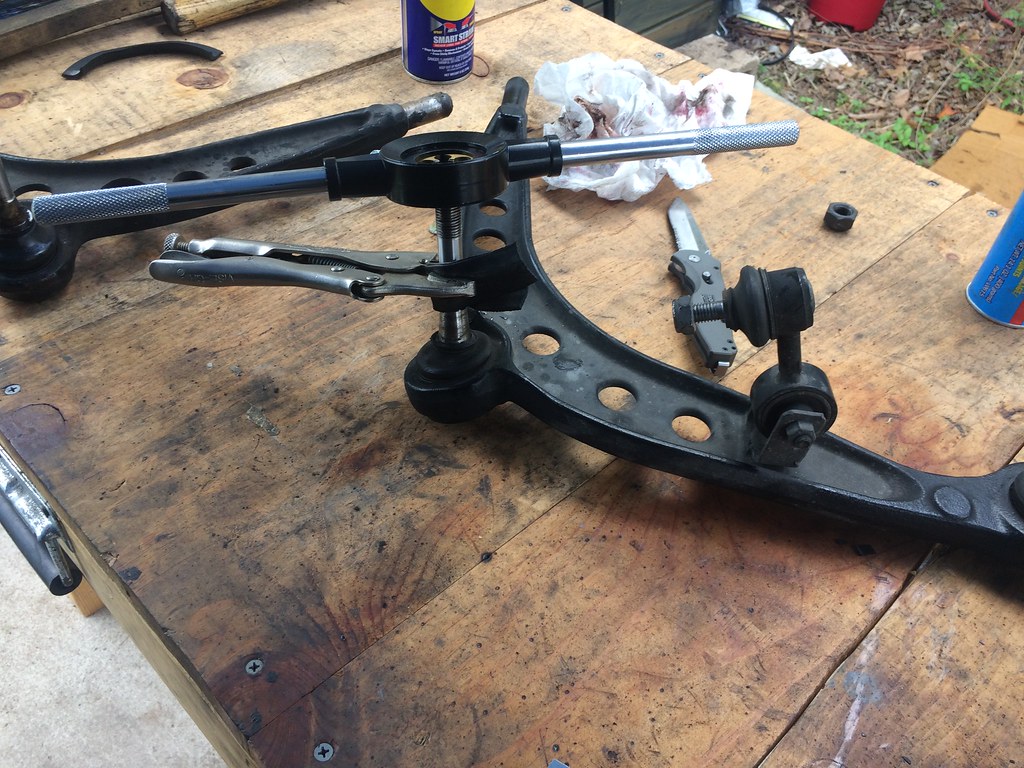
Like others have experienced, my offset bushings kept annoyingly rotating in the housing. To combat this I tapped a hole for an M5x30mm bolt and called it good.


With the front suspension nearly back together, I turned my focus to finishing the rack install.
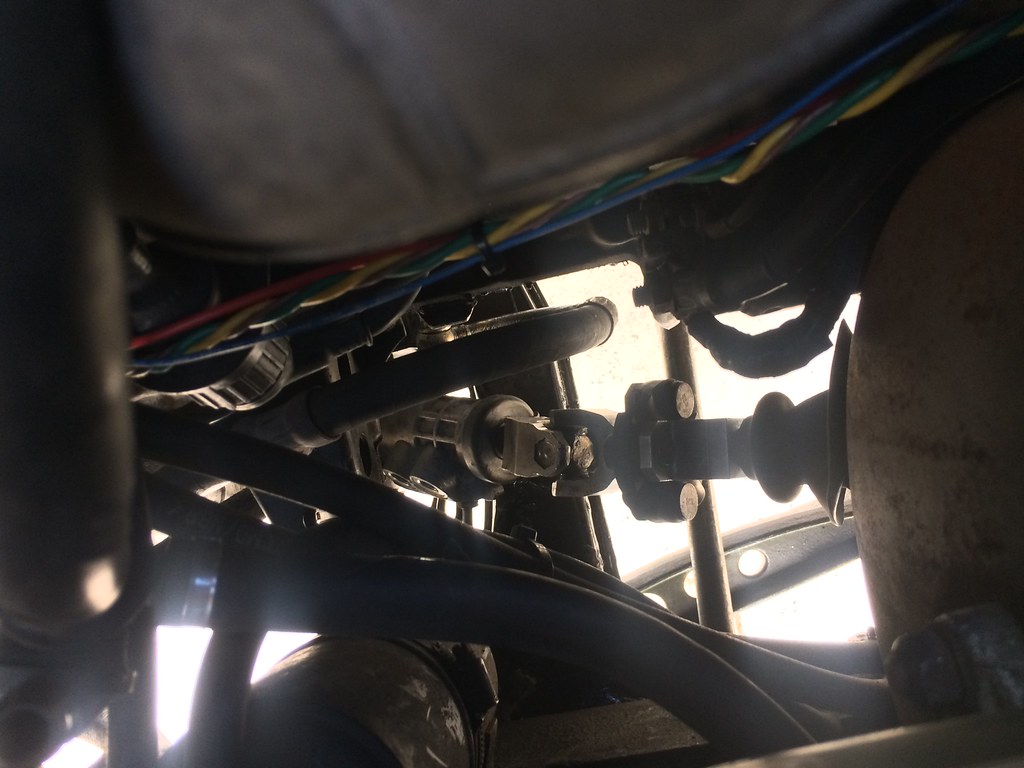
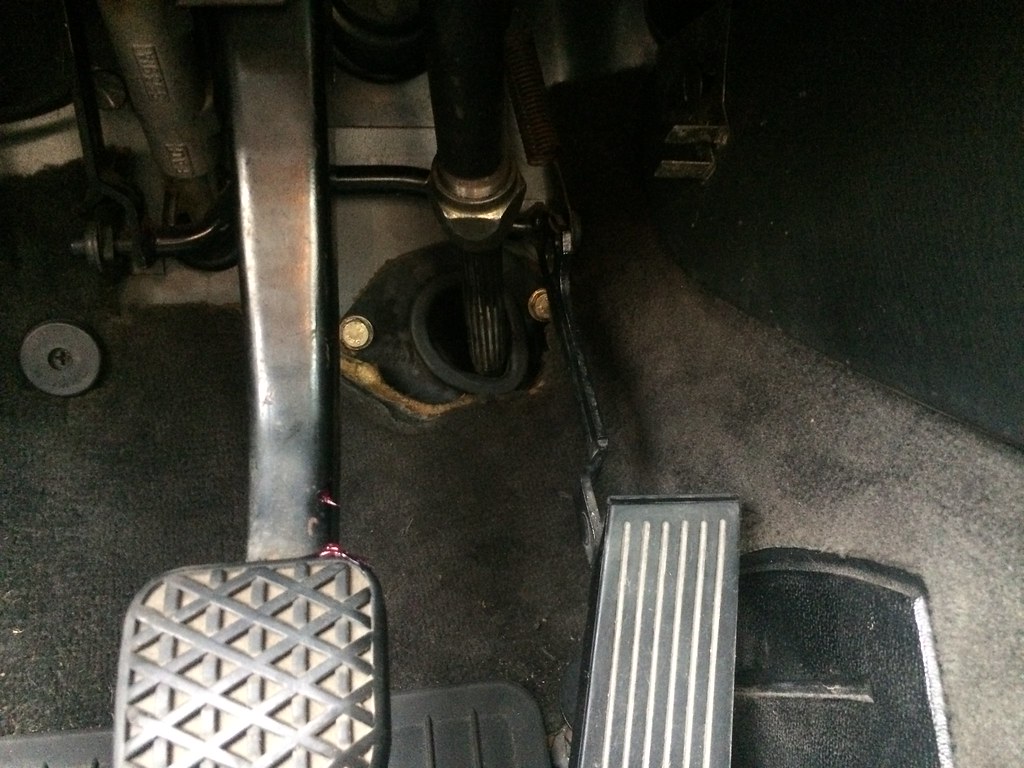
From inside the cabin, I pushed the steering column rubber grommet out through the firewall. Then Kid8 disconnected the steering shaft by removing the large nut holding steering column assembly.
Disconnected steering shaft:

With the firewall reinforcement plate removed, we installed the knuckle on the new rack and test fit the steering column to determine how much of the firewall needed to be removed. Note that we added some lube for the shaft splines to help with removing / reinstalling the shaft.
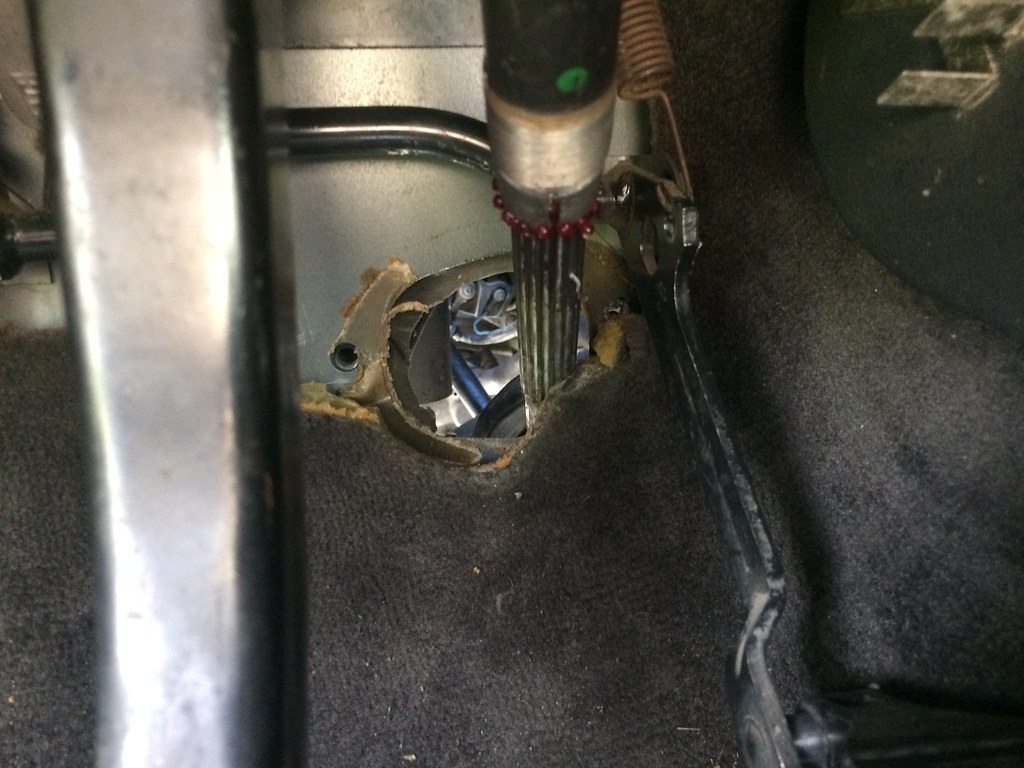
Steering knuckle test fit:
With the firewall ground out using a dremel and a file, I reinstalled the firewall reinforcement plate to mark it and match firewall trimming.
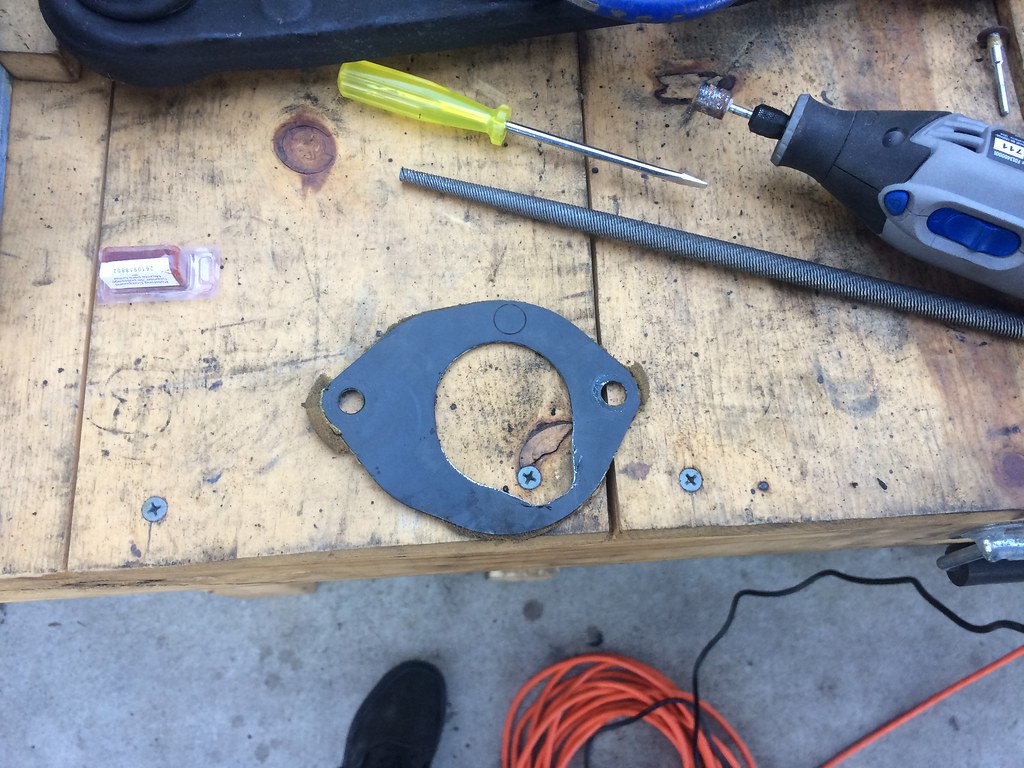
Installed:
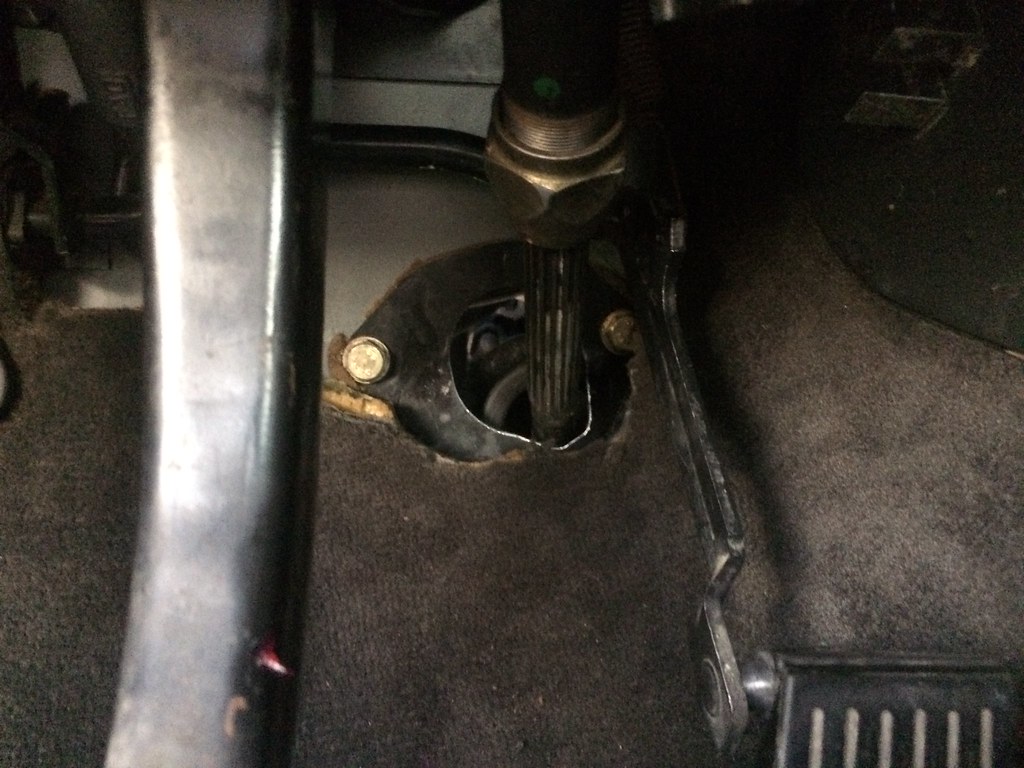
Rubber grommet back in:
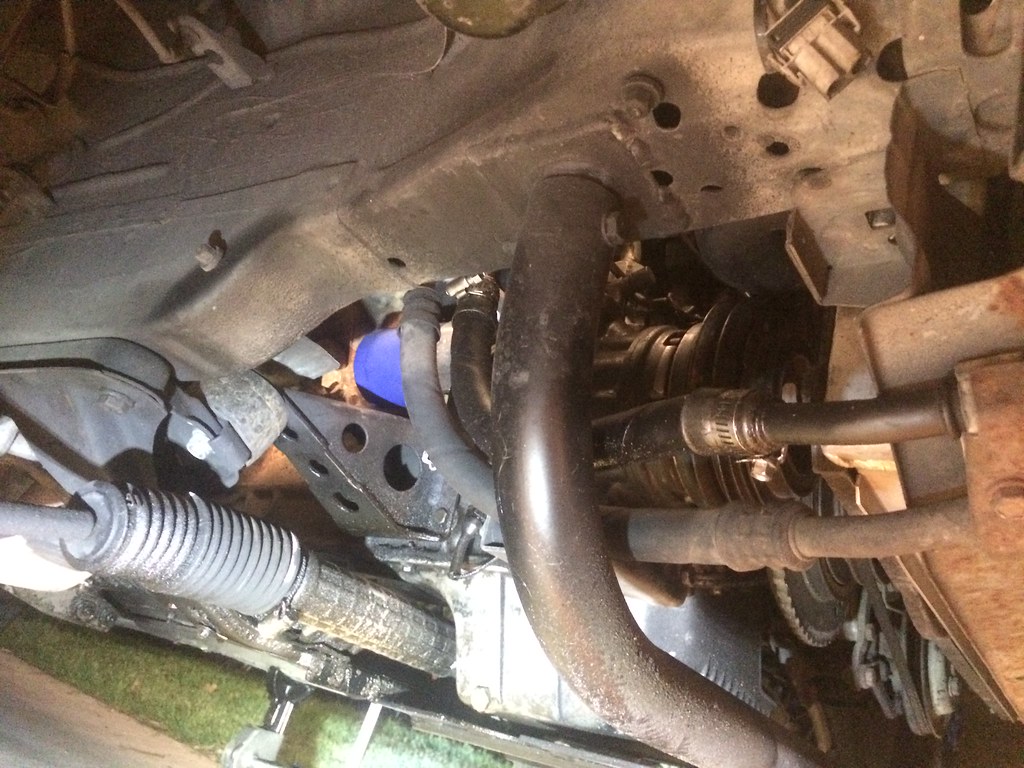
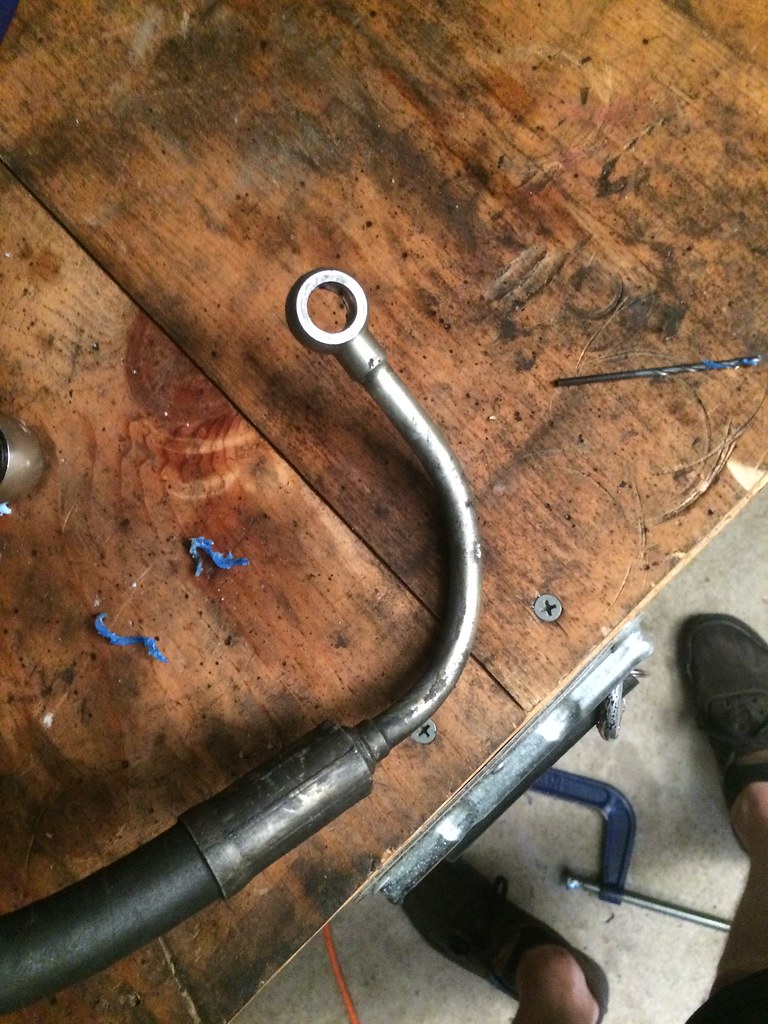
The final step was to remove one of the power steering lines and bend it to suitably conform to the new rack placement.
Power steering system bled, skid plate back on, and install complete

anddd back to Soulspeed I go:

Final alignment specs!
I have to say, I'm pretty impressed with how well my driveway alignment turned out. I drove it like this for a few days before I could go to my appointment. It was a bit towed out in the front, but overall really not too bad!

Between the camber plates and the new steering rack... this car handles like nothing I've ever driven. I have my first autocross scheduled in April, time to see what she'll do :devil:


Leave a comment: