
I love this thread and I'm also jealous of how easy it seems working on a car that hasn't lived it's whole life in the rust belt.
-
-
Glad to hear it man!Originally posted by brokecollegekid View Post
You have no idea... using PB blaster is actually a rare occurrence for me. I feel damn lucky, I am originally from PA and my grandfather used to come down to Texas to buy his cars. Now it all makes sense to me.Comment
-
My E30 Rehabilitation!
I love reading this thread every time. I'm lookin for an e30 as we speak let me know if ya hear anything.
Also all us Austin folk should meet up some day for some tacos/driving. No e30 but the zhp works sometimes.
Sent from my iPhone using Tapatalki love bmws
Your signature picture has been removed since it contained the Photobucket "upgrade your account" image.Comment
-
Hah! I appreciate all the love, it's come a long way but it's still has a long way to go ;)
I actually thought I saw a slick top in Dallas recently, but a quick check on craigslist it looks like it sold... I'll keep my eyes peeled. That sounds great, I'm thinking kid8 and I are going to give the cars a tune up on Saturday, so I'd be up for a drive Sunday if all goes well.
Originally posted by sonomabimmers View PostComment
-
Originally posted by zwill23 View Post
I'm totally down I'm free weekends. Let me know if y'all ever need a helping hand wrenching
Sent from my iPhone using Tapatalki love bmws
Your signature picture has been removed since it contained the Photobucket "upgrade your account" image.Comment
-
Daily Driven E30's are Happy E30's
I would like to start this post out with a big Fuck You Photobucket. Going back through all my old posts to re-add all the images Photobucket removed was a huge pain in the ass. I'm officially riding the Flickr train now. On the bright side, I took the time to go ahead and detail some of my earlier posts a bit more, so if anyone is curious feel free to peruse back through some of the earlier stages of my build.
Anyway, time to bring you guys back up to speed with the current state of the E30.
Back in March I decided that my build would take a turn from wanabe "racecar" to a more livable daily driver with some creature comforts and reliability in mind; while still being plenty capable of being tossed around during autocross and spirited driving. Overall, the E30 has proved to be a lot more reliable than I expected, which is why I've decided to sell my parts getter - a 2012 Subaru Legacy.
Most sensible people think I'm insane for depending on a nearly 30 year old BMW as reliable transport to and from work every day, but I have a bit more faith than that, probably because I've replaced damn near every maintenance part on this machine and more ;). I have also been blessed with what many would consider a crippling amount of student loan debt, so selling off the vehicle with the car payment makes a whole lot of sense to me while capitalizing on the fact that the E30 has definitely honed my wrenching skills.
So, from this point on... the E30 is offically the only horse in the stable, at least for now :)
To Do List:
- Replace blower motor
- Convert AC system from R12 to R134a
- Install radio
- Drop rear subframe and relubricate bushings
- Tune up: Clean ICV, install refurbished injectors, new spark plugs, coolant flush, new hood seal
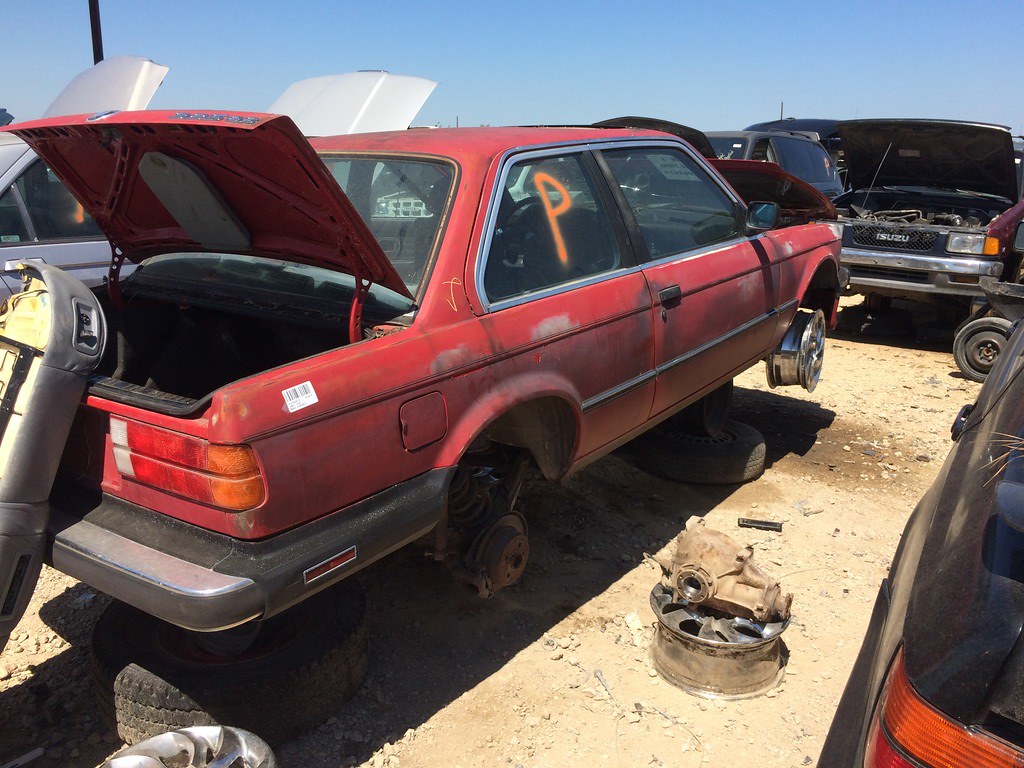
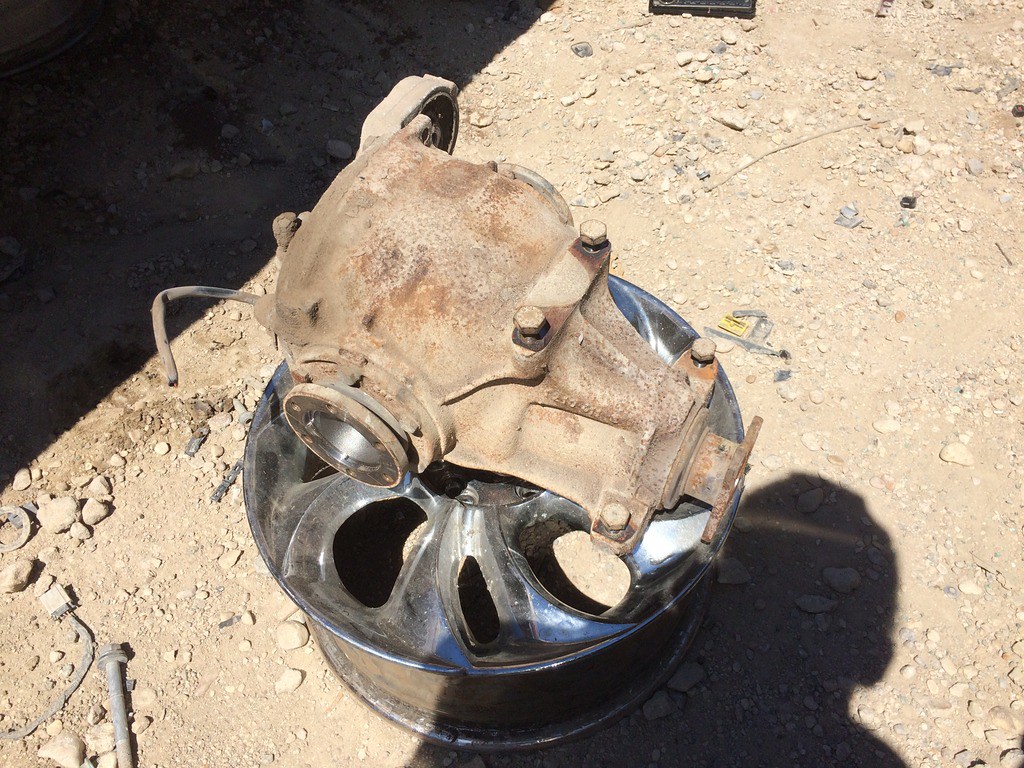
Kid8 and I had an epic junkyard trip, I was able to score a refurbished blower motor, clean check panel, IS spoiler, a premium sound system, a 2.93 LSD, and a few other small bits.
Hopefully R3v isn't too upset I used the old chromey the ES had to yank the LSD.
Really excited I picked this up, it'll be going into storage (aka my bedroom closet) for now until the E30 is ready for some future build goals.
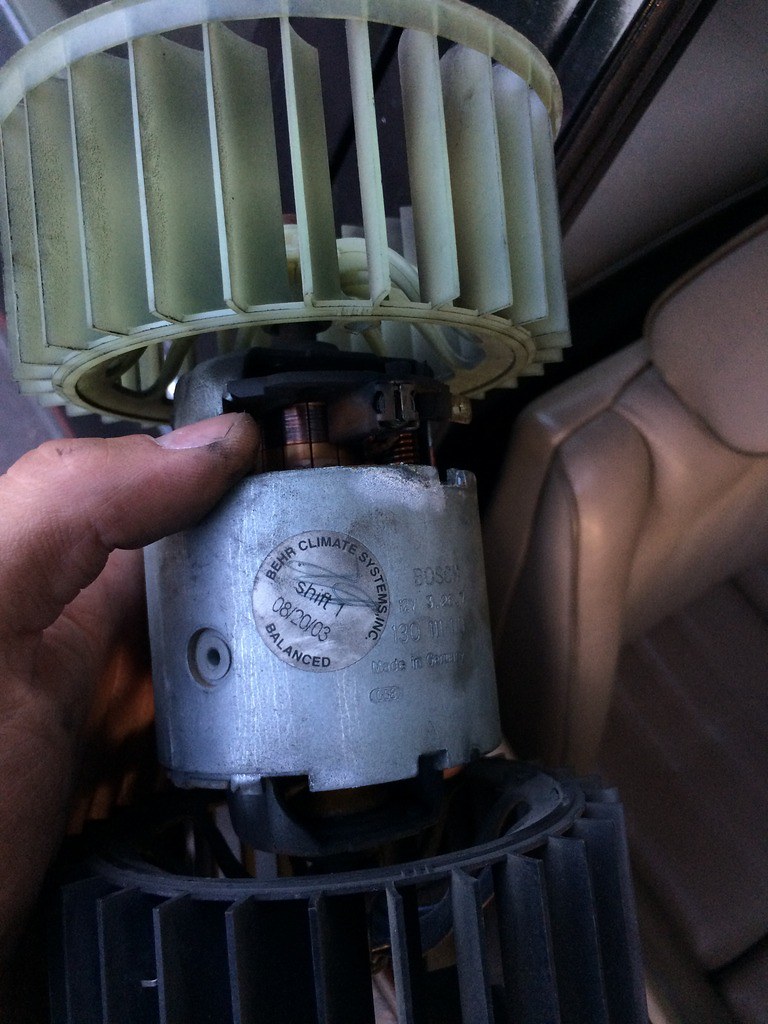
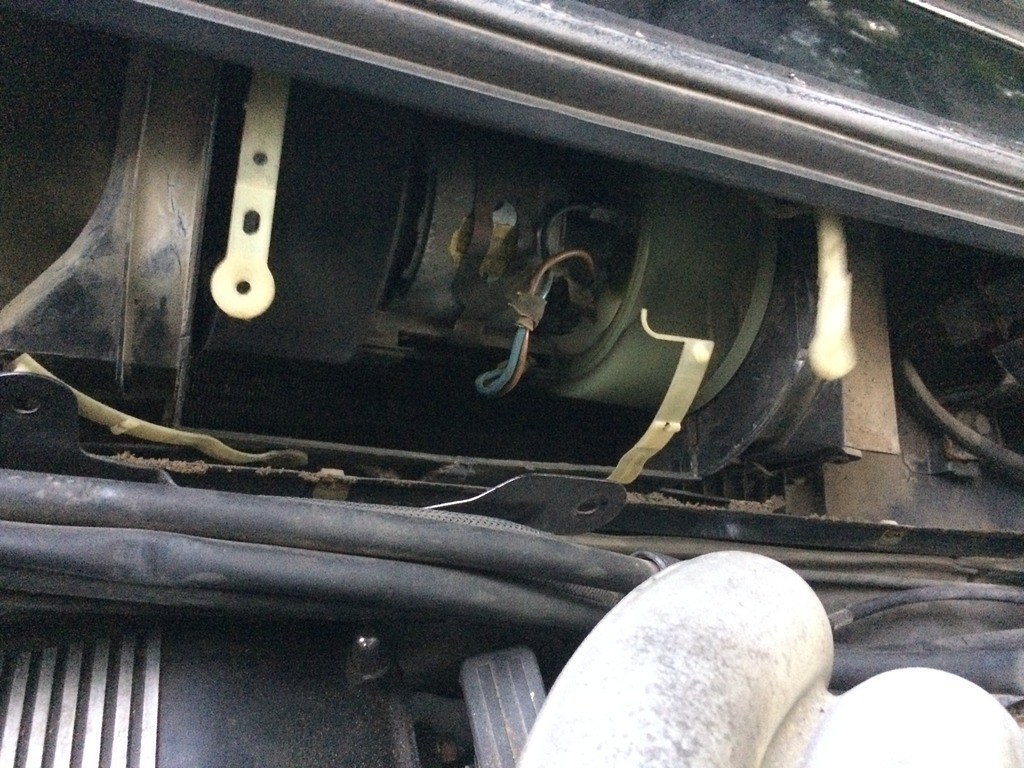
Re-manufactured blower motor, notice one of the wheels was replaced as well. I'm guessing Behr did that when it was re-manufactured:
Old vs. new, the old blower was totally shot:
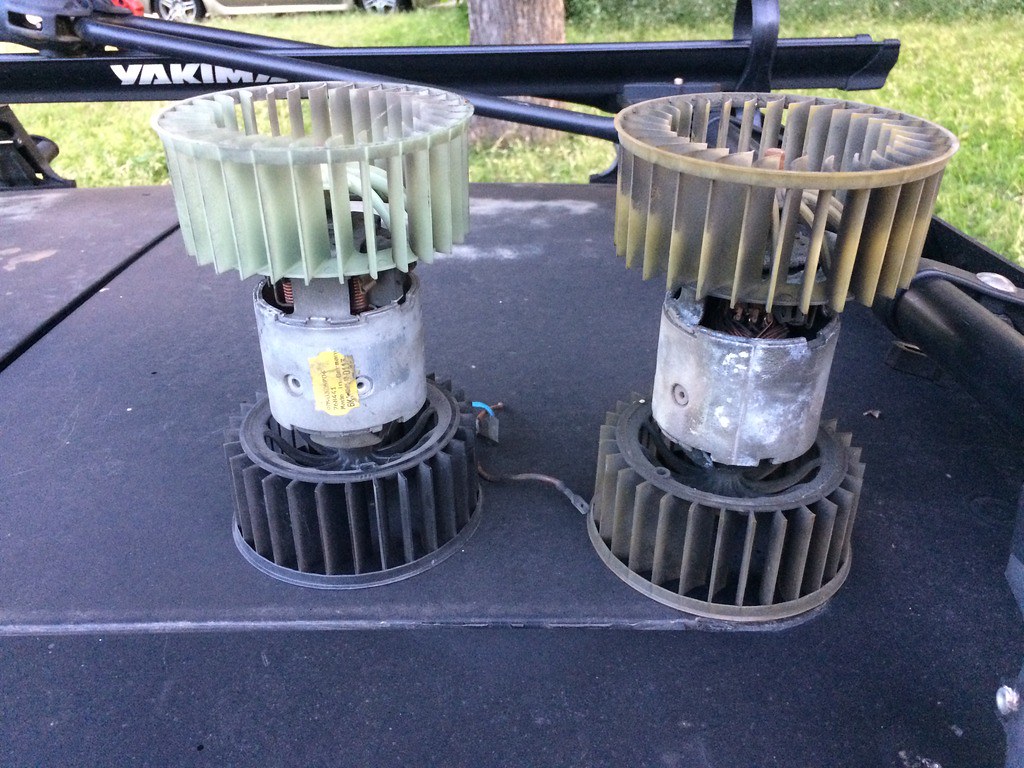
It works! I have a new blower motor resistor in there too, just wasn't installed yet while I was testing it. On a quick side note, my windshield started fogging up on my way to work shortly after installing the new motor, excited to "unfog" it with my now functioning blower motor, I cranked it up and was immediately blinded by a whirlwind of dust and dirt that was built up in the vents over the past 10 years or so. The entire interior was covered in a layer of dirt after turning the fan off
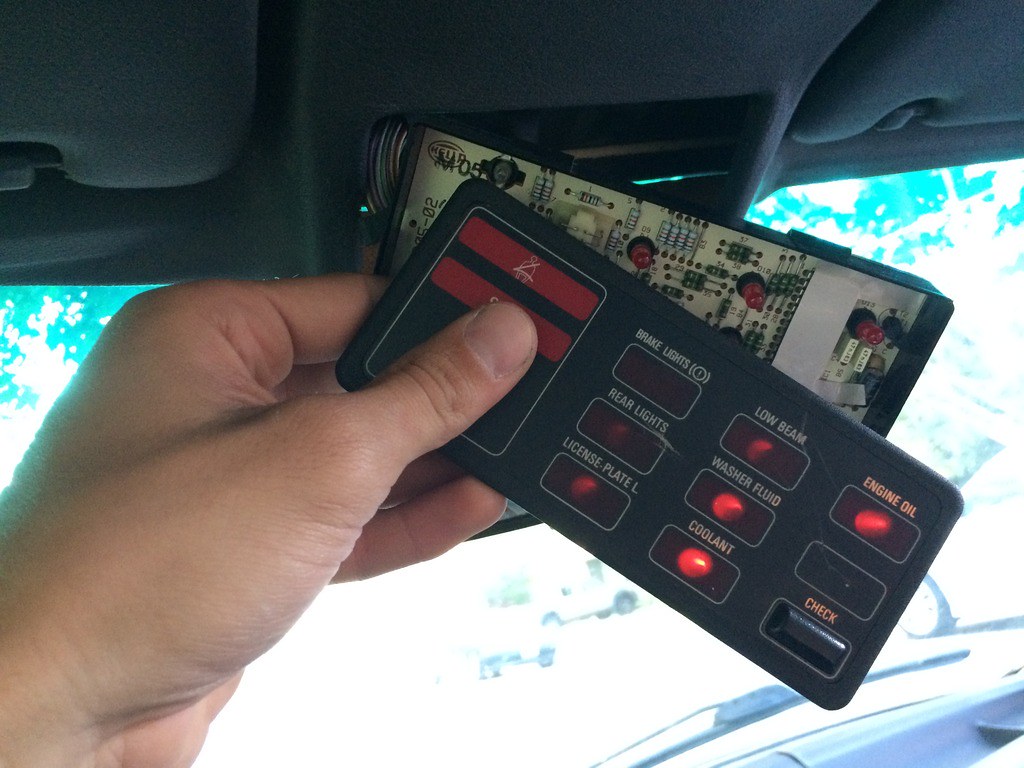
Here was my busted check panel, the cover used to fall off while I was driving and a few of the bulbs would flicker over bumps:
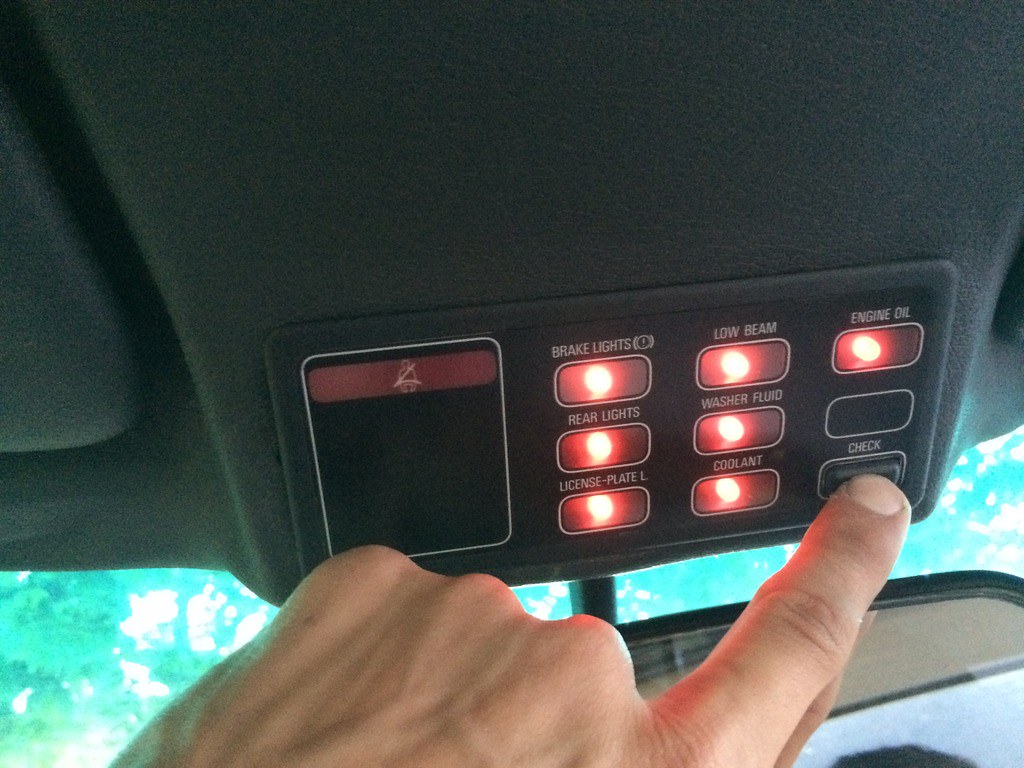
Old vs. New, also - my crotch:
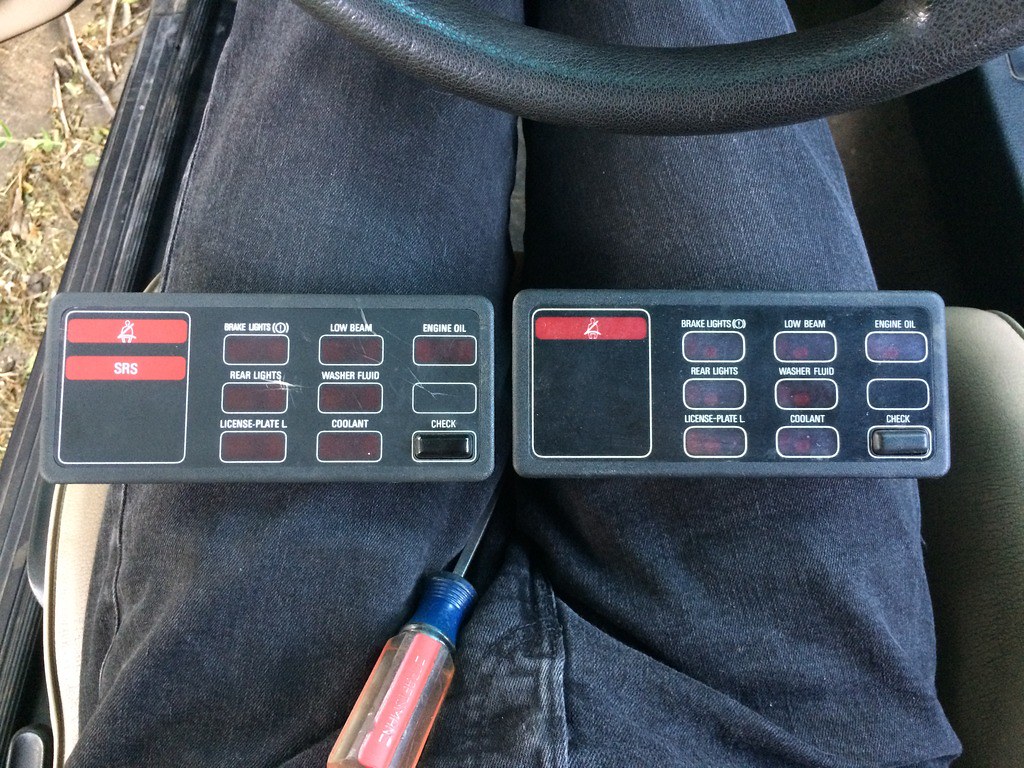
It's the little things ;)
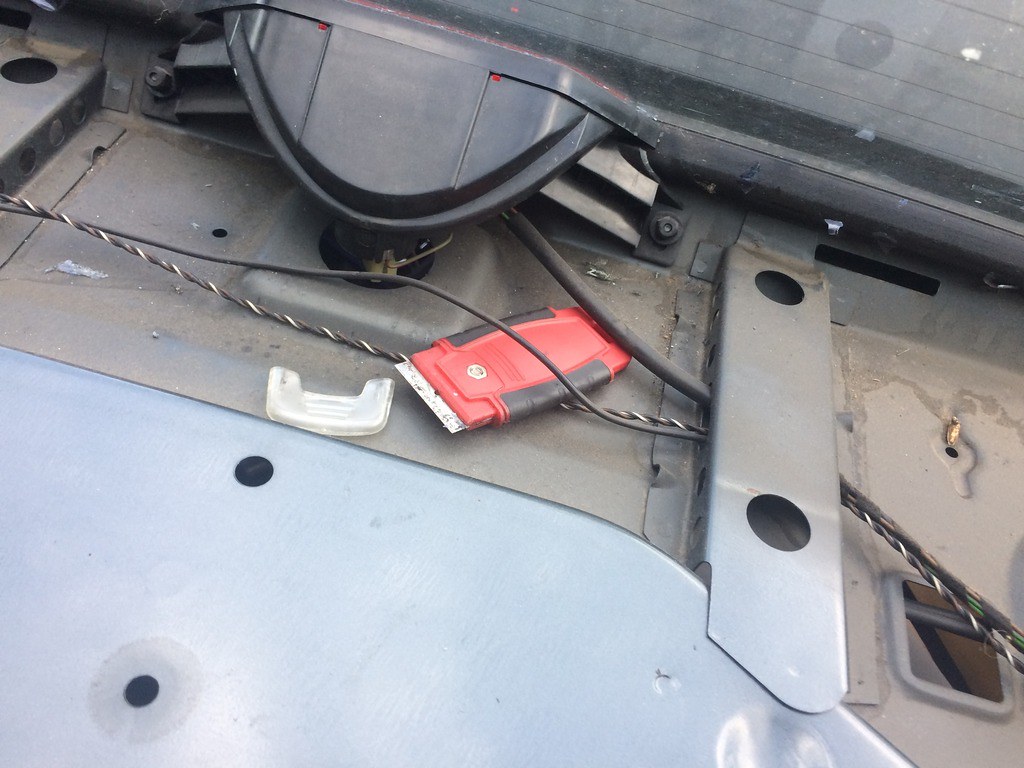
Next, I wanted to replace my center brake light, install the center seat belt receptacle, and setup the premium sound system speakers on the rear deck. After removing the deck I realized my razor blade scraper had been hidden under it ever since I dyed the old deck. Been wondering where the hell it went for way too long :razz:
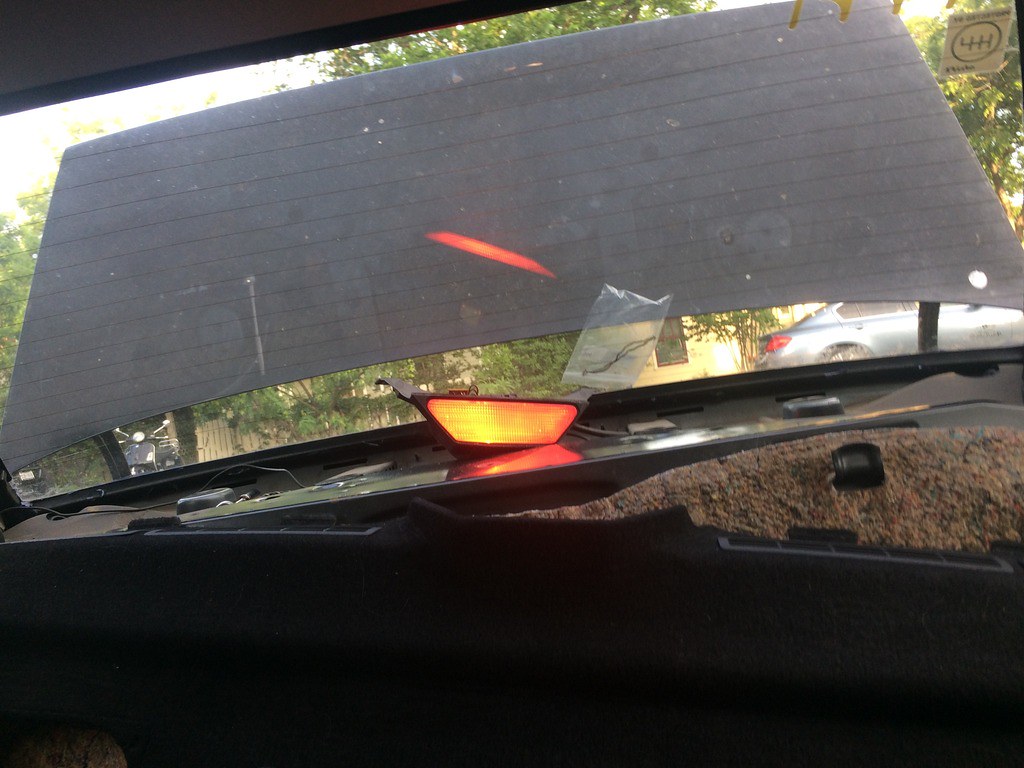
New center brake light:
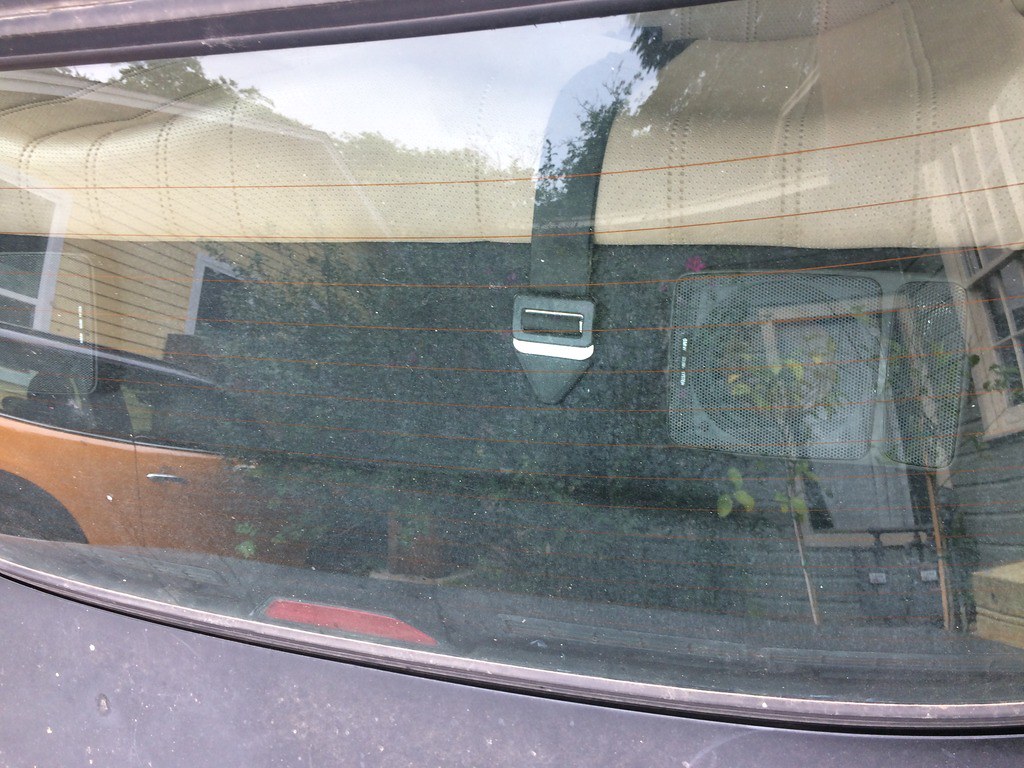
Installed the center seat belt holder receptacle:
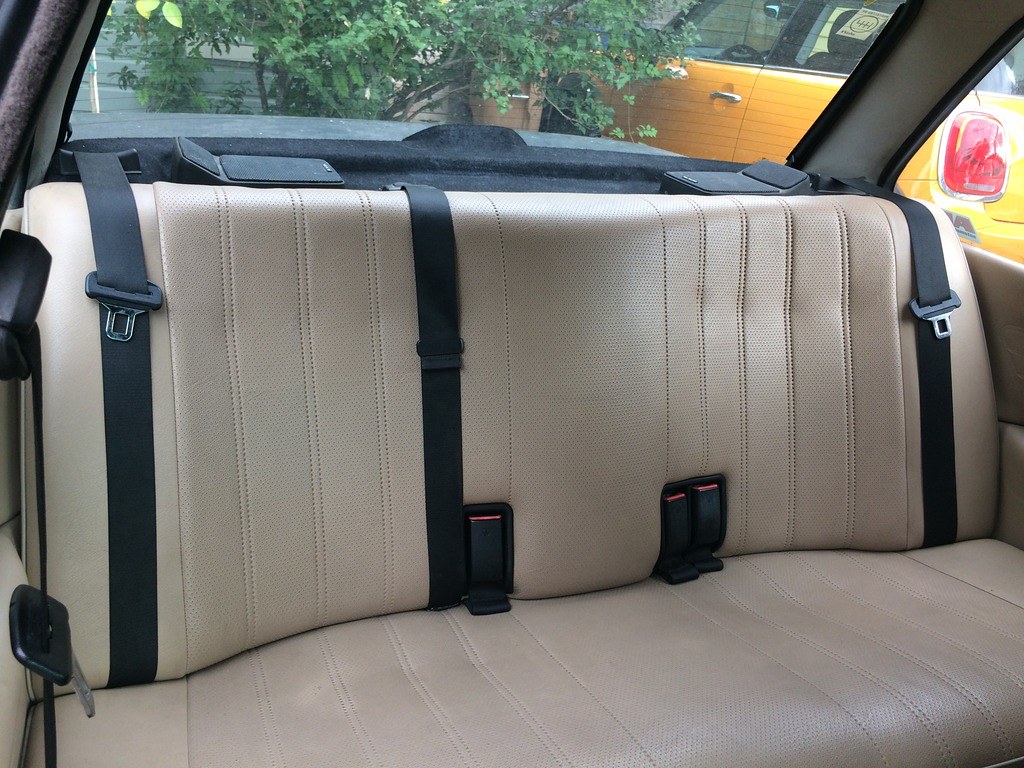
Premium speakers installed with a clean rear seat :pimp:
Did some quick detailing while I was working on the interior.
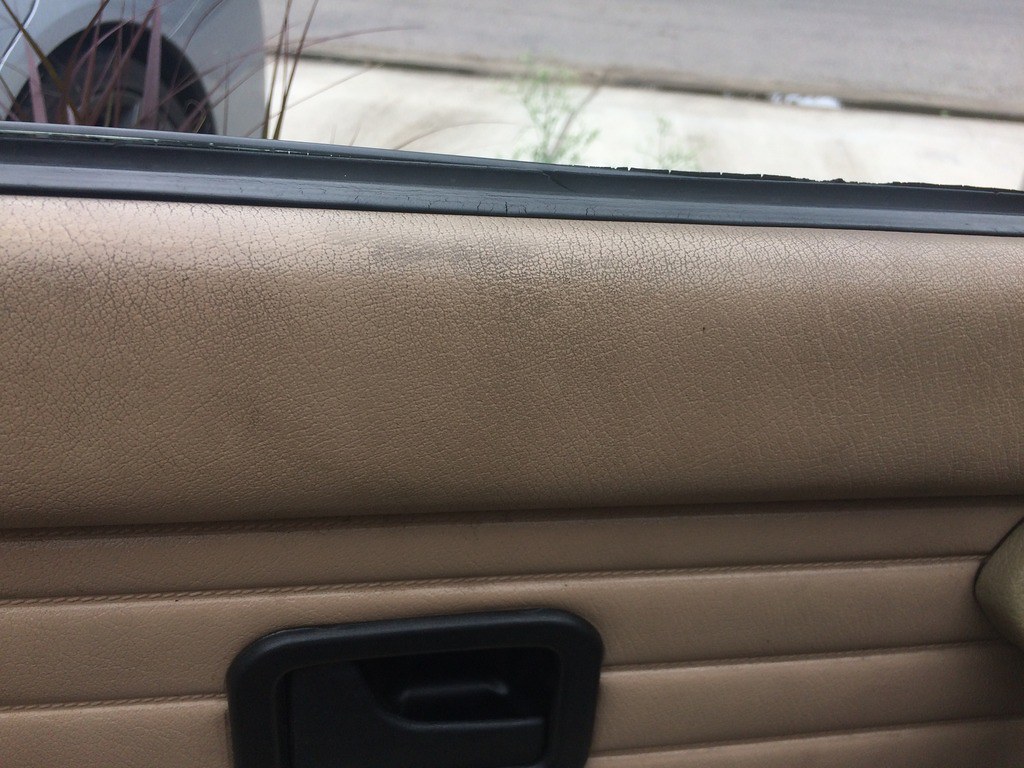
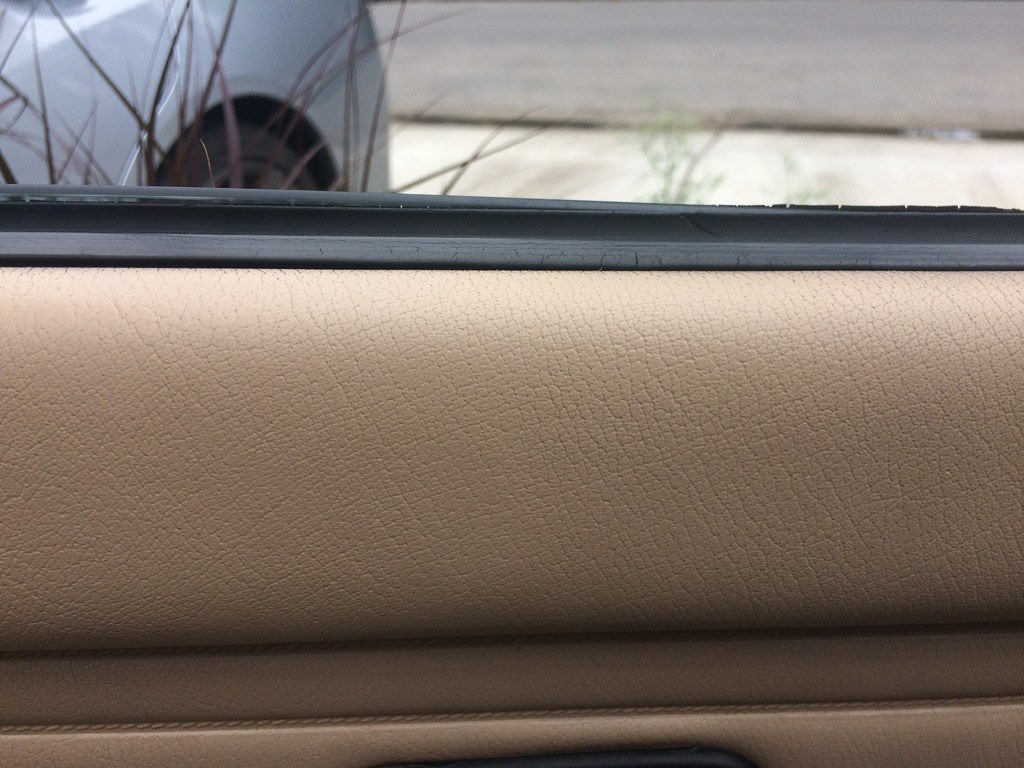
Ew:
Gross:
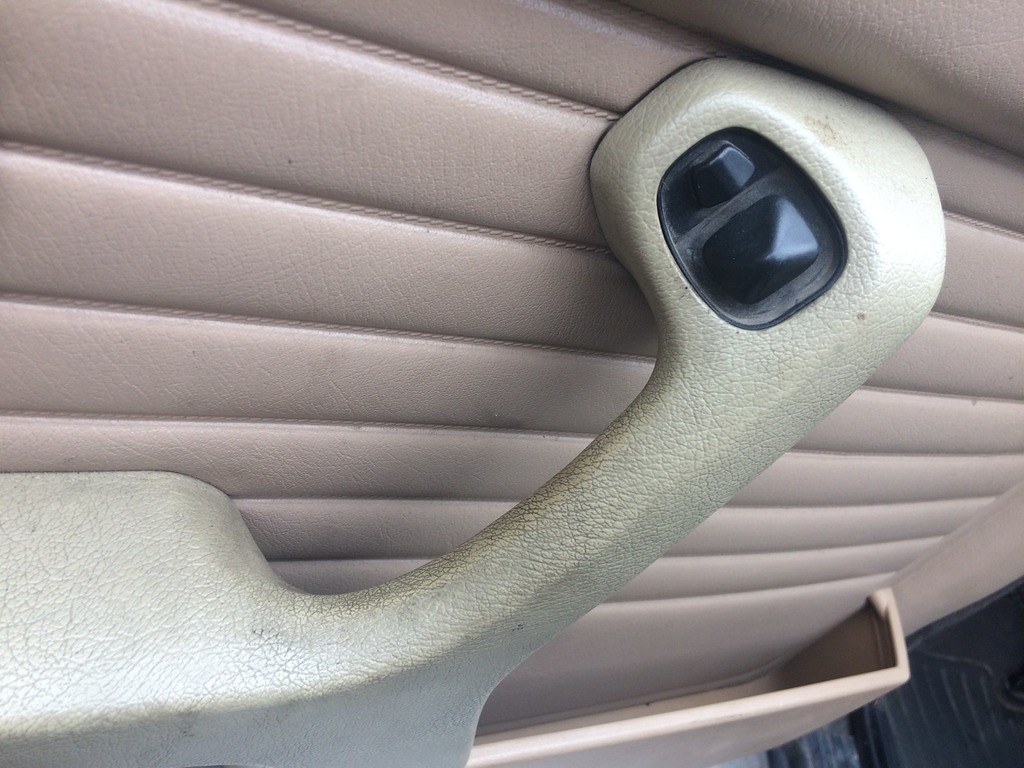
Whoa, cleaned up really nice using a Mr. Clean magic eraser and some general purpose cleaner. I was pretty conservative with the magic eraser and made sure to clean off any leftover residue with soap and water:
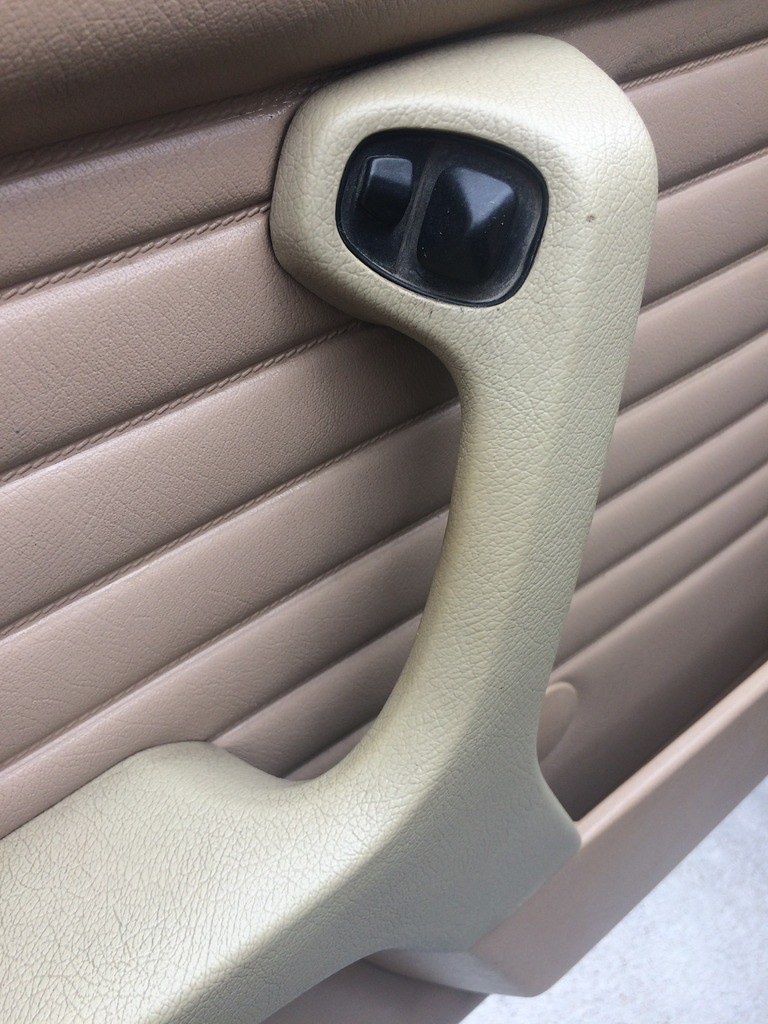
Much better:
Cleaned the ICV with some brake cleaner, it was pretty gross - no real change in idle though:
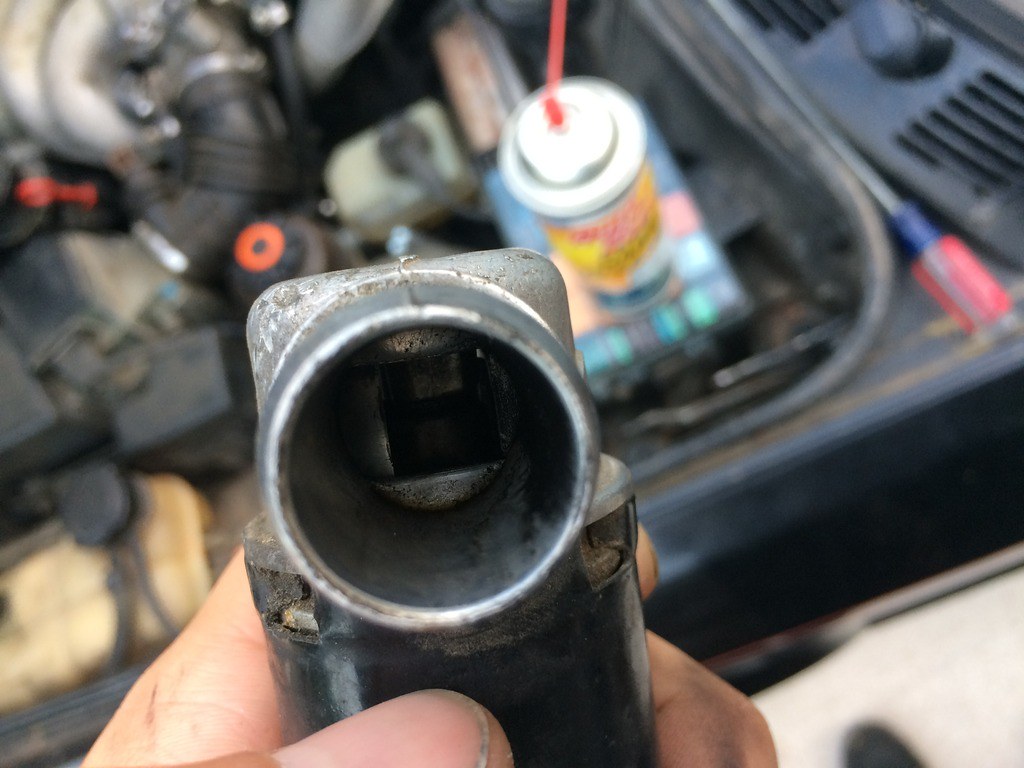
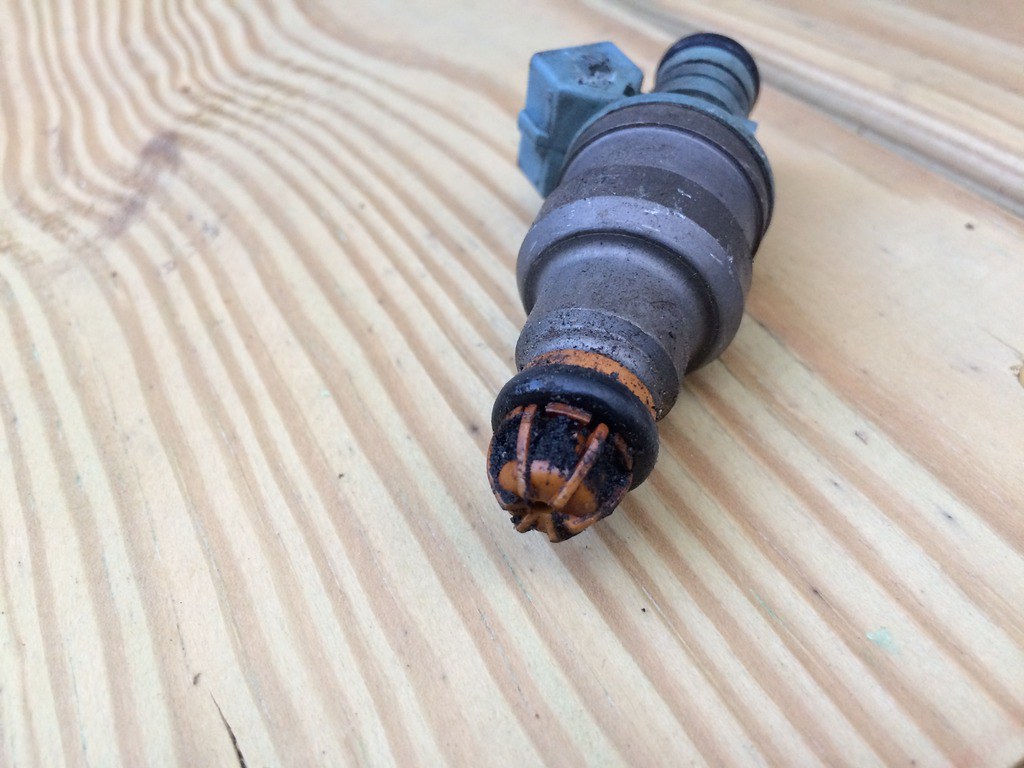
The car was having cold start issues that seemed to be caused by a leaking injector, upon pulling the dipstick I noticed it smelled strongly of fuel. The engine was starting to get a lot more noisy too, which I now attribute to the fuel effectively reducing the weight of the oil.
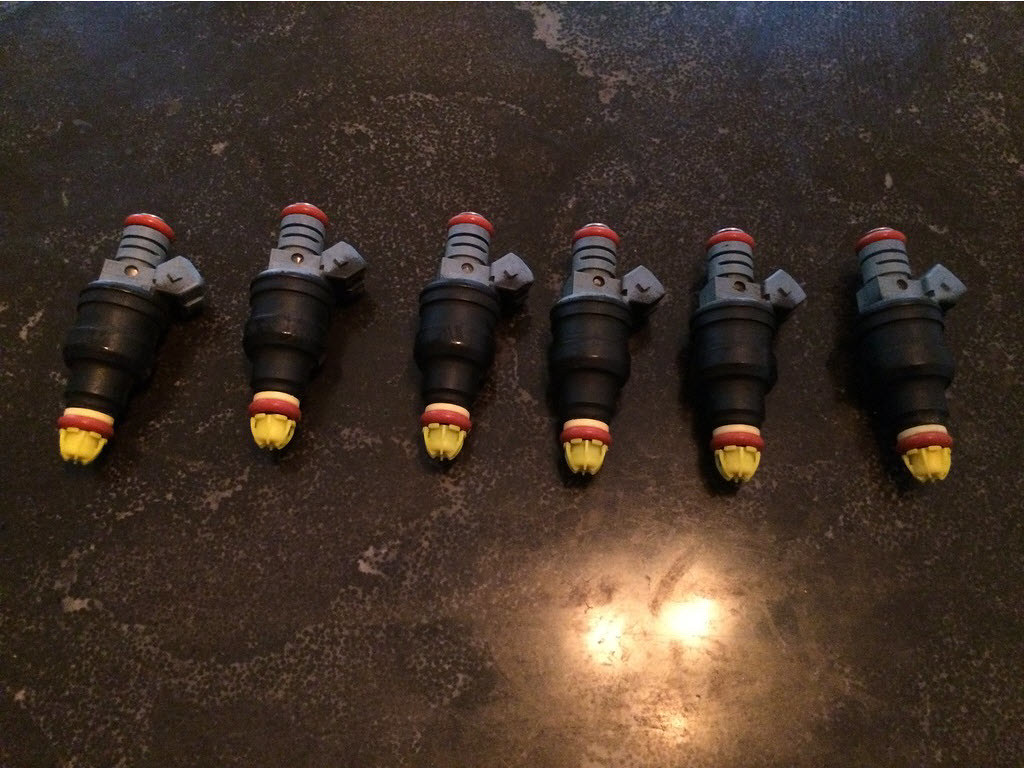
To remedy this, I went ahead and ordered some refurbished flow matched injectors from MEPEH, I think I may have been one of his last orders because it looks like he is closed for business at the moment.
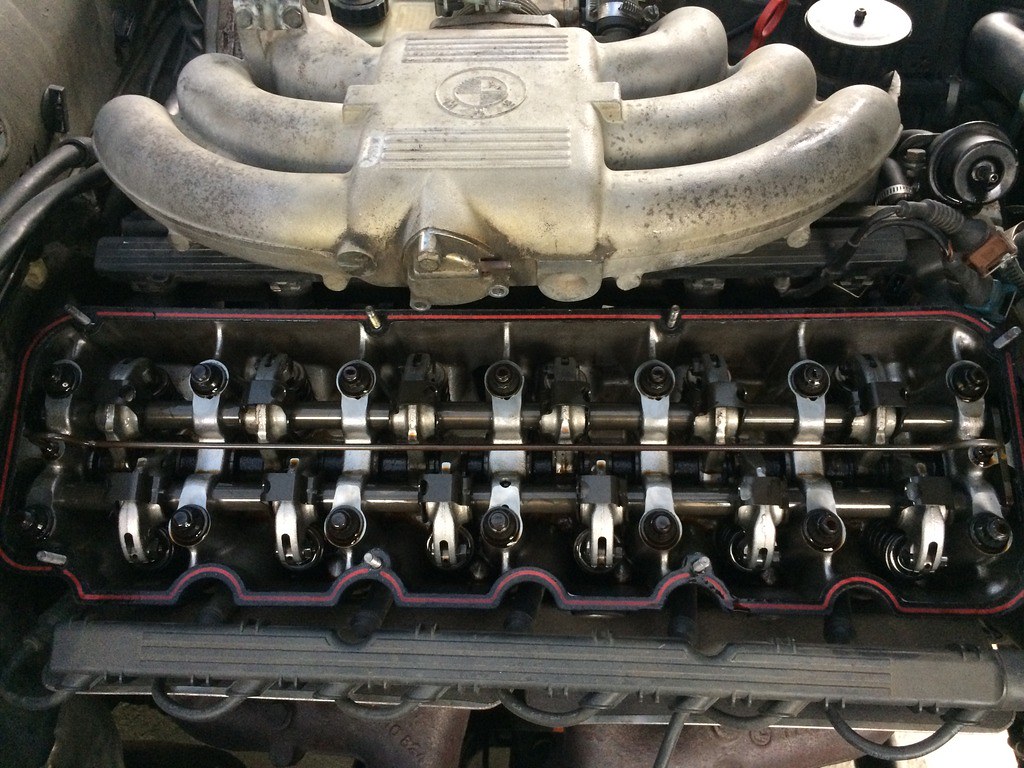
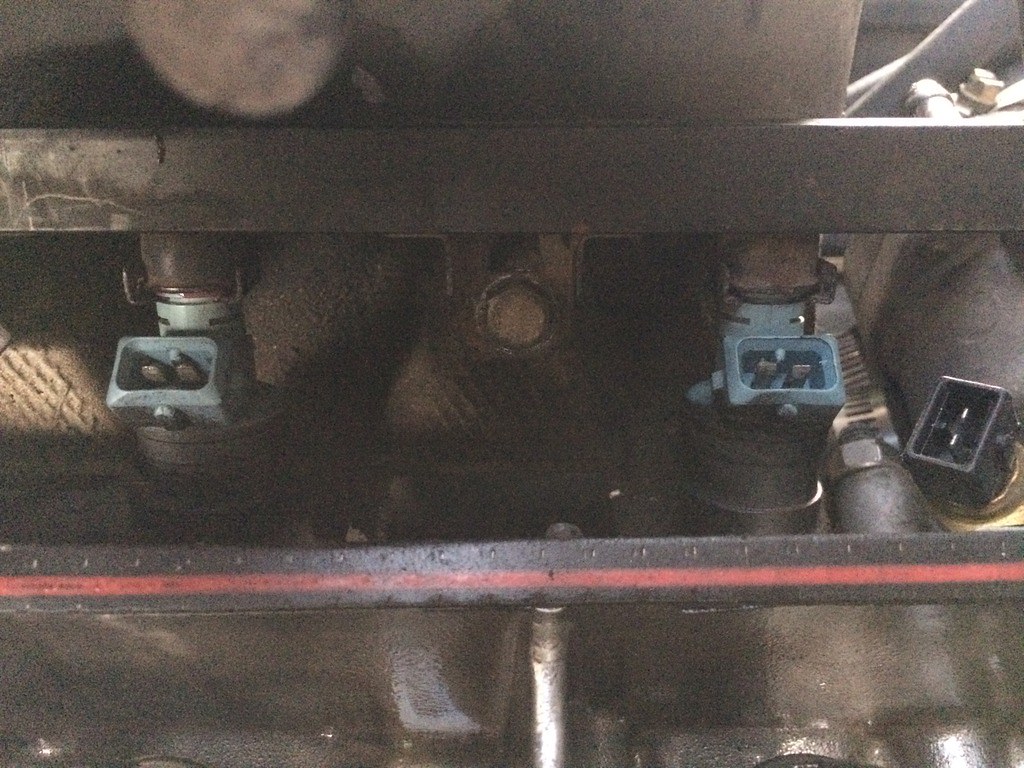
Removed the valve cover to gain better access to the injectors, happy to see everything looked clean and lubricated in there:
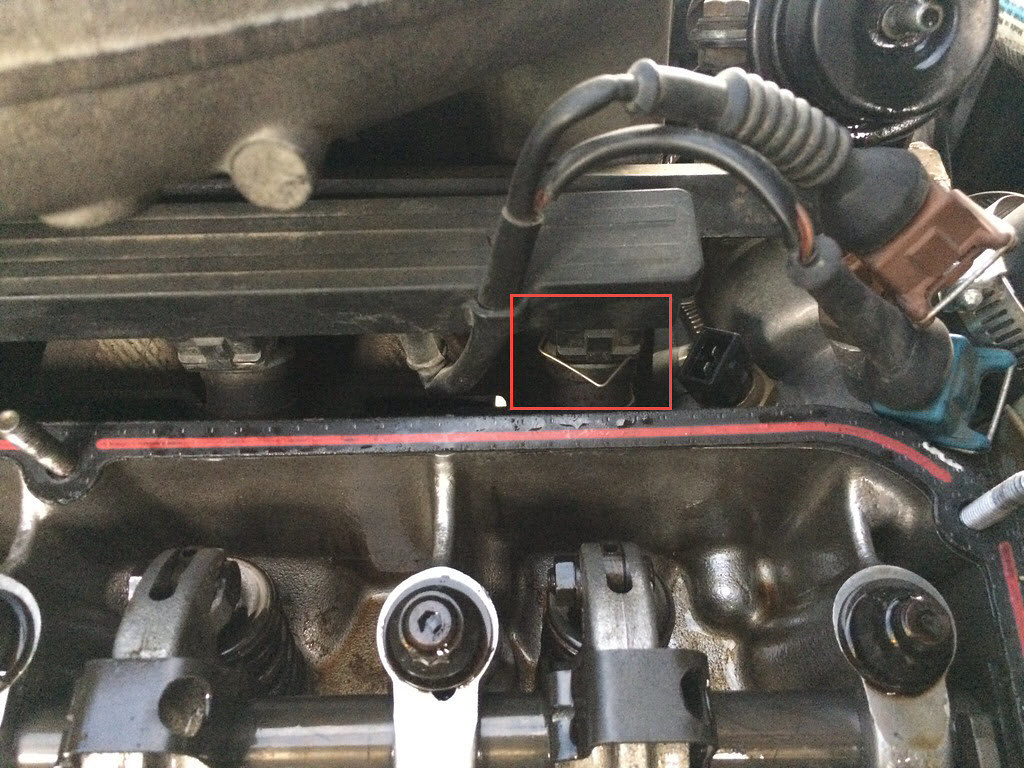
Edit: Turns out popping the clips off isn't necessary, just pulling up on the electrical connectors will pop them off the injectors.
Popping the clips off can be a little tricky, I just used a hook tool and some pliers to pop them off:
Fuel rail out:
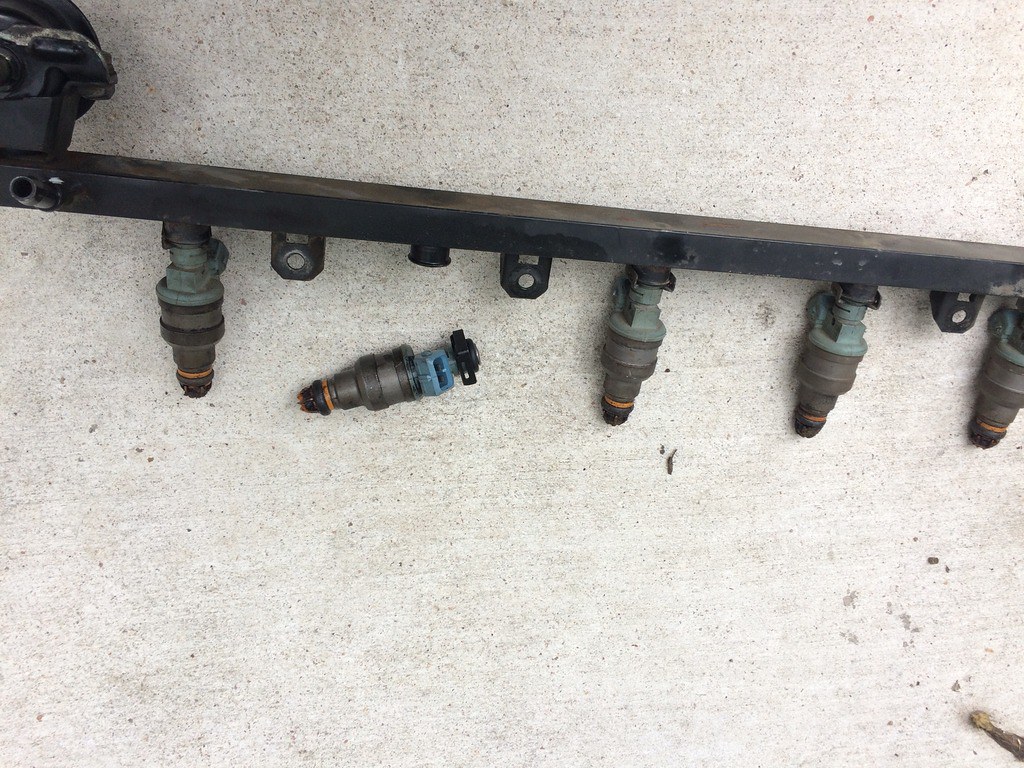
Filthy old injectors:
New injectors installed:
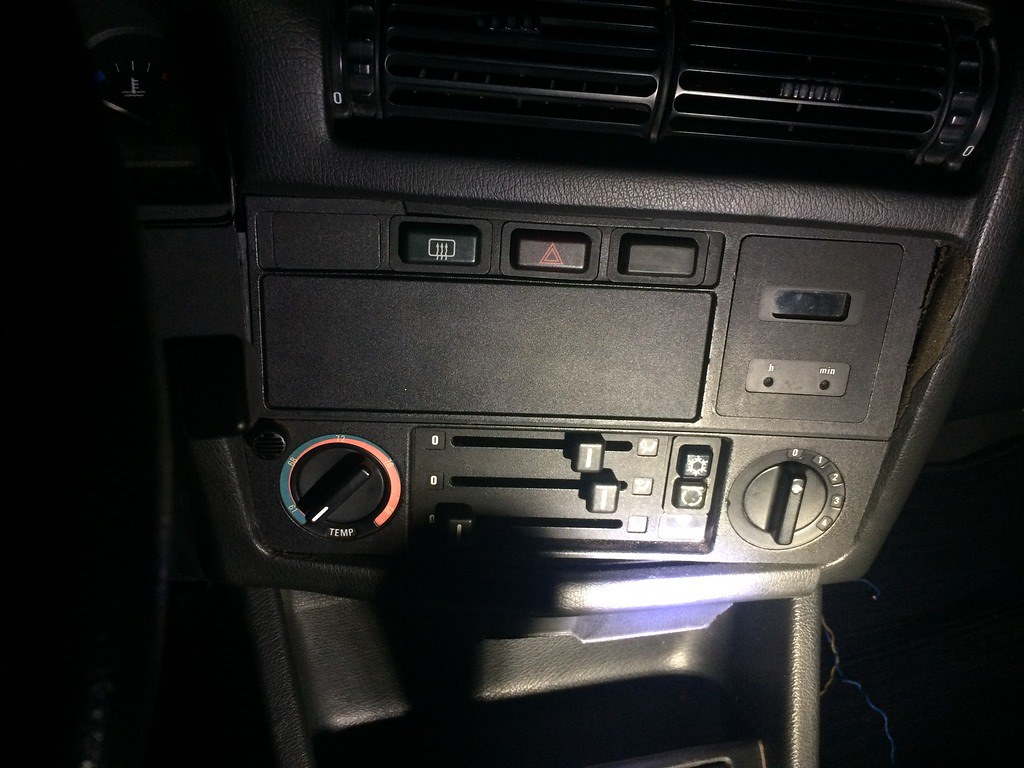
Head Unit Install:
Next, I worked on installing a radio. After doing a bit of research, I decided to go with an Alpine CDE-164BT for the sound quality, ease of use, and future expandability.
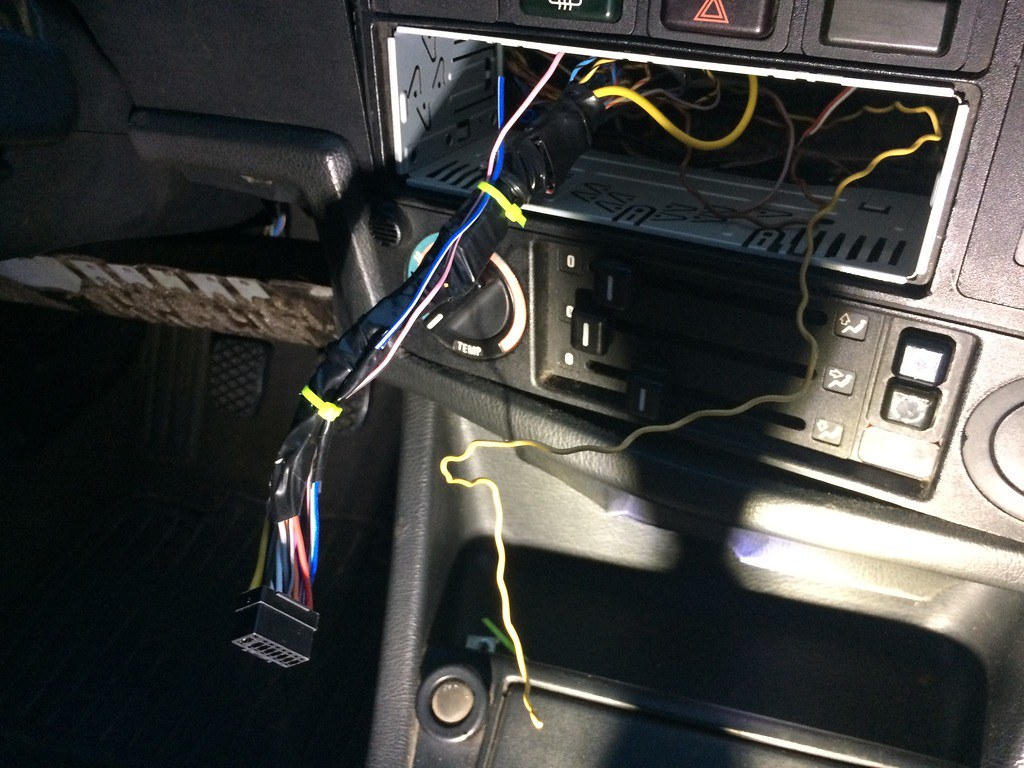
What I started with:
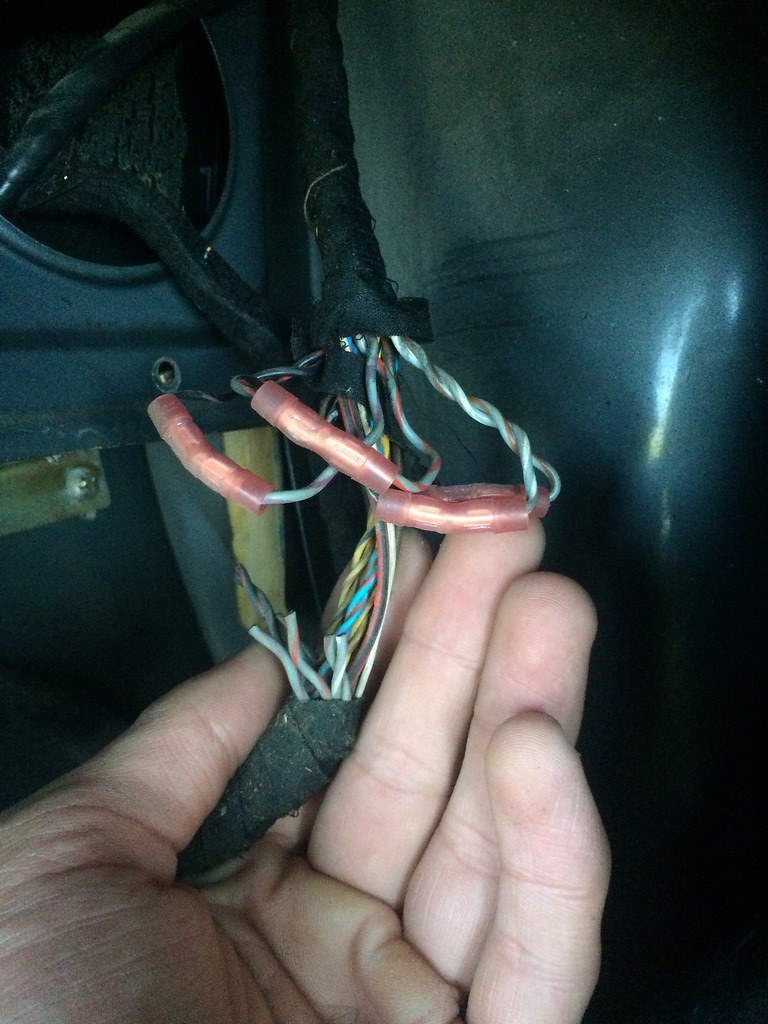
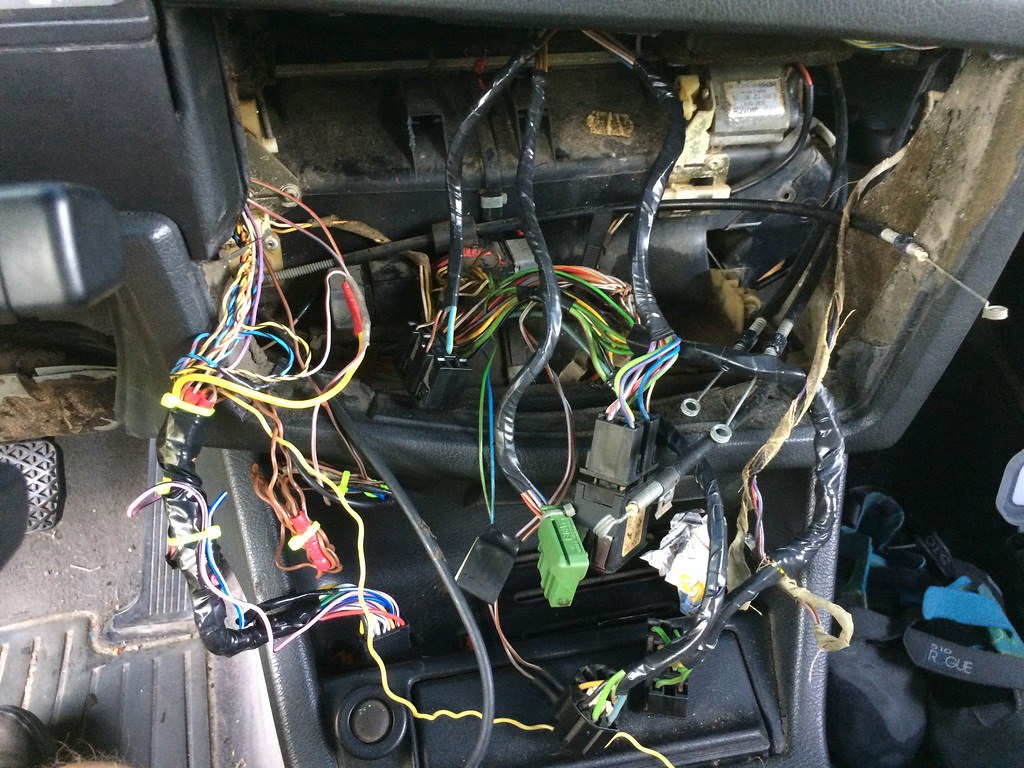
Pulling out the rats nest:
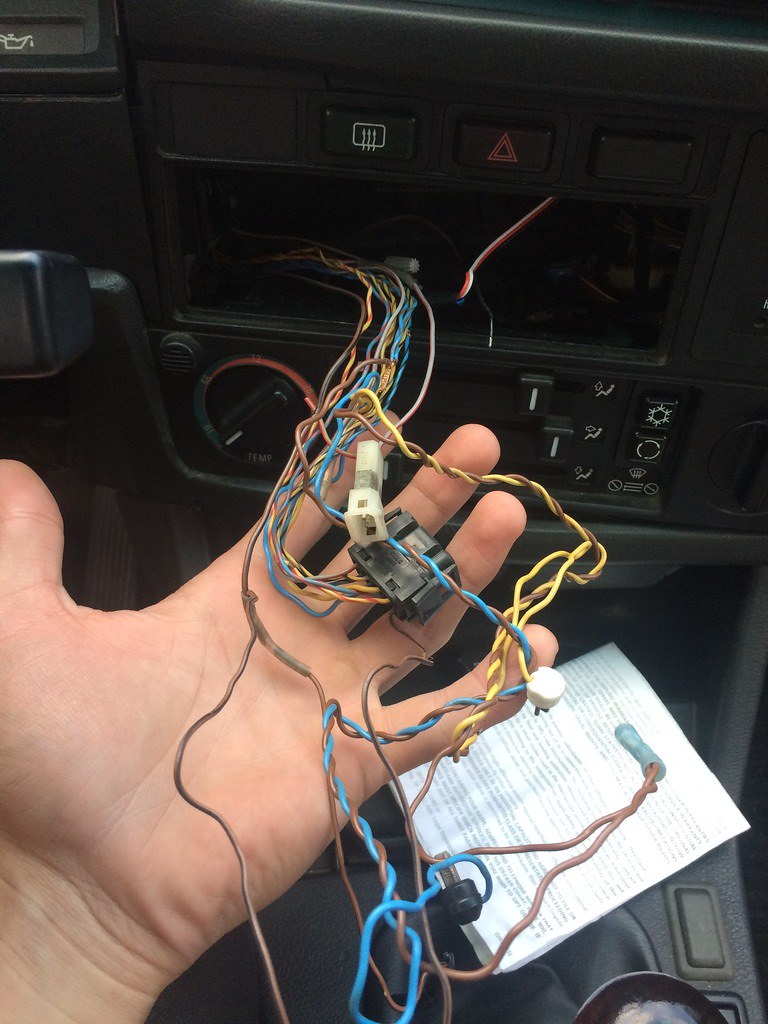
My sound system had been very hacked up, I ended up using these two threads to get the head unit working, and bypass the factory amp correctly:
- http://www.r3vlimited.com/board/showthread.php?t=353084
- http://www.r3vlimited.com/board/showthread.php?t=191119
Radio wiring diagram (From Kid8's thread above):

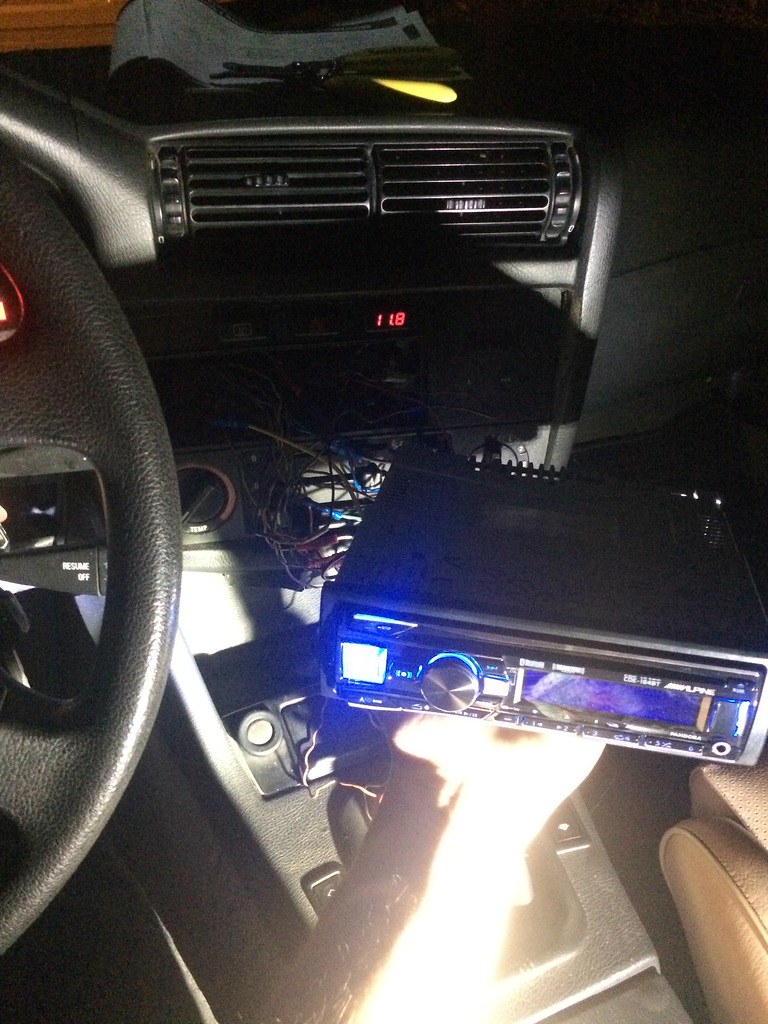
The radio turns on! But nothing was coming out of the speakers...
Time for some troubleshooting.
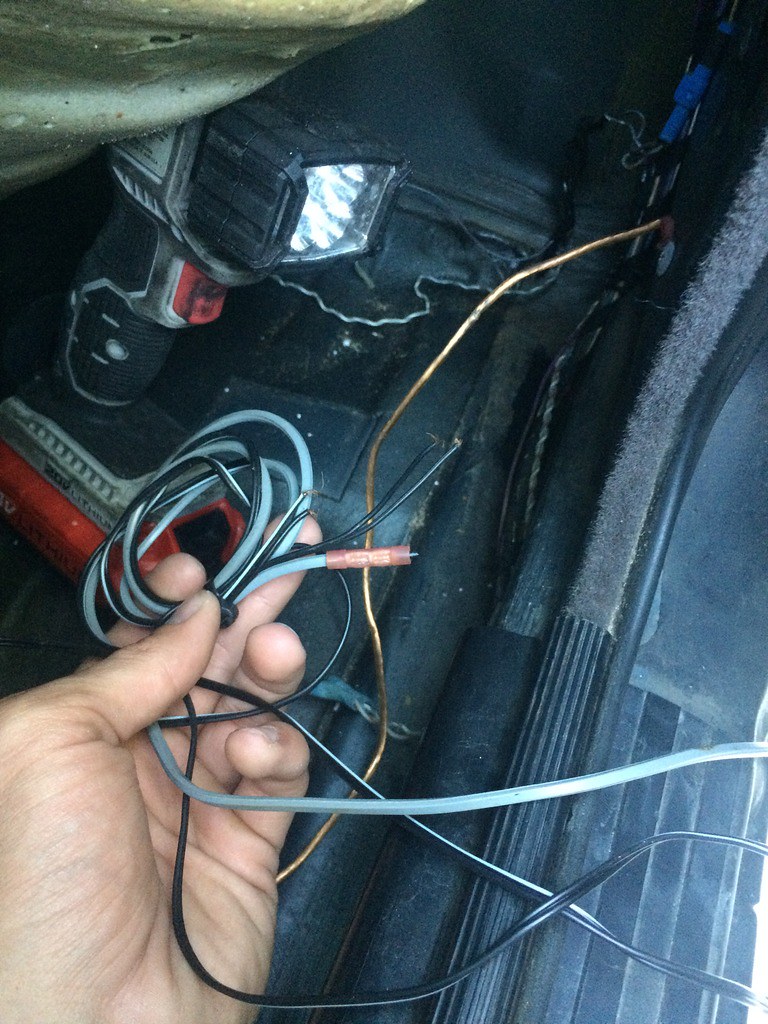
Found a mess of old speaker wire under the carpet and some disconnected wires... hmmmmmm.
Reconnected speaker wiring on the driver's and passenger's side:
...but still nothing from the speakers...
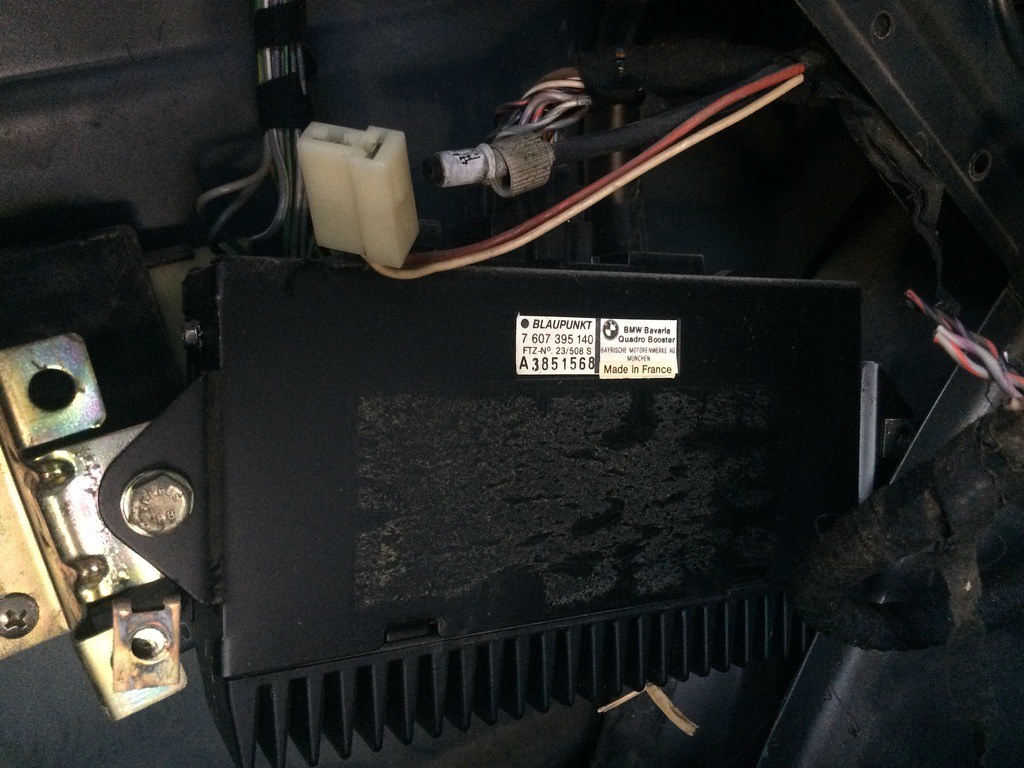
Aha! Some more rigging in the trunk:
Cool to find the factory amp hidden away though, looks like it was bypassed a long time ago.
I cut out the old butt connectors, and tested each speaker:
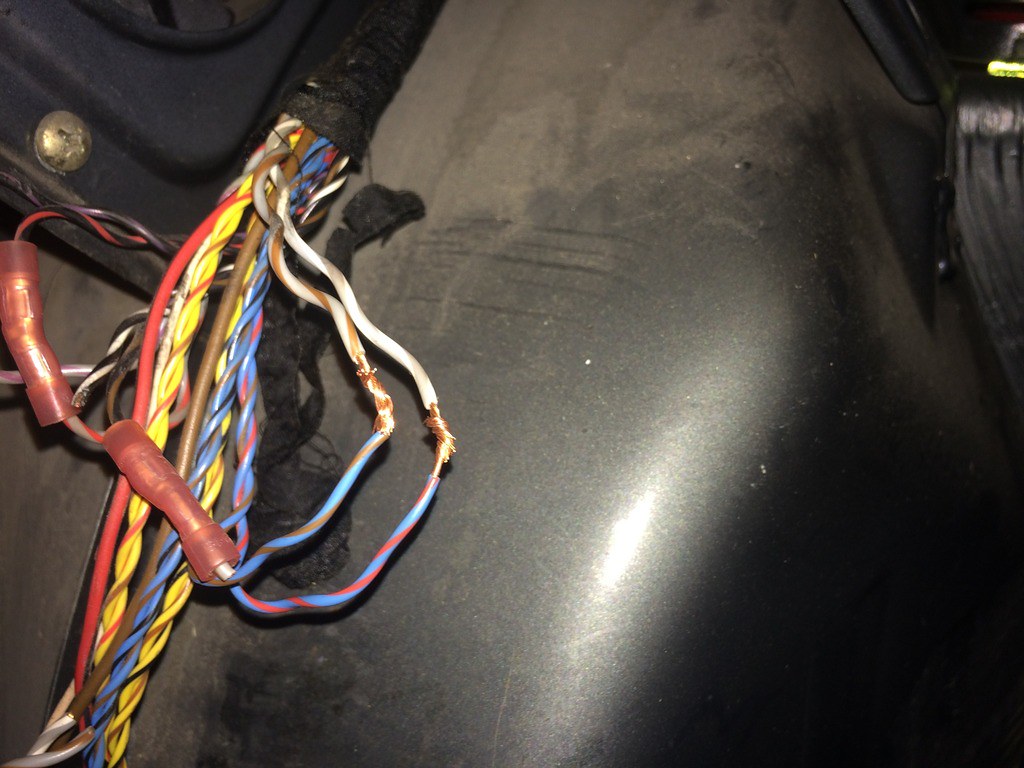
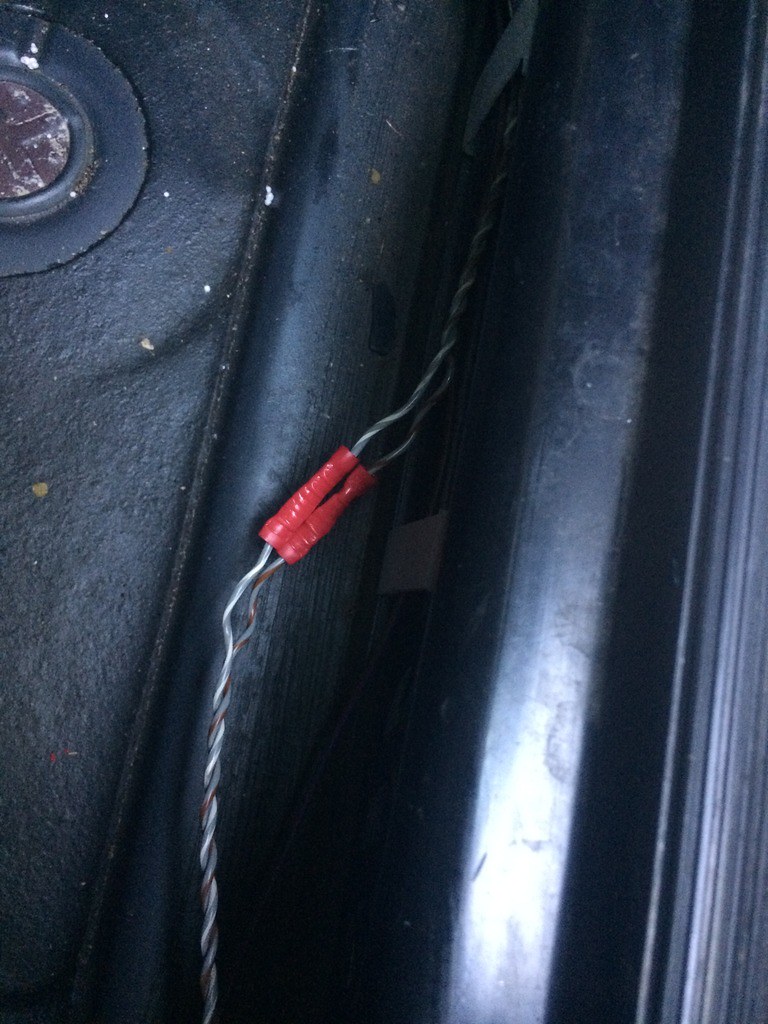
Amp bypassed the "right" way:
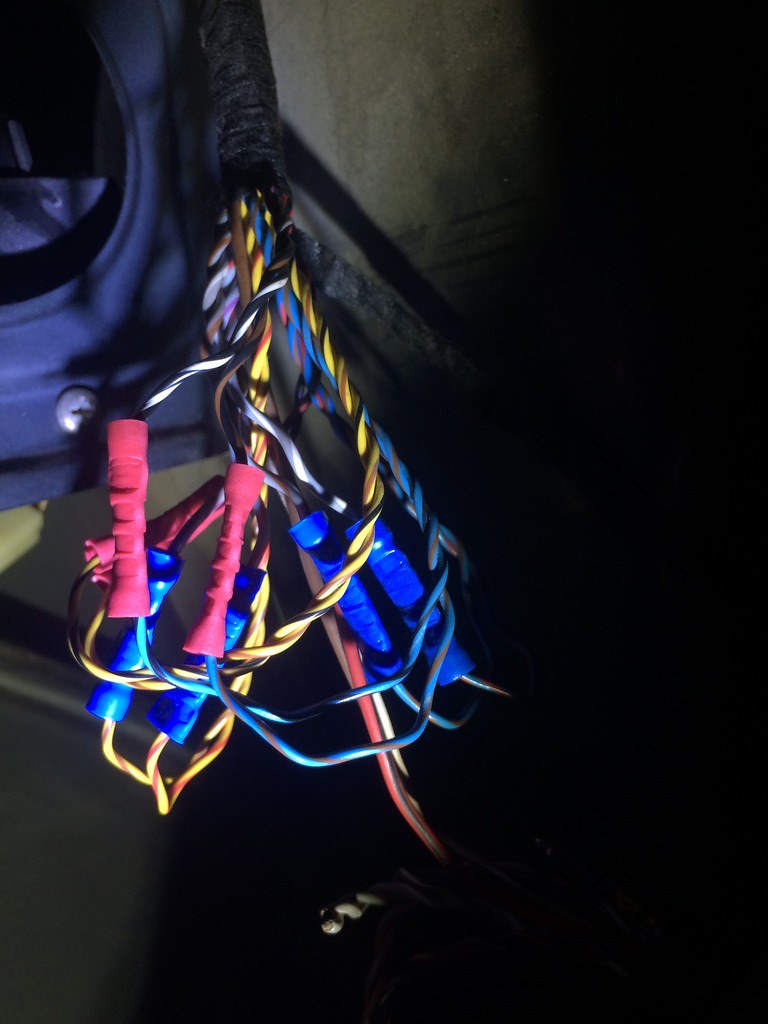
All cleaned up and wiring tucked away:
Back to the head unit, cleaned up the wiring and spliced in a power wire off of the radio ignition wire for the voltmeter (yellow):
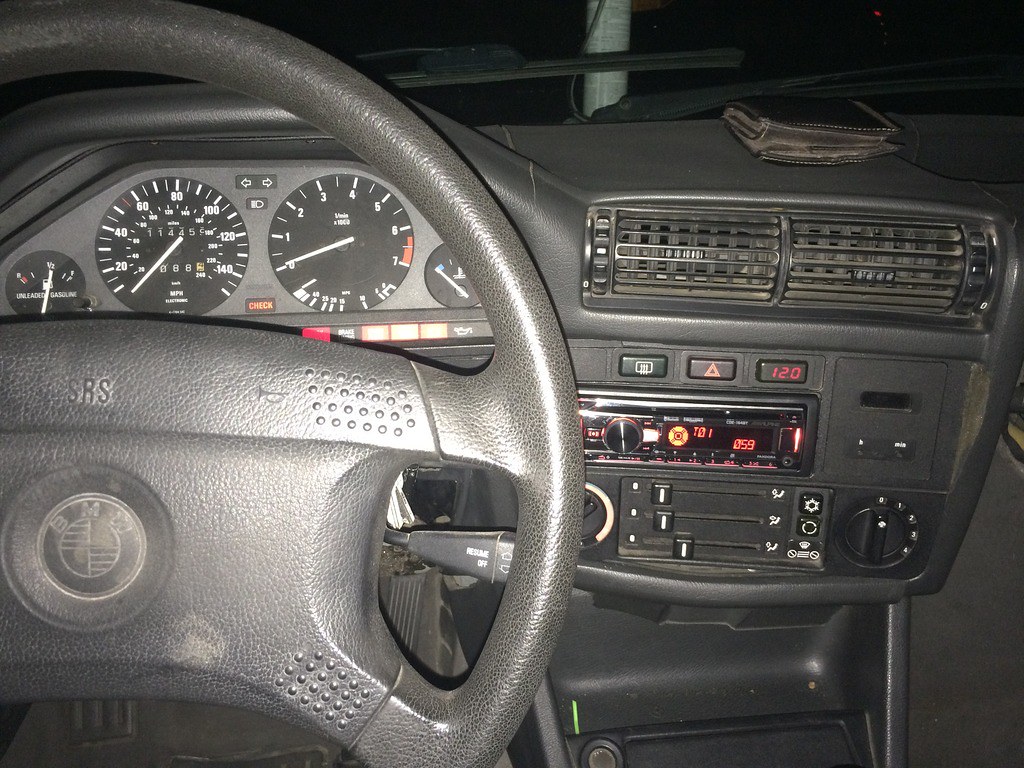
A working radio at long last, although it could definitely use some new speakers ;)
The previous radio installation seemed quite hacked up, but I believe what they did was run individual wires from the head unit to the front speakers while bypassing the front tweeters all together. The wires that were output from the amp to the rear deck speakers were then spliced into and powered by an aftermarket amp. Back when I first got the car I found some additional wiring that indicated there was a sub installed at some point. I'm guessing an aftermarket amp powered the rear deck speakers and sub.
[/B]AC Install![/B]
Previously, I removed a majority of the AC system - compressor, compressor bracket, AC lines, etc. so it was time to get everything back into the car.
Reinstalling compressor bracket:

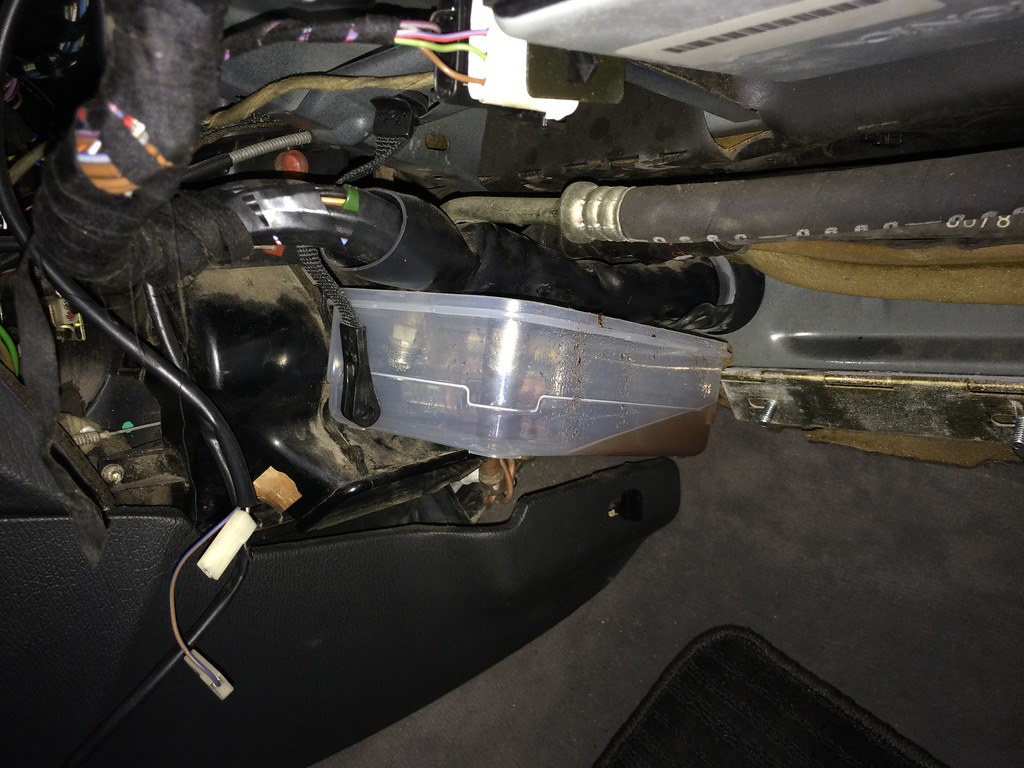
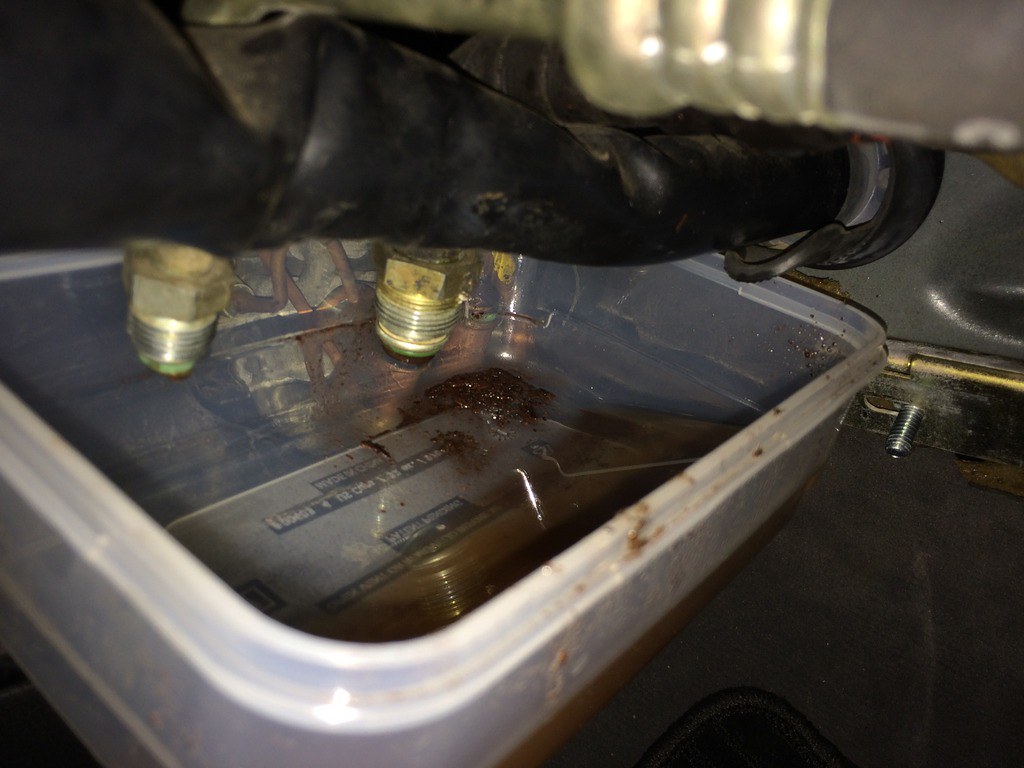
Removing interior AC lines from expansion valve to flush the lines:
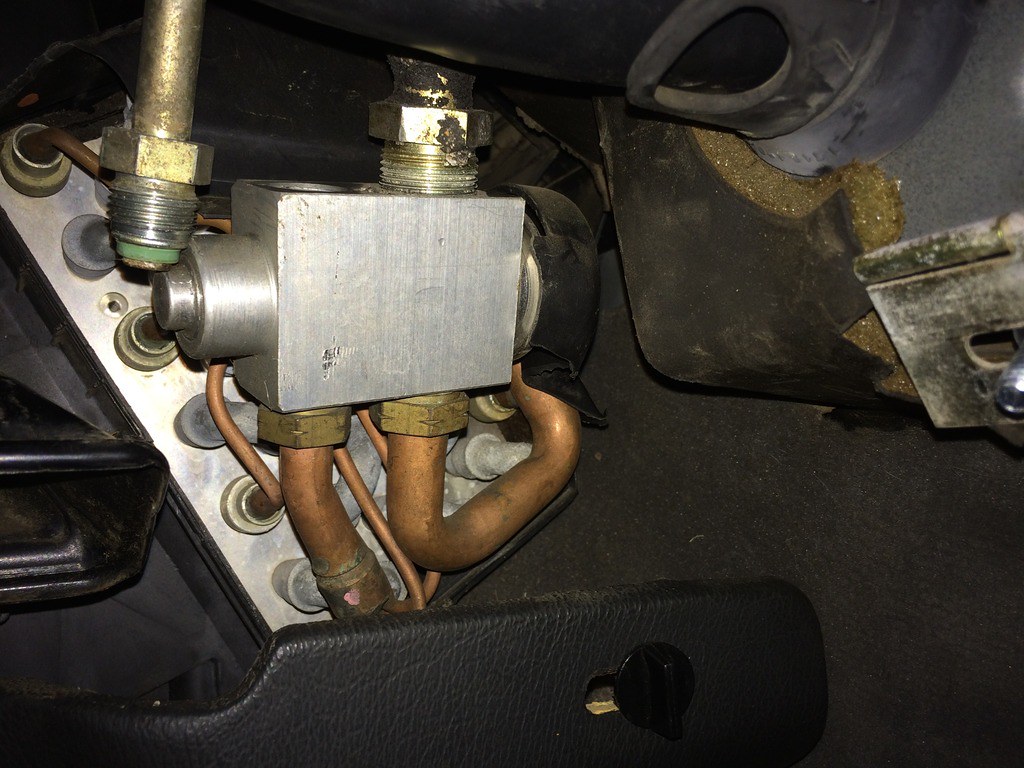
Waaaa, the car was already converted to R134?!

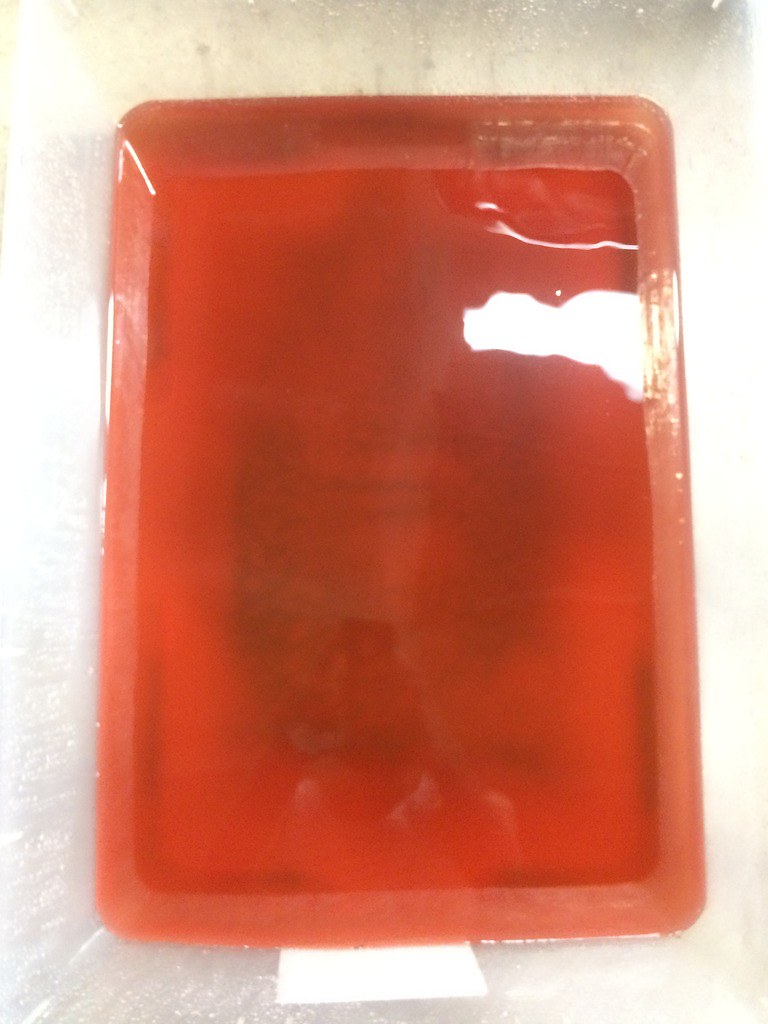
Flushed the shit out of the lines with a AC power flush, they were seriously filthy and would have killed a compressor pretty quick:
Cleaned up my old compressor and flushed the associated lines. I also emptied the compressor of PAG oil and refilled with some fresh oil:

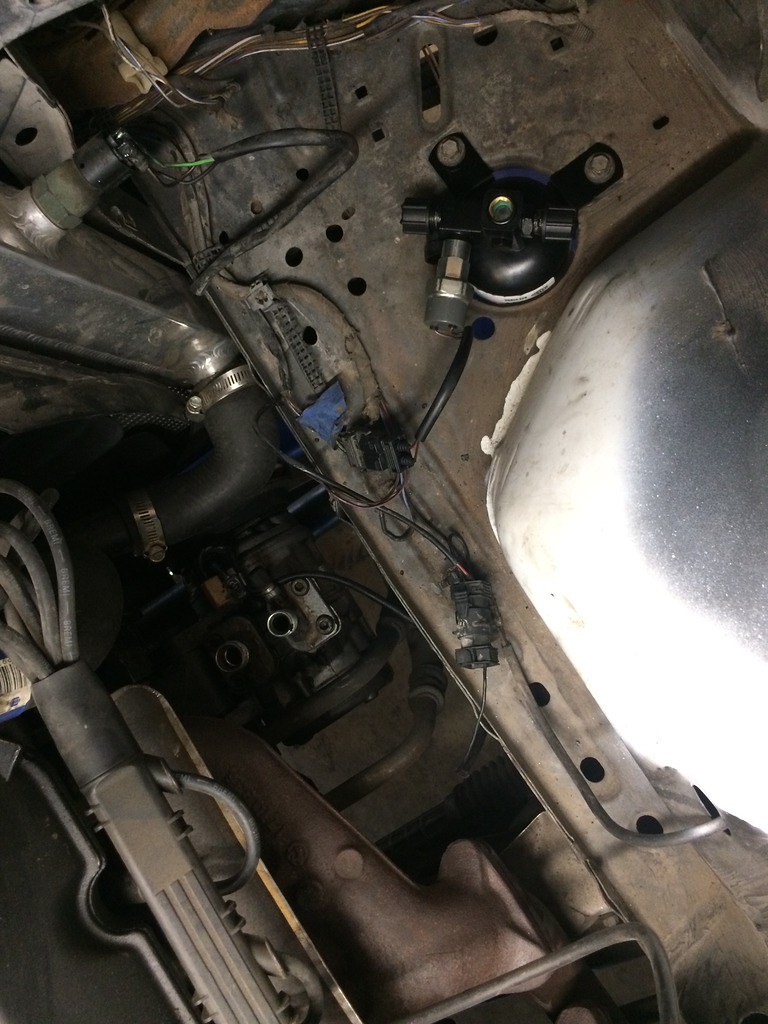
New AC drier, pressure switch, and compressor installed:
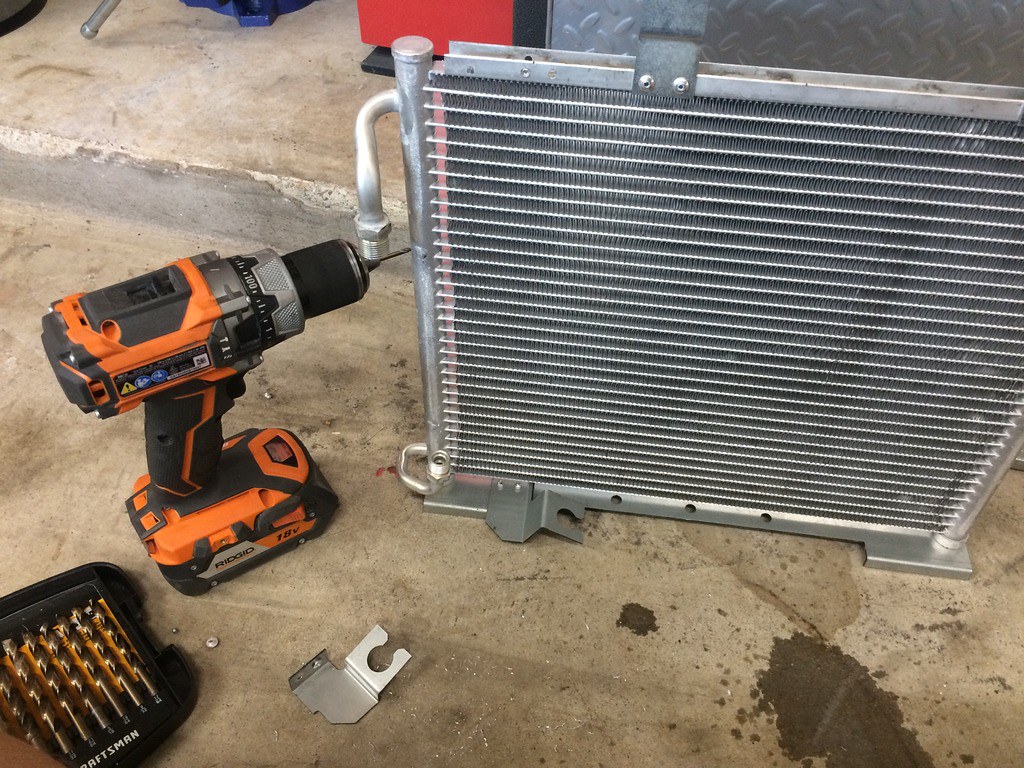
Removed unnecessary brackets from the parallel flow condenser:
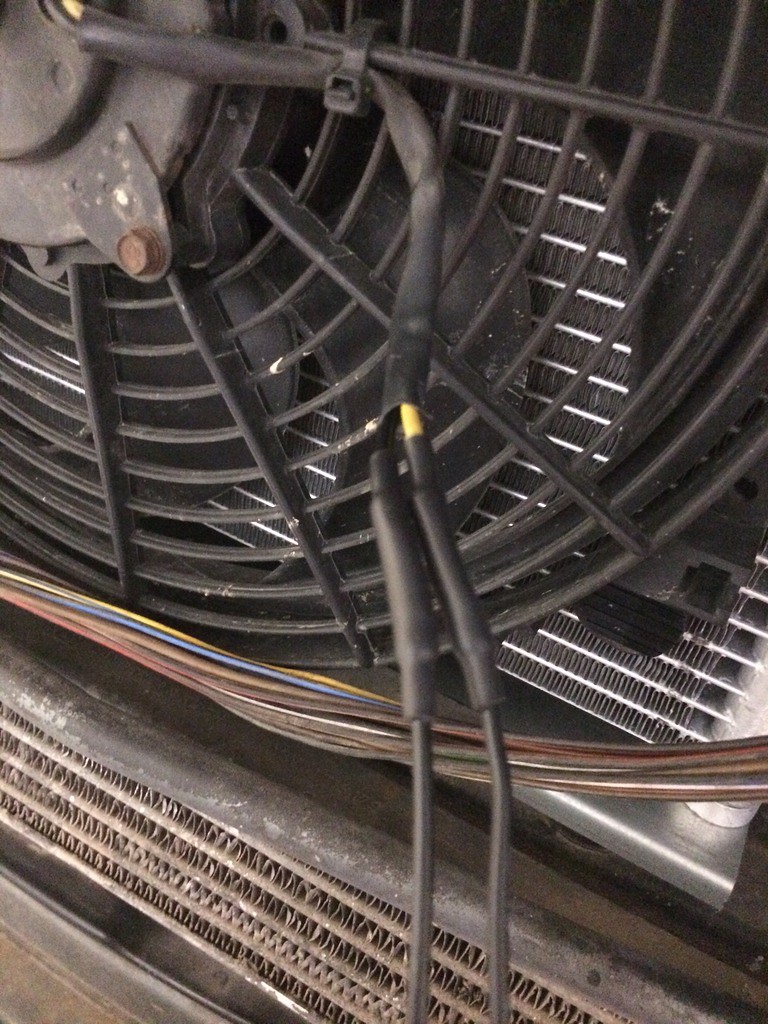
Kid8 hooked me up with a free fan, installed:
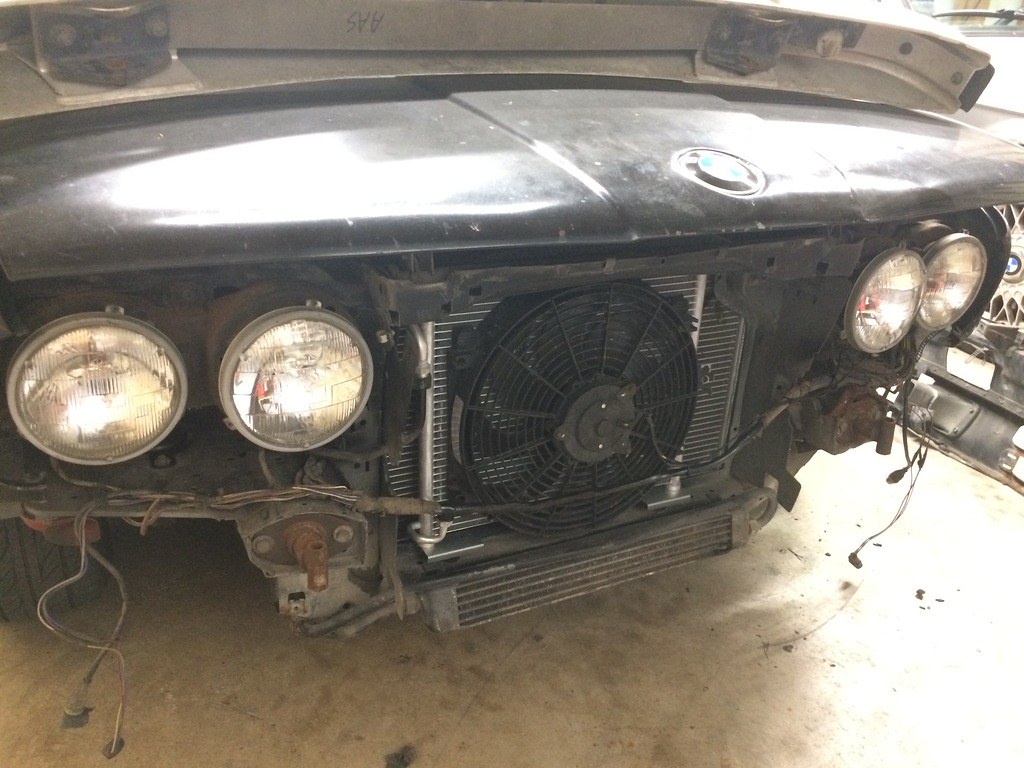
Fan wired up, no resistor on this one so I'll just run it on high when the AC switch is depressed / engine reaches elevated temps:
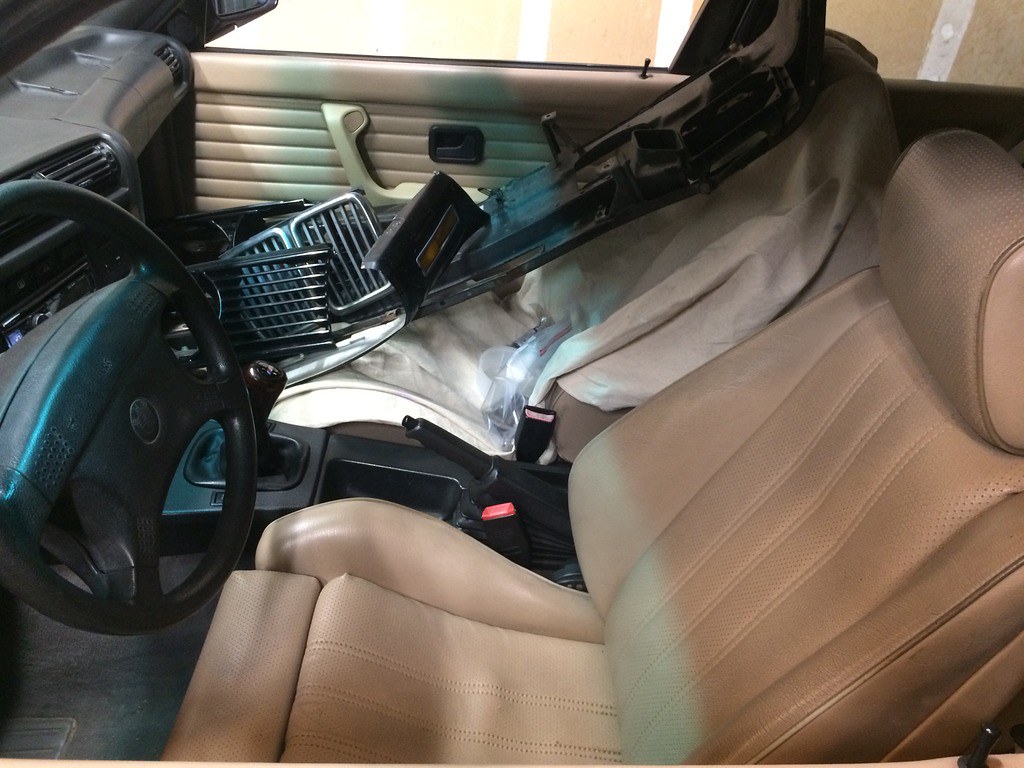
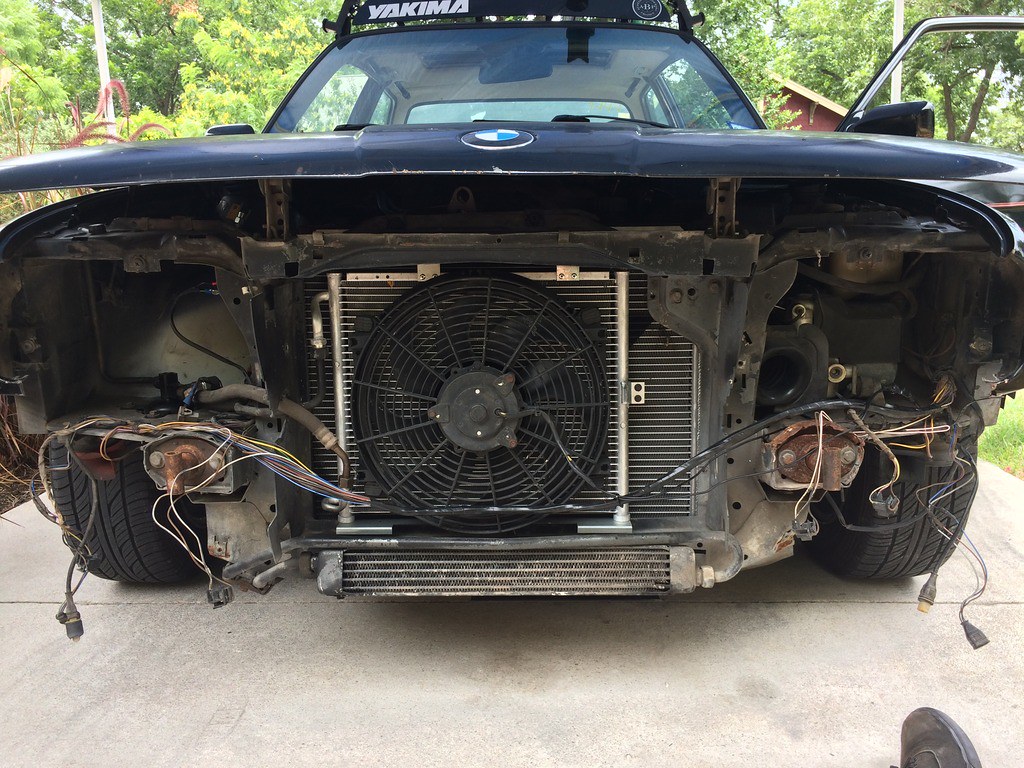
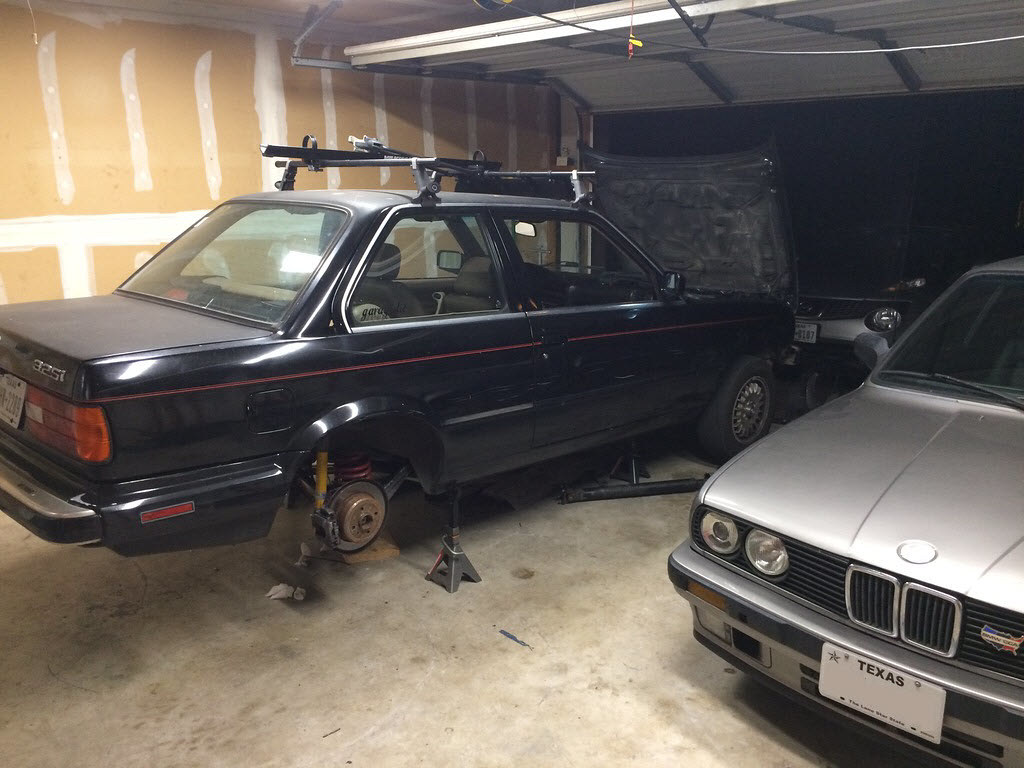
Drove around with no front end for a while until I could thoroughly test the AC system, stuffed everything in my passenger seat to get home at the end of the night:
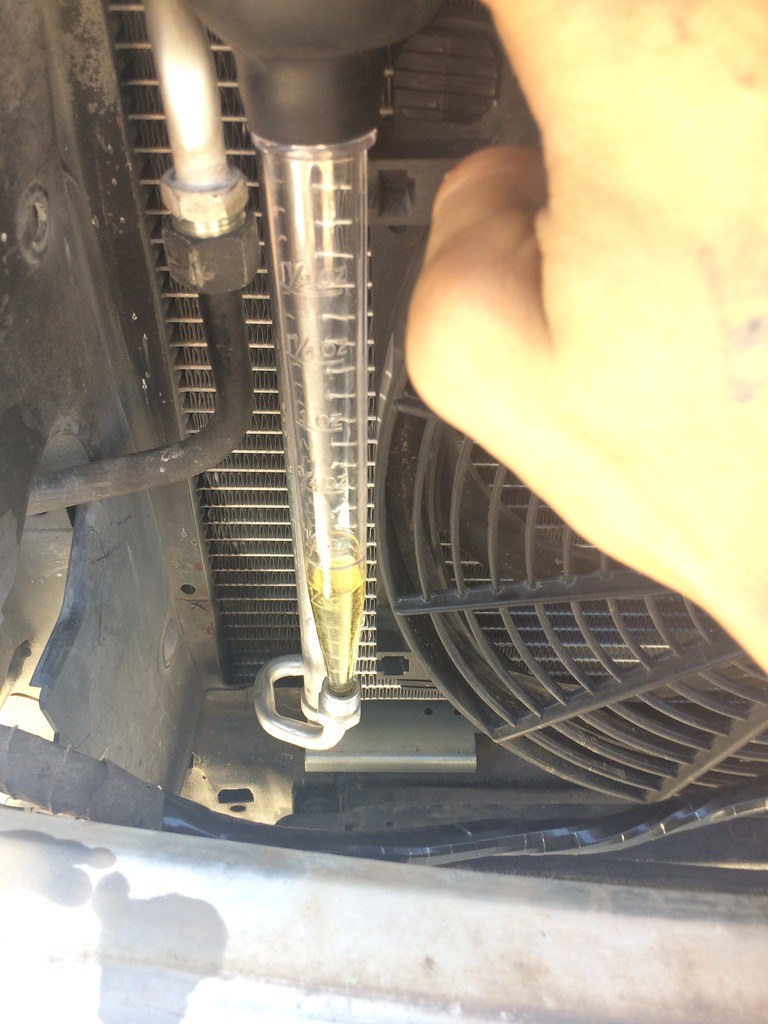
Time to test AC system, I filled the condenser with 2oz of PAG 46 oil using a turkey baster
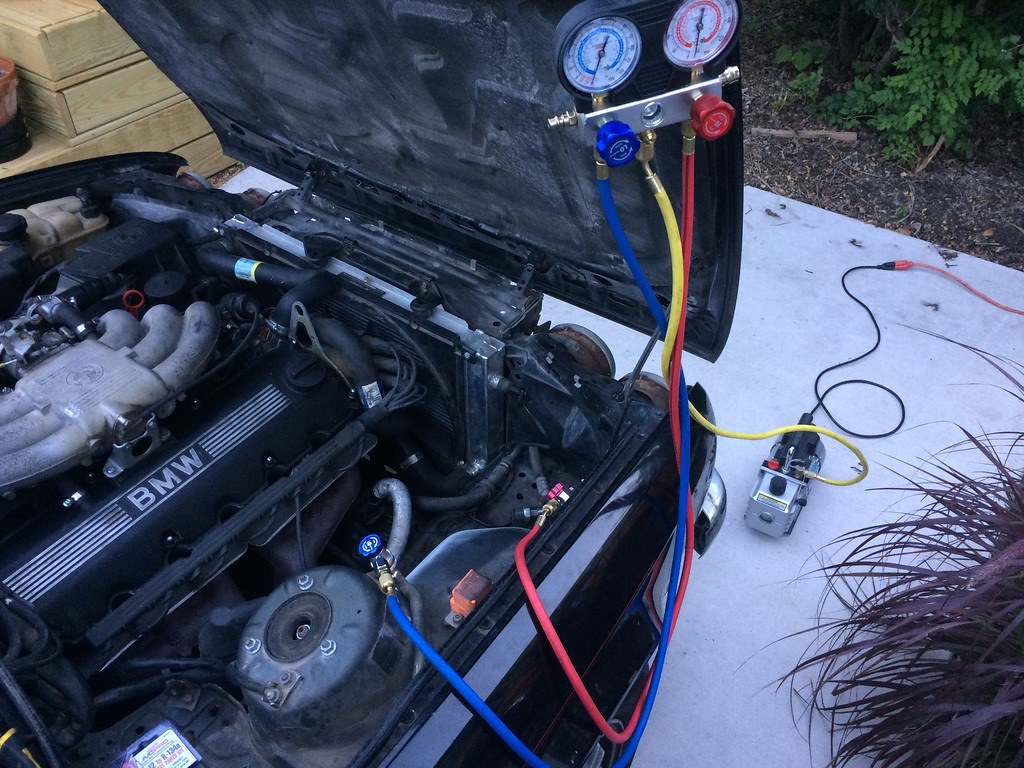
Vacuumed out the system for about an hour or so:
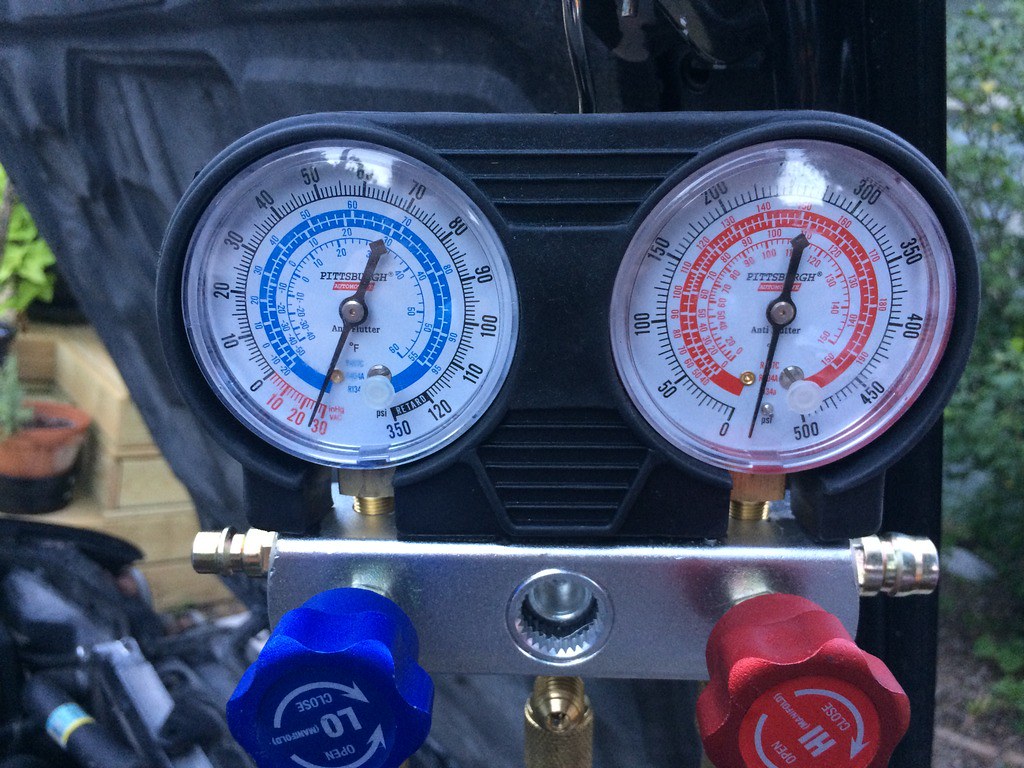
Let it sit for another half hour, vacuum held pretty strong. There was a slight drop in vacuum, but hoping the stop leak in the R134 cans I bought will take care of any minor leaks.
I added some R134 to test out the clutch on the compressor, it works!
But wait... Fuse 20 keeps blowing. I was really stumped by this one, and hate throwing parts at a problem so I wanted to figure out what exactly was causing fuse 20 to blow.
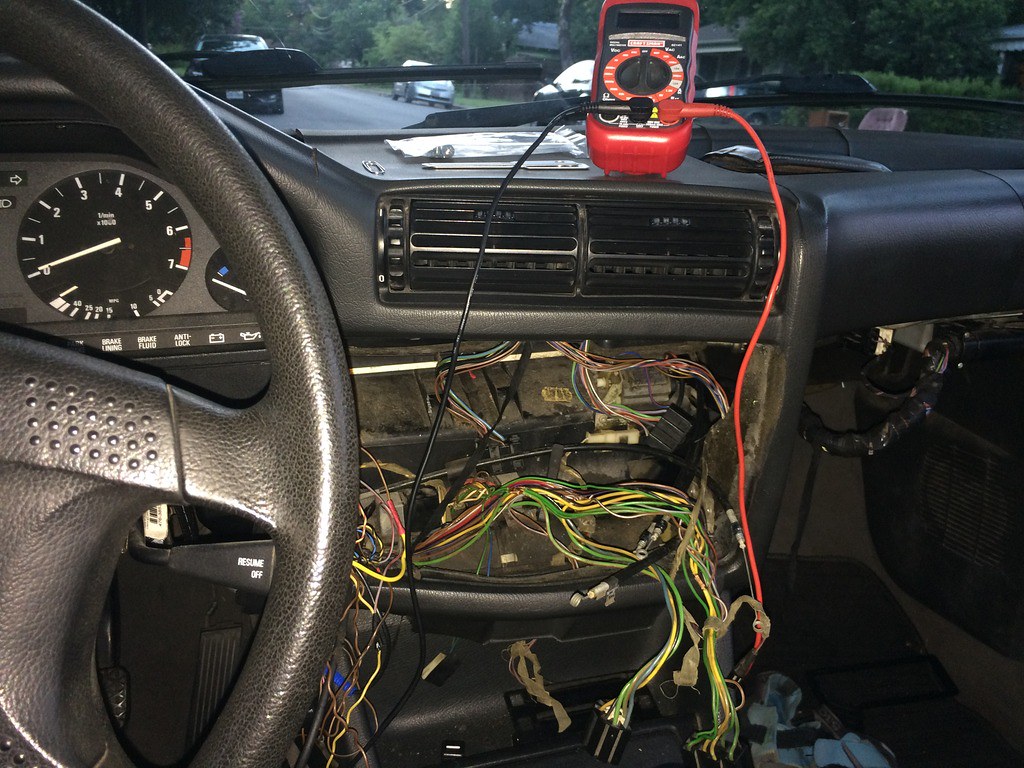
First, I ripped the front end apart to inspect all the wiring but everything checked out, no broken wires.
Then I broke out the ETM and started testing connections at the AC plug and fan speed control module. The AC plug checked out, but I noticed it getting extremely hot when the AC button was depressed... well that's not right. A yellow power wire that is used by both the AC switch and fan control module appeared to be shorting, causing Fuse 20 to blow.
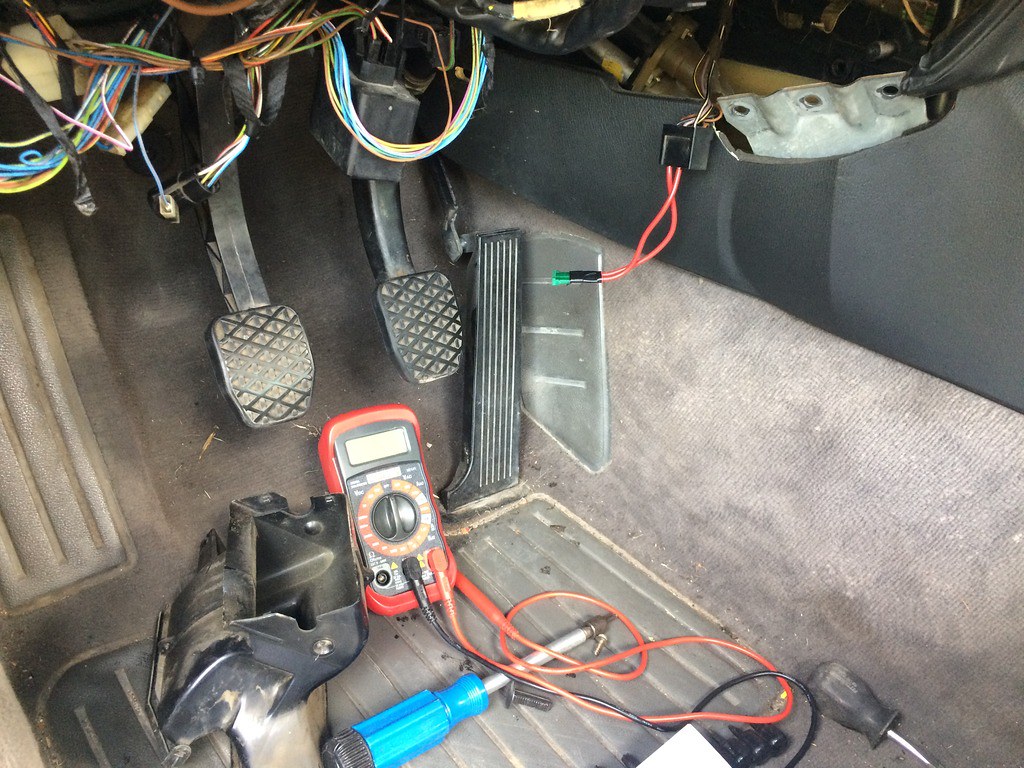
This then led to me check resistance on the compressor. Using a fused jumper cable, I checked resitance on the compressor and sure enough, the resistance was out of spec per the ETM.
I was excited that I finally narrowed down the issue, but bummed I needed a new compressor. Oh well, such is life.
Reorganized my mess and taped up all the wiring:
After a bit of haggling and price matching, I talked autozone down from nearly $400 to $230 on a re-manufactured 4seasons compressor.
Swapped in the new compressor and finally, working AC at last without blowing any fuses. The AC isn't ice cold, but it beats not having anything at all.
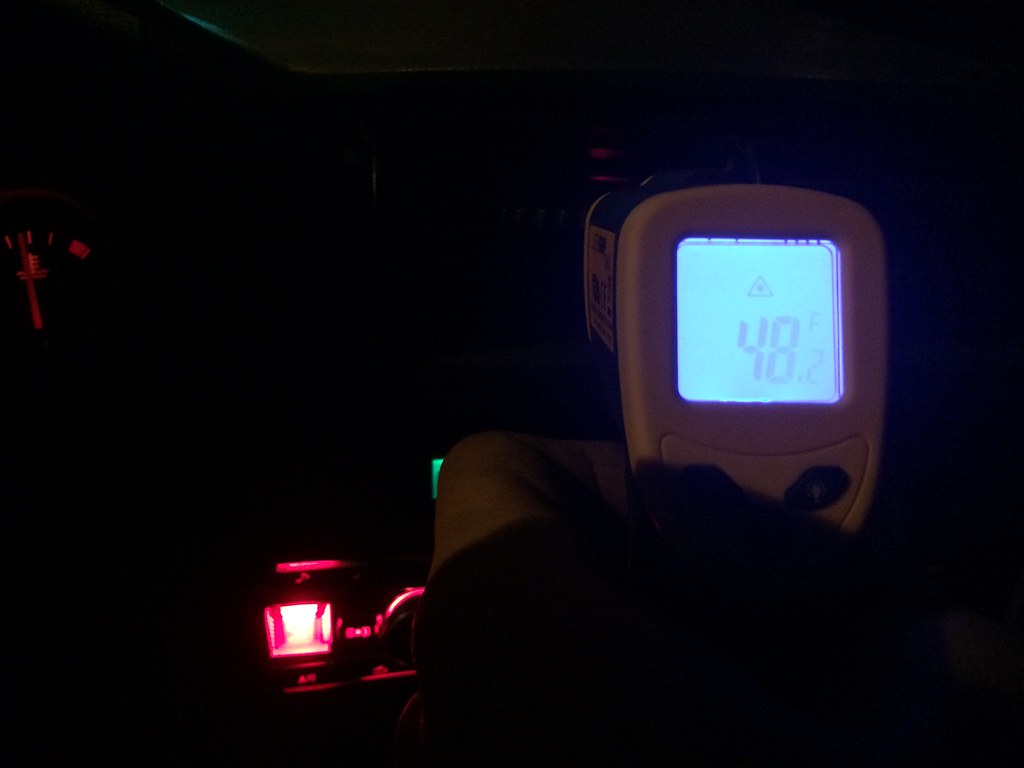
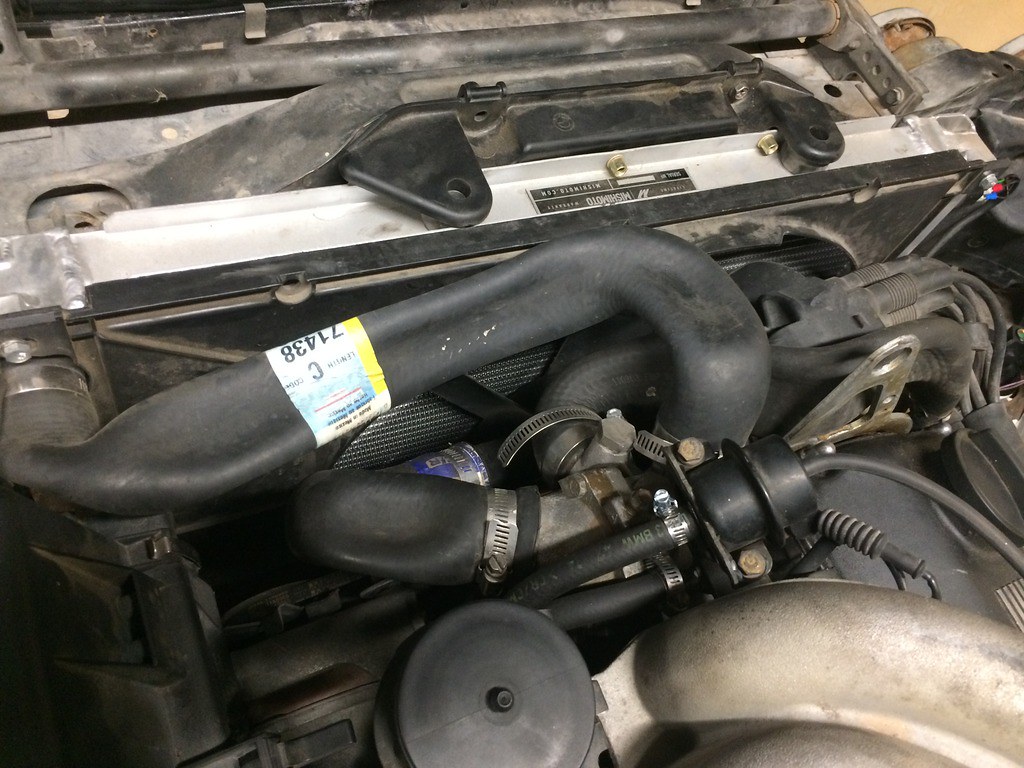
I noticed my temps starting to creep as the Texas heat was setting in, so I figured it was time for a coolant flush. I've had rust issues in the past inside my coolant channels, and I believe I didn't properly flush my system last time as I didn't drain my coolant from the block, only through the radiator. If you're doing a coolant flush, don't forget to drain it from the block too! I tried telling Kid8 otherwise, but he swiftly proved me wrong.

Lots of rust particles in here:
Rust build up that I cleaned off the magnetic radiator bung:

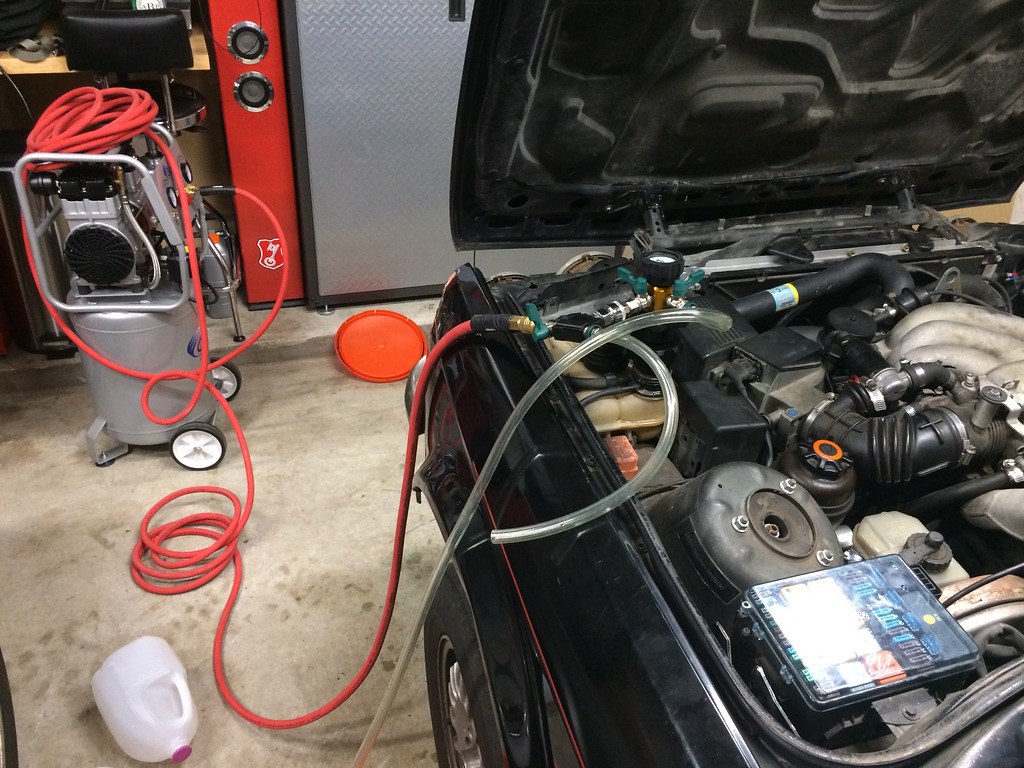
Pulling vacuum on the system, and refilling with coolant:
As per usual, I tend to have to repeat difficult jobs more than once. After reinstalling my subframe all seemed well until I drove in the rain a few times, then an awful squeaking developed every time I shifted, hit a bump, or even looked at the car the wrong way. I quickly realized I didn't lubricate my poly enough, especially on my rear trailing arms. I drove it like this for a while until it completely drove me insane and I decided to the drop the subframe again.
Squeak squeak, time to drop the rear subframe again:
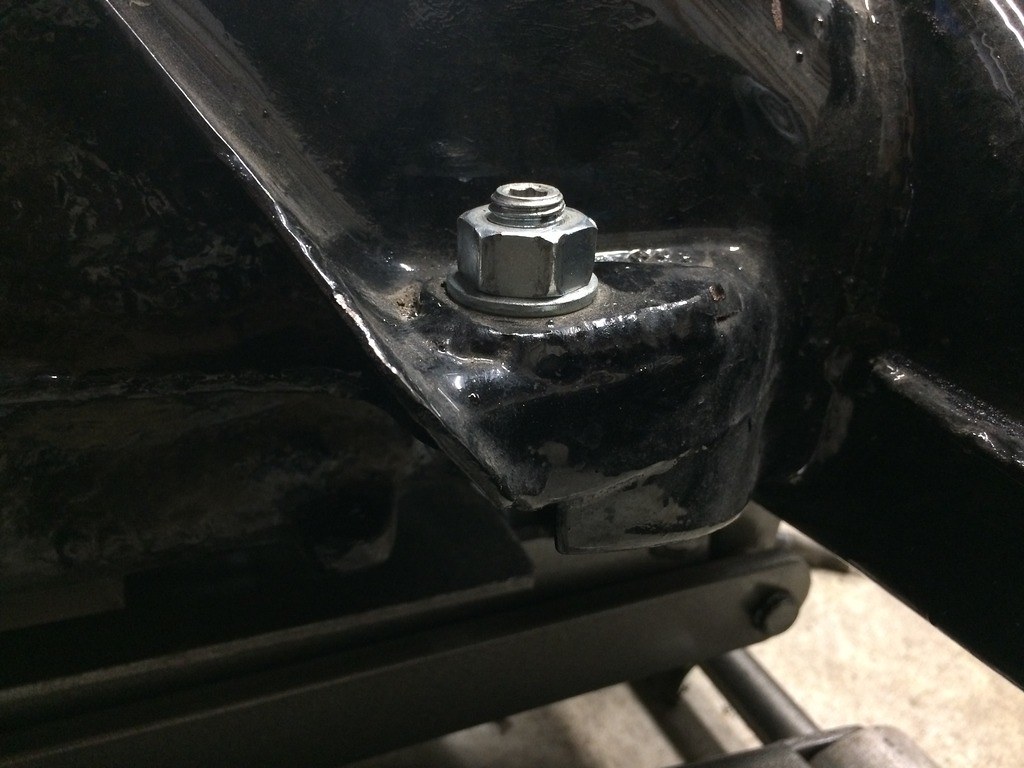
Well this is a familiar sight. Notice my anti-lock cable got caught on the trailing arm mount when the subframe went down, oops. I'm happy to say that I can drop an E30 subframe, pull the exhaust, and yank the driveshaft out in 2 hours flat now... if that's really something to be proud of Although, I admit I probably wouldn't have finished that quick if Kid8 hadn't let me use his garage / tools.

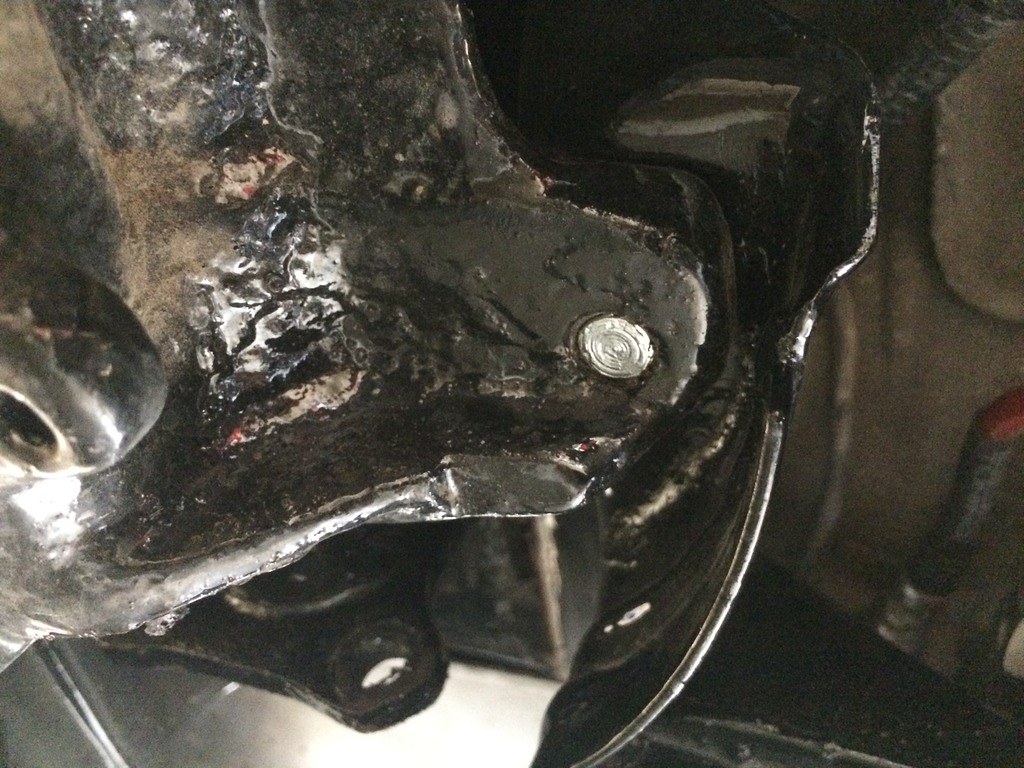
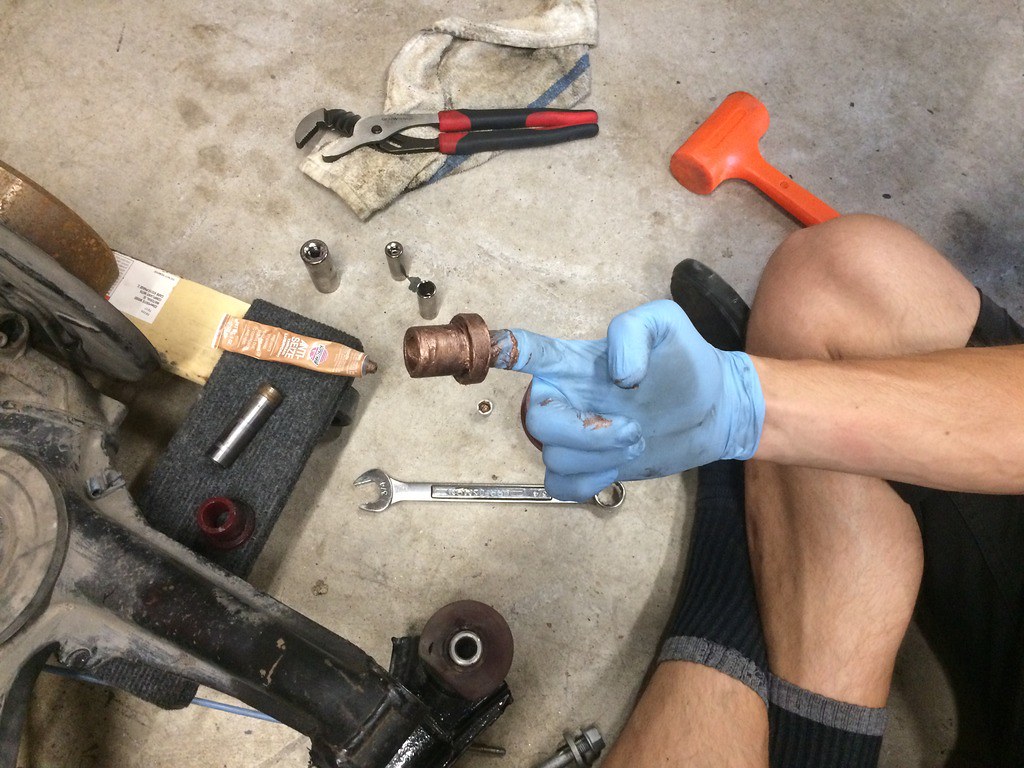
While I had it out I re-seated my diff studs, I really wasn't happy with how deep I installed them last time:
Much better, the studs are now flush with the bottom of the diff:
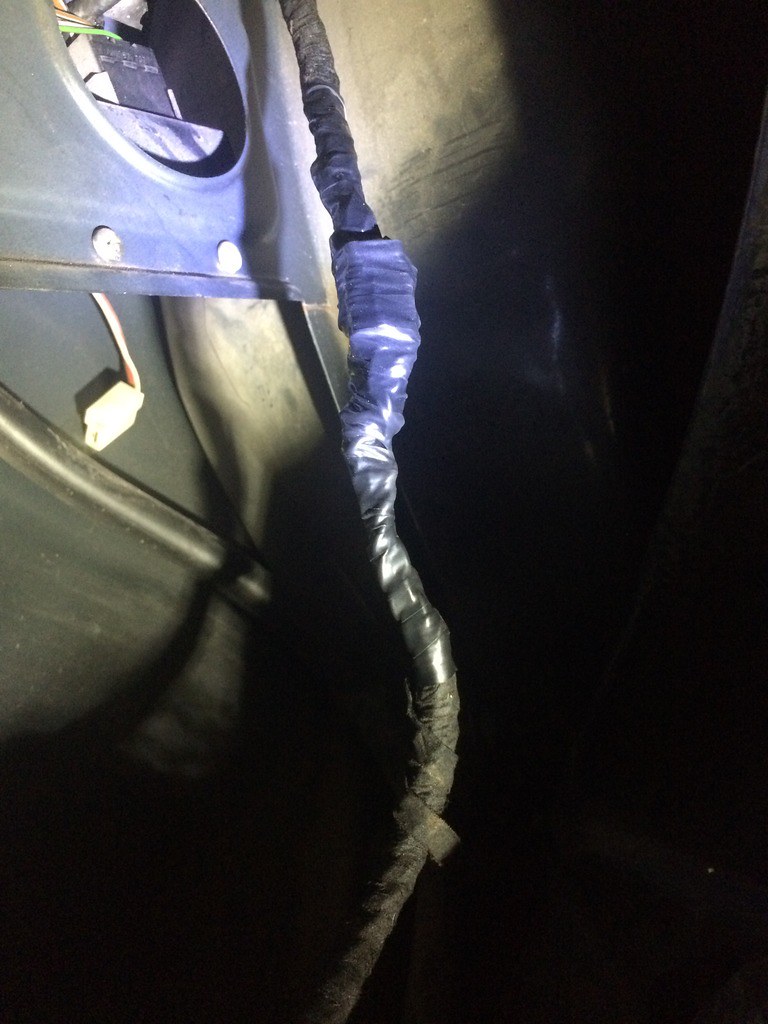
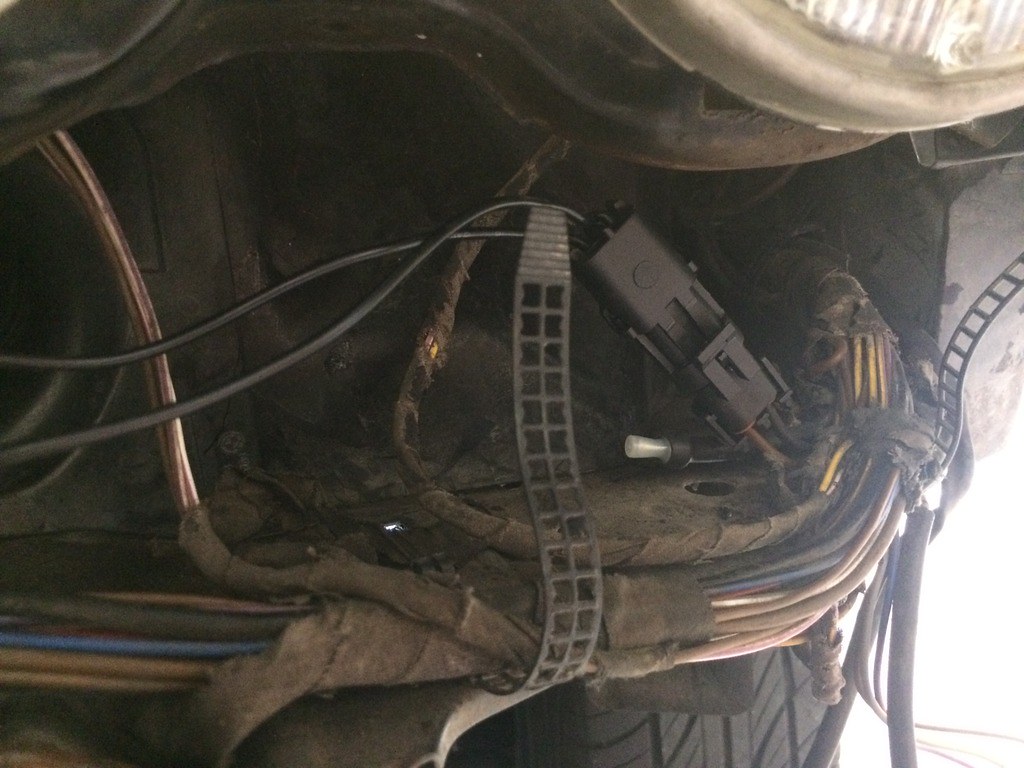
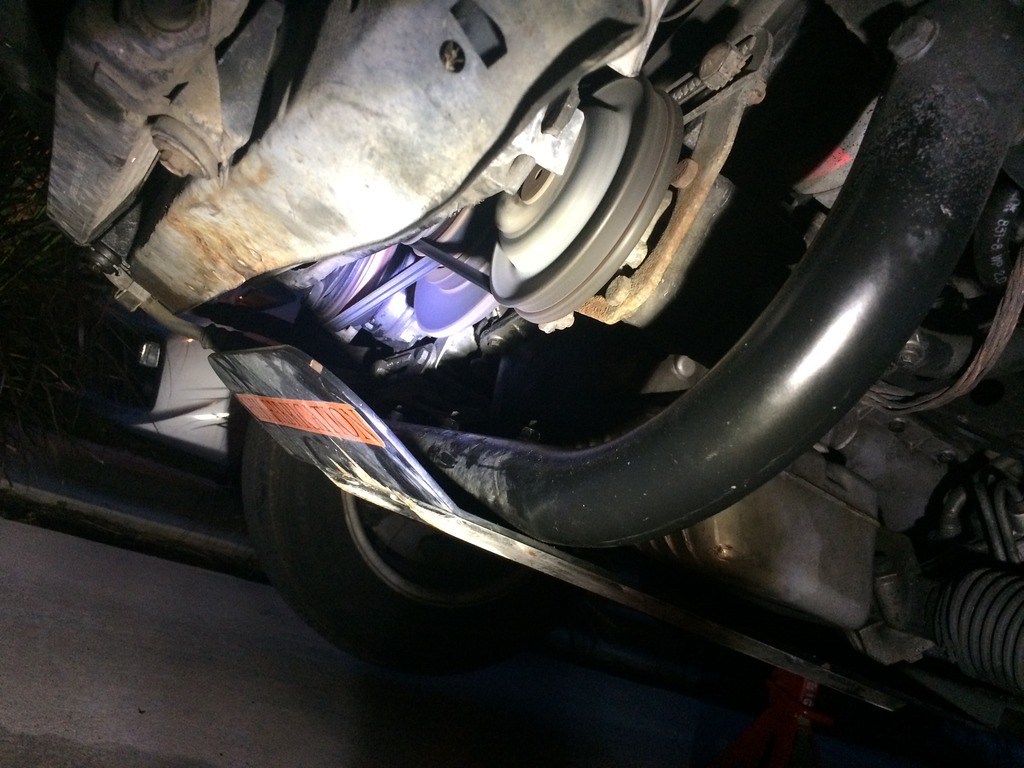
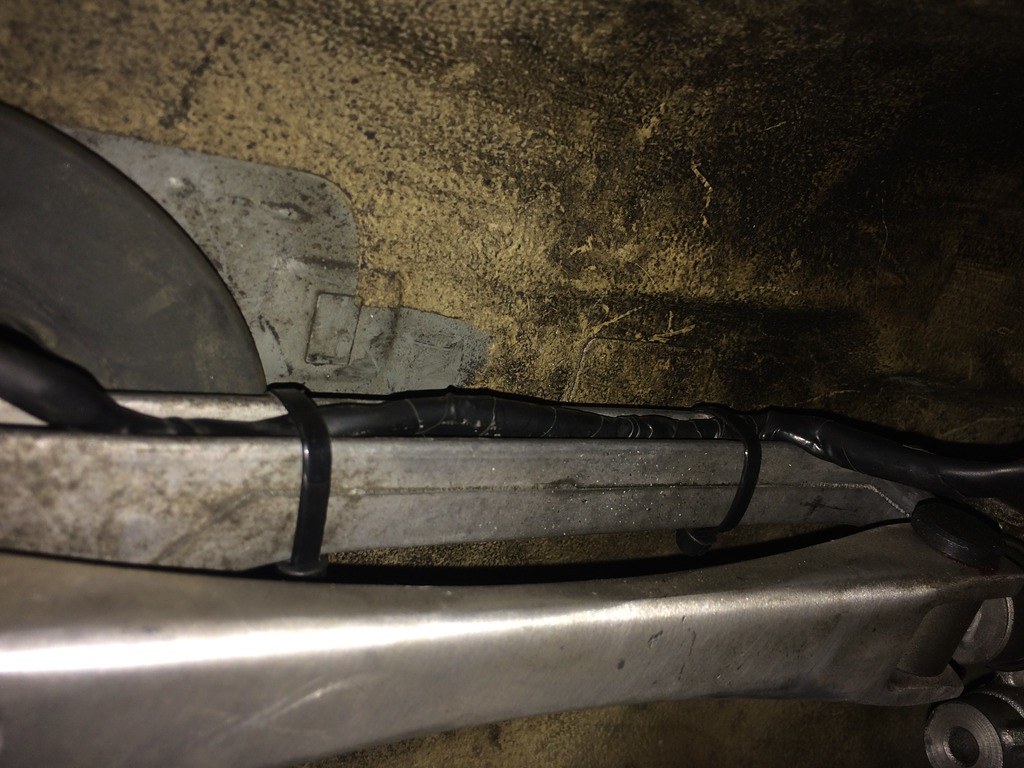
Dropping the subframe again turned into a blessing in disguise, discovered my reverse wiring was being chewed up by my harmonic balancer:
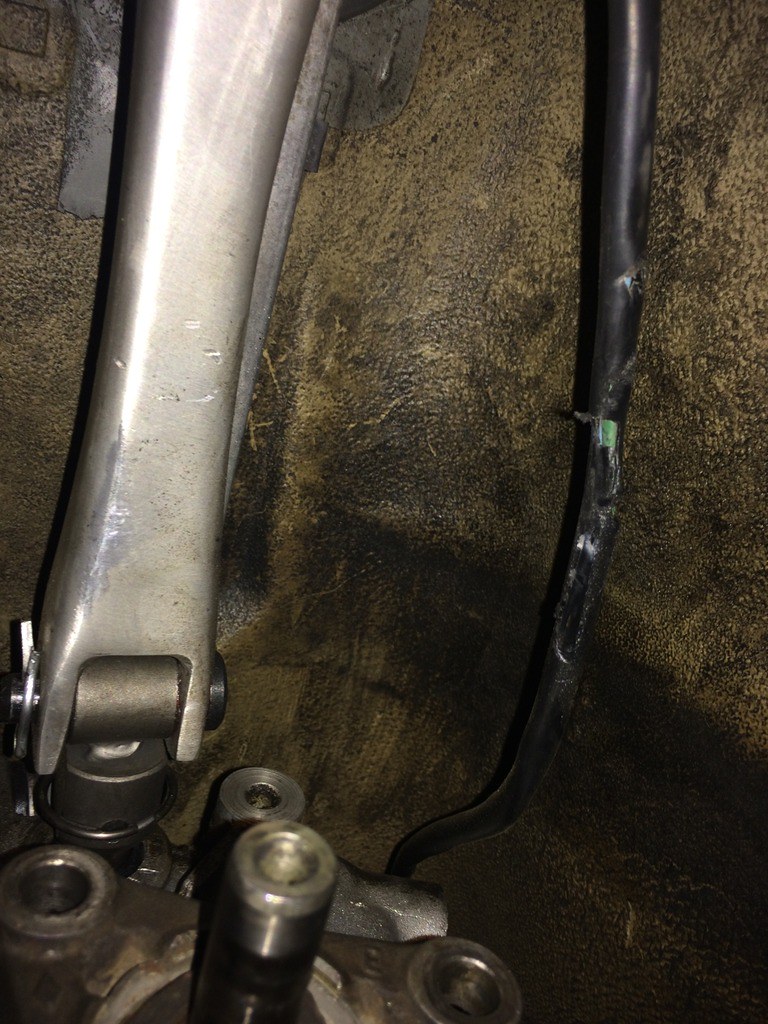
Taped up and zipped tied to my shifter holder:
Lubricated the shit out my bushings with copper anti-seize:

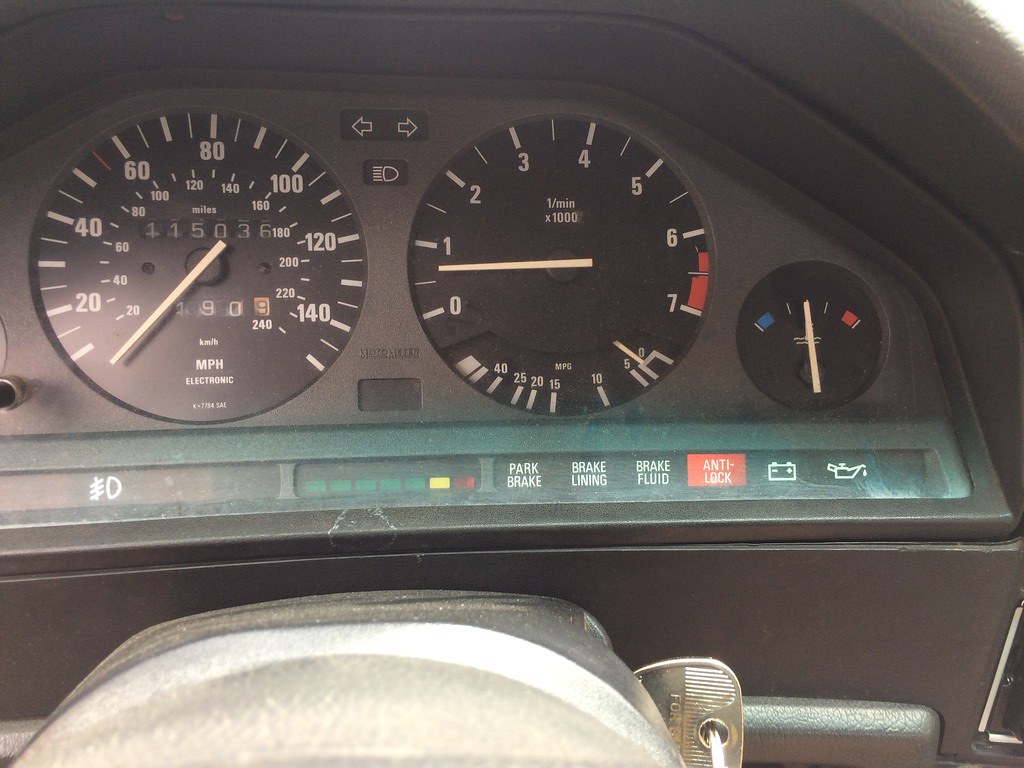
Subframe reinstalled, and the trailing arm bushings are quiet again... but the project wouldn't be complete without at least one screw up. Fortunately, the anti-lock brake plug just came apart under the back seat.
Easy fix!
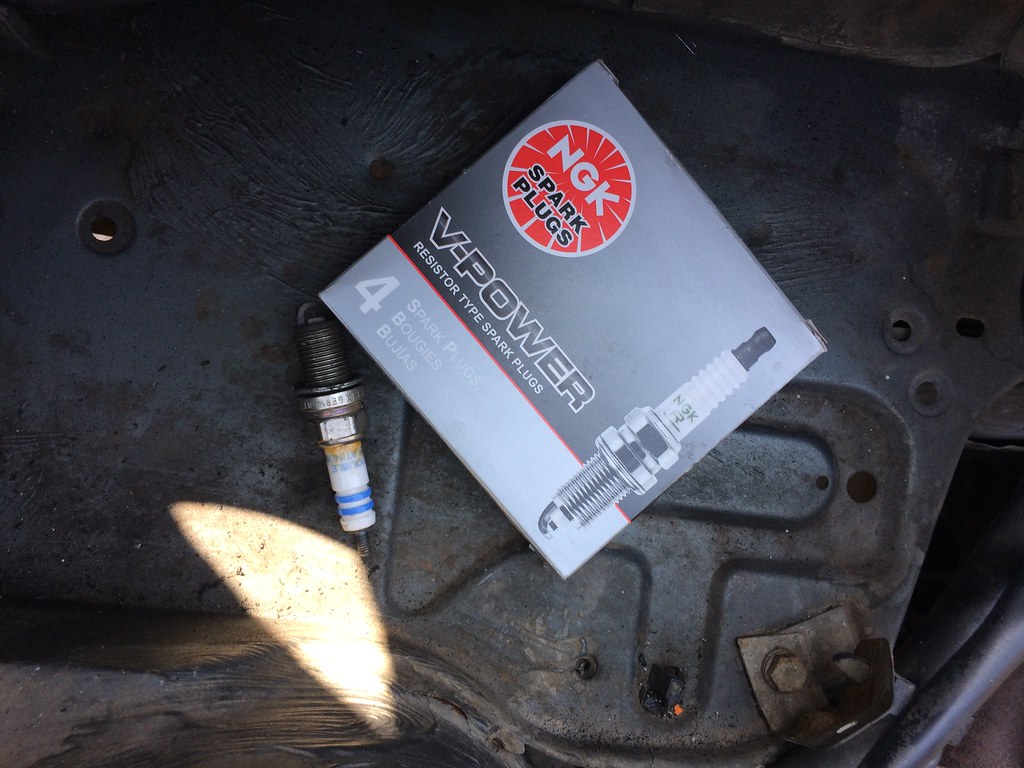
Back when I was a rookie wrench I went off autozone's recommendation of Bosch double platinum spark plugs, what a gimmic.
Installed some fresh NGK's and the M20 seems to be much happier, driving a lot smoother now:
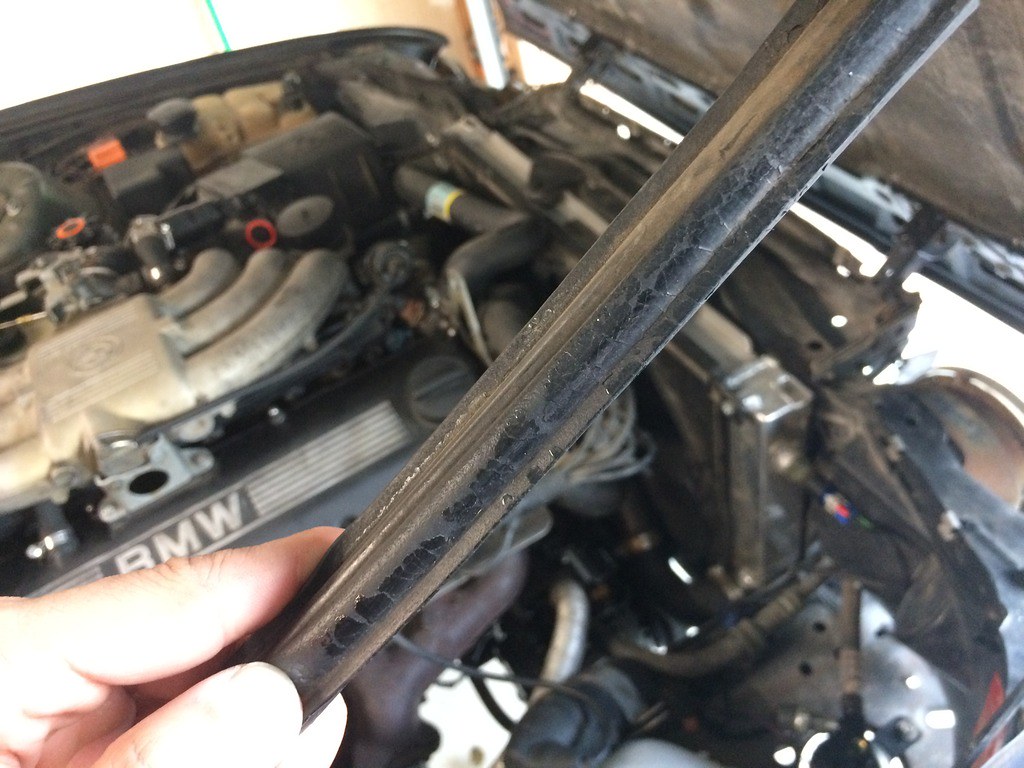
Installed a new hood seal to prevent anymore water leaks on the battery tray, which were subsequently leaking into my passenger side footwell.
I like how the old seal wasn't removed when the car was repainted... lazy :rofl::
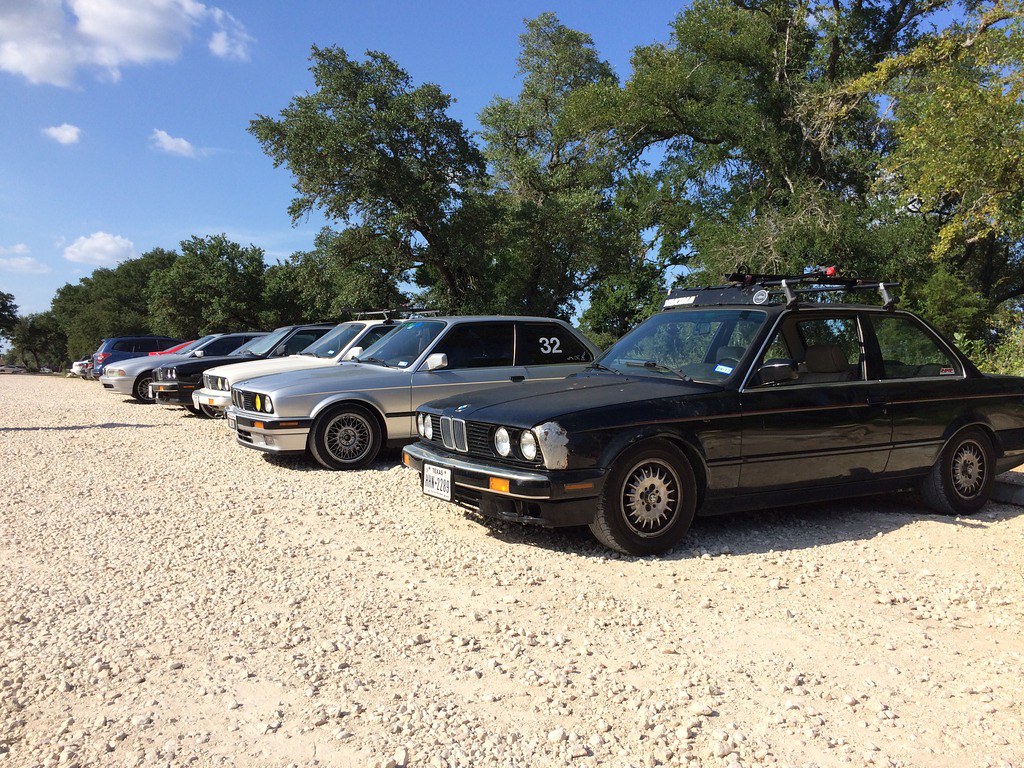
Got the E30 Coalition together for a spirited drive to Jesterking! :devil:
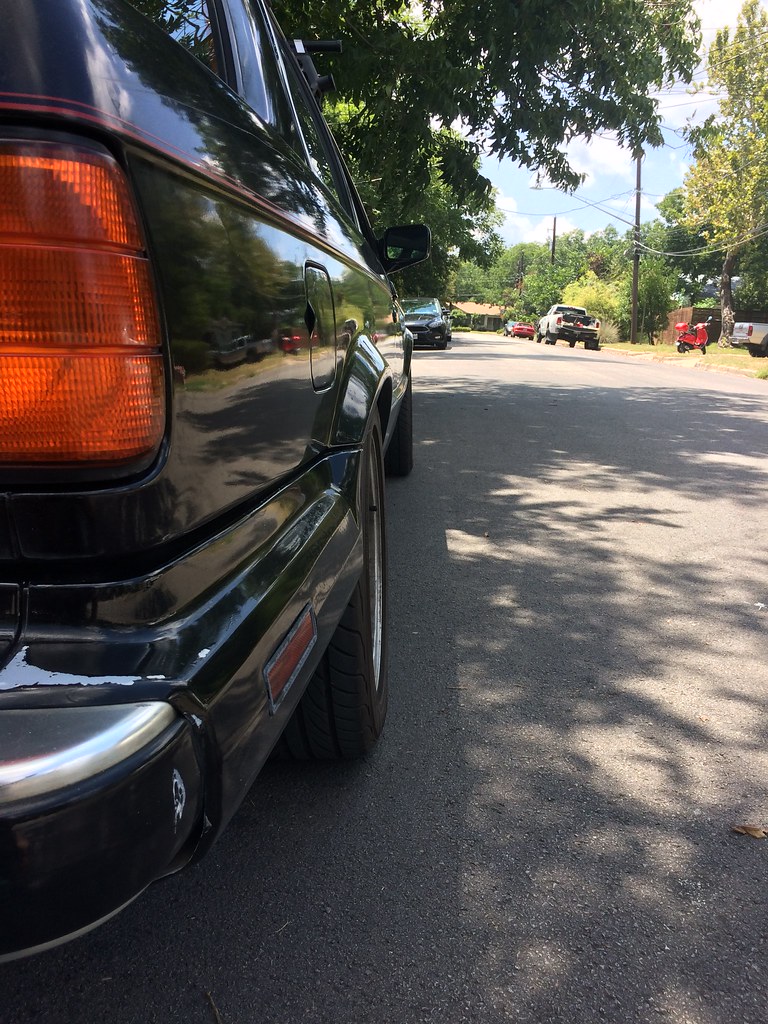
Probably the most exciting update... EUROWEAVES.
Kid8 scored some new kicks, so I scooped up his old ones. They're currently running a set of nearly new S-drives, very happy with the look and fitment.
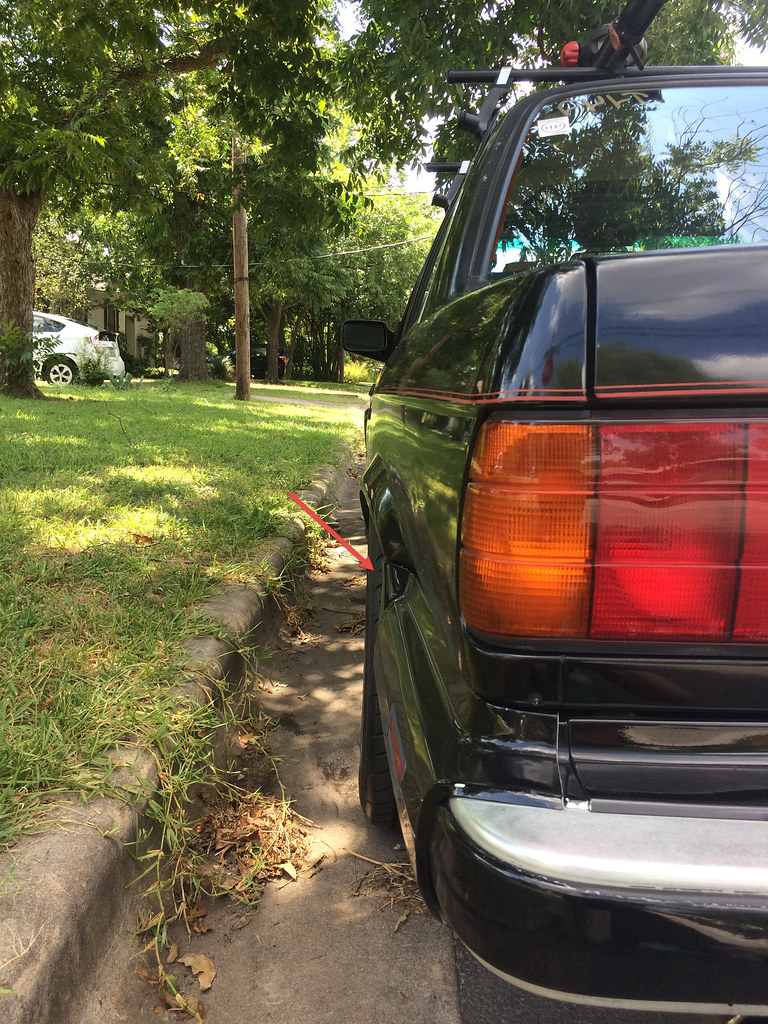
The only issue I'm having is rubbing on the drivers side only. Comparing the drivers and passenger side, there is actually quite a bit more poke on the drivers side than the passenger.
Anyone run into this before? I'm going to get an alignment in the rear and order a new set of spring pads and go from there.
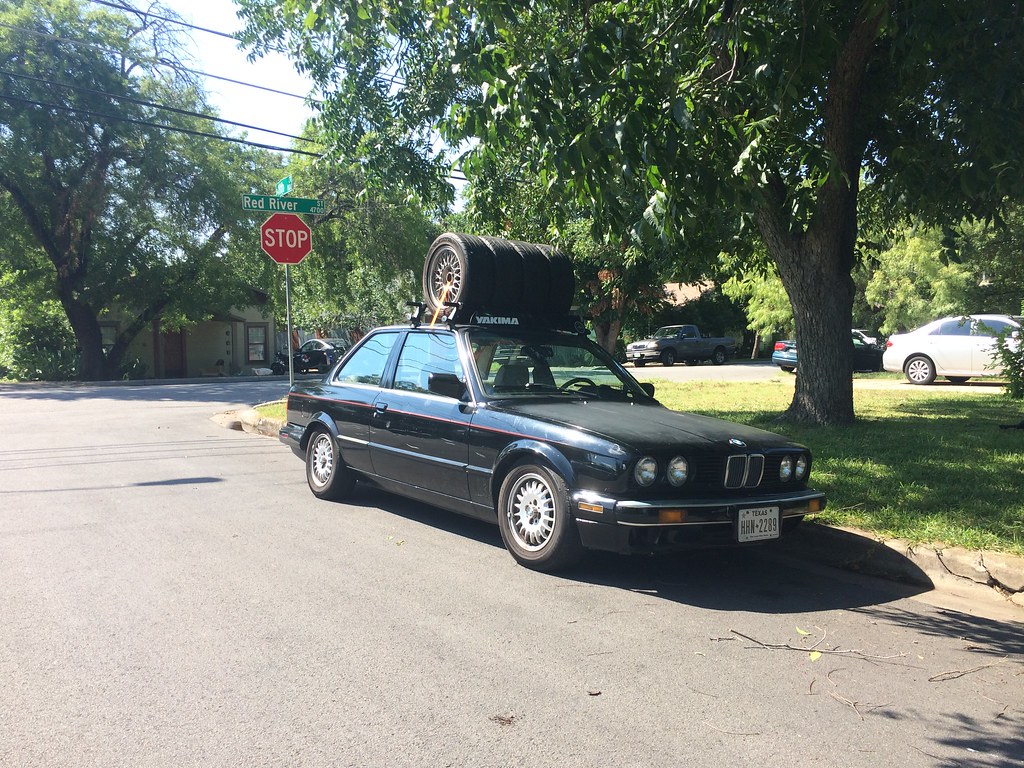
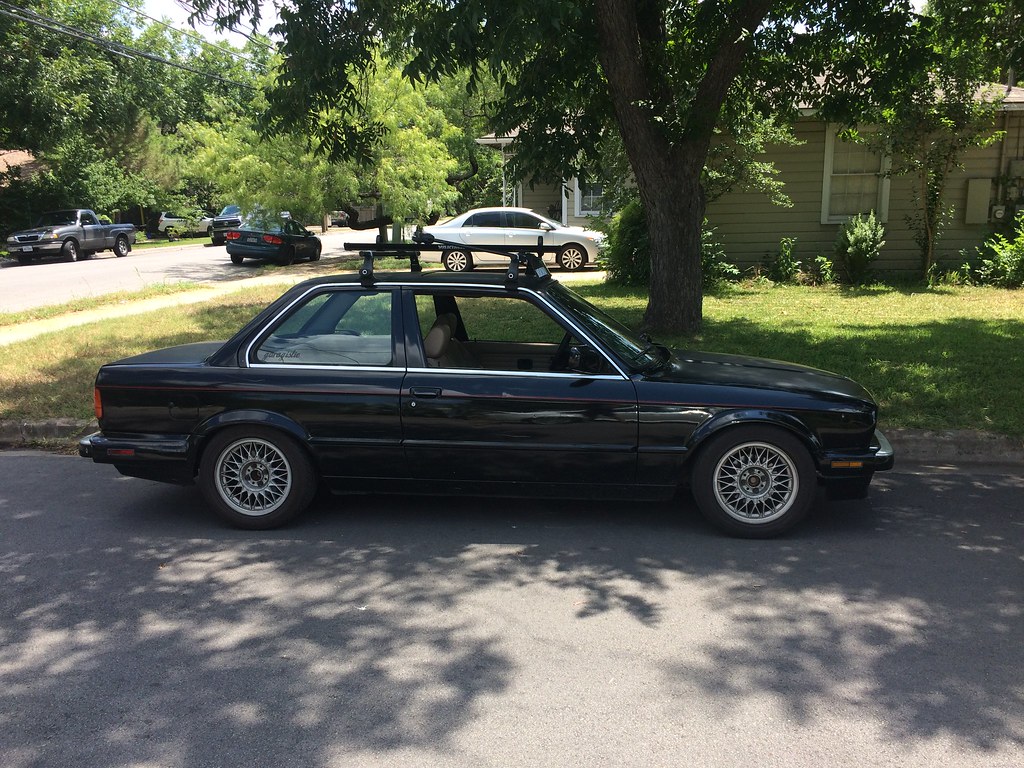
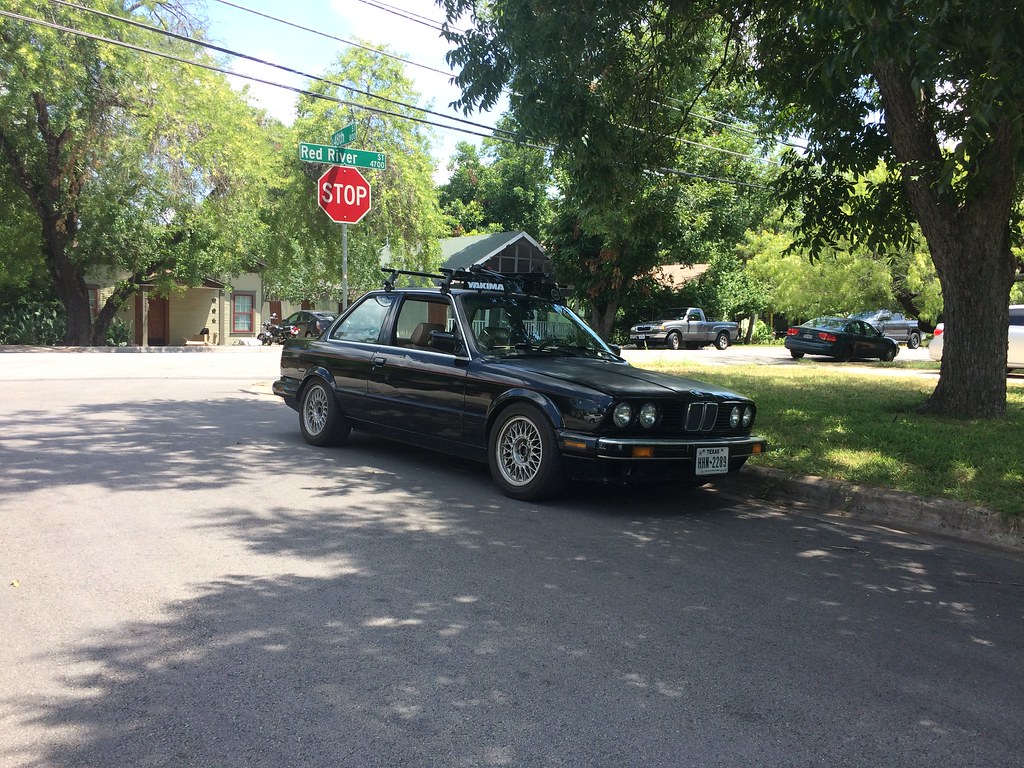
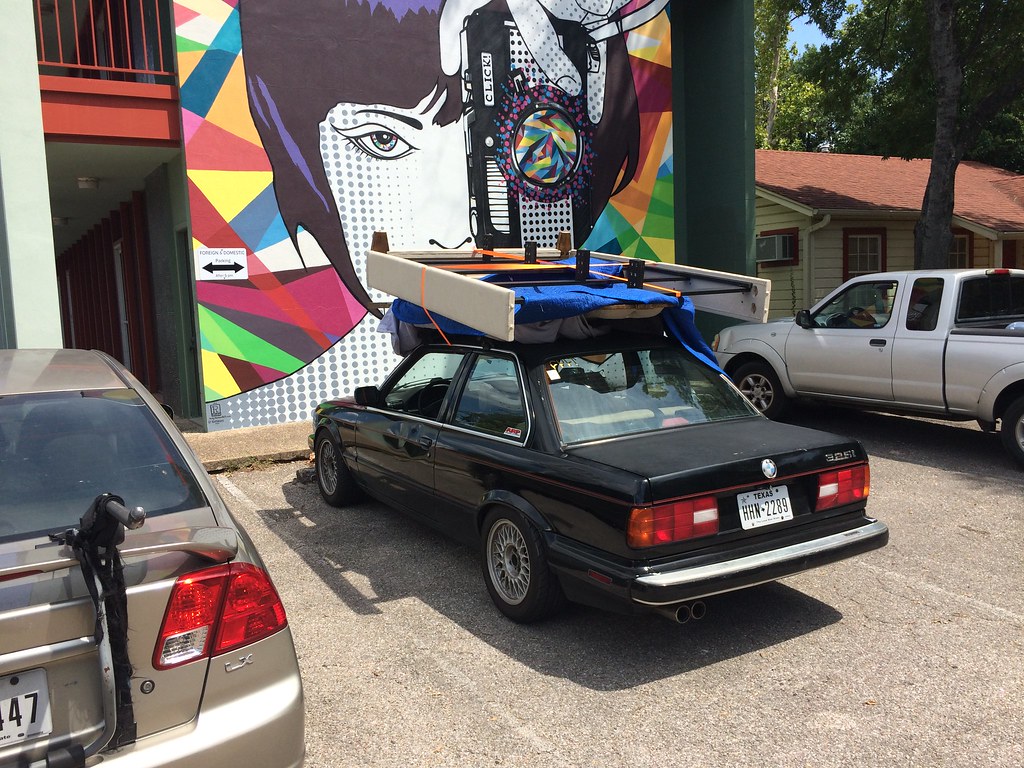
To finish this post off I have more shameless roofrack pics ;)
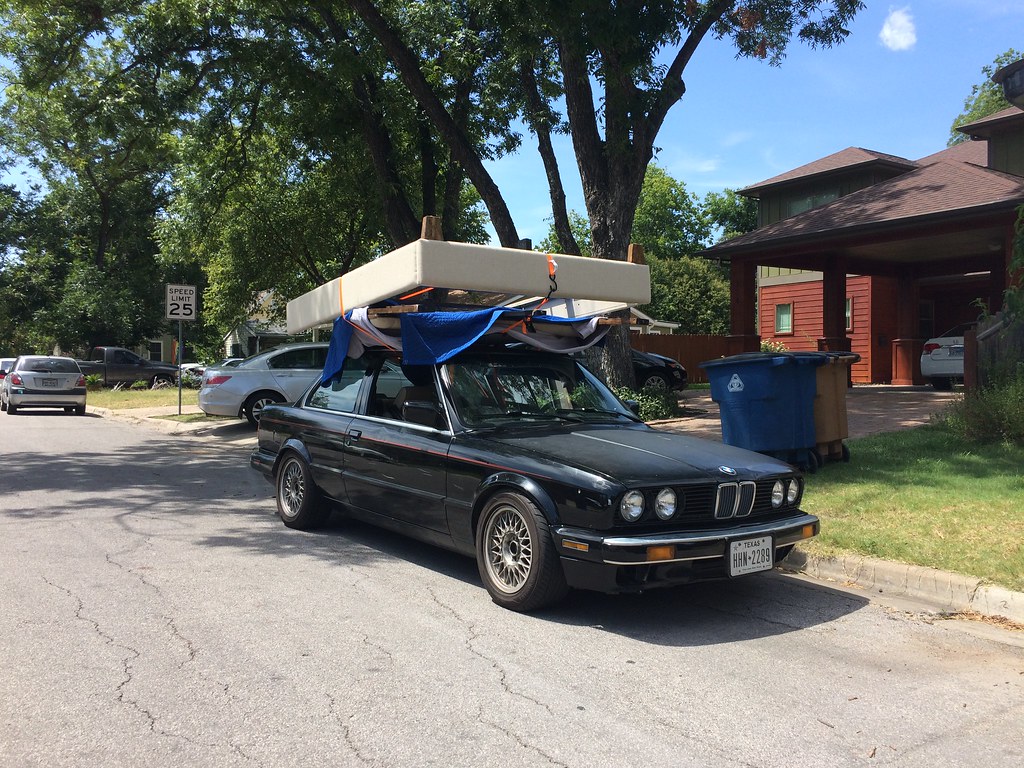
Helped a friend move out of her apartment, the workhorse moved her bedframe and headboard no problem ;D
 Last edited by zwill23; 02-13-2019, 11:12 AM.
Comment
-
Very nice, bud!
I wonder why my pictures didn't get deleted by photbucket??Comment
-
I really love this build thread. You demonstrated that knowledge and effort got a long way in bringing a car back to life. Gives me hope for my project.Comment
-
Hmmm, I wonder if it's dependent on how many pictures you were sharing? They might let you share a few without paying . . . $400Originally posted by kid8 View Post
Thanks dude! Effort might be one thing, but a majority of the knowledge is right here on R3v. Do your research, take your time, and I'm sure your project will reap the benefits.Originally posted by BimrFett View PostComment
-
Great work, bud. I'm pretty jealous you have AC, even if it's not super duper cold. Instead of AC, on hot days I have swamp ass hahaha
Sent from my SM-N910V using TapatalkComment
-
You don't have to pop those clips off for the fuel injector connectors. They just pop off by pulling up. FYICurrent Collection: 1990 325is // 1987 325i Vert // 2003 525i 5spd // 1985 380SL // 1992 Ranger 5spd // 2005 Avalanche // 2024 Honda Grom SP

Comment
-
Hahaha... gotta store some baby wipes in the glove box to help ya there Levy ;)Originally posted by Levy3Poop View Post
Yeah? I was under the impression they acted as retention clips to hold the electrical connection on the injector in place. This is my second time doing this, and I thought I had issues pulling the electrical connectors off without pulling the clips last time.Originally posted by MrBurgundy View Post
That was probably a year and a half ago so I might be misremembering.Comment
-
Yeah they are retention clips, but they release under pressure when pulling up, so there is no need to remove the actual wire clip. Next time you do it, you'll be like "lawd Jesus, that's easy"
Sent from my iPhone using TapatalkCurrent Collection: 1990 325is // 1987 325i Vert // 2003 525i 5spd // 1985 380SL // 1992 Ranger 5spd // 2005 Avalanche // 2024 Honda Grom SP
Comment
-
I'm pretty sure pulling those damn clips without shooting them across the engine bay was the most difficult part of the job... hahaa. I'll definitely try this next time.Originally posted by MrBurgundy View PostComment
-
Aaaand my glove box doesn't open [emoji23]Originally posted by zwill23 View Post
Sent from my SM-N910V using TapatalkComment

Comment