Absorbantnut's '87 325is

Collapse
X
 
  • Time
  • Show
Clear All
new posts

  • AbsorbantNut
    replied
    Next I had to make the patch, and Carlos's help it took no time! I picked up some scrap rocker panels from the shop that were rust free and used those.


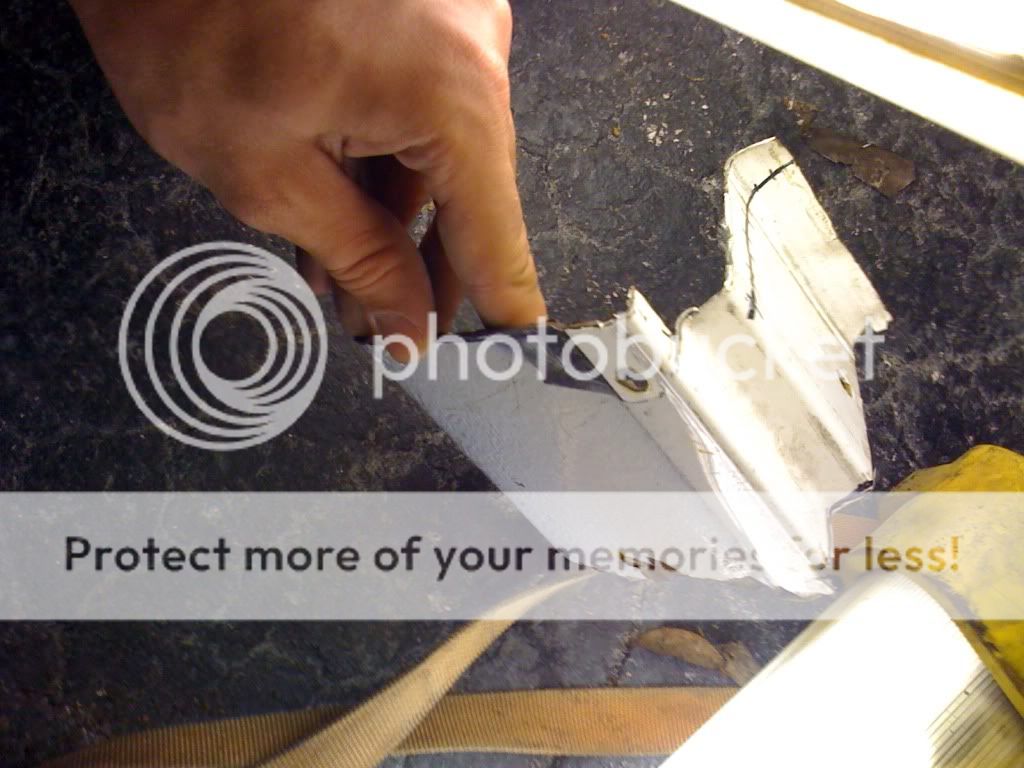
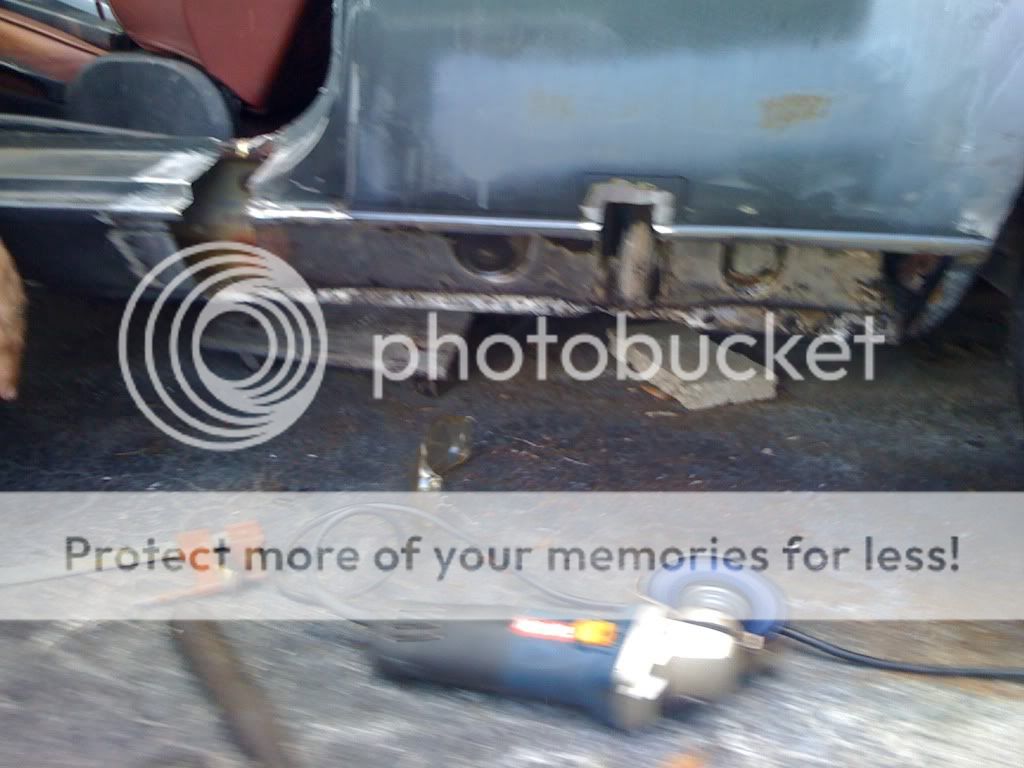
    Grinded down the whole area where there was rust & where we had to weld.


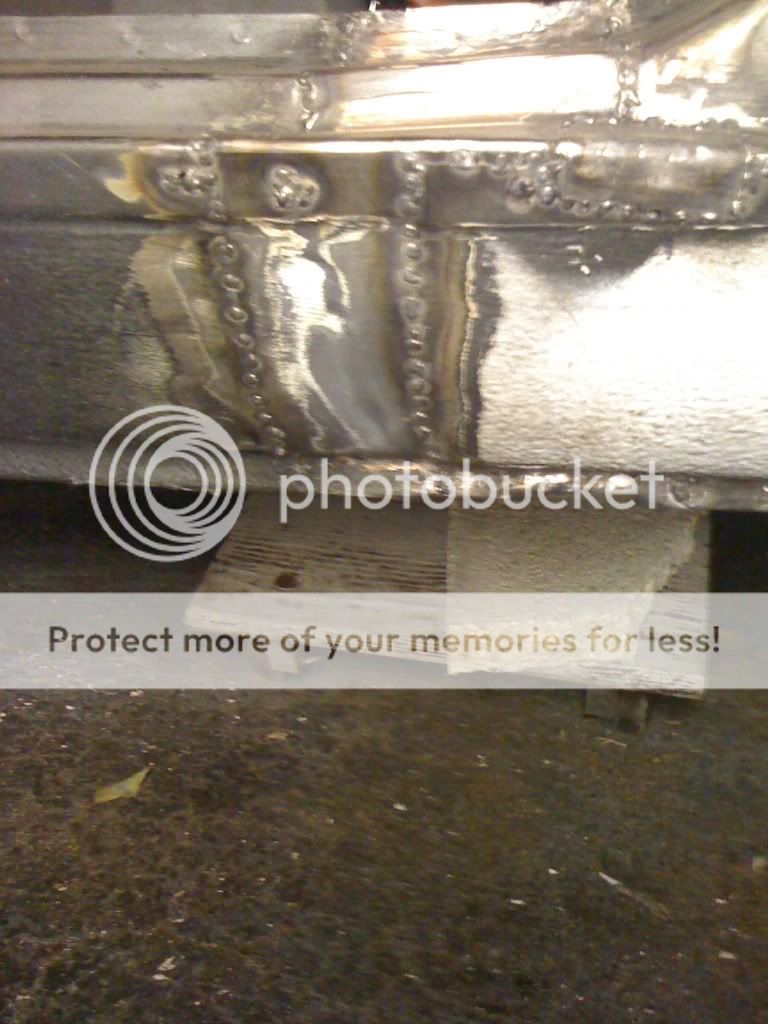
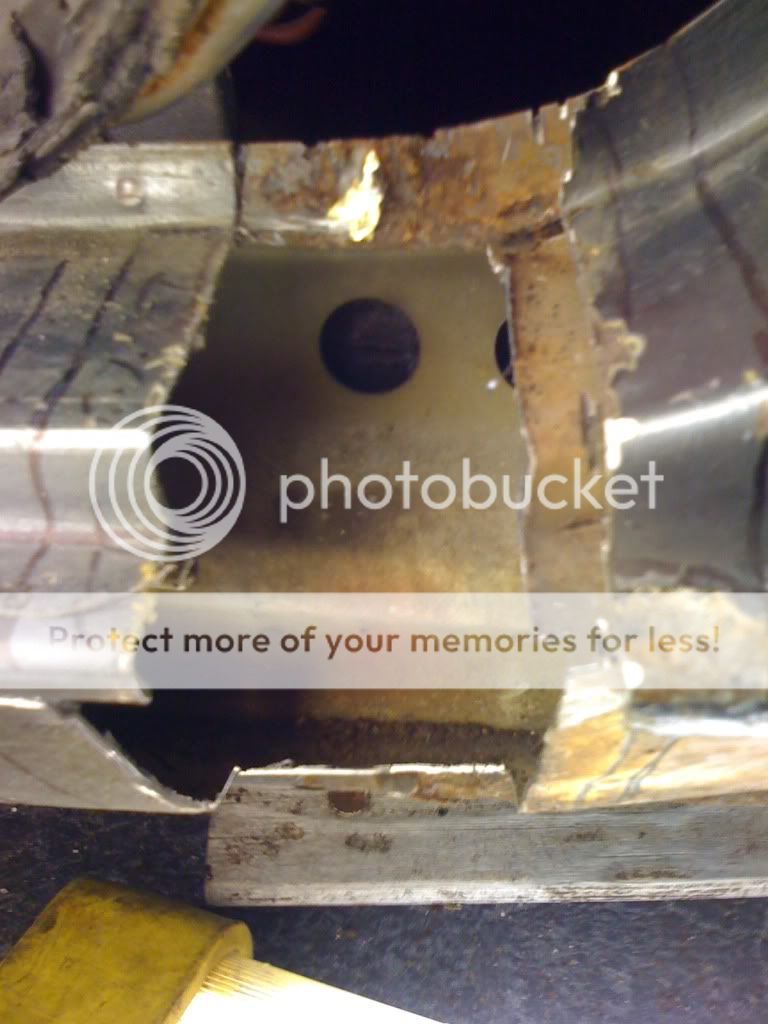
    Then we welded a patch for the inner part of the rocker


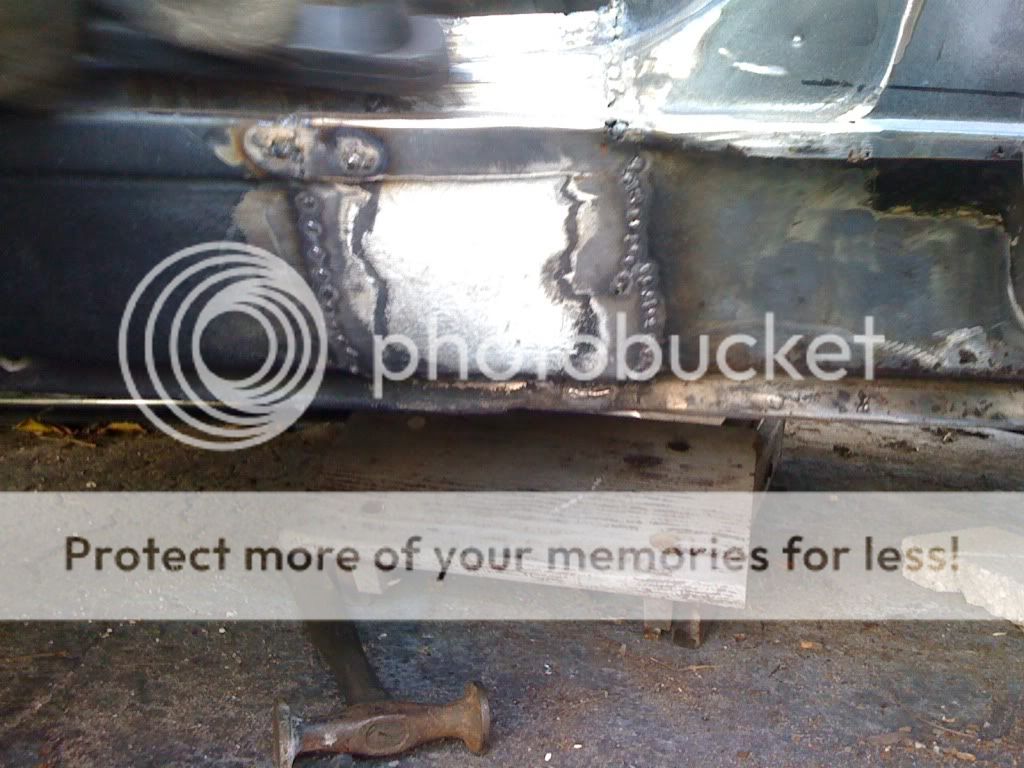
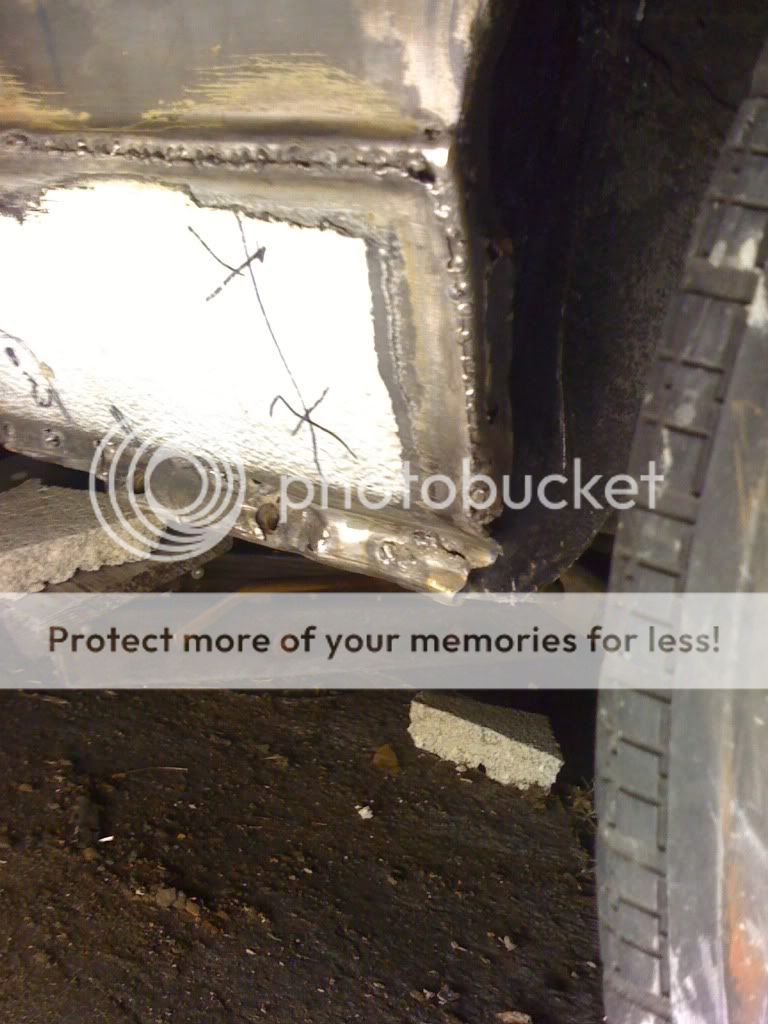
    Patch #2 welded in place


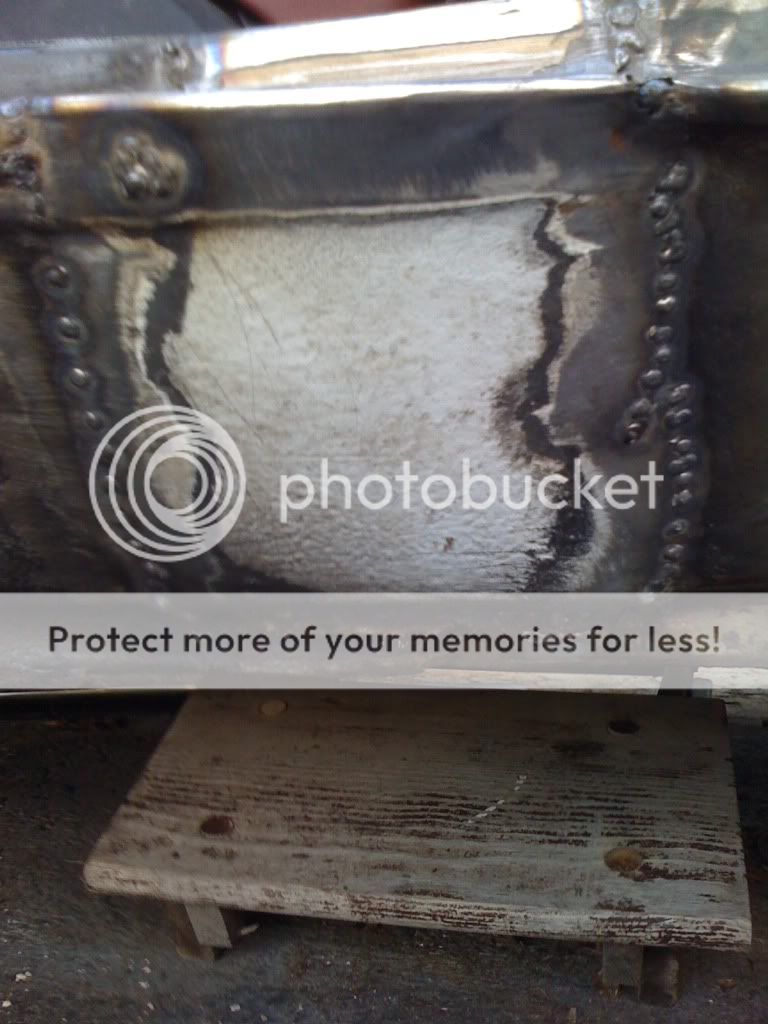
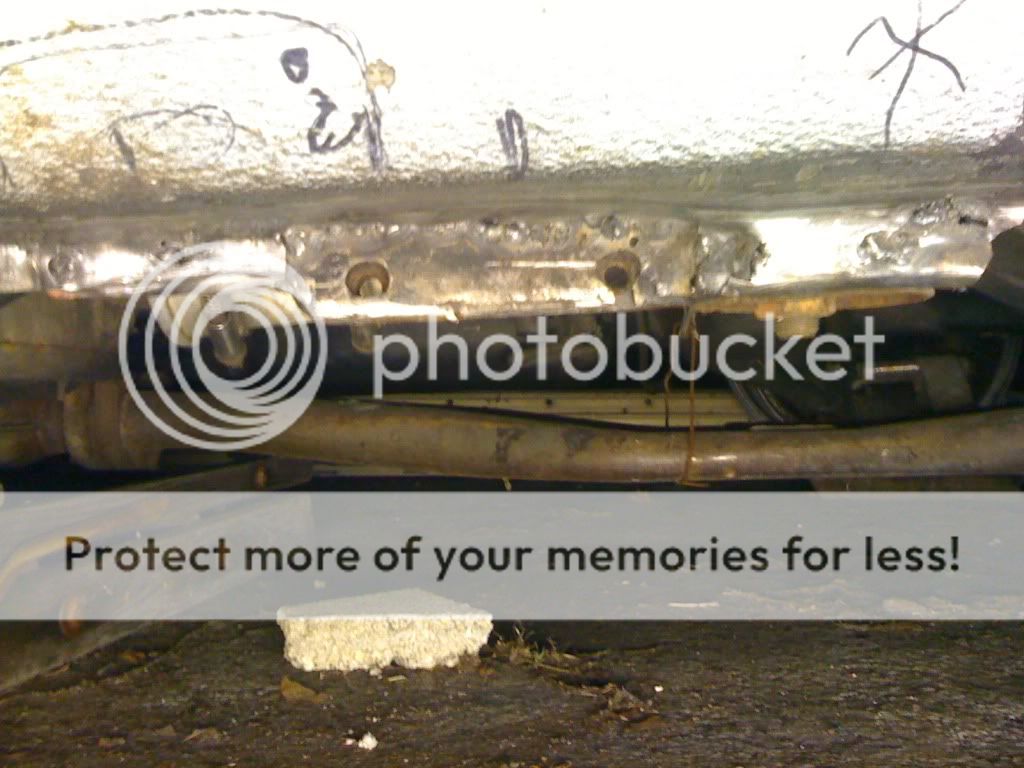
    Then the 3rd and largest patch!


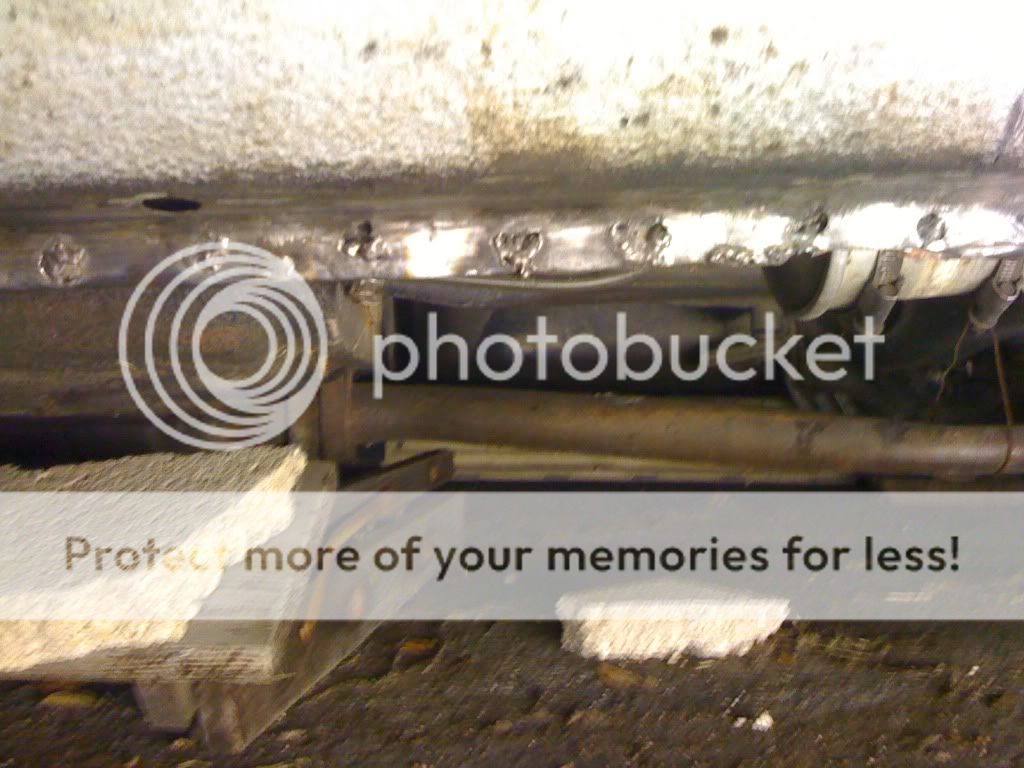
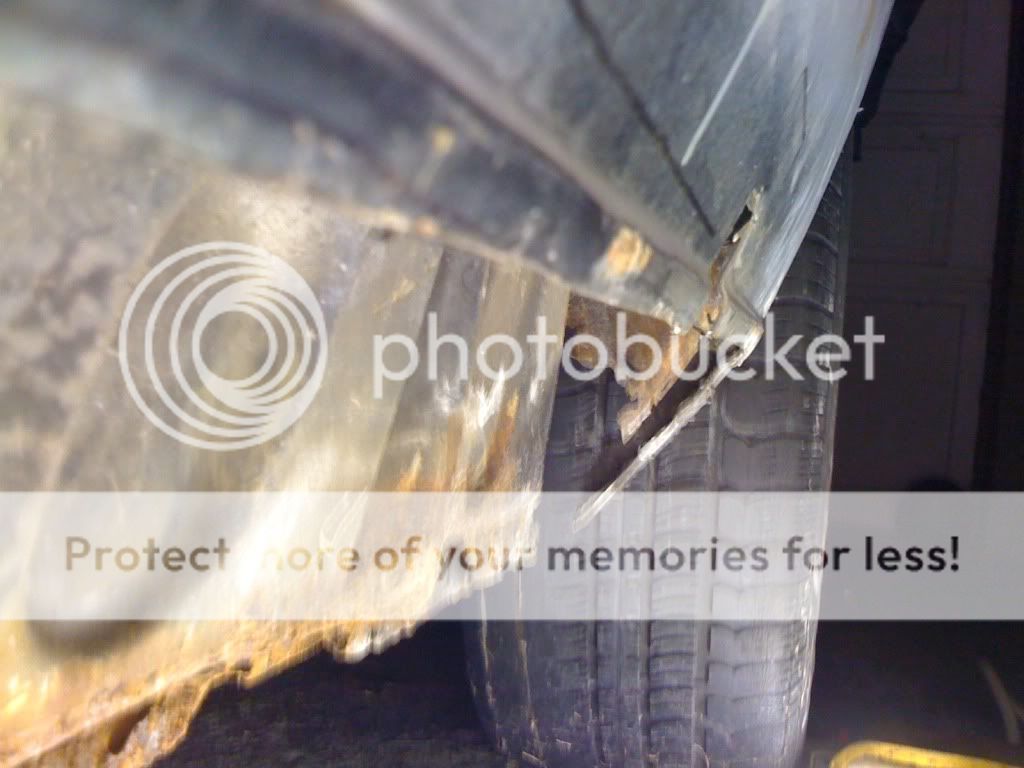
    A shot from the wheel well


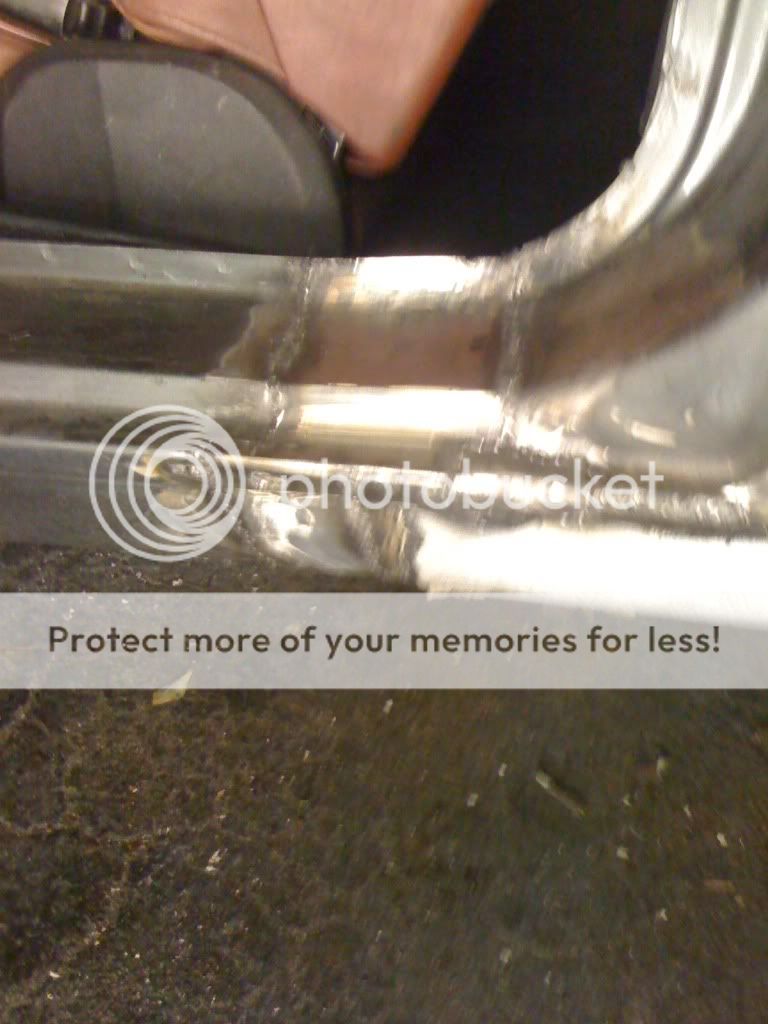
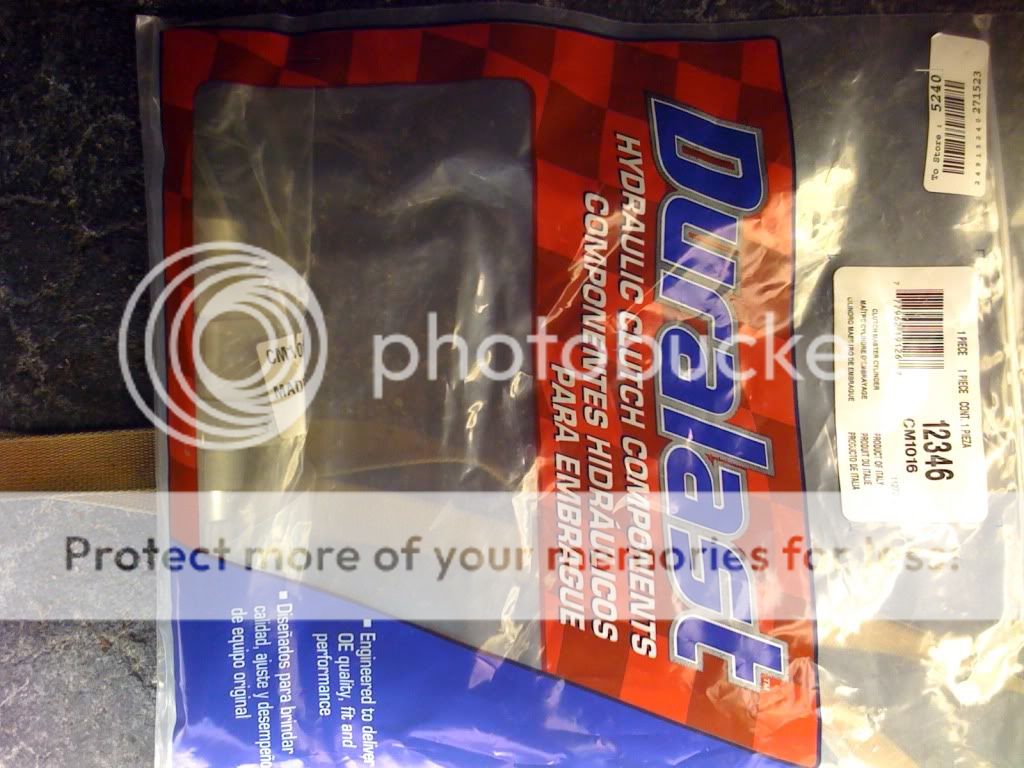
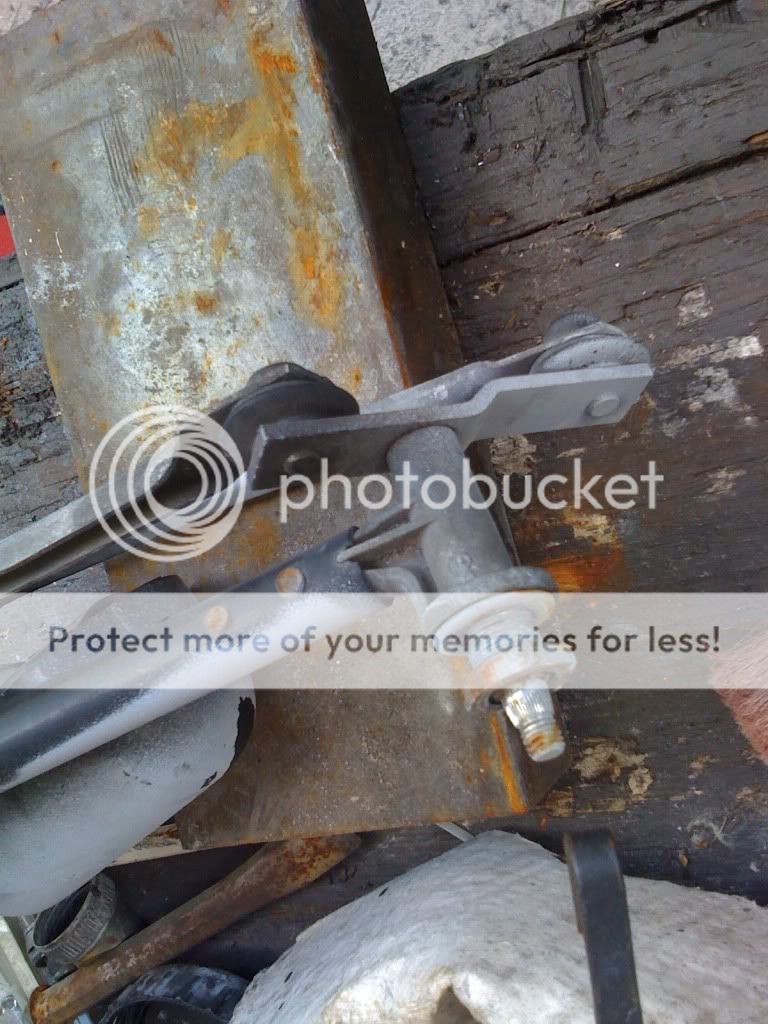
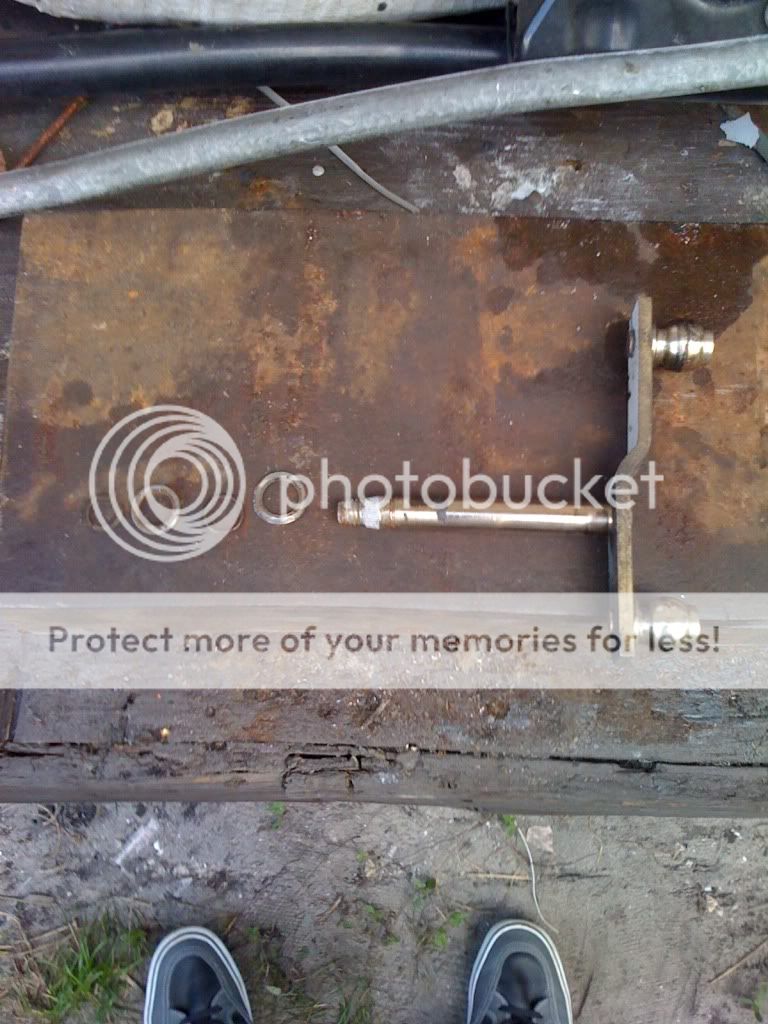
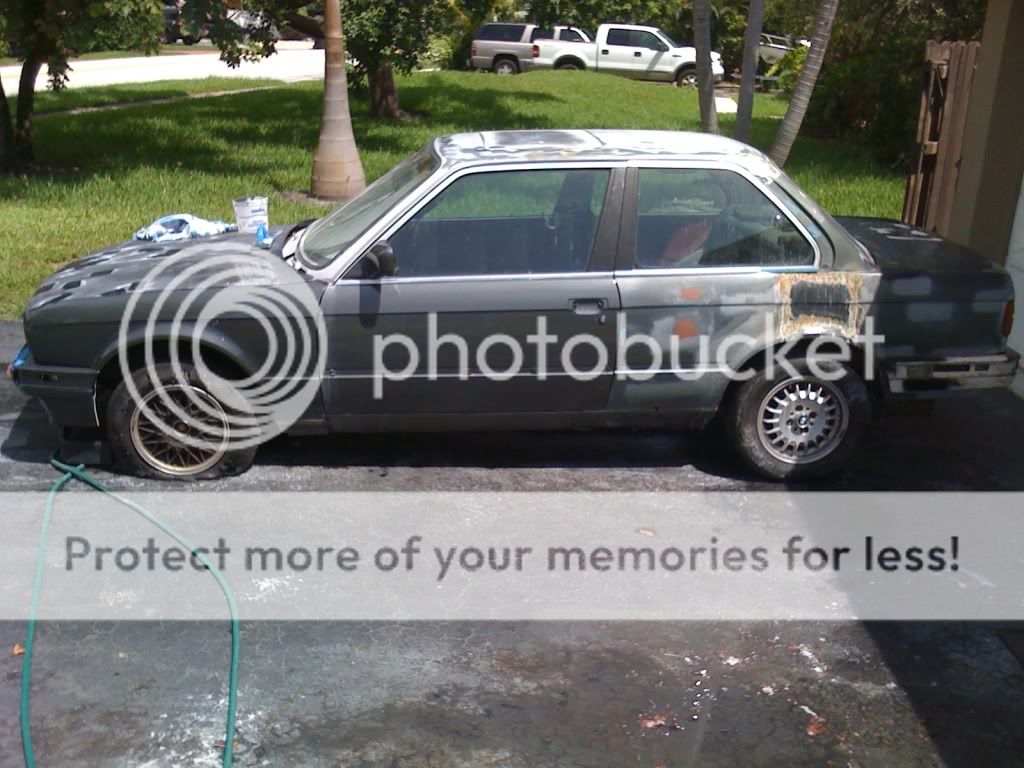
    Then earlier today I flap wheeled the welds, caulked the lower portions that are covered by undercoaring and layed down some filler on the upper portion. The monowiper is also finished & has been cleaned and greased. I also have a "new" r134a ac system to put in. I bought the o rings and have almost completely removed the old r12 system, but low and behold, bmw thought it was a good idea at some point to run the fuel pressure regulator hose into the drier. So I need to figure out what to do before I can put any of the AC in

    Leave a comment:


  • AbsorbantNut
    replied
    Well its been a while guys, but I'm back:D

    Starting out by cutting out more rust


    One of the few new parts going into the car, a clutch master cylinder! Thanks goes out to Jay & Carlos


    Also began the monowiper challenge:p


    Leave a comment:


  • DrLeadFoot
    replied
    Great work! I feel like a lazy POS after reading it. Garage here I come! I need to wire up my system.

    Leave a comment:


  • JrCamacho
    replied
    updates halted?


    From page 1.. I didn't think that this would end up the way that this is going! I would have ditched that car once i saw all the work needed (and i thought MINE needed alot, haha)

    You sir have taken this above and beyond a "rebuild"... your restoring this car back to life.. You have GIVEN it a new lease on life, and has many years ahead of it.

    I like how your tackling a majority of this yourself, in front of your house, with a budget! And the paint doesnt look half bad under the circumstances, its better than my maaco job that the stupid PO paid for... lol

    Im eager to see more updates~!

    Leave a comment:


  • dantheman
    replied
    Wow.. Now that is dedication. Keep it up man.

    Leave a comment:


  • AbsorbantNut
    replied
    Rear end is painted with primer & most dents have been filled. Doing more bodywork and painting it with Delphin when the weekend comes! Then I have to pick up some more HB primer & start on the driverside quarter. I'm so close!!!

    Leave a comment:


  • AbsorbantNut
    replied
    So I went to listen to the radio & I'm only getting sound from the rear speakers:( I think it has something to do with the amp. Im using it(the amp) to power the fronts and sub woofer and neither of those are working. The light on the amp comes on though, so im very confused:loco:

    Leave a comment:


  • AbsorbantNut
    replied
    Picked up some important items today:
    Flap wheel
    Metal etching primer
    Primer activator
    More sandpaper(I'm constantly running out!!)
    Another roll of wrapping paper
    More masking tape

    Started getting The rear end of the car ready for primer & bodywork today. Stripped off mostly all the paint with the flap wheel & found a ton of dents I need to fill:o Grinded down the welds too so they can be swiped with some body filler & sanded down with the block.

    Then it looked like it was going to rain so I sealed it up with some trashbags. And of course........it didn't rain. Ill most likely get to doing it tomorrow early in the morning. It's nice to be getting work done on this thing:D

    Leave a comment:


  • Cronopoulos
    replied
    Rags to riches, I applaud your perseverance!

    Leave a comment:


  • AbsorbantNut
    replied
    I need to get some more activatoooooooooooooor. Hopefully going to weld some more this weekend too!

    Leave a comment:


  • kingston
    replied
    Do WORK, son!

    Leave a comment:


  • AbsorbantNut
    replied
    Just pictures for now, descriptions will be added later...


    Right here I started sanding the roof


    Getting rid of dents


    Wetsanding this beyotch


    Getting rid of more dents


    Even more


    Masking off. If you have to mask off, go to the dollar store & buy a bunch of wrapping paper. It seriously makes everything x100000000 easier


    Getting in the Christmas spirit


    Masking off the rear windshield


    Finally painting the roof


    It has a lot of orange peel:( Oh well, I think I had the settings wrong on the gun as things turned out much better on the Pass quarter when I painted that next:p


    While waiting for the bondo to cure I decided to strip one of the weaves. Not too bad for ~10 minutes


    Work on the rear quarter begins!!


    And the paint! The rear window ended up collapsing inwards & bashing the paint as you can sorta see


    Looks pretty good tho!


    Slowly but surely, it's coming:o
    Last edited by AbsorbantNut; 09-07-2011, 01:39 PM.

    Leave a comment:


  • AbsorbantNut
    replied
    Originally posted by lostininglewood
    I wouldnt' worry about your weld job on the rear quarter. Grind it down, re-tack any places that aren't attached, and continue untill attached fully. You'll get better with each step. There is nothing wrong with flux core, but clean surfaces are a must. You don't need to prime the oustide metal before welding, just the inside.

    Anyways great project, at first I was thinking your poor neighbours with that hunk sitting in the driveway, as I thought you'd loose steam, but man you're rocking it!

    Following intently.
    Ok, thanks for the tips. Hopefully I can get the welding finished up next week, and paint some more! I picked up some more sand paper so I can paint the roof and passenger rear quarter. I need to get around to doing that, and then stripping the paint on the weaves! I really need to pick up a wire brush for that.

    Made the rear cut for the lukebox this weekend(pretty panel). Ill have to post some pictures of that, but I think I'm going to make another one, I made this one following the template where it would sit flush against the back of the box. I have an amp there though, so it sits about 3 inches further out. Not a big deal tho, it still looks great in my opinion:D

    Leave a comment:


  • lostininglewood
    replied
    I wouldnt' worry about your weld job on the rear quarter. Grind it down, re-tack any places that aren't attached, and continue untill attached fully. You'll get better with each step. There is nothing wrong with flux core, but clean surfaces are a must. You don't need to prime the oustide metal before welding, just the inside.

    Anyways great project, at first I was thinking your poor neighbours with that hunk sitting in the driveway, as I thought you'd loose steam, but man you're rocking it!

    Following intently.

    Leave a comment:


  • AbsorbantNut
    replied
    You guys should check out my for sale thread & buy stuff. Seriously, check it out

    Leave a comment:

Working...