
Soooo....
:)
-
I stopped at the dealer a few days ago and picked some parts...
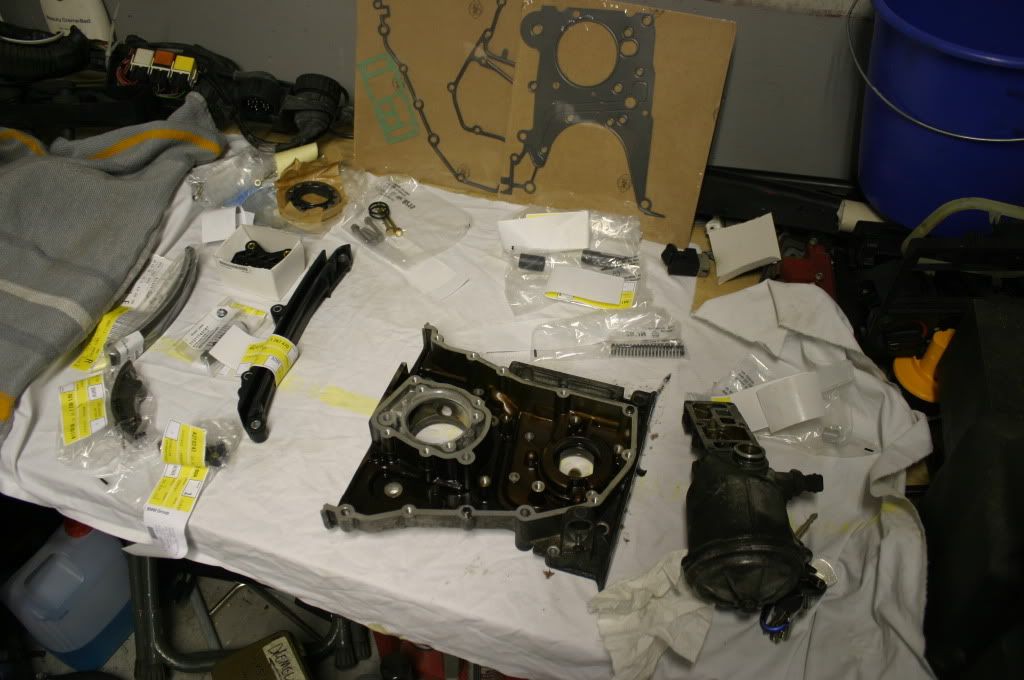
From top left, oil pump/cover/coverbolts & new bolts/o-ring/gasket for the oil filter housing, then the updated oil pressure relief valve parts, and on the bottom brand-spankin new guides and tensioner. Against the wall, the E36 metal cover gasket and the timing case gasket.
Also picked up the M50 pan-side thrust bearing half....in standard size in the corresponding color.
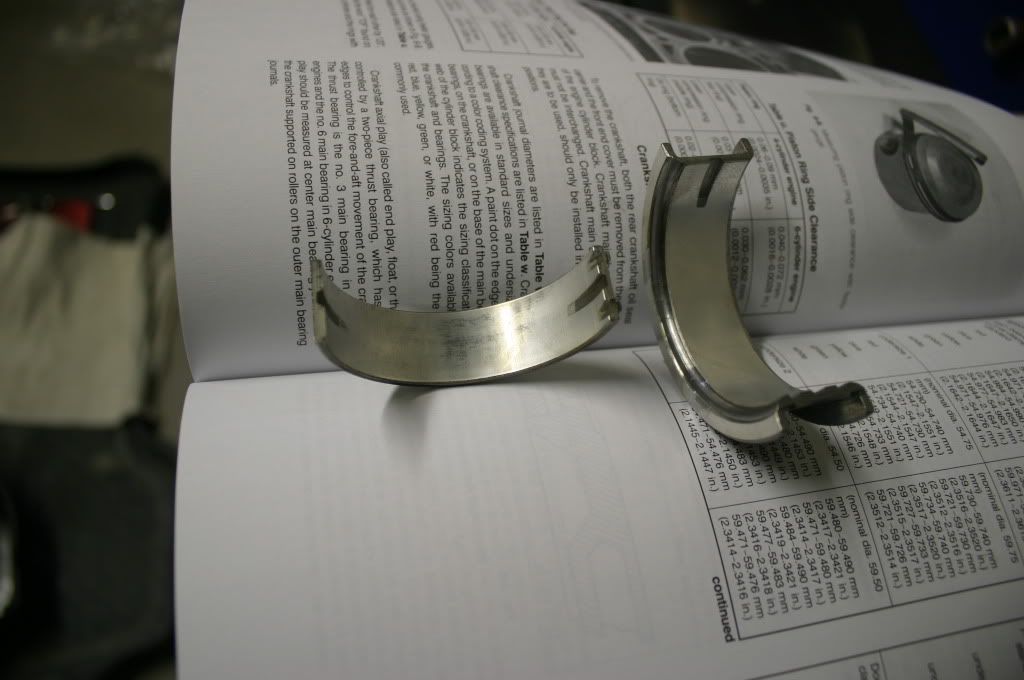
The old bearing shows little to no wear, and the new bearing to the right.
And in the cap.....
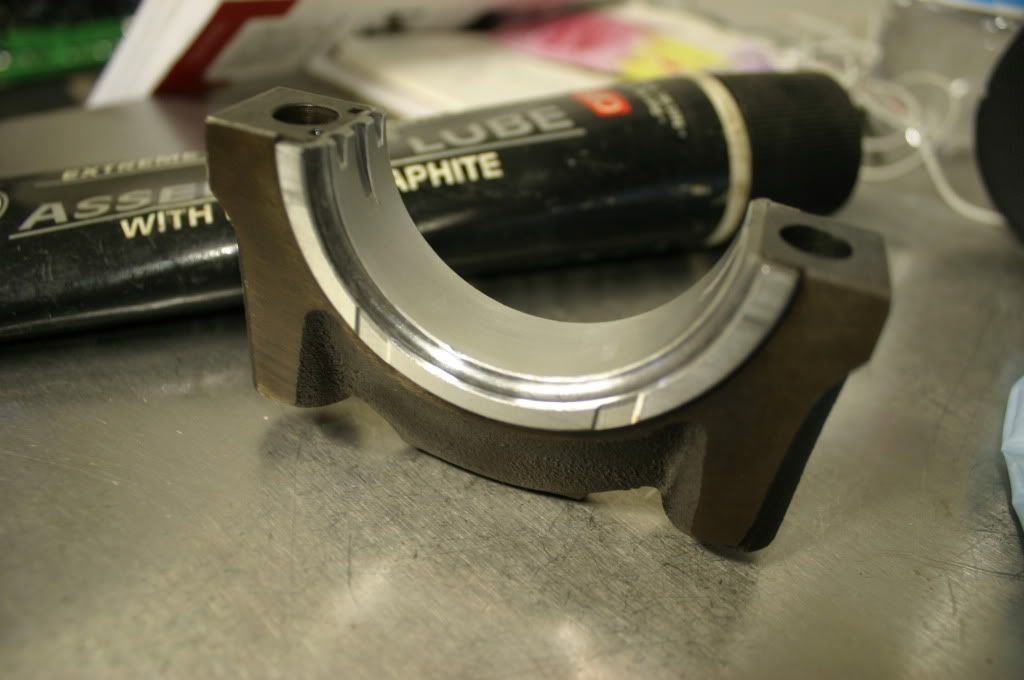
A little assembly lube and 43-46ft-lbs later, it's in. The assembly turns smoothly as well.
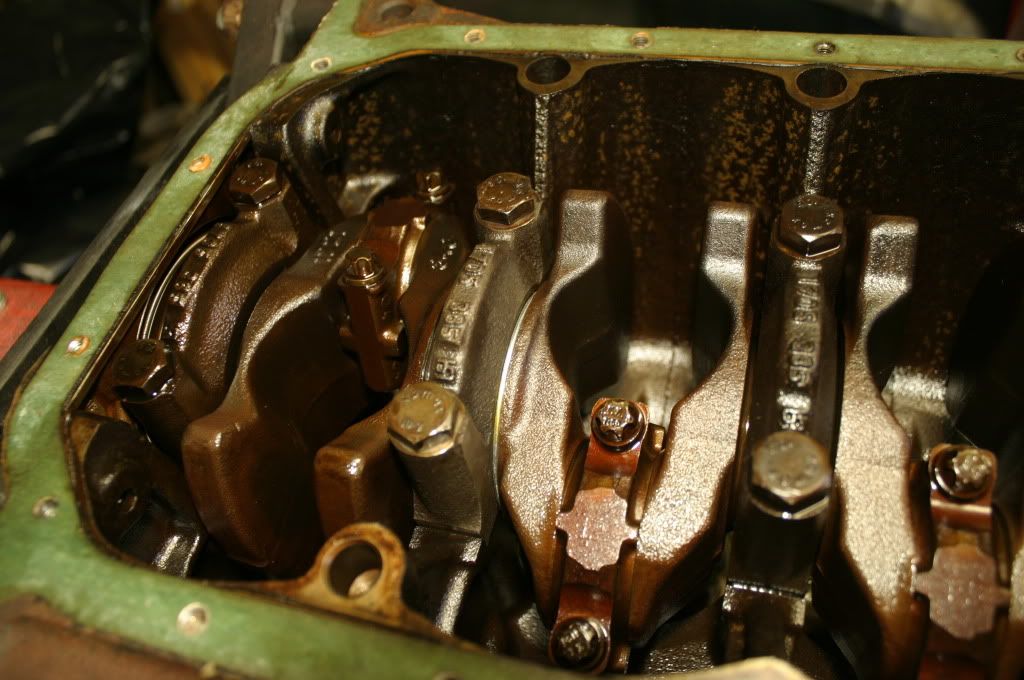
Cleaned up the block-to-timing case surface as well, and that's where I left off today.
More to come soon.....Leave a comment:
-
Could be but I haven't checked the crank #, nor do I remember seeing any bosses on the block for knock sensors.
I am curious about the PO's story as well but I think I will never find out.
I think it was swapped from a donor motor and new guides were put in, BUT I think they used the old tensioner for some reason. It rattled a bit when I first heard it run. I also think they left the original oil filter housing on it due to the corrosion on the bolts.
I replaced the oil pump rotors and cover b/c they, like the oil pressure relief valve, idler gear, and profile gasket are a weak point on the M42/M44. They're relatively cheap at about $70 for the rotors & cover, plus a couple extra $$ for the timing case gasket. Also, I didn't have to buy an M44 case so I don't mind spending the money.
Your welcome on the help, I just thought it looked 'not right' and it bugged me, even though it was 1am and I just got home from work. After doing DSM/4G63 t-belts for so long, I understand the insanity that comes from repeated attempts at setting timing(f'ing oil pump sprocket always had me scratching my head).
See above, the case is M44 but the rest of the guides, save for the M44-specific deflection rail, are the same. The oil pump rotors and cover are also interchangeable. I have the updated( I hope) oil relief valve coming as well. I will also be ordering the updated(I hope also) lower thrust bearing shell. If it is not, I will be ordering the lower-half(pan side) M50 thrust/crank bearing. The M42 and M50 block side are the same # so the pan side must fit.....I will be letting you all know what I find. I still have to pull the crank journal cap and inspect the crank for wear.Leave a comment:
-
-
Wow – that’s weird seeing the timing case without the idler sprocket.
Ha! I had the same deal with the top two oil filter housing bolts. Snapped off. Torched ‘em, PB blasted. Off with vice grips.
Jealous of the lack of pitting on your timing case and head. Nice! Maybe the timing case was swapped to the m44 piece because of the way mine was? Curious to hear what the PO’s story is.
fwiw – an E12 socket from a local parts store + standard socket extensions worked for me.
Puzzled why you’re replacing oil pump rotor?
Thanks for your help with my timing.
Anyways – Cheers! Have fun!Leave a comment:
-
Well, I had a few minutes today((no pics) and had to know if I would be drilling my timing case....well...
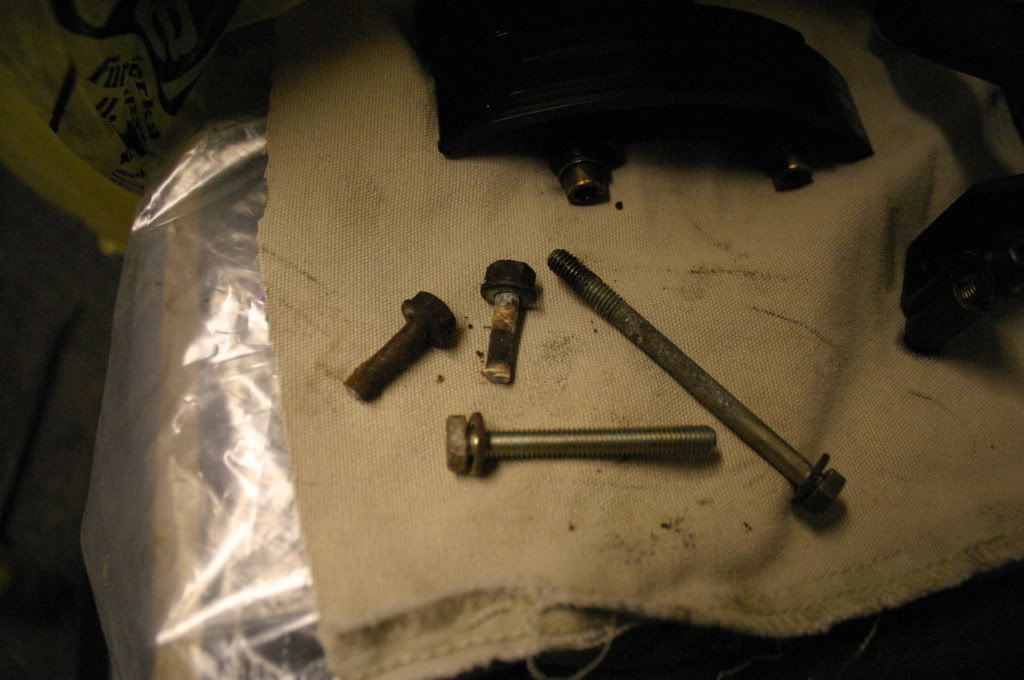
Last time, I got as far as breaking 3/6 of the oil filter housing mounting bolts. The long top bolt snapped off at the head of the bolt and the lower 2, at the timing case, or so I thought. I used a prybar, gently, and a brass drift/hammer to break the housing free. It was hung up a bit on the longer broken top bolt, as it was cocked from twisting, but broke free after a few solid whacks. As it's slowly coming off, I see that in fact the lower 2 bolts had snapped off and left me about 3/16" of thread hanging out.
The top bolt was first and initially turned by hand, when it hung up, I grabbed it with some vice-grips and out it came. I shocked the lower 2 with a punch/hammer a few times each, locked the good ol' vice-grips on them and it turned, as did the second.
I proceeded to pull the timing case, and all looks ok. I will be picking up a few parts from the dealer on Monday morning so I can proceed with reassembly, after I clean all the crap off of the oilpans, timing case, intake manifold/TB, etc. Plus, I still have to redo the input/output/selector shaft seals on the trans, the rubber bushing in the diff cover, and the guibo & CSB.Leave a comment:
-
Pulled the timing chain guides/rails, and cylinder head this morning. I went to the dealer before hand to see if I could buy the Long E12 to remove the bolts, he said he had to go check in the back, and hoe comes out with this:
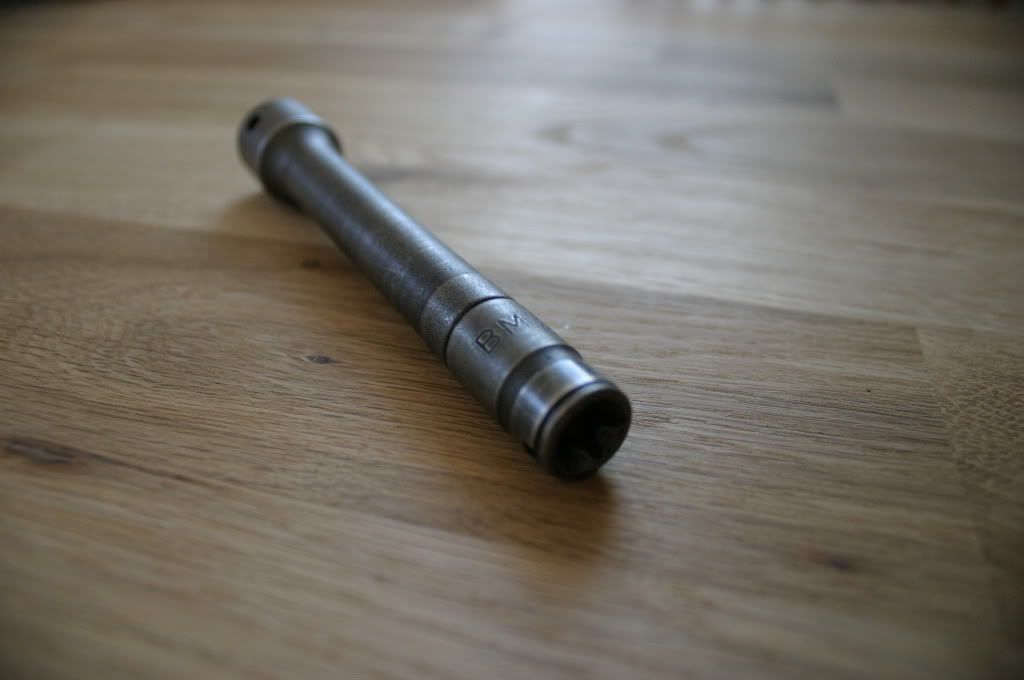
he says, "Bring it back when you're done".....sweet.
The rails/guides look to be in excellent condition and I will probably be offering them up for sale as i have already ordered new ones. The profile gasket looks new.......
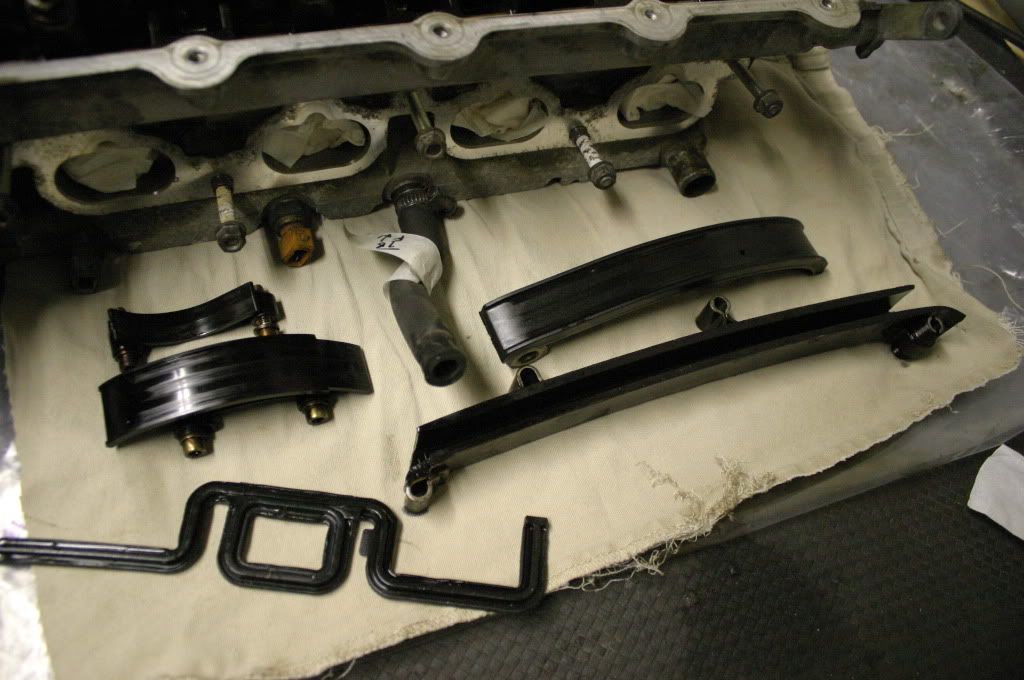
I can barely feel the wear with my finger.
Head surface on the block and head look very nice. A little carbon on the piston will come off easily with a little oven cleaner.
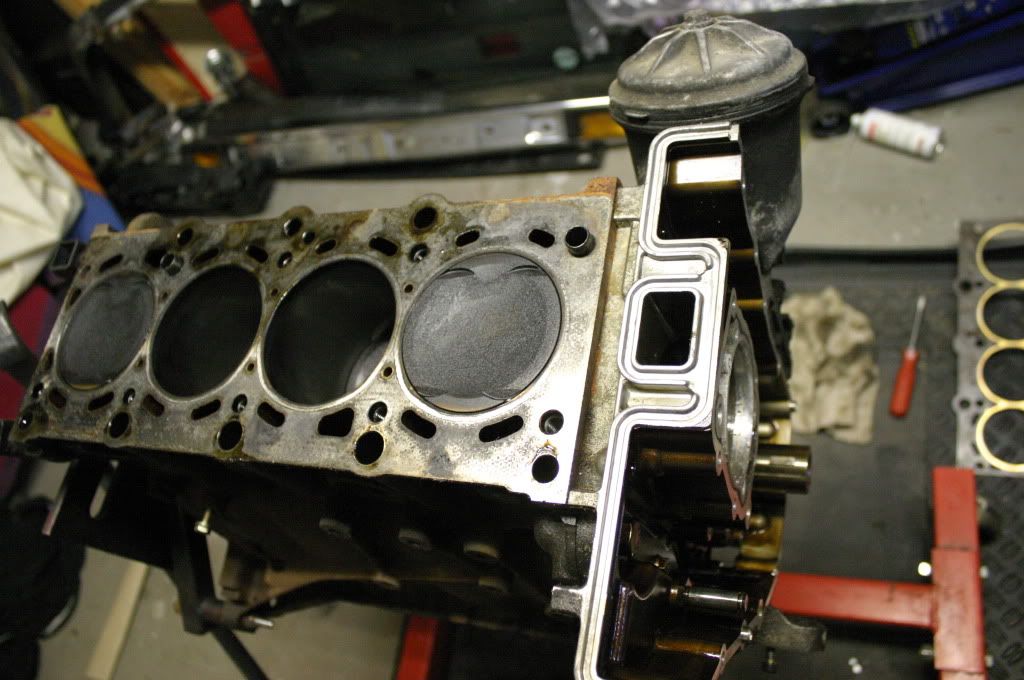
BMW Head gasket
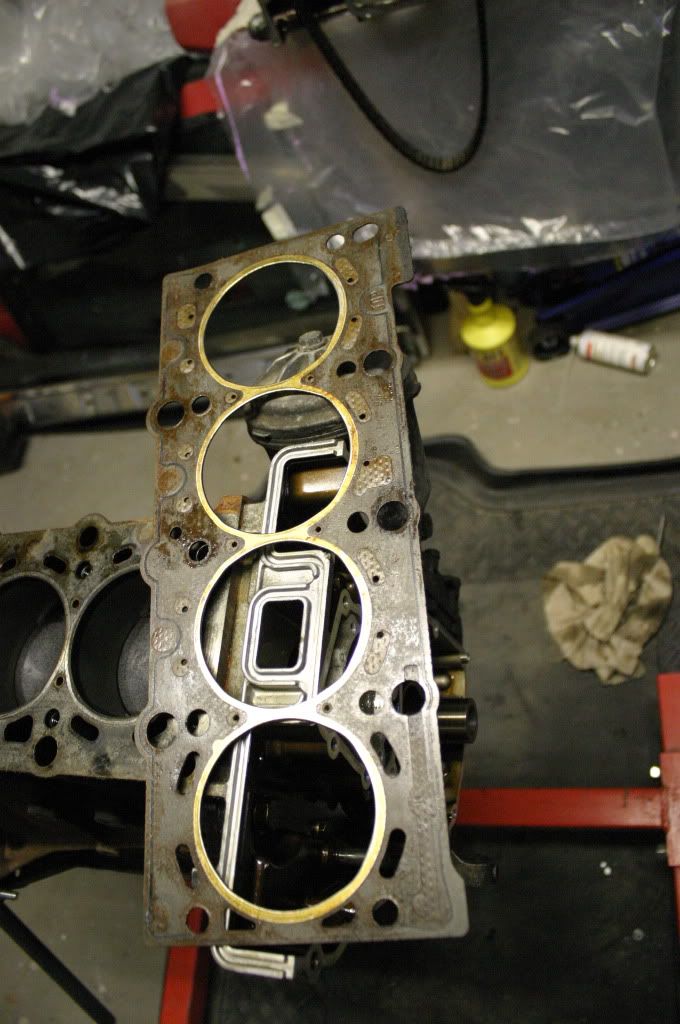
No pitting whatsoever on the profile gasket sealing area.
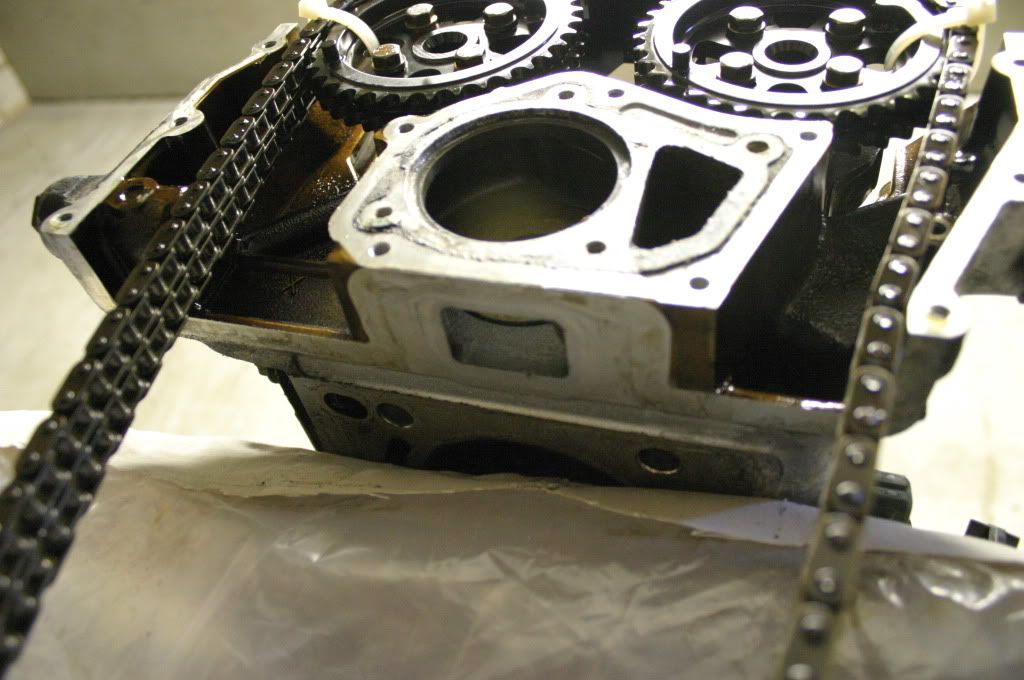
And here is where it goes awry. First, pull your filter BEFORE the pan, or else you get this mess:
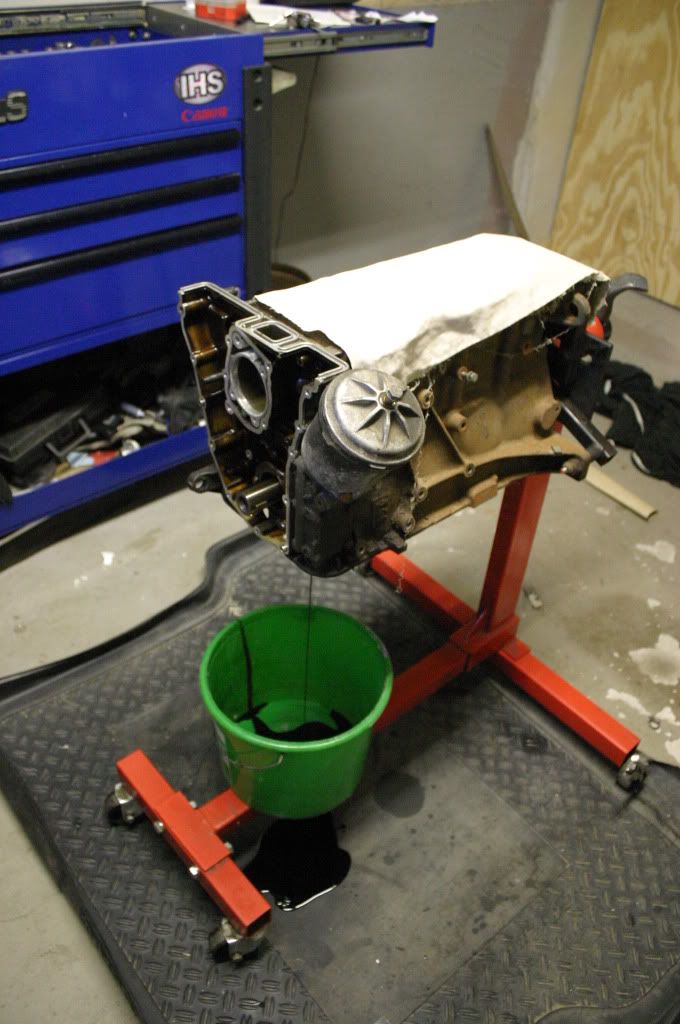
So I decide to finish today, I will pull the oil filter housing. Right off the bat, with no warning from either bolt, the front (2) lowers break clean off, in the goddamn timing case. And I must have twisted the top front longer bolt at least 3 times before just the head broke off. I PB'd the broken sections so I can work on them next week. Need to pickup some reverse drill bits and a propane torch. I'll heat them then hit 'em with the reverse bits and removers, maybe i'll get lucky.
 Last edited by MikeDE; 03-18-2012, 08:54 AM.
Leave a comment:
-
Thanks you, I needed someone to chime in on the m42 v. m44 question. I had no idea as this is my first time working on either. I'm glad it's the M42, forged crank, mmmmm.
It's pretty clean, so I may just replace the thrust bearing on the bottom-end and call it a day. I just have to get new rod and crank cap hardware, then i'll be set.
The timing cover has to come off anyway so I can replace the oil pump rotor and cover. By then, I hope to have found the PO so I can see when the timing components were replaced.Leave a comment:
-
Hang on, how did you know it was an m44? I can't see anything there that makes it an m44...
Looking at the head its definitely an m42 because the m44 head had rocker arms. Nevertheless thats one clean motor (on the inside!)Leave a comment:
-
Dam dude...sucks that the is had to get crushed....i would have killed to have that thing as a whole...but at least it's parts are going to a good cause to power your touring! Good luck with all this man! The touring looks super nice btw!!Leave a comment:
-
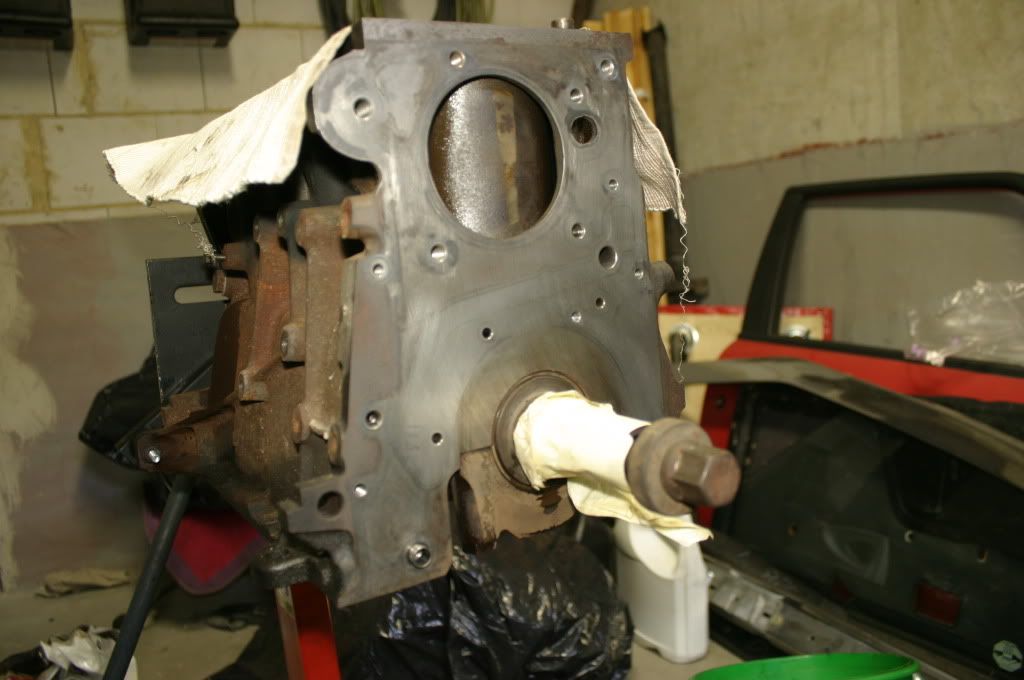
My goal today was to get the oilpan(s), cylinder head, and timing cover off so I can get an idea of what I need to swap to the M44 timing case...but hold the phone, what is this!!??
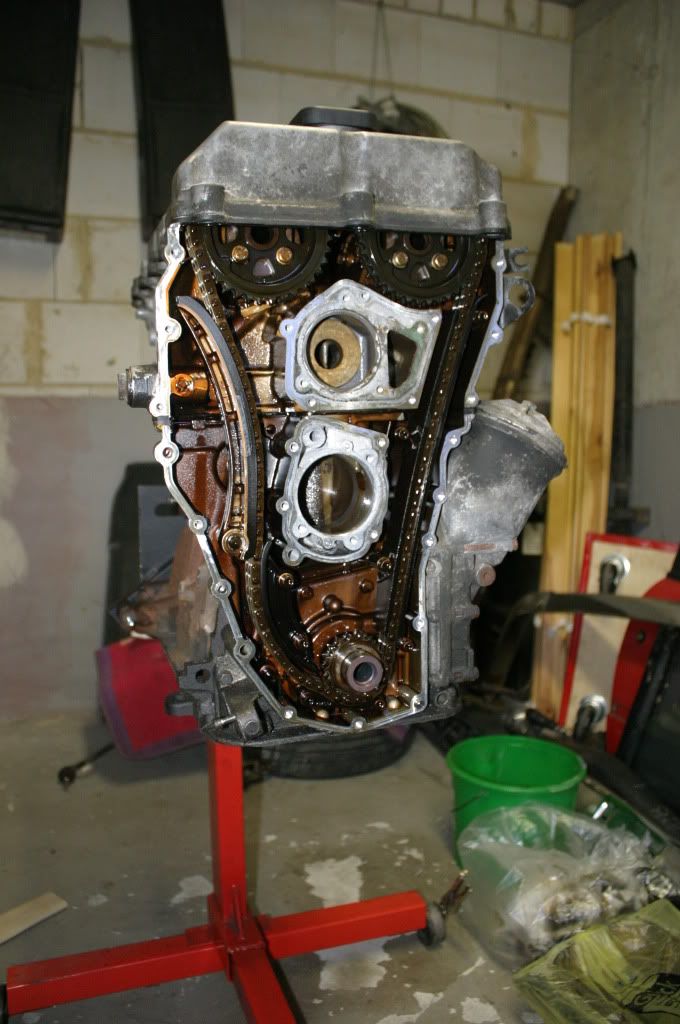
BAMMMM!!! Simplest explanation, this is an M44. Other explanation, the PO swapped to the M44 front case. I think it's the latter as there are no knock sensors, and no unconnected connectors. I have to check the DME# to be sure.
I'm going to try to find the PO, and try to find out how many KM's are on the timing components. If they are relatively fresh, then I will be resealing it, and installing a new tensioner & front crank seal, after I change the head gasket & profile gasket.
Gasket still seated properly, happy happy joy joy.
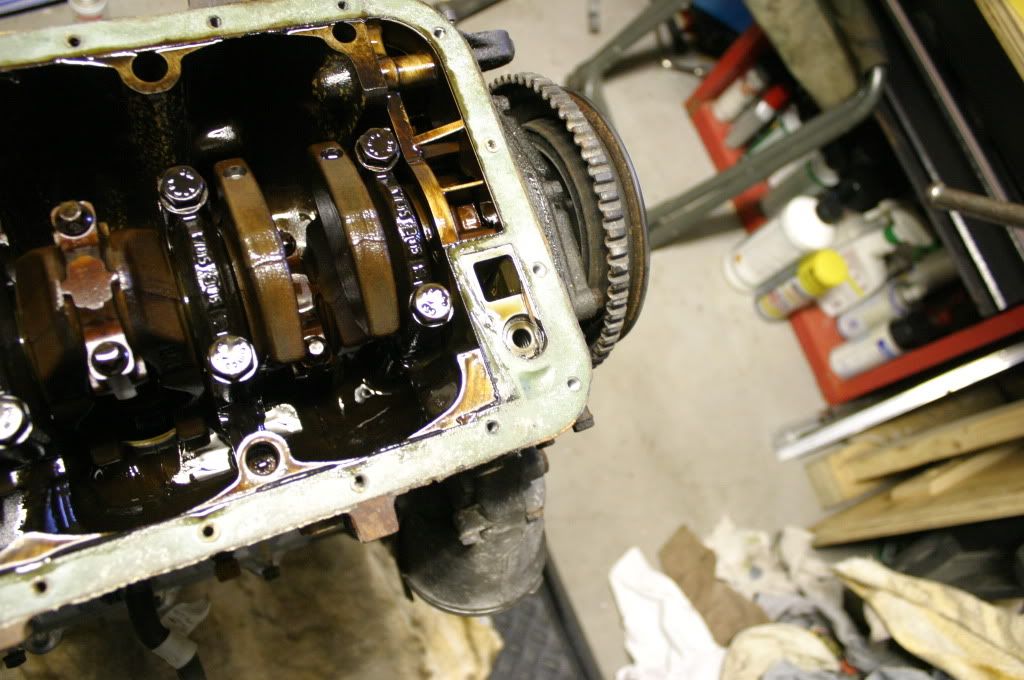
I will have to buy the long/skinny BMW E12 torx socket as I do not wish to remove the cams. My E12 is too fat to get in there.Leave a comment:
-
Made a little progress today with the 1.5 hrs I had before I had to get ready for work.
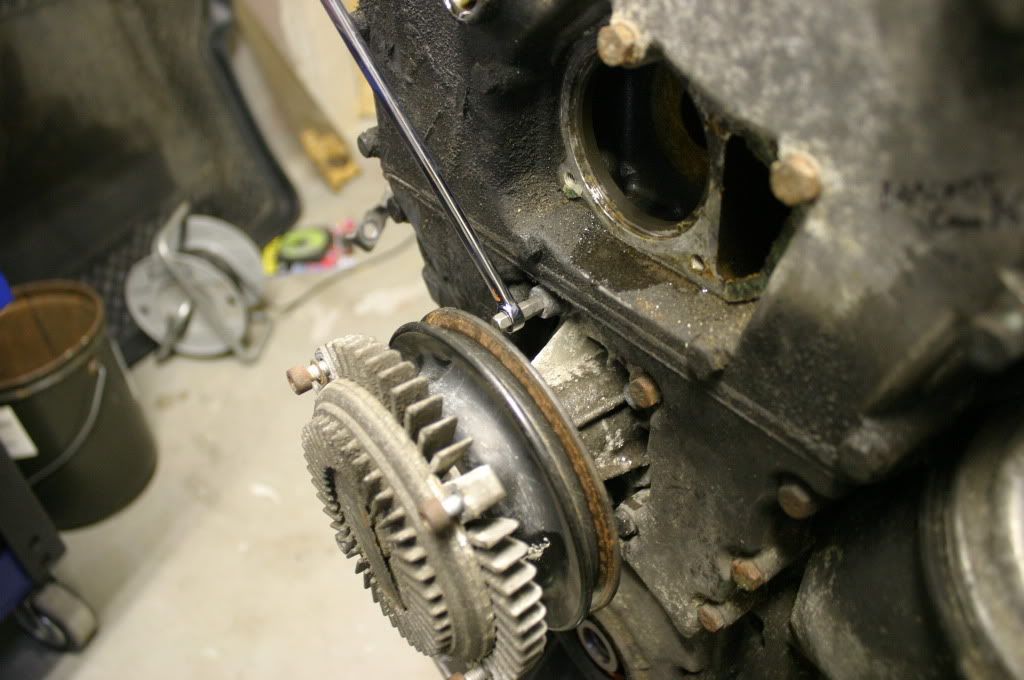
Pretty much everything to this point went smoothly, except the fan clutch. It was seized on the WP so I undid the WP pulley bolts, and got the long 6mm allen bolt out like so:
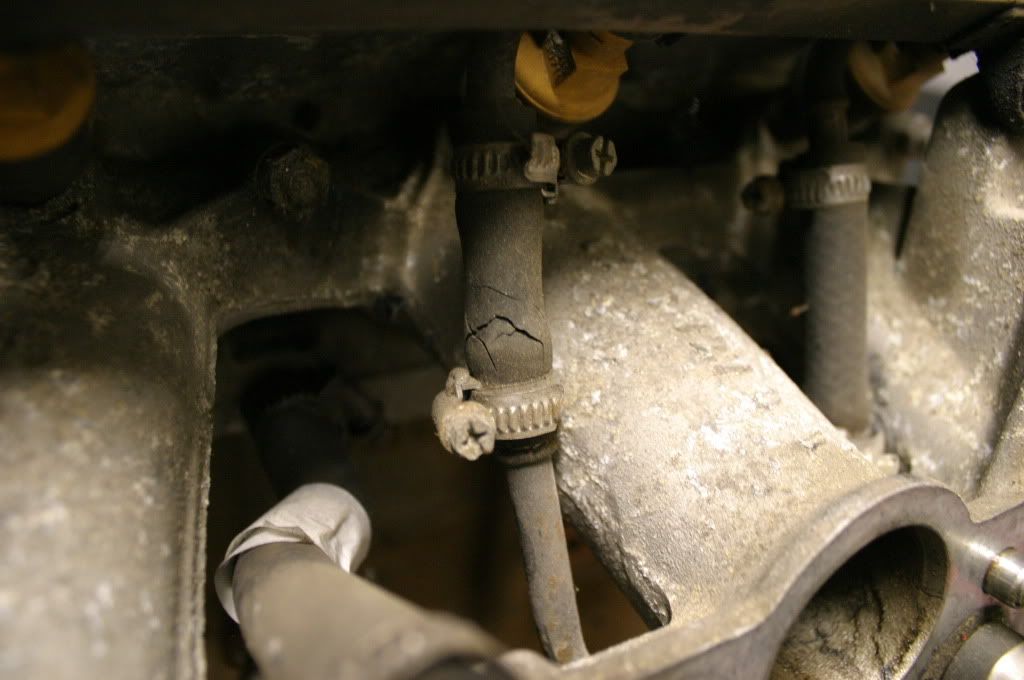
Found some scary stuff along the way:
Reached my goal for today anyway by quittin' time, all ancilliaries removed and onto checking the cam sprockets and general condition of the cams/under the valve cover.
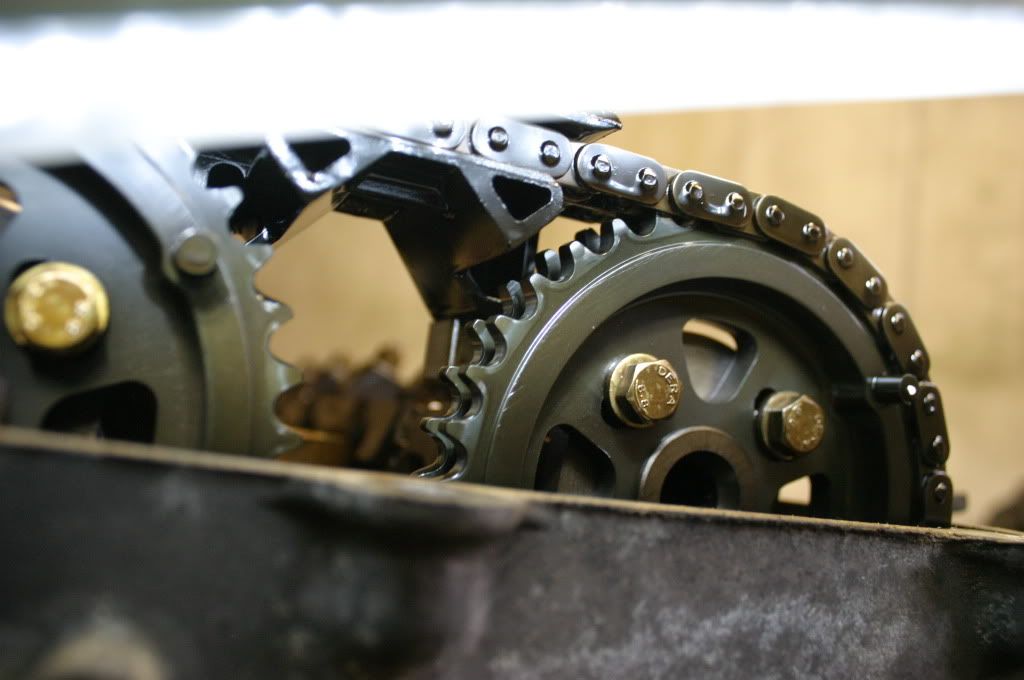
They look pretty good to me.
And the cams, sorry for the shit pics, but i'm using my old 10D and there's not too much light in my work area.
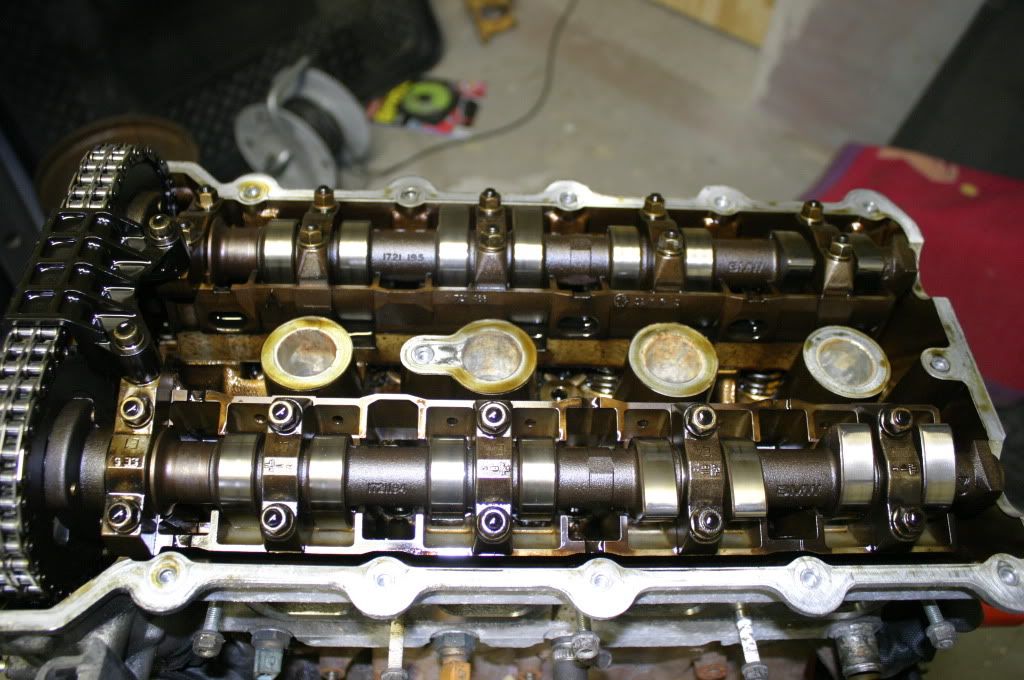
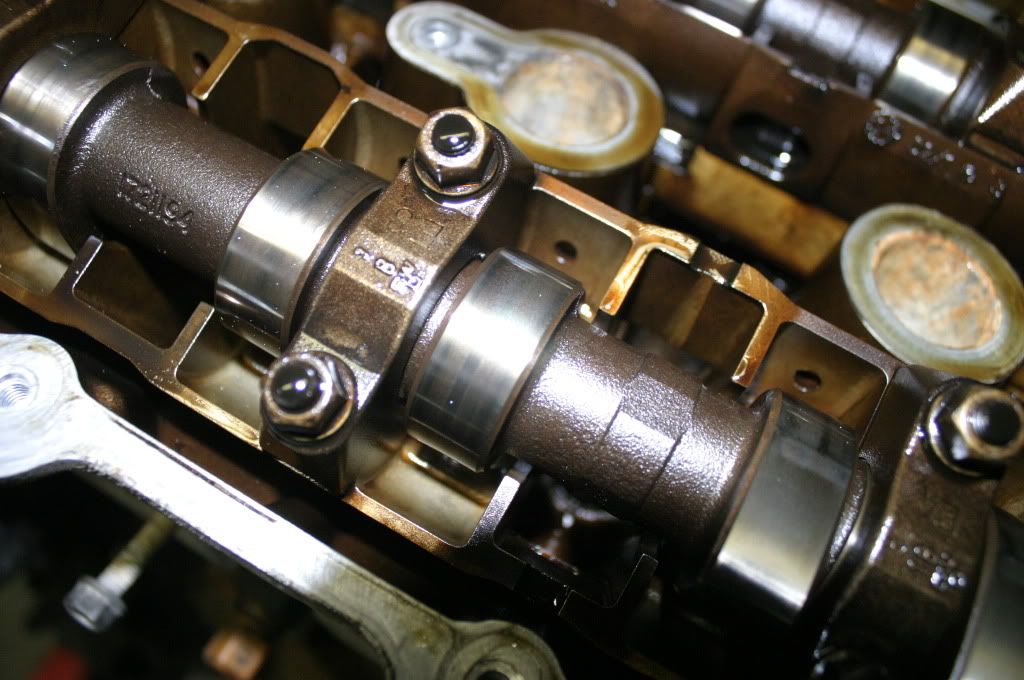
And this is how it sits now. I plan to have the Pans and timing covers off tomorrow to get a look at the thrust bearing/crankshaft and timing components.
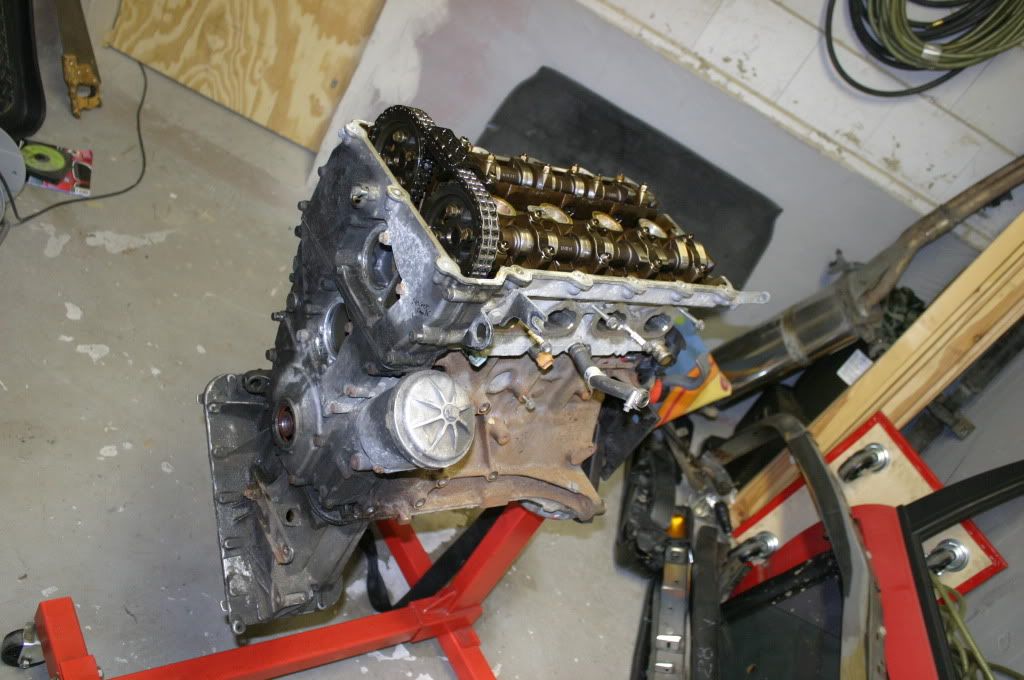
Leave a comment:
Leave a comment: