Announcement

Collapse
No announcement yet.

Project FREE30

Collapse
X
 
  • Filter
  • Time
  • Show
Clear All
new posts

    #16
    Originally posted by mr.vang View Post
    300??? dam lucky bastard...
    Yeah I know! I was stunned that I was able to get it for that much too. Might be getting a donor car for 500 that apparently is an excellent daily, but obviously the guy doesn't know what he has! I'm excited, but more on that later if I end up gettin it.

    Anyways....sorry for not posting an update for awhile. I've been busy with a lot of other things for work and random little jobs and stuff.

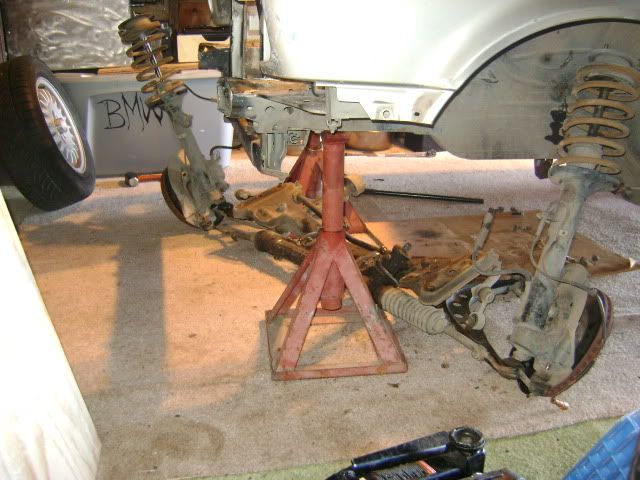
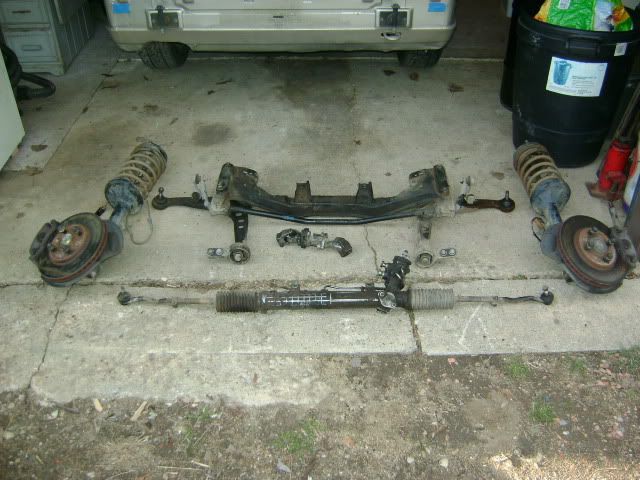
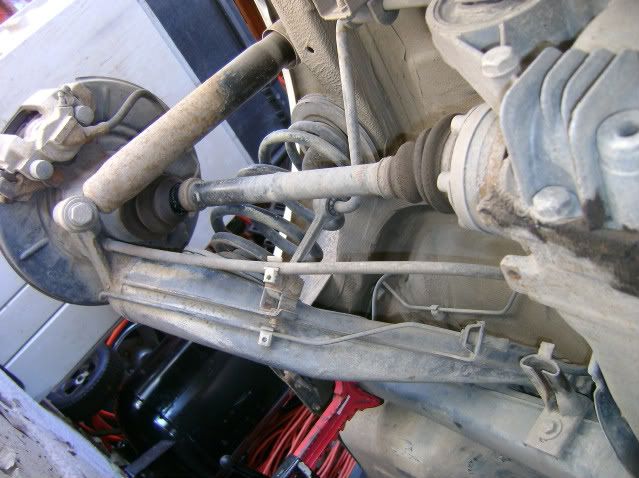
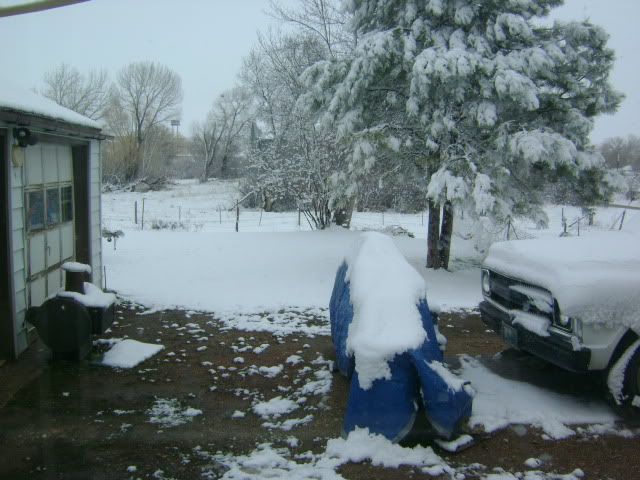
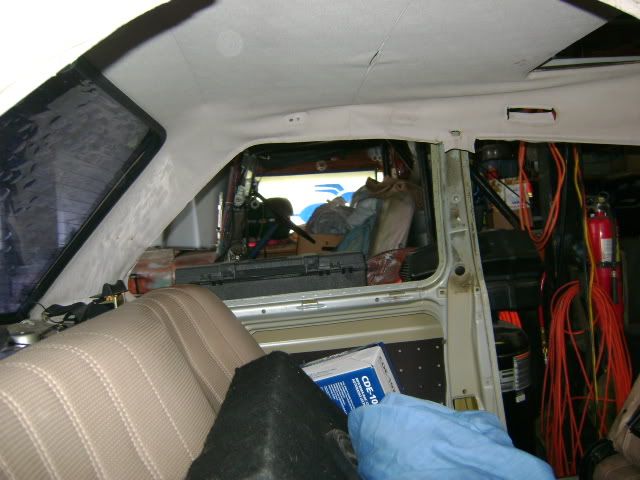
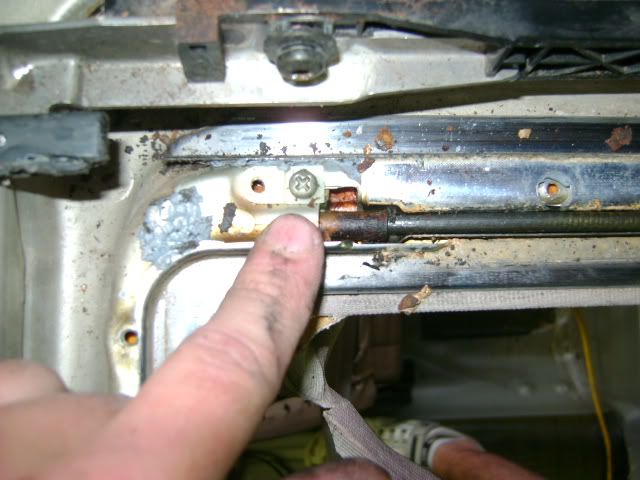
    So I currently have the removed all of the suspension, steering rack, front sub frame, and the gas tank out. I have yet to get the rear sub out. I haven't tried to take it out again for a couple of weeks. I have had some MAJOR issues with gettin it to drop. I would bank that the bushings are rusted to the mounts...I'll be trying some ideas I have to get it out in a couple of days. Anyways....on to ze pictars!!


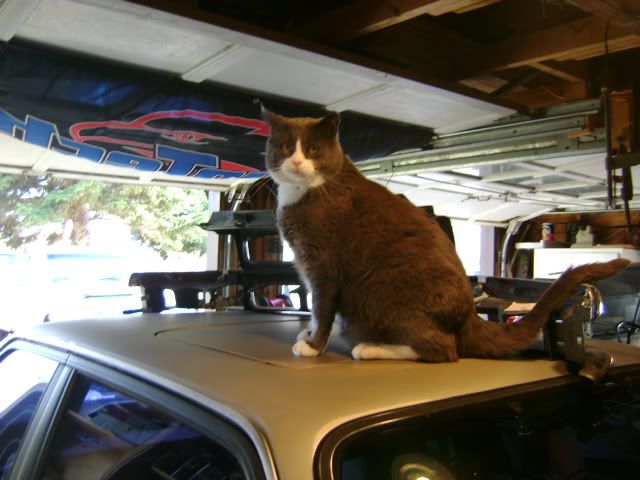
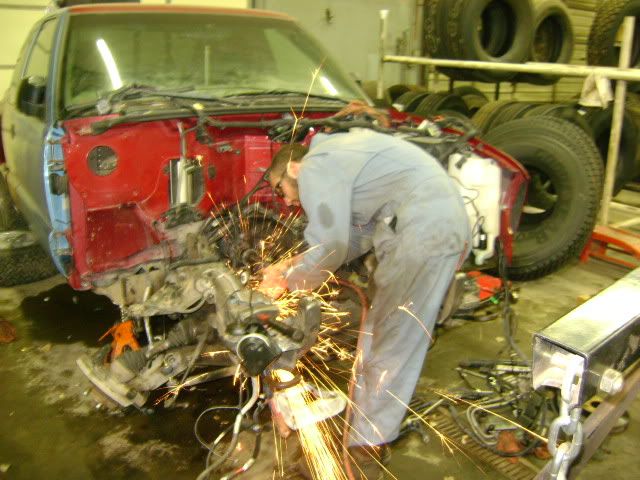
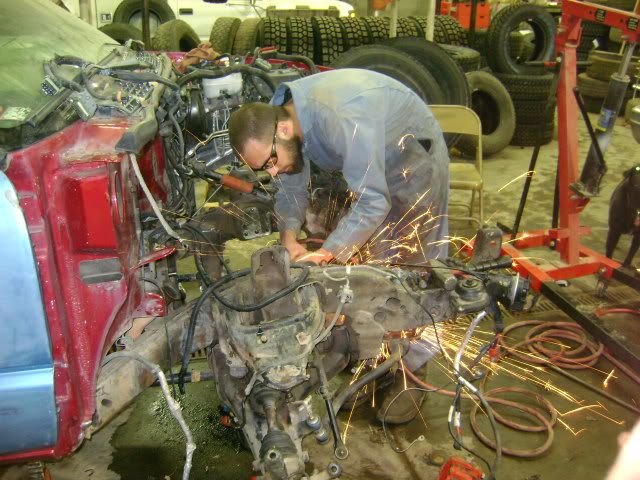
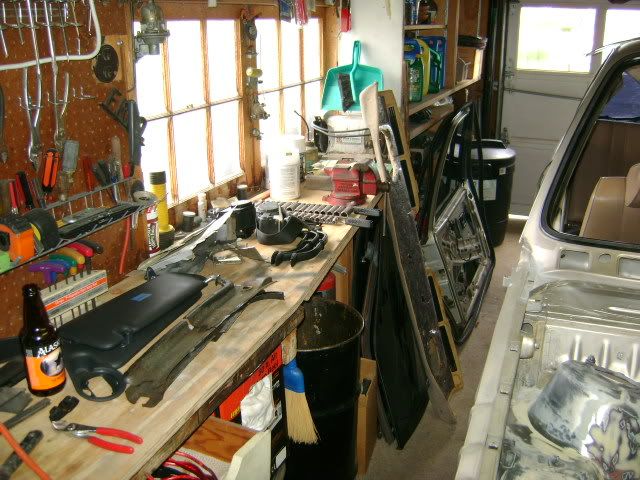
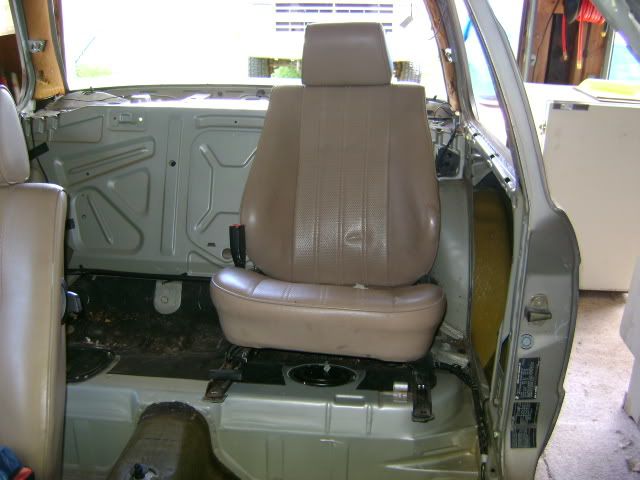
    The shop foreman.....


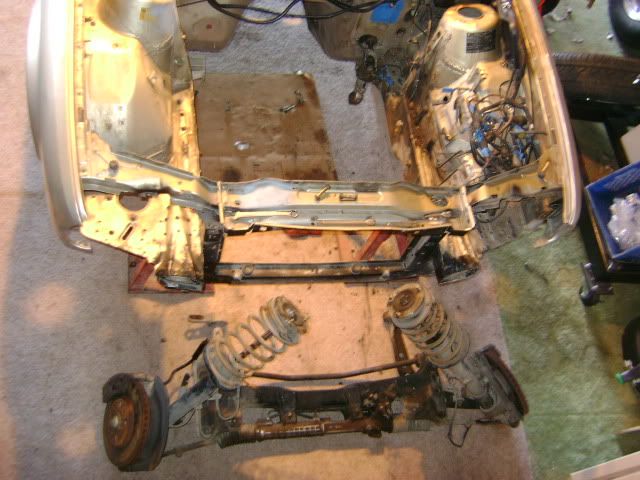
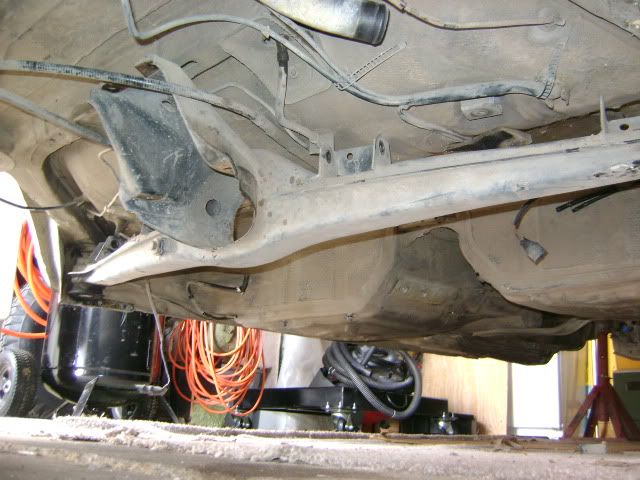
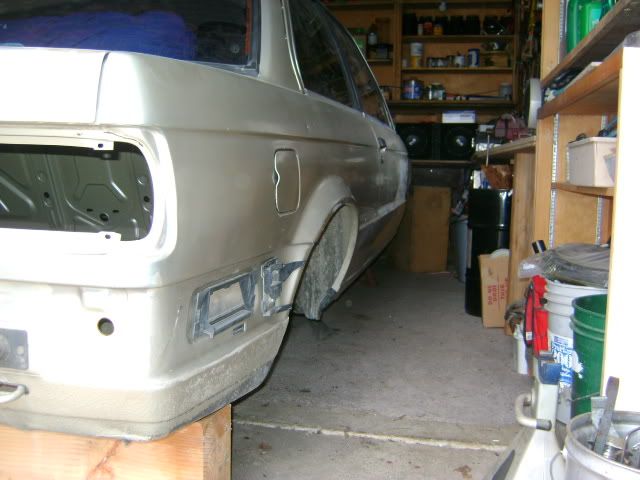
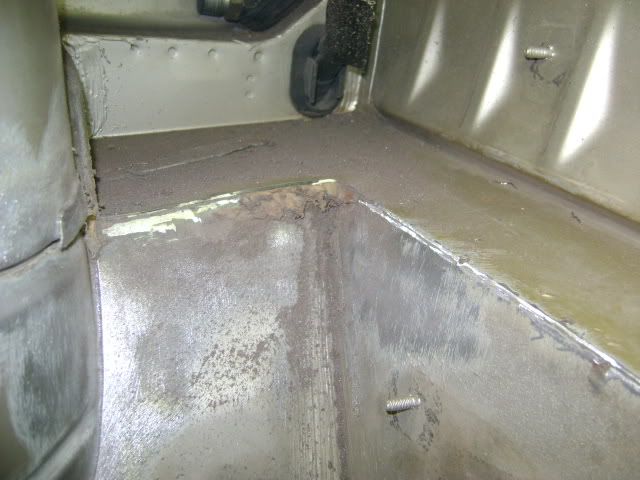
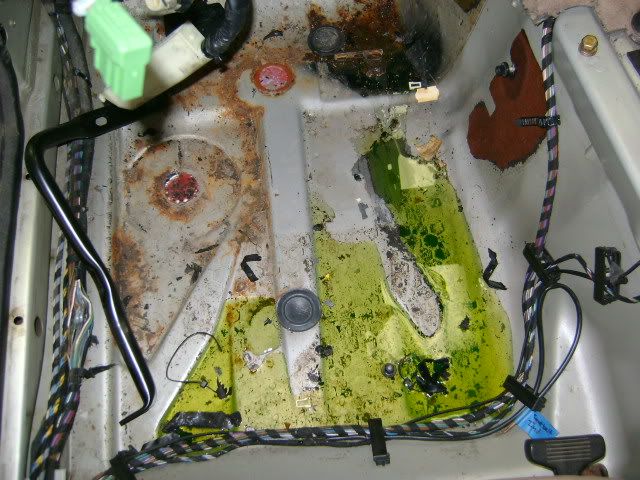
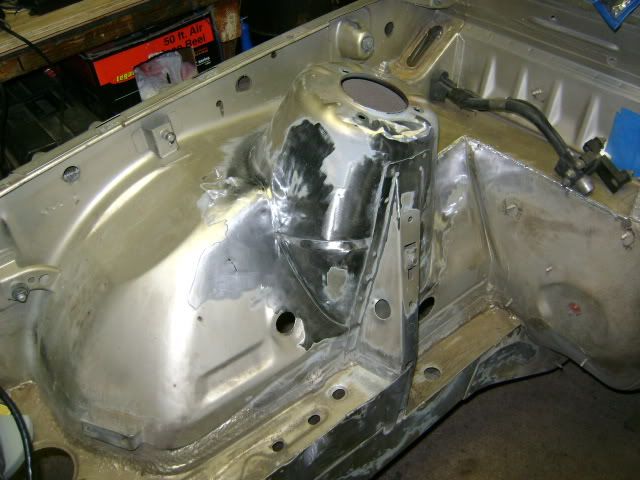
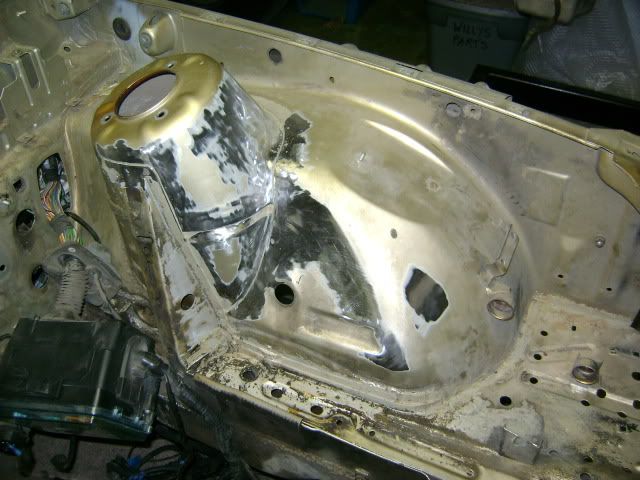
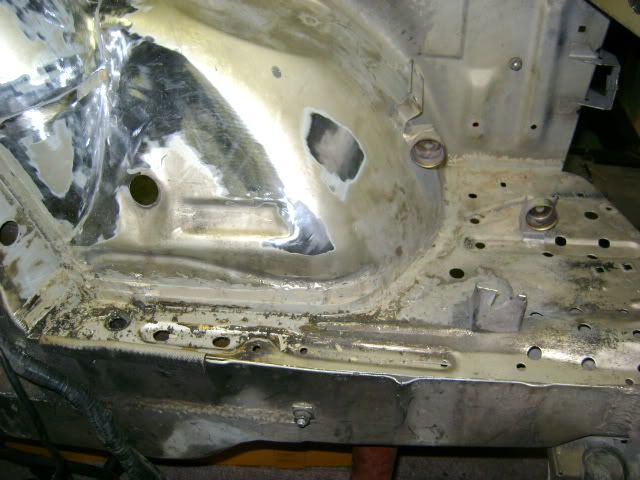
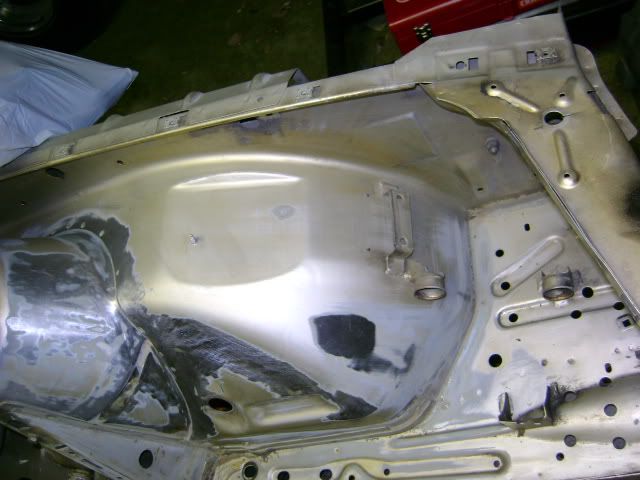
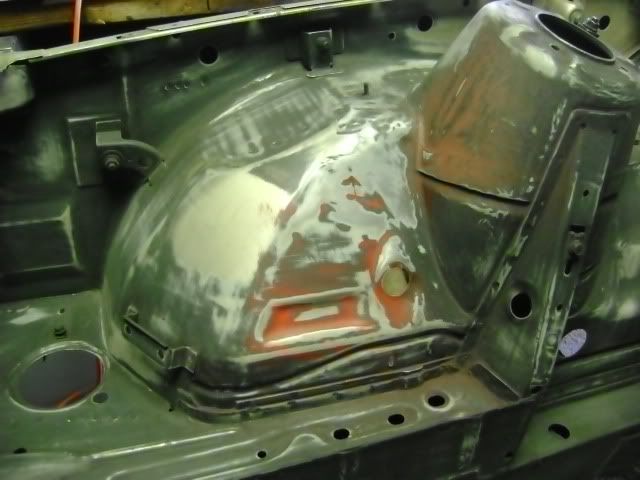
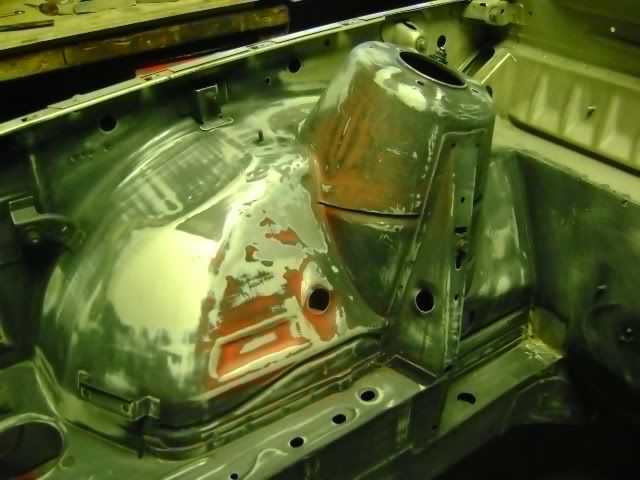
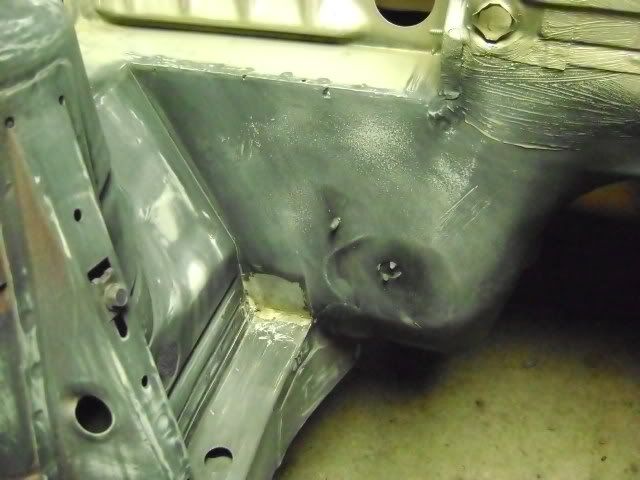
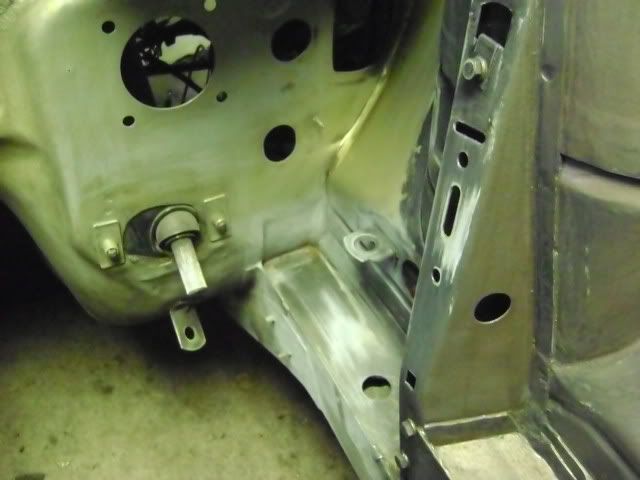
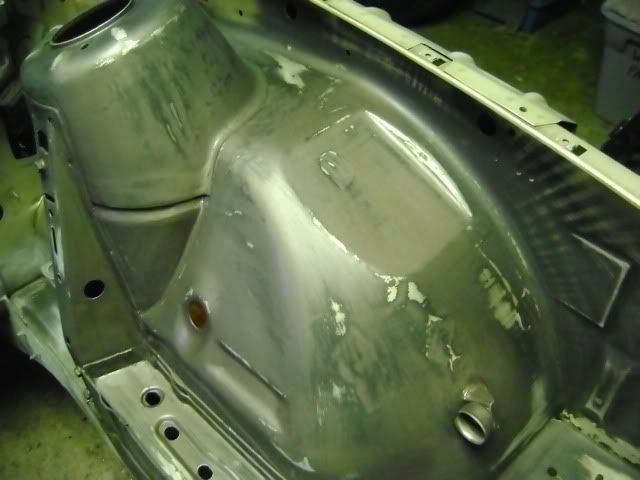
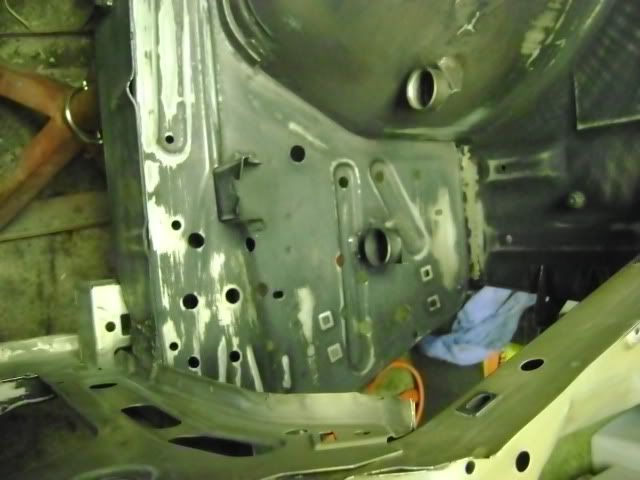
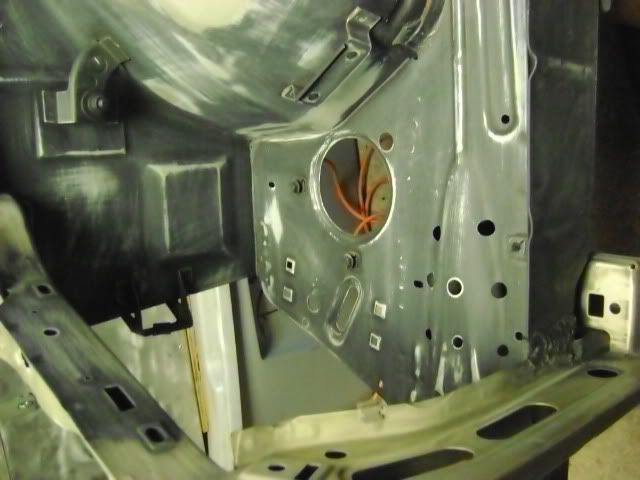
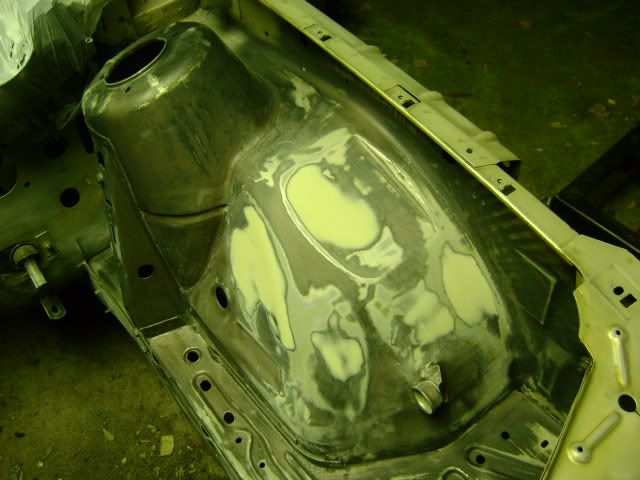
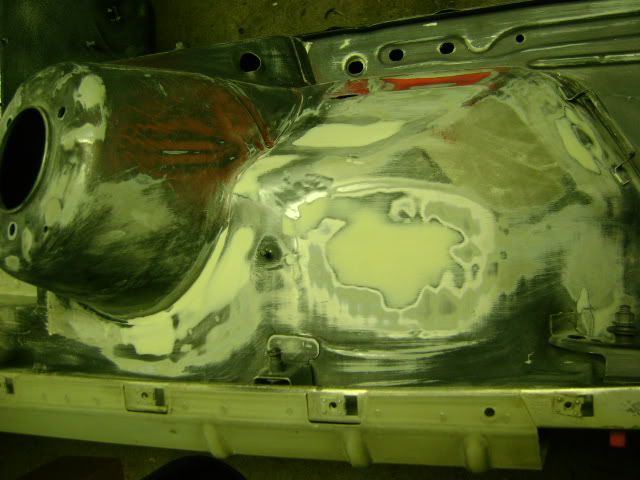
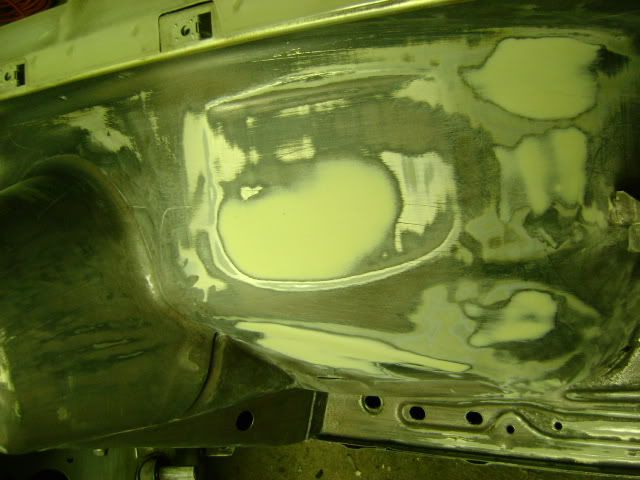
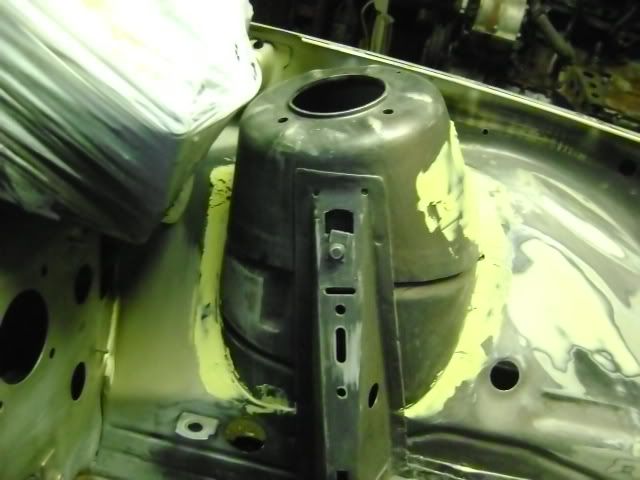
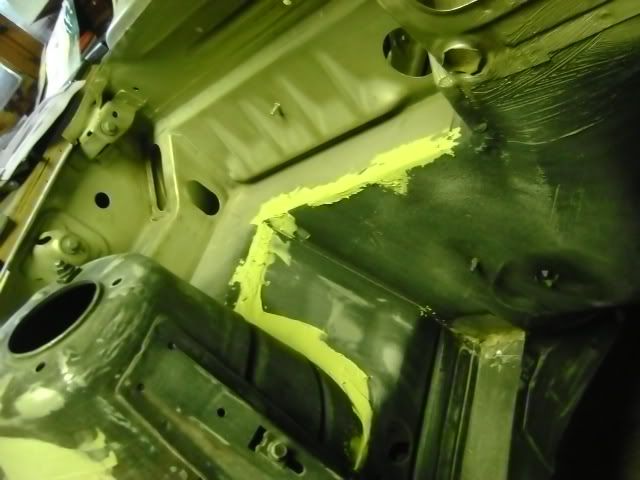
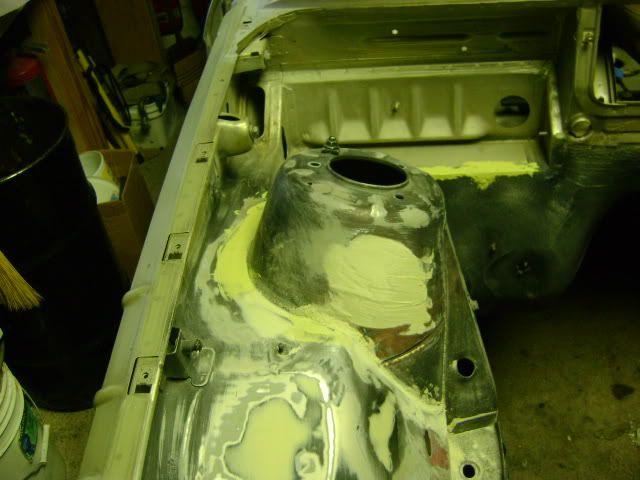
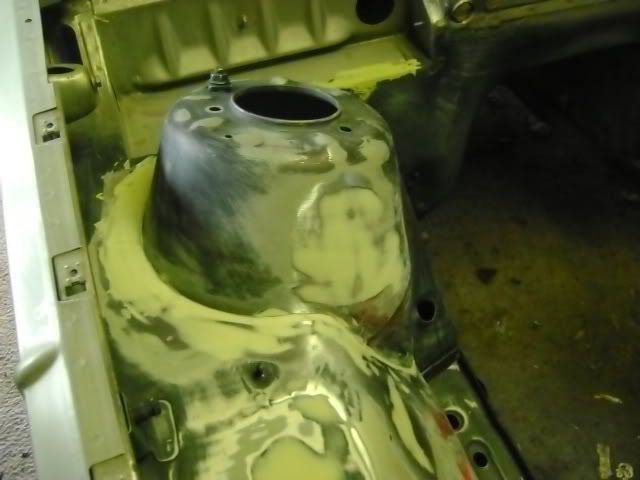
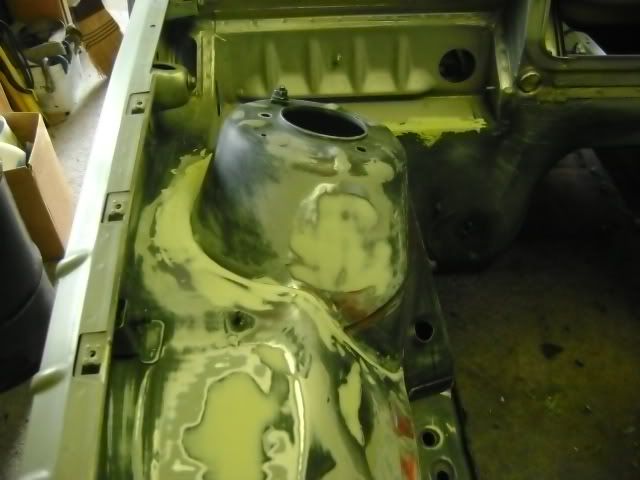
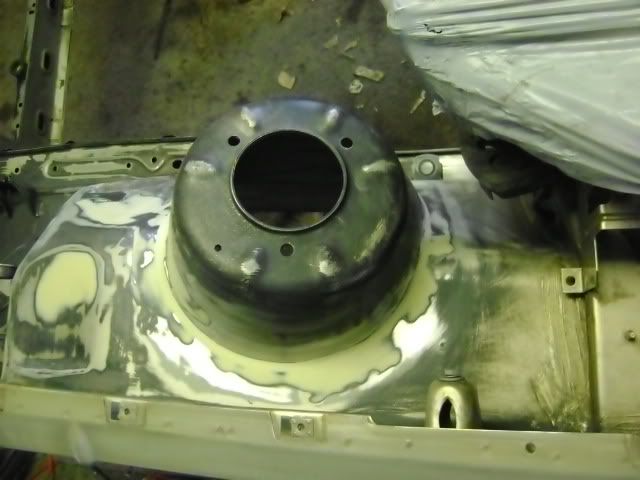
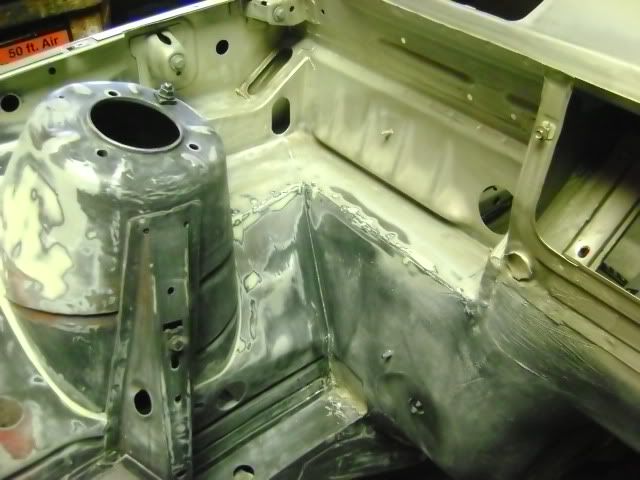
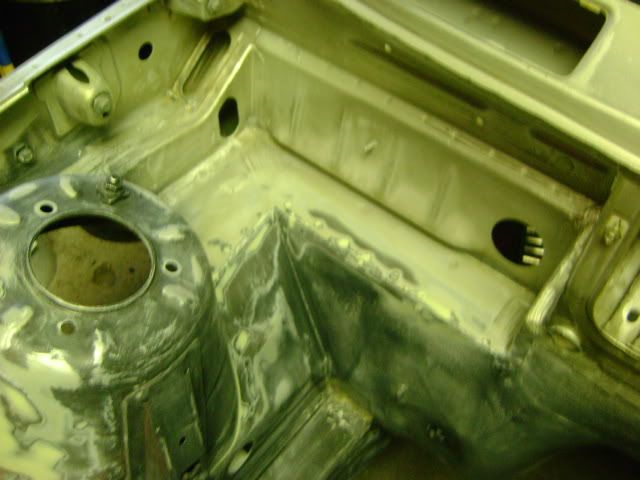
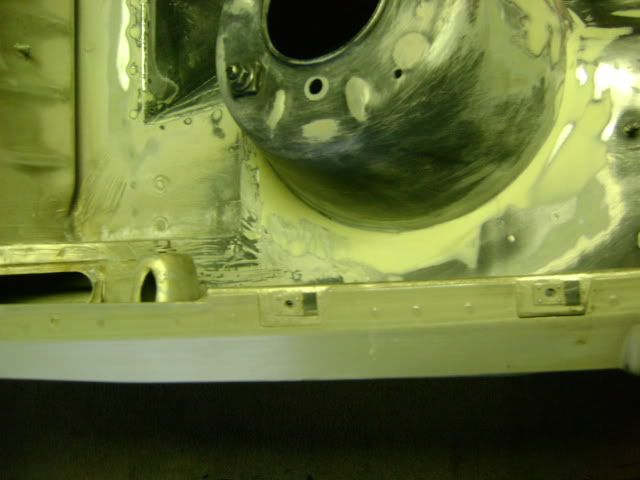
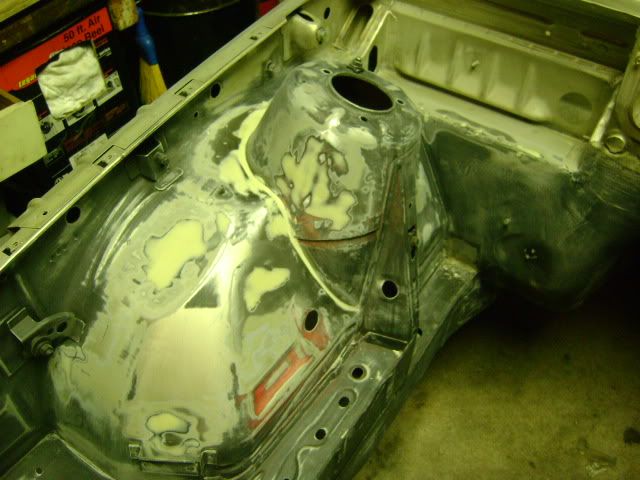
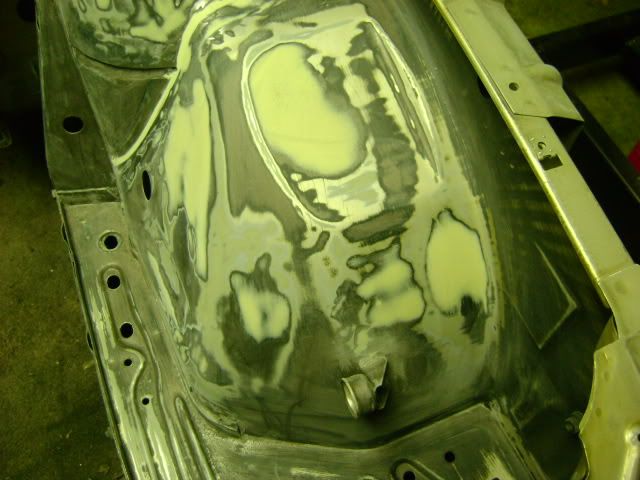
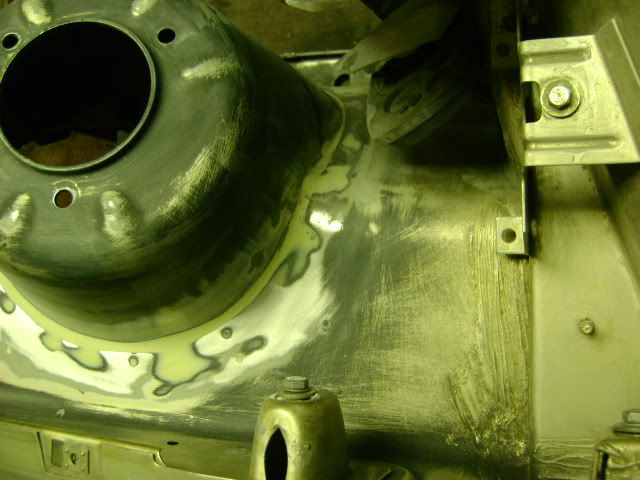
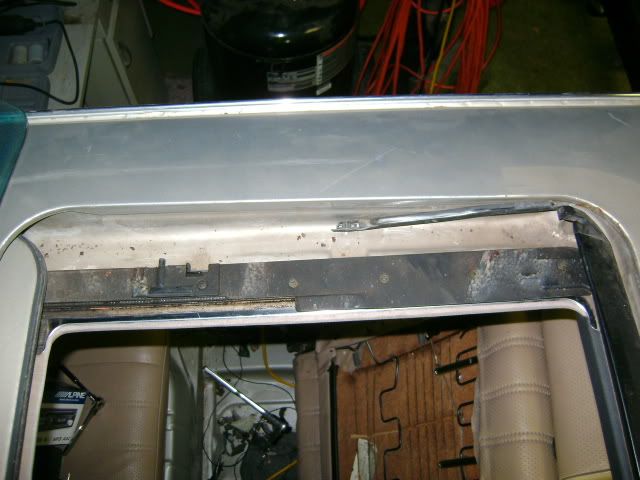
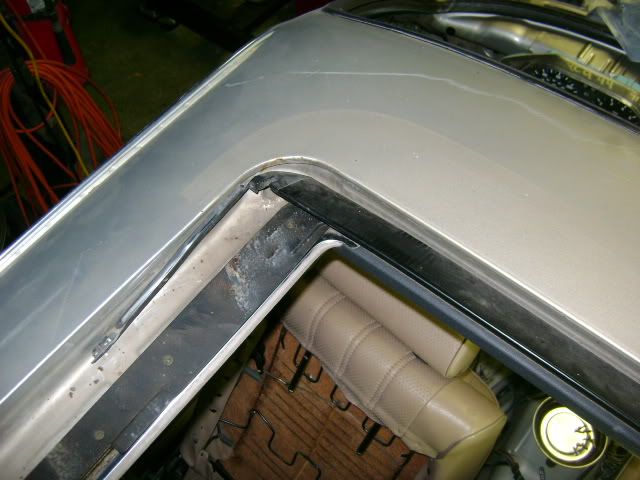
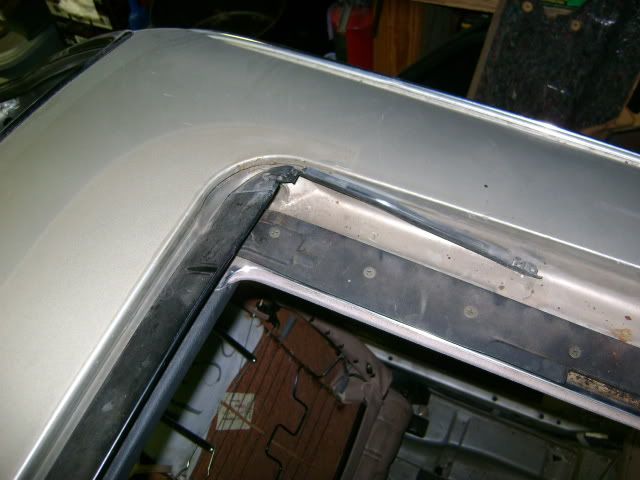
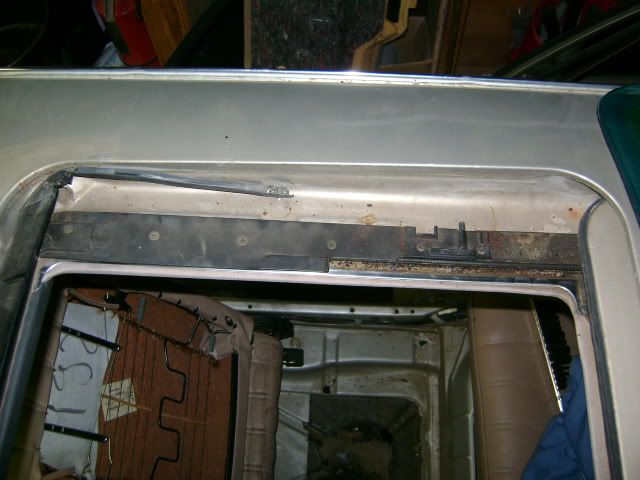
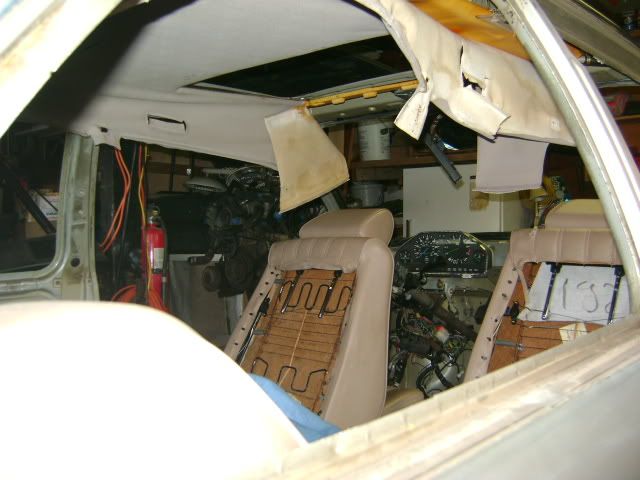
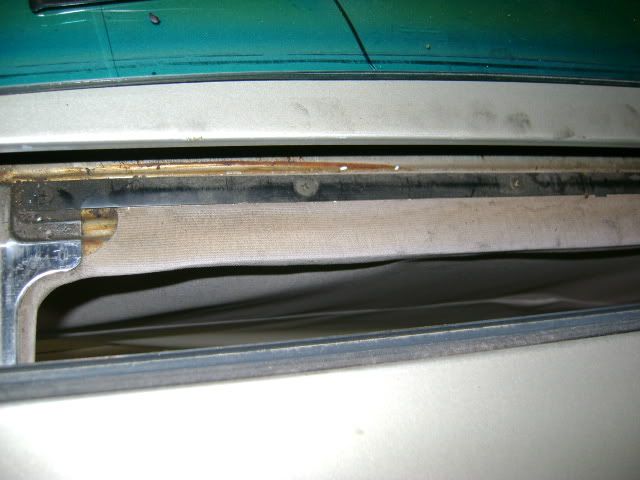
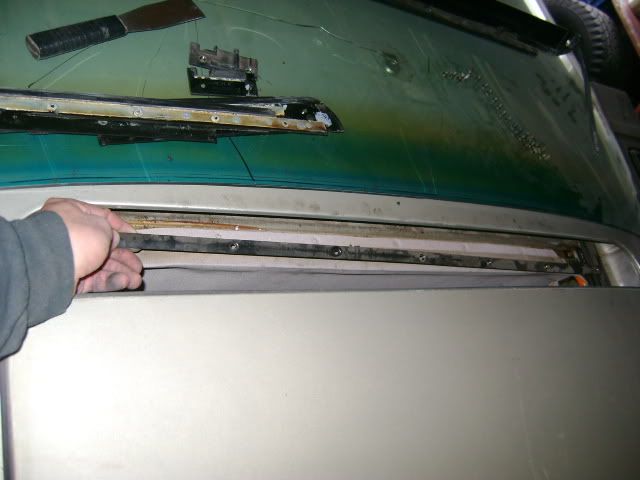
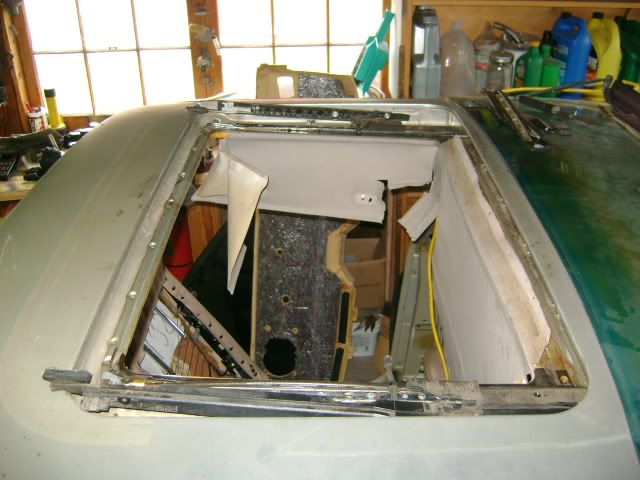
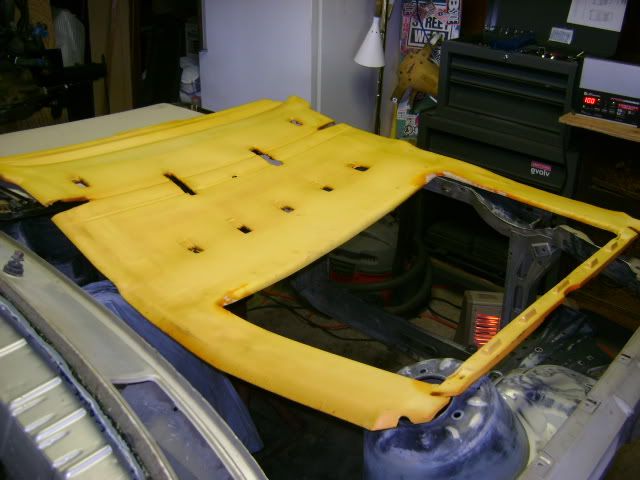
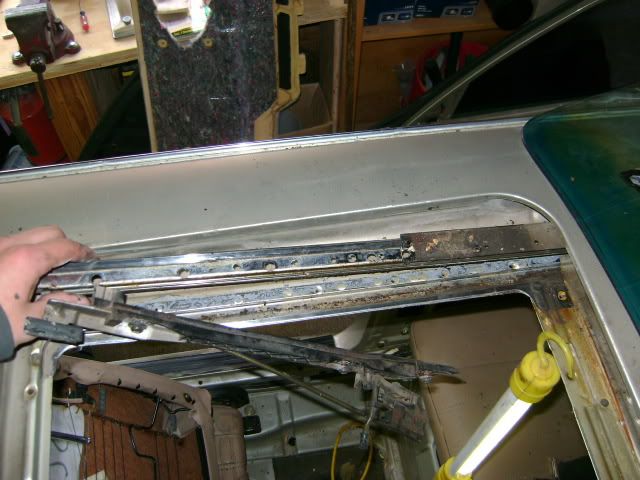
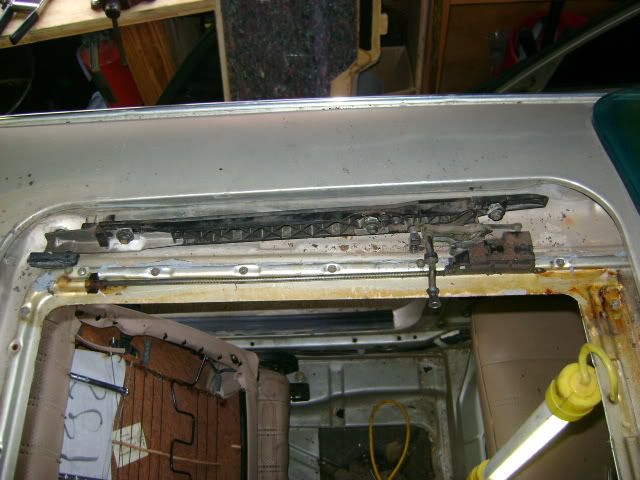
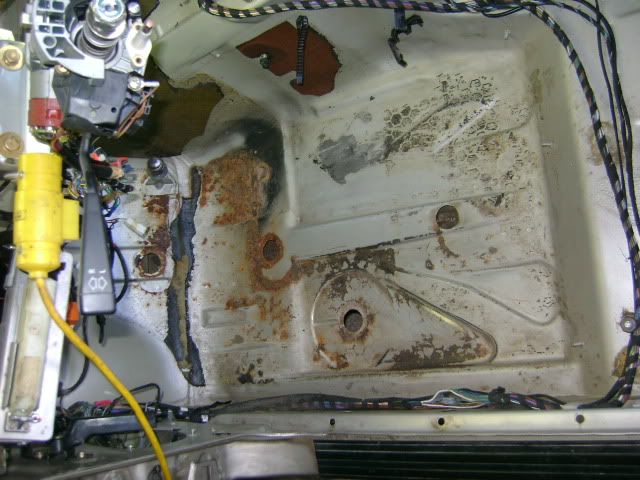
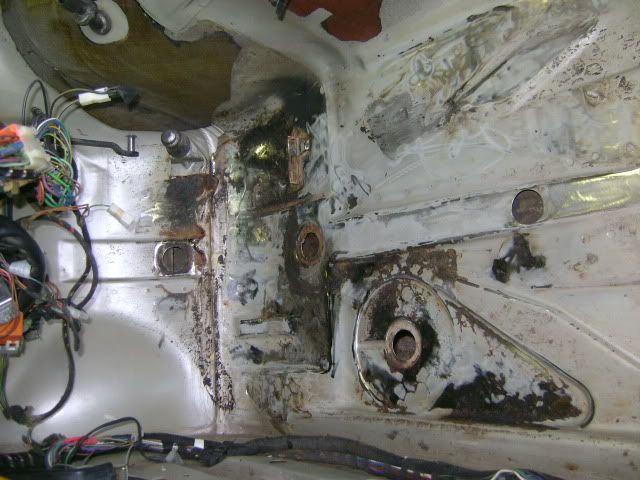
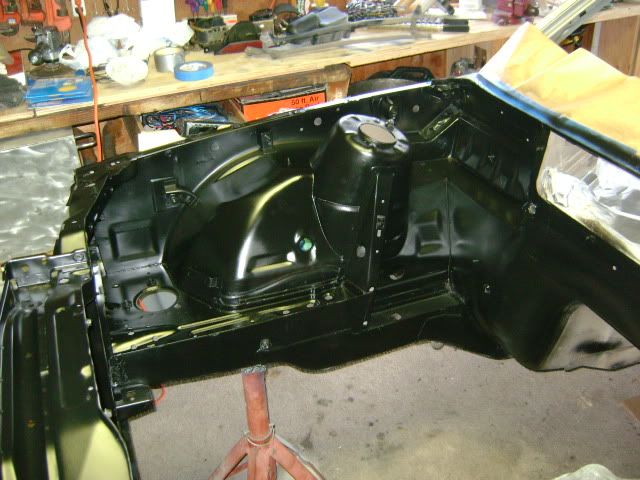
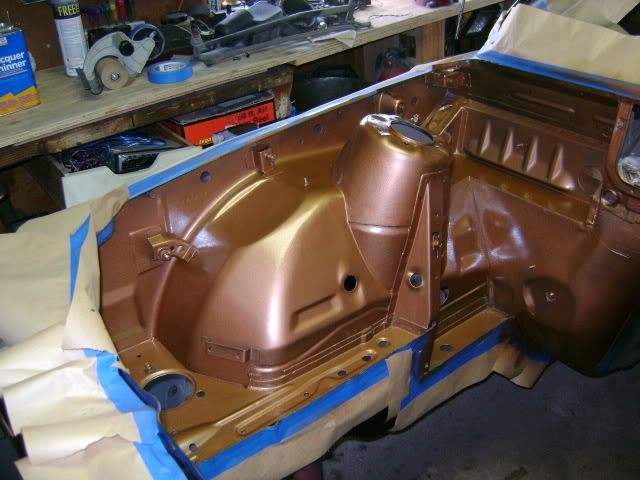
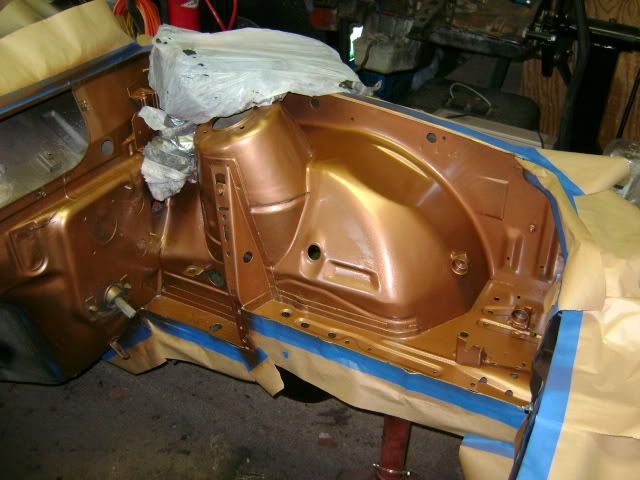
    Got a little more work done on the bay. A lot of the factory seam sealer has been removed from the passenger side. I have yet to start the driver side.


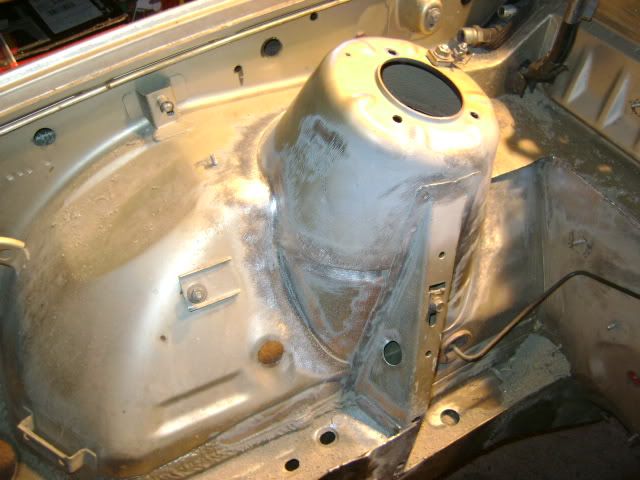
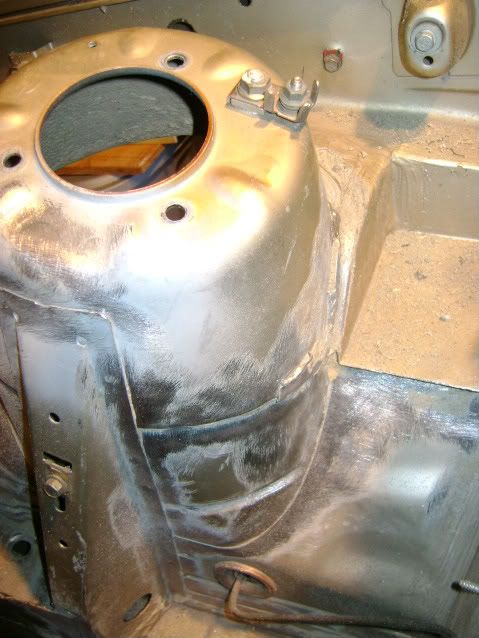
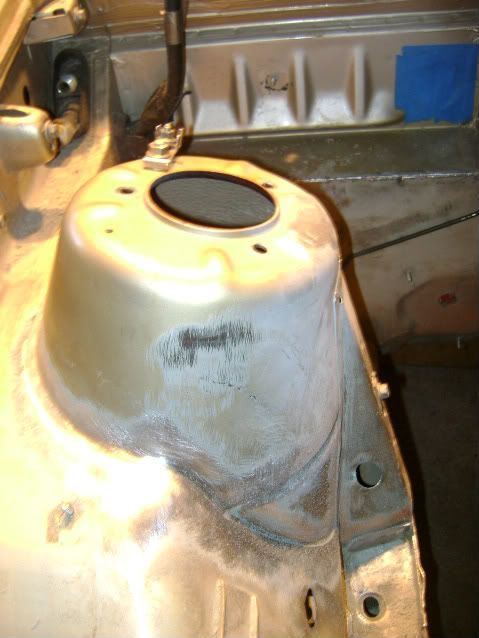
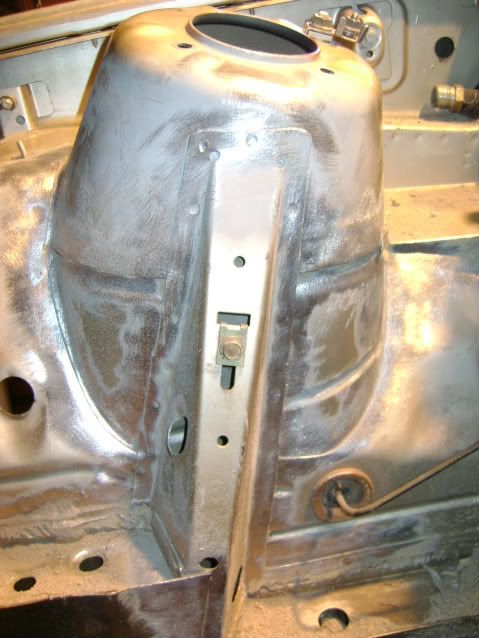
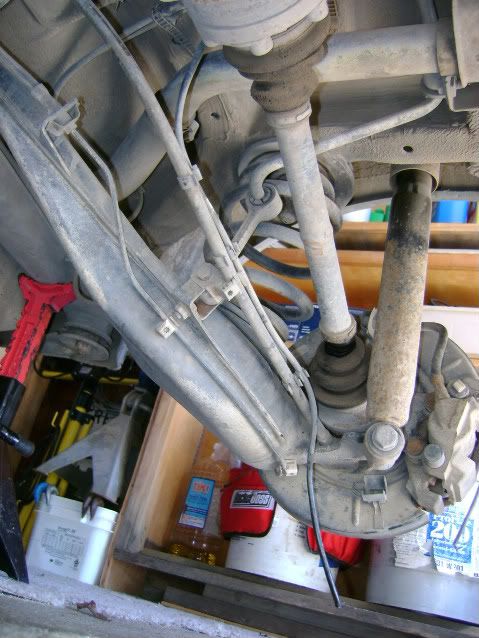
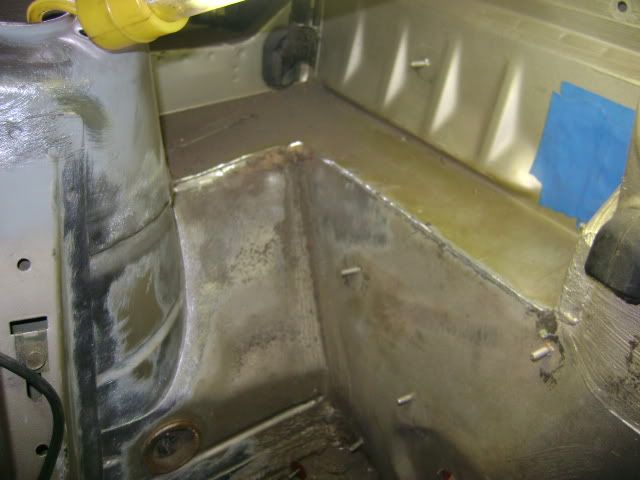
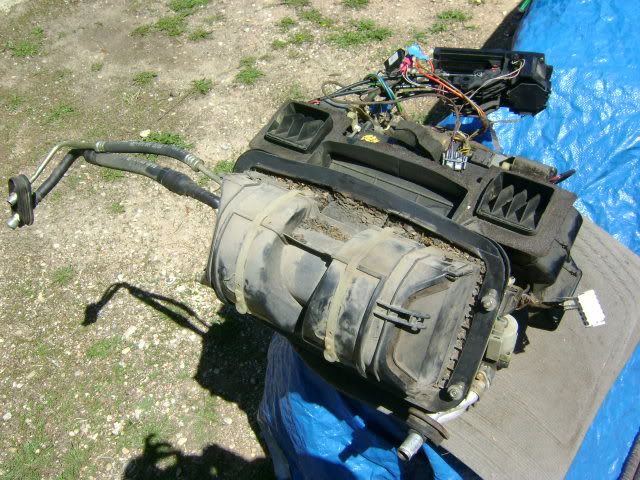
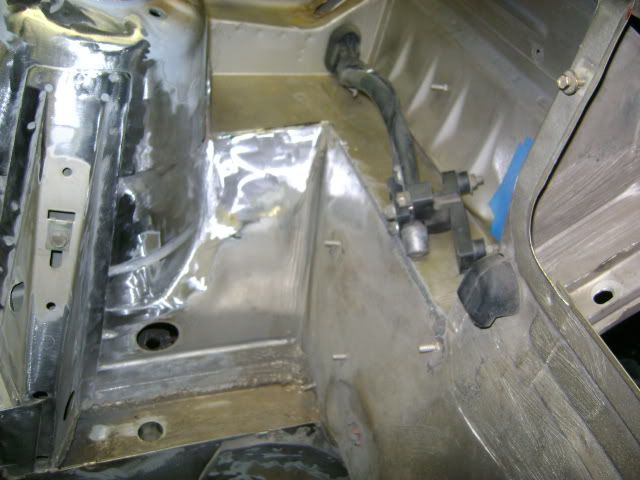
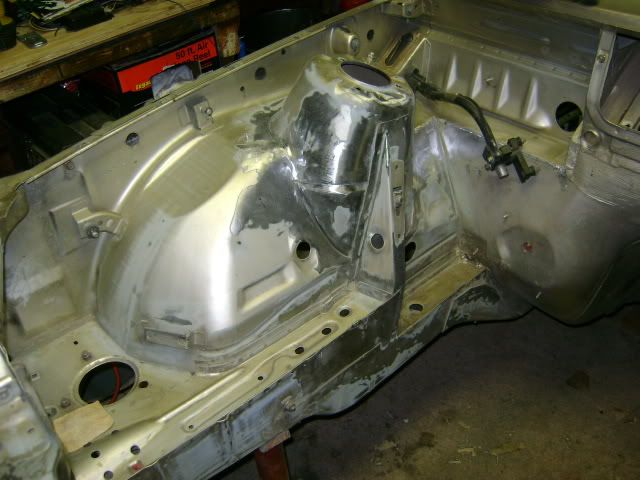
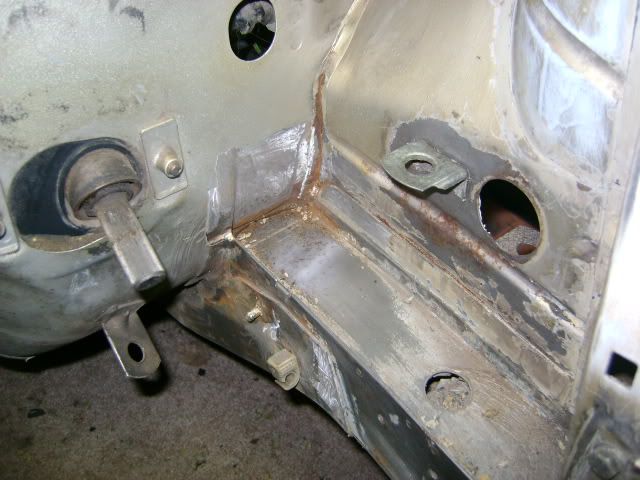
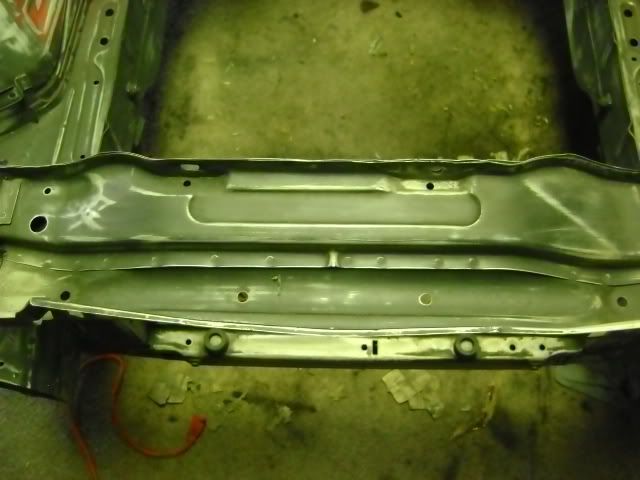
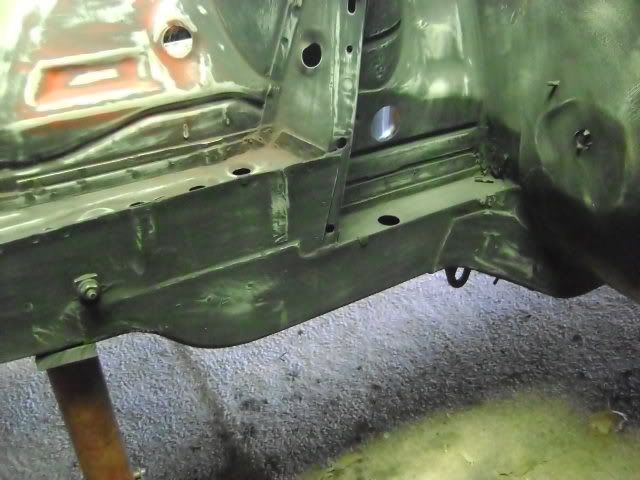
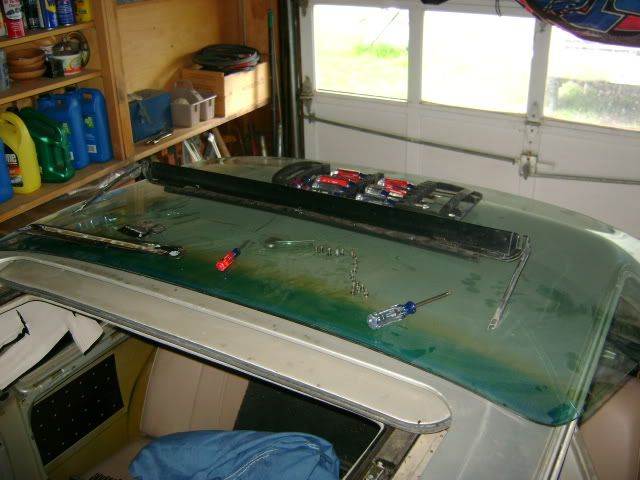
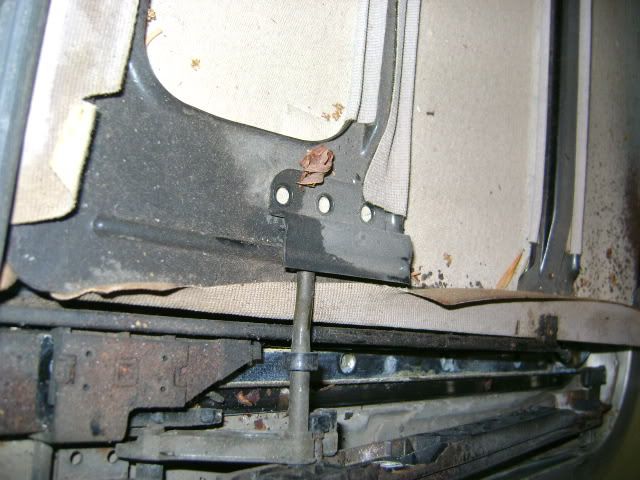
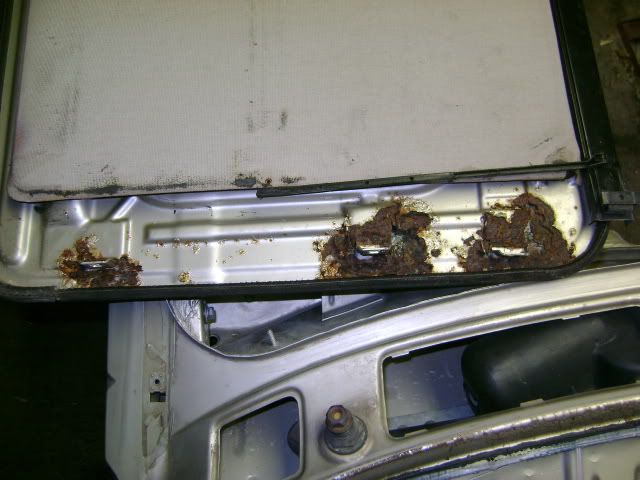
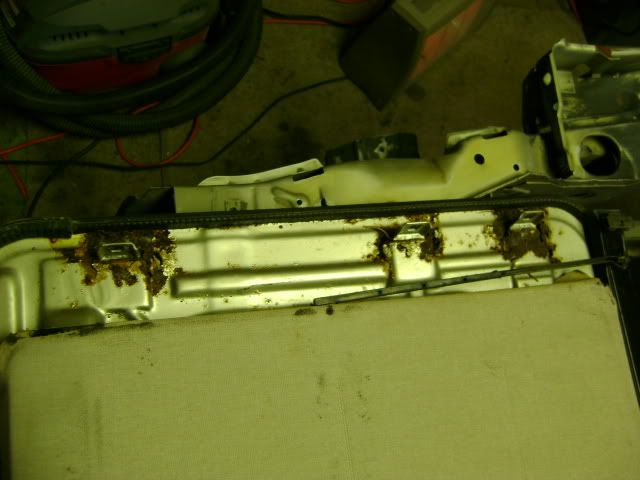
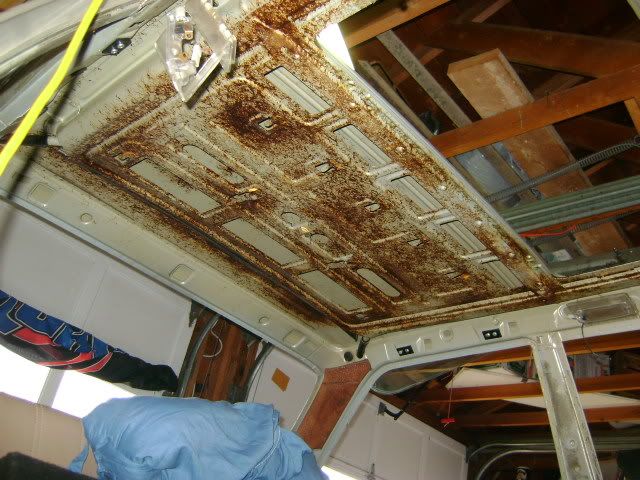
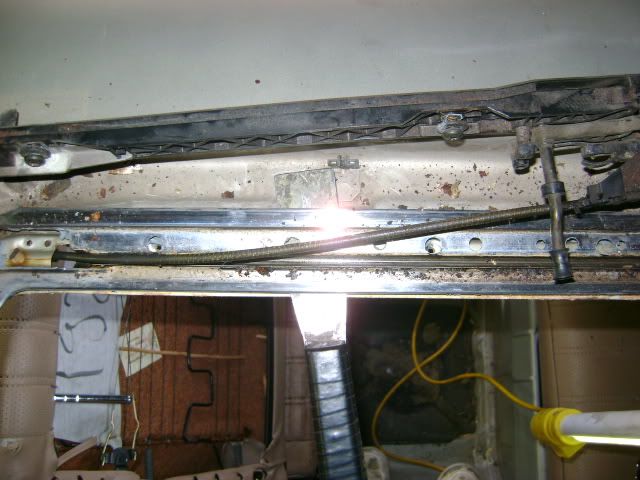
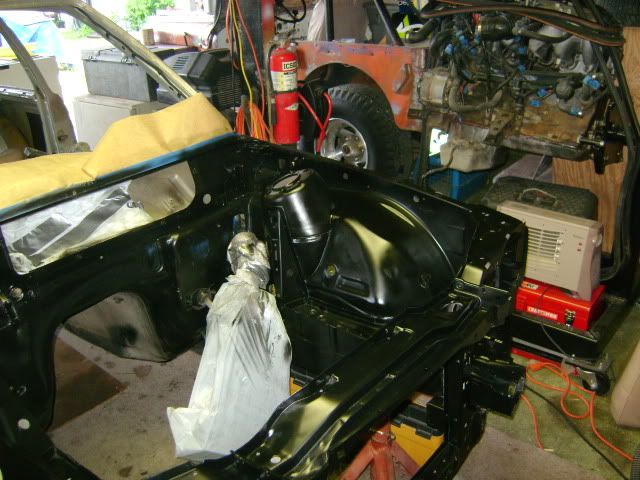
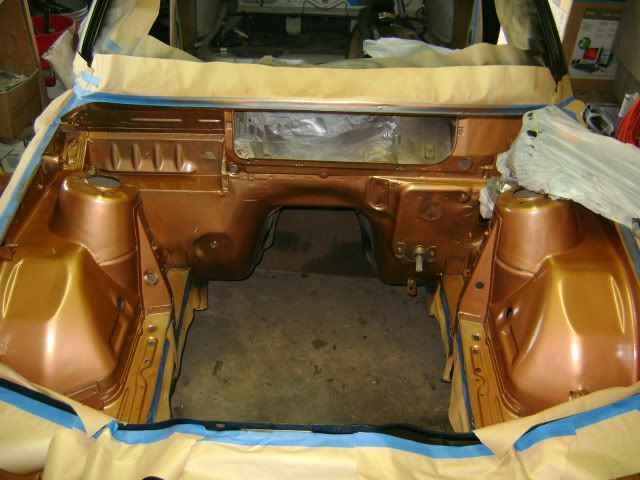
    Just starting to pull out the rear sub. I would have more pictures of this process, but I was in an exceptionally bad mood during removal. Nothing was working with me. Major PITA....


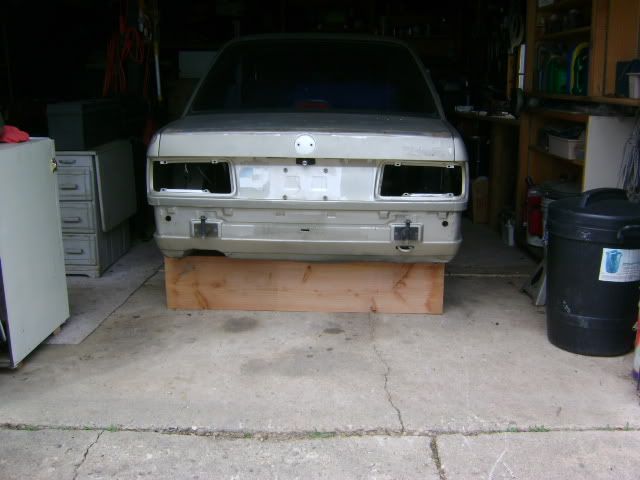
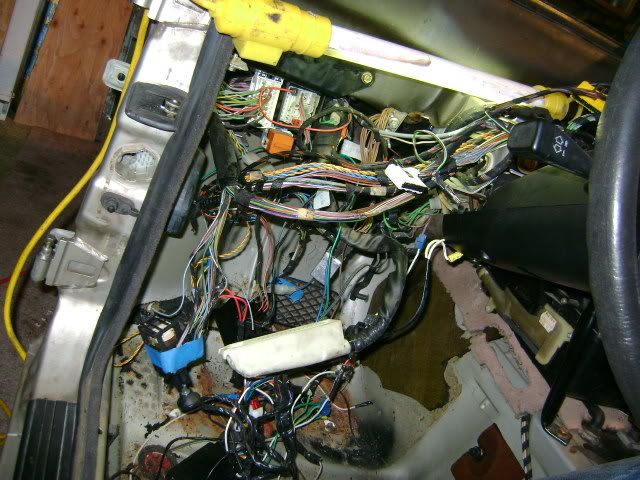
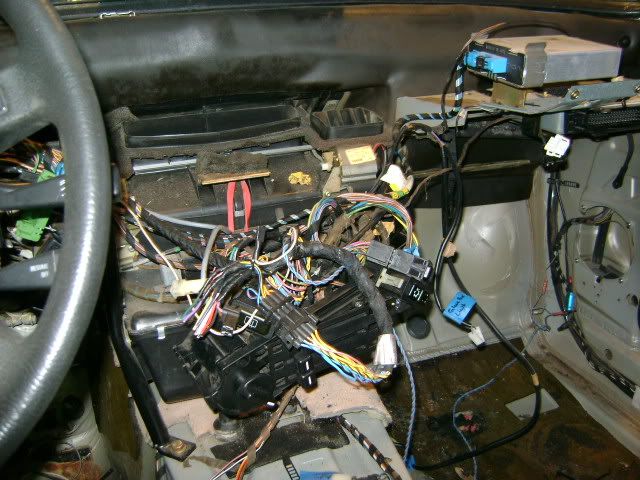
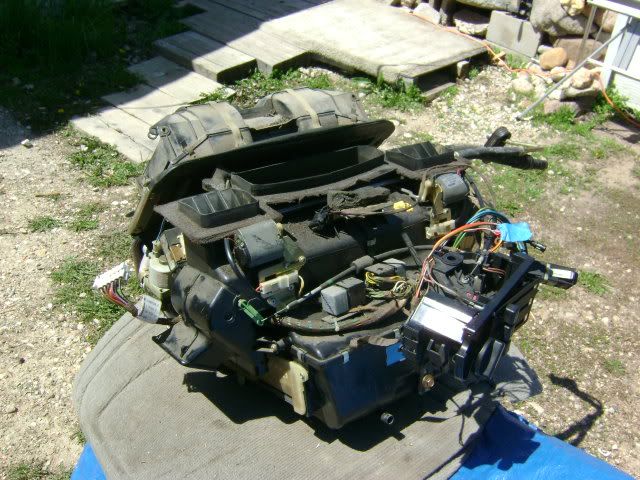
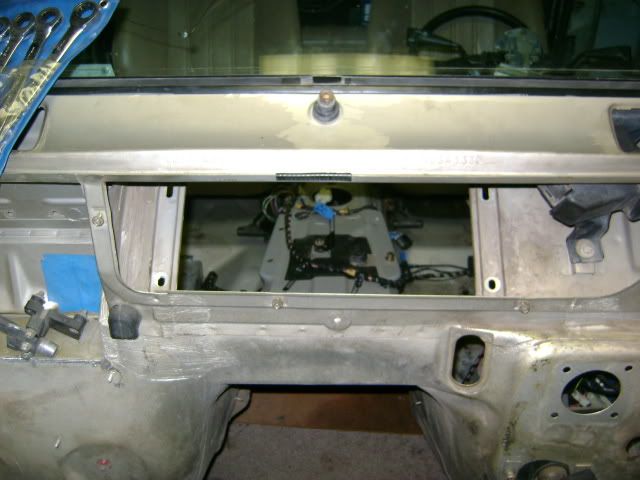
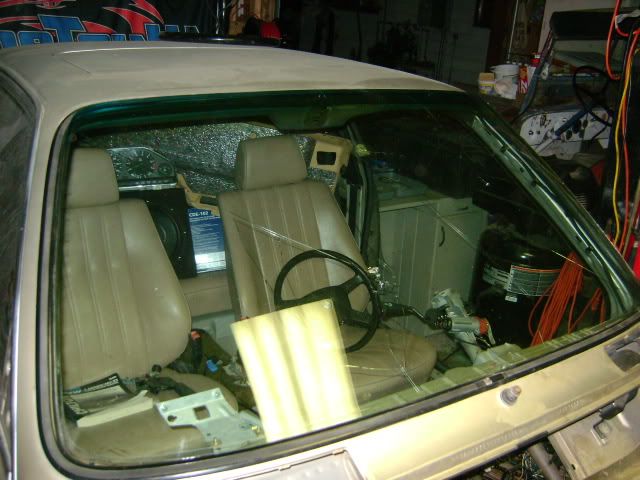
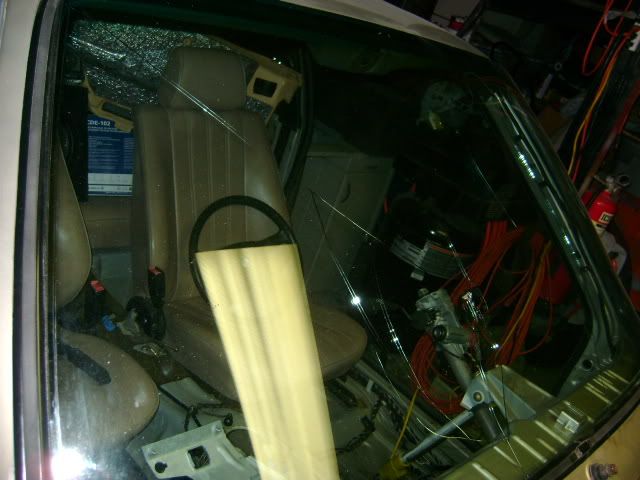
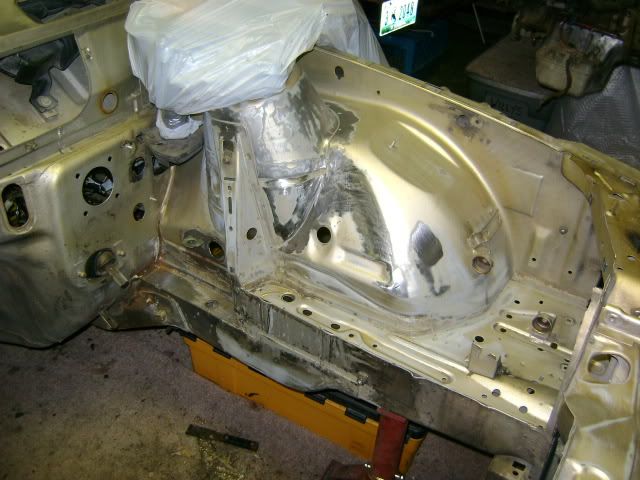
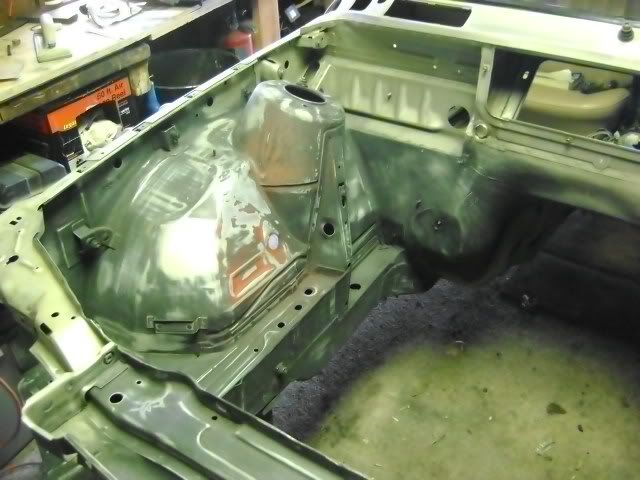
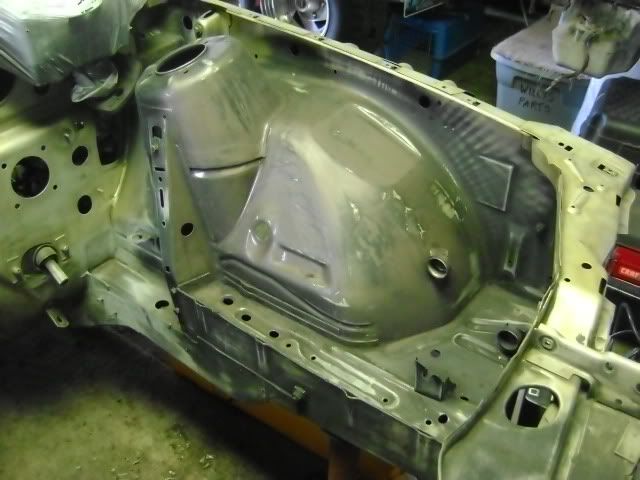
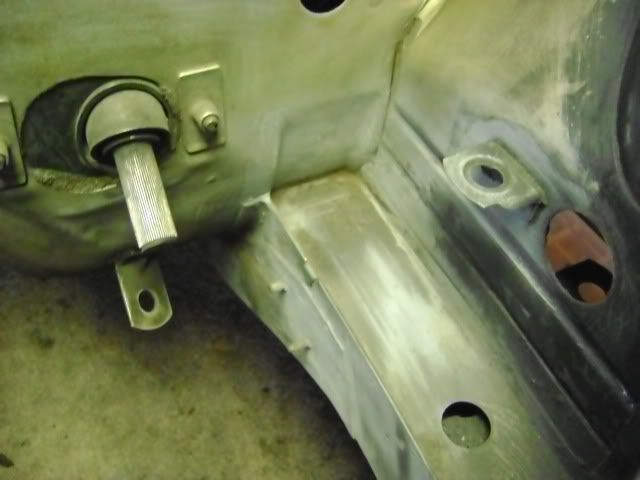
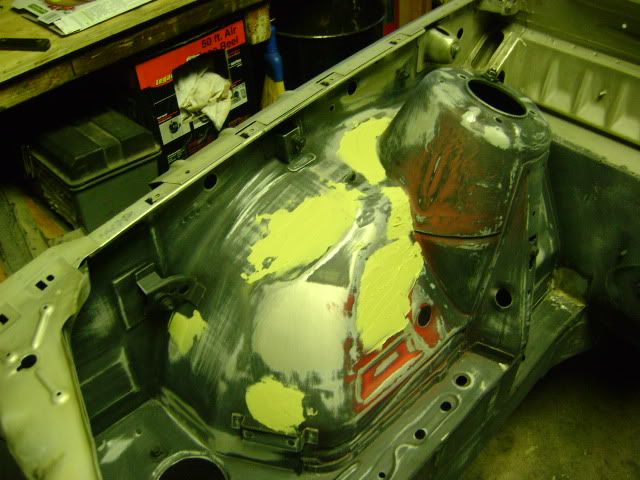
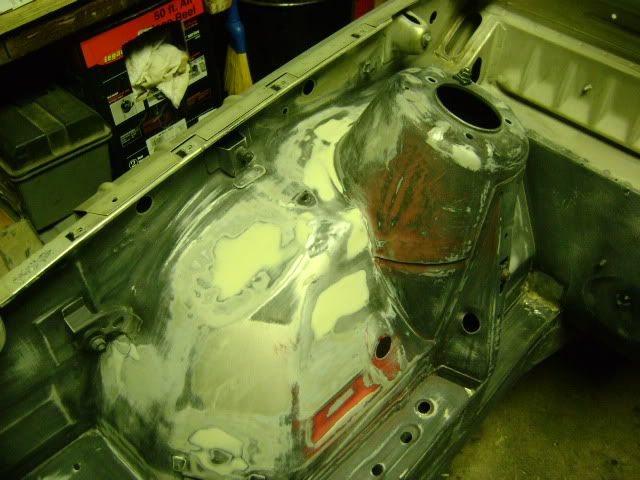
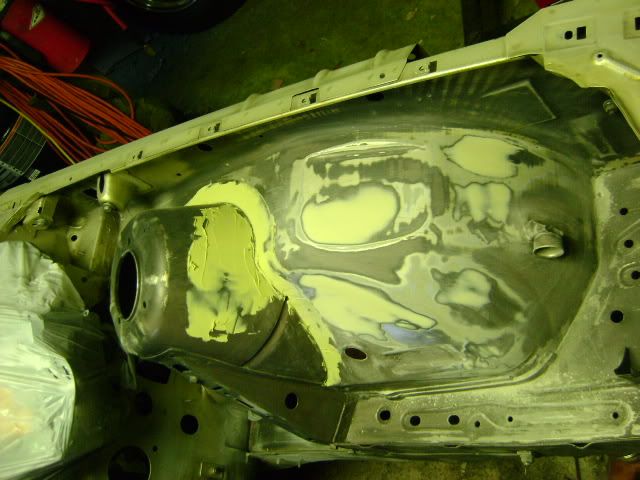
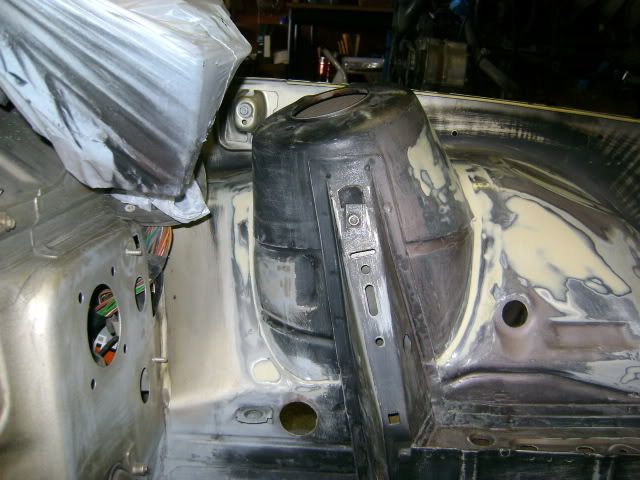
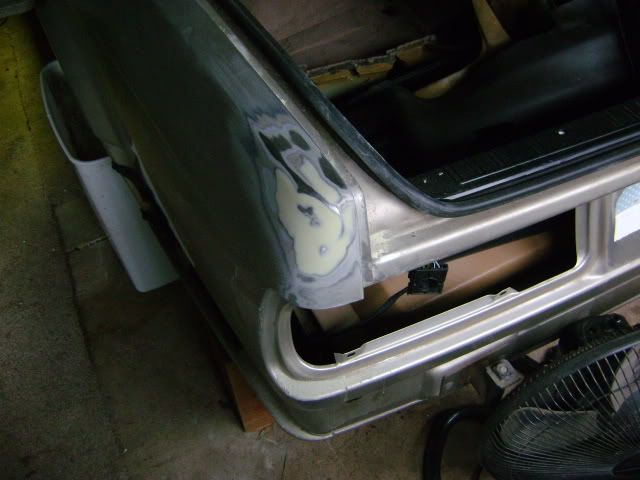
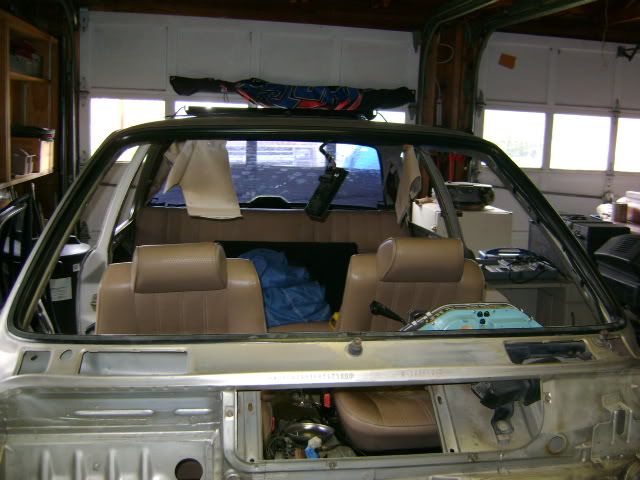
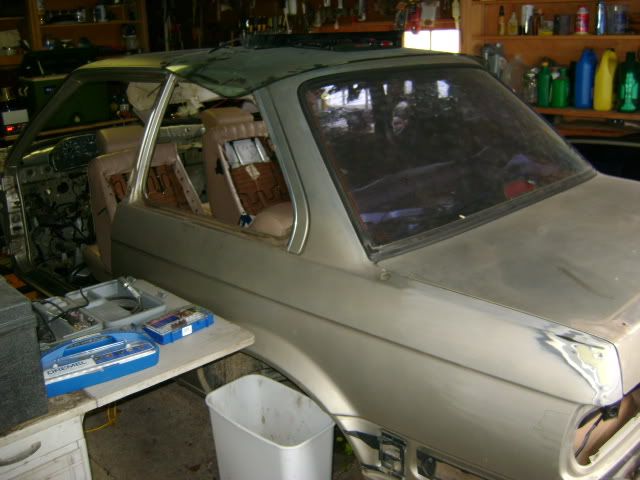
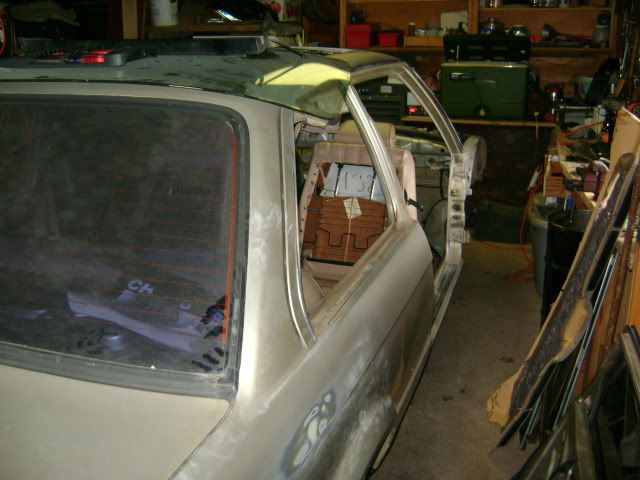
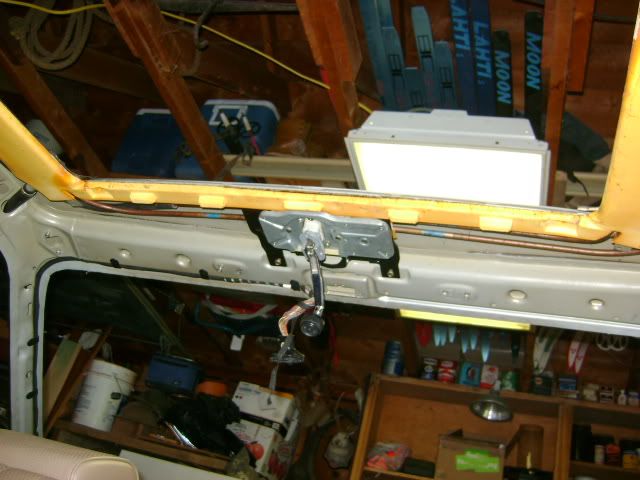
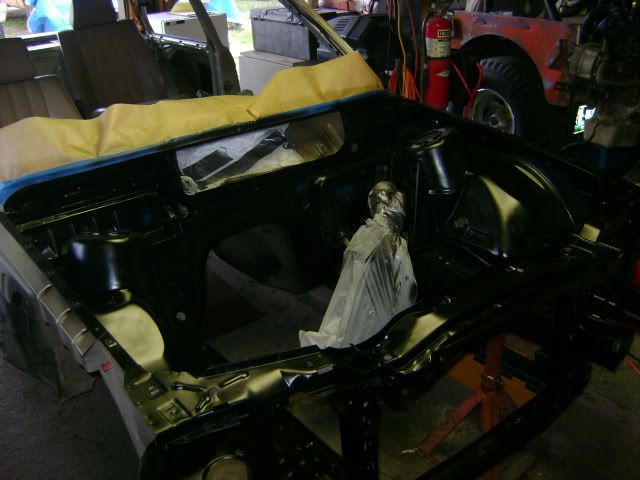
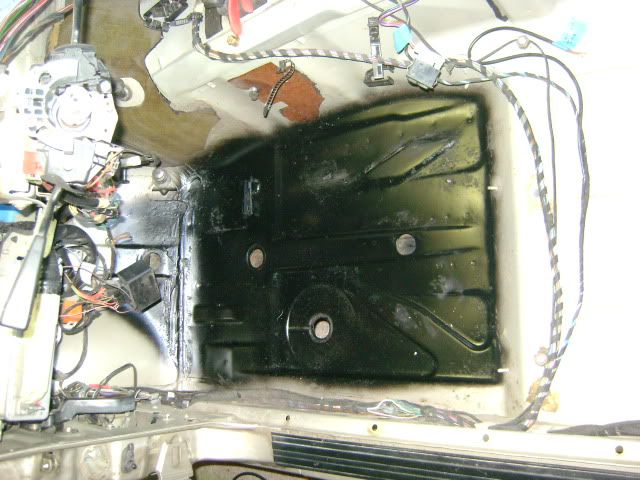
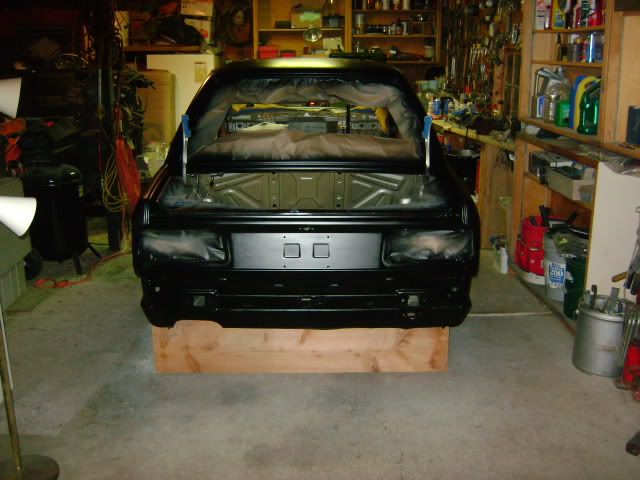
    And this is where it's at now....gas tank is out so I can perform some of the ideas I have to remove this bitch...


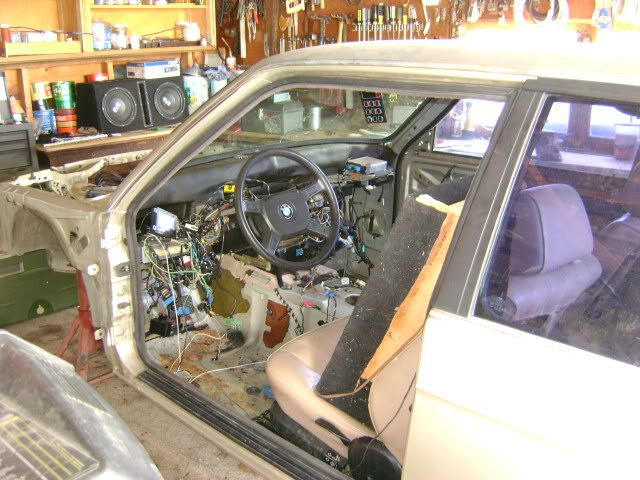
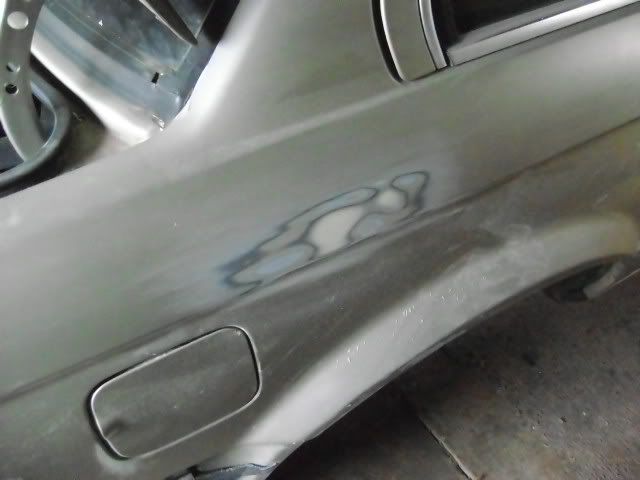
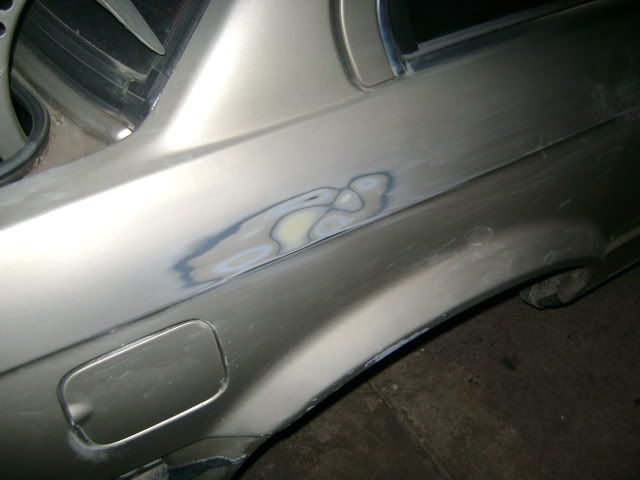
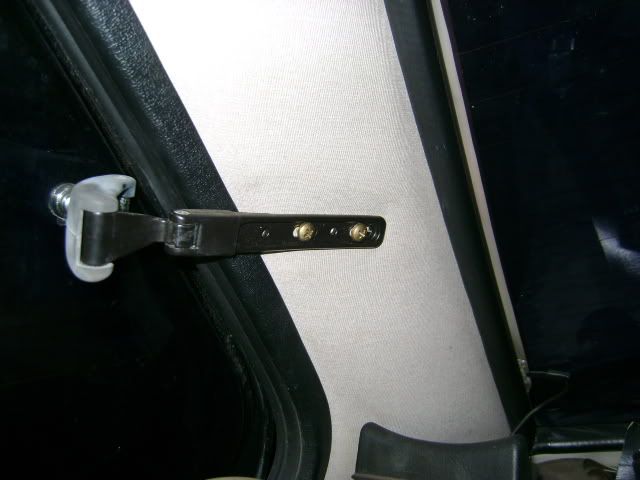
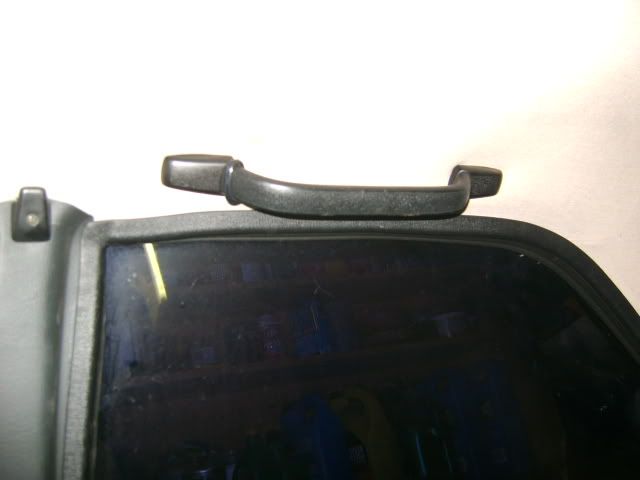
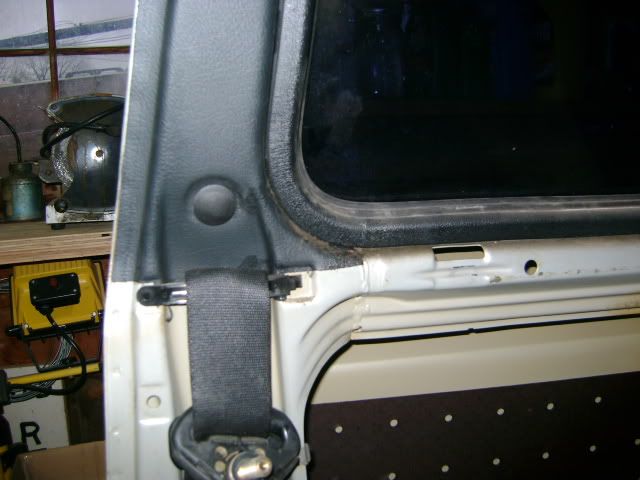
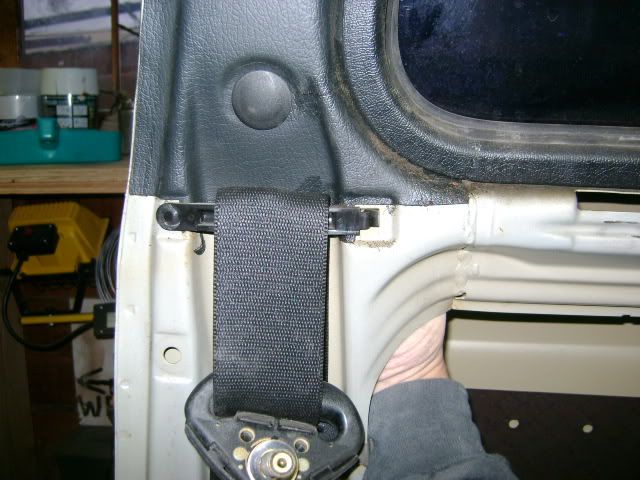
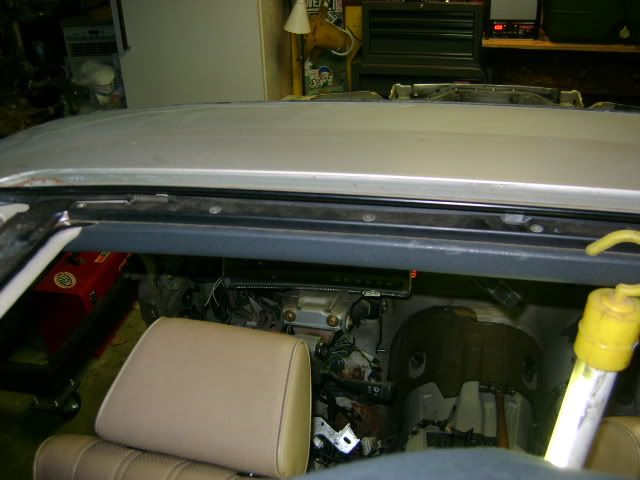
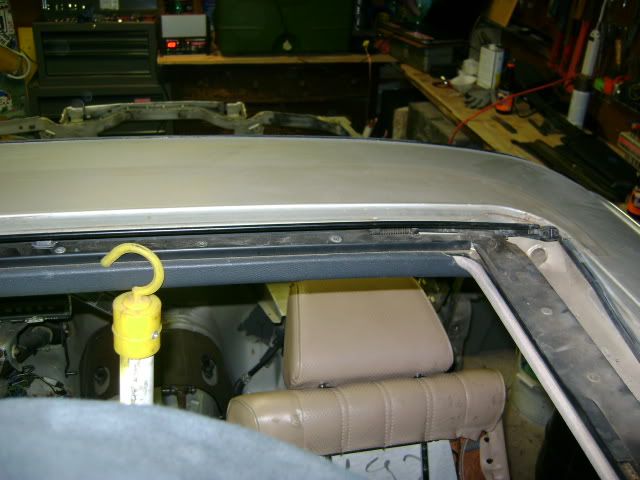
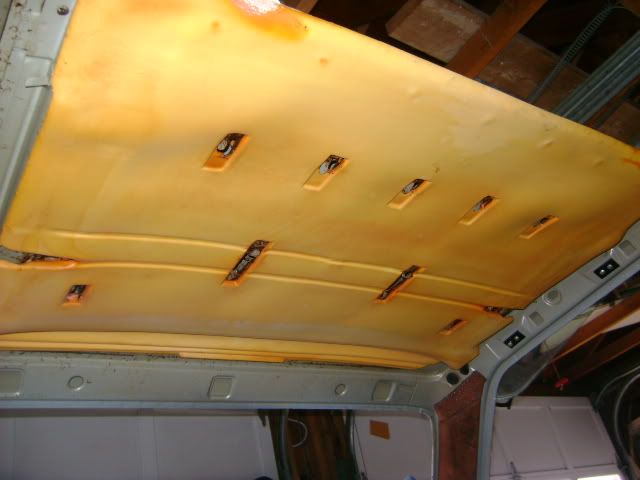
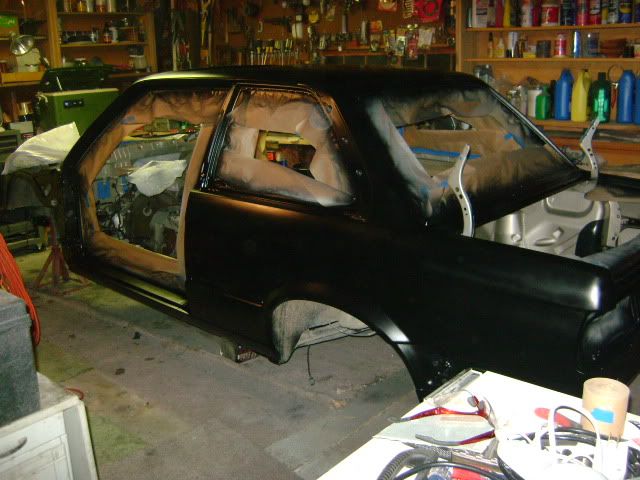
    I removed the driver door as well. I thought that I would be able to salvage it, but it is more FUBAR'd than I expected so I will just source a new one.


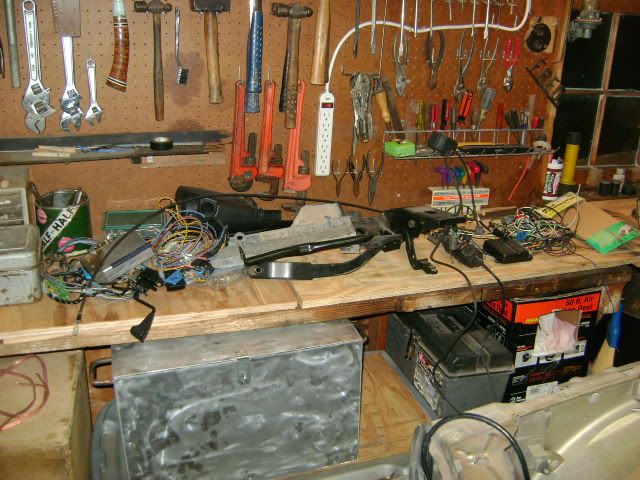
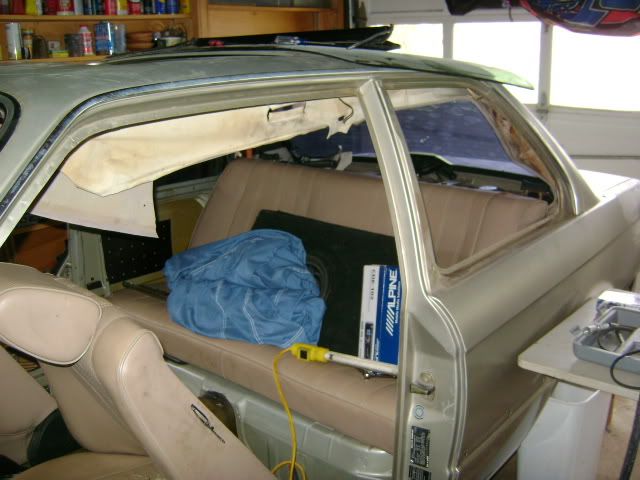
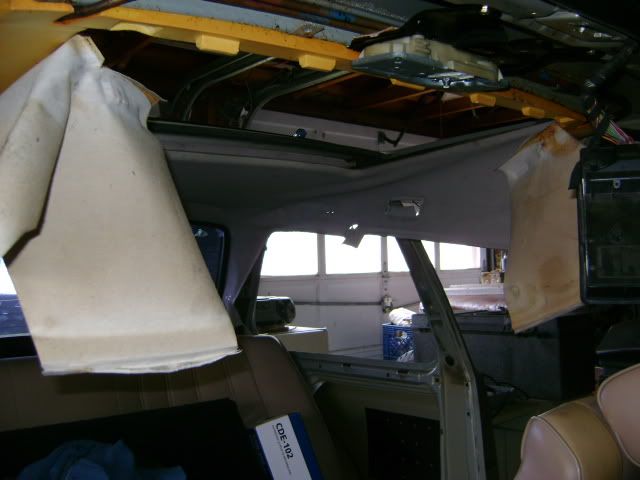
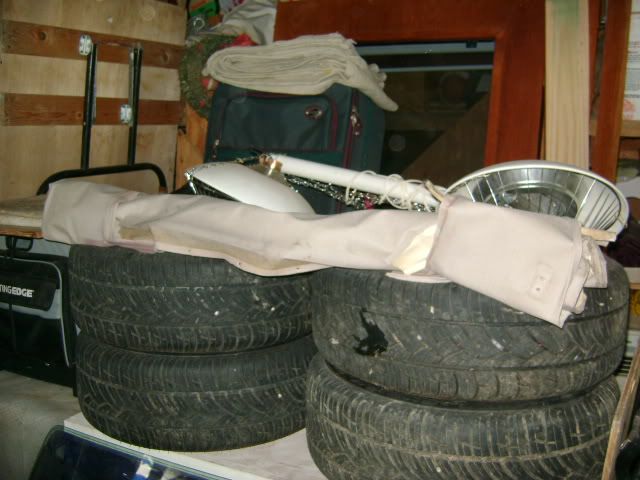
    I would have more work done on it, but I finally got fed up with the crappy "boom box" in the garage. I like my music to sound good so I set this up real quick....


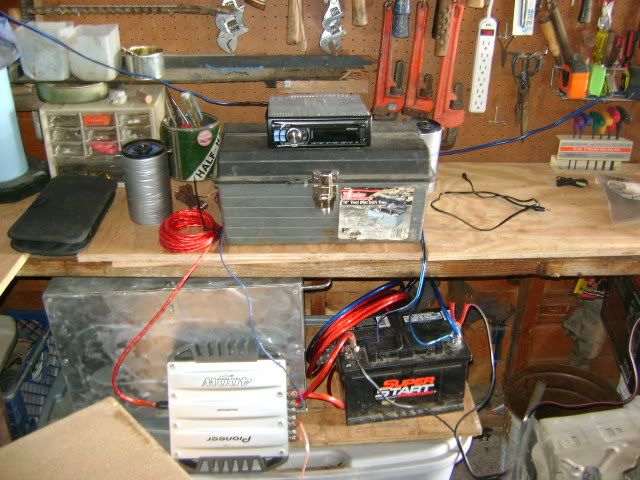
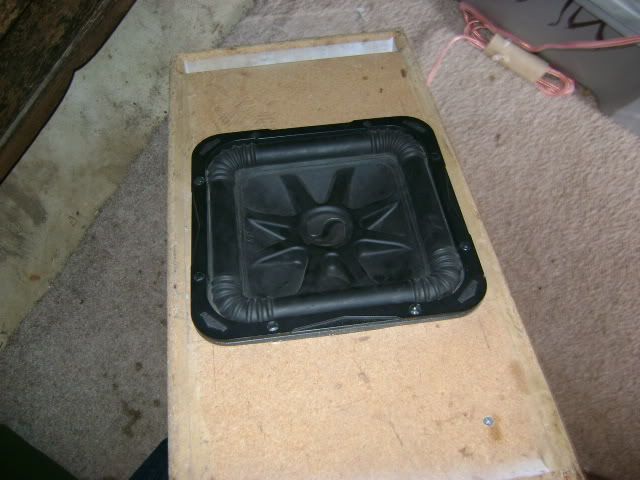
    Kicker Solo-Baric L5 :D


    Needless to say....I am much happier with the sound system in the garage now!!!

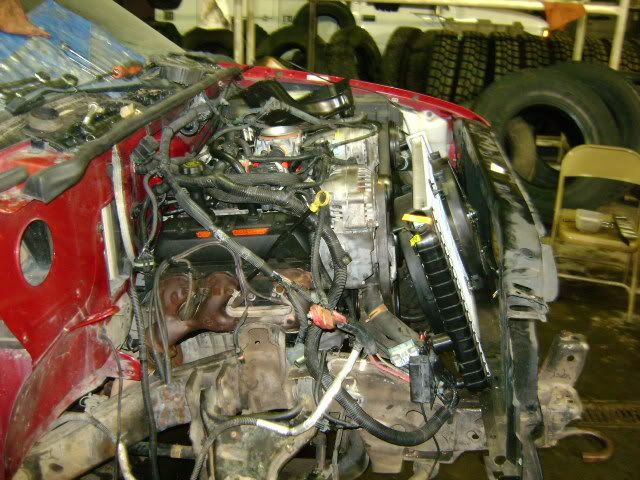
    And for any of you bow tie fans out there....this is my other current project....2000 S10 4.3L Vortec. Now equipped with 270 Comp Cam, LS6 Beehive springs, and fresh machining and cleaning on the block and pistons. Should be pretty sweet when it's finished. We also removed the front diff since this truck will be getting drop spindles next week.


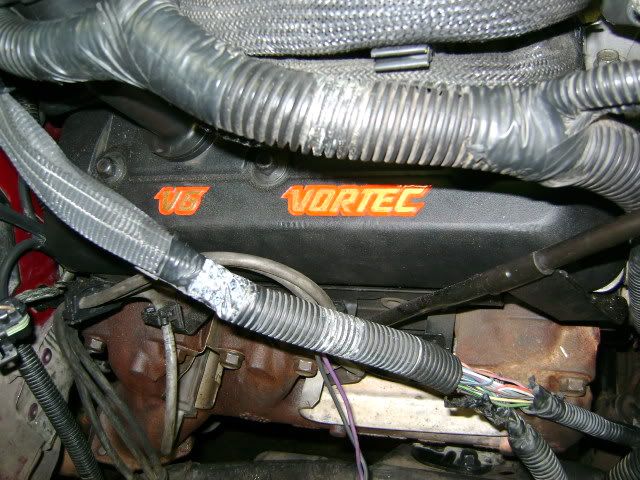
    I also painted the valve covers with Kosmos Red for the outline of the 'V6 Vortec'. The letters are painted Roman Gold Metallic. Not the best picture but I wanted a to take a picture of them on the truck to see how they looked.

    1989 325i|1992 325i|And completely obsessed|:woowoo:
    sigpic BMW. The Ultimate Driving Machine.
    The Build...

    Comment


      #17
      More Updates

      So weather has been back and forth on shitty and good the past few weeks. Work has been very minimal, but I am still workin on the car when I have the time off from work or whatever else.

      So yet again it was 70 degrees, and then the next day was like this....at one point


      But anyways...did some more to the ex-battery tray area to clean it up a bit better from how it was when I first cut it.


      After I cleaned that up some more, I moved on to my mess of holy-shit-what-the-fuck-is-up-with-that-shit group of wires. This is what I started with.


      Cruise control brain, harness, and lever all removed.


      Could anybody tell me what this is?????


      After I was done cleaning up the the wring some, I wanted to remove the heater box from the car finally. It's way more simple that it looks at first glance. You only have to remove the four nuts in the blower motor compartment and the nut that is fastened to the L shaped bracket behind the center console. Then ease the ac lines and heater core lines out of the firewall....and voila!!


      Cleaned up the dash some more and removed that last piece of carpet


      I also recommend to plug the heater core lines when removing the heater, otherwise this will happen....:loco:


      Oh well tho!! Easy clean up. Now this is the mess that I have on the work bench. Need to organize and clean that up soon.


      But while I was moving shit around, I unfortunately ran into my windshield and cracked it up pretty bad...hard to see it in the pictures, but oh well, you get the idea.... :(


      So I was pretty pissed off at that point and decided to do work on something else that I couldn't really break. So I removed all of the unnecessary brackets in the engine bay and started the sand all of the paint so that I could shoot a quick coat of primer on it pretty soon.


      Had a little rust in that corner next to the steering shaft. Wasn't too horrid or anything. I didn't take a before pic though. That was after I did a little work on it with the dremel.

      So that's it for now. Back to work on it tomorrow hopefully.
      1989 325i|1992 325i|And completely obsessed|:woowoo:
      sigpic BMW. The Ultimate Driving Machine.
      The Build...

      Comment


        #18
        Update!!!

        So....I have been continuing work on the engine bay since I last posted. Things are coming along nicely. I was originally going to paint it silver, but I came across some paint I had in the garage already that I really like so I will be sticking with that. I should have it painted and done within a week I hope. Been sanding like a madman making things all nice and smooth. Anyways, onto some pics


        And here's the test I did to see how the color would look. Unfortunately I already started sanding things down to apply filler and such, before I remembered to take a pic of it. Oh well I guess....it'll be painted soon.


        First round of filler applied. Waiting for it to dry.


        Sanded down with 100 grit to start.


        Next sanded with 150.


        I also applied the second round of filler before I finished with 150 on the first round of filler. Then continued sanding while that set up. Also filled some dings and dents on the body while I had the filler out and mixed up.


        Started sanding with 100 grit on the second round after it set up.


        And that's it for today. I'll be starting to sand with 150 on all that stuff along with 100 for the two places on the body followed by 150. Then move onto 220 for the final sanding of everything, followed by primer, sand, primer again, sand, paint first coat of color, sand lightly, and paint again for the final product in the bay. And just a quick shot of primer for the spots on the body.
        1989 325i|1992 325i|And completely obsessed|:woowoo:
        sigpic BMW. The Ultimate Driving Machine.
        The Build...

        Comment


          #19
          great work, what a score for 300 bones it seems pretty clean too
          I love taking cars off peeps that don't truely appreciate them or know wtf they are and restoring them to what they should be

          :up:
          my build here ---> http://www.r3vlimited.com/board/show...ht=lemans+blue

          Comment


            #20
            Originally posted by sweet6e30 View Post
            great work, what a score for 300 bones it seems pretty clean too
            I love taking cars off peeps that don't truely appreciate them or know wtf they are and restoring them to what they should be

            :up:

            Thanks man!! I feel pretty appreciative about my own work and confidence so far. This is my first real project, and it's definitely teaching me A LOT! LOL! It won't be any show car by any means, but it will be just perfect for my daily when I get it all back together! :D
            1989 325i|1992 325i|And completely obsessed|:woowoo:
            sigpic BMW. The Ultimate Driving Machine.
            The Build...

            Comment


              #21
              Great work!

              Comment


                #22
                Originally posted by CorvallisBMW View Post
                Great work!
                Thanks man!! :)
                1989 325i|1992 325i|And completely obsessed|:woowoo:
                sigpic BMW. The Ultimate Driving Machine.
                The Build...

                Comment


                  #23
                  Have you checked the diff you have (tag on upper right). Many automatics came with a 4:10 lsd. If it is that, you got your money's worth already.
                  Discounts to all R3VLimited users on Amsoil products www.tampabaysynthetics.com

                  Comment


                    #24
                    Man you're really going all out! This is gonna look amazing, can't wait to see it!
                    sigpic
                    -Sean : 91 Calypso 325i : Castro Motorsports SoCal Spec E30 #33

                    Comment


                      #25
                      Originally posted by Don Stevens View Post
                      Have you checked the diff you have (tag on upper right). Many automatics came with a 4:10 lsd. If it is that, you got your money's worth already.
                      I haven't checked it yet, although I do know it is an lsd so it must be a 4:10. I don't know of any other lsd's that it came with that year.

                      Originally posted by priapism View Post
                      Man you're really going all out! This is gonna look amazing, can't wait to see it!
                      Thanks man!! I'm hoping to have the engine soon! On the hunt right now for it. My goal is to have it running and driving by October. Definitely not done by any means, but for sure tearin up the streets. ;) :twisted:
                      1989 325i|1992 325i|And completely obsessed|:woowoo:
                      sigpic BMW. The Ultimate Driving Machine.
                      The Build...

                      Comment


                        #26
                        Sub'd, good to see you braving the cold
                        Your signature picture has been removed since it contained the Photobucket "upgrade your account" image.


                        Originally posted by der affe
                        first try a finger or 2, you need to have them suck on it first and get it nice and wet to help it slip in.

                        if she goes for that, astroglide up your pole, have her lay on her stomach and slip it in slowly and bury it to your balls and leave it there until she relaxes. once she is used to it slam that ass like a screen door.

                        Comment


                          #27
                          Thanks! I'm glad to finally have some warmth though! Although we haven't had hardly any sunshine in a few weeks. It's been raining cats and dogs here constantly!
                          1989 325i|1992 325i|And completely obsessed|:woowoo:
                          sigpic BMW. The Ultimate Driving Machine.
                          The Build...

                          Comment


                            #28
                            So more has been accomplished the last couple of days. Finished sanding everything all down to 220 grit. Waiting for the humidity to drop so I can paint it now.


                            So after I finished sanding to 220. I decided to grab the balls to finally take out my headliner, rear windows, and sunroof. So far I'm workin right along pretty confidently, but I haven't finished quite yet. Gonna continue tomorrow.
                            So first things first. Remove the bolt that holds the seat belt up to the b-pillar.


                            There are two screws that hold the rear widow levers to the C-pillar.


                            Four screws hold each 'oh-shit-bar' to the roof braces.


                            Then remove the round black plastic plug from the b-pillar.


                            Ur hand will fit behind the b-pillar through the open hole in the rear quarter. It pops right out with just a little pressure.


                            It will reveal the bottom nut that holds the rear quarter window in. Then removing the 'clothes hanger hook' from the top of the b-pillar will reveal the top nut.


                            After removing the window lever screws and the two nuts in the b-pillar, the rear window will just pop out.

                            I then started working on removing all of the roof components and the headliner.


                            To remove the head board above the windshield, there are two screws in the sunroof channel that hold it up. You have to begin removing the sunroof mechanism to get to these screws.


                            That's it for tonight. More tomorrow.
                            1989 325i|1992 325i|And completely obsessed|:woowoo:
                            sigpic BMW. The Ultimate Driving Machine.
                            The Build...

                            Comment


                              #29
                              More stuff has been done, but I'm too tired to explain everything so I'll let the pictures do the talking for the most part.


                              Substantial rust on the sunroof panel


                              You have to remove that screw to slide the sunroof cables forward so that those chrome brackets can be removed


                              There is the headliner all rolled up. I was originally going to keep that as a template for something new for the headliner, but I have another idea now that will be way better and different :D


                              Under the headliner is that foam board. It's fastened to the roof with glue. Just wiggle it back and forth gently and it will come free eventually. For the tough spots, I used a putty knife to pry it loose. I wanted it all out in one piece even though I won't be using it.


                              NO, THAT IS NOT RUST!!! That's the glue that was used to fasten to foam board to the roof. Nasty lookin shit!!!


                              That was it for work in the garage last night. After that I decided to do some simple shit just to get it out of the way, so I painted my needles. I wanted somethin different from the usual red though so I did mine in yellow. I think it looks really good. Can't wait to test them out with the dash lights later on :D


                              And it FINALLY stopped raining here so I decided to start painting my engine bay!! YES!!!!!!! I also sanded down the driver side floor board the best I could to get some paint on it for now. Unfortunately the rust is worse than I thought so I will have to cut and patch the floor eventually. I don't have all of the proper equipment to fix it right now. :(


                              This temporary seat position gave me some crazy ideas though ;)


                              That's all for now. I will be starting on a new house for my business tomorrow so work on the car will most likely cease for awhile, BUT this job will entail more BMW money. :p
                              1989 325i|1992 325i|And completely obsessed|:woowoo:
                              sigpic BMW. The Ultimate Driving Machine.
                              The Build...

                              Comment


                                #30
                                So the car has received it's first coat of paint on the body now. Not what I originally wanted, but I'm sick of not having my car. I've been without it for a year now and that's WAY too long. But even though the car is not the color I wanted, I made up for it with the new color in the engine bay. I think it's fuckin sick!!! :twisted:


                                I should be finished with paint soon and then I can start to reassemble everything and get back on the road!! :D
                                1989 325i|1992 325i|And completely obsessed|:woowoo:
                                sigpic BMW. The Ultimate Driving Machine.
                                The Build...

                                Comment

                                Working...
                                X