
I also was reminded today that I may want to replace the fuel filler hose so I'll be ordering that as well. Exhaust hangers and o rings are on the way.
I'm hoping to get it done in 2 days. I know that sounds ambitious given the range of this project but I am taking some shortcuts. I have a spare sub frame and will now...finally...get the old bushings out, refinish it and pre install the new bushings. I am also waiting on a spare diff cover (freshly blasted and painted ;) so I can preinstall that bushing too. These are not huge deals but will clearly stream line the job.
Since I will be driving my 84 coupe while this is going on, I am pulling the ratass bottle caps off of it and will put the Mille Miglias with the Conti's from the Cabrio on it. The plan is to finish cleaning my BBS RK's and throw a set of Michelin Pilot AS3's on them for use on the Cabrio when this is done.
Oh and the rear hard lines are fine and I do have the soft lines to swap while I am in there so aside from anything ebrake related is there anything I have over looked or should anticipate WIAIT ?
-
I posted these a while ago but sometimes it takes a while to get around to the major things in life...like a root canal.
The last major mechanical upgrade is a rear subframe refresh and I am planning to get that done this month. I had the bushings and seals for sometime as well as a diff cover gasket
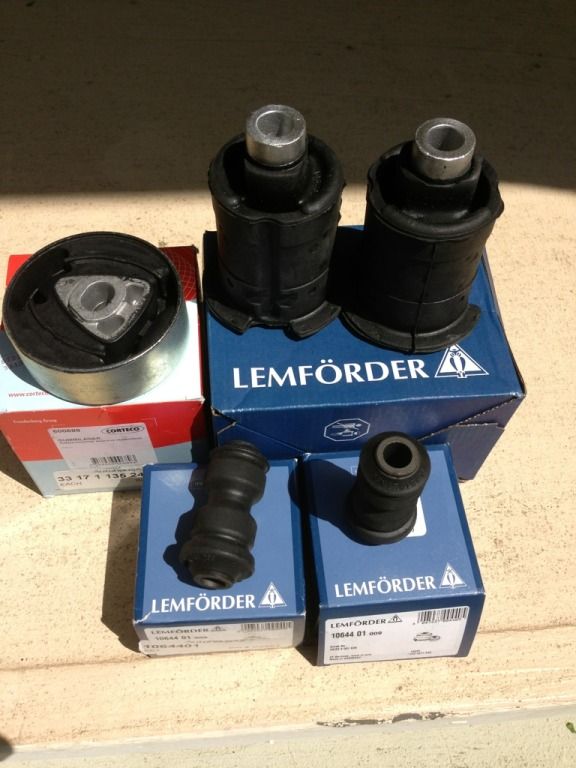
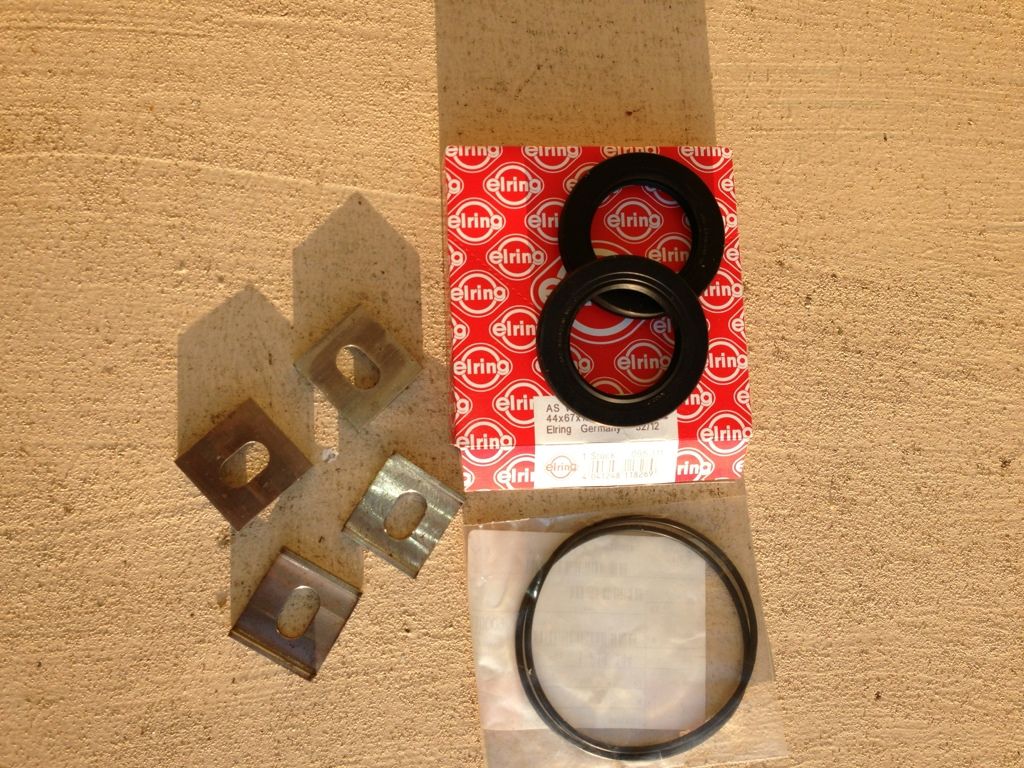
and I have since added these

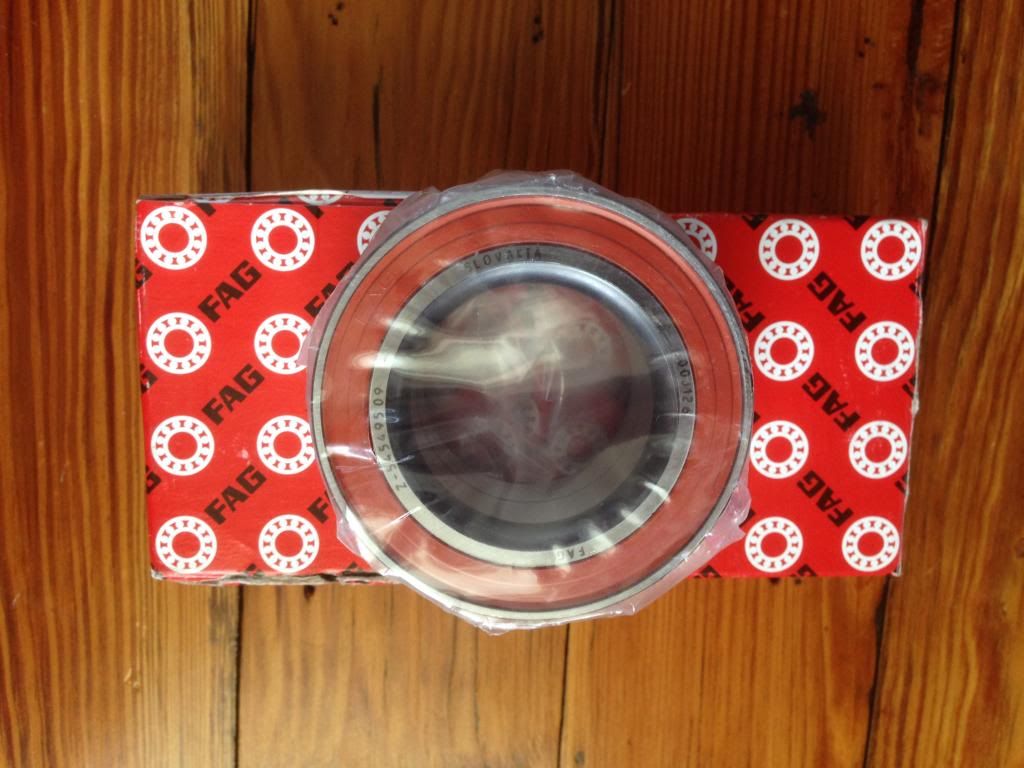 Last edited by jeffnhiscars; 05-31-2014, 09:01 AM.
Leave a comment:
-
The lock strip was black to begin with so no paint. I believe its EPDM so very durable and all I tried to do was even out the finish.
Windshield replacement deductibles vary by state but I bet if you made a claim they would have to cover the gasket and or lock strip as well...especially if your lock strip just happened to be falling apart
FYI this seems to be a dealer only item and the best price Ive found in black is about $30 for the front and $40 for the rears ($26 $ 13). As far as I can tell they total the same 12 feet so Im thinking you could just get the front piece and cut it to save a few $$ on the rear.
Of course this was my measurement. You are on your own if you pay any attention to me
Leave a comment:
-
so just wet sanding, no repaint? looks darn good. def a windshield replacement in my vert's future. this strip will get replaced at that time obviously.Leave a comment:
-
I wont show a pic of me removing the old strip since if you need a visual on that its time to sell your e30. I will say though that this was the one and only chance to do some cleaning so I ran a wet rag through the gasket channel and did get under both edges of it (windshield and body sides) to clean crud and wax that had worked its way in there over the last 27 years.
Ive watched the same youtube videos and read all the same threads as everyone else and I can say this...the lockstrip tool is extremely useful but it does not make this as easy as it looks. The main problem was that the profile of the strip did not match well with the tool so simply sliding the tool through the grove with the lock strip running through the tool did not work well for me. I was also not comfortable using screwdrivers of any size for obvious reasons.
After screwing around for 15 minutes with various screw drivers and the tool as intended, I needed a plan B. What worked for me was to set the outer lip of the lock strip in to the rubber gasket like this
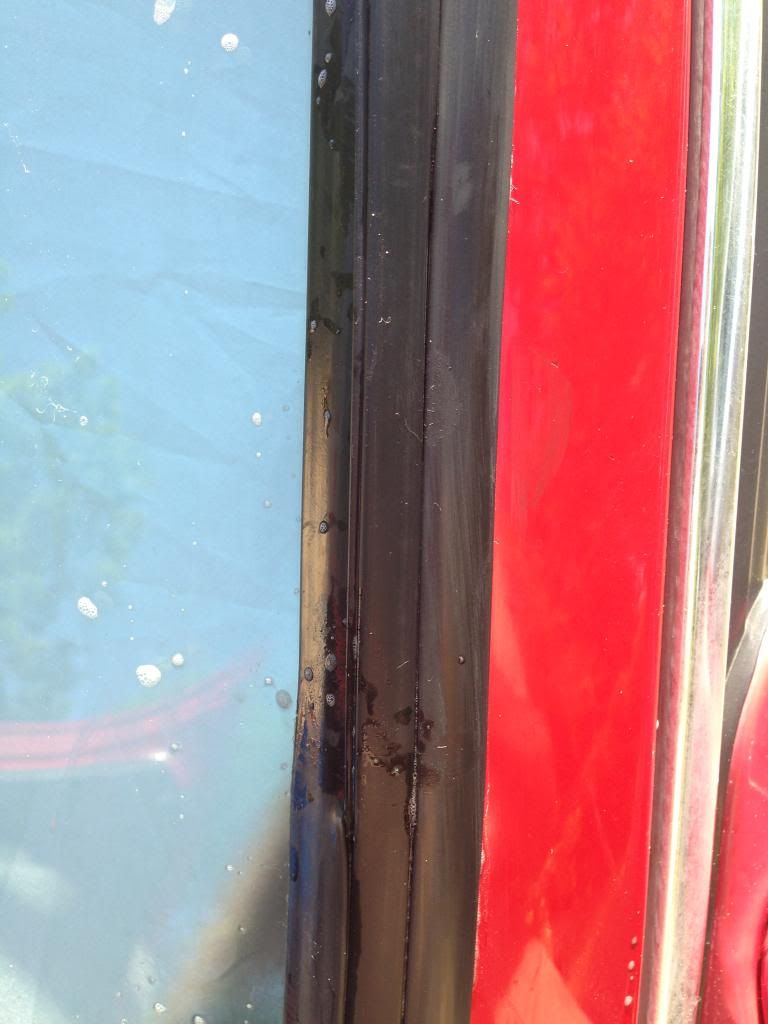
Then using LOTS of soapy water I jammed the tool in to the glass side of the rubber gasket. Note that this mean every time the tool slipped out I did not scratch my paint. The tool has rounded edges so was not about to crack the windshield but a wide row of blue tape on the glass would provide some extra protection.

I was able to do a few inches at a time, resoaping often, and slowing down at the corners. I tried pulling the tool but found pushing gave me more control. It was just a matter of getting the right angle and holding the opposite lip of the lock strip so it didnt pop out as I went.
For parts of it I was able to zip a few inches at a time and for other areas I had to fiddle it in. The entire job from start to finish took me an hour with zero collateral damage. I did not soften the lock strip in hot water as is often suggested since I found that working in the hot sun did a great job of making both the lock strip and the rubber gasket very workable.
Here's how it turned out..and yes, I know I need to touch up the chrome/black clip :)
One final point...the lock strip was somewhat scuffed when I got it so I spent a few minutes wet sanding it first with 1000 then with 2000. Made a world of difference. The final finish is Gummiphlege at its best
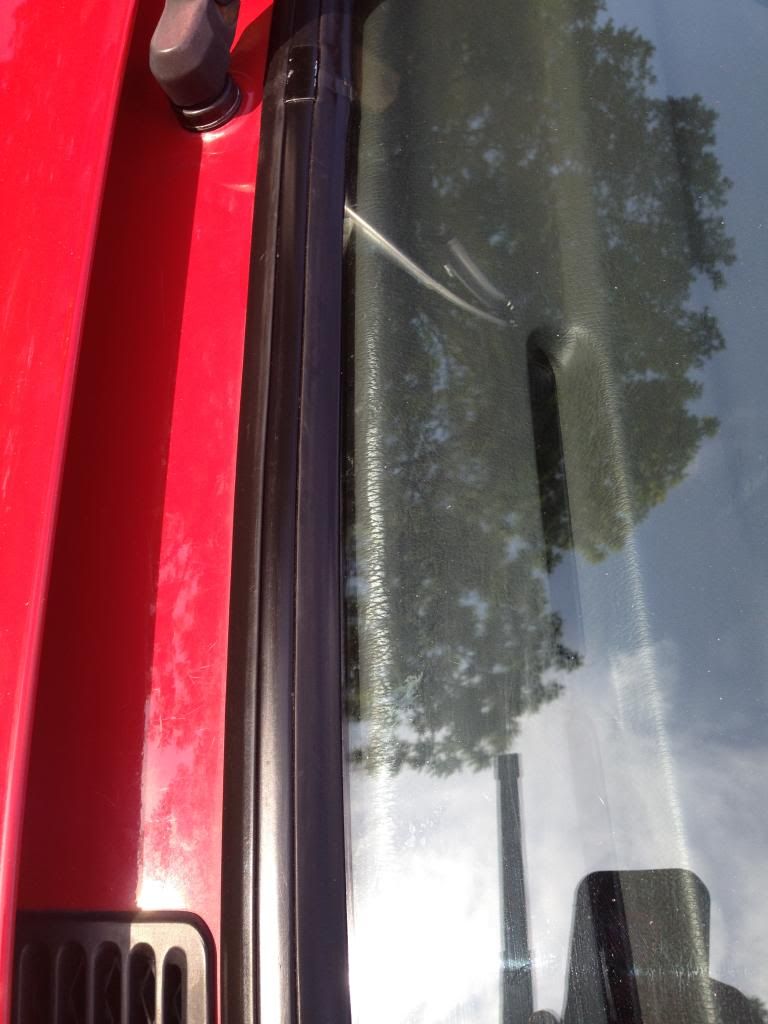
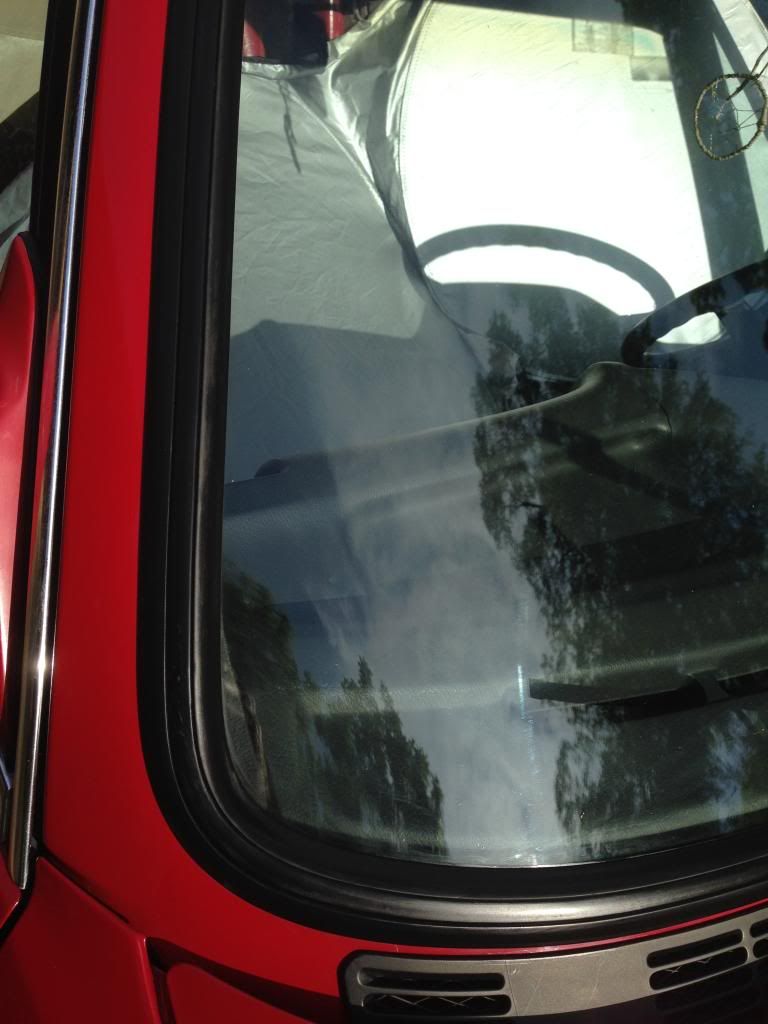 Last edited by jeffnhiscars; 05-23-2014, 06:05 AM.
Leave a comment:
-
I had a chance to grab a black windshield lock strip off a bud of mine and as much as I loved the chrome/rust strip, I had to do this. I've read enough about it and watched them change the windshield in my 84 coupe that I knew it would go either one of two ways (like most DIYs we do)..it would either be a breeze or a total clusterf$@k.
Here is what I started with
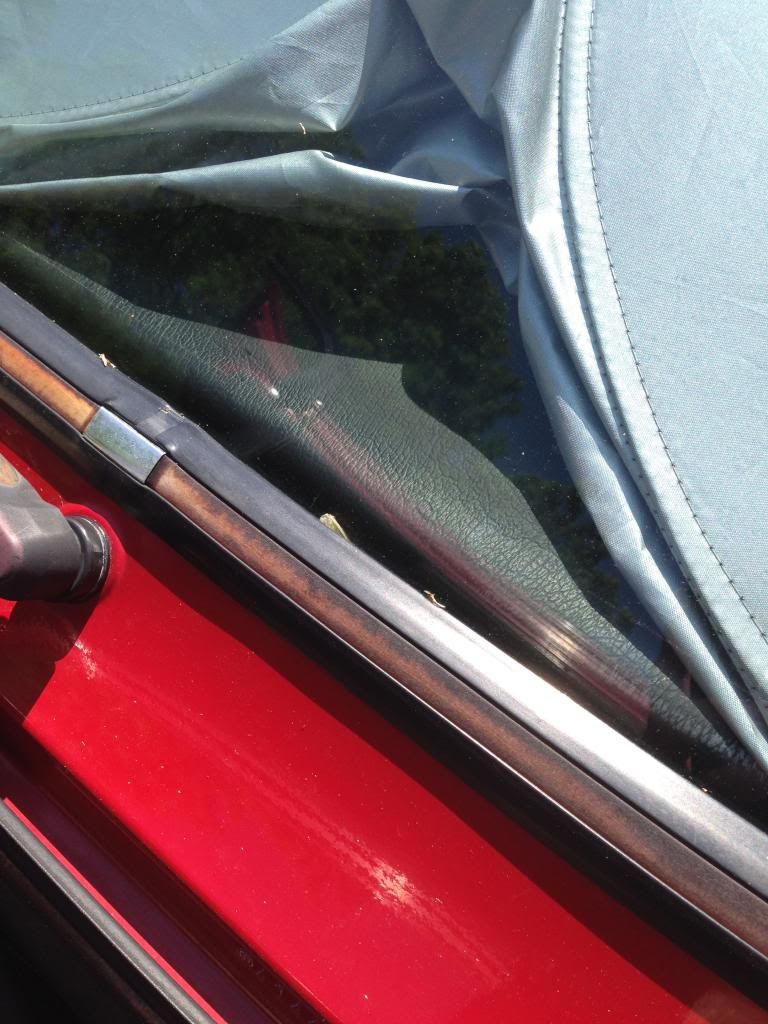
Those of you who have seen me work know how I love blue tape. In this case I wanted to be absolutely certain that the lock strip did not come up short on the back end so I marked the location of the original clip

I started by removing the clip and a short length of the strip to see how much overlap I started with. At this point I did not know if the clip would move after the fact so I was covering my bases just in case.
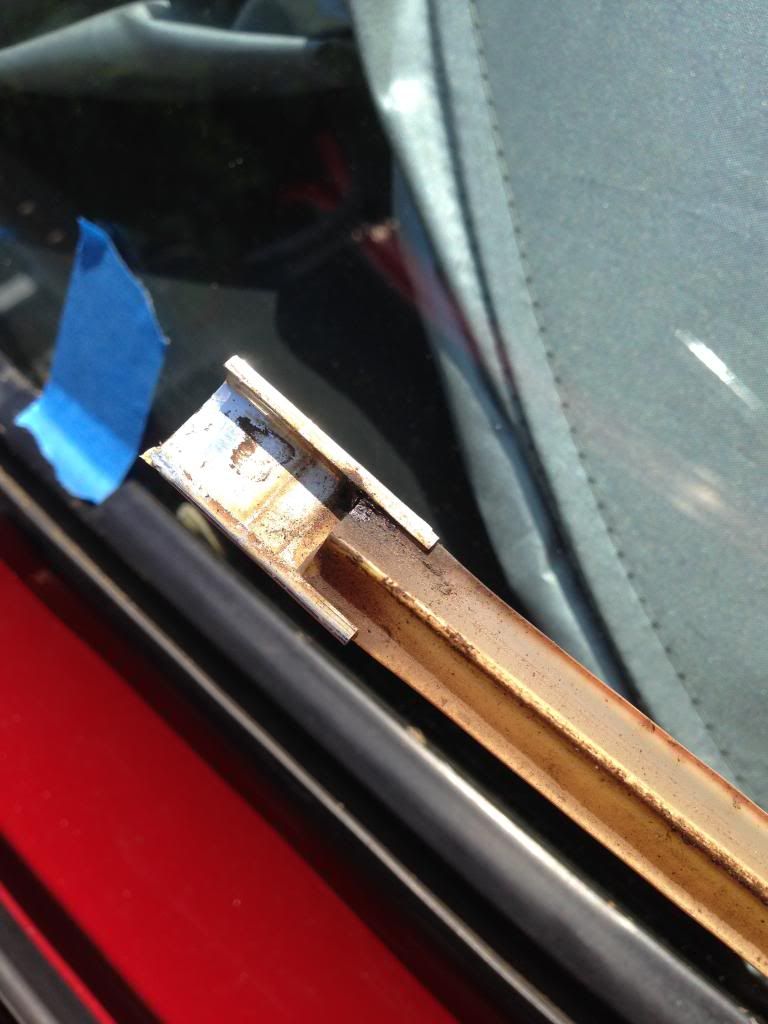
There was about 1/2 in of overlap and having a use strip I figured it was preshrunk.Leave a comment:
-
-
Thanks Brad. I was thinking to keep the husco black. A nice piece of calfskin would work fine if anyone knows a sourceLeave a comment:
-
-
-
Looks pretty good Jeff! Is that Husco from the 318, or did you have another one?Leave a comment:
-
Ive been negligent
So I throw myself humbly at your feet and apologize as I have been derelict in keeping you guys in the loop. Yews, Ive been incredibly busy and no, I havent really added much in all these months as...low and behold...Ive just been driving her.
However, I did drop some interior foreplay on the forum and despite my pattern of posting every little detail, I simply think its pimp daddy time.
Some will love it, others will call it a sacrilege. I like it so really you can all go f**k yourselves :p
Enjoy..or dont..at least you have something new to gawk at and talk about
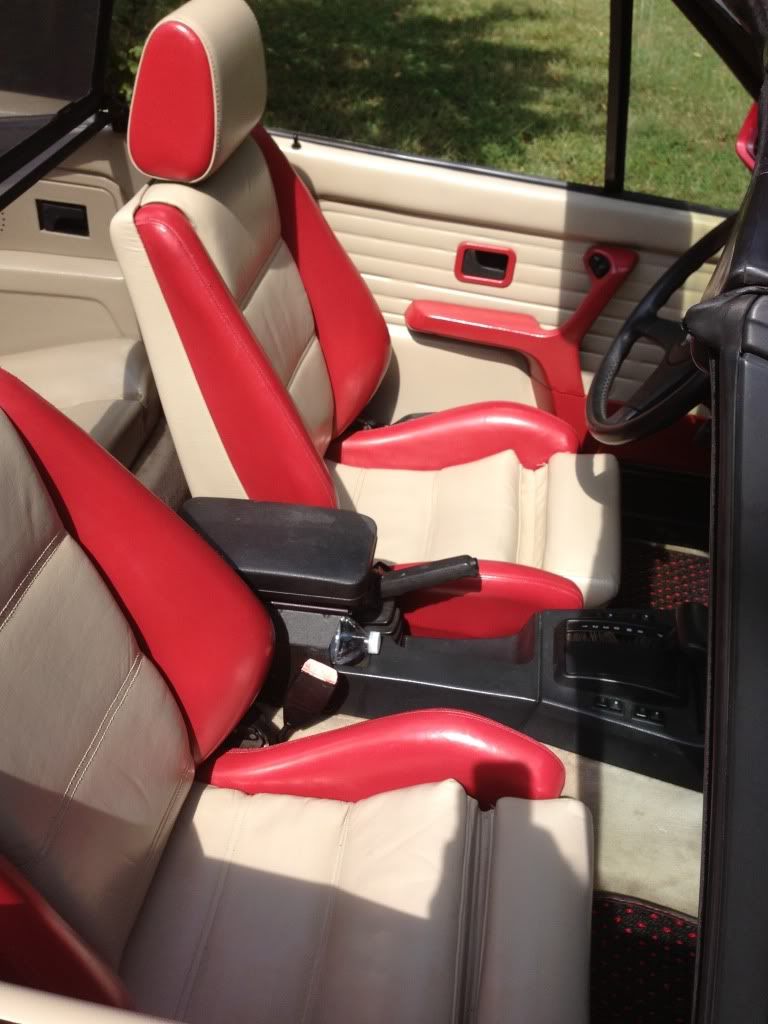
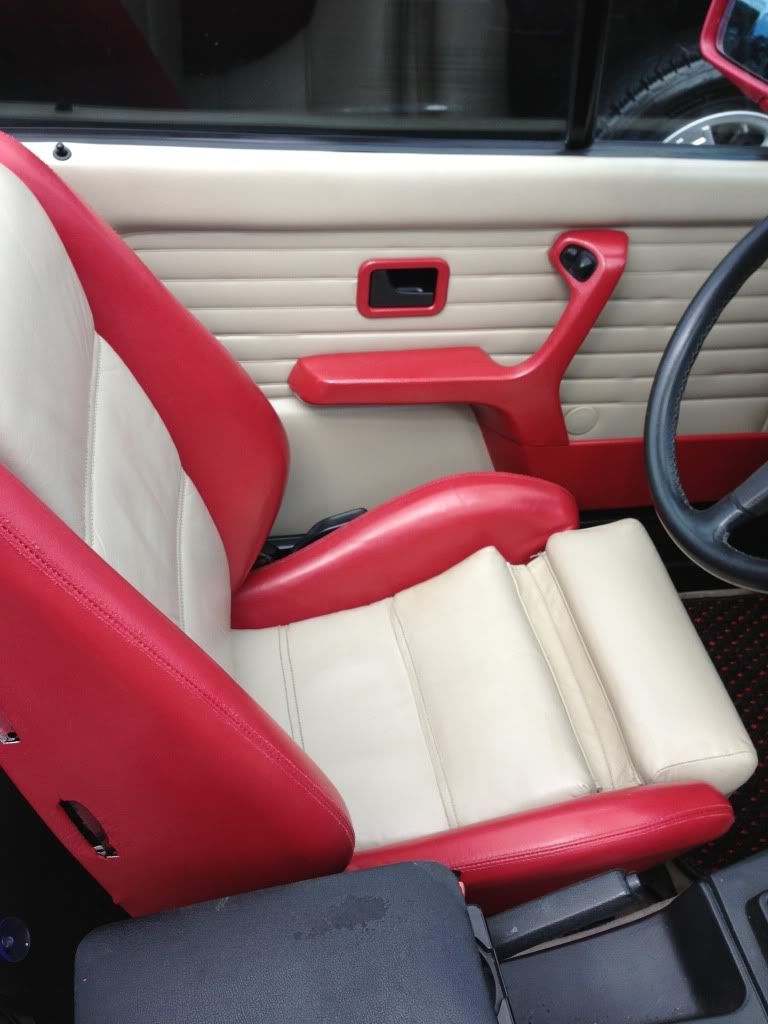
Its not so red in person and it is, in fact, coral red. I borrowed a swatch from the dealer and shipped it to George at Leatherique for a match. The beige leather and door panels are dyed in Pearl BeigeLeave a comment:

Leave a comment: