

Hey all!
Been a little while, but I've got out next How To video up and going!
A lot of these procedures will apply to all you E30 guys doing floor replacements, since the frame rail and floor structure is very similar.
Check it out!
-
Thanks man! The final product is going to be wild, so we need to have a perfect shell to start out.Leave a comment:
-
How am I just now seeing this! This is awesome, I want to see more!Leave a comment:
-
Hello again, BMW2002FAQ! It's been too long!
It's very fun! Seeing something coming together is such a satisfying thing for the "maker" types among us. We've started a "Project Starters Anonymous" group around here, to help keep us all focused on what we've got going rather than constantly starting new things. (motorcycles, Porsches, now there's a space frame 356 being talked about, but shhh)
But anyway, I'm back to give you all an update on this fun 1802 build. Without further ado, let's jump right in!
Today we're going to be replacing the frame rails and front floors. As you can see, they've been patched before, but have rusted around the old patches because someone only tacked the patches in, and didn't run a bead of weld around the outside to seal them in.


Now, before we started cutting out the frame rails and floors, we needed to move the bolt point on our rotisserie while still keeping support in the area. (we don't want anything twisting)

Once everything was properly braced, it was possible to remove the old frame rails and then cut out the floors. I don't have any photos of fitting the new frame rail. :(

We also had to remove some of the inner rocker, you can see on the left side. We rolled the proper indentation into the panel and welded it in.

Here we are fitting the new floor panel in. The butt weld clamps are used again here to stop the metal from warping when it's tacked into place and to ensure a perfectly smooth transition.

Here's another angle, with more butt weld clamps (and some C clamps) in place, just to be safe.

Next we had to make a small patch panel for the pedal area, which was rusted beyond what the floor panel replaced. You can see the remainder of the old patch that still needs to be cut out. Very poor work was done before. :(


We clamped this into place and then welded everything together!


PASSENGER SIDE!! All the same techniques applied on this side. We replaced the frame rail by drilling out the spot welds all around the outside, then welded a new one into the same position. Then we trimmed the floor to fit the new repair panel and clamped it in!

On this side, we also had to make a new corner piece for the floor well area. We had to roll a more complex curve into this side, but it turned out quite well. You can barely see what was wrong!

Well, there you have it!! Floors and frame rails completed in the 1802. Not the most difficult repair, but you have to go slow and make sure the rest of the car is secured. You don't want to fit out later that something moved and your suspension is out of alignment!

Up next is the nose and front strut towers! Stay tuned!
 Last edited by Malcolm@RestorationDesign; 04-02-2014, 07:37 AM.
Leave a comment:
-
The diff is pinched between the subframe and the body hangers .... the pictures in the link below should help clarify.
http://www.bmw2002faq.com/topic/1299...-differential/Leave a comment:
-
-
Hey all, it's that UPDATE time again!
First up, we have a video we made showing a "How To" for our replacement of the diff support and rear wheel housings.
Second, we got more work done on the 2002! Here we go...
So we started by fitting the trunk floor and, using sheet metal screws and butt weld clamps, we secured it for welding.
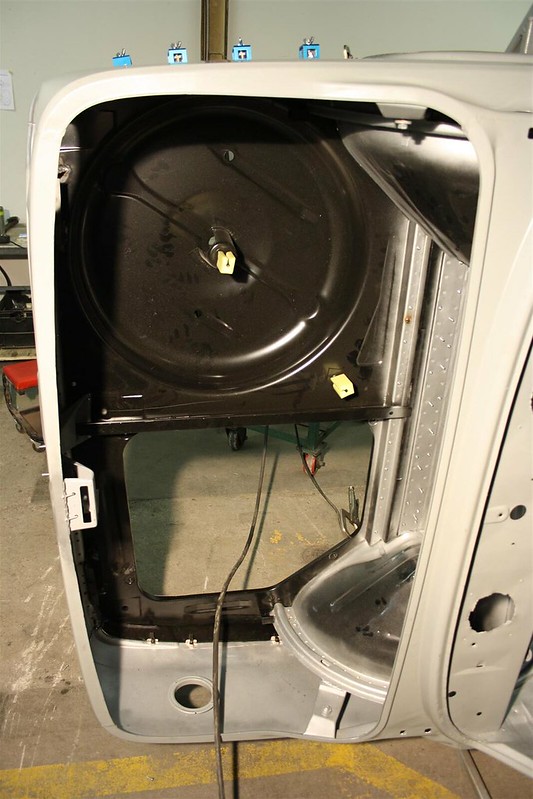
We also secured the new different cross member into the trunk floor.
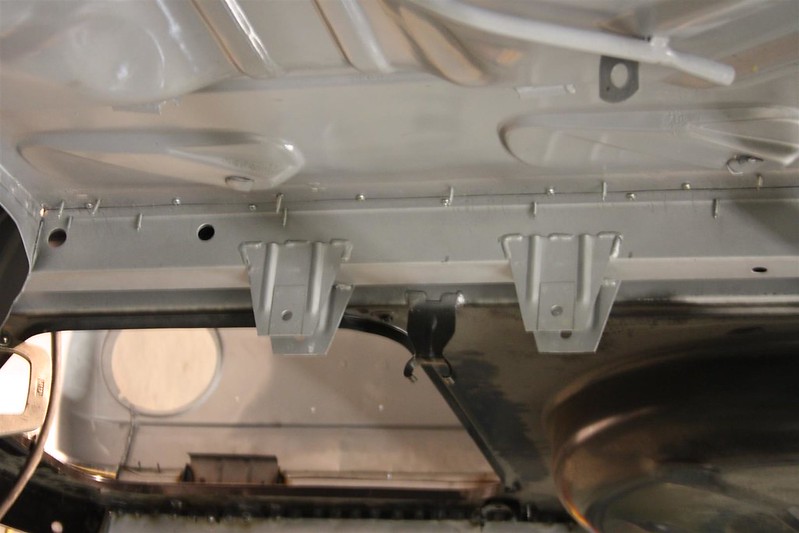
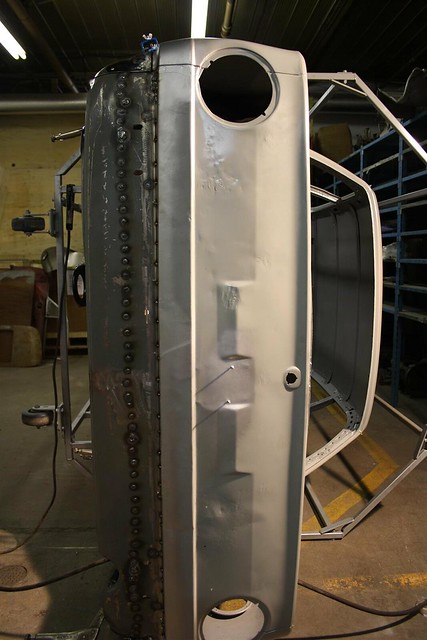
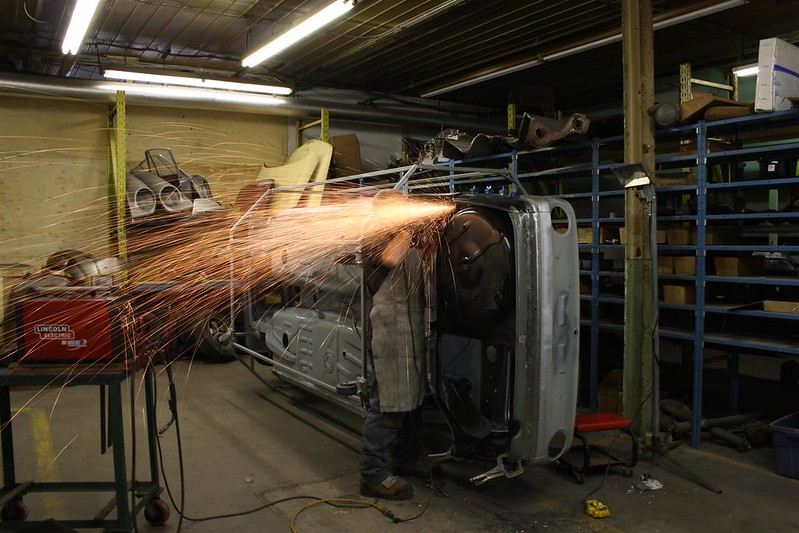
We welded the tail panel first. I am continuously impressed with how these parts fit, definitely easier than fabbing it yourself.
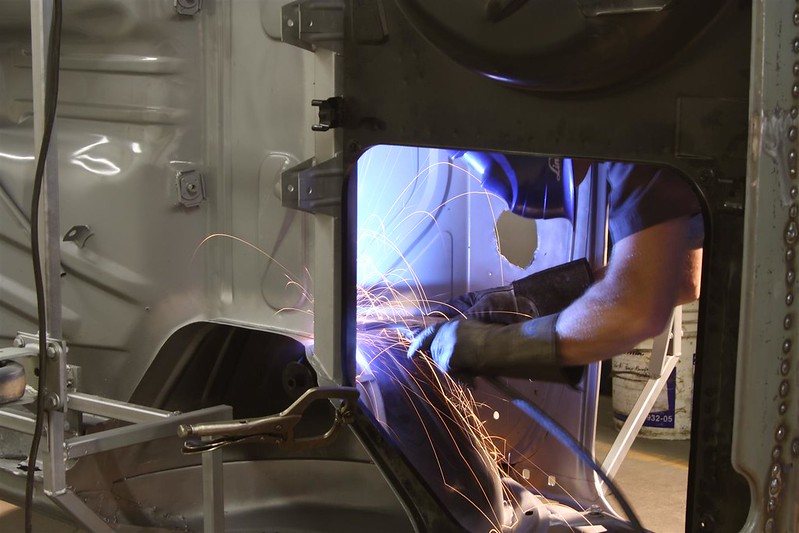
Welding welding welding welding!
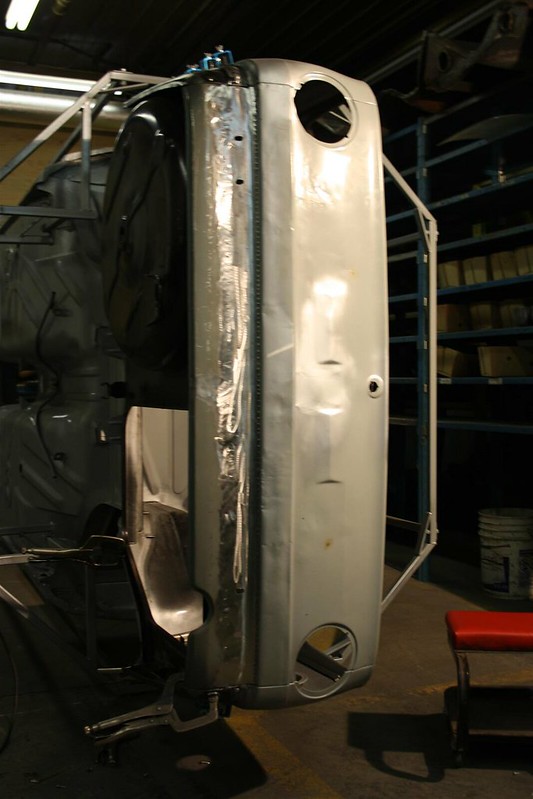
Grinding grinding grinding grinding!
Adam, our welder, did a good job with the Rosette welds here. Nice and smooth, which will keep the body fill to a minimum.
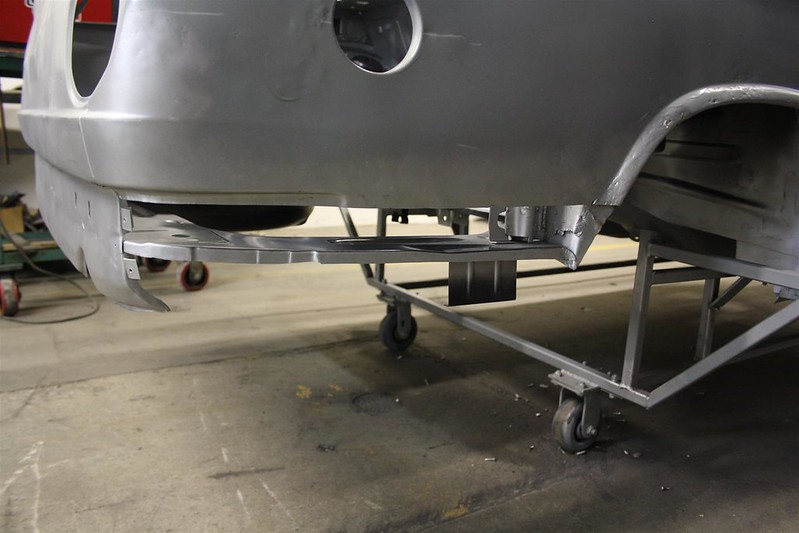
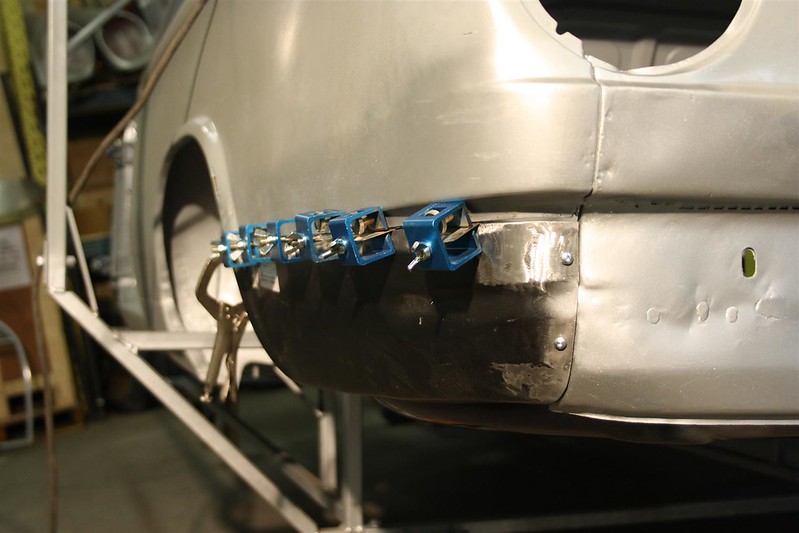
Next, the sides of the rear valence. These have to be carefully butt welded to the bottom of the rear quarter, as well as welded to the side of the trunk floor.
So first secure with sheet metal screws and butt weld clamps.
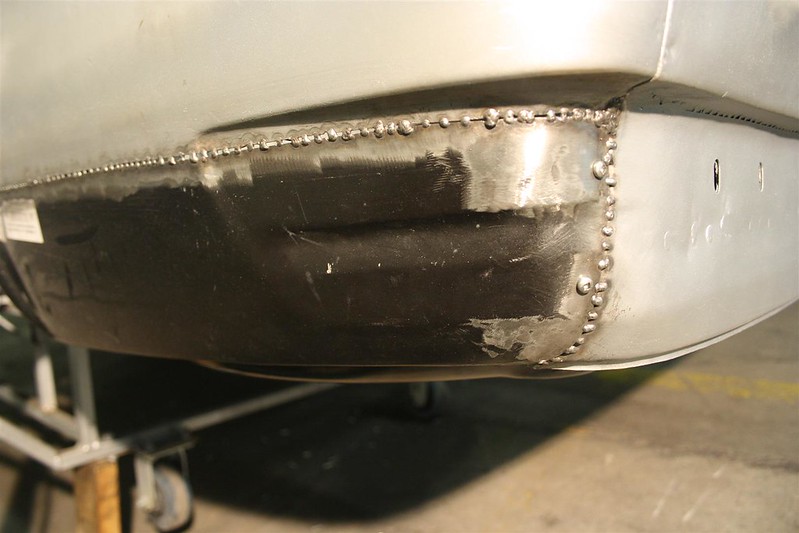
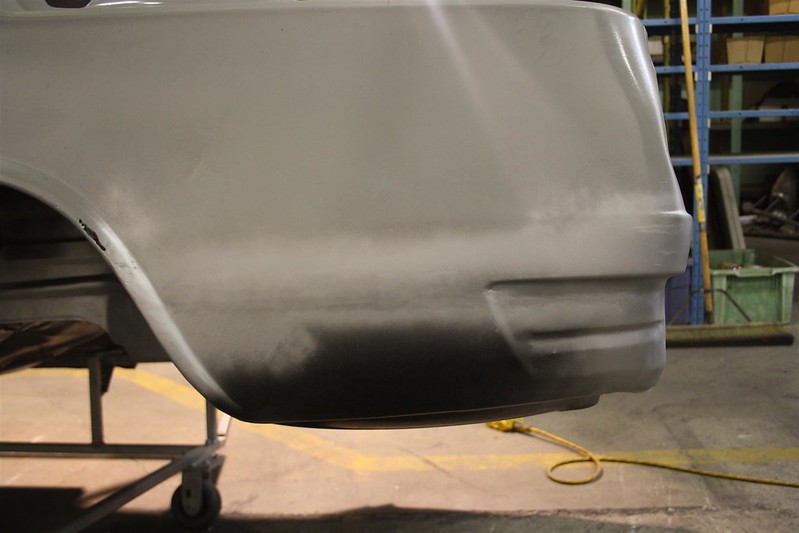
Woo! All done! We may clean up that line along the center of the valence; however, that will be under the rear bumper so we'll see.
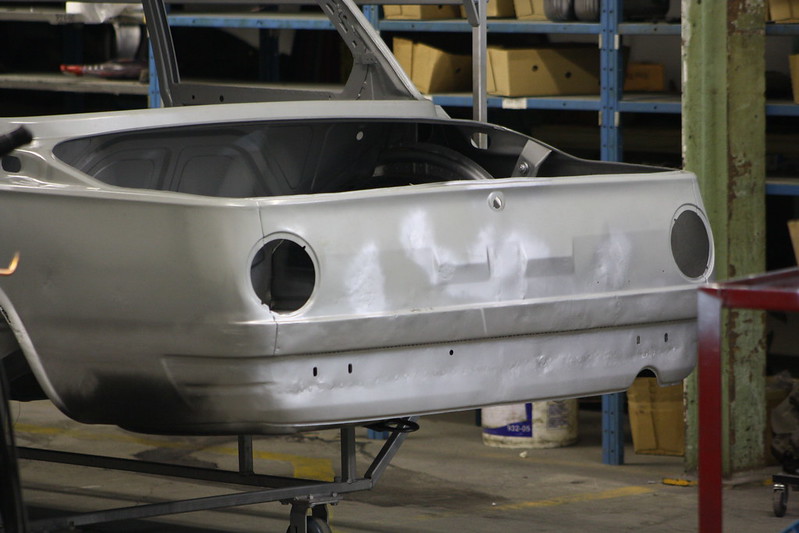

Stay tuned for this mess! (frame rails, floors, inner fenders and nose oh no)
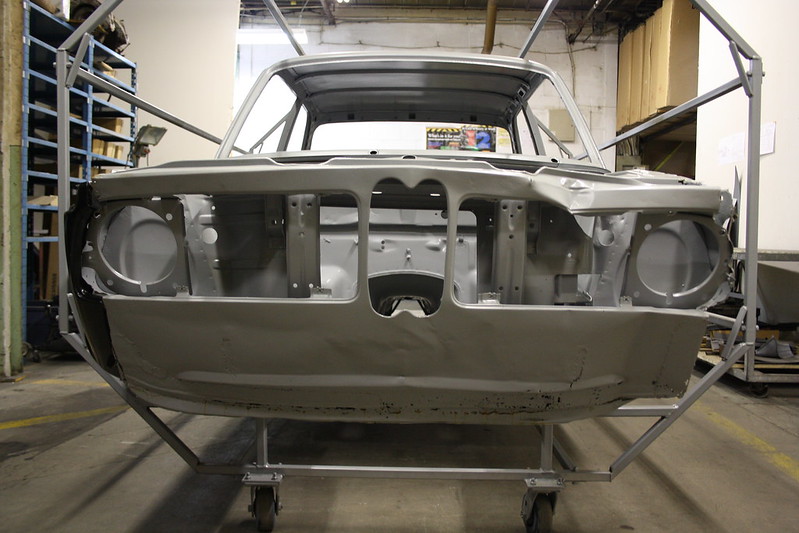
Leave a comment:
-
I'm not sure yet, honestly I have so much work to do on this thing it's not even funny. The whole front end will need to be replaced, one of the frame rails and the drivers floor.
Once that's done, it needs a wider body and paint. Maybe some roll cage?
THEN we can think about the engine. :P
We're focusing on making parts that you can't get anywhere else right now. That differential crossmember, for example, is a part that BMW never offered in the aftermarket. We're looking at [SPOILER ALERT] pedal brackets or seat mounting panels next.Originally posted by jhaurimn
Updates!
I CAN'T HEEAAARRR YOUUU!!!
UPDAAATES!!!
OKAY! (sheesh) AUGUST 28TH, 2013 - rear wheel housings are complete.
Picking up from where we left off last time, we've finished welding in the rear wheel housings and the rear cross-member that we built.
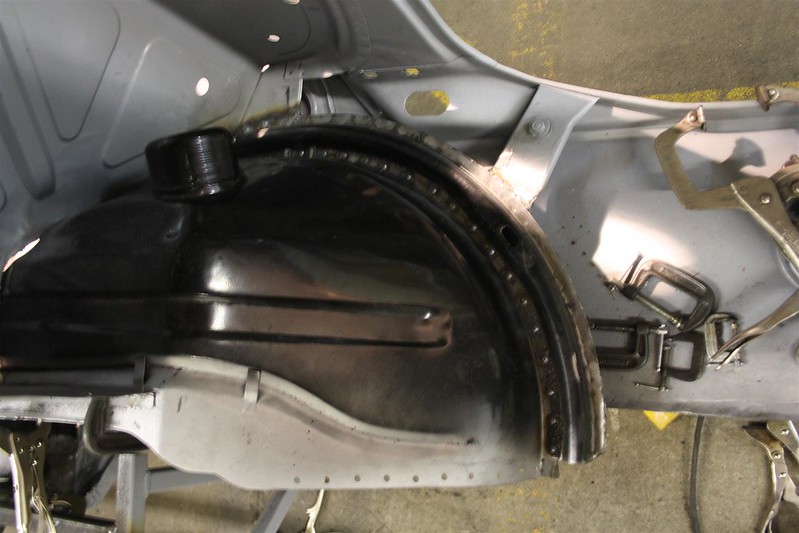
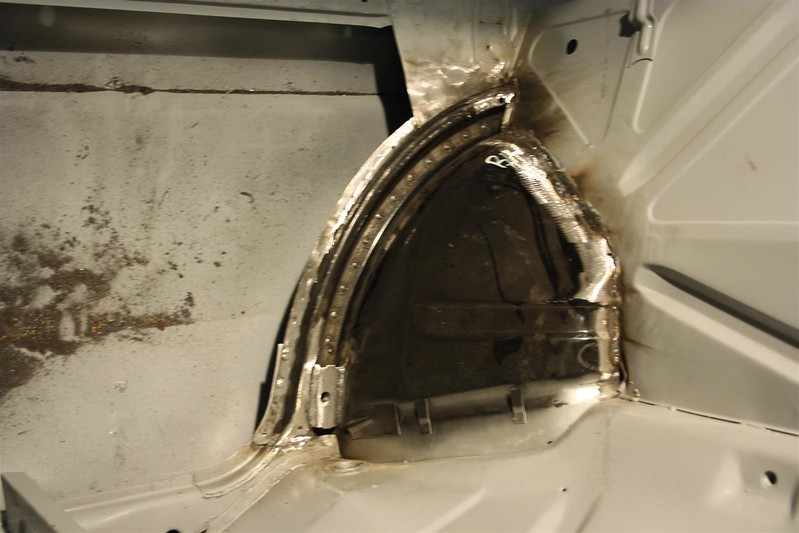
Working from the front to the back, constantly measuring and double checking - we slowly Rosette welded the wheel housing to the outer fender. When you're doing these repairs, it's important to ensure that nothing moves around, since the rear suspension geometry can become out of alignment very easily.
We used this diagram to maintain accuracy:

Once the new panels were welded in, we turned our attention to the rear crossmember. It often rusts out on its interior, so we made sure to liberally spray weld-though primer along the channel before welding it onto the car. (AGAIN, MEASURE TWICE WELD ONCE!!)
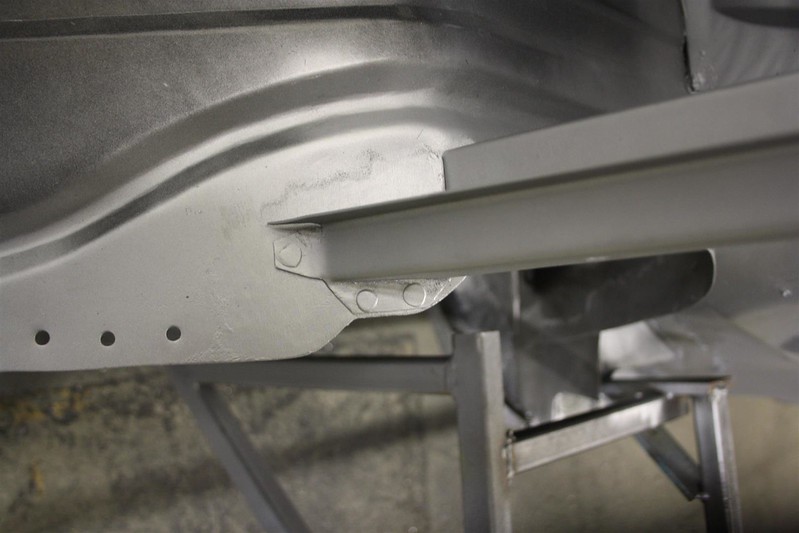
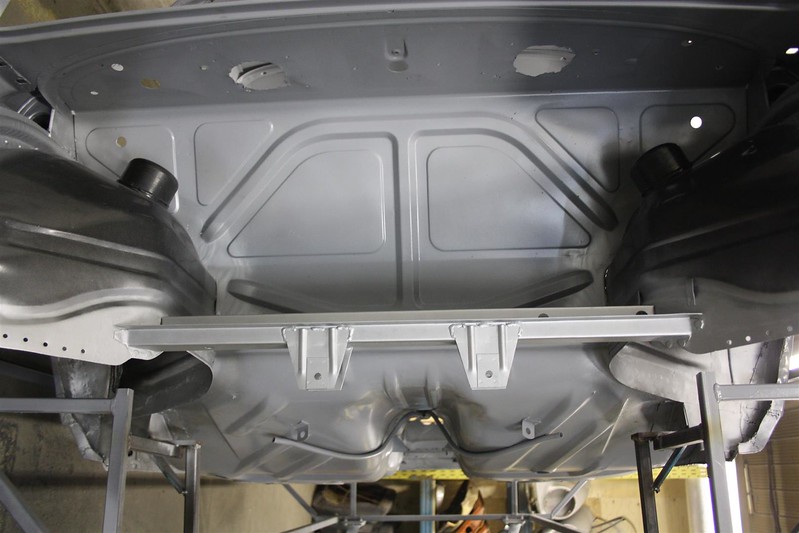
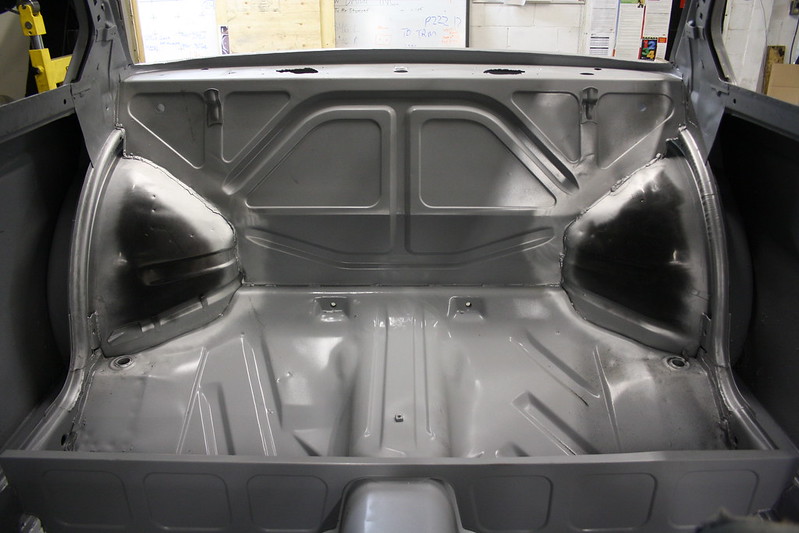
Quite a clean install if you ask me! Up next is the rear trunk floor.
Also, stay tuned for next week when we'll post the video how to for this update.Last edited by Malcolm@RestorationDesign; 08-29-2013, 06:43 AM.Leave a comment:
-
Should I say i cant wait for more updates again? LOL
Very nice progess, interested to see the parts you decide to manufacture.Leave a comment:
-
Keep up the good work! Looks good so far, any thoughts and what you're gonna do with the powertrain?Leave a comment:
-
More updates? K brb
EDIT: AUGUST 14TH, 2013: still workin' on the rear!
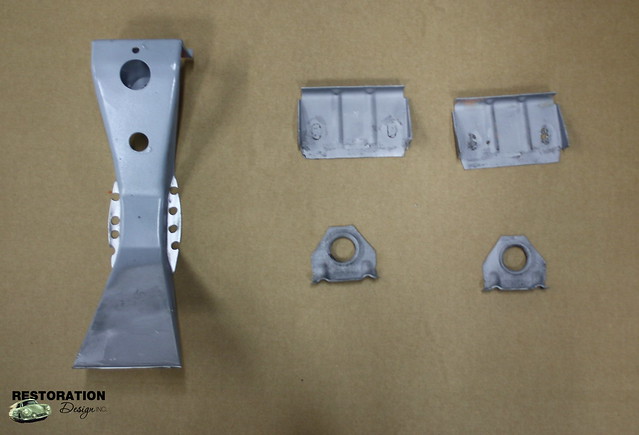
The first thing we noticed when we pulled the trunk floor out was the rusty interior of the subframe channel and it's mounting tabs.
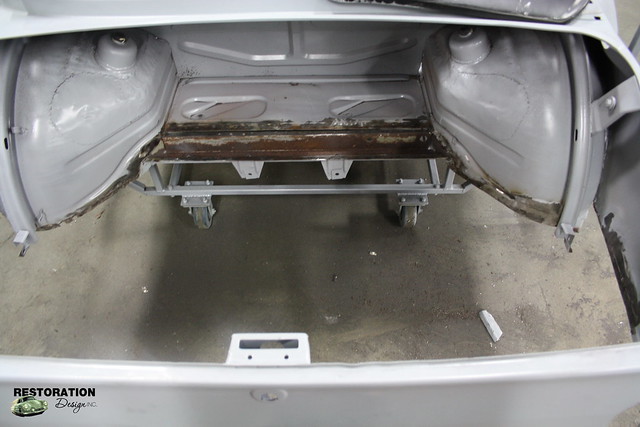
Time to make a new one! Knowing how important it is to have the differential mounted properly - since there isn't really any rear adjustability for alignment - we took TONS of measurements to create this new piece.
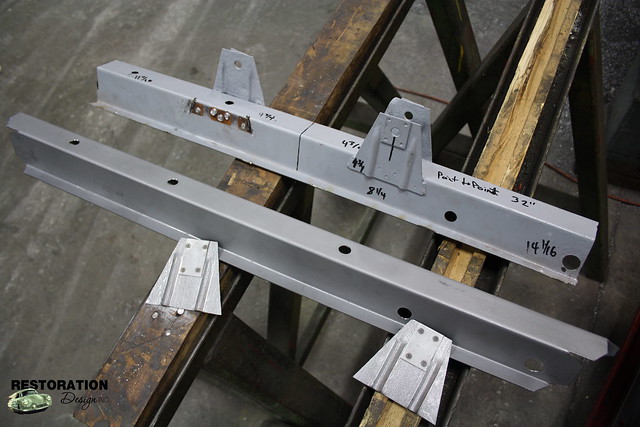
Then we made 10 more! Those will be available on our site in a short time, when we've had a chance to properly check our measurements in the car. (and finish the pieces!! :D)
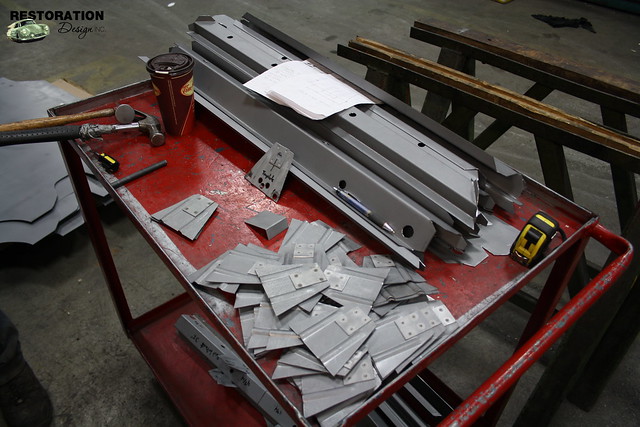
Next up, we have to prep the trunk floor for welding. We grind away the paint around the edges to ensure ease of installation later.
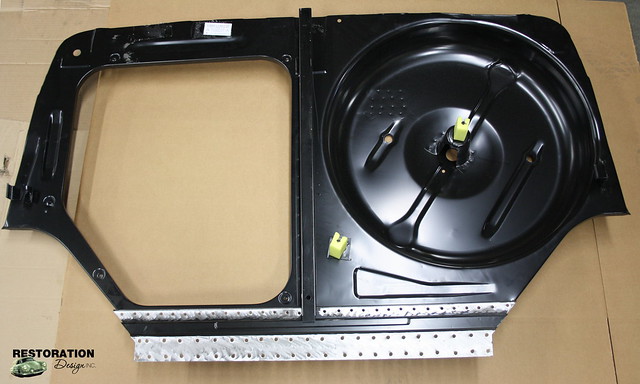
From the car, we salvaged the lock post, tow loops and the bumper brackets. We will probably manufacture these down the line, but for now the OEM metal is fine.
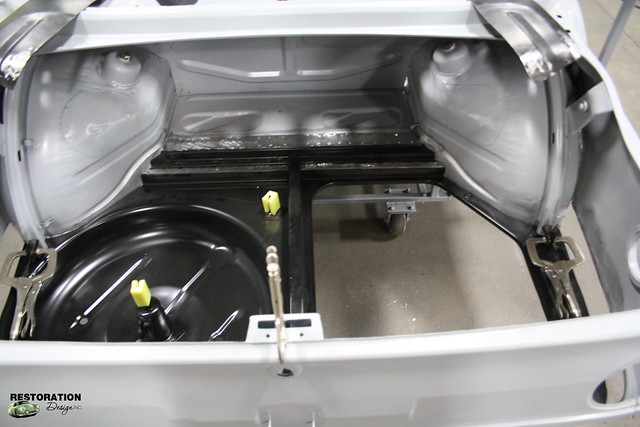
Once all the components were prepped for installation, we (obviously) installed them! Here we are testing fit and checking to make sure nothing needs to be trimmed or modified before we remove the rear wheel wells.
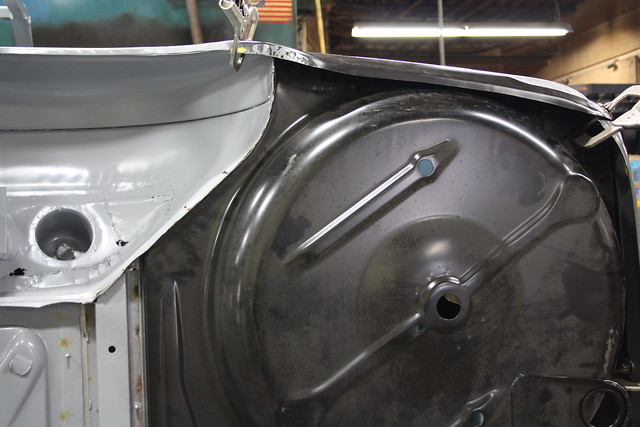
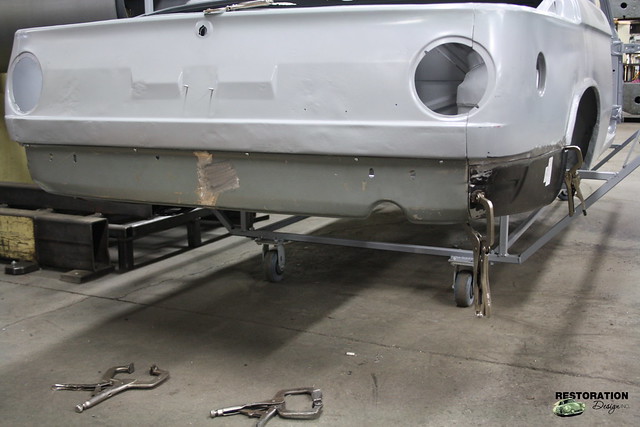
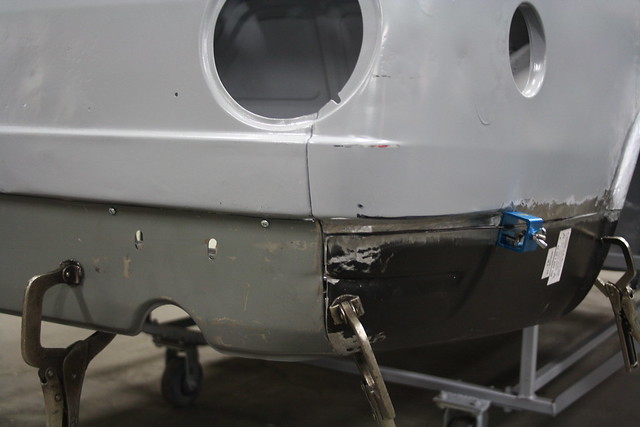
ONWARD TO THE WHEEL WELLS!!
This is the state of the wheel wells. Not very safe, since they have been patched in several places already, not to mention the large unpatched holes that the sandblasting revealed.
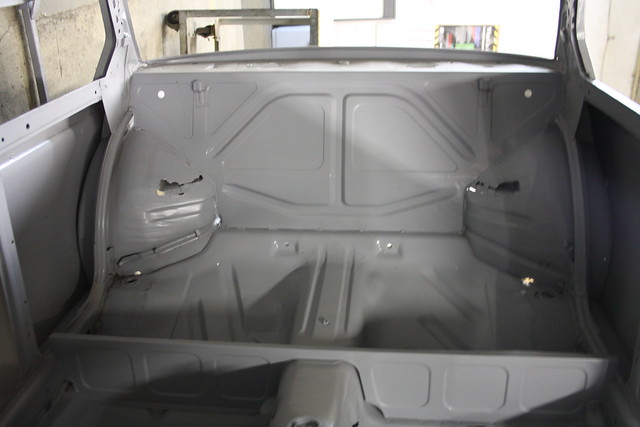
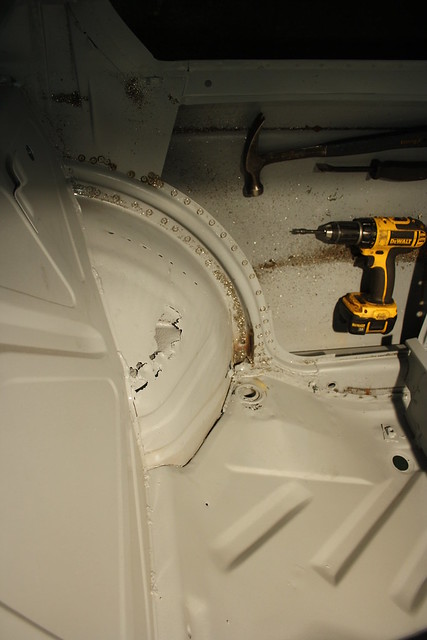
Using our trusty DeWalt and a spot weld remover, we carefully drilled out all the welds holding the wheel well into the car. A couple hours later, we were able to pull the pieces out of the shell.
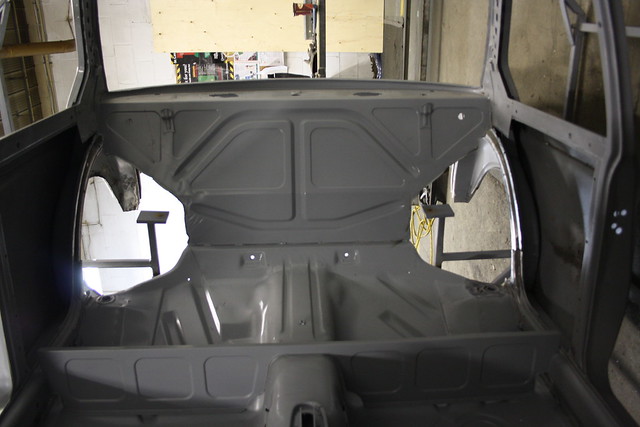
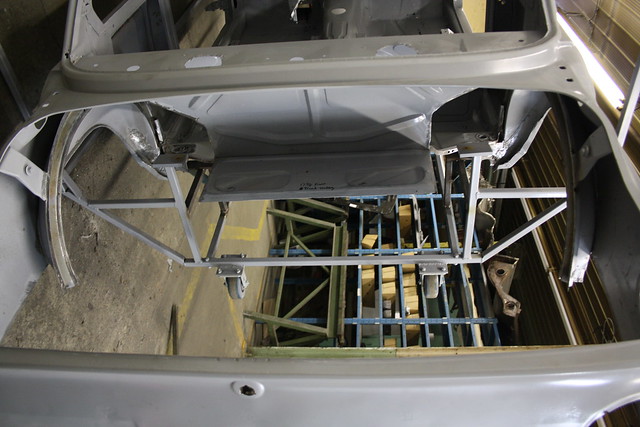
We're now clear to start reinstalling the rear end! We got our inner wheel wells clamped into place to check fitment and determine if any adjustment would be needed.

SPOT ON!!
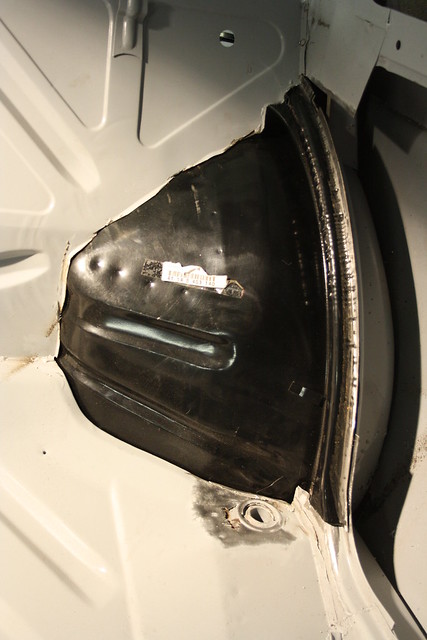
Next update will be, hopefully, some welding!Last edited by Malcolm@RestorationDesign; 08-29-2013, 05:10 AM.Leave a comment:
-
Oh hell yeah! This makes me want to grab an 02
Can't wait for more updatesLeave a comment:


Leave a comment: