
Anymore updates??
Mr. Wolfe
-
Well, long time no update. Hard to get motivated sometimes with so many projects going on.
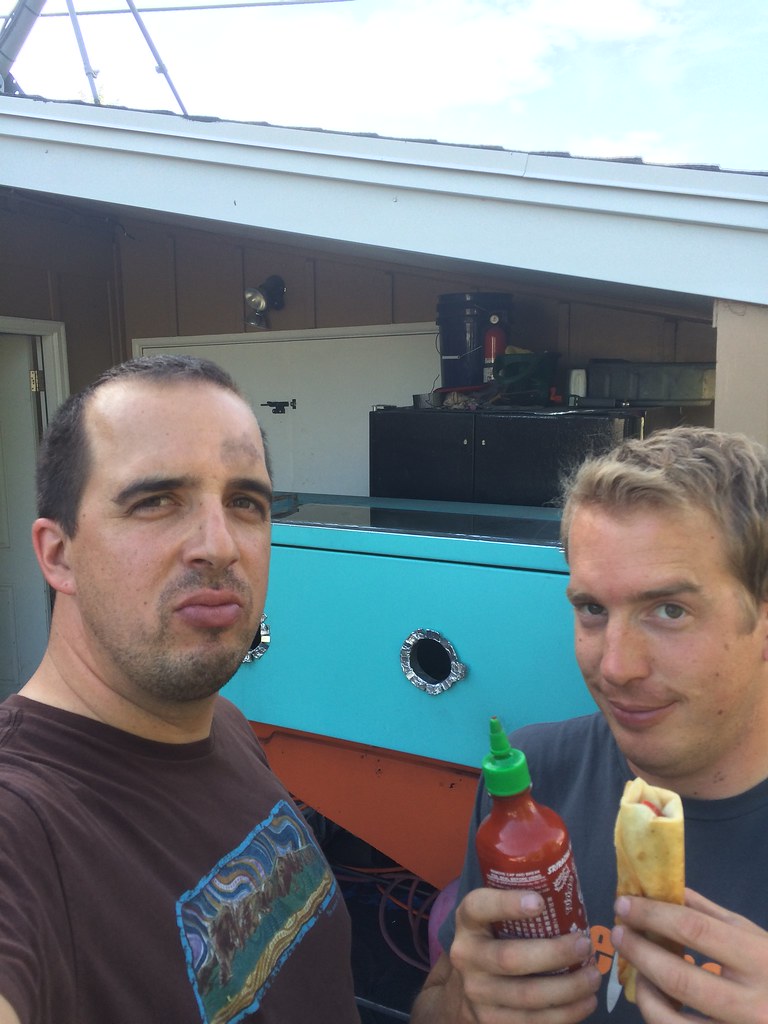
In the name of learning and science, my new-to-e30s brother came by for a post-holiday visit to pickup some shiny things I've been working on for him...


Working on a little bit of a business plan, making a web page, etc to fund the build and a fully adjustable voltage coating gun. Need to set up a fold out powder booth with filters and fans next to catch the overspray. I'm on pretty limited space so everything happens in an enclosed car port.
in addition to getting his help throwing the subframe, block, head, and turbo bits in my shell to do some exhaust fitup for him, out the hood, and for me (Idaho emissions, what emissions???), out the back of the car (Utah emissions).
After fiddling with the Condor mounts for a minute, we threw the head on with a couple of studs, the Good 'n Tight manifold and the PT6262. Not sure if the centered studs are supposed to be up top and the off-center studs on bottom into the subframe, but that seemed right to move the block around in the bay by twisting them before snugging them up. There isn't much room on a stock subframe let alone a boxed in, reinforced one to get a wrench in there so I'm going to try flipping them.


So nice to have another enthusiast around to help and get stooooked. OMG we need to get on Insta...

In other, unrelated Datsun news, been playing with CAD to plasma cut flanges with hops of turboing the stock engine after converting to EFI, which I got right on the second try.


Only to pickup a KA24E (singe cam, ew!) with tons of machine shop work done to it out of a '90 240sx, with trans, stage 3 clutch, harness, and ecu for dirt. Going to work on a CanAm box, external HPFP, and swapping out the tired old L18 with 90 or so HP for the fresh KA and scare myself on the drum brakes again a bit.

Leave a comment:
-
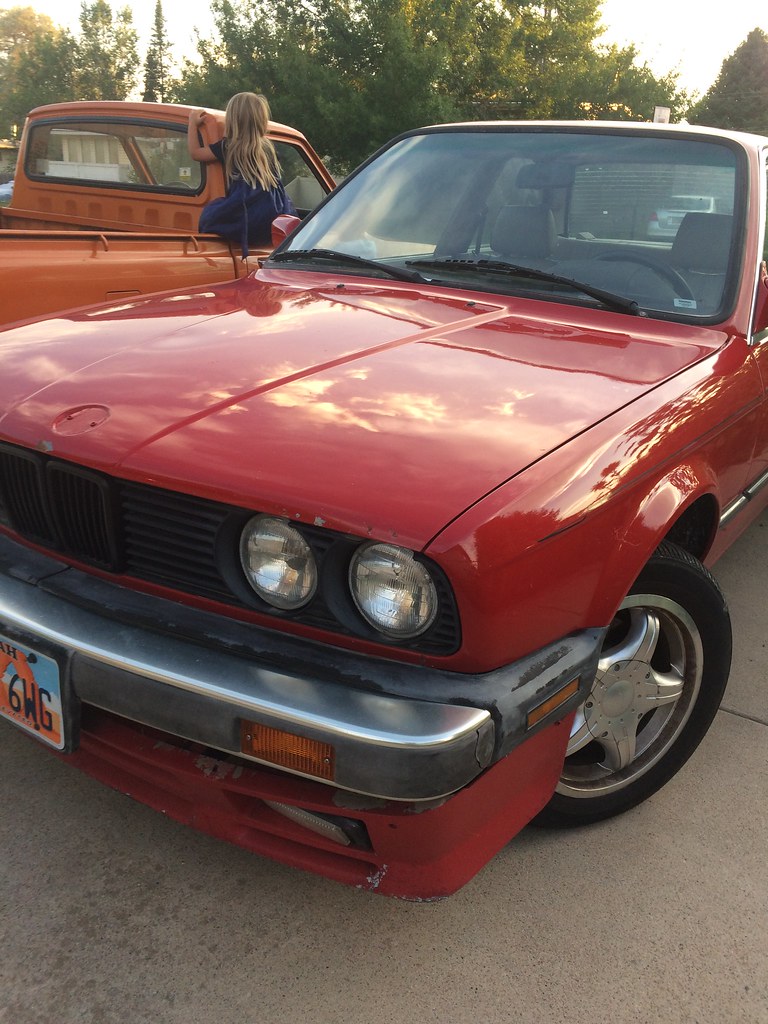
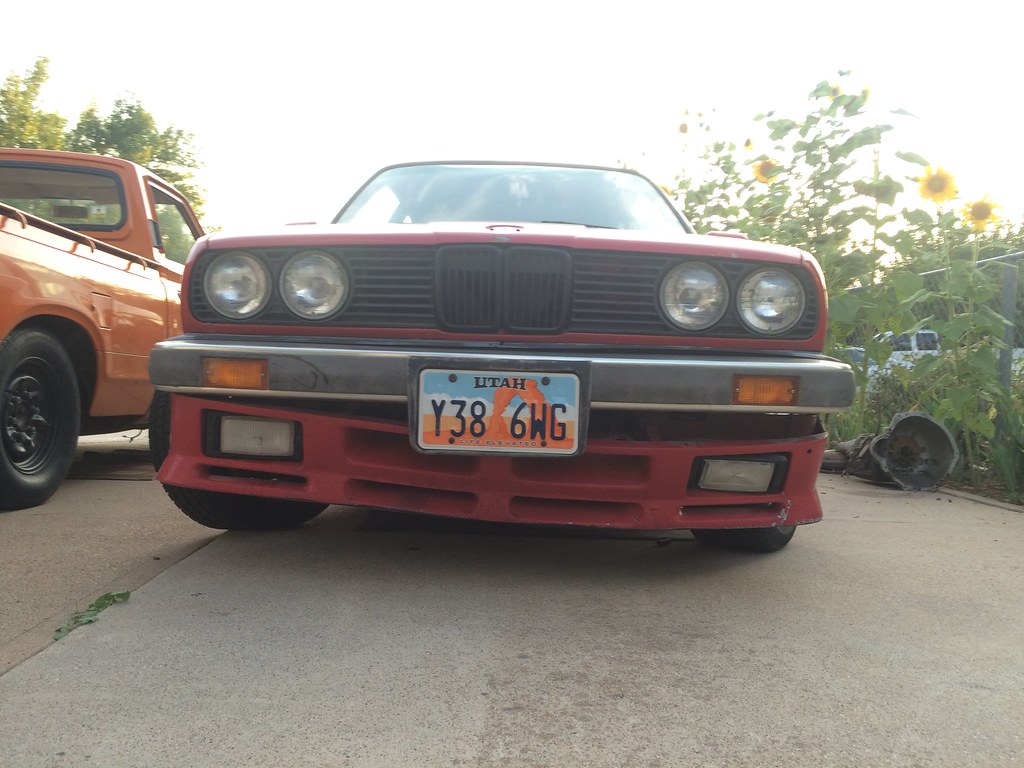
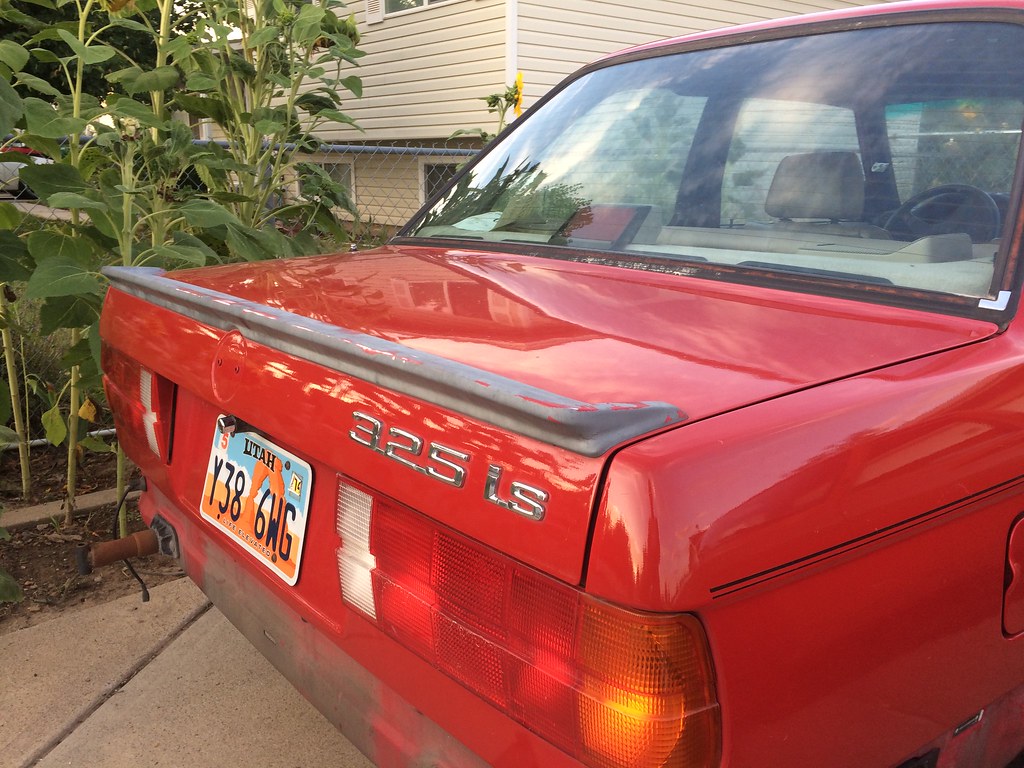
Alrighty then. Small update. My stuff, has become my brother's stuff. He decided to leave the P-Car world and sold his '87 Guards Red, 5-speed 911, to enter the cheap world of FI e30 speed. We picked him up an '87 325is with awful rod knock. He is the stoke.
Stroke
Nom
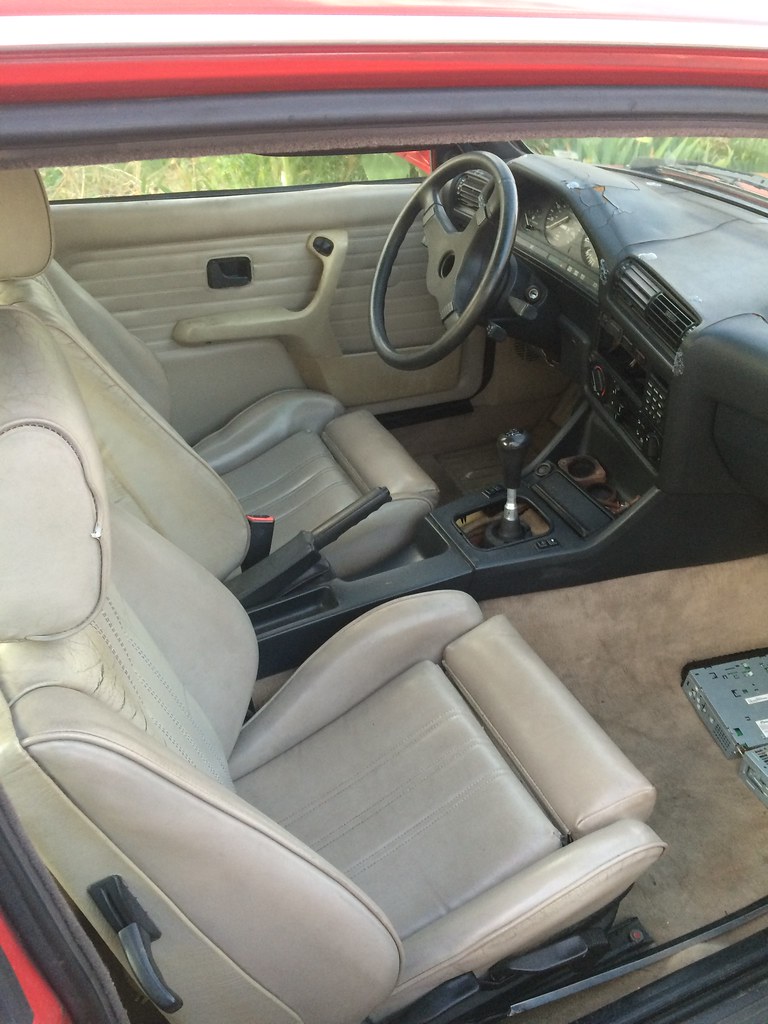
Anyway, he needs to start a build thread. He's completely new to the e30 world so he just dumps money in my account and I spend it. It's a great relationship except everything goes to him...wait...His plans are FI M50tub25 and he's already amassed an Otis Manifold, 98k mile m50, 330i 6-speed trans, PT6262, tial bov, turbosmart 45mm wg, Garagistic reinforcement set, Condor bushings, adjustable rear suspension tabs, and 525/700 GC coils with SA Konis. Should be a great start.
Meanwhile, as a wedding gift I wanted to hook him up with all the subframe goodies. He's going to buy my GCs from me for now so we're going to knock those out this weekend as well. He's headed down from Idaho today to pick up his car and trailer it home, and I'm taking off work Friday to have an e30 bromance all weekend long.
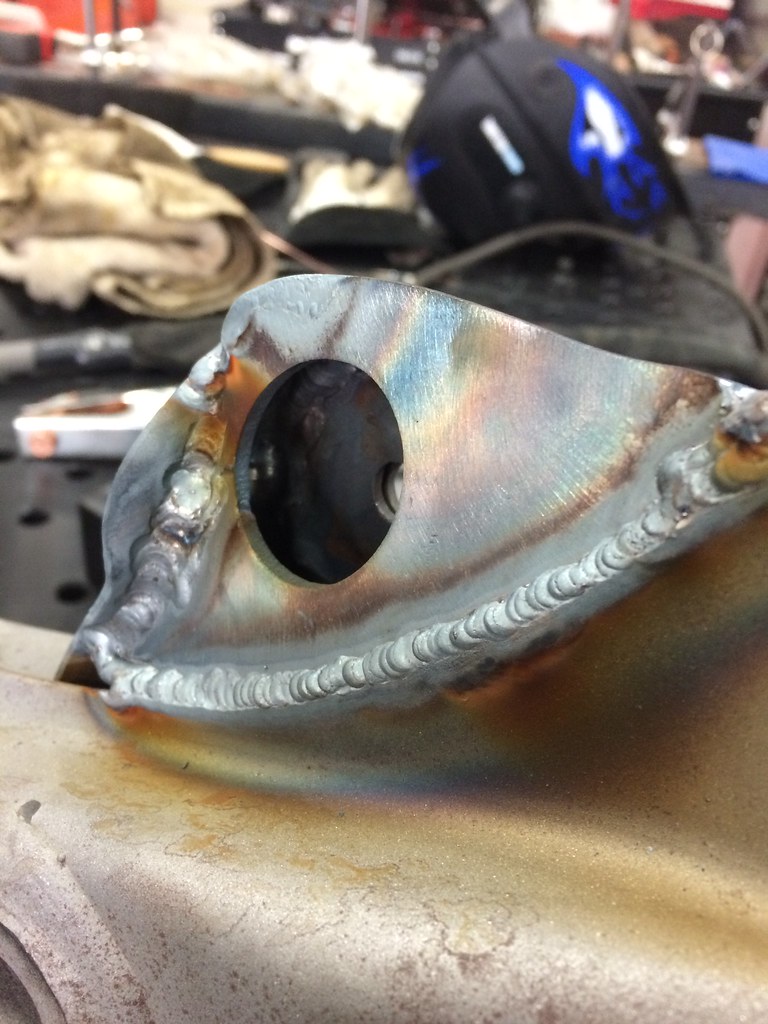
I got the last weld done on his front subframe. Not amazing, but I'm getting a bit better.
 Untitled by Brad Buccambuso, on Flickr
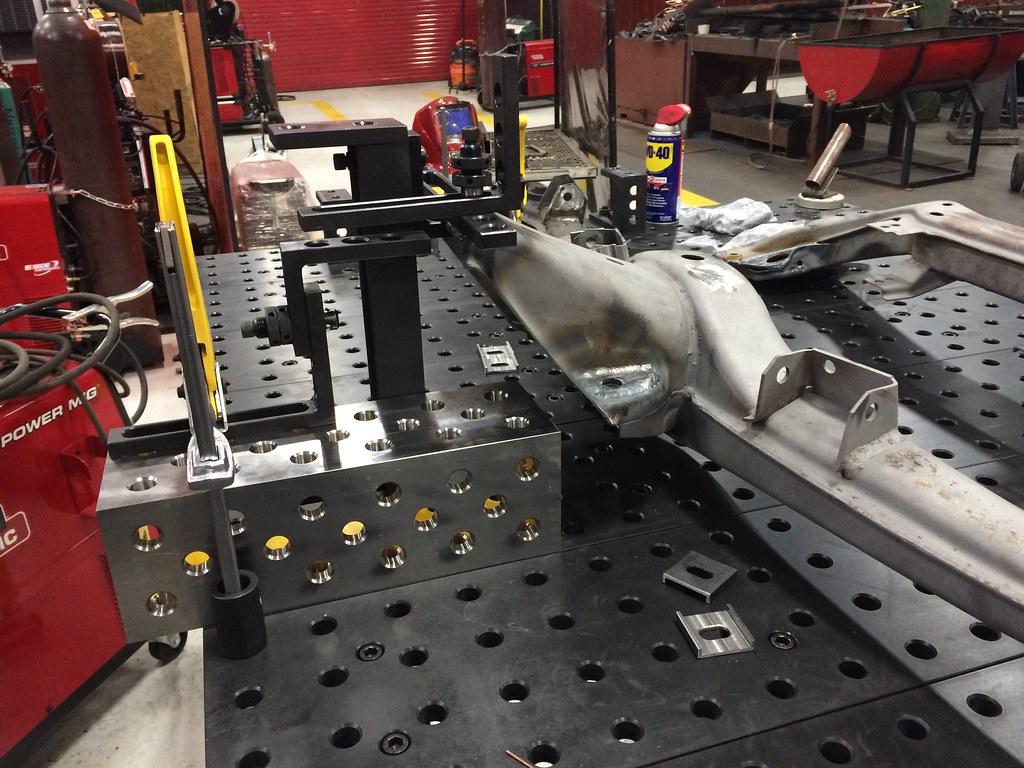
I work at a technical college creating curriculum and welding is in my portfolio, and I'm enrolled a a student...which means I have access to everything Lincoln makes and the new Stronghand table:
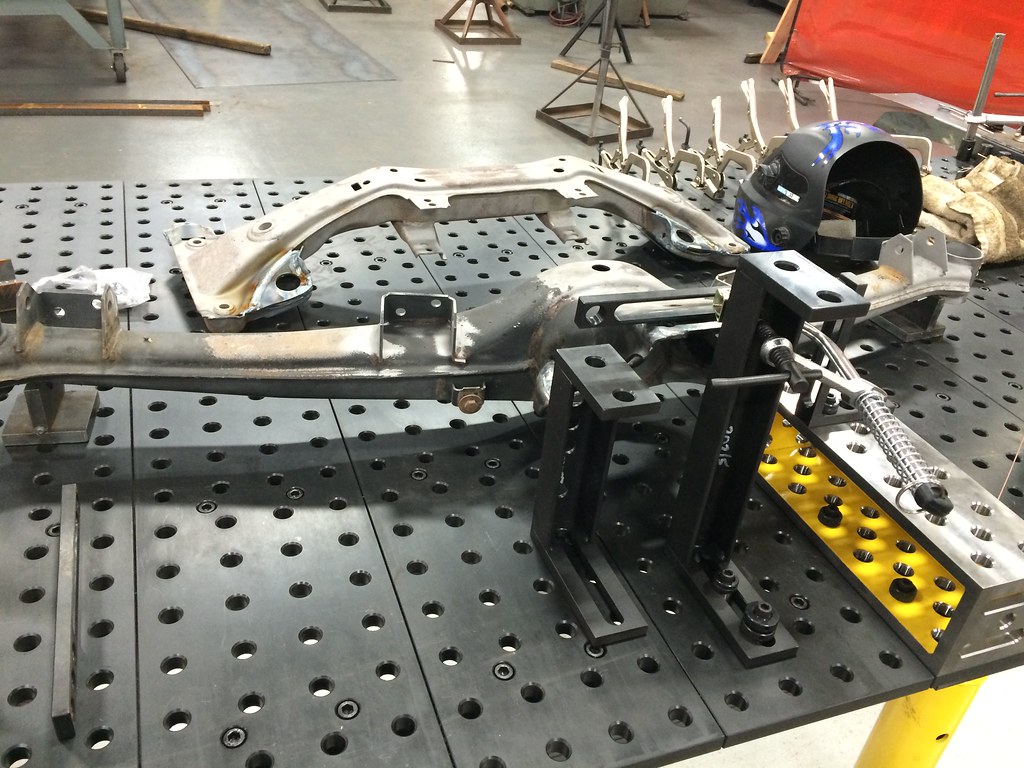
The table wasn't even level so I wanted to figure out how to make the diff mount square with the table. I build up to about the level of the upper diff mounting holes with a horizontal reference plane, then laid a straight edge across from the subframe to see if they were parallel:
 Untitled by Brad Buccambuso, on Flickr
 Untitled by Brad Buccambuso, on Flickr
 Untitled by Brad Buccambuso, on Flickr
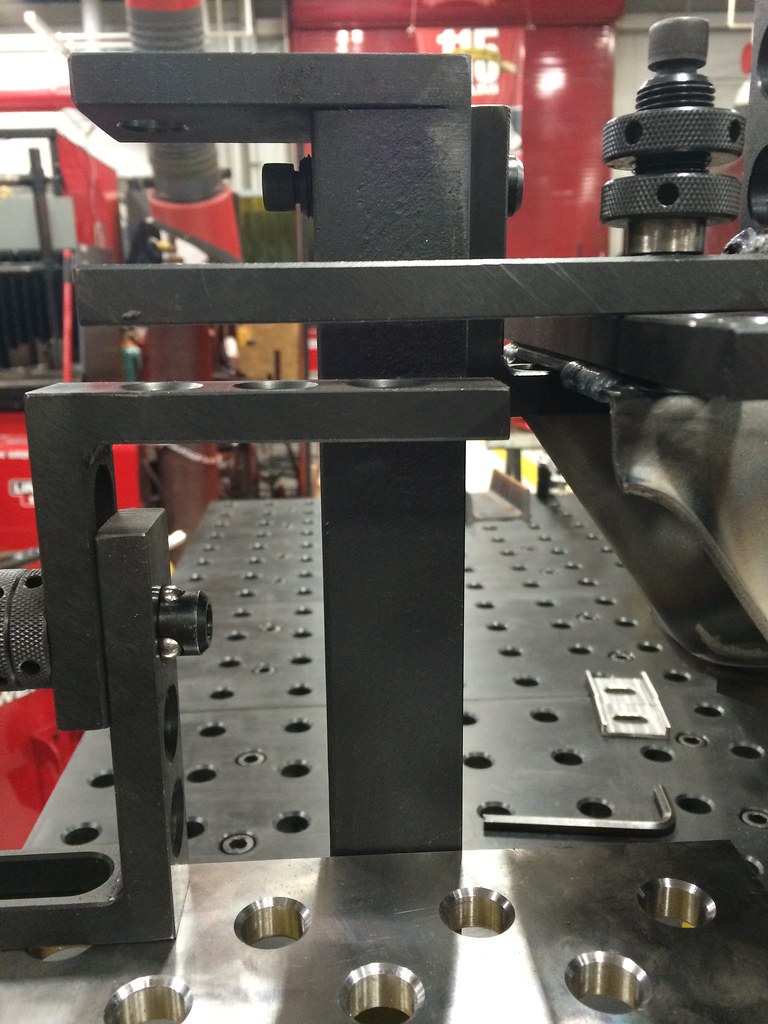
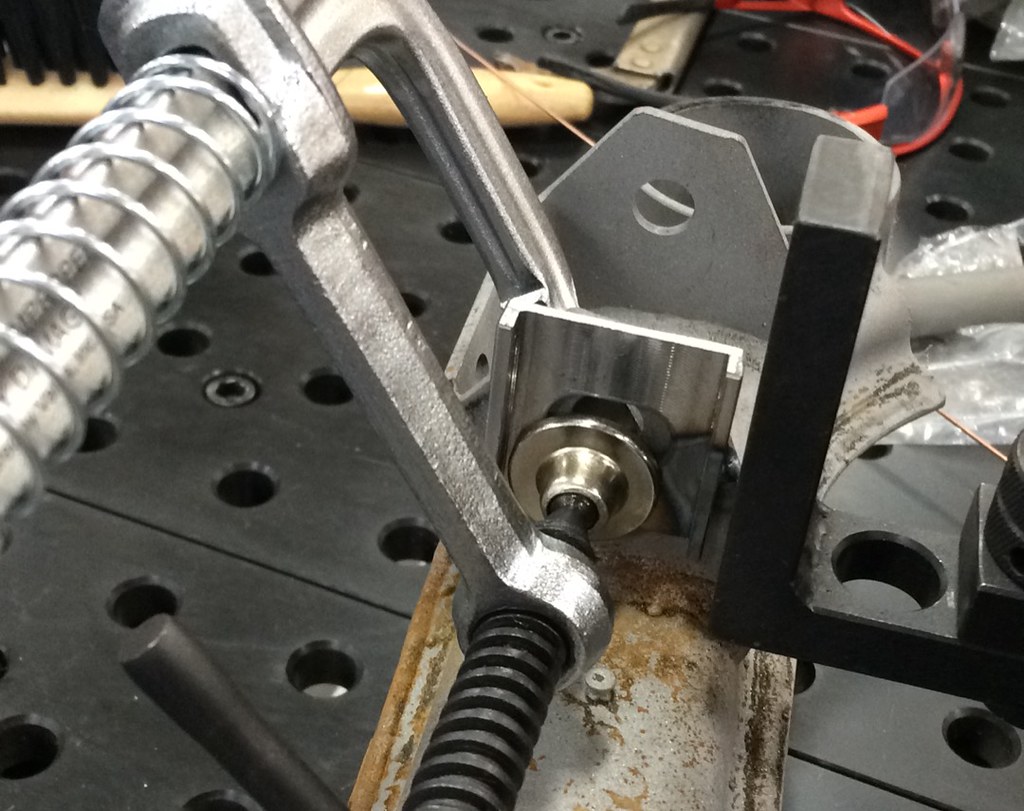
Then, to keep the adjustable tabs in plane with the table (toe) or perpendicular to it (toe), I used another fixture to hold against the tabs while the eccentric e39 bolts kept the tabs in the right spot.
 Untitled by Brad Buccambuso, on Flickr
Finally, after cleaning up the tabs, I put on a clamp or two and did a quick fusion weld with the TIG. My bro has never really welded before so we're going to hang out at my "work" tomorrow and have him do some practice before welding up his own subframe.
Then home to the blasting cabinet to do a final clean, epoxy powder prime and put on the celeste green powder he picked out. Shiny!
More pics as we go...
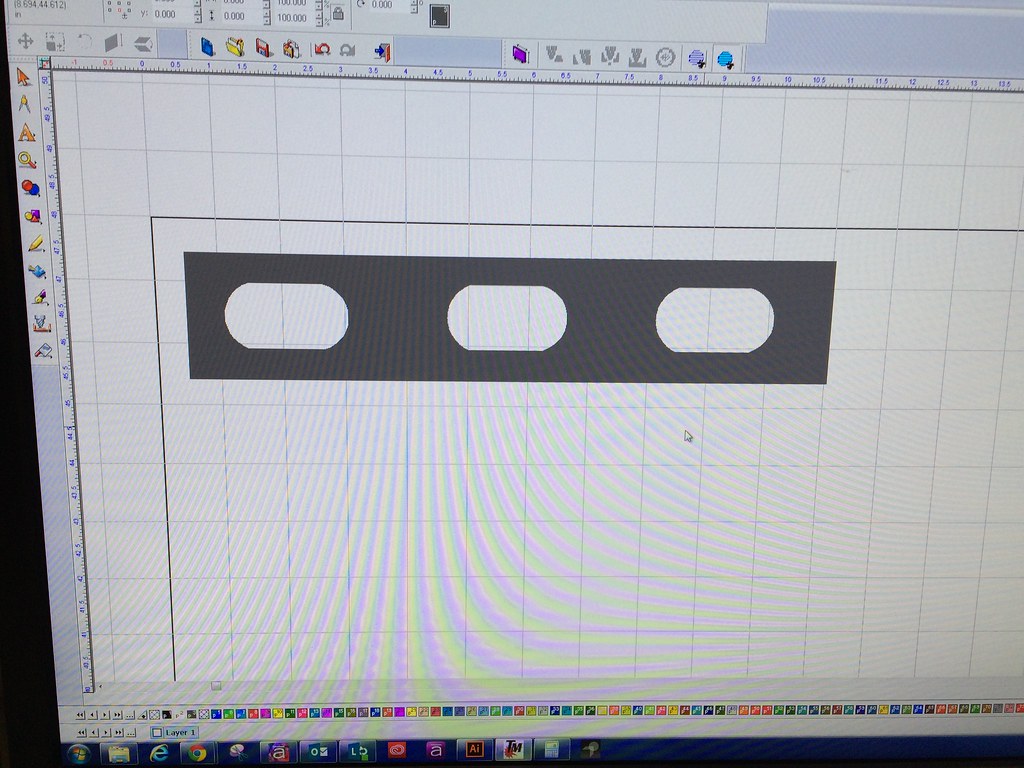
Also a sneak peak at the 1/2" stainless flange I'm drawing up for a future piece crucial to make the engine a bit more pressurized. I'm going to do a final check on the exhaust port radii on the actual head before I finish up the drawing. I don't like drawing in Torchmate CAD because I'm a friggin noob and will probably finish it up in Illustrator before sending it into the Torchmate app.
 Untitled by Brad Buccambuso, on Flickr
Leave a comment:
-
Very cool build. Loving all the DIY redneck tools and stuff and seeing the awesome results from the blasting and coating. So jealous. Now you make me hate rattle cans.
Stoked to see some serious progress on the car!
sub'edLeave a comment:
-
Leave a comment:
-
It's been a productive couple of days with my wife and kids out of town. Starting to get a little better with the TIG, but still over welding everything a bit.
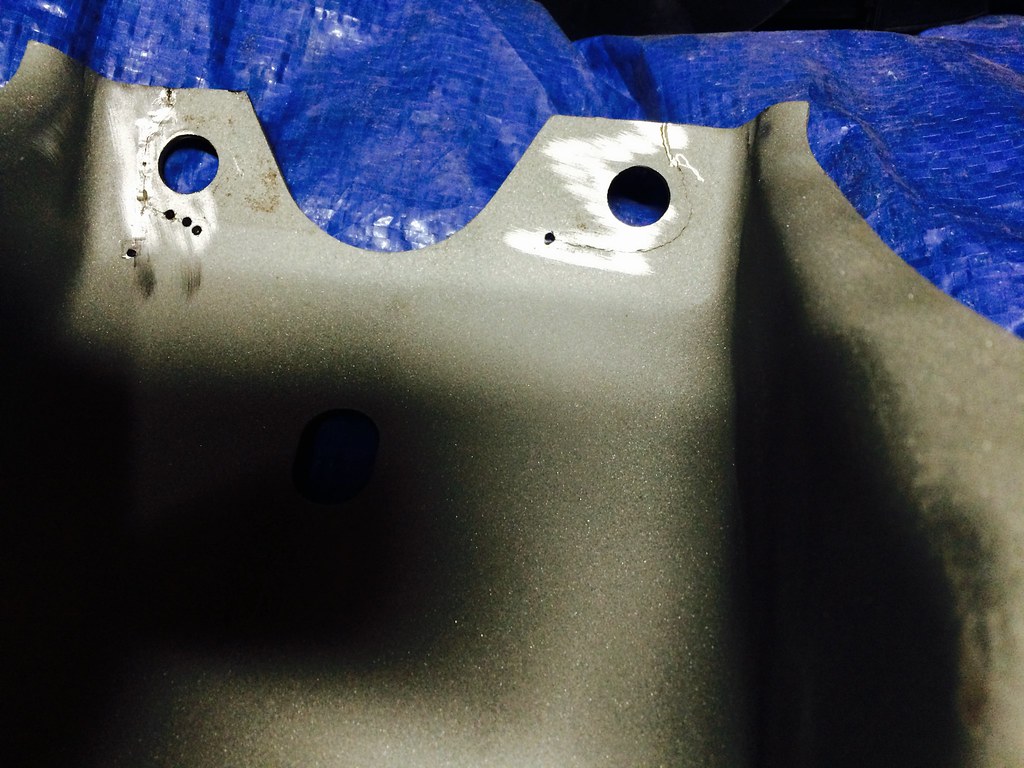
First up tonight was the rear subframe. I have two from the two cars I'm combining. One is completely broken up at the upper diff mounting area. The other is cracking pretty significantly.
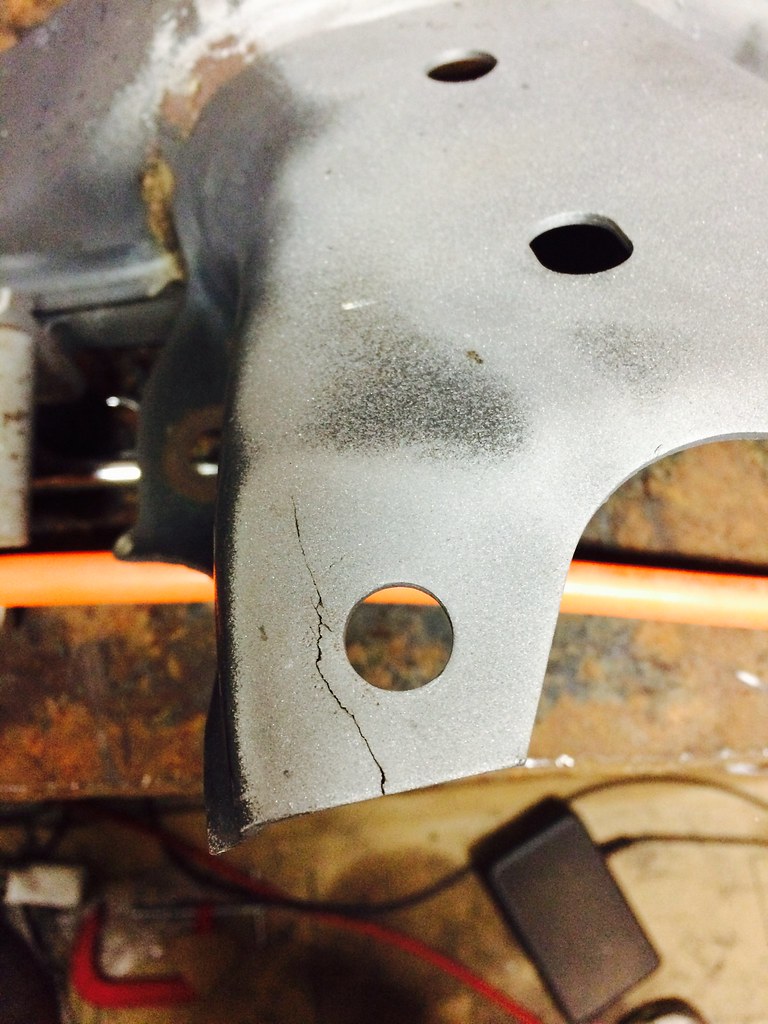

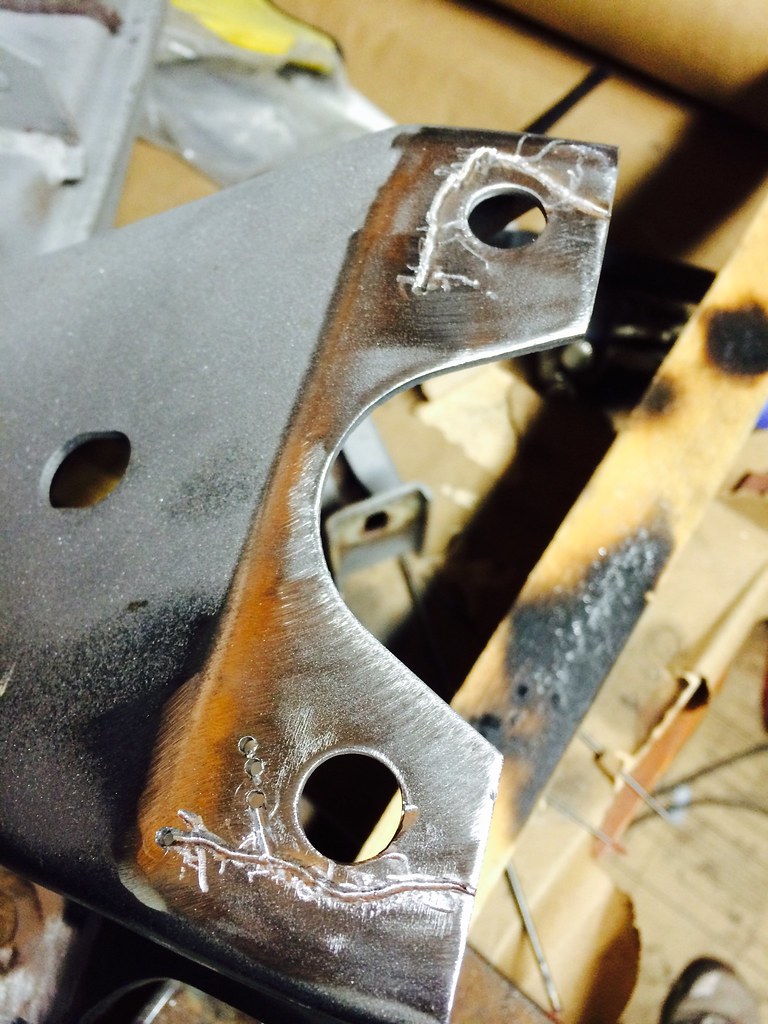
According to the internet (well, and the welding instructors here at work), first drill out the end of the cracks to relieve them, then groove the cracks for penetration. If you're new here, drill a few extra speed holes.
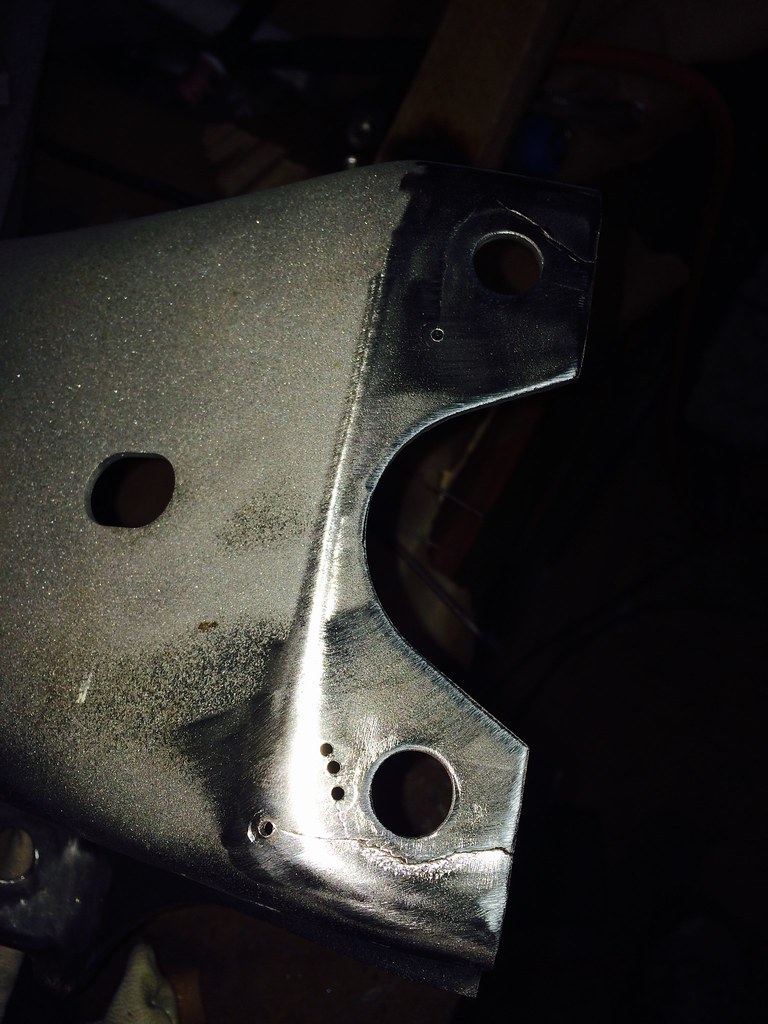
Crank up some heat (used 120A) and lay some bead

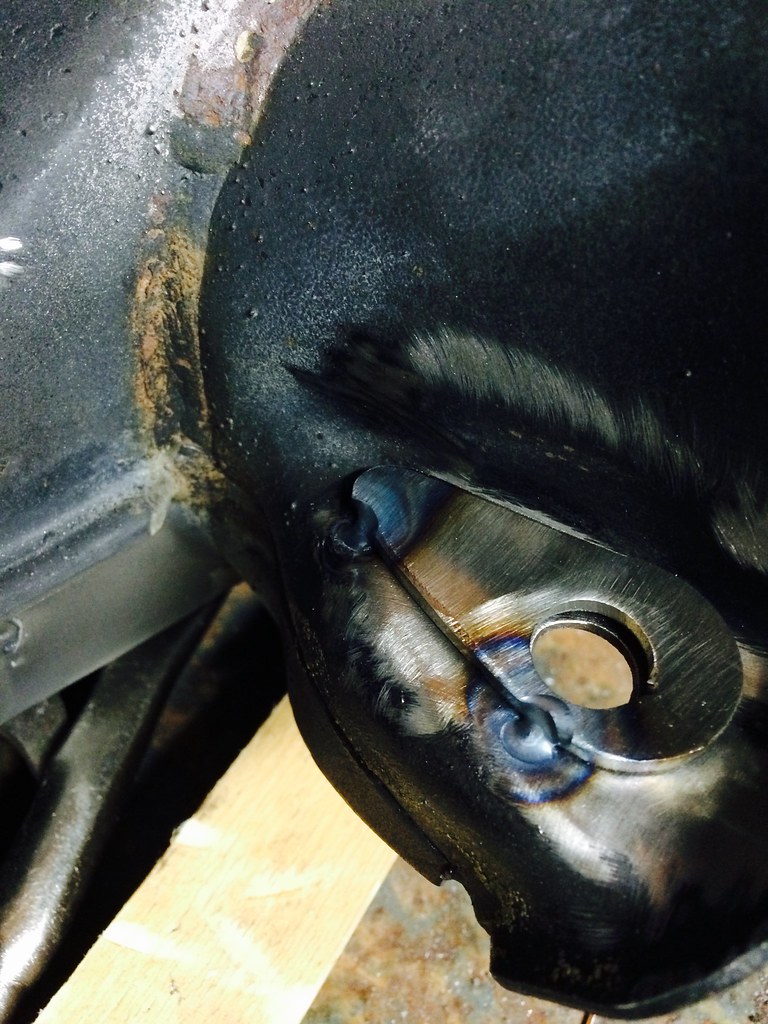
Ground it smooth again, then cleaned up the Garagistic reinforcements and tacked em in with a quick 160A pulse.
Weld it all in. Practiced pulsing from this video by Welder Series, which I need to practice more to reduce all the heat I'm putting into things; Turned out so so, but I'm sure it's stronger than before.
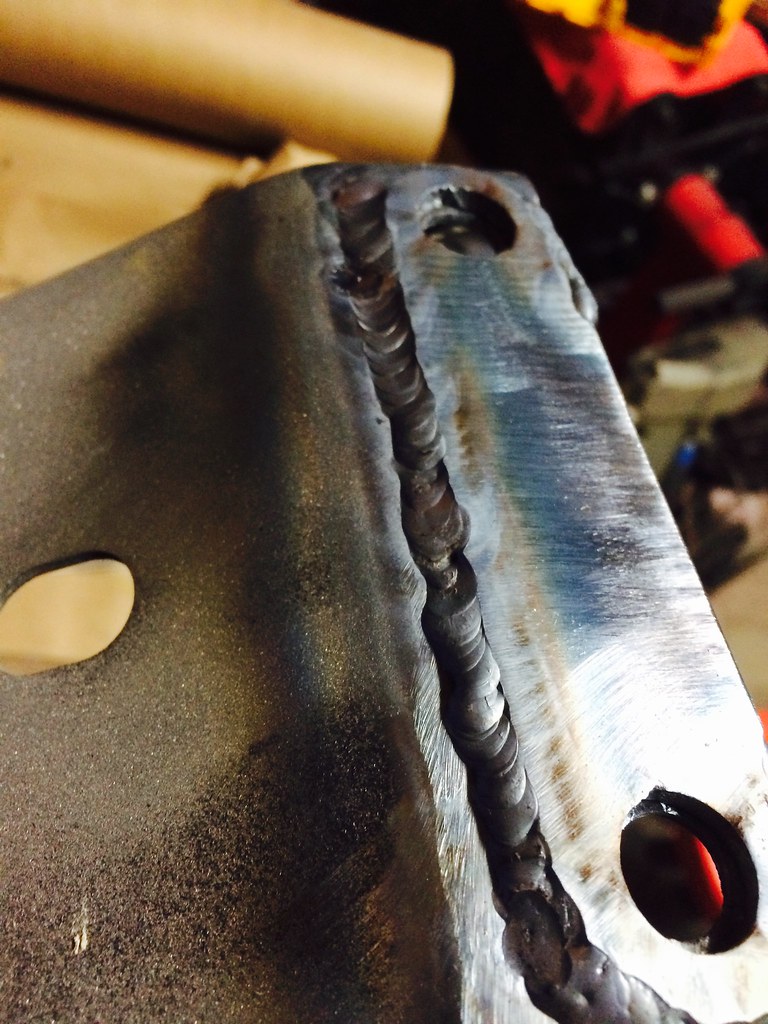
All in all, pretty happy with it. Off to the cabinet for to finish up blasting, then epoxy primer and topLeave a comment:
-
Welded in Garagistic subframe reinforcements for a local e30 nut. Tried out some epoxy primer for the first time and gloss black. I put the primer on lightly, since my HF gun isn't the best. I hot flocked the gloss black at 250 deg but should have waited until the part was even hotter so the black flowed out a bit more.
Looks baller after I smoothed out the welds (since they're not pro).
Epoxy primer:
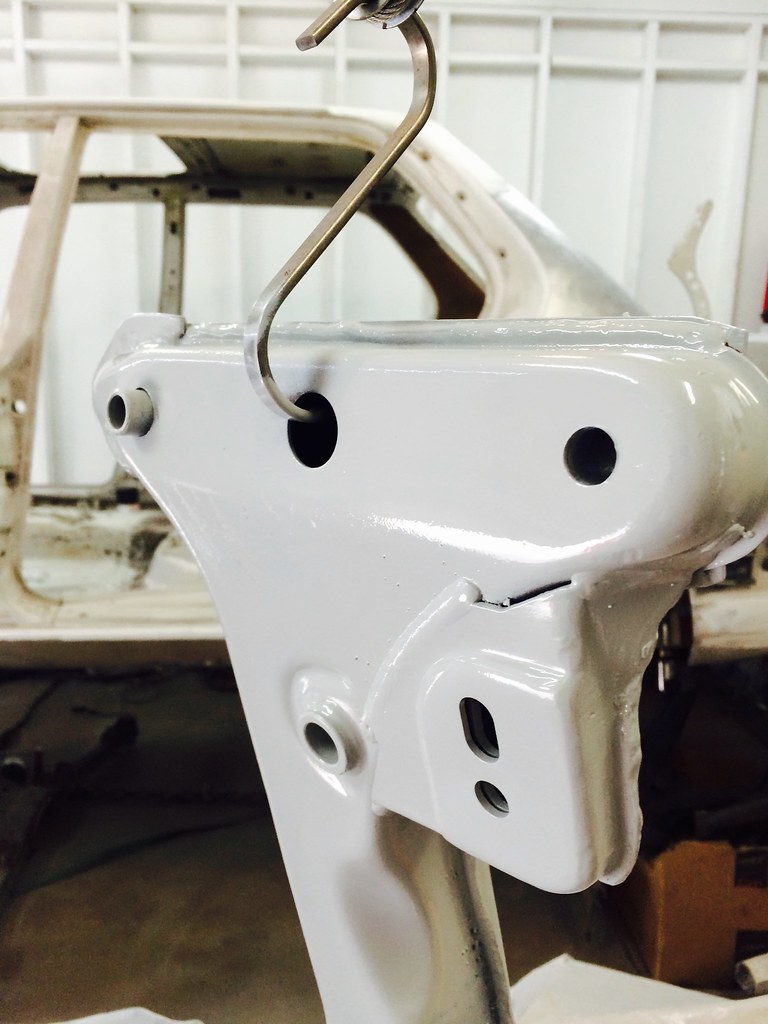
Gloss Black

I feel a little burnt out after all the fitting, welding, grinding, and coating, (plus I'm a total pansy) buuuut it's time to do the same damn thing to my front and rear subframes. Sigh, the quest for speed.
Now if I could only choose a subframe color:
Gloss Black | Cannon Grey | Celeste Green (Would look dope next to orange even though it's under the car) | International Orange | Flat Grey or gasp, white.


Leave a comment:
-
Ha thanks. Welds look crap but I can't wait to weld something that's out in the open.Originally posted by pilotskillse30 View PostLeave a comment:
-
Welcome. Your project is clean as can be, been a following.Originally posted by CorvallisBMW View PostLeave a comment:
-
Well, been busy getting busy with a new job at a technical college, which is totally rad, as I'm no surrounded by Lincoln Electric's regional training facility, a machine shop, a composites lab, and automotive tech classrooms, which are filled with tool pr0n.
Brother came by to see my new house for the first time. He has a couple of sexy 911s, stripped '88 and RSR clone '97
 Untitled by Brad Buccambuso, on Flickr
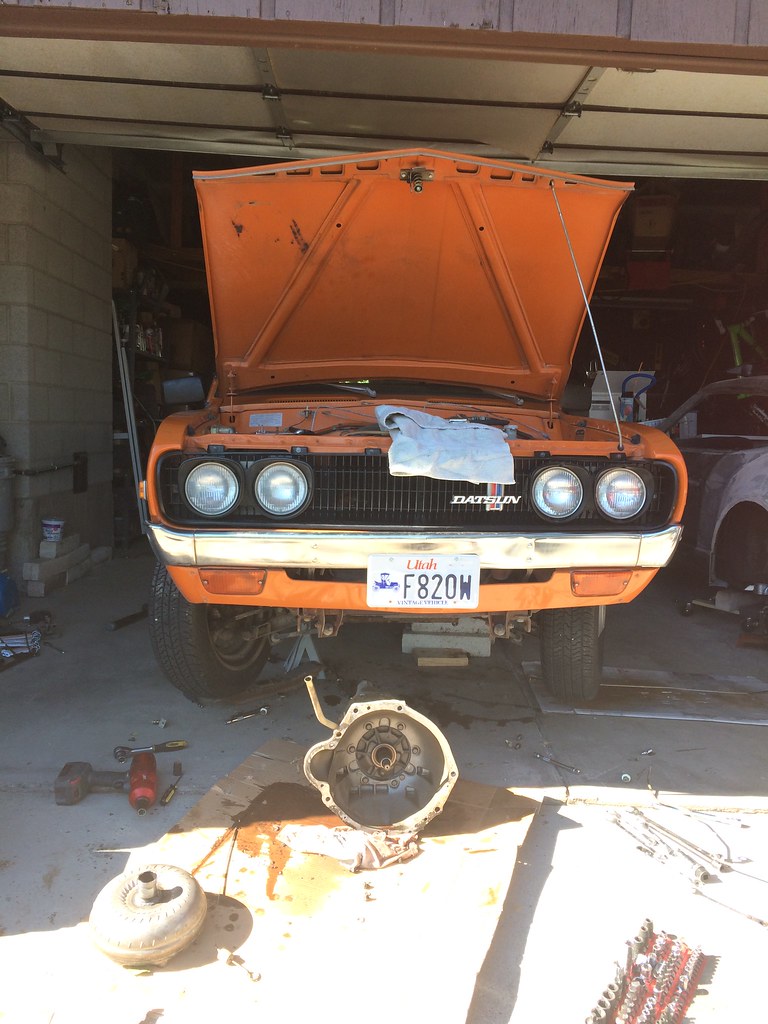
Also picked up this '74 620 from an estate sale in Idaho. 31k miles, 3 speed auto. Rule #1, no autos. 5 speed from a 280zx inc. At brother in law's house. We didn't finish by the wife-set time deadline so he graciously worked on it over the next two weeks, completing the swap while I rode to work. We're an hour away from each other. I also found out that L18 engine's are 5-bolt flywheels after pulling what I thought was everything I needed out of a newer Datsun pickup...nope nope nope. Found the uber rare 240mm 5-bolt flywheel with clutch and PP from an old timer in Arizona who talked my ear off about carbs and valve lash on the L18 for 2 hours. Good times.
 Untitled by Brad Buccambuso, on Flickr
 by Brad Buccambuso, on Flickr
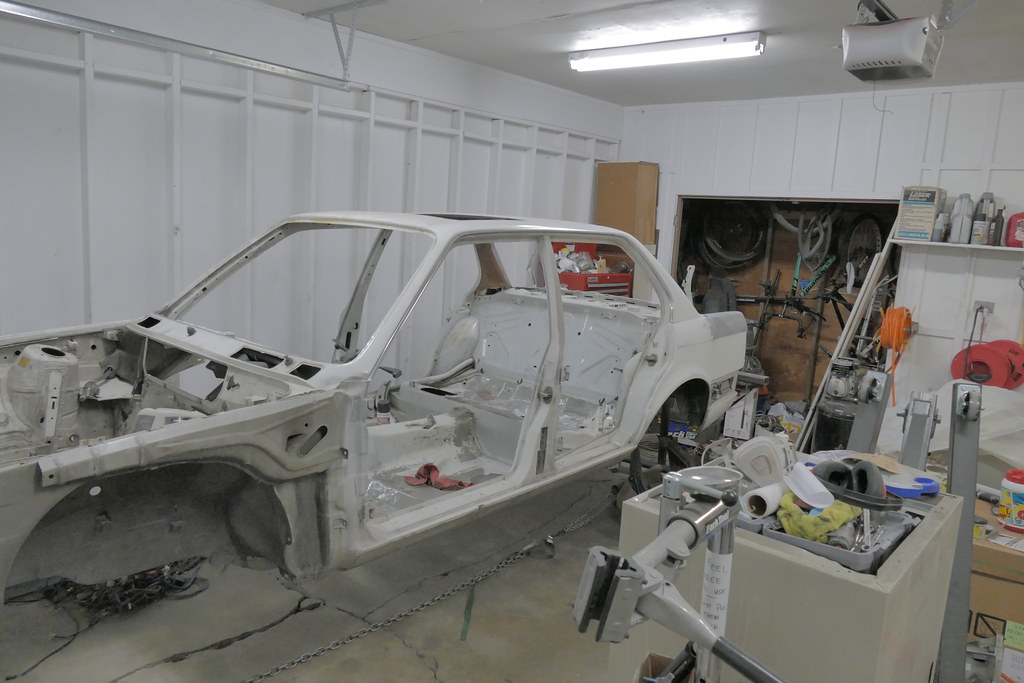
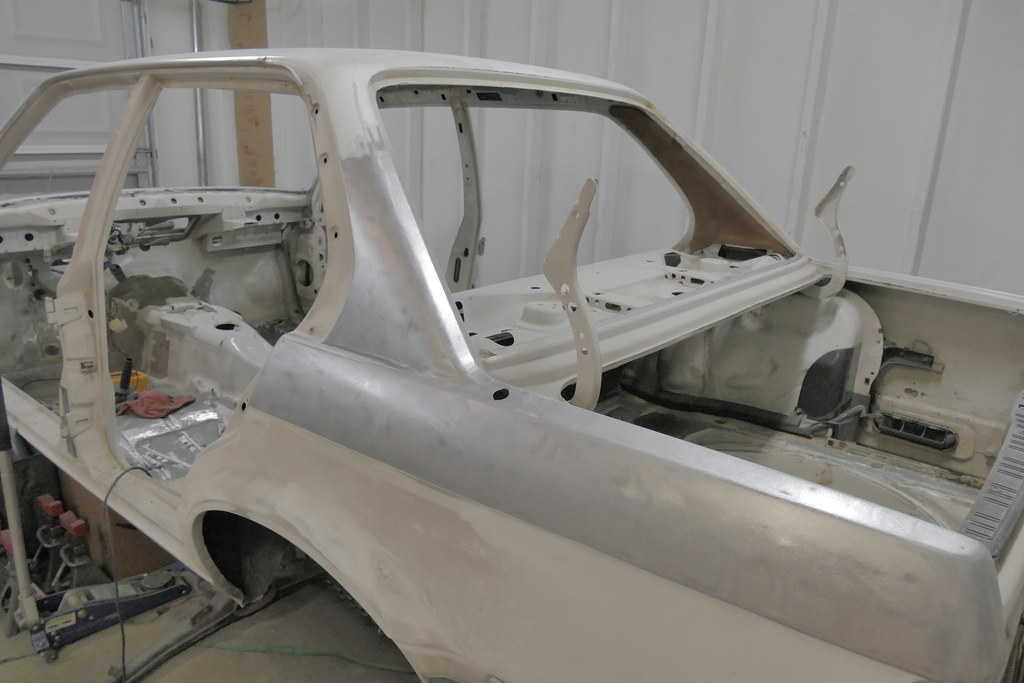
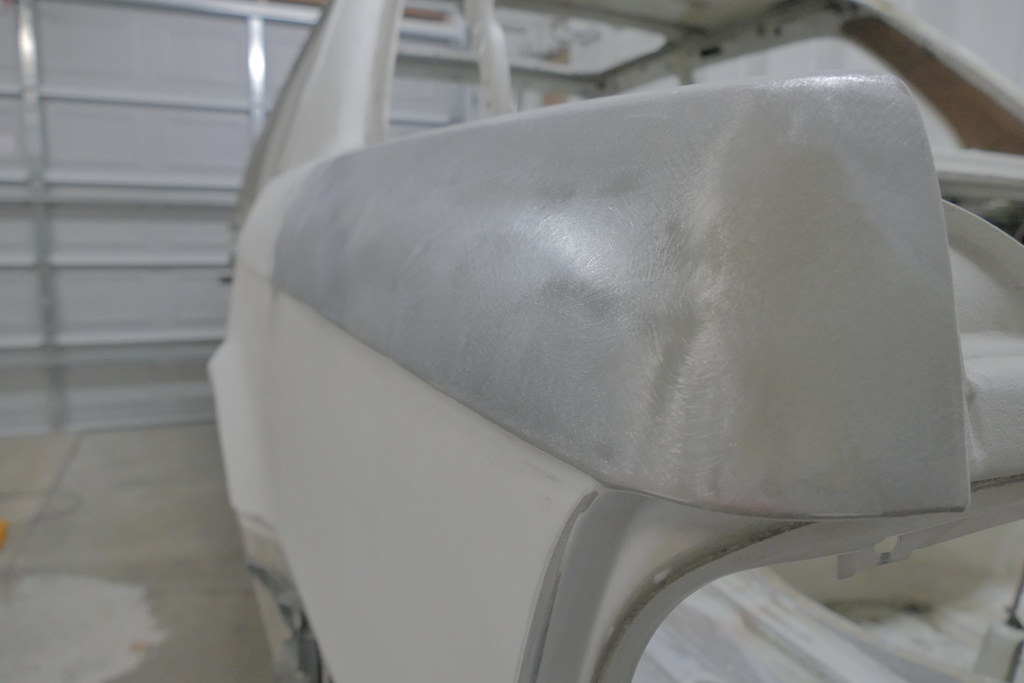
Did some work with the DA, taking down a thick respray, the factory clear, base, and primer. This takes fuggin forever...I dream of aircraft stripper (tune in for that later!)
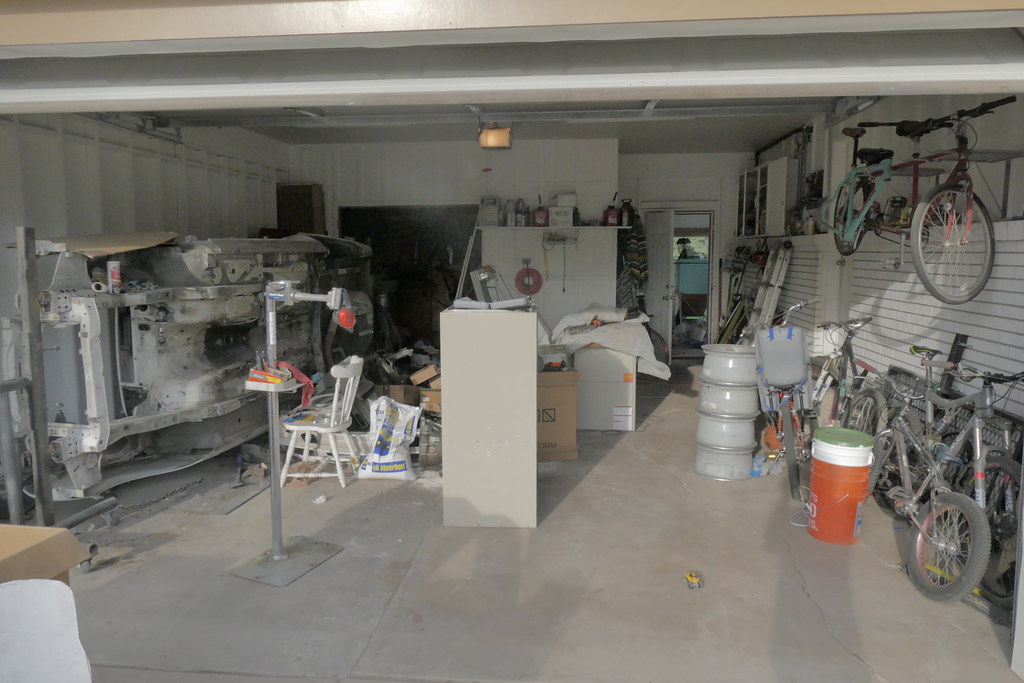
Organized this mess yesterday. This is at the 50% done level, but I was determined to wheel the rotisserie out for some sunshine and sanding.
 P1010035 by Brad Buccambuso, on Flickr
 P1010070 by Brad Buccambuso, on Flickr
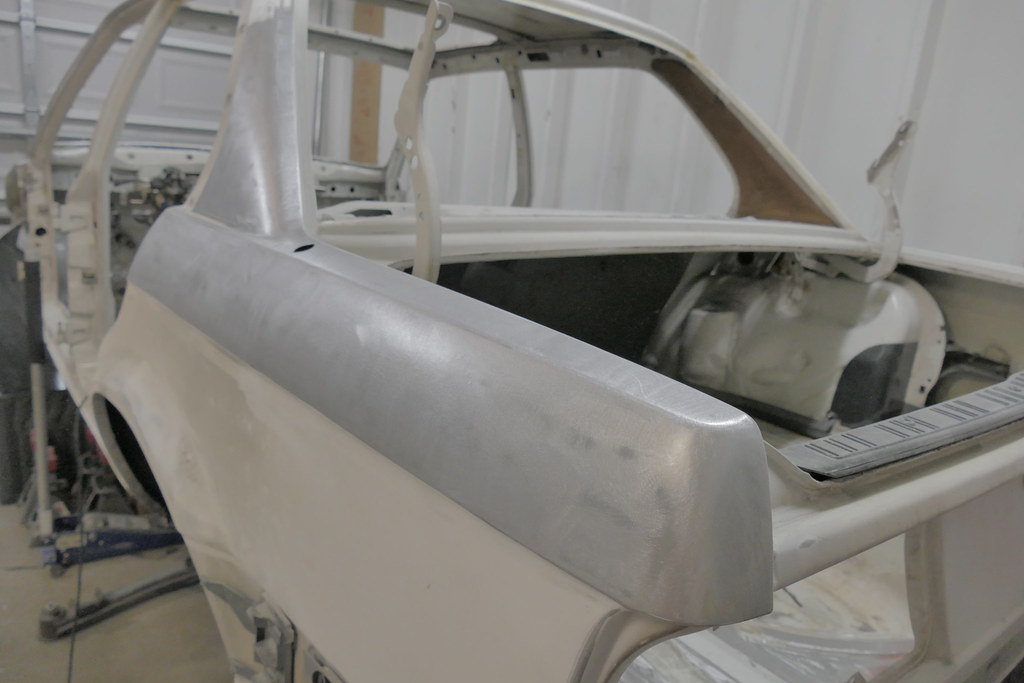
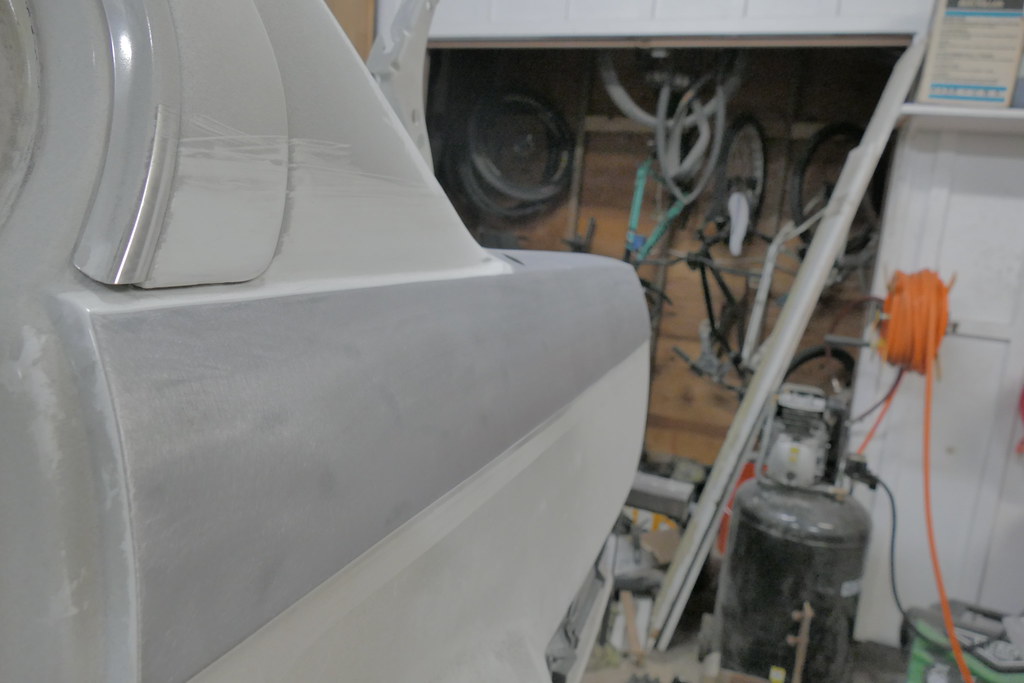
The horizontal bar of the rotisserie hits the base to prevent it from rotating past 90. It did as we wheeled it out, and I didn't have the pins in...fack. Toasted my only perfect fender and luckily the rear quarter only got a minor scratch.:hitler:
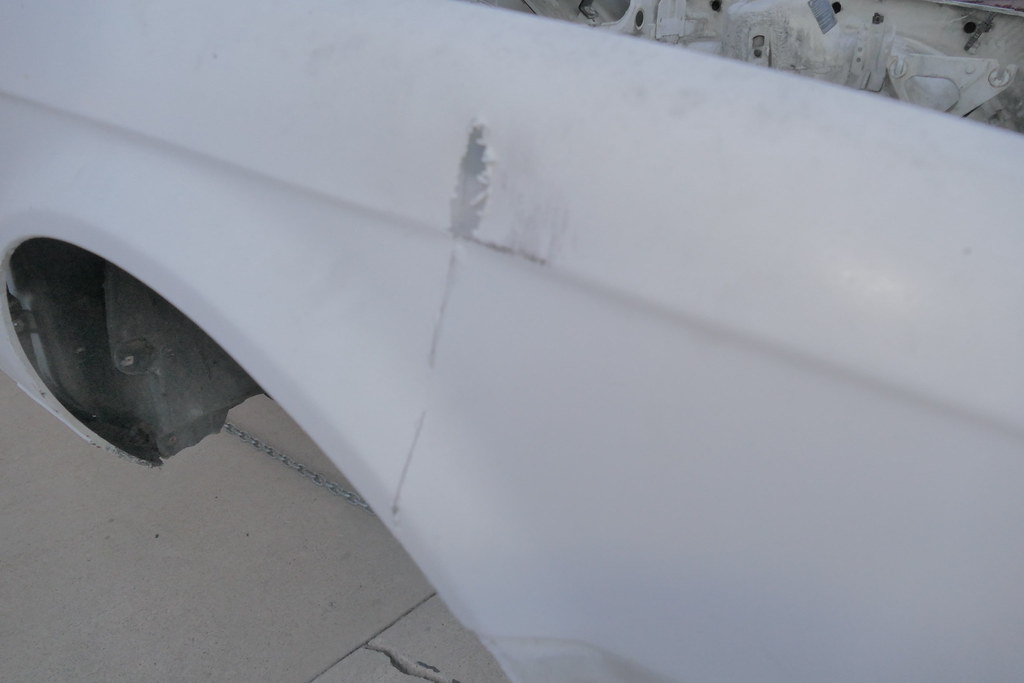 P1010041 by Brad Buccambuso, on Flickr
 P1010044 by Brad Buccambuso, on Flickr
Took 8 months for this to form...shoulda put down some light etching primer knowing I would take this long to get to paint.
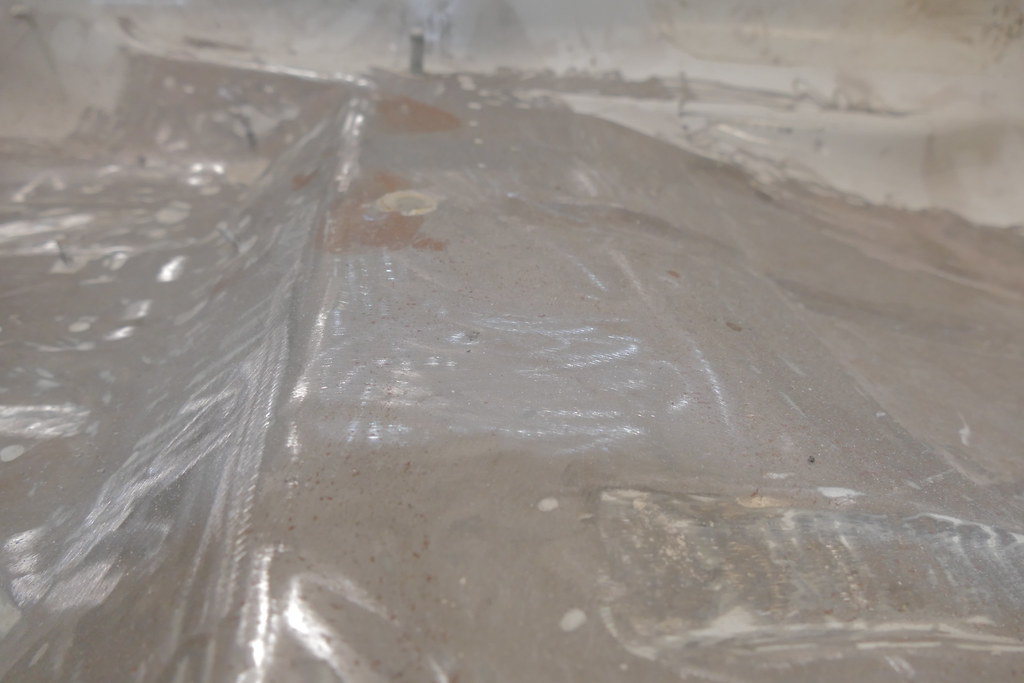 P1010048 by Brad Buccambuso, on Flickr
Some PO decided to respray without even taking this sticker off. Bravo PO, bravo.
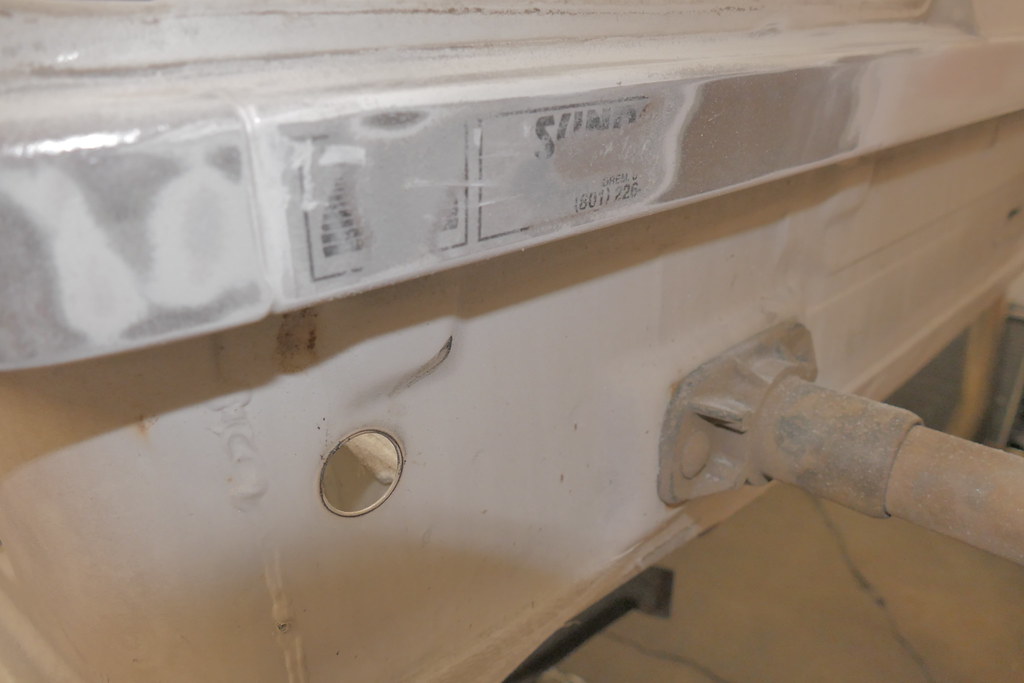 P1010052 by Brad Buccambuso, on Flickr
Respray white vs alpinaweiß II
 P1010065 by Brad Buccambuso, on Flickr
[ P1010045 by Brad Buccambuso, on Flickr
 P1010087 by Brad Buccambuso, on Flickr
 P1010085 by Brad Buccambuso, on Flickr
 P1010084 by Brad Buccambuso, on Flickr
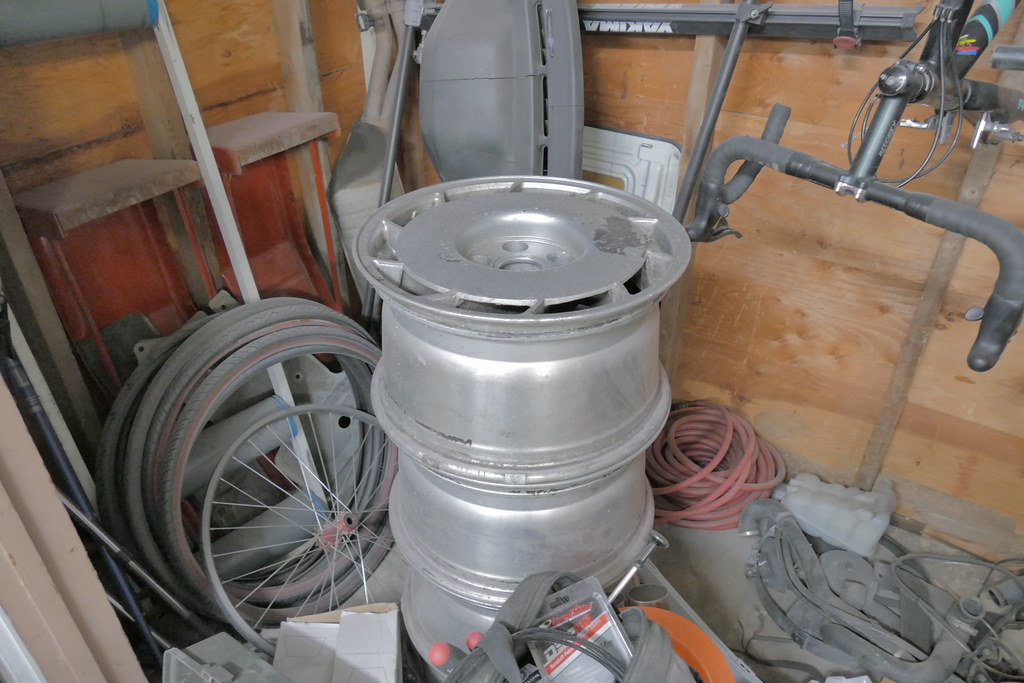
Free aluminum?
 P1010077 by Brad Buccambuso, on Flickr
 P1010080 by Brad Buccambuso, on Flickr
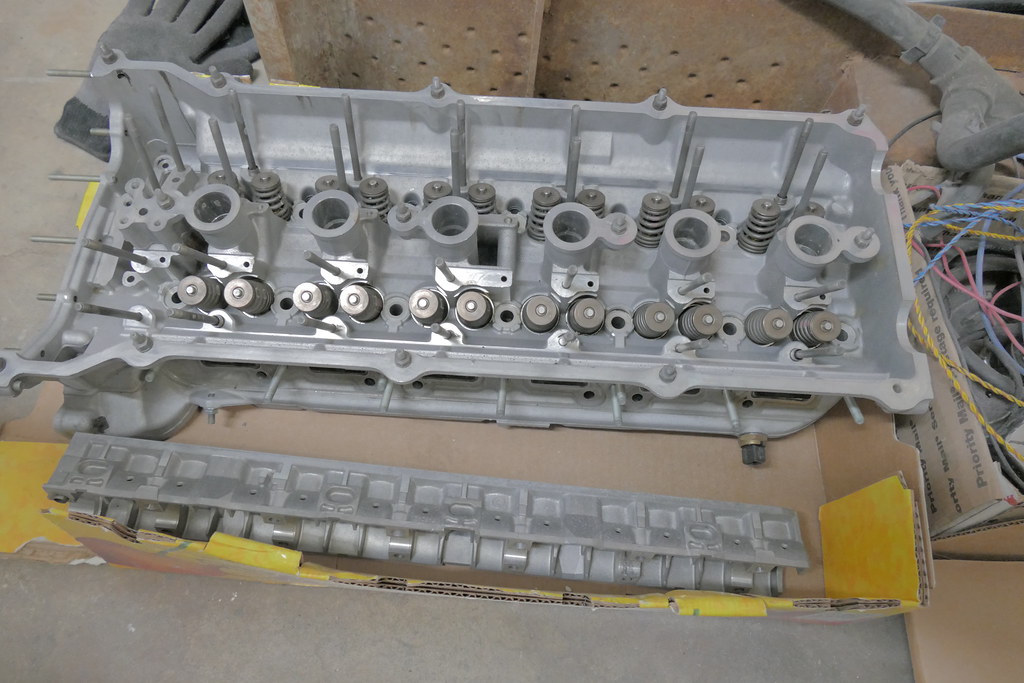
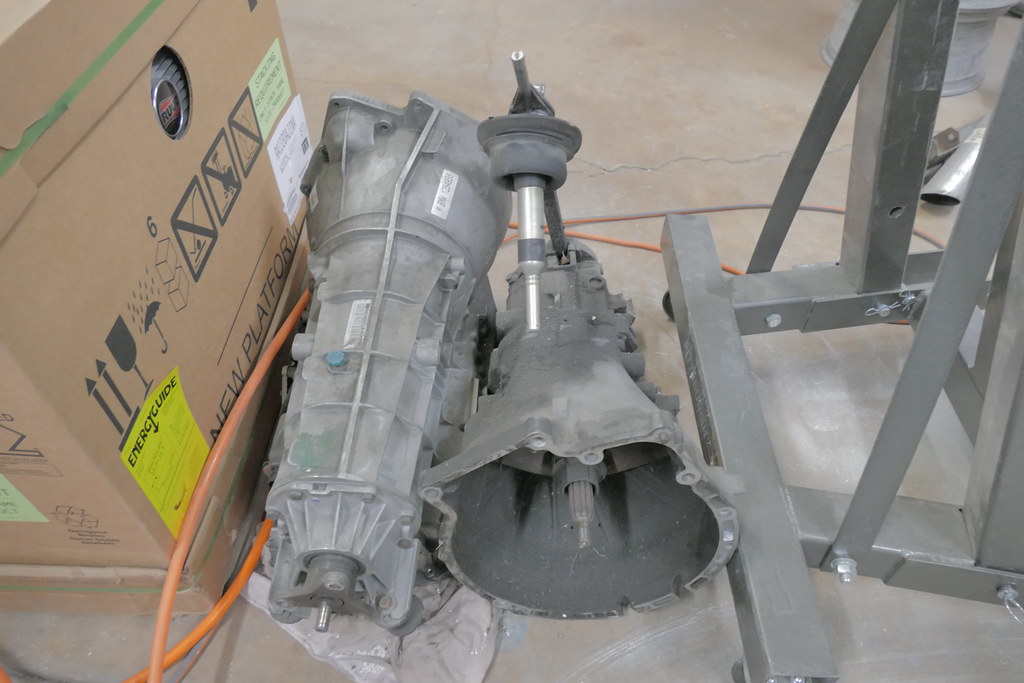
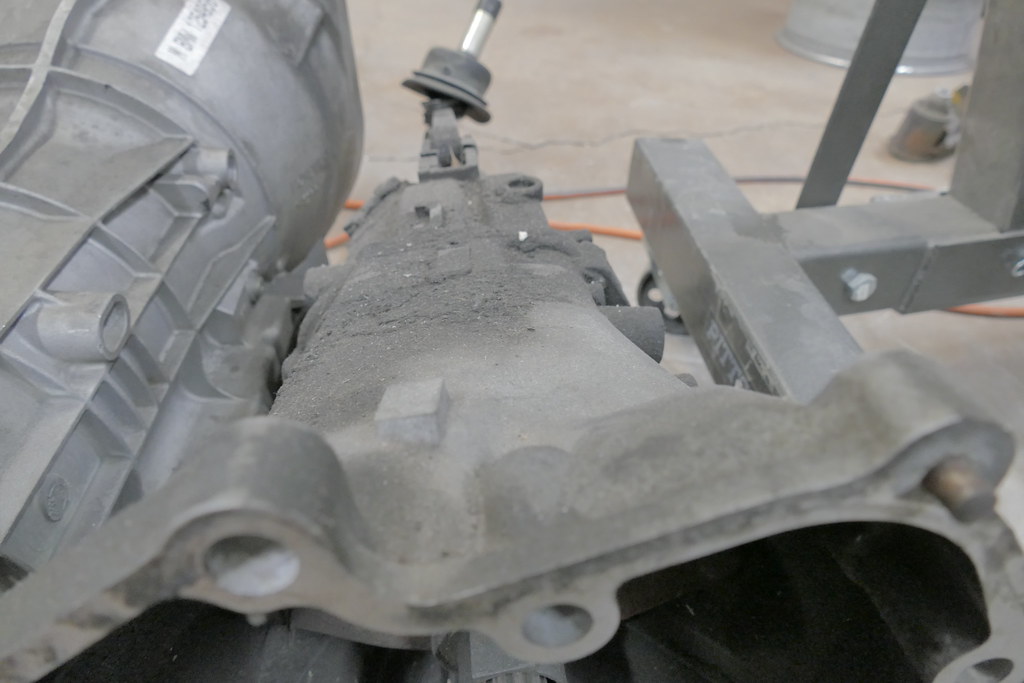
Kid was giving away his m54 head, auto trans, and a G250. I'll try and sell the auto and now I've got a spare G250, wishing I had one good ZF310.
 P1010071 by Brad Buccambuso, on Flickr
Just playing around with manual focus on the new work camera. Lumix FZ1000
 P1010075 by Brad Buccambuso, on Flickr
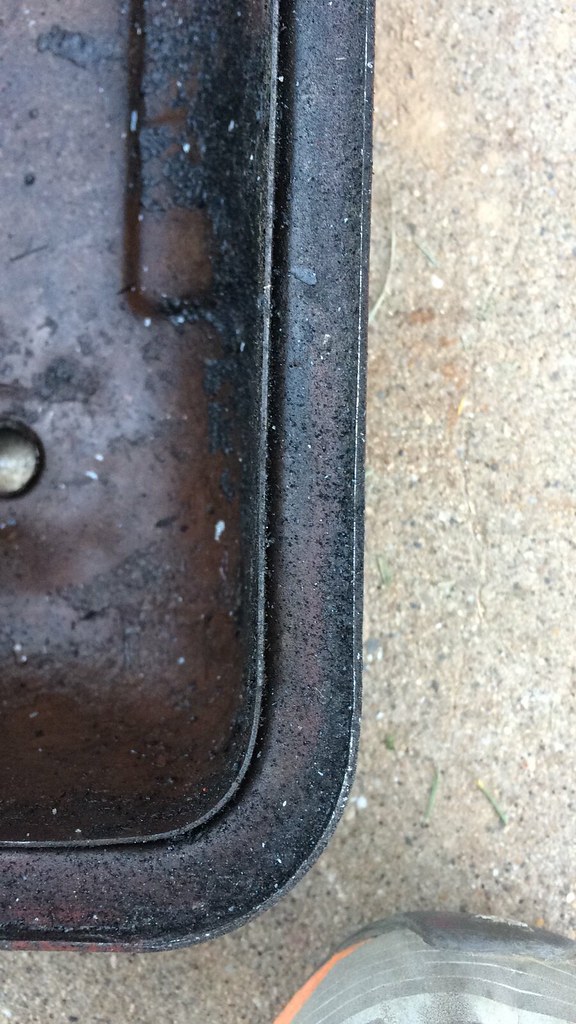
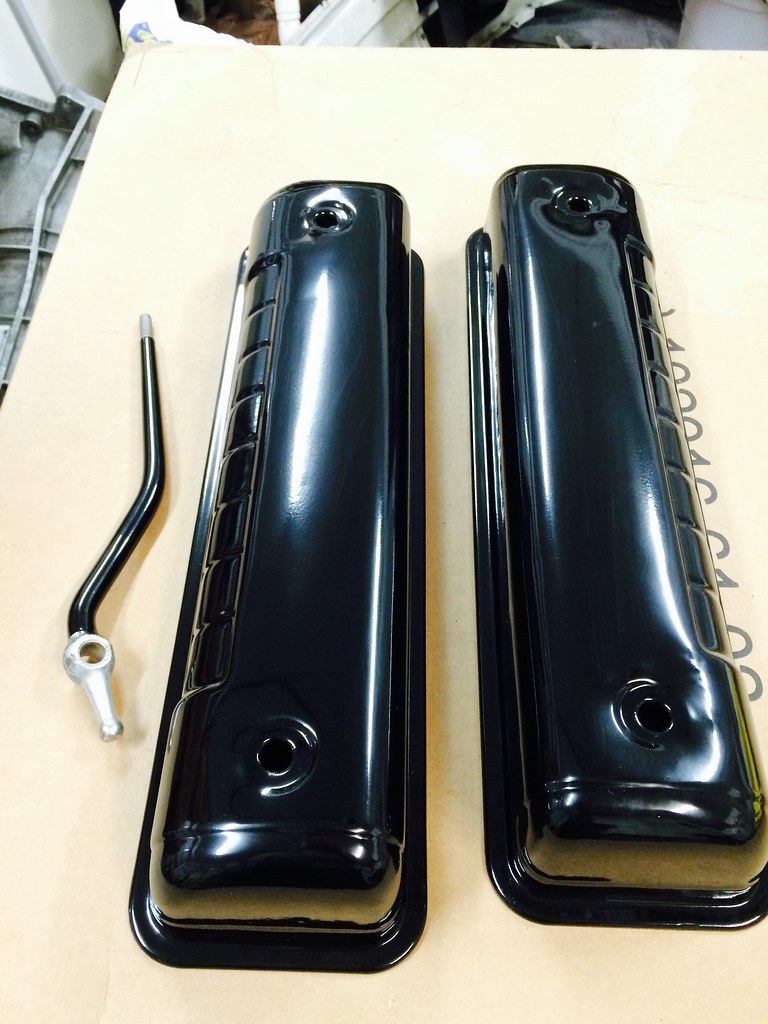
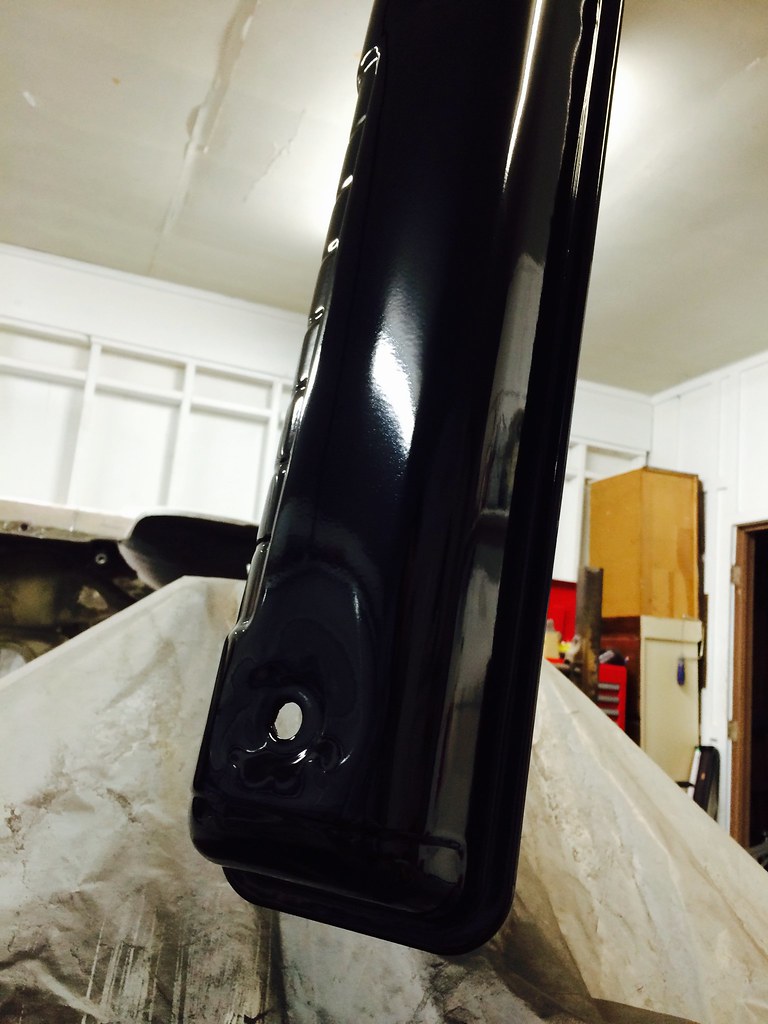
Excited to get my RTA reinforcements in and welded this week. Been blasting for people a ton lately from bikes to old Ford valve covers.
 P1010054 by Brad Buccambuso, on Flickr
 Untitled by Brad Buccambuso, on Flickr
Paint thinner and wire wheel
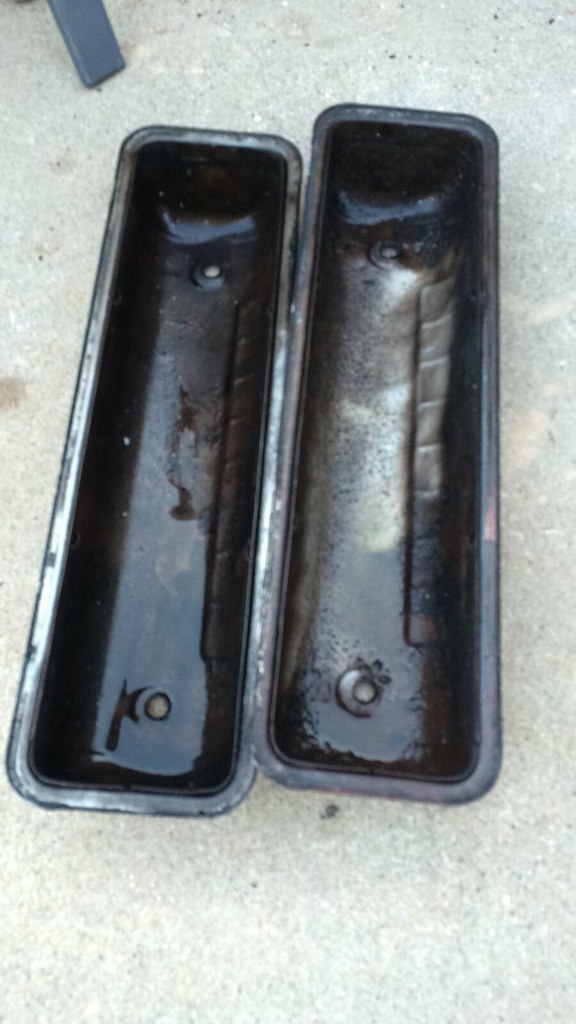 by Brad Buccambuso, on Flickr
Since these had an inner and outer shell, there was oil between the two layers of metal, which I tried to get out with high pressure alcohol blasting, but ultimately, they went in the oven at 500 deg for two hours and smoked like a betch for the entire time.
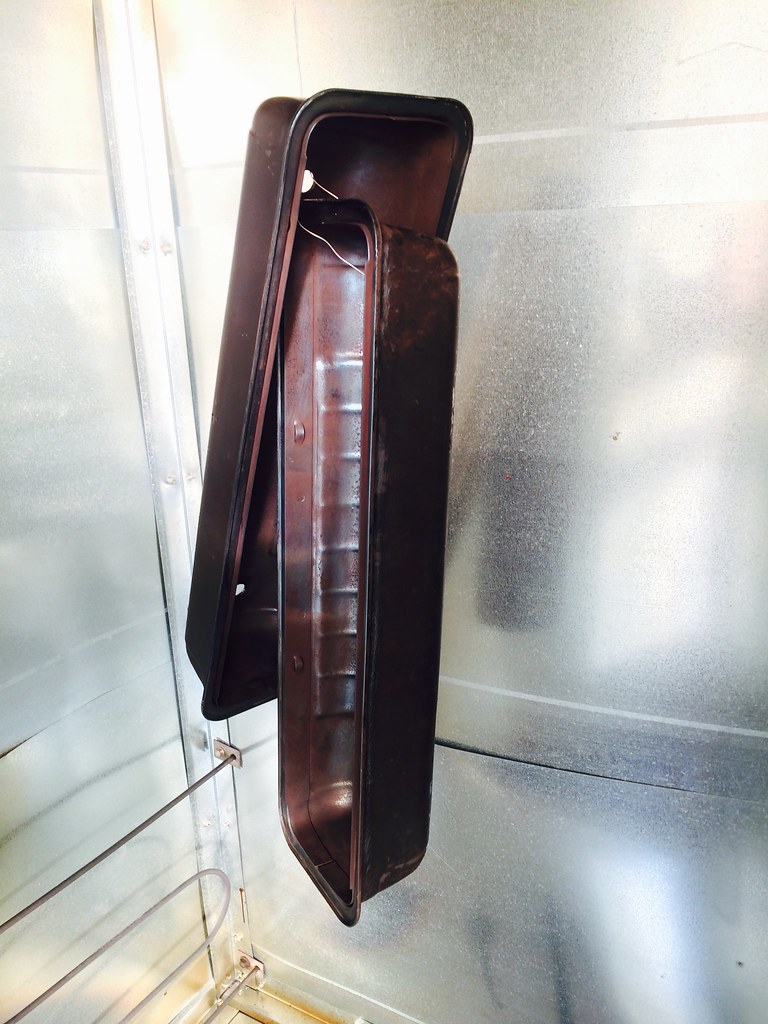 by Brad Buccambuso, on Flickr
Then blasted the tops only with the bottoms taped up to make sure no sand got in between those layers and put some Prismatic gloss black on them and a Datsun 280z shifter.
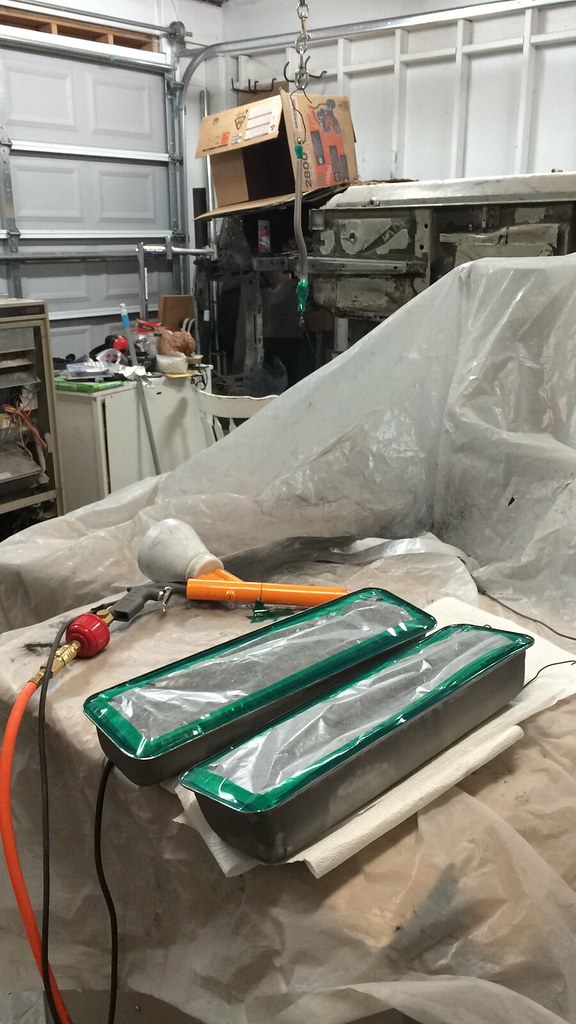 Untitled by Brad Buccambuso, on Flickr
 by Brad Buccambuso, on Flickr
 by Brad Buccambuso, on Flickr
280z front cross member in superchrome for my brother in law. Uploading a few more coating pics and I have a ton of cool colors coming in for my own car (Bianchi celeste green, canon grey, sky blue, orange, and a ton of clear.
 Untitled by Brad Buccambuso, on Flickr
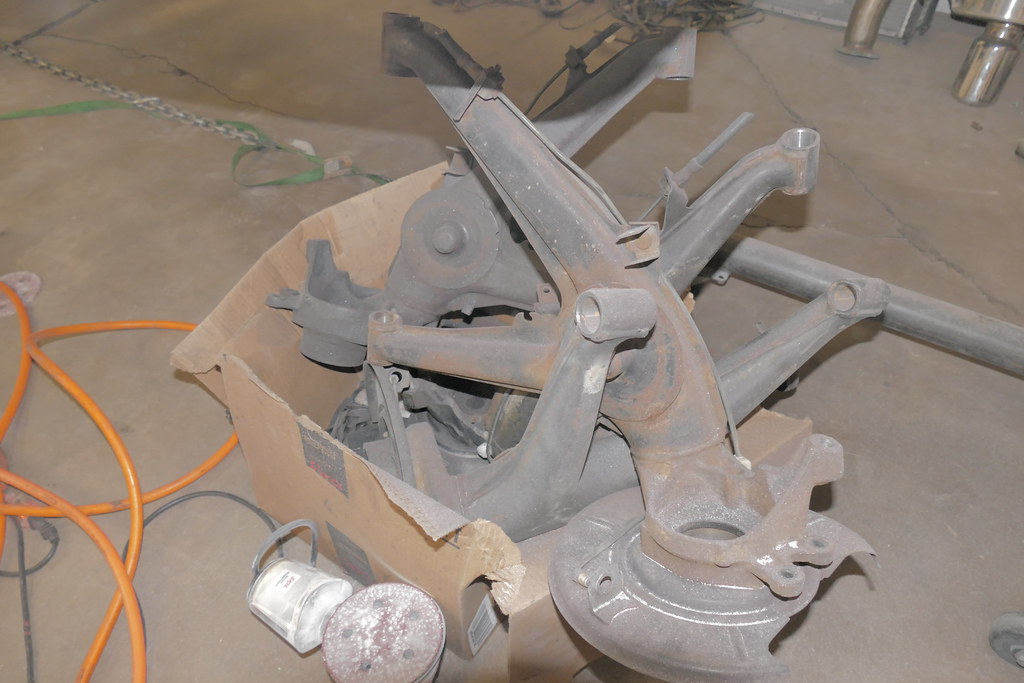
Going to blast and coat these in Porsche silver and gloss black after the suspension gets all the Garagistic goodies and coated who knows what color.
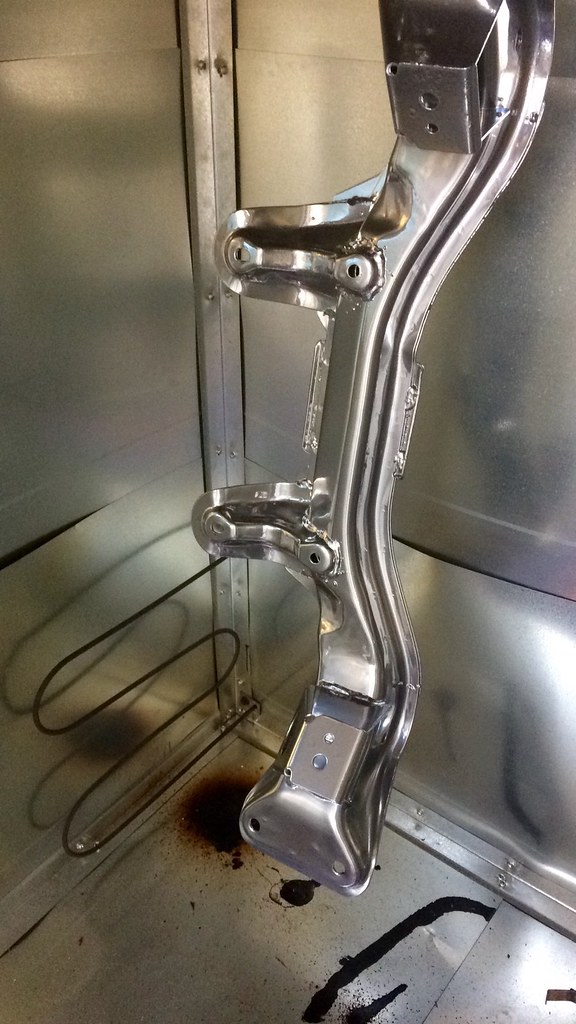
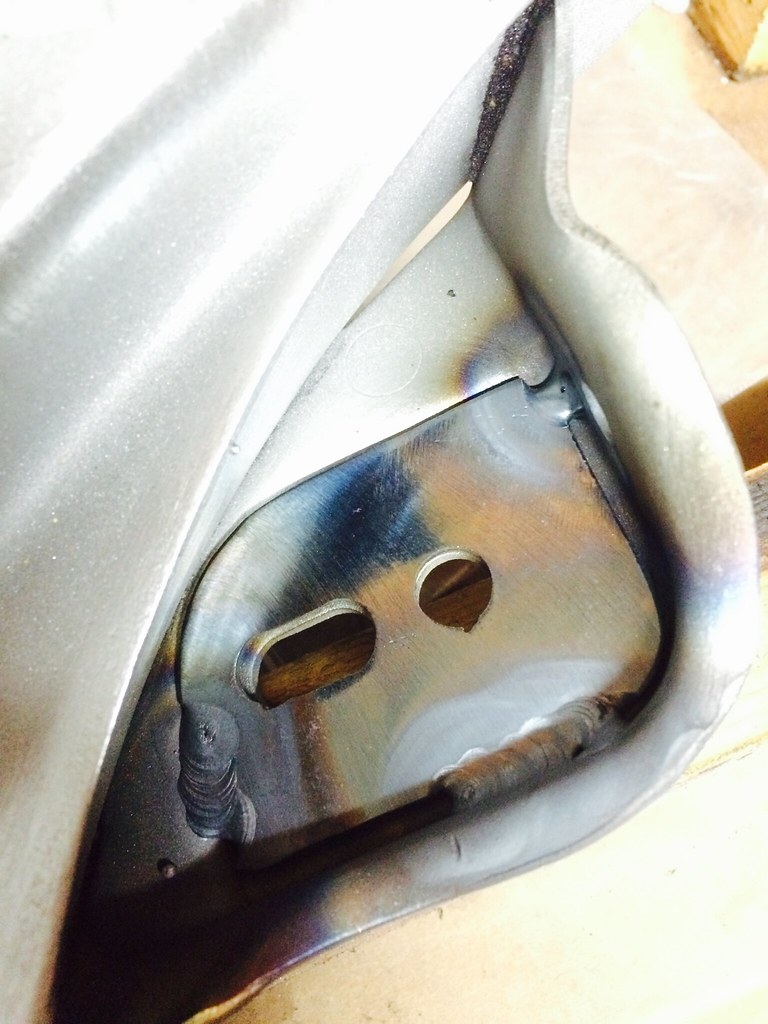
Blasted e30 subframe, welding in Garagistic subframe reinforcements and coating for a local e30 nut. This is my first attempt at TIG, and the plates need more chamfer...so hard welding straight on top of the plates. So much heeeeet
 Untitled by Brad Buccambuso, on Flickr
 P1010056 by Brad Buccambuso, on Flickr
Last edited by eduTechnic; 07-08-2015, 07:36 AM.
P1010056 by Brad Buccambuso, on Flickr
Last edited by eduTechnic; 07-08-2015, 07:36 AM.Leave a comment:
-
Thanks Mitch. Gotta make wife-friendly things. I love it too.Originally posted by mitchlikesbikes View PostLeave a comment:

Leave a comment: