
-
this looks great! can't wait to see what is to come with your car!! sub'dLeave a comment:
-
I finally got all the winter crapola out of the garage. Here's my work space when the Odyssey is out soaking up hundreds of degrees of heat.


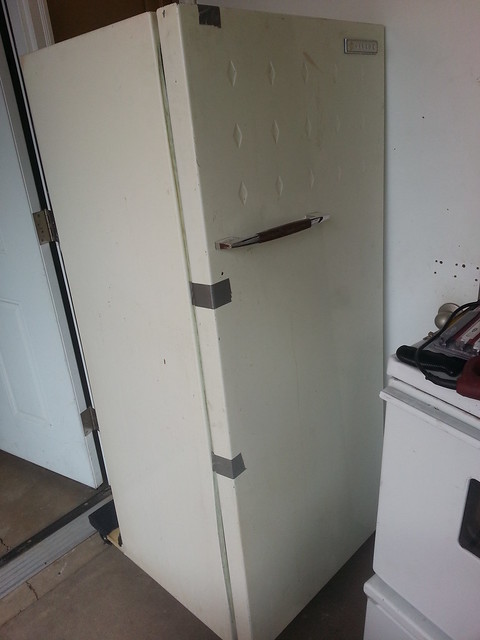
Next up is getting this thing stripped nekkid to the bare metal. Before I do though, I want to finish a fun project making this old fridge from the 50s, which I removed from an old lady's place for free, into a proper powder coating oven. My plans are inline with a few other projects posted online mixed with a few redneck DIY oven projects I've seen: Gut the fridge, gut a working oven, and mix evenly.
Here's the fridge:
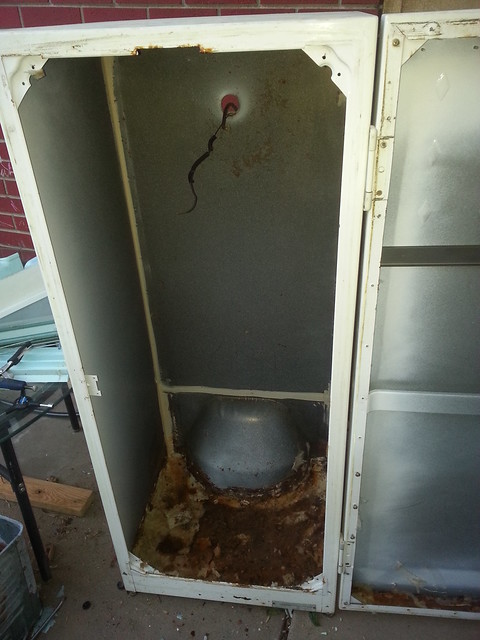
Gutted:
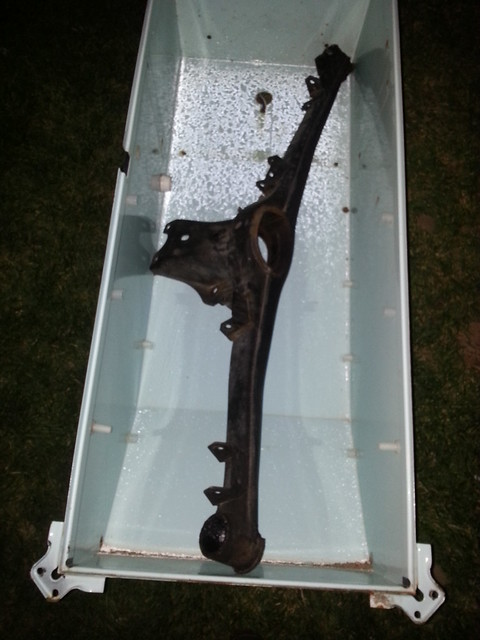
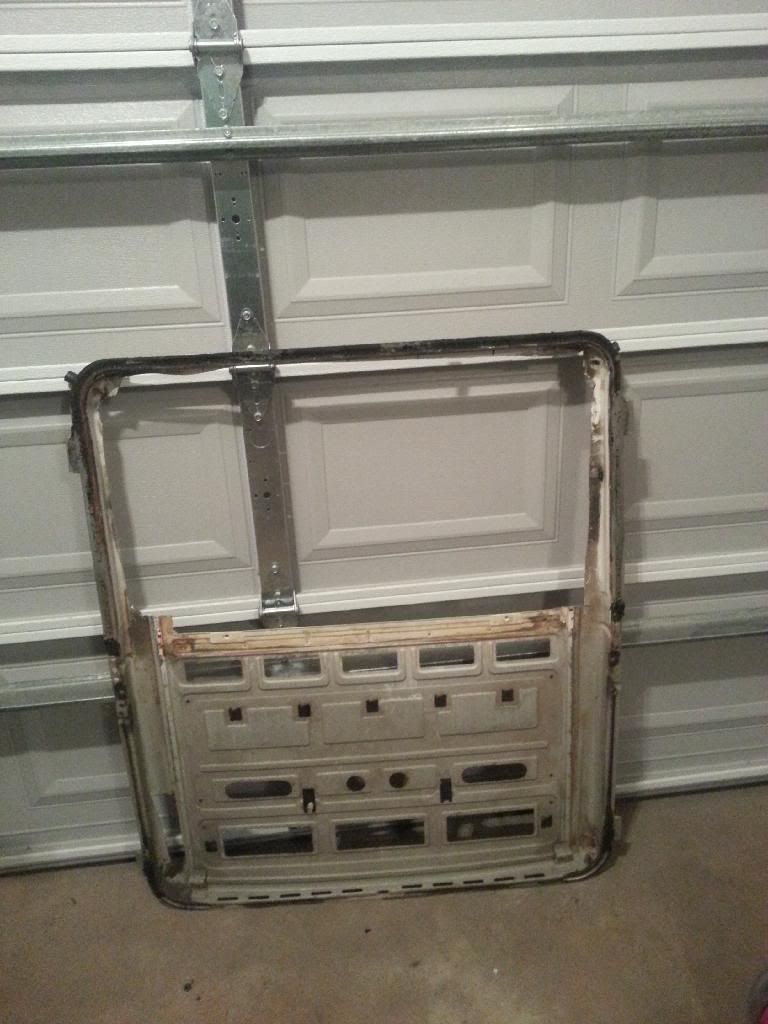
Inner frame for size reference:
There's the matter of the floor sheet metal being mostly cancerous and the bulge at the bottom (kek) that allowed for the compressor to be mounted to the fridge. Both will need to be cut out and have new sheet metal fitted. I plan to do this after I gut the oven I acquired along with a few drawers full of misc powder coating gear (mask, IR thermometer, plugs, tape, powder, gun) I found for like $80 from some drift guys living the dream.
After I figure out fitment of the heating elements, I'd like to make covers for the elements to remove the chance of too much local heat around them, build the controls into the top of the "oven," and then line the space where the old fiberglass insulation once was with temp-resistant rock wool and more sheet metal. It worked for the rednecks on YouTube, why not me.
Next up is jacking up the front a few more inches and getting the two modified HF engine stands/rotisserie ends greased and attached. I have a galvanized fence post I could use to attach the two stands at the bottom but man welding galvanized is awful, probably because my welding, so far, is awful.
I've started to practice on the 86 shell by cutting out random pieces and using the cheap HF wire welder. I have some decent e7024 and e6013 coming along with some basic welding stuff (helmet, gloves, fire resistant spray for my shop Carhart stuff) so I can stop borrowing my brother-in-law's (BIL) gear.
Lately I've been hauling the fam down twice a month to help by bro-in-law, a crazy car encyclopedia on wheels that helps me tune the MS, on his '78 280z turbo project, with his fam coming up and returning the favor, which is awesome to have a hand to help with whatever (also down to the frame, build here) Here's my first try on my bro-in-law's Z. This is some firewall rust I cut out and wire welded/flapper wheeled. I wanted to lead what I missed but ran out of time.
I also found someone who carried out the idea I had in my head for the intake/valve cover. I love white engine components--because they show dirt I can clean all the things.

Leave a comment:
-
I sent my MS unit back to whodwho for repair. Not sure what's up with it. I tested pin 19 and got 12v but no LEDs lit up. I hope it's not fried.
Thoughts for later:
Wheels: 15x9 with 225/45/15s or 17/8.5 or 9 with 235/40/17
Leaning heavily towards e28 or e35 M5 wheels with adapters...but I understand having 13lb 15x9s would be ideal. In bike racing lightweight wheels > all because rotating mass/unsprung weight.
How to use the single mass m20b25 flywheel instead of the dual mass from the b27 (I understand the two magetic sensors I pulled out of the bell housing are b27-specific so do I use the b27 harness, the b25 harness from the current shell, or just rewire the mess since I'm installing VDO sending units for all the sensors anyway.
Is it possible to send sensor signals to both MS and the Codrum blutooth unit or is this reduntant?
Reuse the spec stage 3 clutch or get an FX400 6-puck for more boost.
Aluminum dual-mass instead?
Also....dooooooooooooooooown foooooooooooooooooooorce!!!
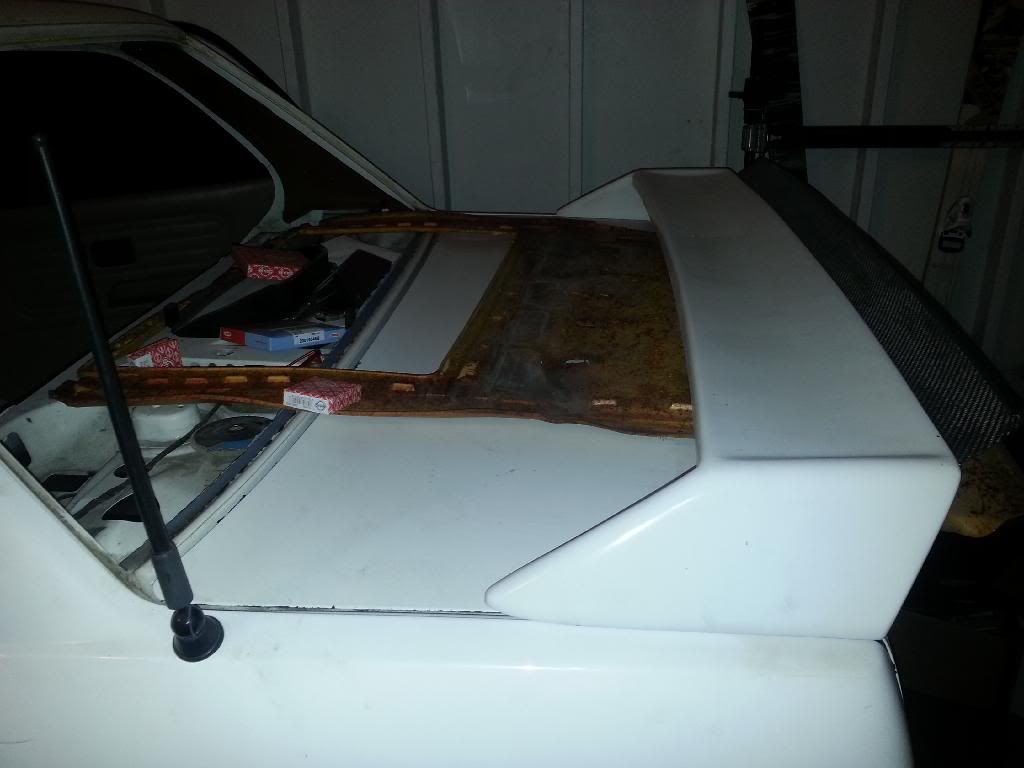
The carbon is pretty thin but the rain gets sucked into a wicked cool looking vortex so it's doing something. It needs some vertical ribs along the back of it. Something Kamotors fabbed up for teh lulz.
I got back to work this morning and a large box was here. Teaser:
Again, time to learn to weld. I need the IE rear subframe adjustment hardware now...and more cash.
Leave a comment:
-
Haven't had my computer for over a week since my whole family's been ill. This is going to be a long post. I hear it makes for easy, light evening reading...
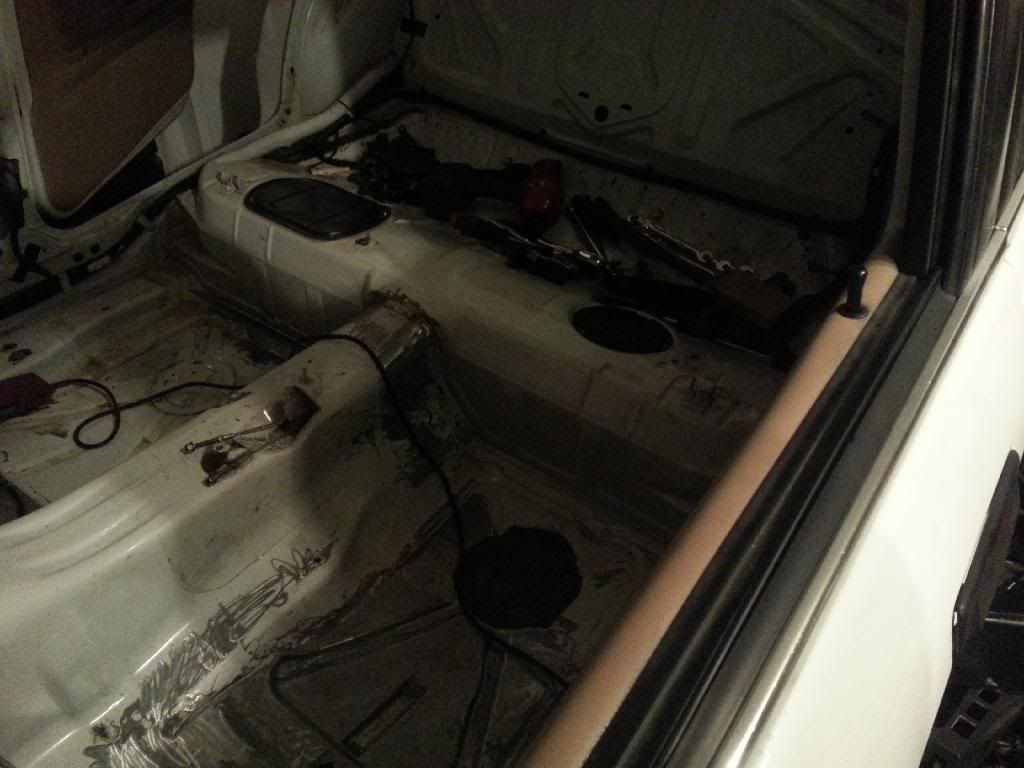
Got a lot of work done on the car since I wasn't at work all day. I used a heat gun and putty knife to remove the trunk sound deadening. I didn't know BMW put 2 layers on. It was almost easier to remove the top layer then the bottom. Some of it came off in big pieces. Other areas, not so much.
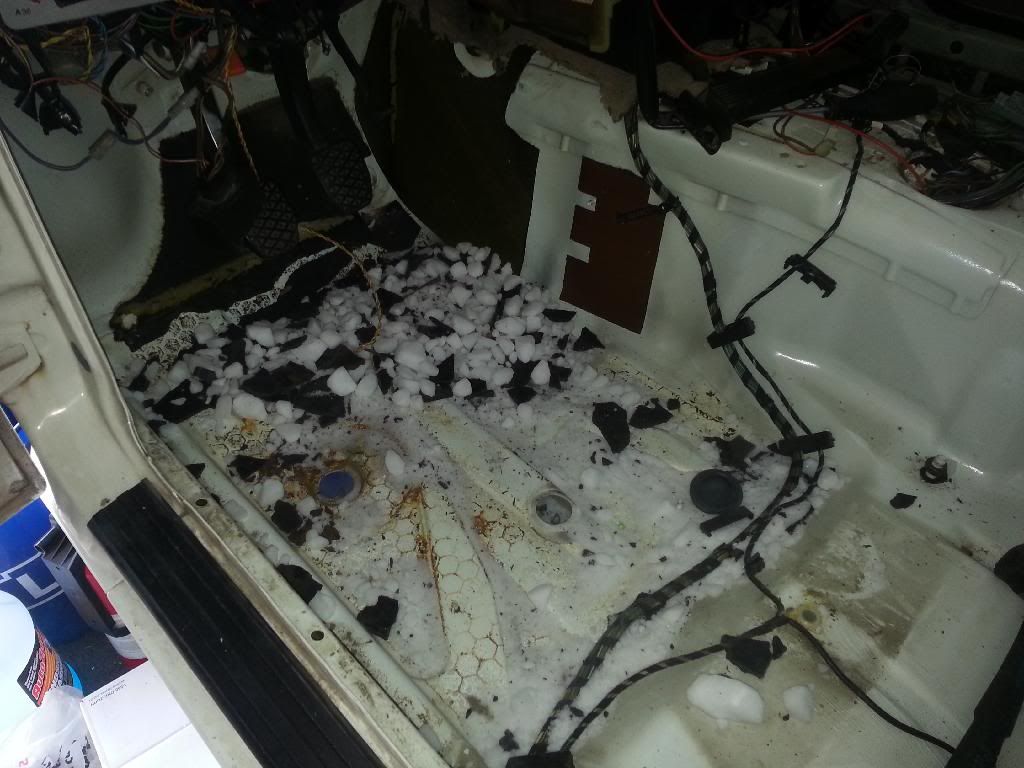
I decided I wanted to try the dry ice method. Turns out you can do the whole interior with one bag but I'm glad I had two just in case:
Total sound deadening weight for the trunk, rear seat, and driver and passenger foot wells was 50.6lbs.
Carpet out: Weighed in at 30lbs
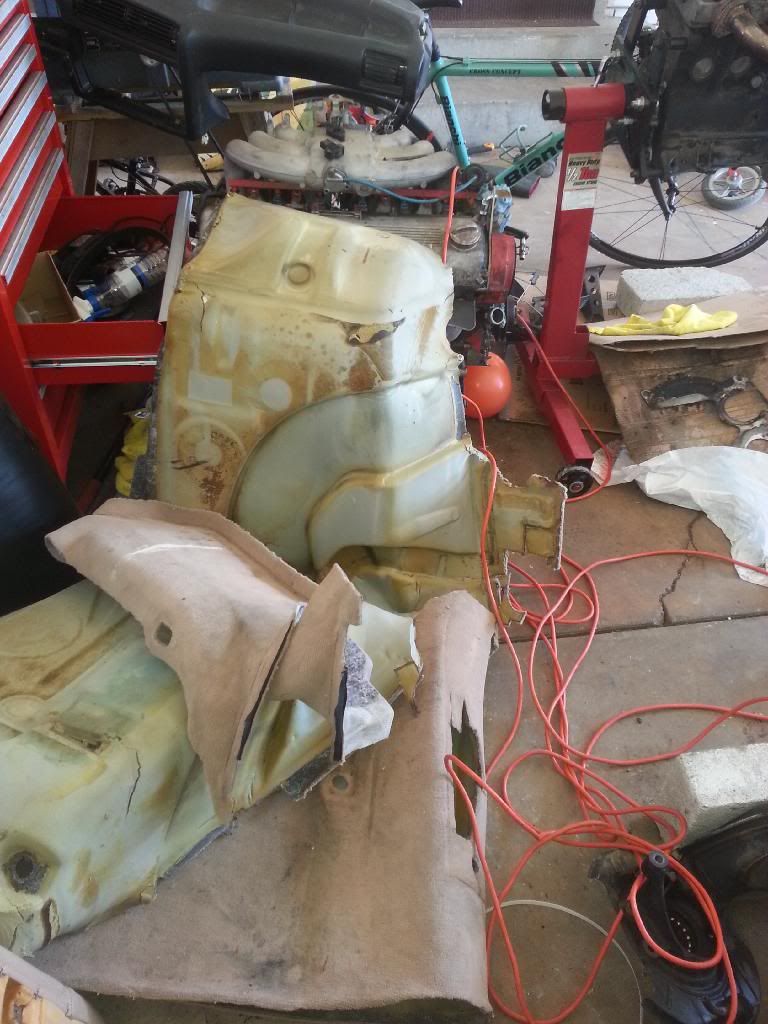
Started on the seam sealer. So thick around the rear seat/trans tunnel junction. I had the garage door closed and because I was wearing a respirator and goggles didn't notice I'd completely hot boxed the garage in smoke and dust. It billowed out for like 5 minutes when I opened it. Hope the neighbors weren't getting any funny ideas about how we run things 'round here...but I supposed it would be a good way to help toddlers sleep.
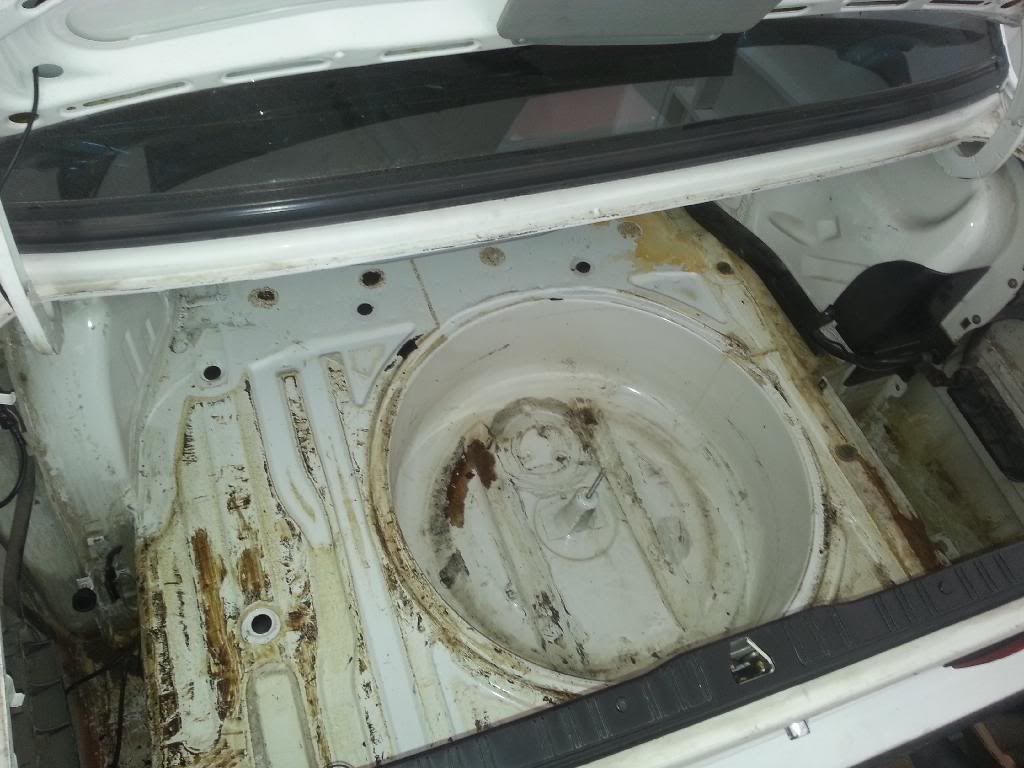
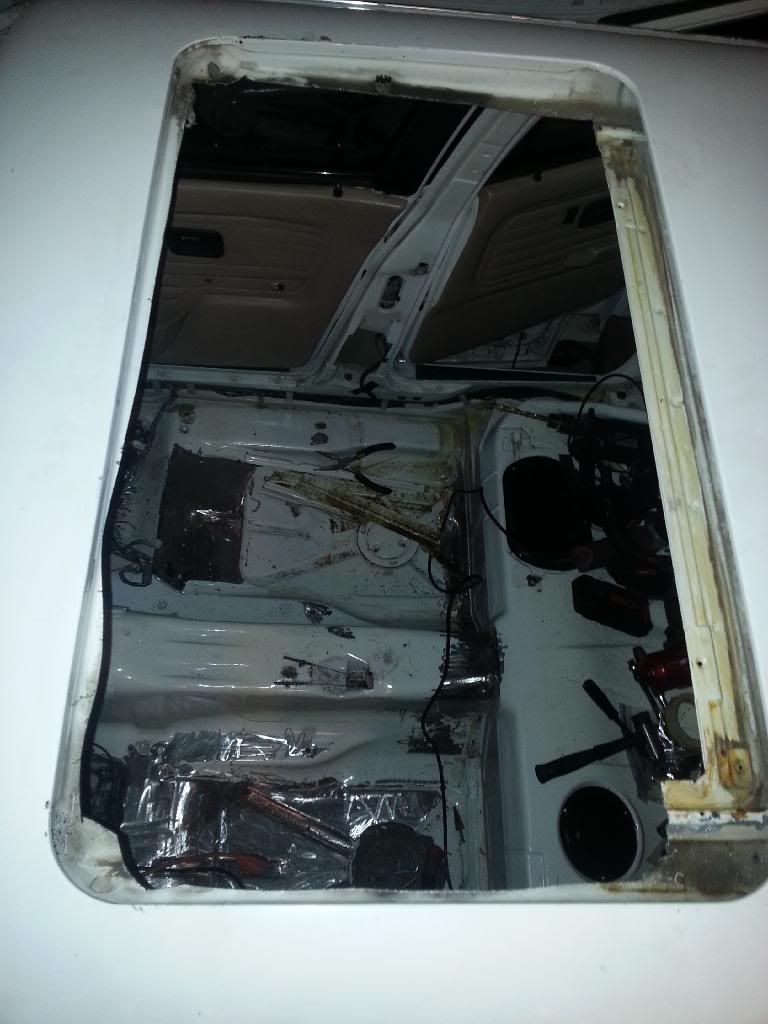
Then I turned to the sunroof. I removed the panel and found this:
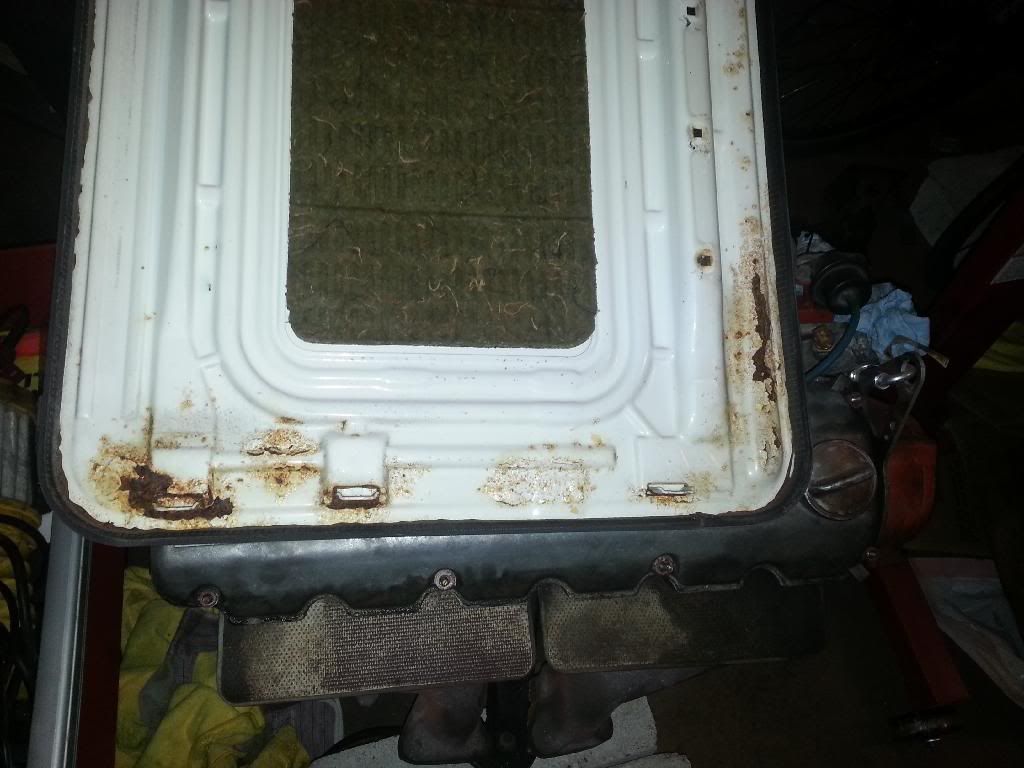
Gnarly. I wondered why rust was falling on my head when I drove with the sunroof slightly cracked. The whole panel was full of rust dust and pieces of metal. The panel from the 86 is perfect so I will use it or fab up a CF/glass cover. I'll use the existing panel as a mold along with a bit extra on the ends to match the hole. I borrowed a welder from my bro-in-law and will practice on the other shell first. As I understand it: Pre heat the roof skin, quick tack welds, cool off ASAP after welding. What could go wrong?!
I used a sawzall to trim the cassette opening. This really helped when I started in with the heat gun to get between the roof skin and the cassette with a putty knife.
Followed a DIY for the cassette removal and it went without a hitch. Thought I messed up when the pass side wouldn't budge but it was because I missed a spot weld.
I won. Cassette and parts weight in at roughly 30-35 as everyone claims.

I found a powder coating setup including respirator, IR thermometer, oven, gun, a drawer full of various colors, plugs, tape etc for like $80 from the local drift FB page. I plan on making a larger oven out of a single door freezer when I can find a free one. Ran a 220v line and learned about that--good thing it was a pretty easy run from the fuse box to the shop. The guy at Lowes was a total ringer for Heisenberg but his knowledge was electronics not chemistry, still fun. I have the oven on a furniture dolly so I can keep it outside in a tarp and not piss off my wife.
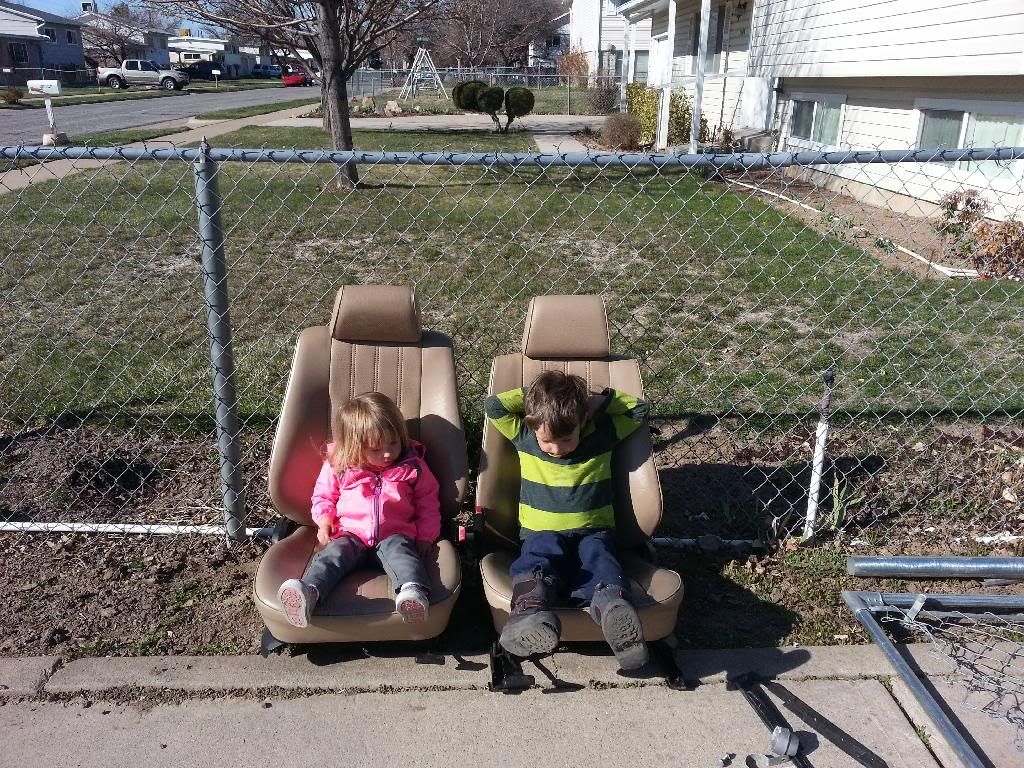
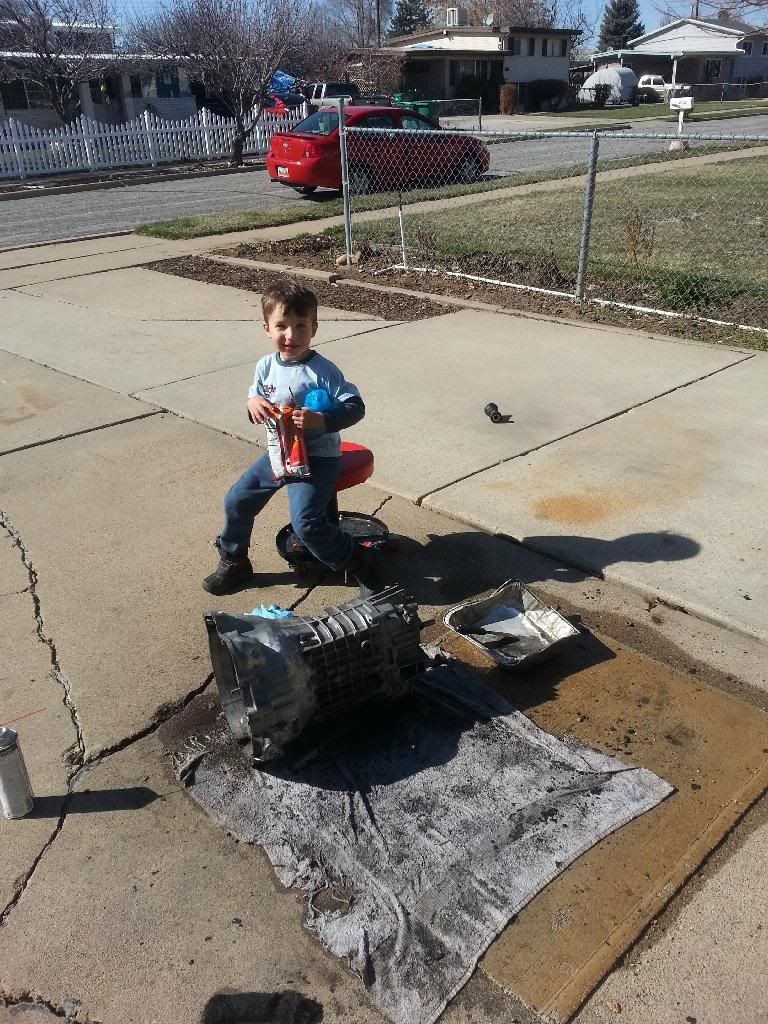
The kids think it's hilarious having car parts all over the garage. I gave them the best seats in the house as I build a chain-link fence gate around the 86 shell in the side driveway. I bought a license to have a non-op car in the driveway for a year for like $10. Rediculous local ordinance.
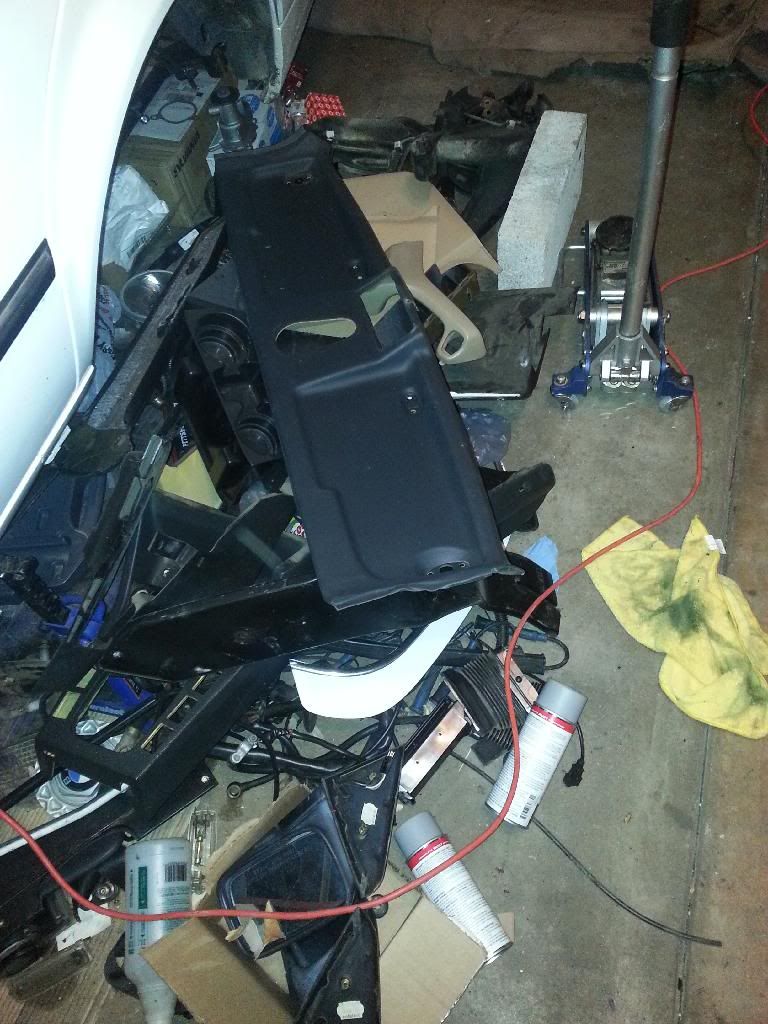
The parts pile next to the car grows huge. I don't even want to put much of it back in the car.
On a sour note I dropped my instrument cluster and cracked the plastic cover and who knows what inside. Maybe it's time to screw the whole dash and cluster and run only the bluetooth gauge app/connector Codrum sells on here and a digital dash from DIYAutotune. I'm going to practice repairing both dashes and flocking one and recovering the other in ultrasuede. I'd like to see how much foam I can get away with removing. The goal is to remove as much front end weight as possible. I can always add more gas to the rear/mid and a spare tire later. It would be fantastic to run GPS-based telemetry and all that and analyze data at the end of a day of autocross. #dreambigLeave a comment:
-
Sweet. I propose we do a drive up the divide by Pocatello or the loop around Mt. Nebo: one of the coolest roads I've ever seen/driven, albeit in a boring Subaru Outback.
Sent from my SCH-I605 using TapatalkLeave a comment:
-
Got some work done this weekend. My boy was super excited to "do work." So we did.

Removed the subframe from the 86. So much fun dropping these ;) The lag bolt trick is just awesome when one side drops and the other side cams and hangs up. e-brake pieces were in great shape compared to the 89 so I'll use those parts. Cut the brake lines. It's annoying how you can't access the lower caliper bolt without removing the brake line. I tried 2 different box wrenches and they both wanted to slip off the bolt. IR impact to the rescue!
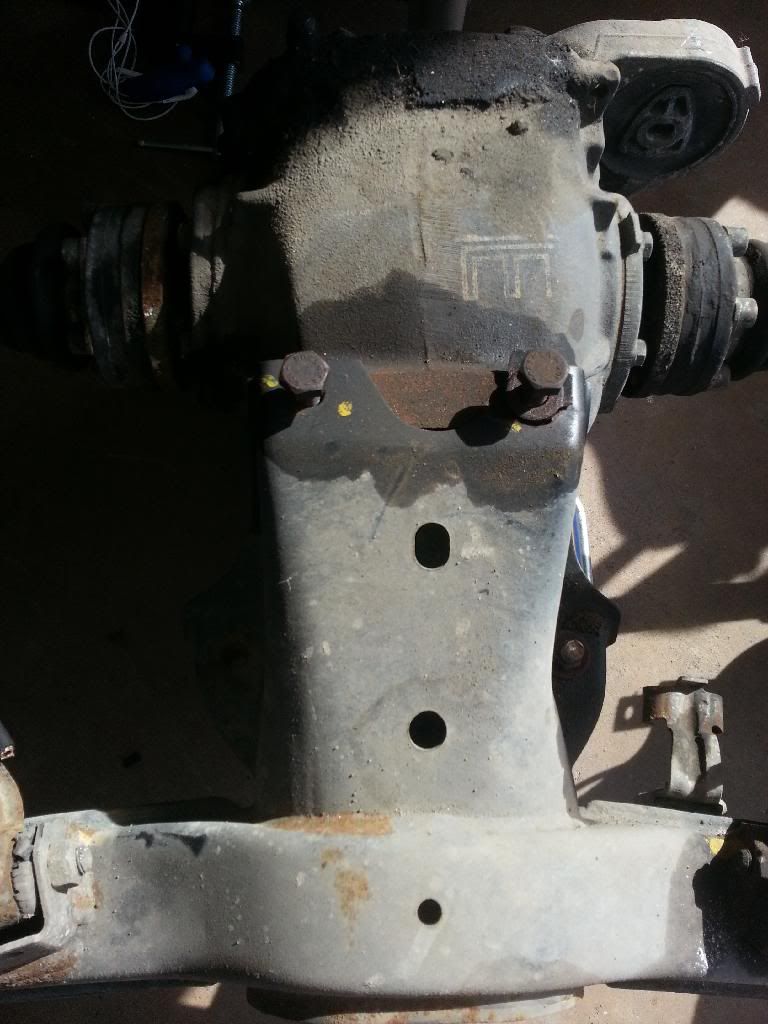
First, what's wrong in this picture? You can't see the 4th diff bolt due to shadows but it doesn't matter because it's gone. ^This was the situation when I dropped the subframe assembly
We worked on the cosmoline/grease/dirt caking the 89 trans for a few hours using braklean in a tin with a scrub brush, alternating with a screwdriver and putty knife to scrape things away. So gross.
Got the wiring harness and accessories off the engine. Started cleaning the block with braklean and the scrubber with a bunch of towells and cardboard underneath. Again had to "pre-scrape" to get the muck off. Going to prep for paint. Call me crazy but I want to paint things white under there with the idea that I WANT to see dirt and oil leaks to instantly clean and fix them. Looks like the rear main seal, valve cover, and crank seals are all leaky. The oil filter relocation kit is too. Lots of work to be done there to seal it all up.
Seal up:
Oil filter relocation kit
Crank seal
Rear main seal
input & output shafts of trans
valve cover
turbo oil feed
turbo oil drain
The oil pain drill 'n tap job is awful and the bung just moves a 1/4" in all directions. Going to have this welded by my wife's uncle who is a welder by trade. I can't wait to see this guy work.
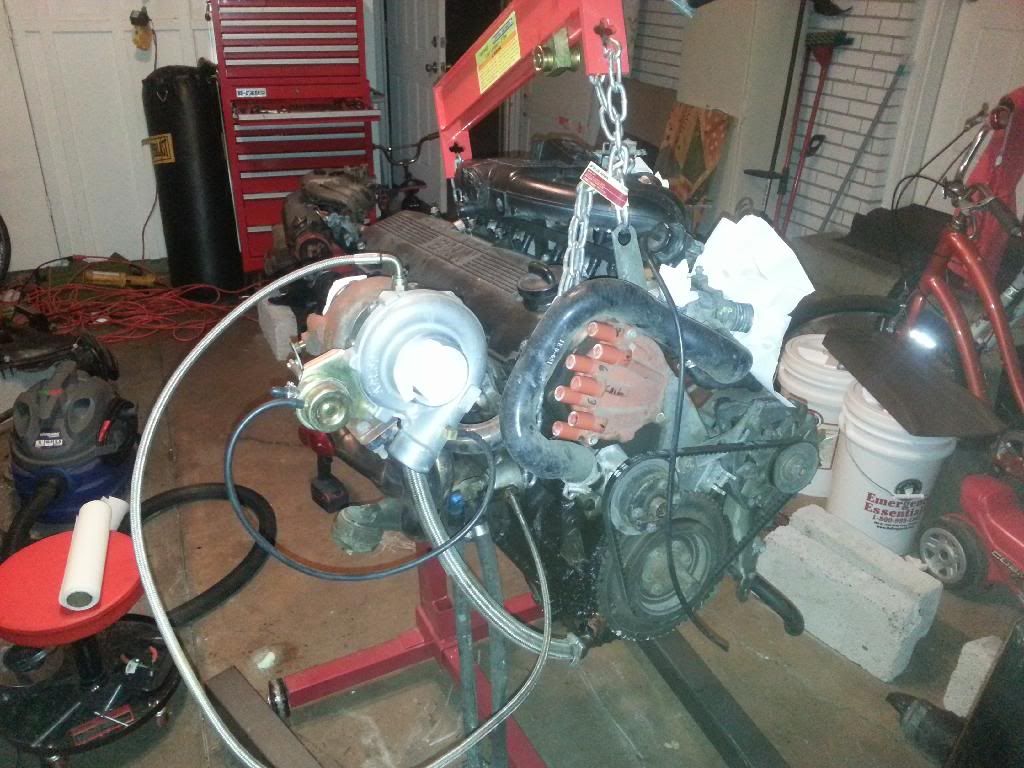
I finally got a chance to look in the turbo. It will be opened up with a grinder and polished inside. The wastegate port is quite small and the flow is awful. Compressor surge all over. I also need to figure out a CCV setup or catch can. There are tons of threads on r3v and e30tech about it and I've bookmarked a few.
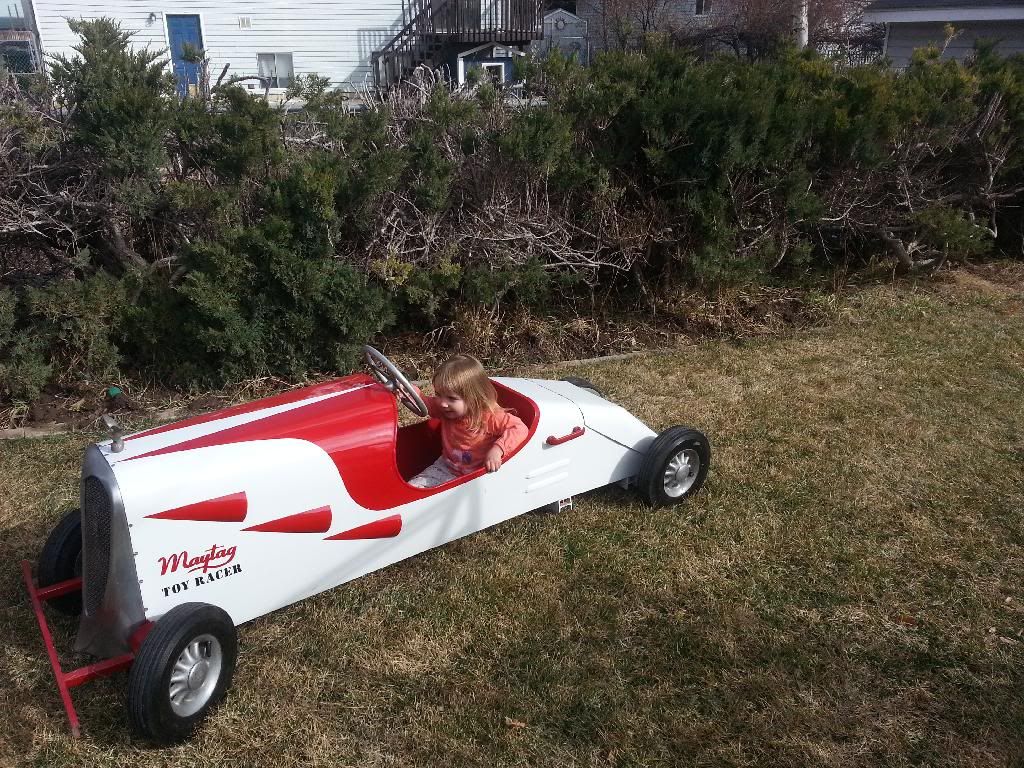
My next door neighbor is a somewhat senile former welder and auto mechanic. He has this old gas-powered racer from the 30s that he bought. He also has a 193X Cadillac limo in his garage that is just gorgeous. I got a few pics pushing my kids around in the little racer.Leave a comment:
-
Just got this neat gadget:
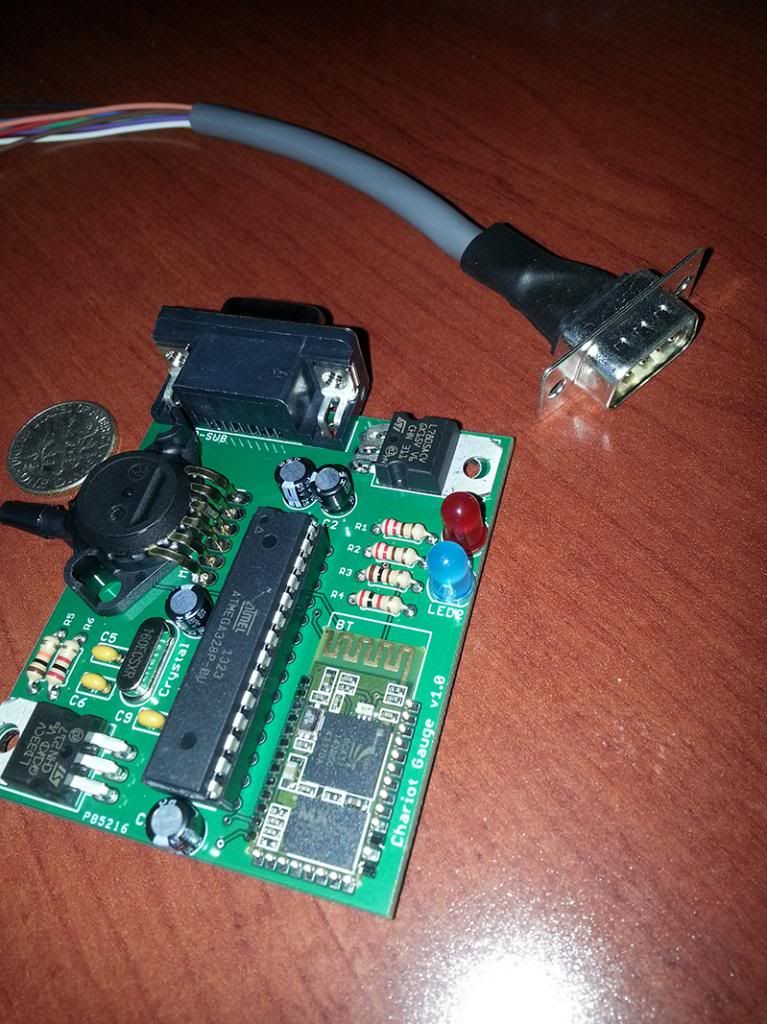
It's going to be cheaper than buying gauges and I plan on figuring out a clean way to mount my Note II in plain sight. The boost gauge is unreadable in it's current position/orientation. Now I need to figure out the wiring and getting an oil pressure sensor wired in as well.
Reading through F34R's build I'm interested in looking at a full GC setup with E28 camber plates. I'm still undecided on spring rate and length at the moment. With the IE 25/22 mm sway setup I may want to go softer in the rear or keep the stock sway on. I'm not even sure what my style is yet in autocross. Perhaps I should just keep the shitty Vogtlands and KYB shocks on with the IE sway kit and find out.
Dead tired from work but I need to get home and clean clean clean. I already started degreasing the motor/trans.
Step 1: Scrape 1/4" thick muck off with screwdriver
Step 2: Use scrub brushes and purple power
Step 3: Dream about power washersLeave a comment:
-
-
mine should at least be driveable in about 2 months.
i'm planning on going with konis rather than bilsteins but i'd be down to help you get your money back out of the springs.
there is a facebook page called "Utah BMW Enthusiasts" that a lot of people are on. they set up cruises and cars and coffee and what not. check it outLeave a comment:
-
I hope to drive out this summer. I'd love to hang out with a gaggle of e30's. Maybe we plan a Mtn.West caravan to the picnic from ID/WY/UT/CO?Leave a comment:
-
I'm young and stupid too, and plan on remaining so for quite some time, at least when it comes to cars. I'm on the BMWCCA page but not an actual member. Is it a different page? I joined that just to hear from other BMW owners.
I hope I got the parts list right. Sometimes plans change and you have all these parts on-hand you can't return.
The springs/shocks are brand new. I work in SLC if you'd like to see them. I got a PM from another e30 driver in SLC. In fact, a few years ago I saw 5 or 6 e30s all screaming down Emigration and was really stoked. We need to go for a good cruise once the weather comes around consistently and our cars um, run.Leave a comment:
-
me gusta. i'm building an 89 as well but mine is a coupe. i'm leaning VERY far toward the stripped/loud/rattle side of things with mine since i'm young and probably stupid. what part of utah are you from? are you on the utah bmw enthusiasts facebook page?
oh and that list of parts you bought is terrific. there's a LOT on that list i need to get ahold of..
PS if those H&R springs you're replacing with the ground controls are near new or new i am definitely interested.Leave a comment:
-
My brother in law, who turned me on to megasquirt through his 280z, came over to trouble a connectivity problem on the MS unit. We tested power and ground on pins 18 and 19 respectively and had good readings for constant 12v and switched power when bumping the starter. Despite that no connectivity to the computer. I think I'll be sending it in to whodwho for some testing/repair if he'll do it.
I decided that since that motor Is going in my face lift sedan we may as well pull the motor and be done with that car.
[IMG] http://i1305.photobucket.com/albums/...psutja5gx2.jpg[\IMG.]
The b27 and b25 await their fates.
Sent from my SCH-I605 using TapatalkLeave a comment:
Leave a comment: