Announcement

Collapse
No announcement yet.

Panici's '87 325is E30 - Boosted In Bronze

Collapse
X
 
  • Filter
  • Time
  • Show
Clear All
new posts

  • Panici
    replied
    Continuing from the last post, here is today's progress in fixing the fuel vent rust.

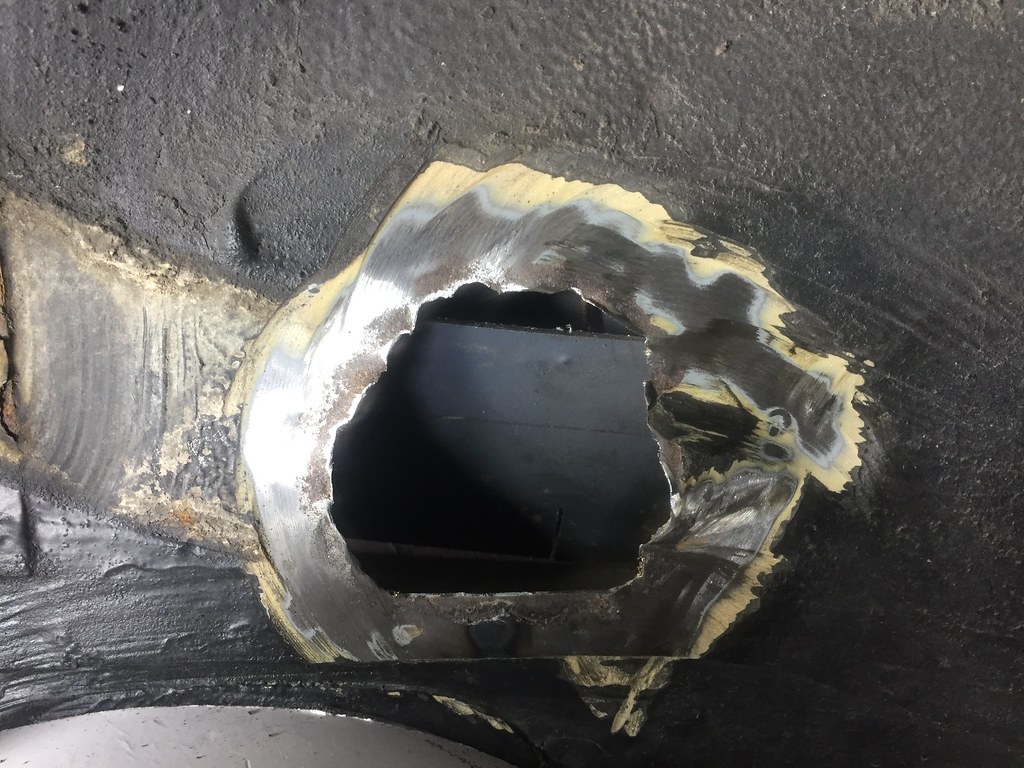
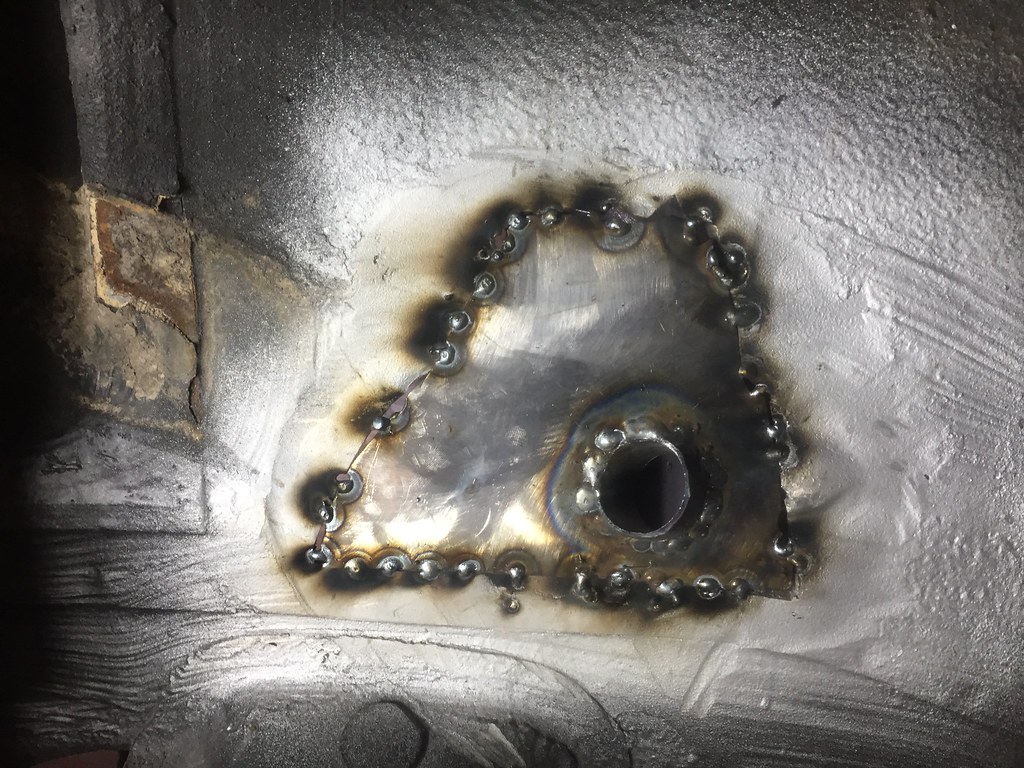
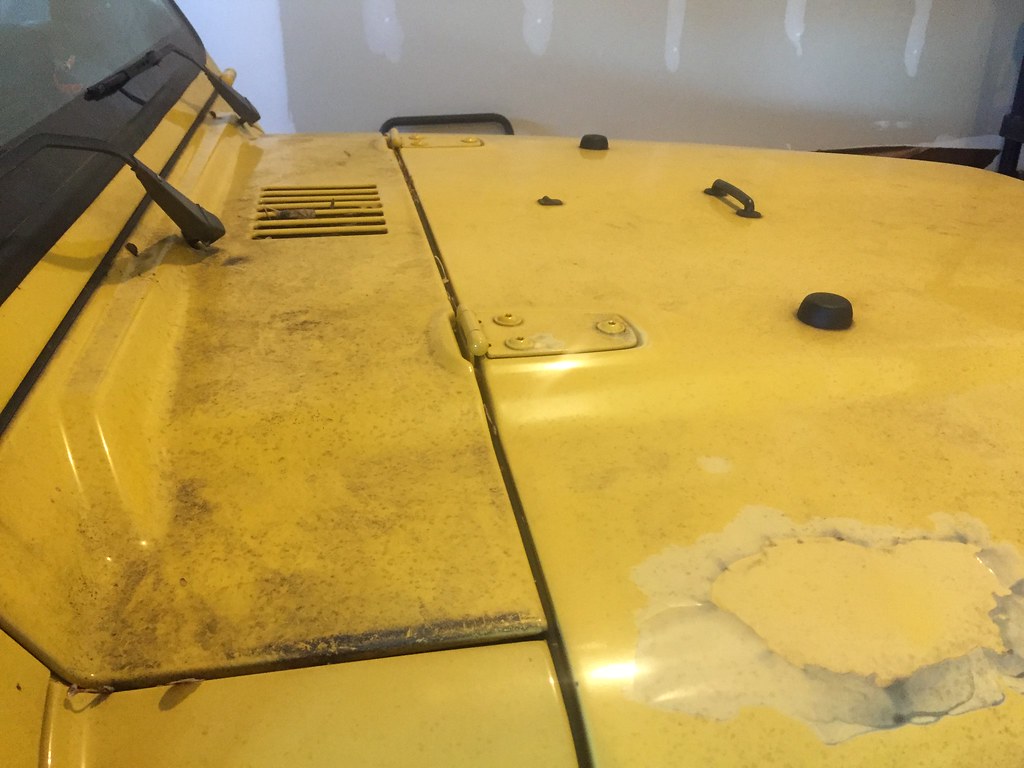
    This was my first time working with thin sheet metal, and I learned a few things in the process:
    • Don't use a reciprocating saw for fine work.
      • If I had brought my jigsaw along, I could have removed less good metal on the body and made a smaller patch panel.
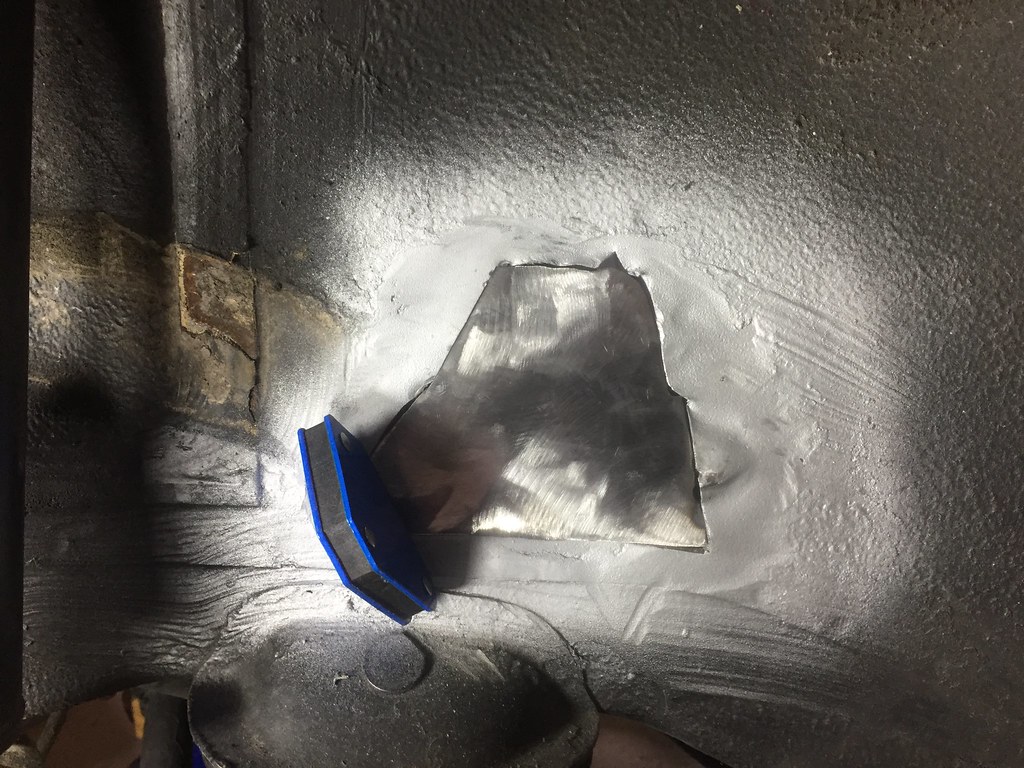
    • Butt welding here was unnecessary, and made things more difficult.
      • Lap joints would have been preferable.
    • Don't try to fill in air gaps between your patch panel and the body. It'll just blow through (or you'll have to stack some welds very carefully).
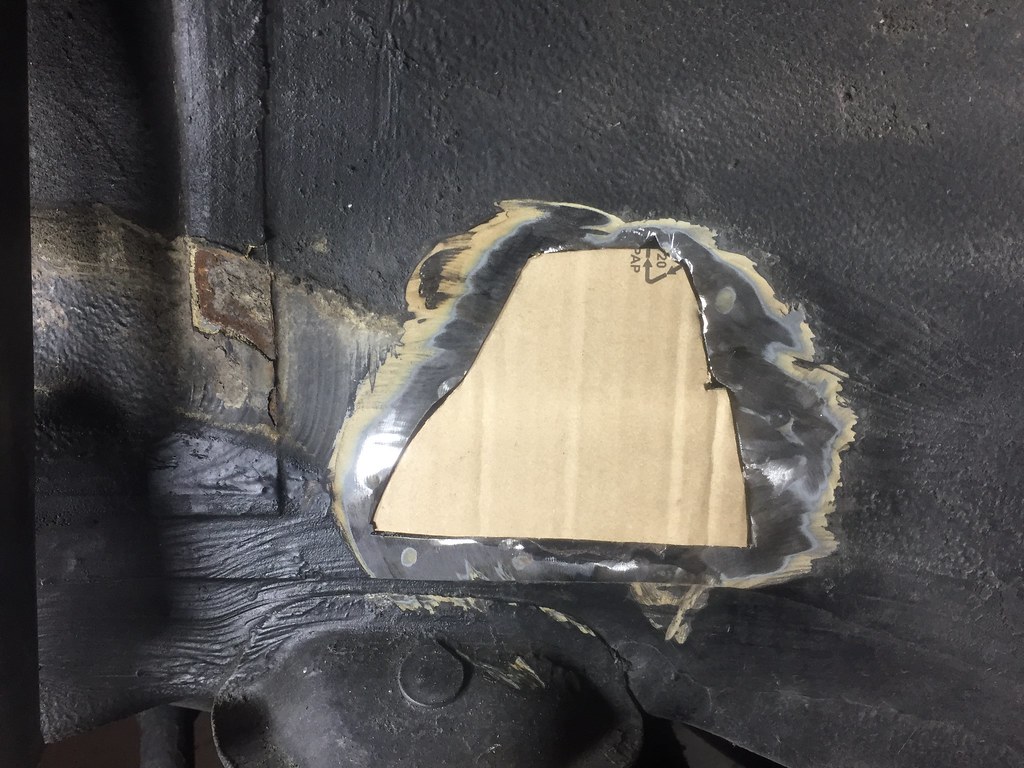
    • If butt welding, your patch panel must be the exact shape of the missing metal.
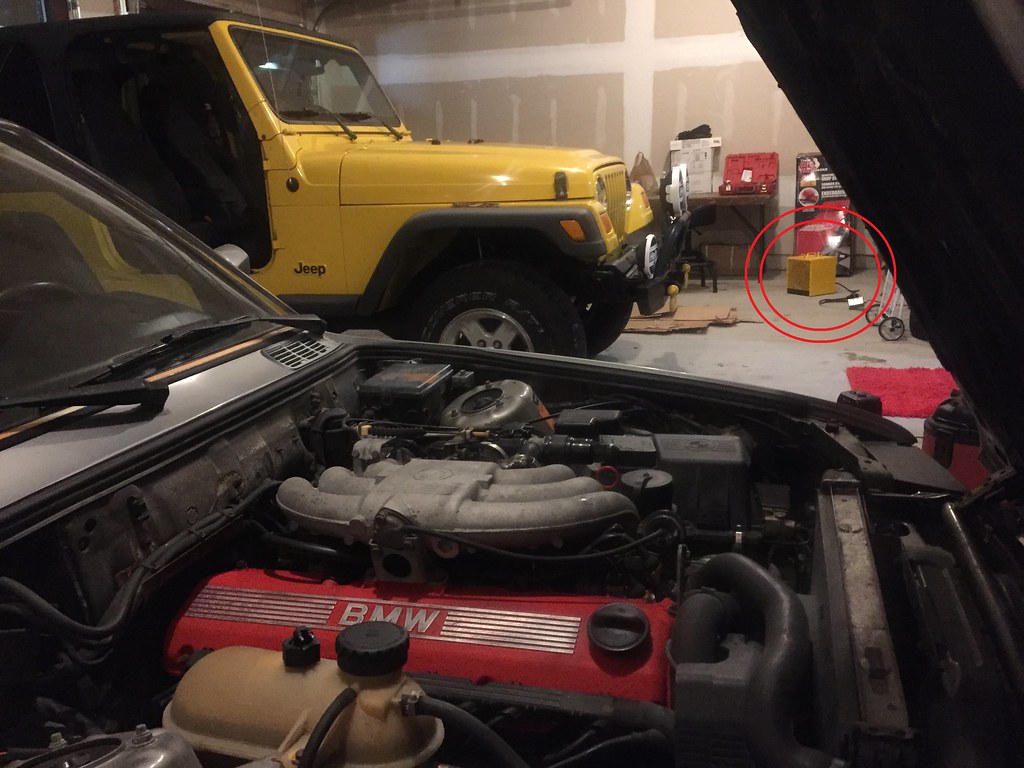
    • Shop rags are flammable.


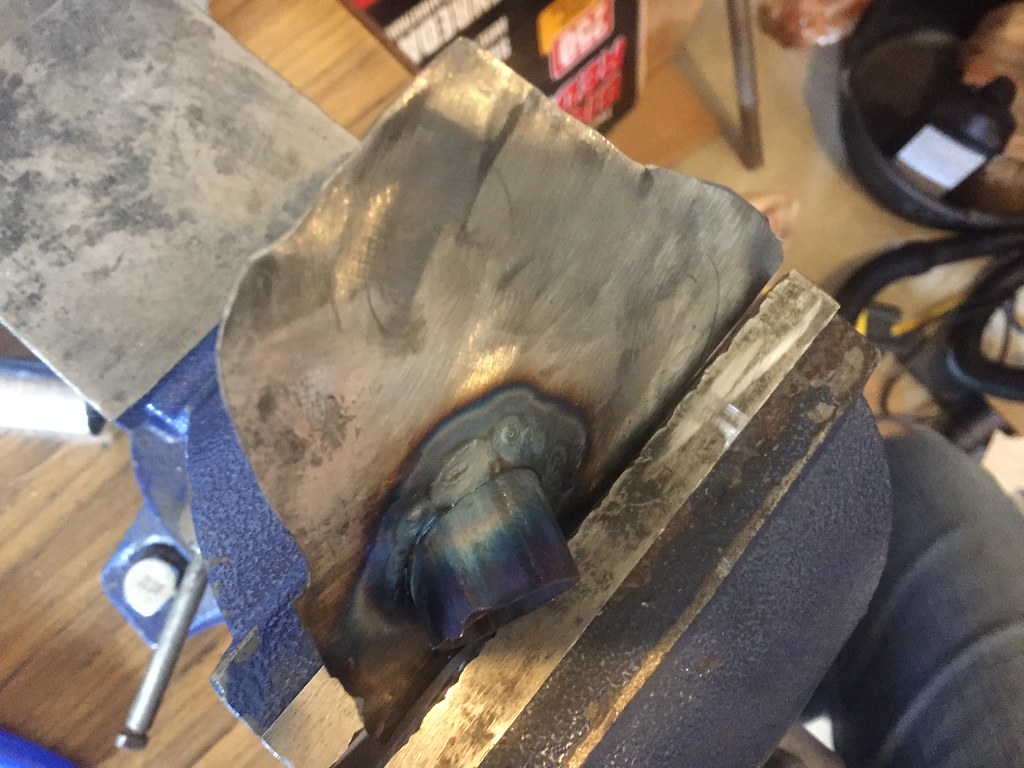
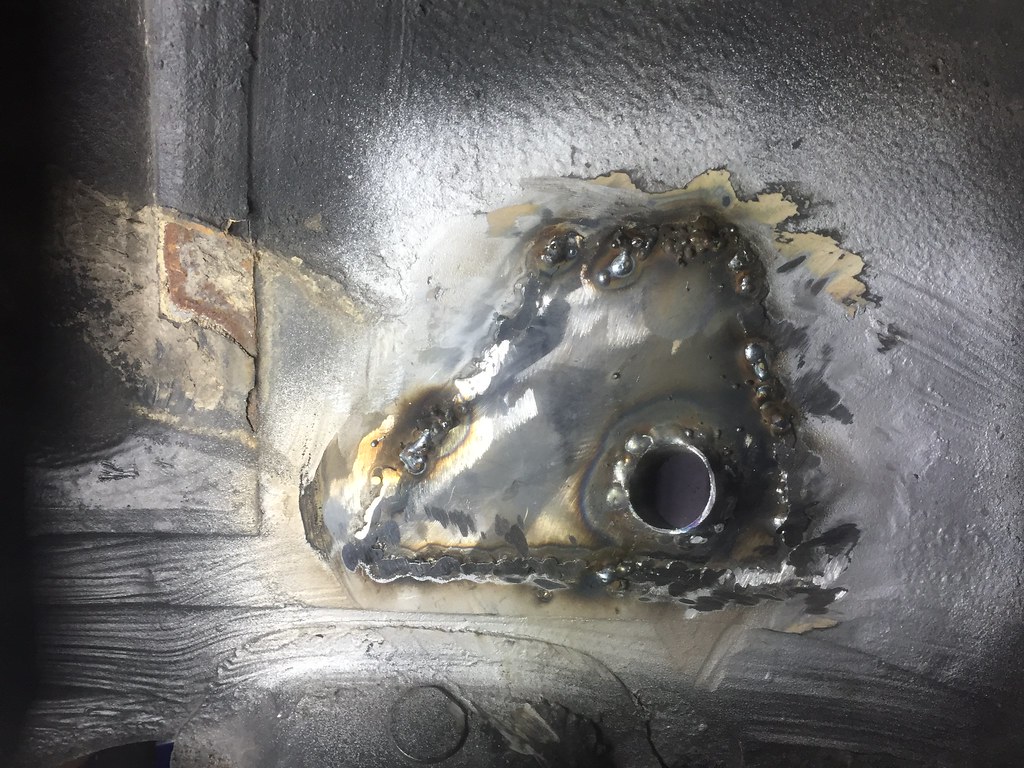
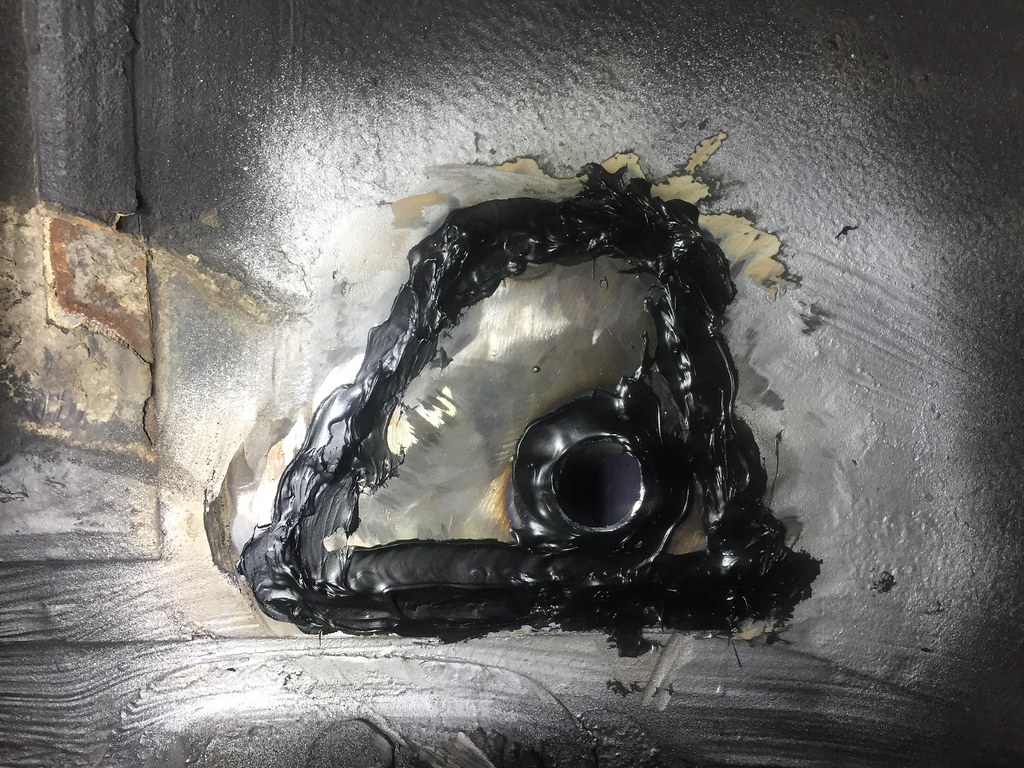
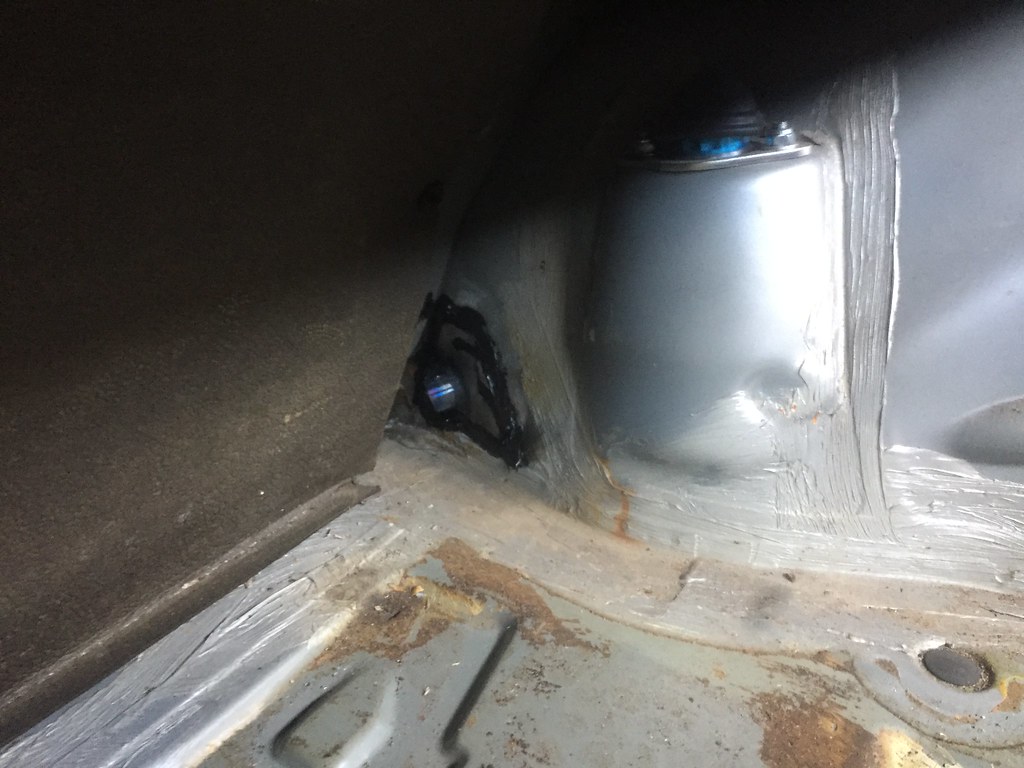
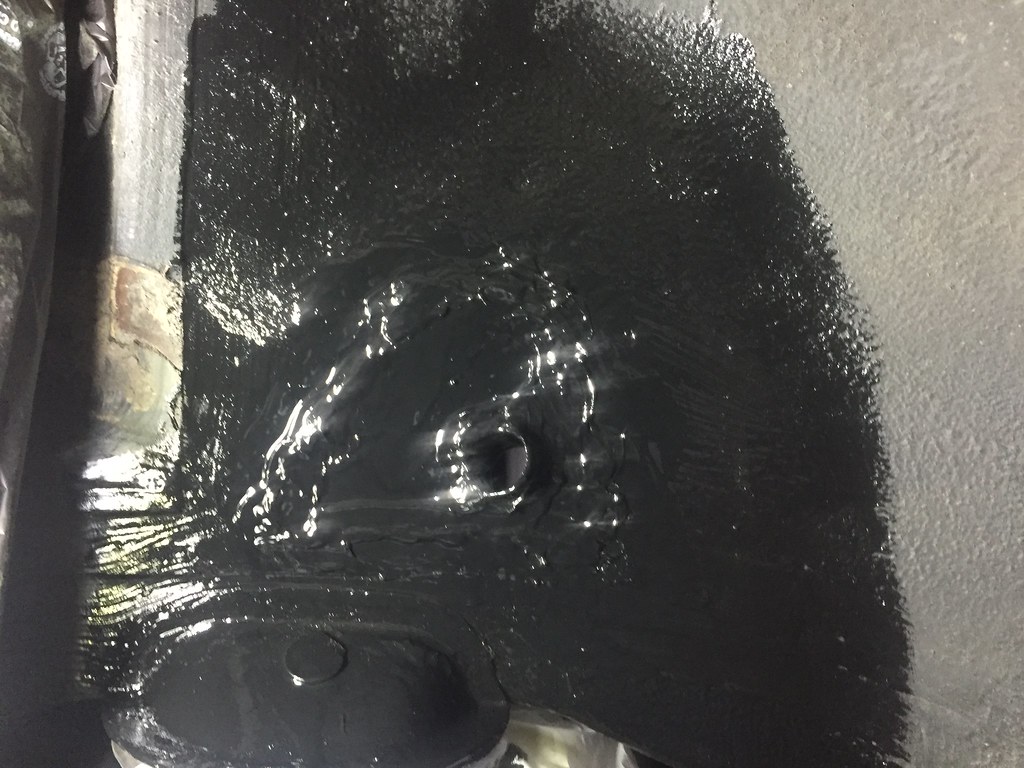
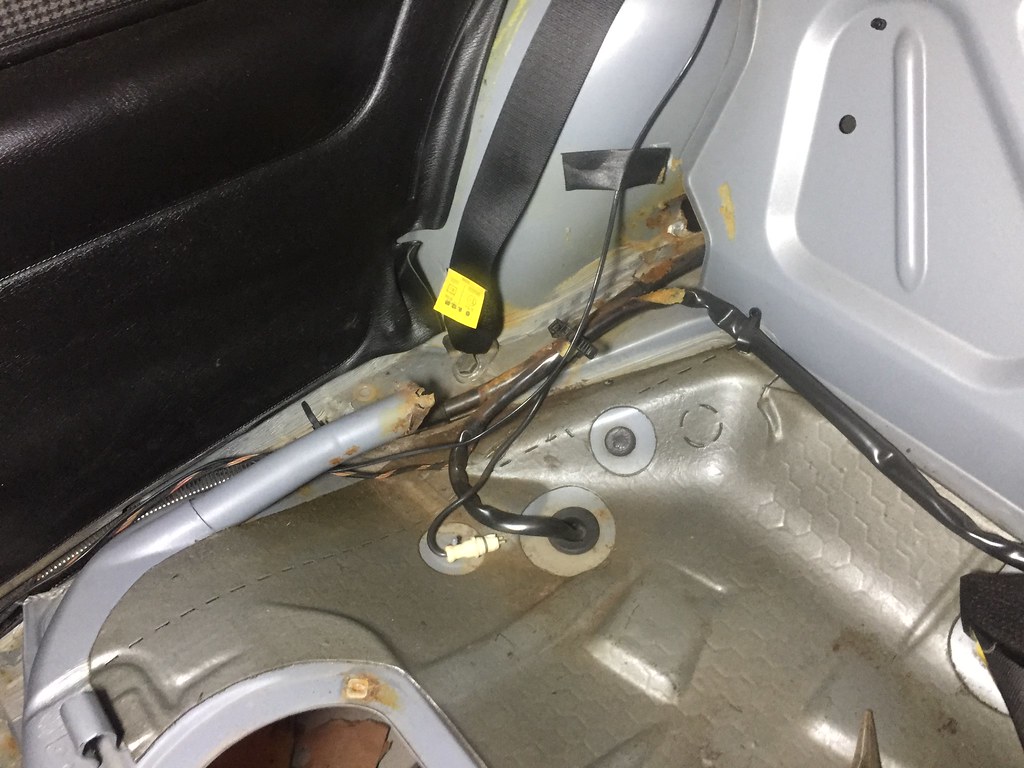
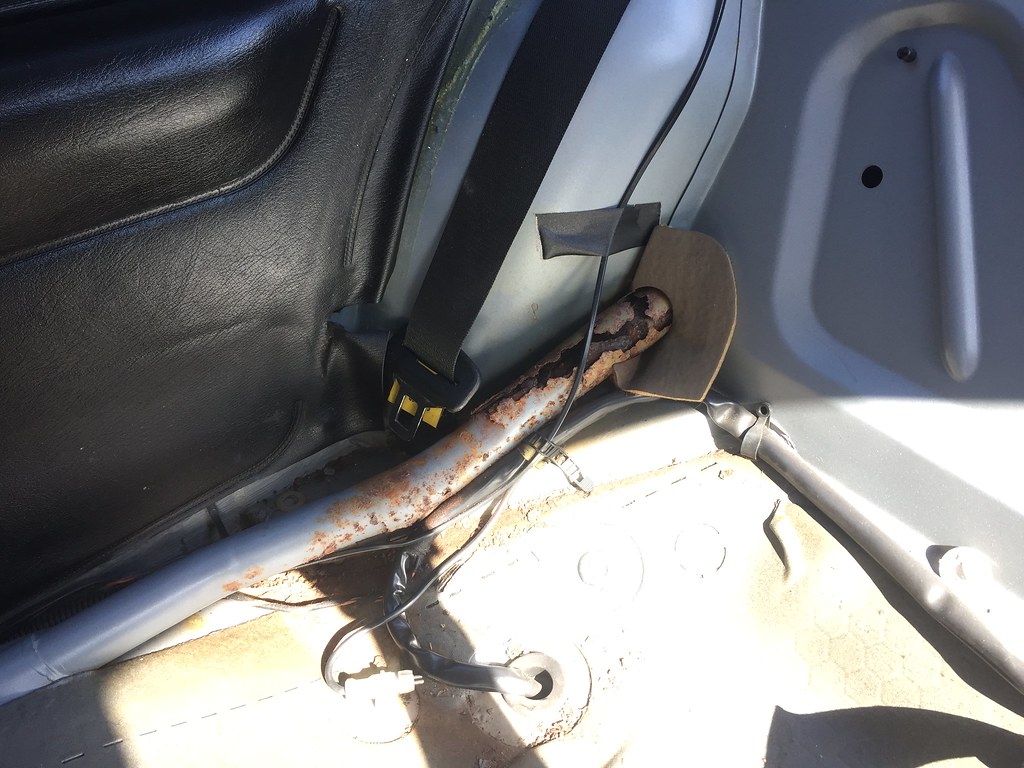
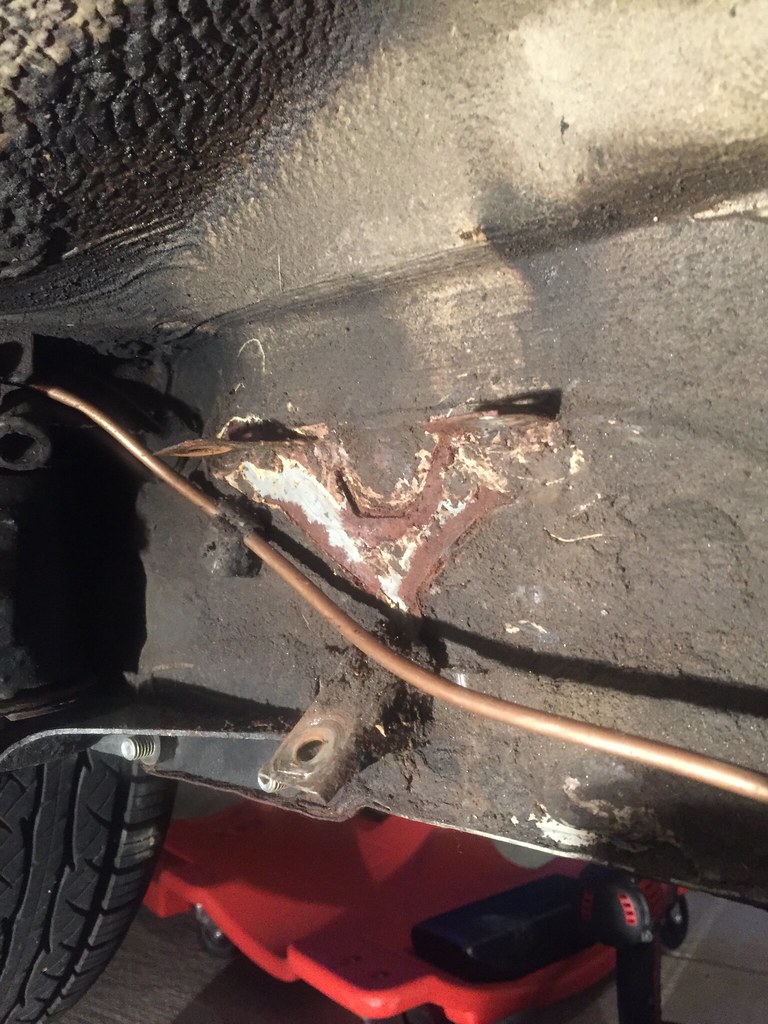
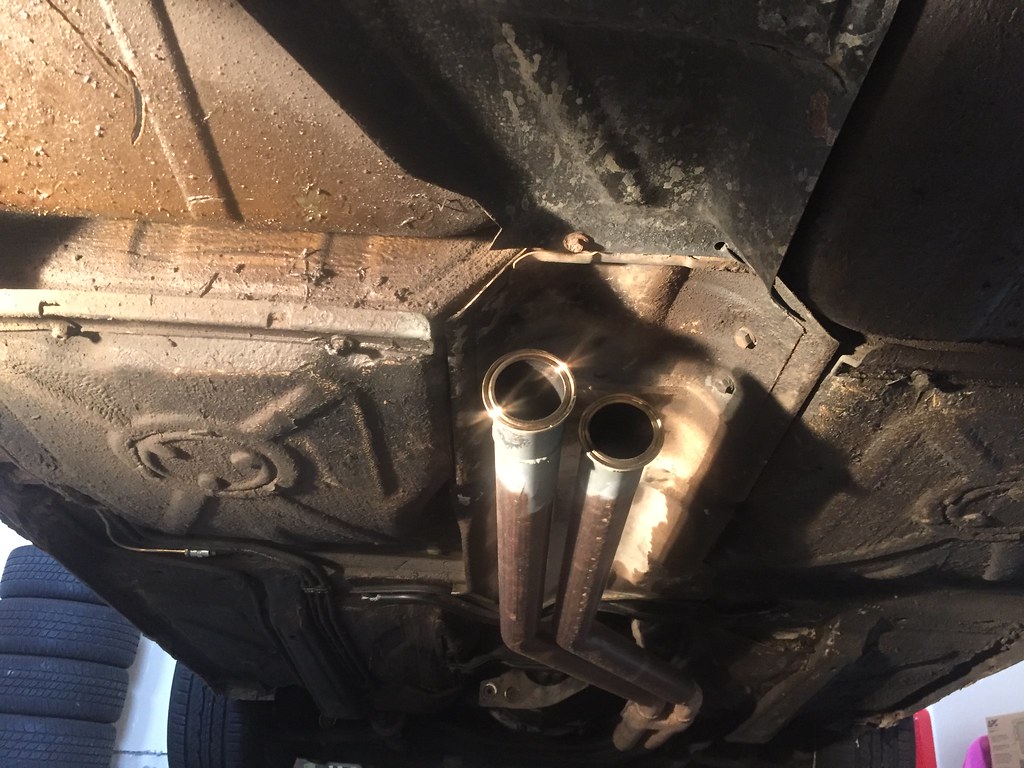
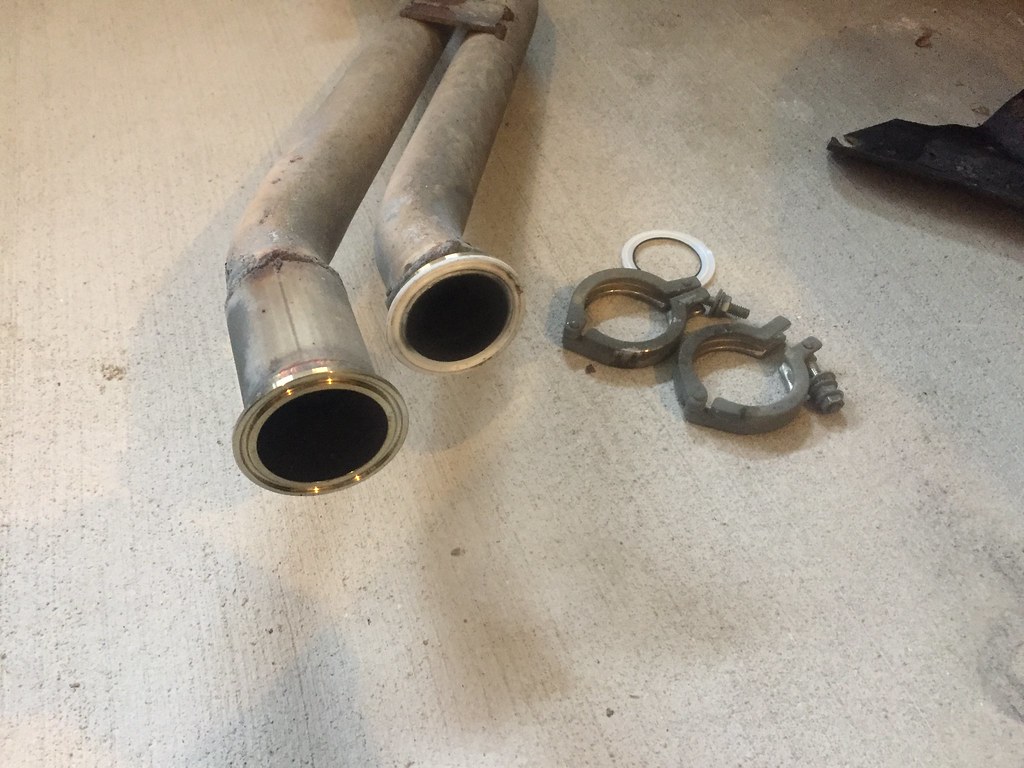
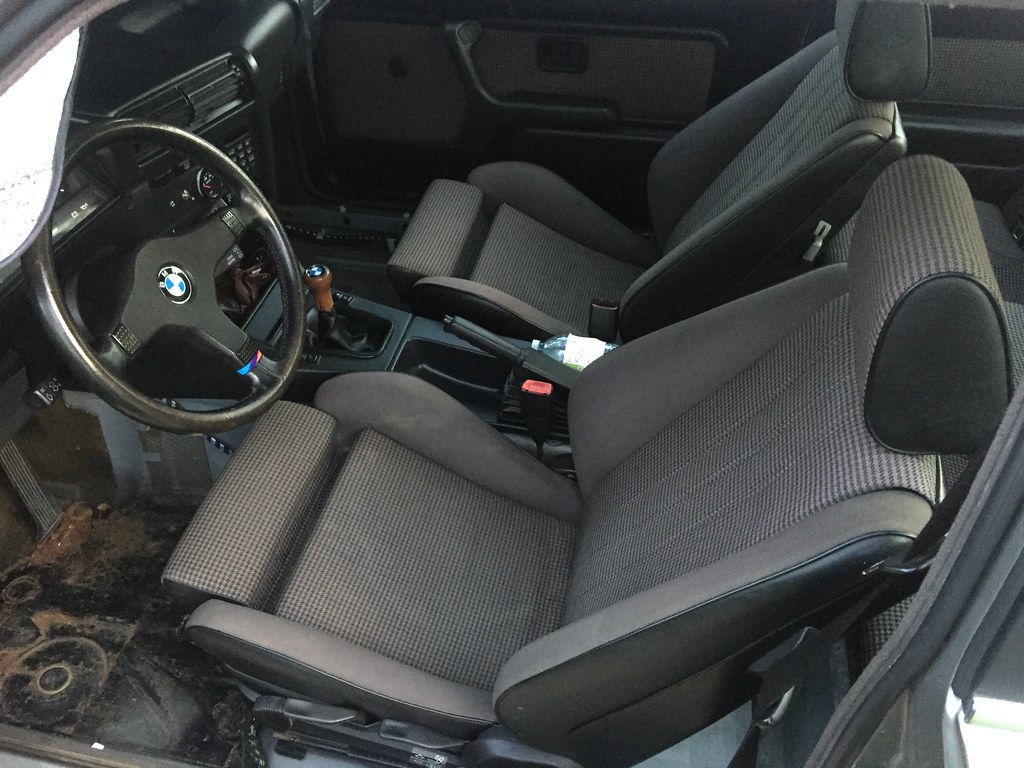
    In summary, the situation is almost remedied. Another coat of paint tomorrow evening, and a quick cut of the rusted tube inside the car should see it resolved.

    I'll update this post with some better finished/painted pictures tomorrow.


    Leave a comment:


  • Panici
    replied
    Originally posted by ATL_E30 View Post
    Great thread! Love your dedication to the build!


    How'd you handle this rust? I have a very similiar situation and I want to keep it from spreading much further. Did you just cut it out?
    I've been thinking about doing that then replacing this pipe with another and running the fuel evap lines back through the new pipe.
    Thank you!

    It's actually a freaky coincidence you should ask about that specific issue. I literally just got in from the garage, after tearing that tube apart with a pair of pliers.

    I'll likely have to fab up a new piece and weld it in. I also want to make the pass-through to the wheel well waterproof.


    Here is what I am left with:


    Last edited by Panici; 04-11-2018, 07:03 AM.

    Leave a comment:


  • ATL_E30
    replied
    Great thread! Love your dedication to the build!

    Originally posted by Panici View Post
    And of course some pictures:

    Rust found after taking the entire rear seat out. This was likely the first time the rear seat had been removed, as the underpadding was still glued in place under the rear interior panels (rear door cards?).
    How'd you handle this rust? I have a very similiar situation and I want to keep it from spreading much further. Did you just cut it out?
    I've been thinking about doing that then replacing this pipe with another and running the fuel evap lines back through the new pipe.

    Leave a comment:


  • Panici
    replied
    March 2018 - Central Locking Fixed
    +Power mirrors
    +Interior lights.


    After owning the car since June of 2014, I finally got around to fixing my central power locking system!
    This was basically an exersize in electrical troubleshooting, something I am comfortable with.
    • Found the existing Central Locking Control Module to be damaged and corroded.
      • Replaced with the module from my bin of parts car bits.
    • Removed the Red/Black "door loop", which had corroded badly at both pins. Solder+Liquid Electrical tape to finish the job.
    • Cleaned both door connectors (C405) as best I could using elec contact cleaner and some light sanding.
    • Replaced the (missing) driver's door actuator.
      • Brought home the entire spare driver's door from my parent's house!
    • Repaired the driver's door card (glued the seperated vynal, replaced missing clips)

    This got my power locks working, but my power mirrors still did not work. (I remember they worked when I first got the car, but I don't think I have used them since.)
    Looking through more wiring diagrams from the ETM, I found the likely candidate (Grn/Blk bodyside to Grn/Wht doorside) and verified my hypothesis with some testing.

    The problem was the pins in the door connector. I decided to just hardwire the connection, using the properly coloured wire from my spare door.
    This got both the power mirrors working.
    -

    Interestingly enough, this circuit is shared with the interior lights, which lead me to the following:
    • Replaced the Interior light relay (parts car)
    • Replaced/Cleaned passenger side (single terminal) door switch.


    Now my interior lights come on when either door is opened!


    ---------------------
    Copy/Paste from my R3V facebook post:


    Had an amusing find while working through fixing my central locking.

    First I replaced the control module with one from my parts car, and then I eliminated the driver's door wire loop.
    This got my passenger side and trunk locks working!

    Next I took apart the driver's door connector, cleaned up all the pins, and tested resistance as good on the rough looking pins.
    I was dismayed to find my driver's door CL still did not function.

    When I put my ohmmeter across the two door lock motor wires (Blue and White), I expected it to ring out through the windings. Instead I was met with silence!
    Now I knew something else was up, so I pulled off the door card, found the vapor barrier duct taped in place, and an unplugged wiring harness where the actuator should have been!

    Looks like the previous owner just removed the actuator instead of replacing when it failed.


    Leave a comment:


  • Panici
    replied
    March 2018 - Ellipsoid / Projector Install


    Way back in Post 103 (link to post), I bought a used set of ellipsoids and tore them down.
    Then in Post 127 (link to post), I rebuilt the lights using new ellipsoid adjusters.

    I've finally gotten around to installing the lights, although I still need to install the beauty rings and mount the ballasts.

    I developed my own method to keep the lowbeams on with the highbeams, namely grabbing lowbeam power from the (currently unused foglight) relay socket.
    I modified the low beam relay, which can be easily replaced to reverse the modification.

    -


    Last edited by Panici; 10-05-2020, 12:35 PM.

    Leave a comment:


  • Panici
    replied
    February 2018 - EVAP system removal
    • Removed the EVAP canister above the passenger's side wheel and all associated lines.
    • Removed the fuel filter and external pump, the rubber bushings put up a fight and were cut off.
    • Found a used fuel pump/filter bracket through R3V facebook, as mine is in terrible shape!
    • Removed the in-tank fuel pump and level sender.
    • Test fit my euro rear plate filler, just for fun.
    • Continued setting up a work area in the garage. Now I've got two tables and some wall mounted tools.


    Leave a comment:


  • Panici
    replied
    January 2018 - New Garage & Gas Tank Removal

    Now that we are more-or-less caught up, lets jump forward to January of this year.

    -
    First the E30 and my Jeep TJ both received a much-needed wash. I defrosted the hose (which I borrowed from my dad) in the laundry room sink. Then I had an interesting time washing both vehicles in the ice-and-snow covered driveway. I wonder what the new neighbors think?

    Next, I wired 240v to the garage for an electric heater. On really cold days I don't need a jacket, on mild winter days I can get away with a t-shirt and toque (that's a beanie for my American friends.)

    -

    As my E30 is now parked indoors, I needed to find and fix my evap leak to prevent the garage smelling like gasoline.

    Removed the rear exhaust section, driveshaft, and finally the fuel tank. During that process, I found my main evap/fuel vapor leak, the rusted-through hardline to the charcoal canister.

    In true "while I'm in there fashion", I decided to refresh/restore the entire fuel system.
    More to come!


    Last edited by Panici; 04-11-2018, 07:06 AM.

    Leave a comment:


  • Panici
    replied
    Originally posted by 2mAn View Post
    That looks great! Houndstooth Sport seats are so hard to find nowadays. Nice work
    Absolutely true! It took me 2+ years to find any houndstooth at all. When it rains, it pours; I lucked out by finding an entire houndstooth interior.

    Originally posted by MR E30 325is View Post
    That is so much better.
    I would love a complete houndstooth in my next interior. So pretty.
    Originally posted by JRYE30 View Post
    Love the car! And interior 8-)
    Originally posted by TFJR View Post
    Love the houndstooth. Very nice build so far!
    Thank you! I agree the Houndstooth really sets it off nicely.
    You don't really find heavily patterned cloth in new vehicles today.


    ----------------------------------------

    ----------------------------------------


    May 2017 - Life happens, E30 stored early
    • Enjoyed my E30 without issue for all of May 2017.
    • Proposed to my lovely girlfriend Emily.
    • Moved the M52B28 into my parents driveway and covered with a tarp.
      • The plan is still to eventually build and turbo this motor!
    • Helped my (soon to be) sister-in-law pick out and purchase a first gen (NA) Miata.
      • Also taught her to drive a manual transmission, as the Miata is a 5-speed.
      • Discovered a massive water leak on the way back from viewing the Miata. Driving in the rain filled the (uncarpeted) passenger side rear footwell with water. Still have not determined the source.
    • Parked the E30 on May 31st. Spent 6-months down in the USA training for my new job.


    Last edited by Panici; 03-15-2018, 12:29 PM.

    Leave a comment:


  • TFJR
    replied
    Love the houndstooth. Very nice build so far!

    Leave a comment:


  • JRYE30
    replied
    Love the car! And interior 8-)

    Leave a comment:


  • MR E30 325is
    replied
    That is so much better.

    I would love a complete houndstooth in my next interior. So pretty.

    Leave a comment:


  • 2mAn
    replied
    That looks great! Houndstooth Sport seats are so hard to find nowadays. Nice work

    Leave a comment:


  • Panici
    replied
    May 2017 - Houndstooth Sport Seat Repair

    I used a few guides found online to take apart my spare passenger seat, and my damaged driver's seat.

    The idea is to use the (typically less worn) inside bolsters from the passenger seat as the outside bolsters on the driver's seat. The only modification needed was a few extra holes punched in the leather.

    The seat still isn't perfect; there is a slight water stain on the bottom cushion. Although this is barely noticeable in person.


    Last edited by Panici; 03-09-2018, 09:59 AM.

    Leave a comment:


  • Panici
    replied
    Originally posted by wworm View Post
    That garage is bigger than the amount of garage envy I have for you. Stoked for build progress
    Originally posted by 2mAn View Post
    Congrats on graduating, what will the E30 receive as a graduation gift? I plan on getting mine repainted to the OEM Cirrusblau when I graduate next year
    Originally posted by MR E30 325is View Post
    What a garage! Congrats on graduating as well.

    Looking forward to updates
    Thanks gentleman!

    This garage is literally a dream come true for me. I can store the E30 safely inside during the winter, and work on it year long.
    My biggest requirement when looking for a house to rent was a big garage, I was hoping for a two-car. My fiancee did a fantastic job finding this place!

    Leave a comment:


  • MR E30 325is
    replied
    What a garage! Congrats on graduating as well.

    Looking forward to updates

    Leave a comment:

Working...
X