
May 2/16
Weather is finally warming up. It was about 12c today so I got a little work done in the afternoon.
Sneak preview of the Recaro. More information and pictures to come!
-
---------------------------
-
May 3/16

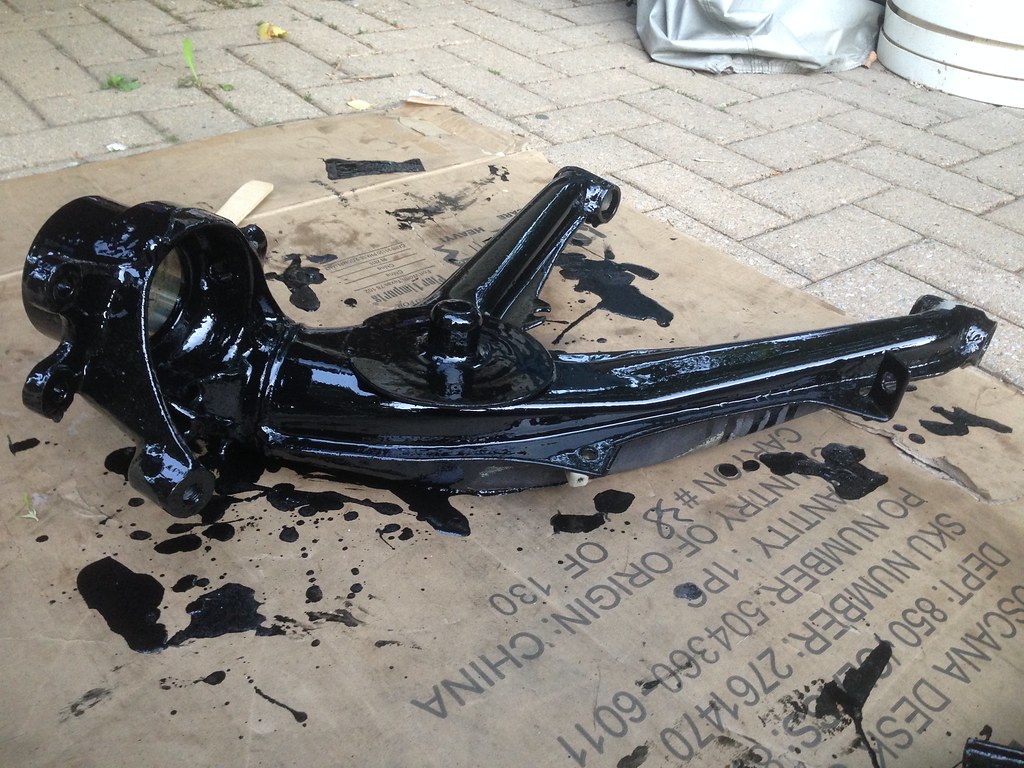
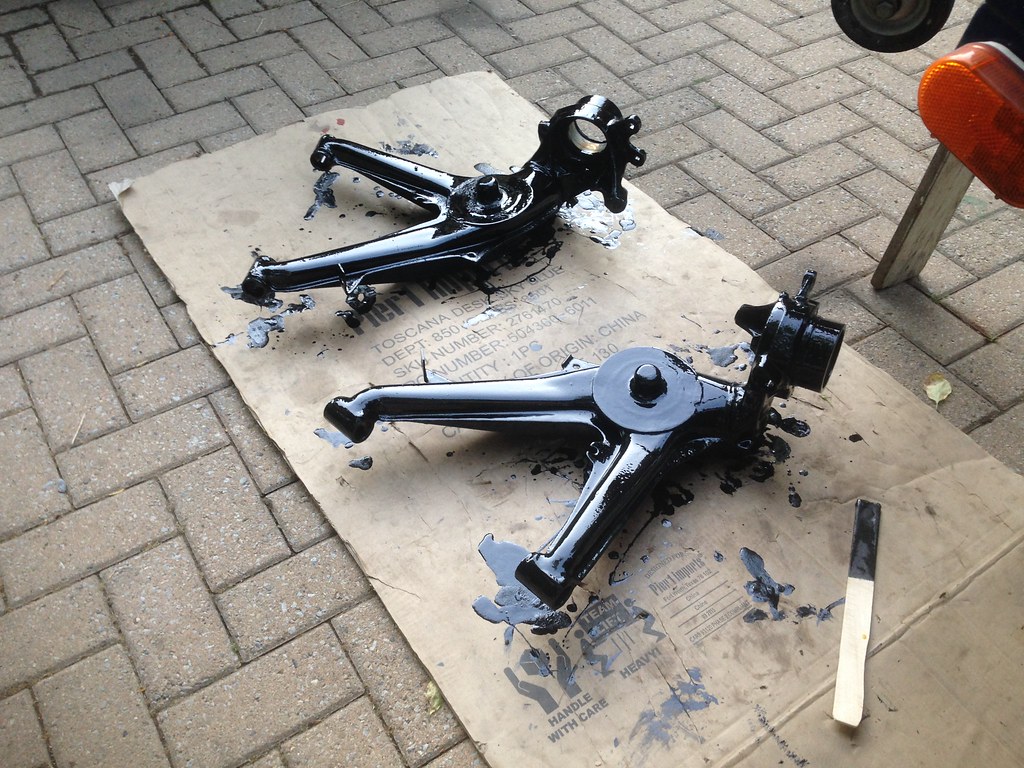
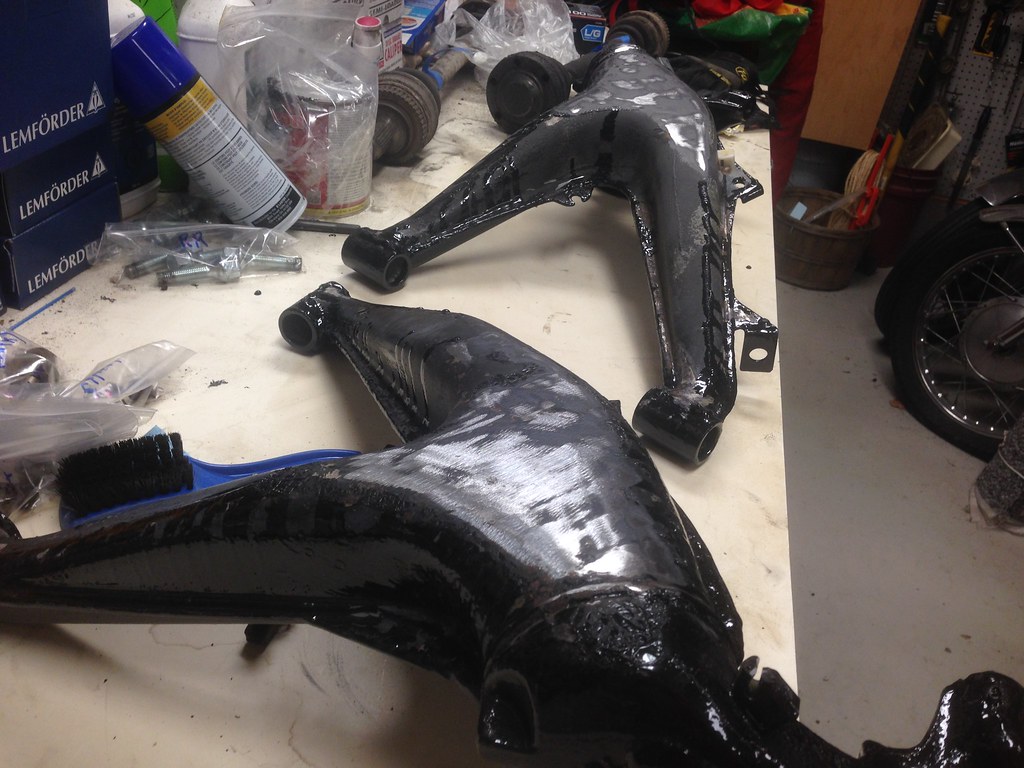
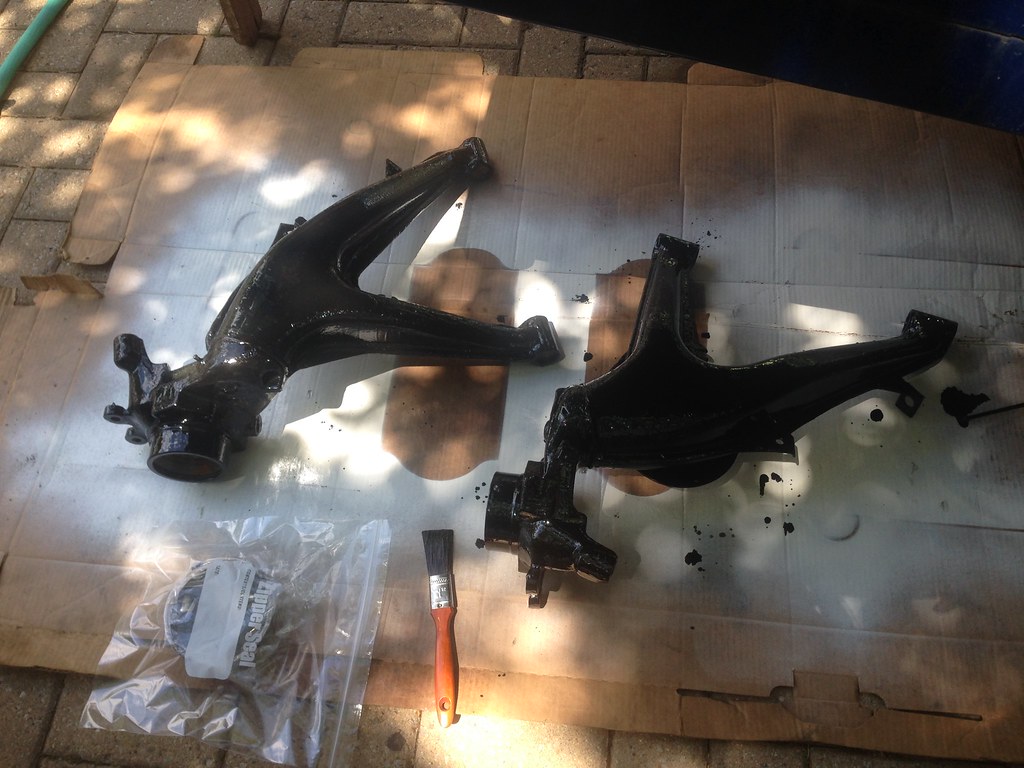
Prep consisted of a rubdown with Duplicolor grease and wax remover, followed by a wash with dish soap and water.
3 coats.
7 coats.
-
---------------------------
-
May 4/16
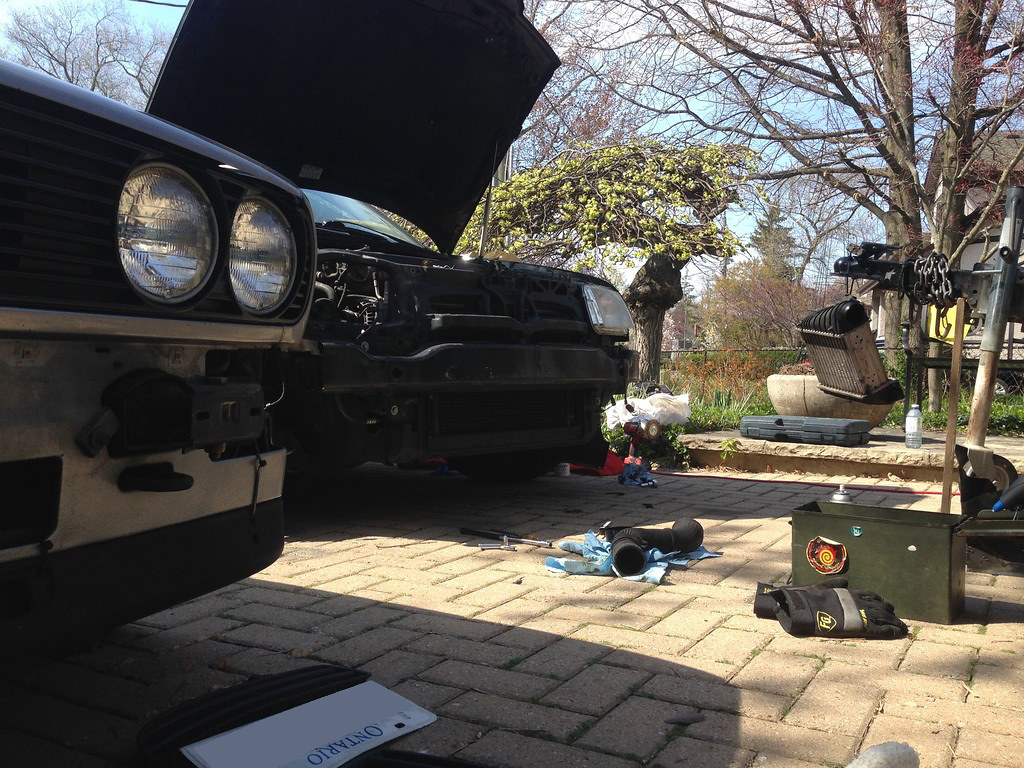
Mostly worked on my girlfriend's Jetta this afternoon. Had to take the front bumper off to change a headlight housing, and de-oiled the side-mount intercooler while I was at it. She pulled out the driver's seat and gave the interior a full clean, then she did some prep and paint on her DS fender rust.
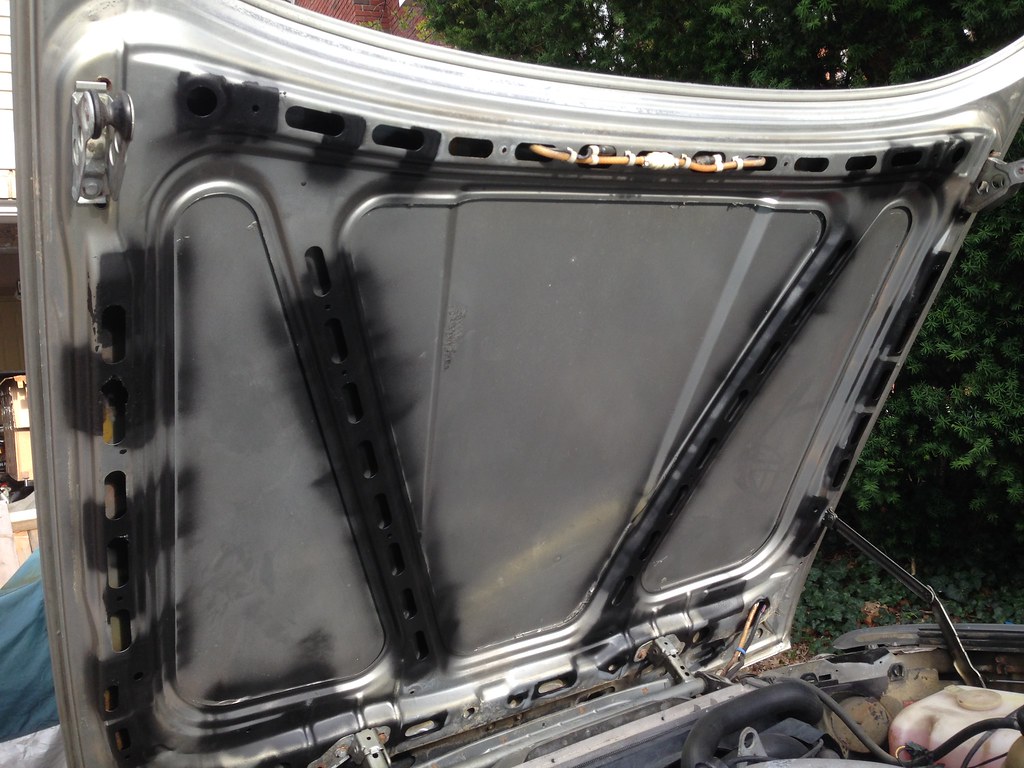
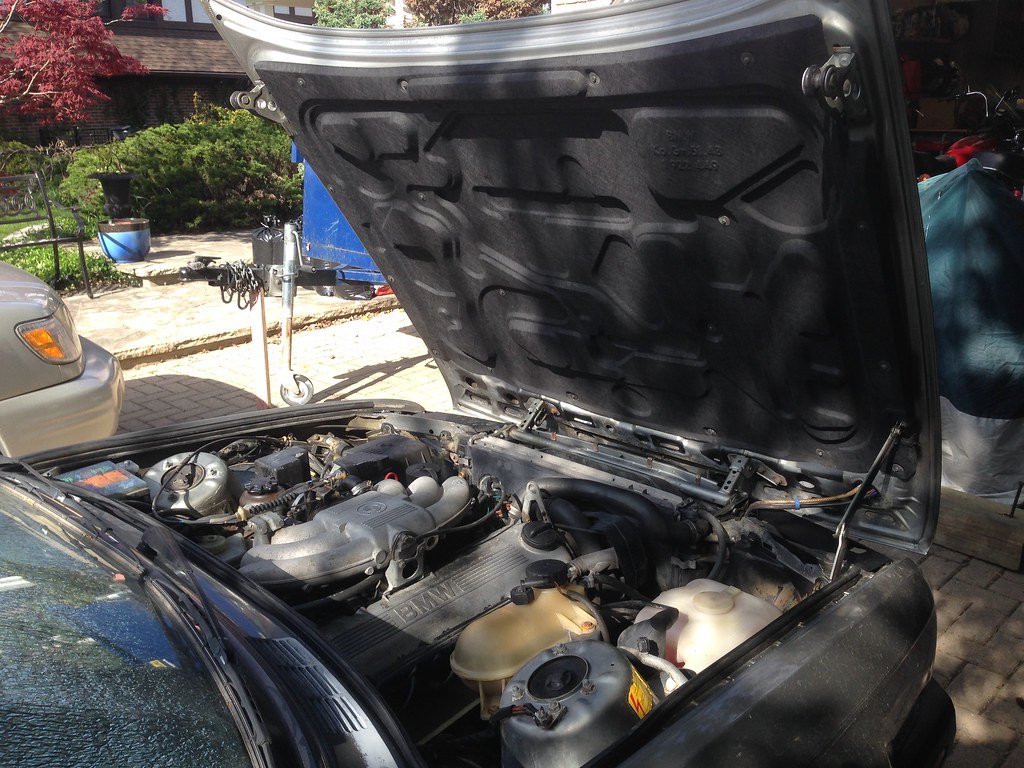
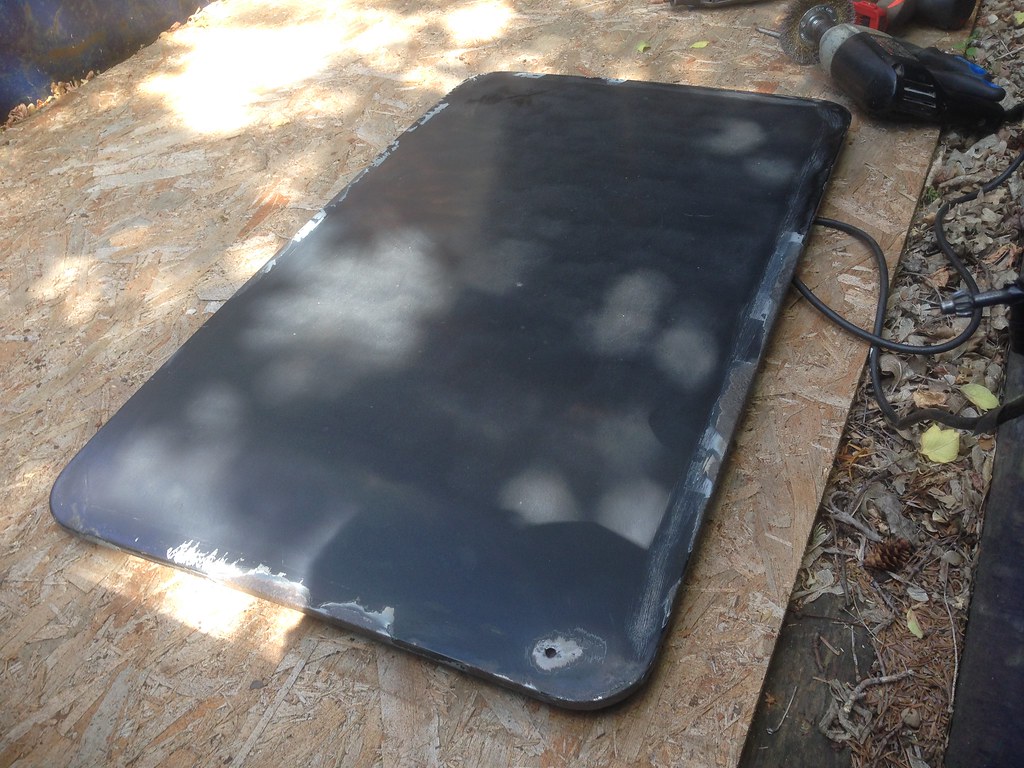
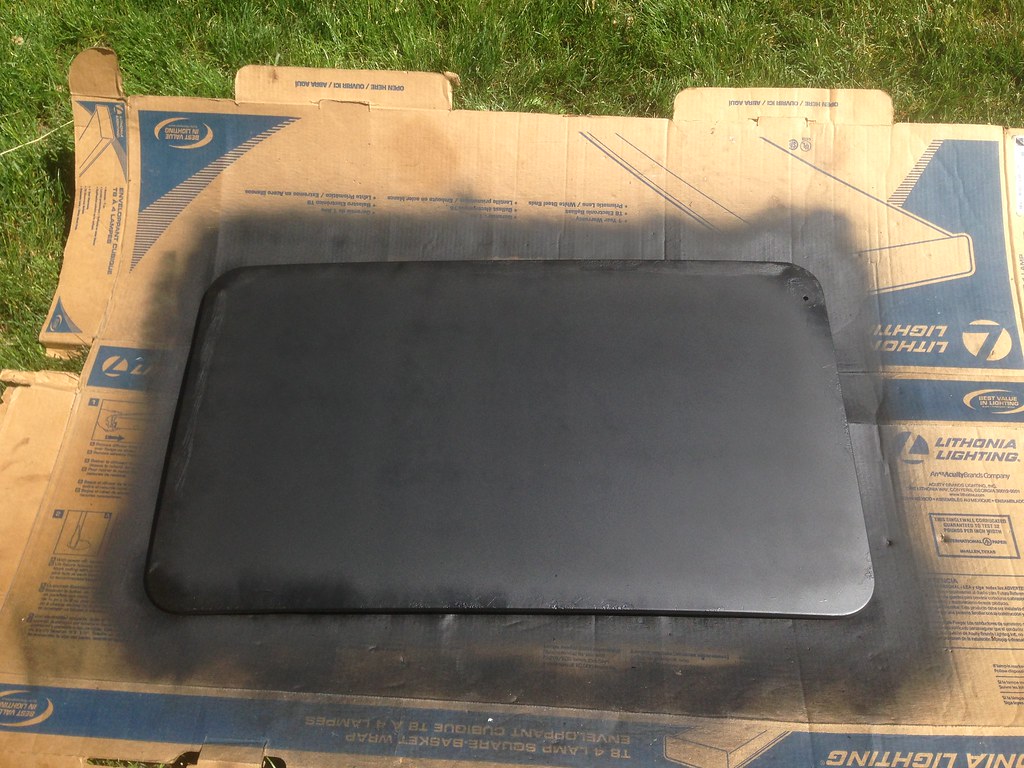
I did paint the E30's hood blanket with a can of Duplicolor Fabric Paint. I think I got 4 or 5 coats out of a single can. I bought a second can, but decided it wasn't needed. Hood blanket looks WAY better. Well worth the $14 and time to paint.
I did literally zero prep to paint the hood blanket, as a spot test with just a cloth and water was already pulling the blanket fibers apart.
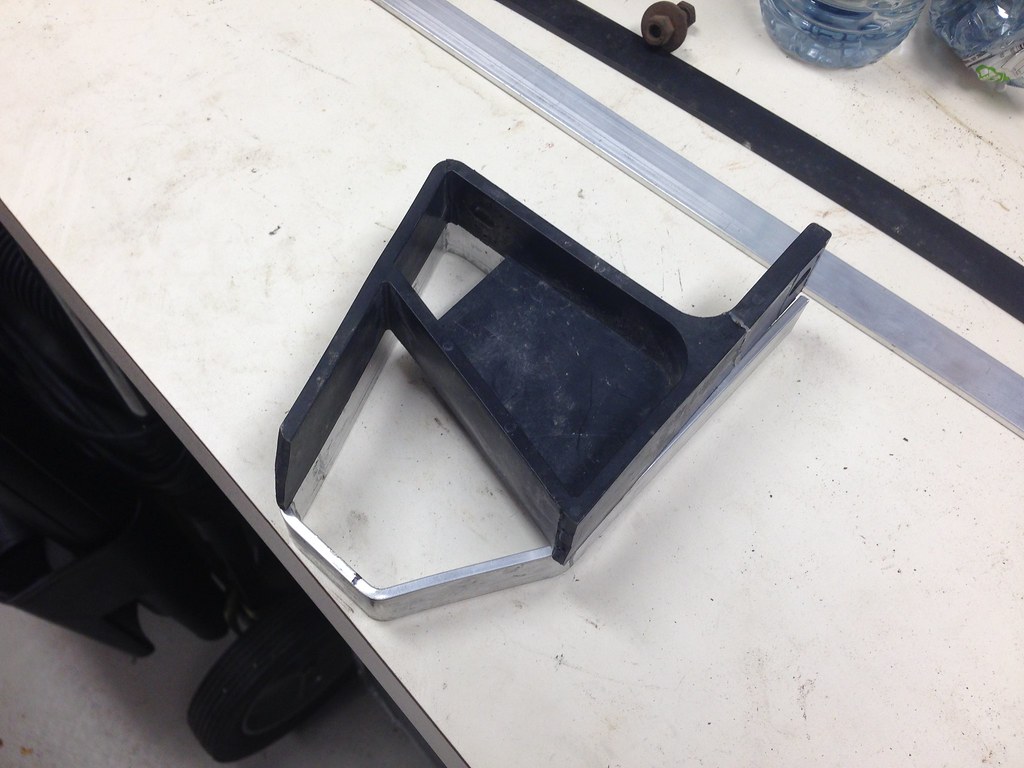
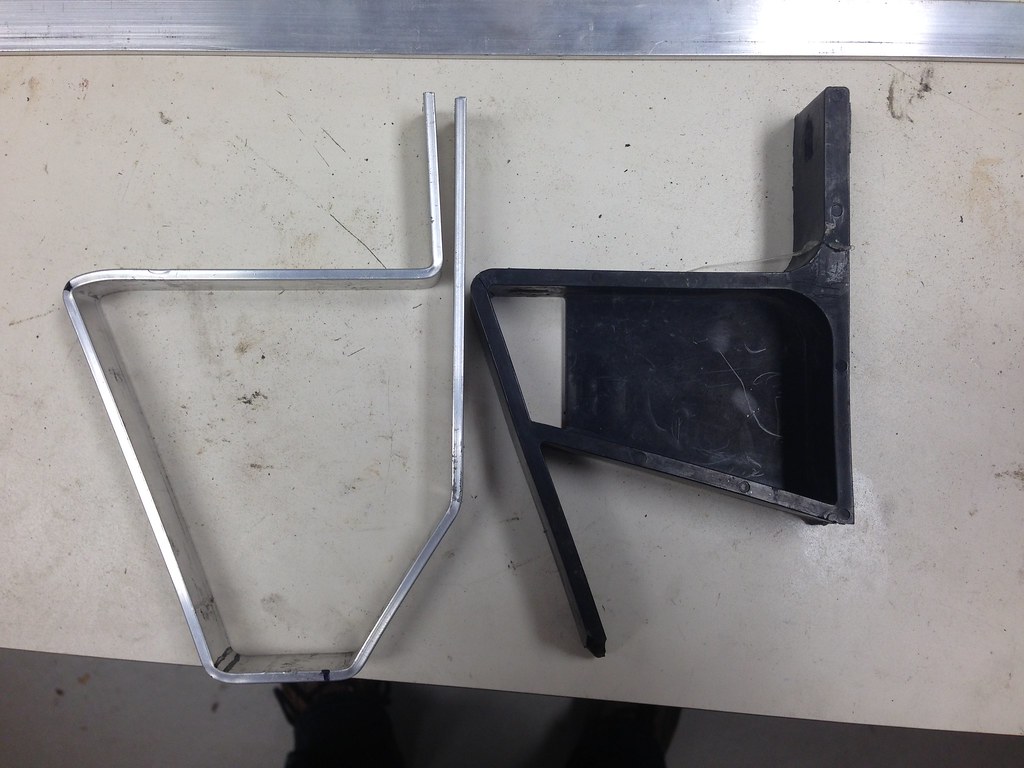
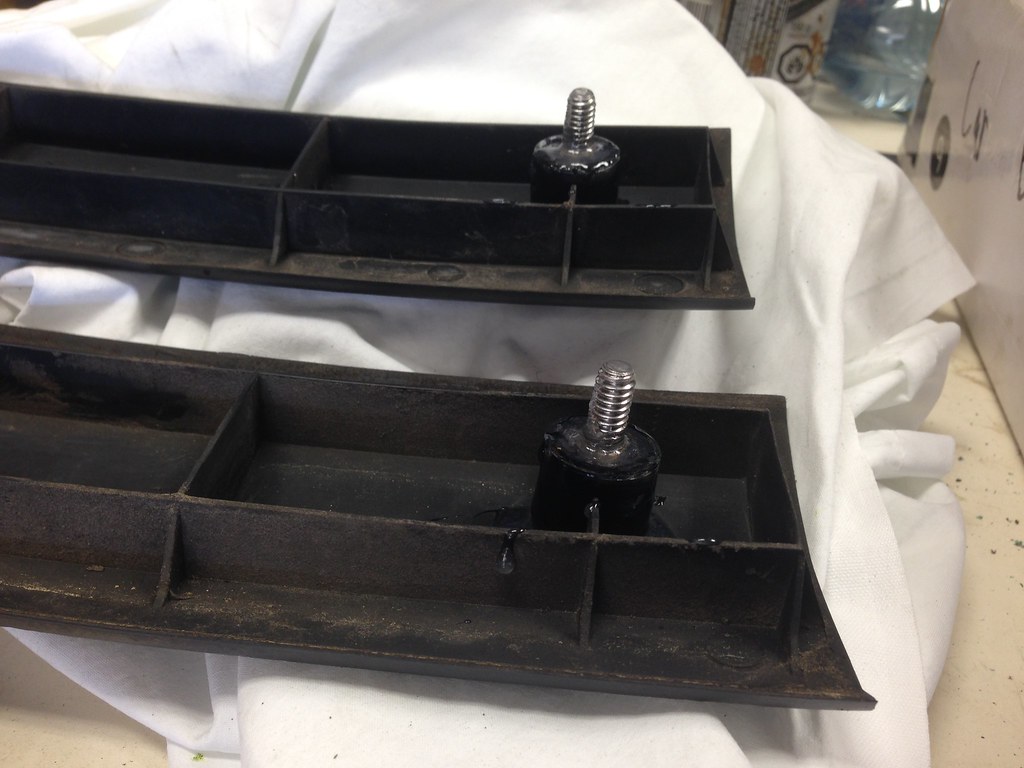
I picked up some SS hardware to replace the stuff I cut from my bumper trim. Also grabbed some aluminum stock to make some iS airdam brackets.
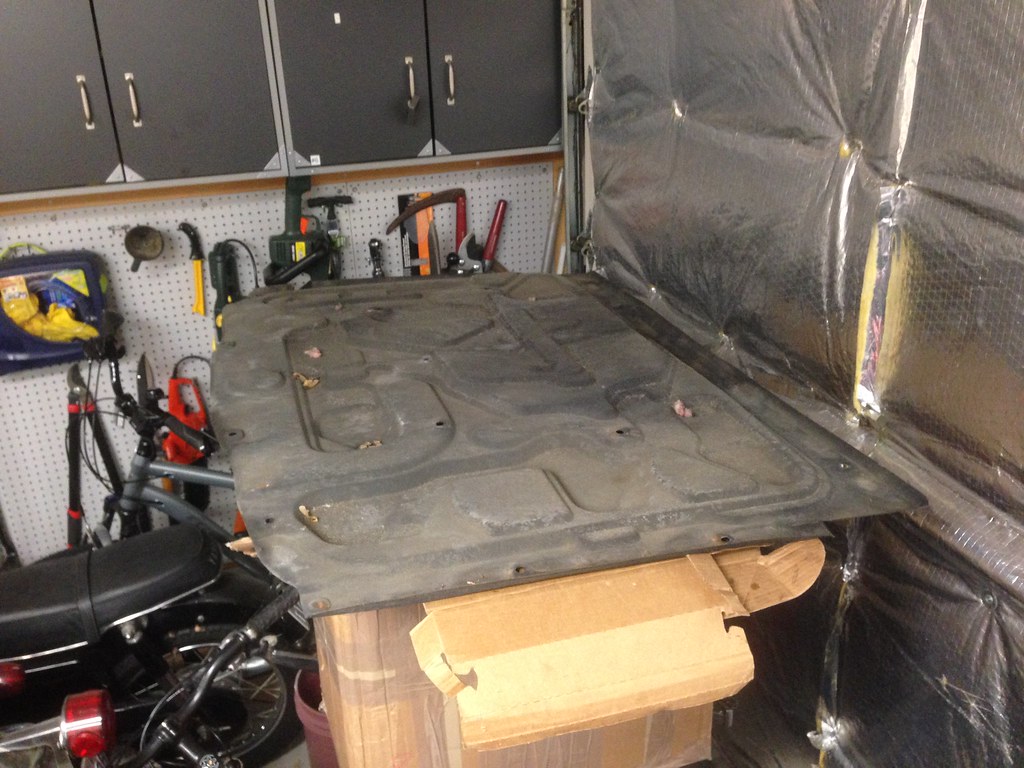
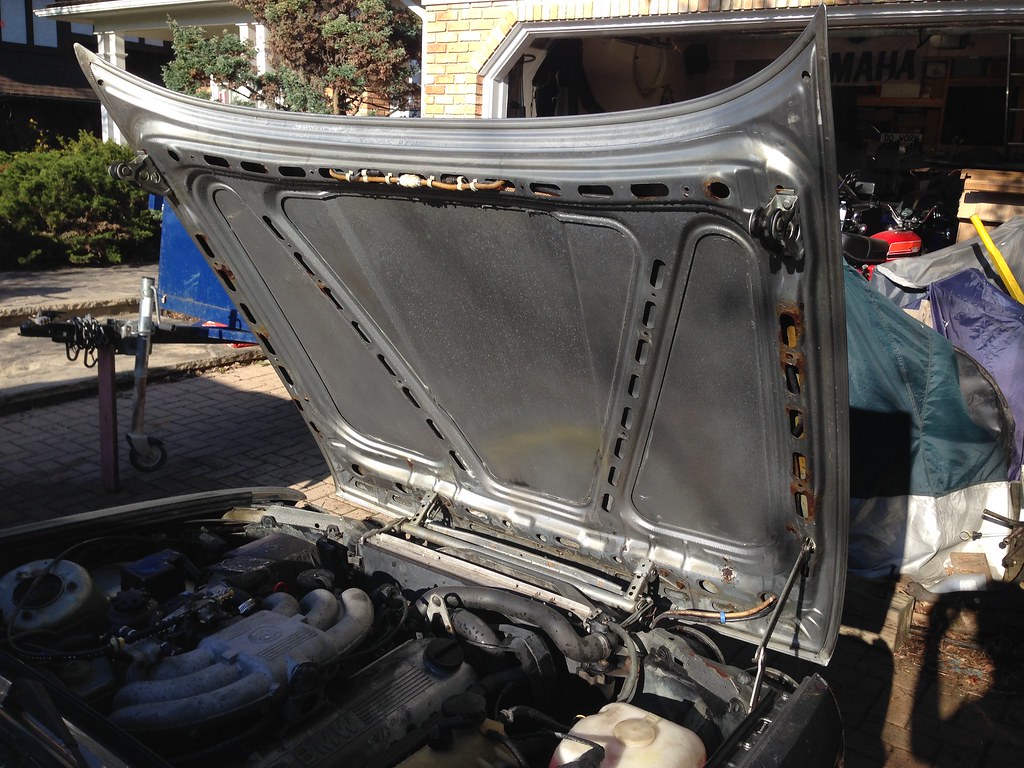
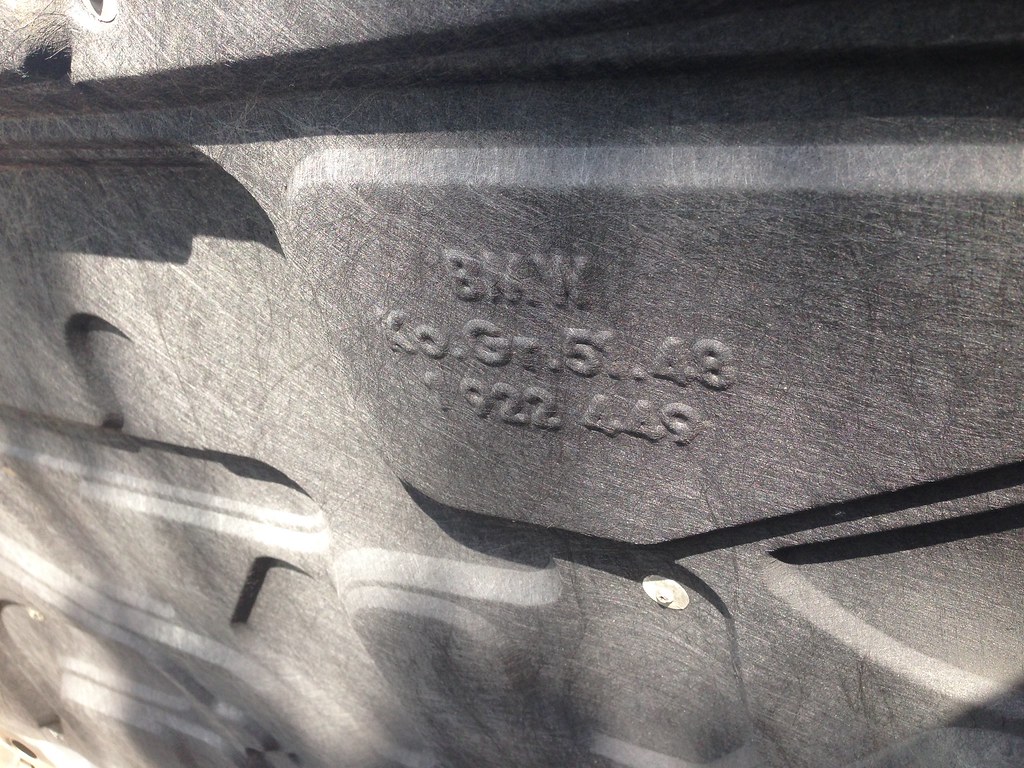
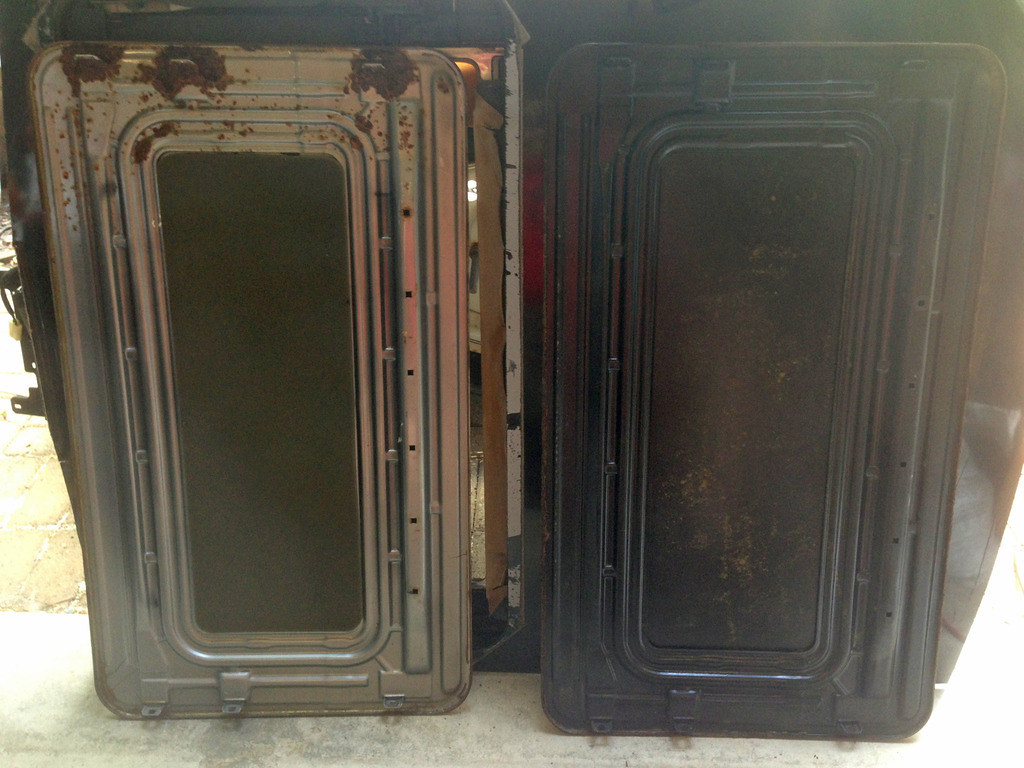
Before (back of the blanket, which was actually cleaner then the front):
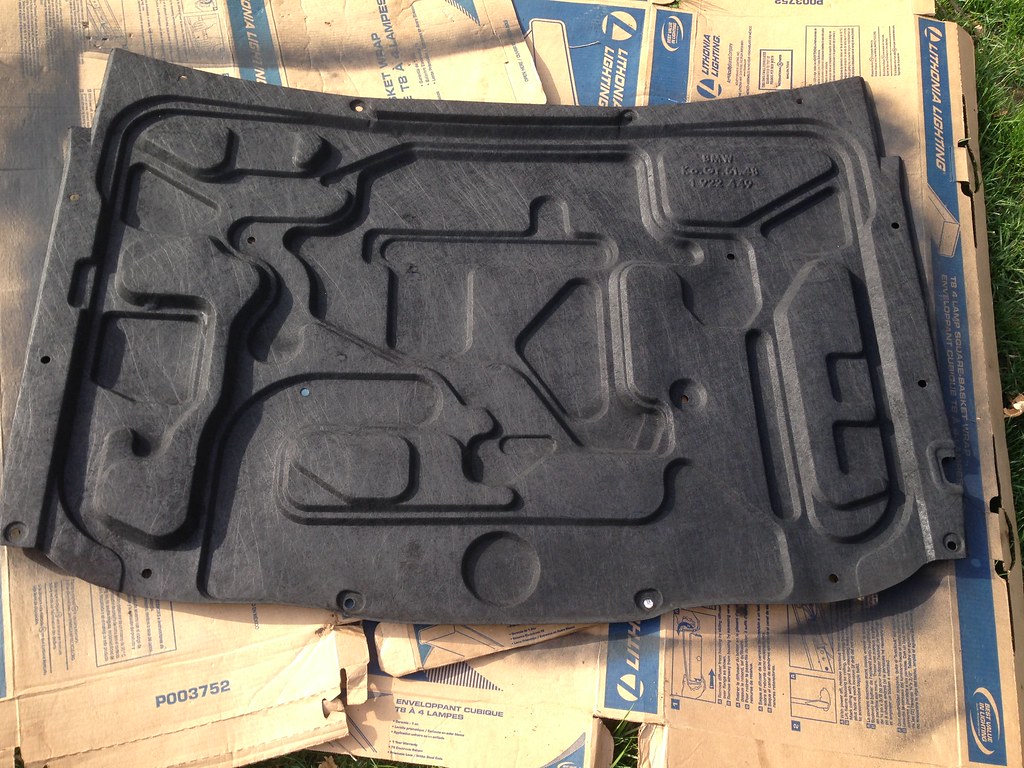
During (Front, one or two coats):
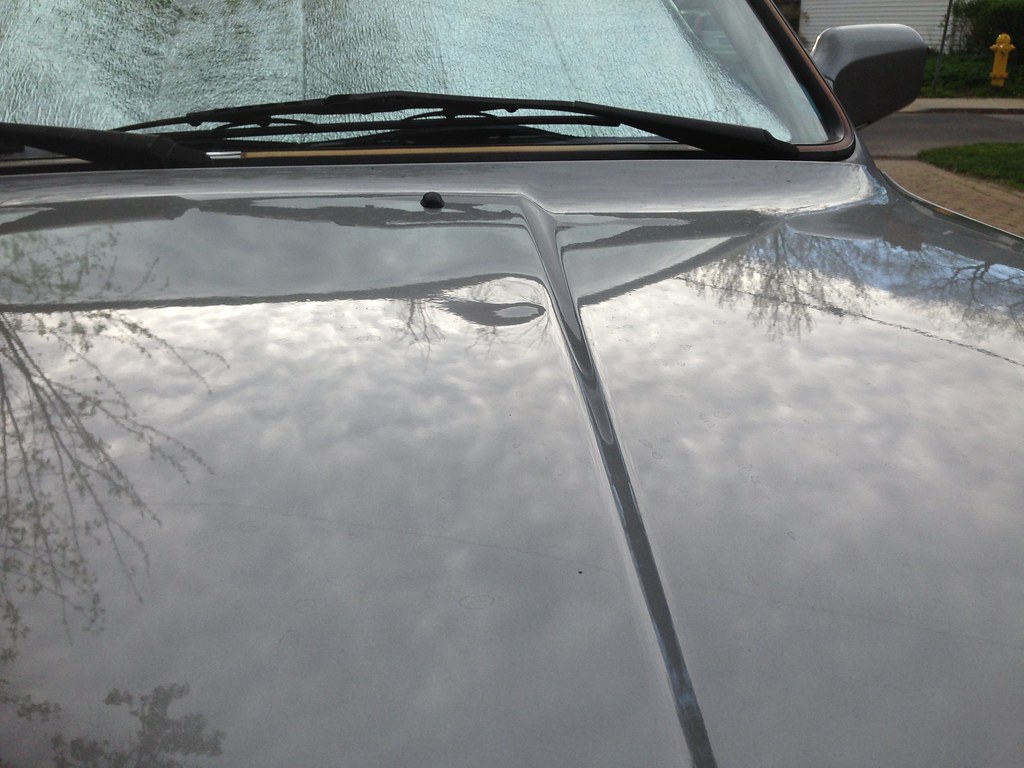
After: see May 11 update post below for finished+installed pictures.
Weather is finally warming up. It was about 12c today so I got a little work done in the afternoon.
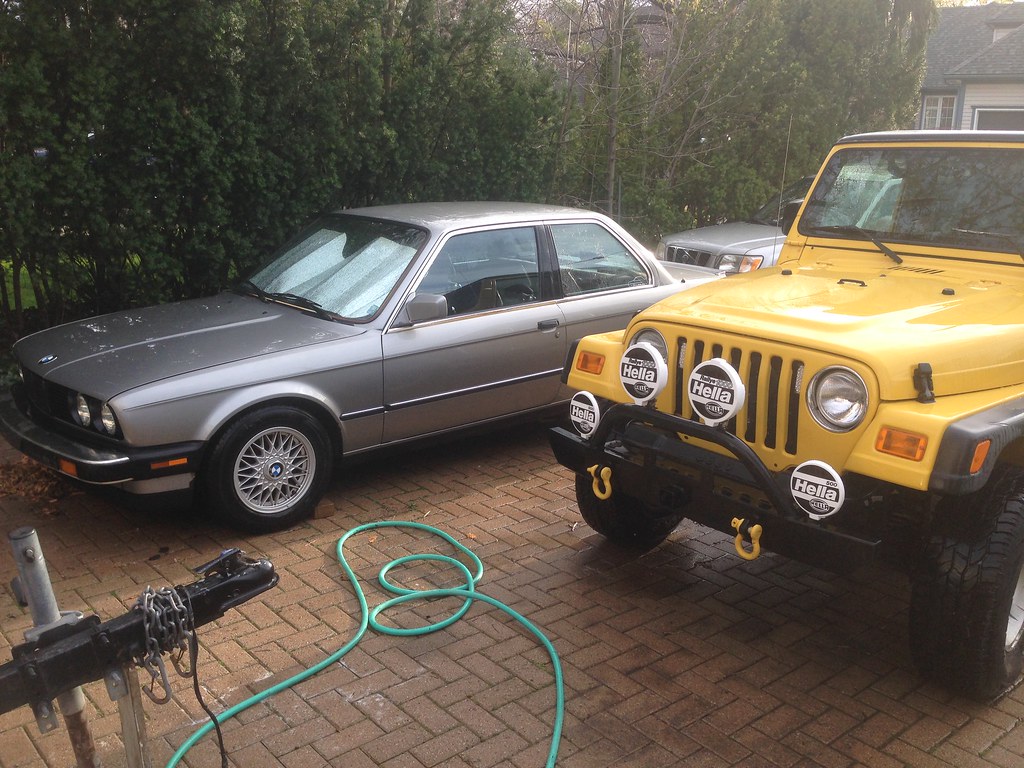
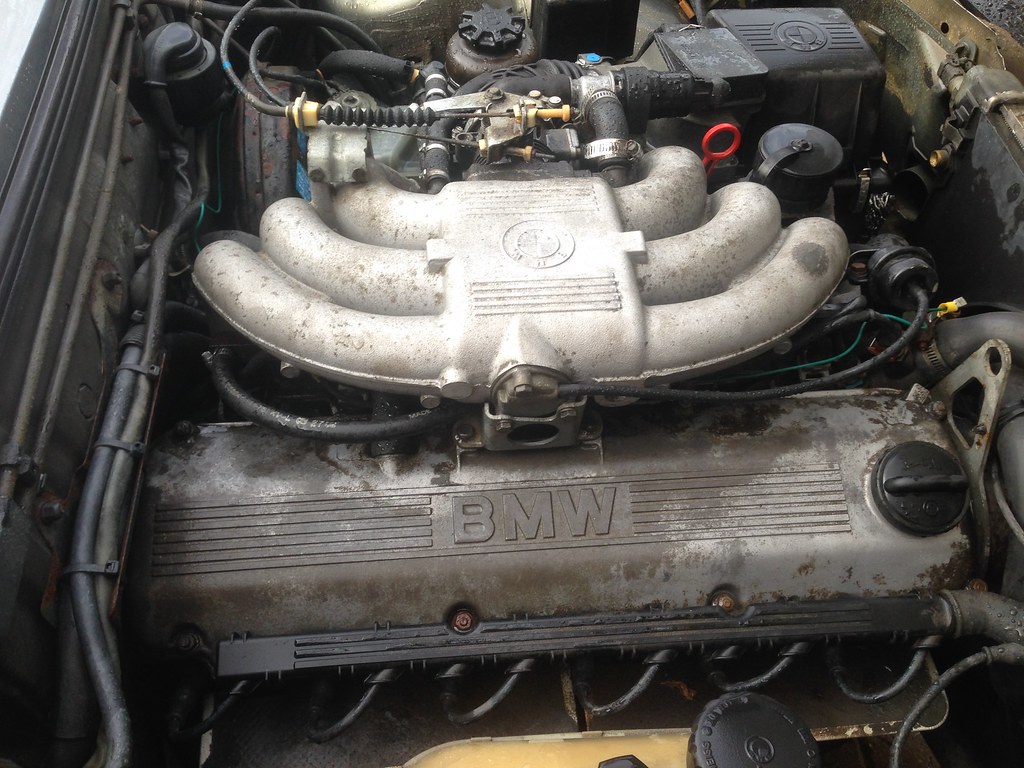
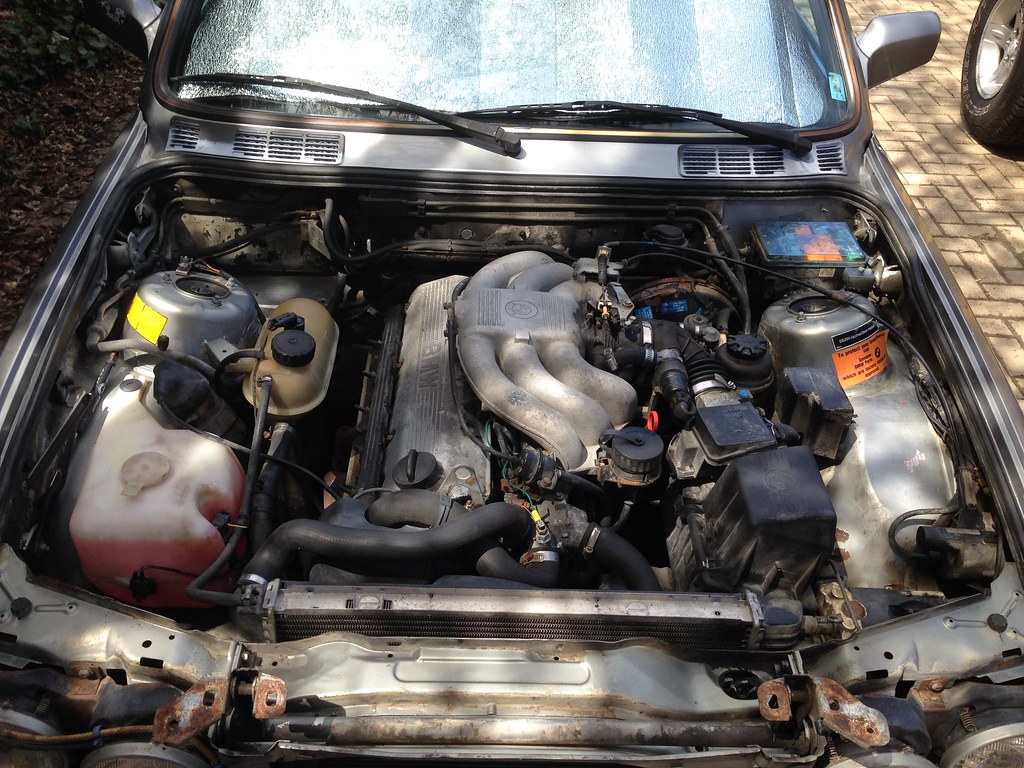
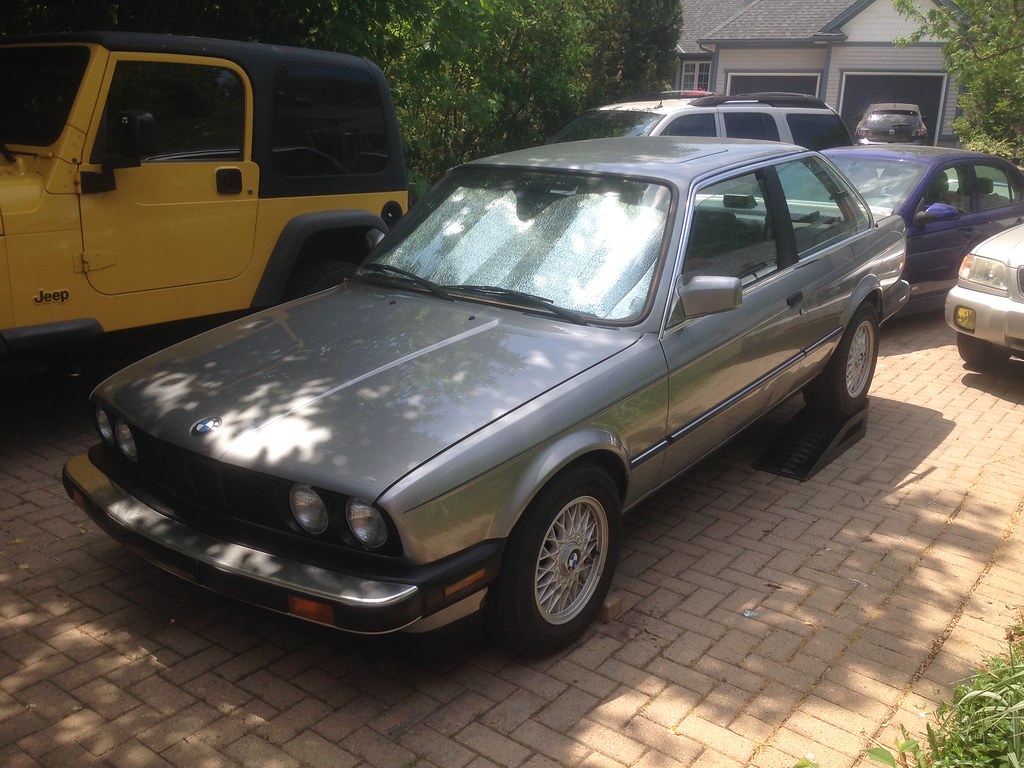
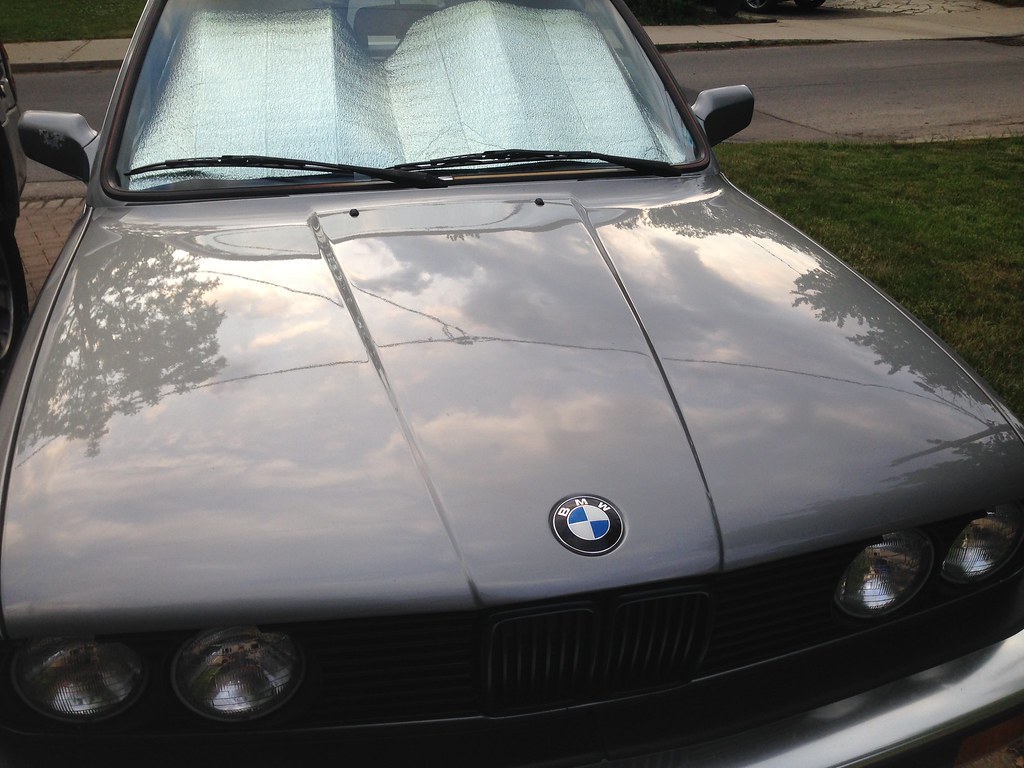
- Washed the car for the first time this year.
- I can't believe how dirty the car got sitting under the cover. Going to buy a better one for next winter.
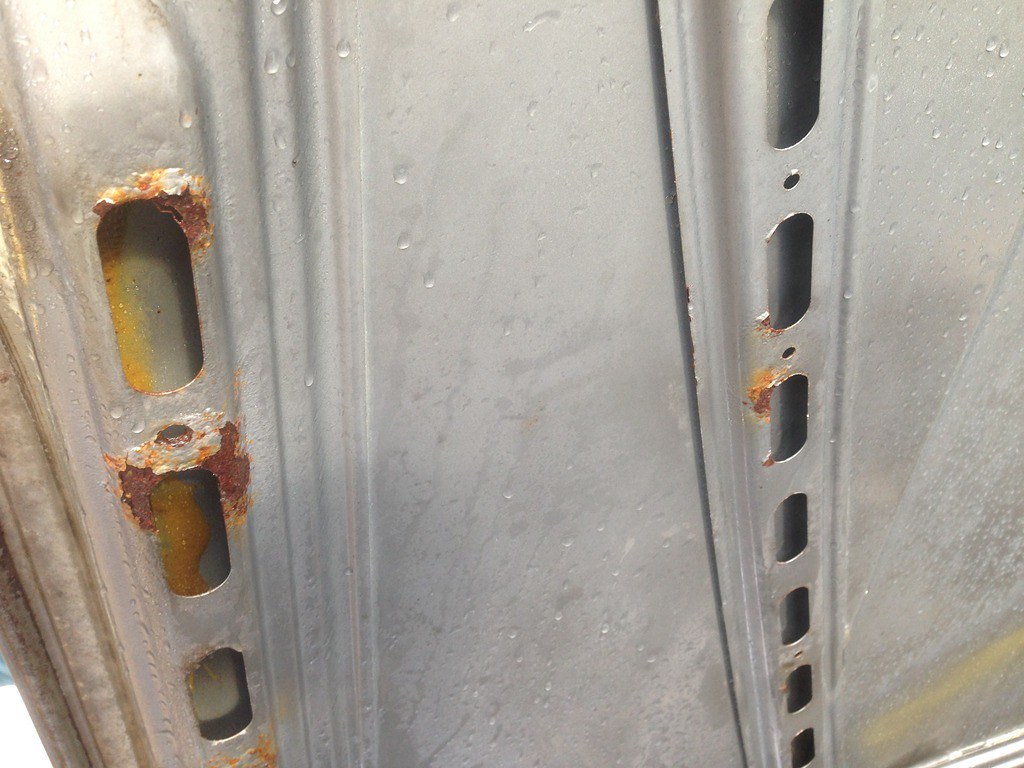
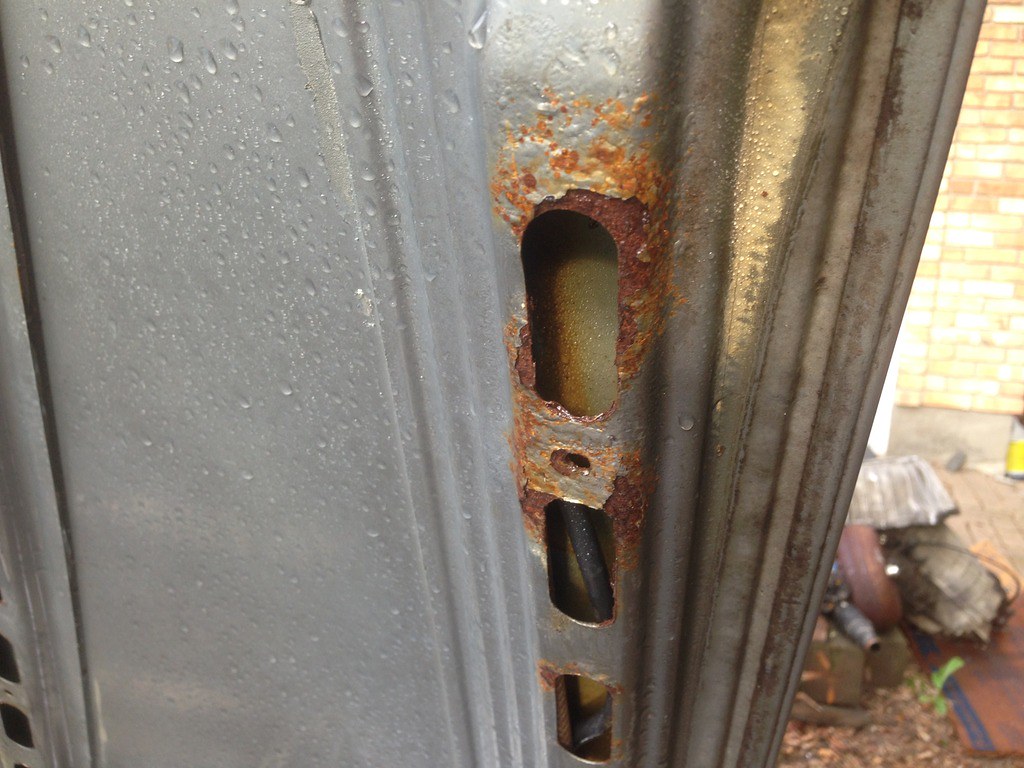
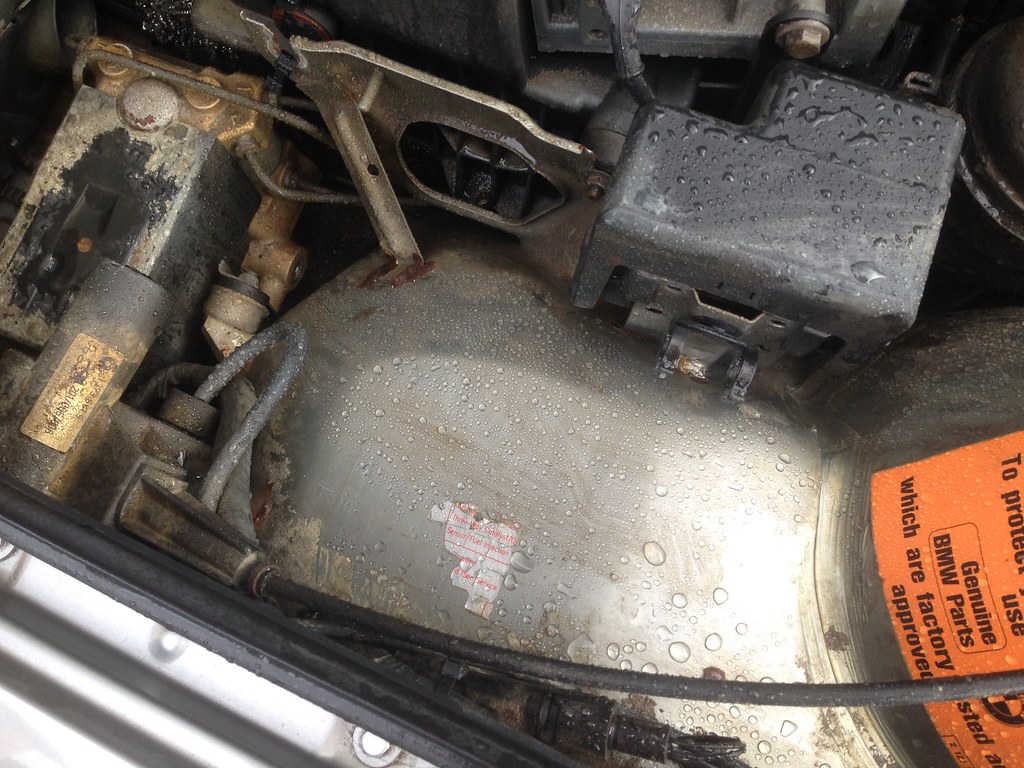
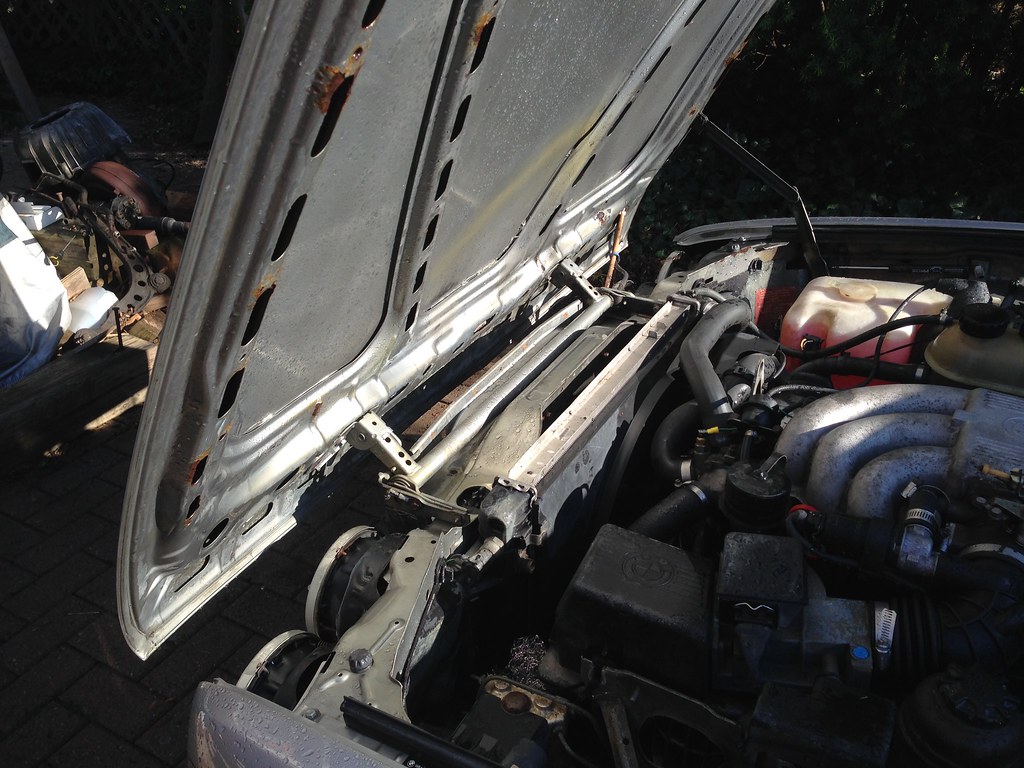
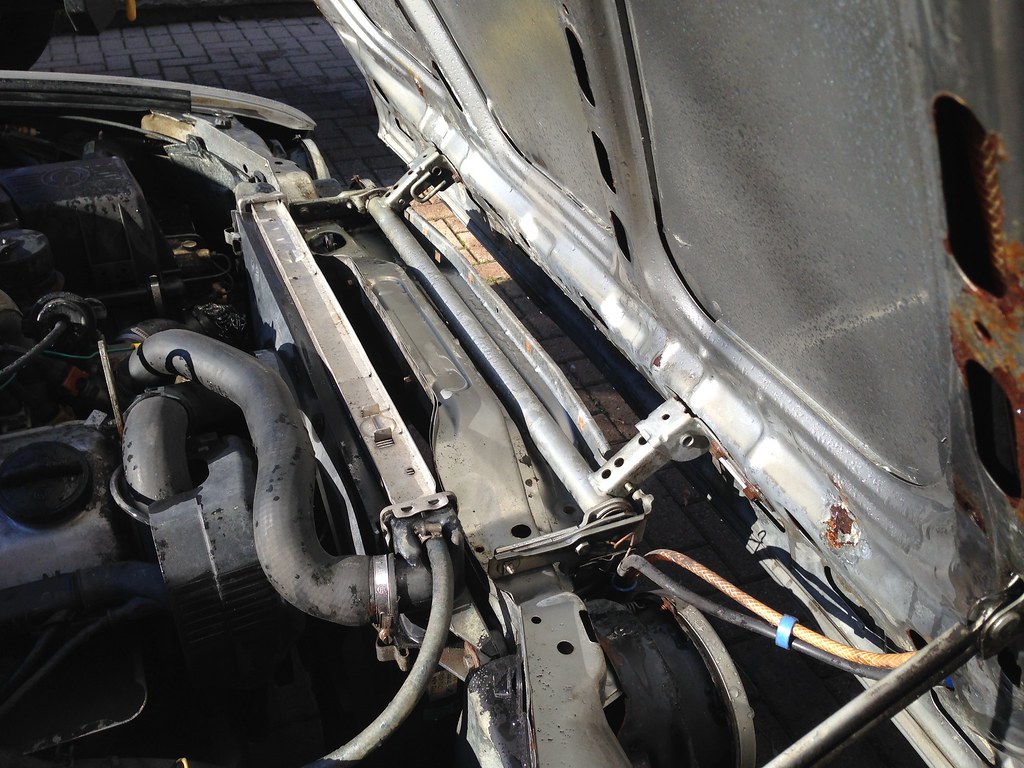
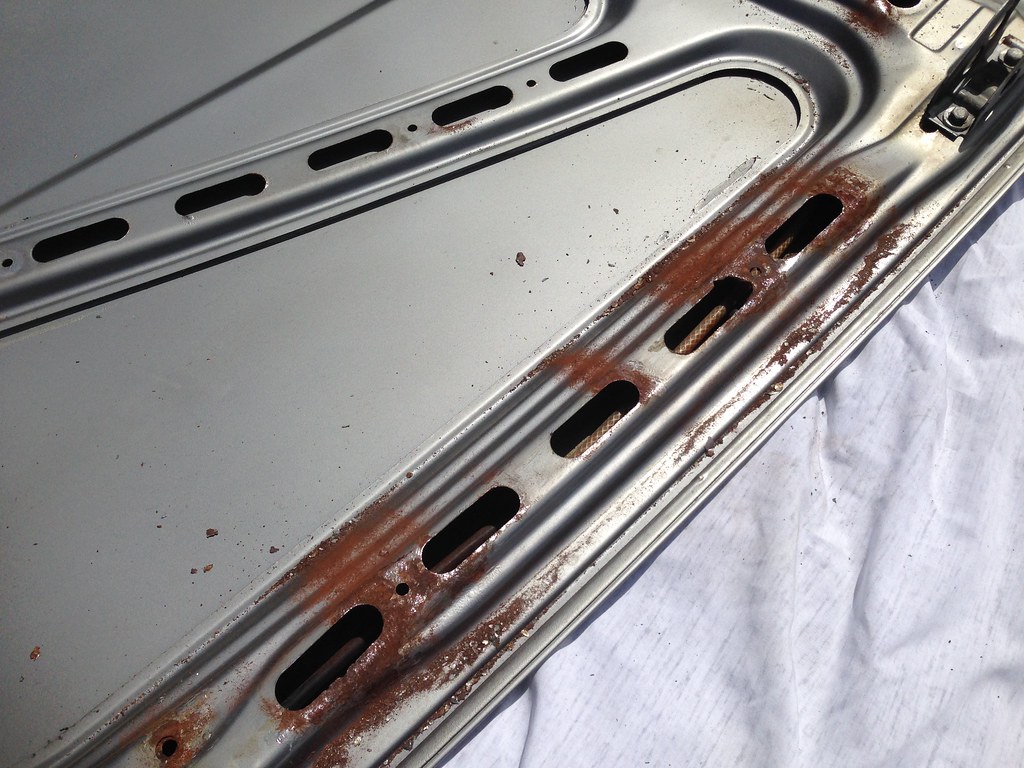
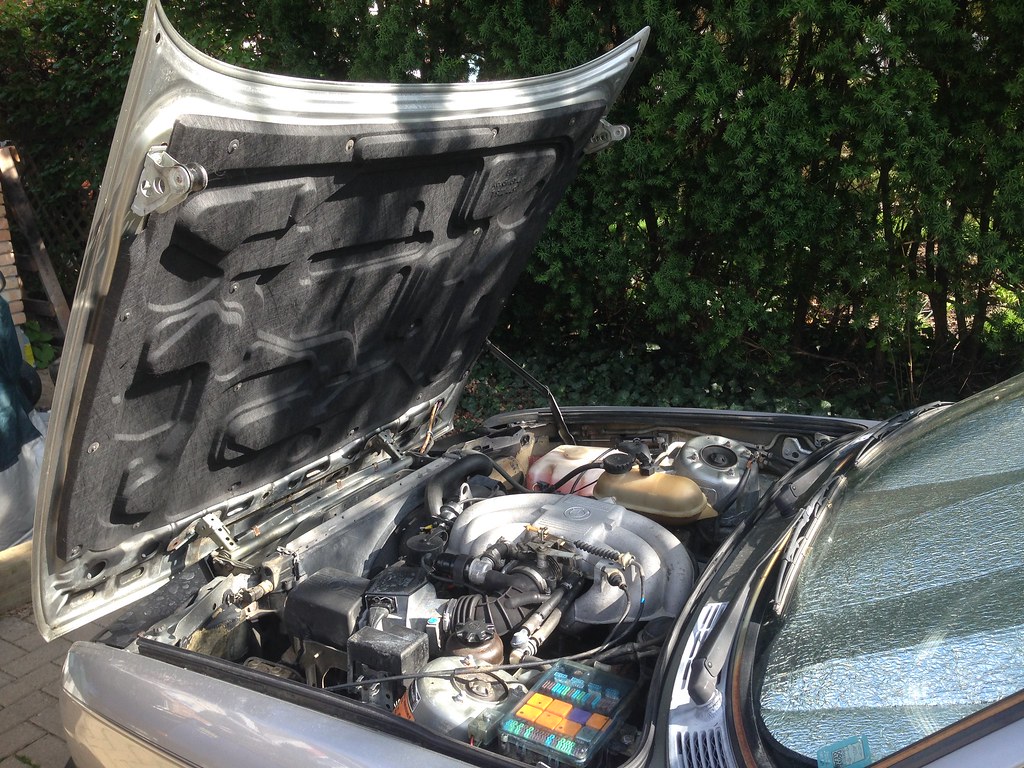
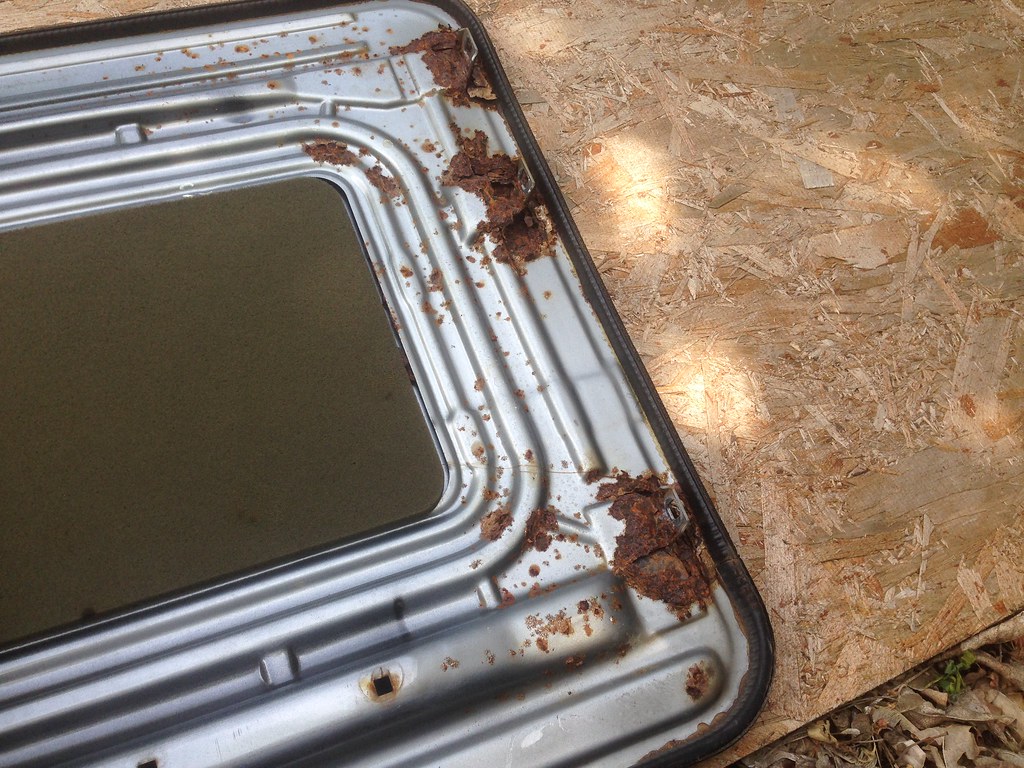
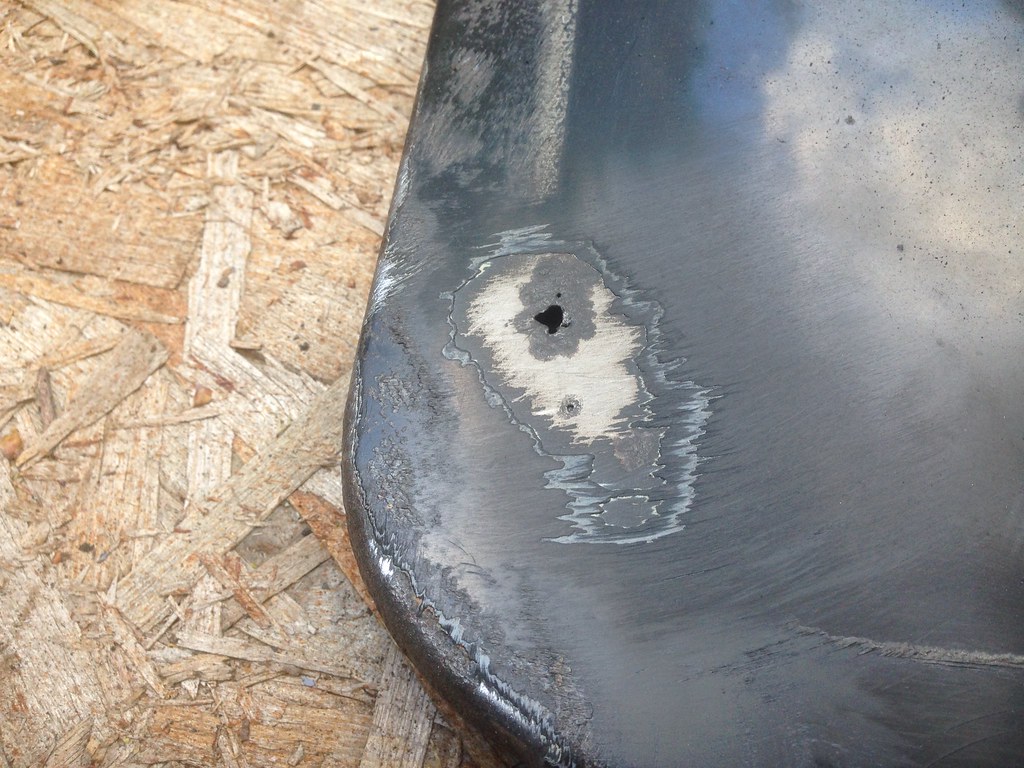
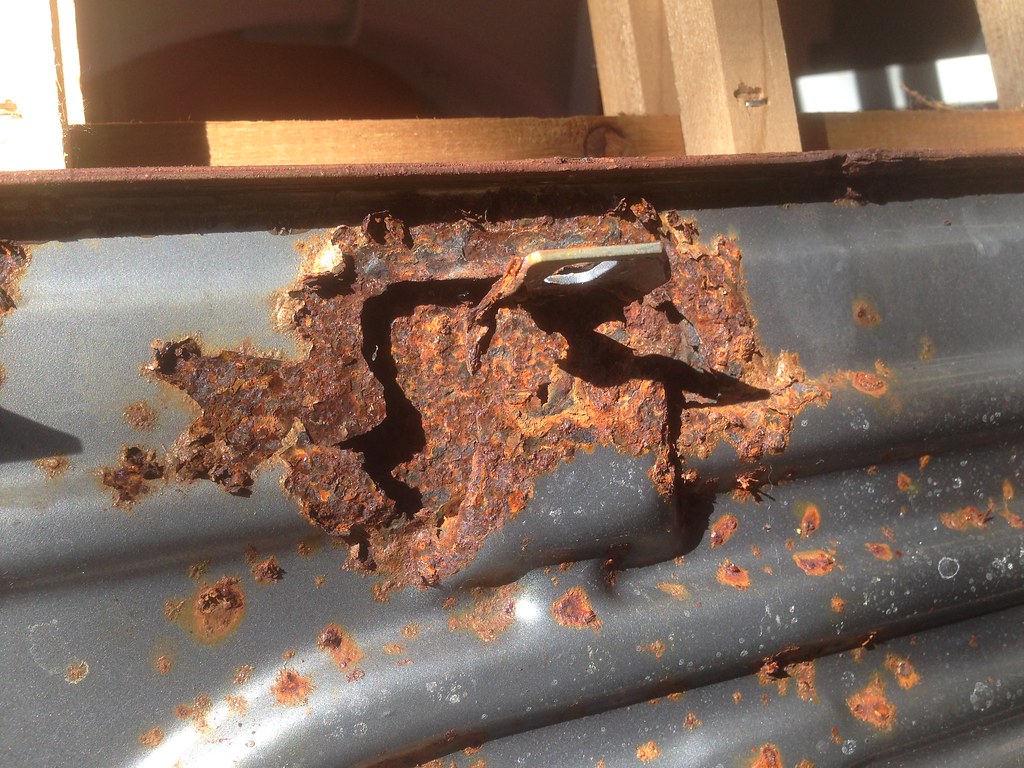
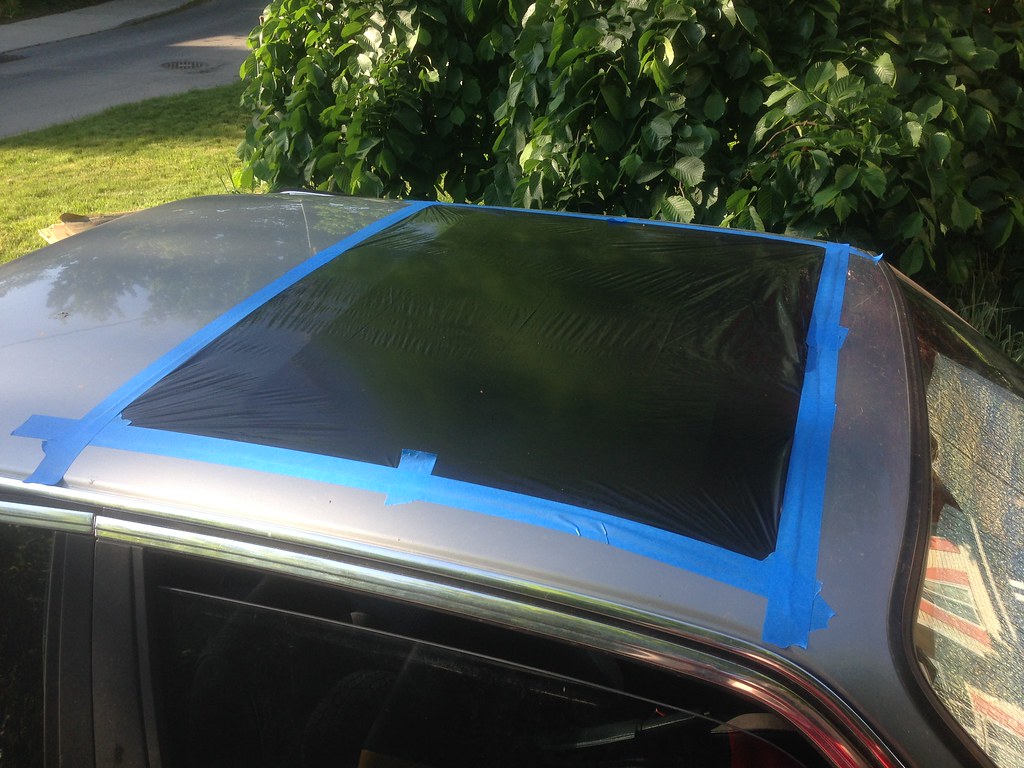
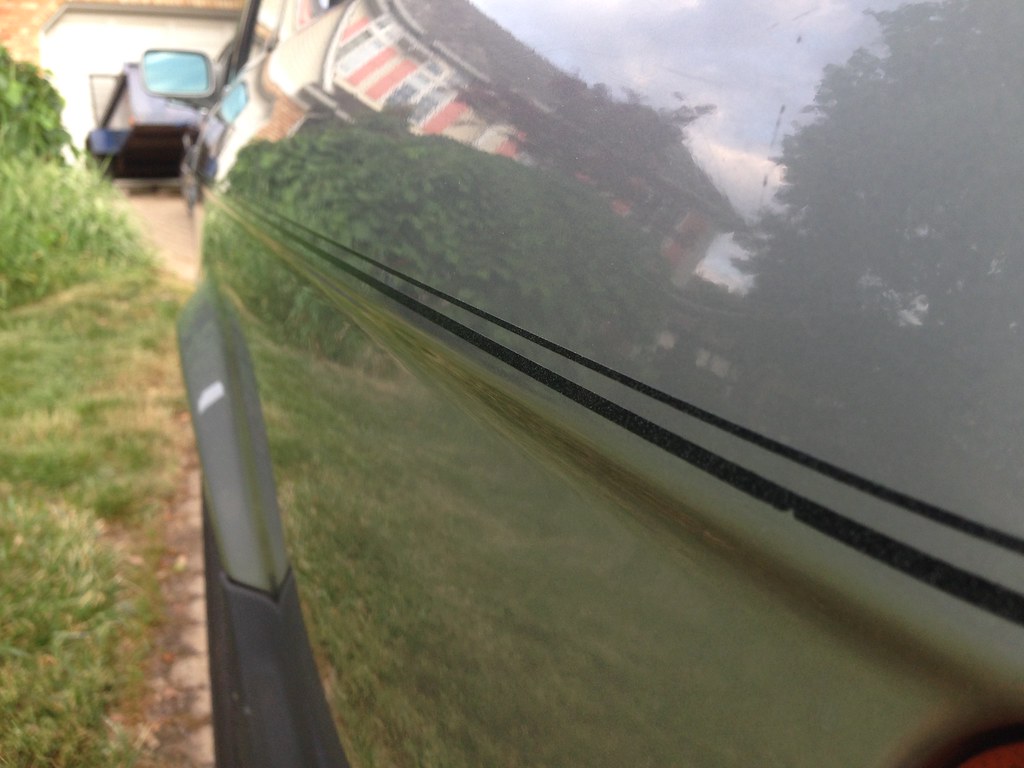
- Took off hood blanket and found some rust on the hood.
- Going to deal with the rust and fabric paint the hood blanket while I have it off.
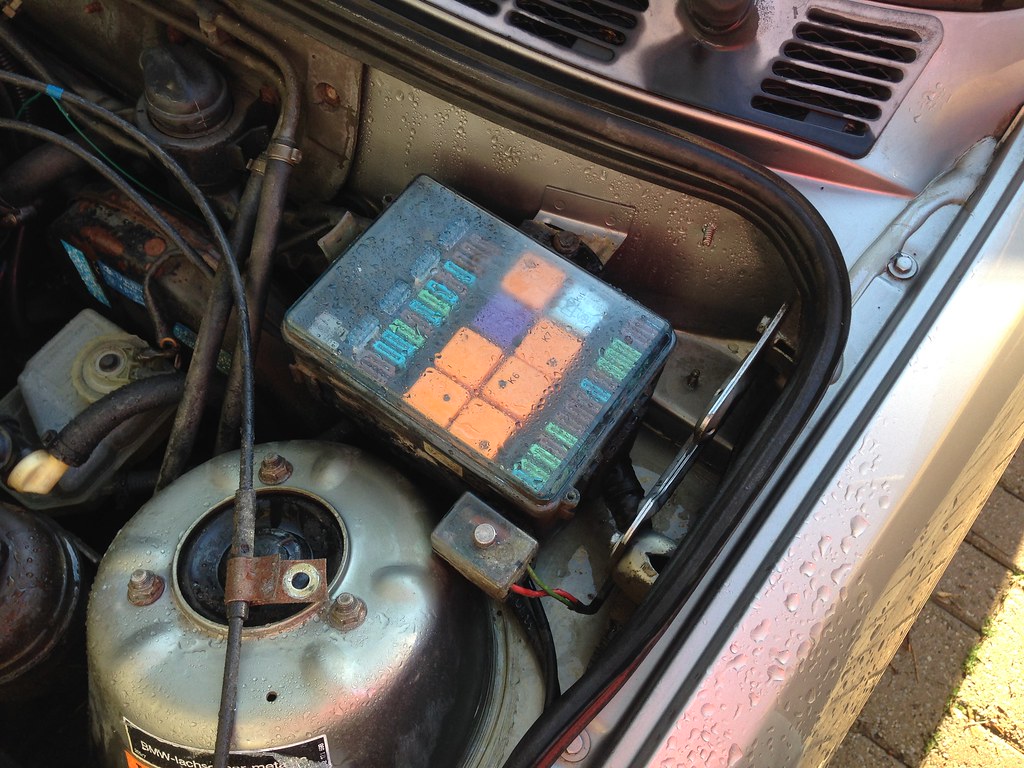
- Tested out some 3M aerosol adhesive remover on the cosmoline.
- This worked pretty well, but still required wiping off the cosmoline.
- I am going to test it with the powerwasher next time I am cleaning.
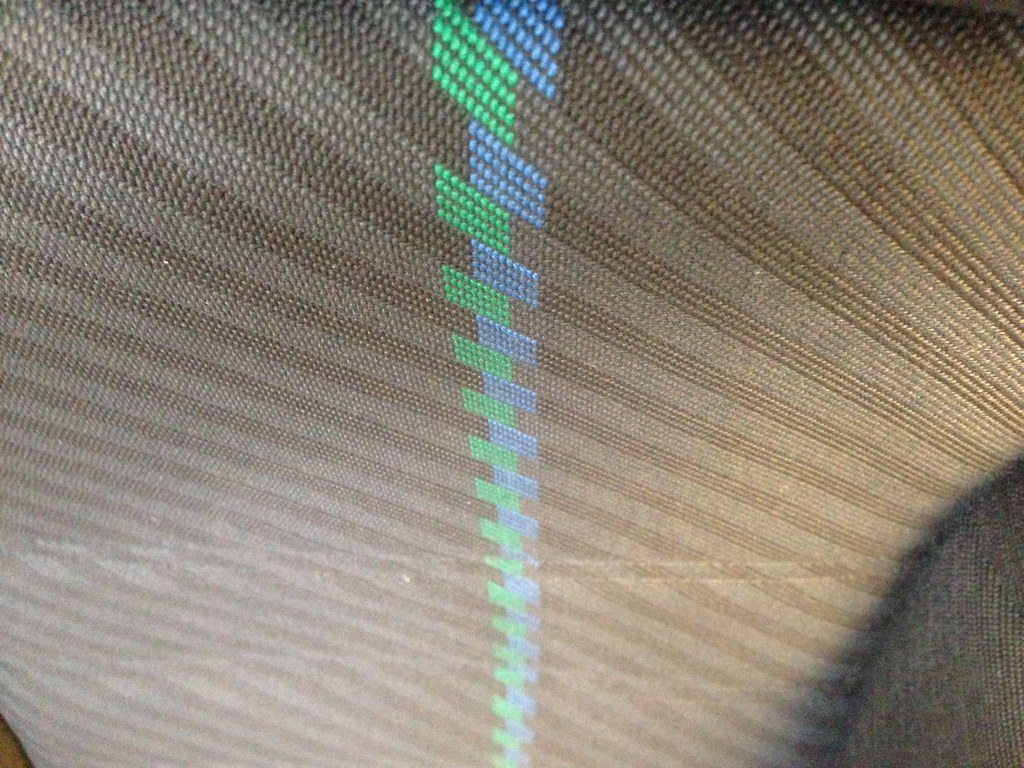
- Got my Alpina Recaro seat I sourced from Germany.
Sneak preview of the Recaro. More information and pictures to come!
-
---------------------------
-
May 3/16
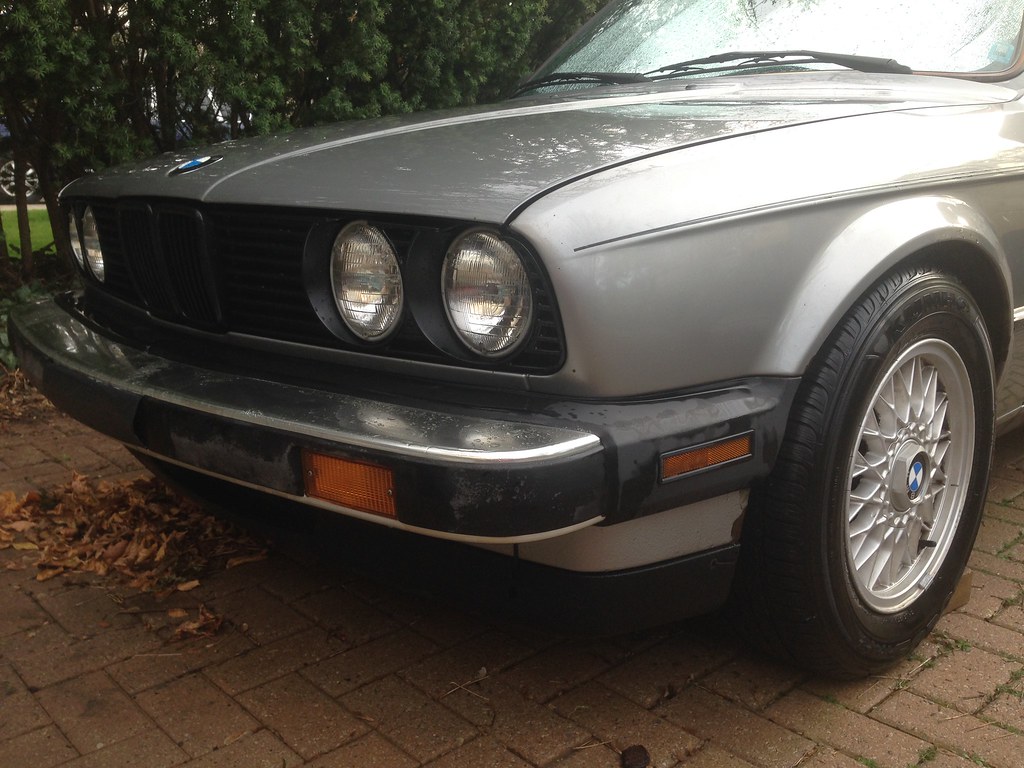
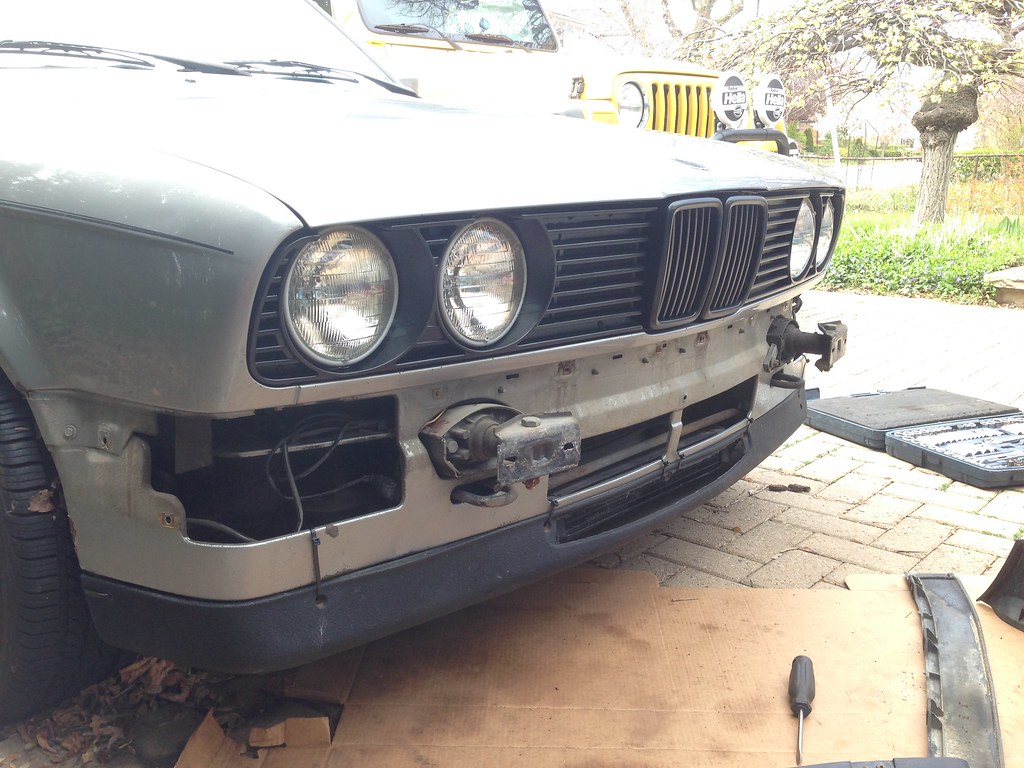
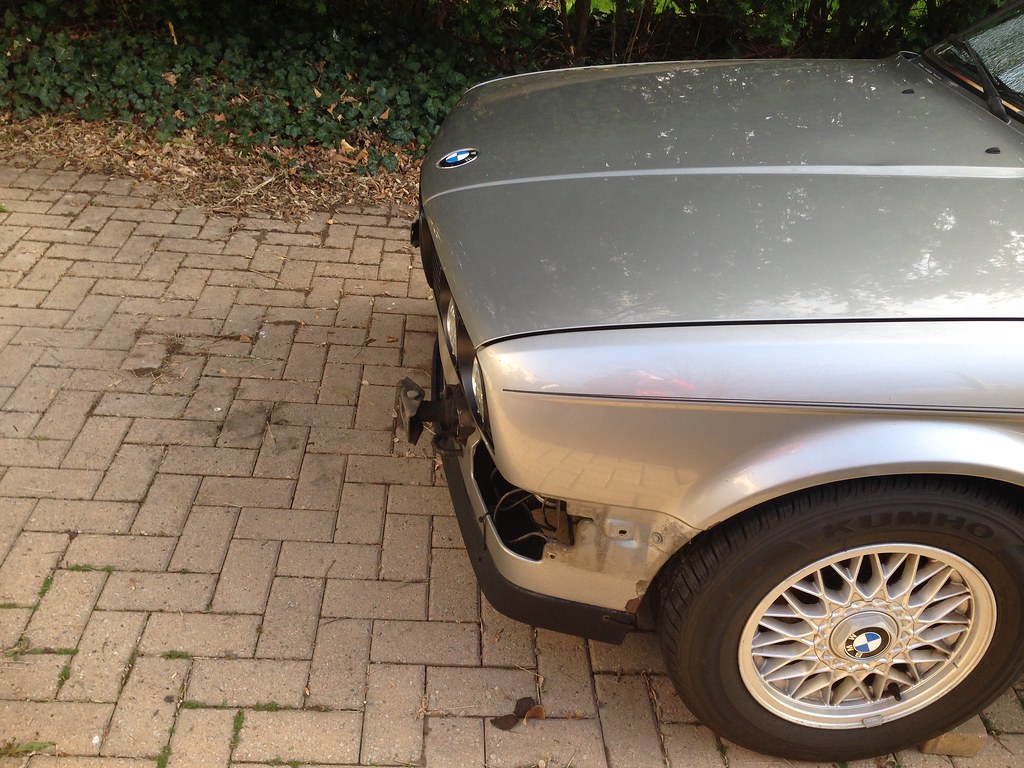
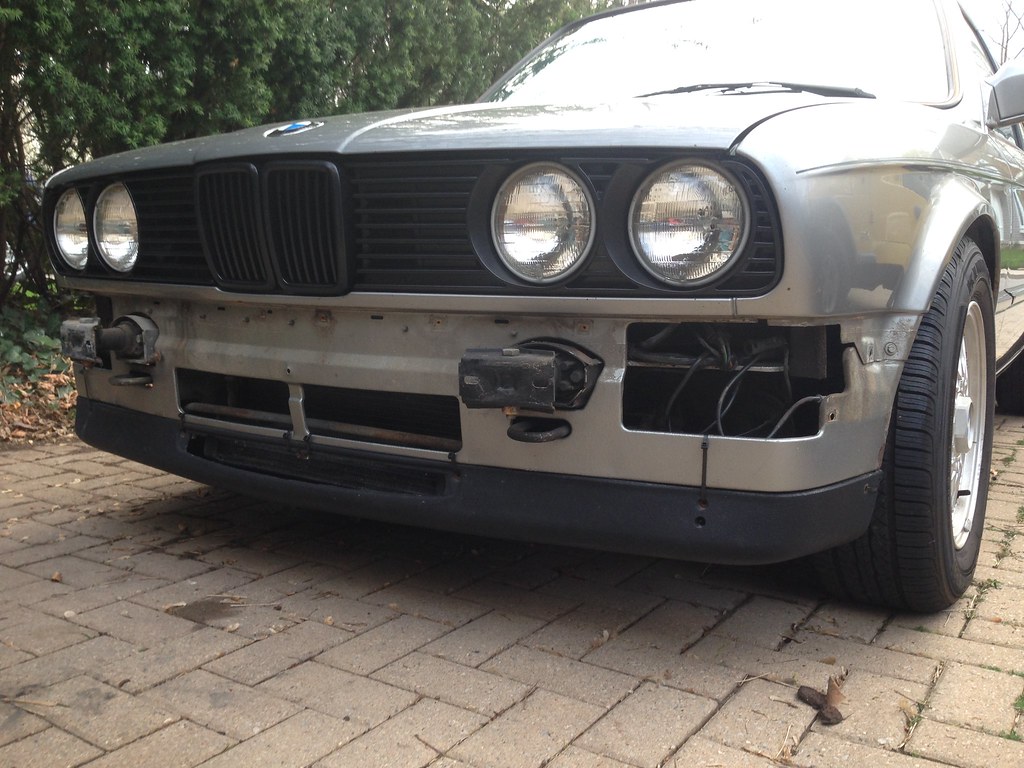
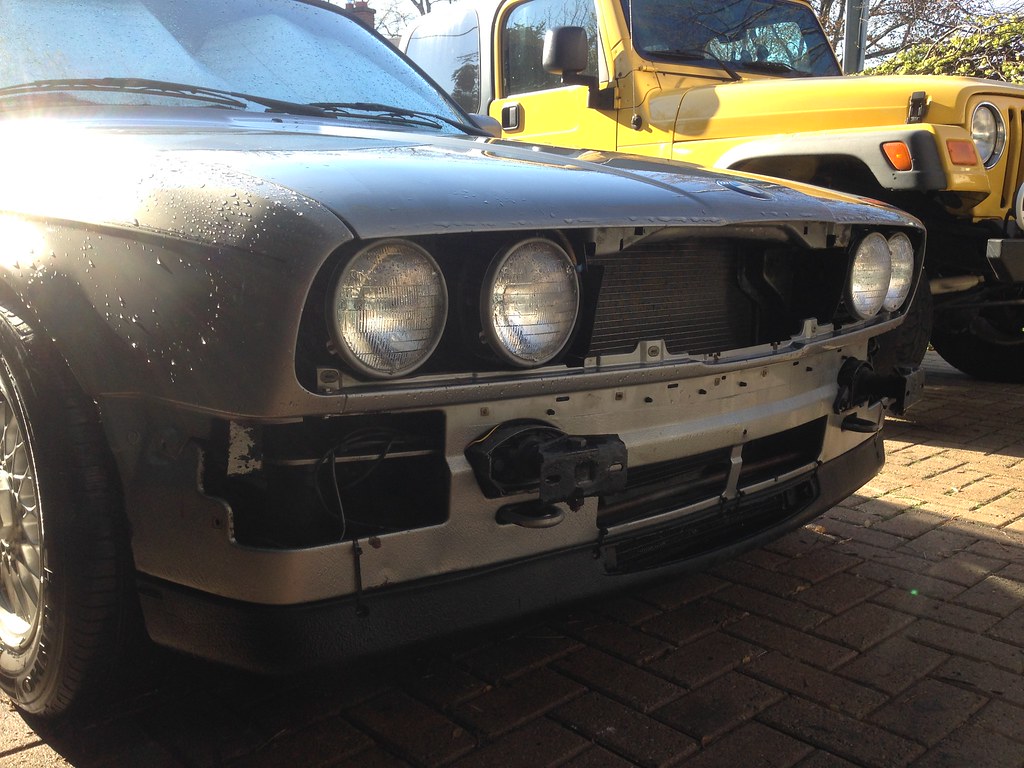
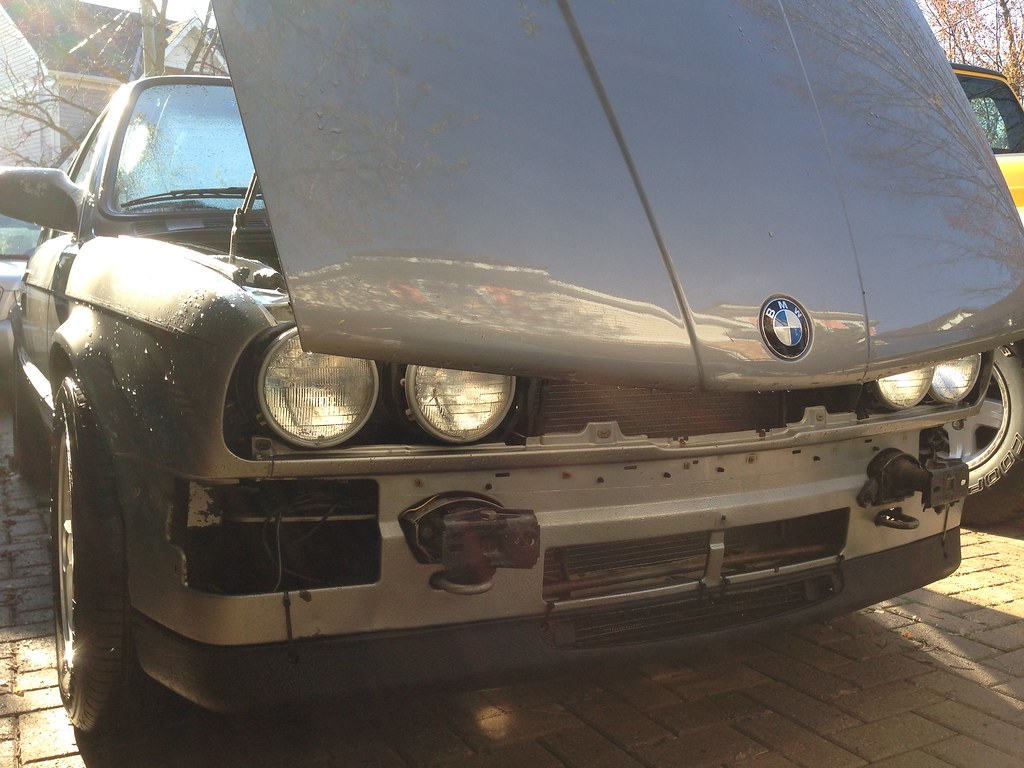
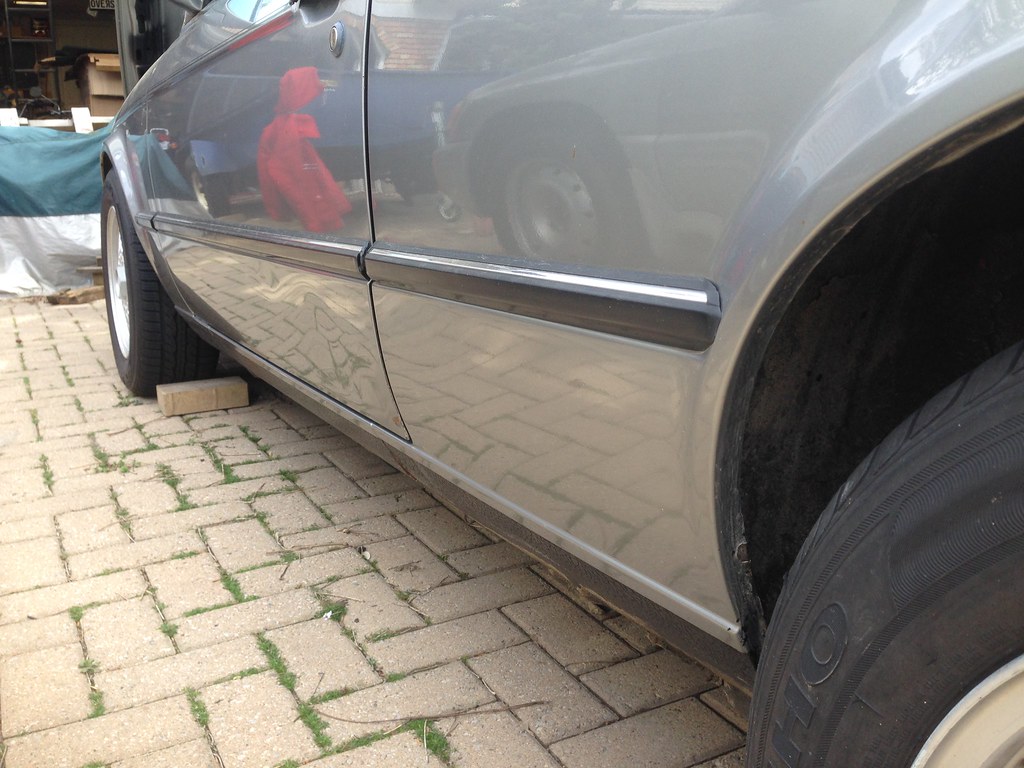
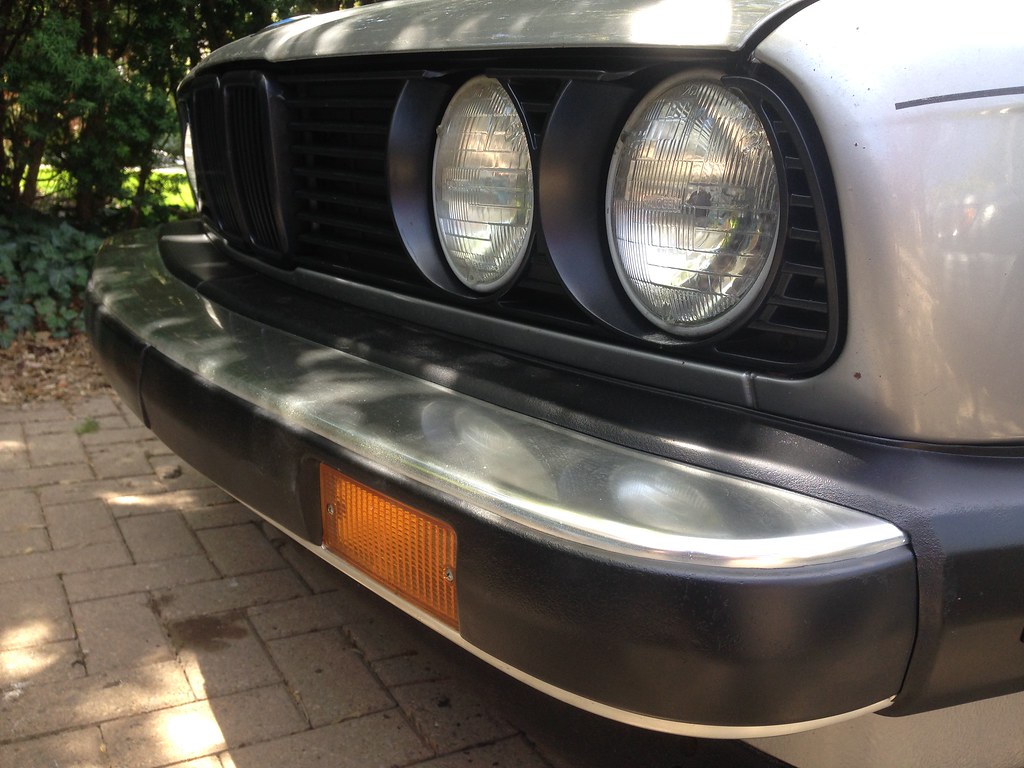
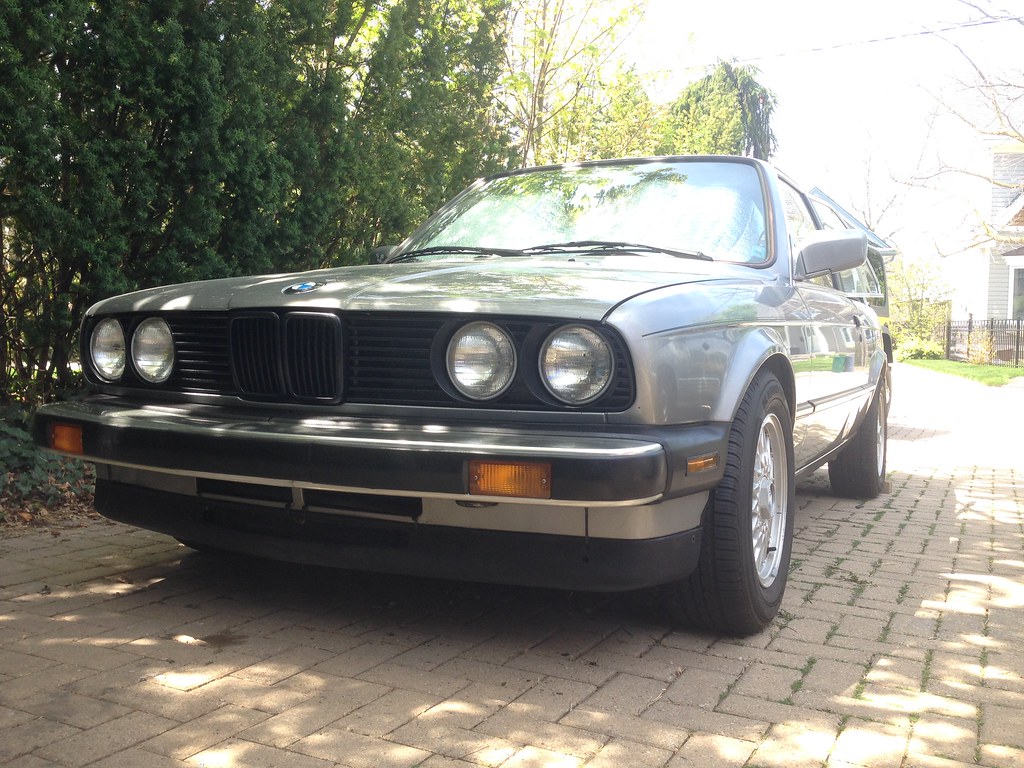
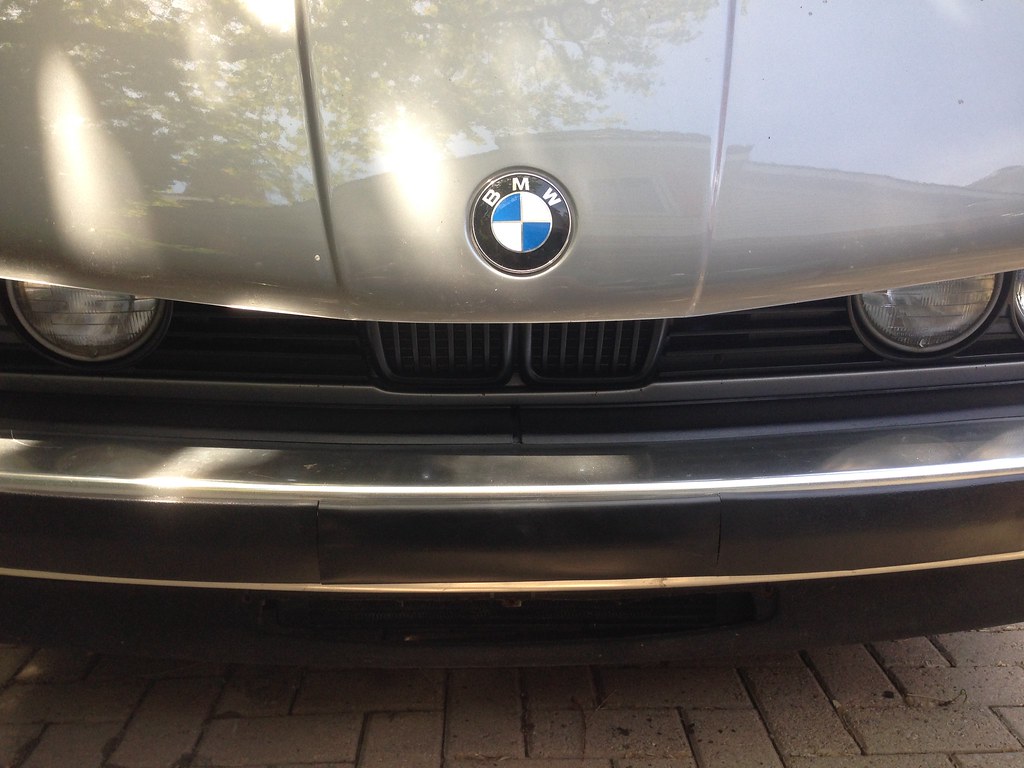
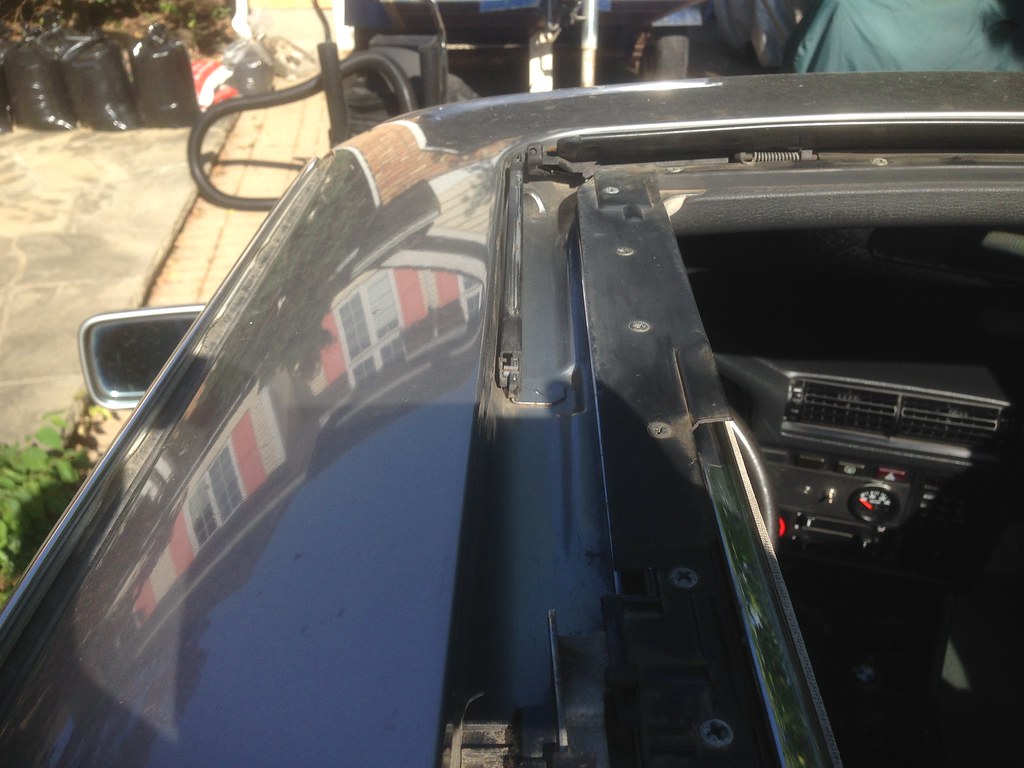
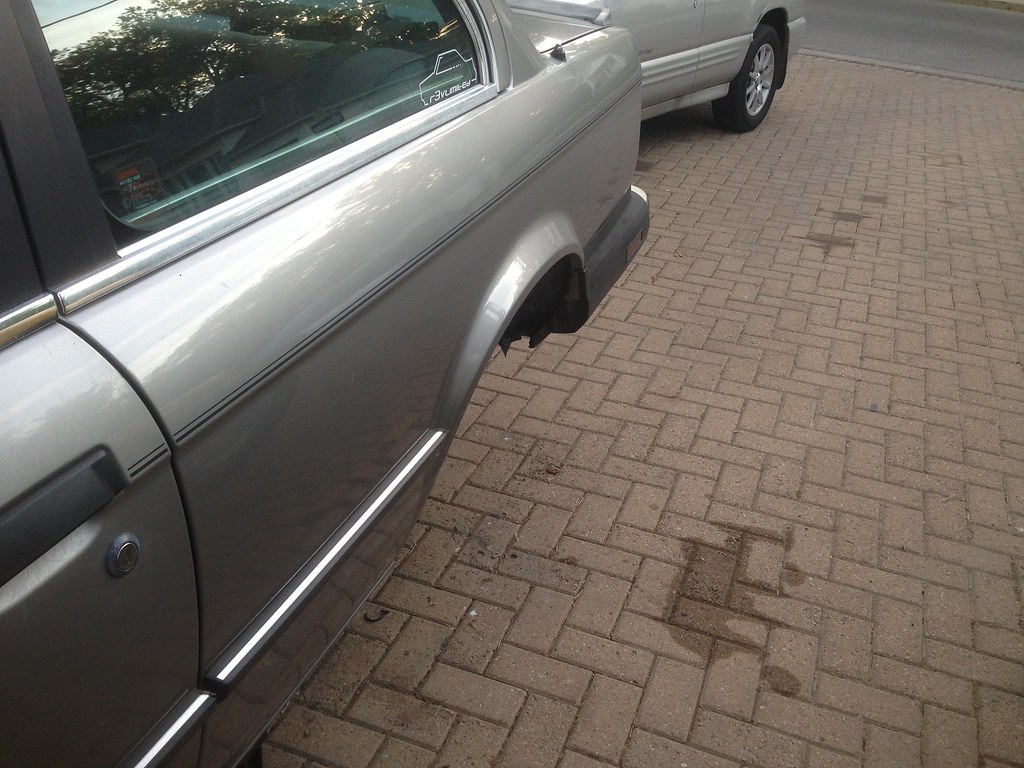
- Took the front bumper off as well as all the trim
- Luckily there is no more rust under here. Valance looks to be in great shape!
- You can clearly see the "shark nose" heritage without the diving board mounted.
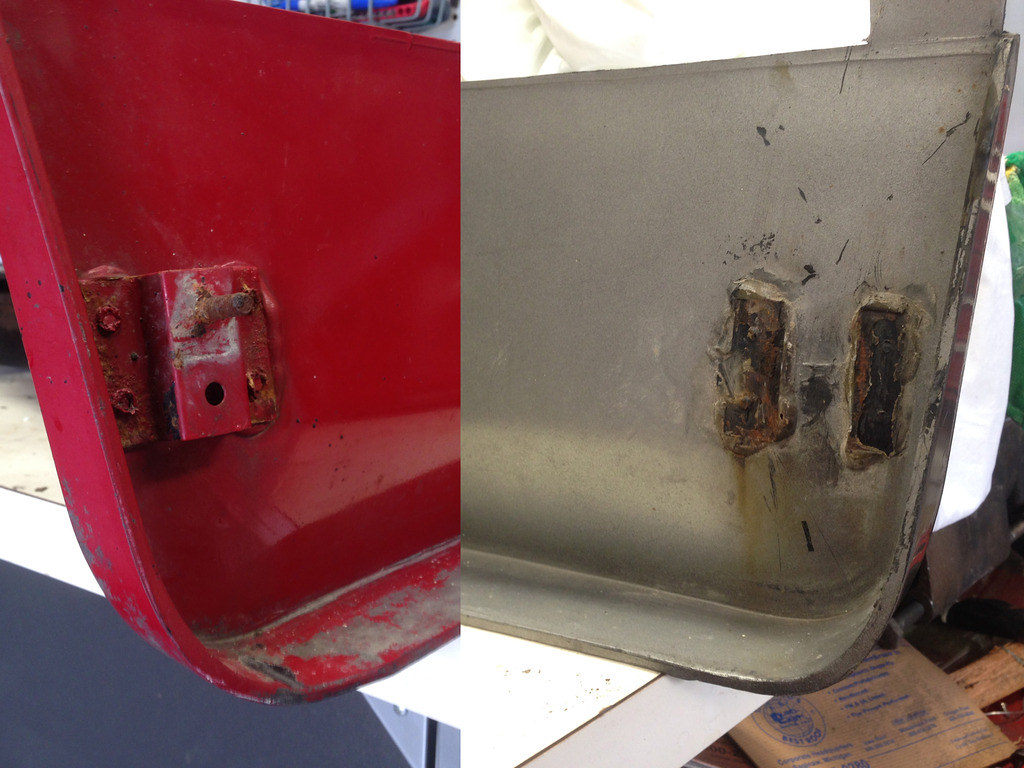
- Of course two of the bolts didn't cooperate and I had to cut them.
- Made another front license plate delete.
- This time I used the bandsaw and some precision. Much better then my reciprocating saw attempt.
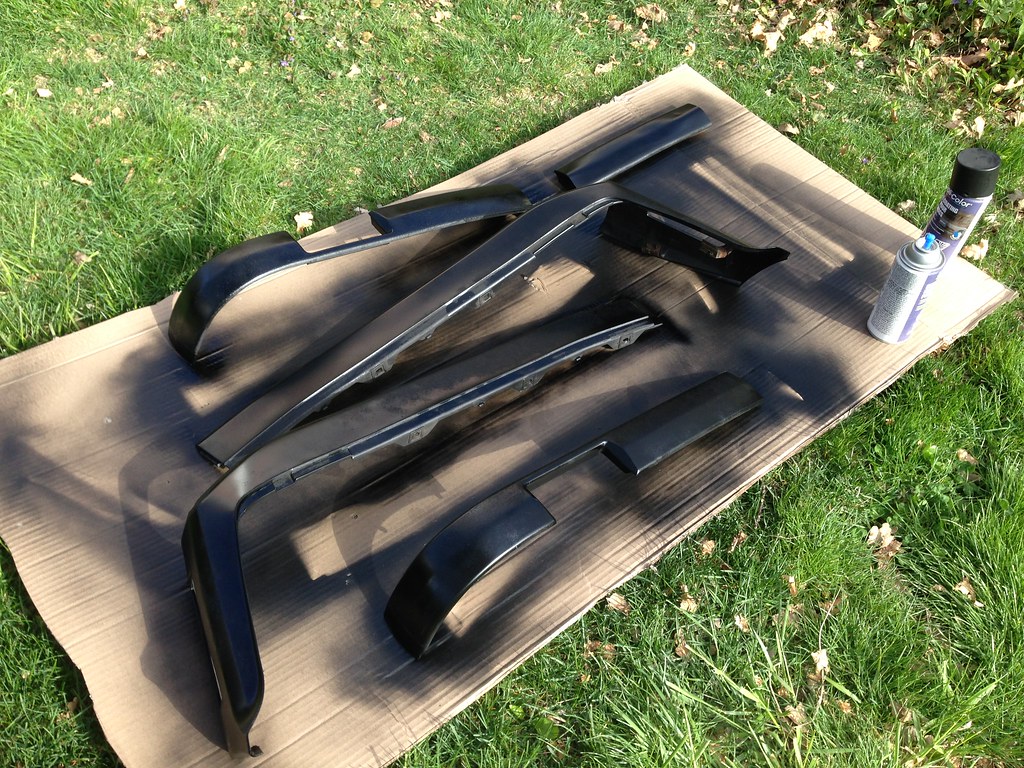
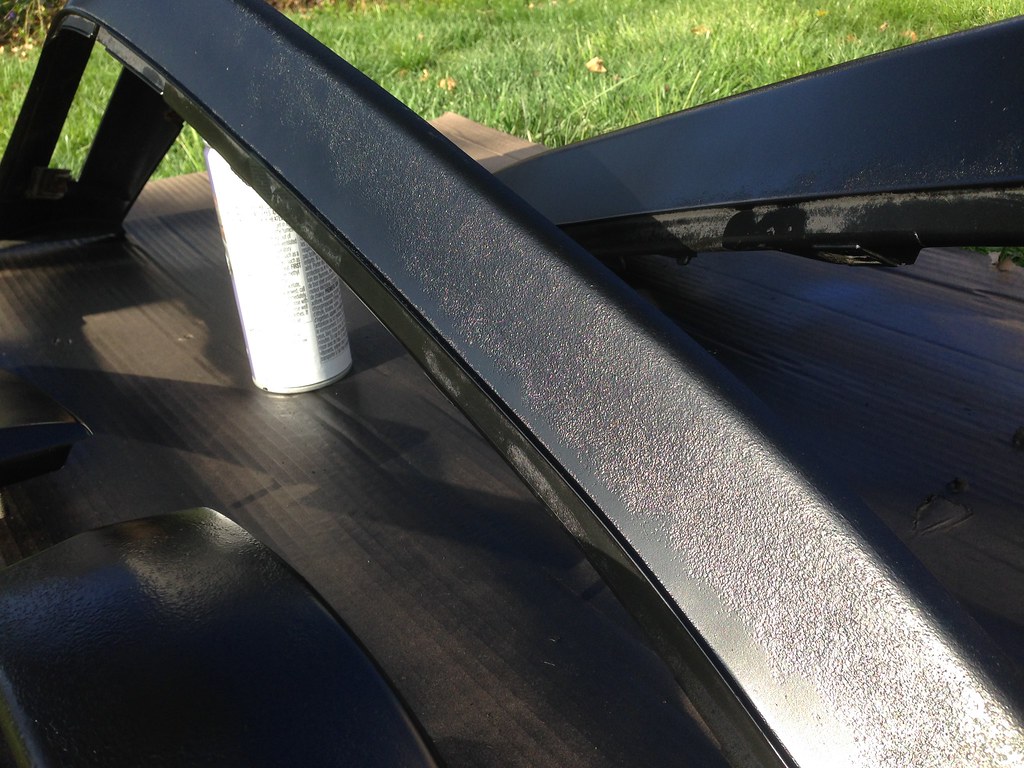
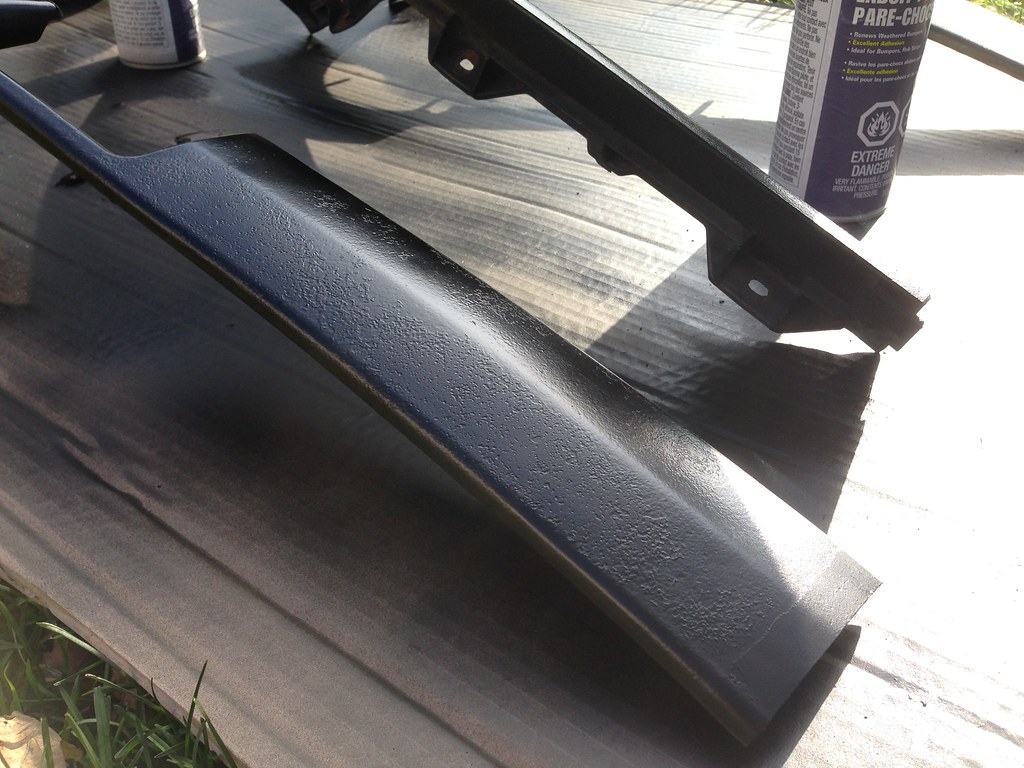
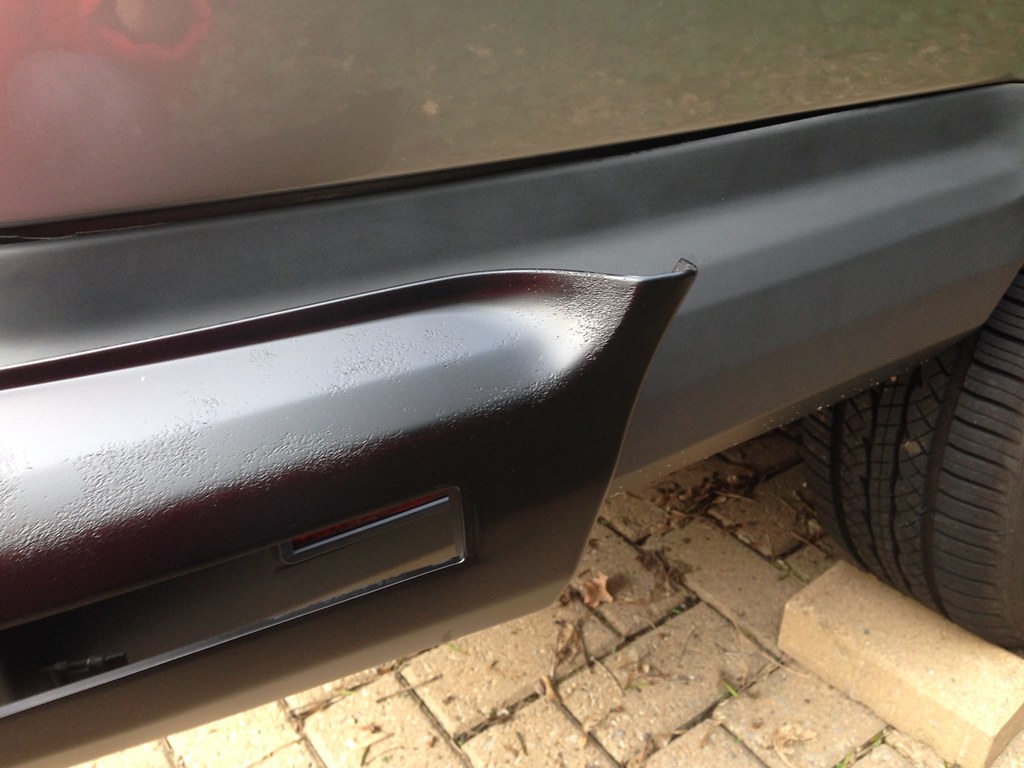
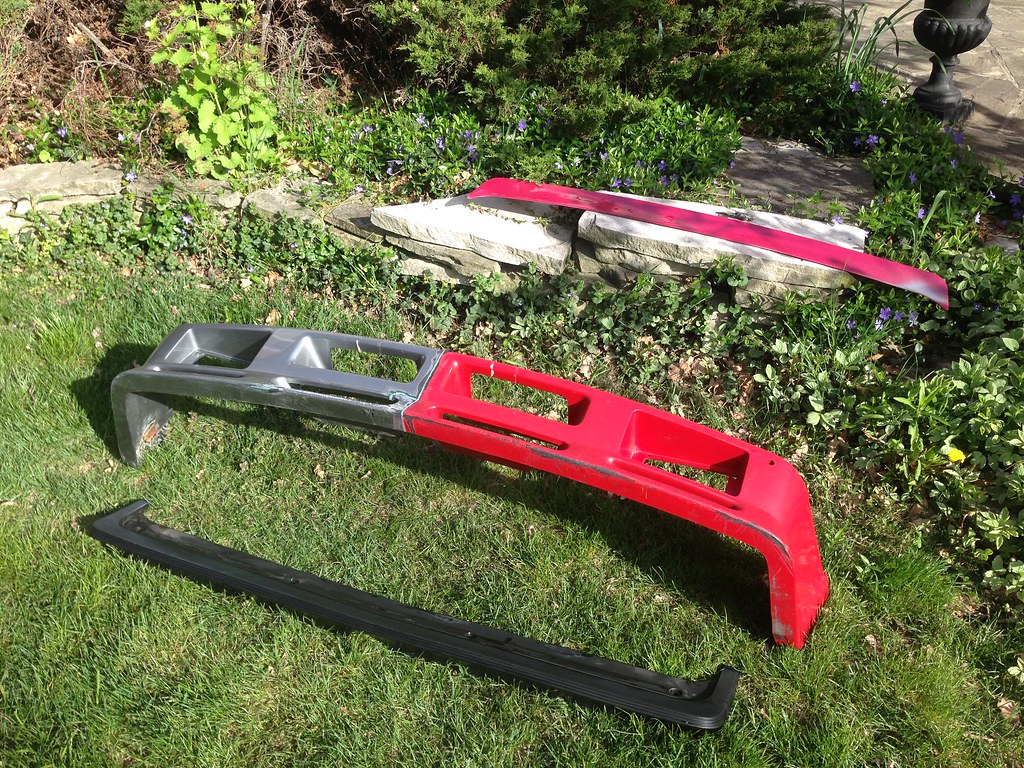
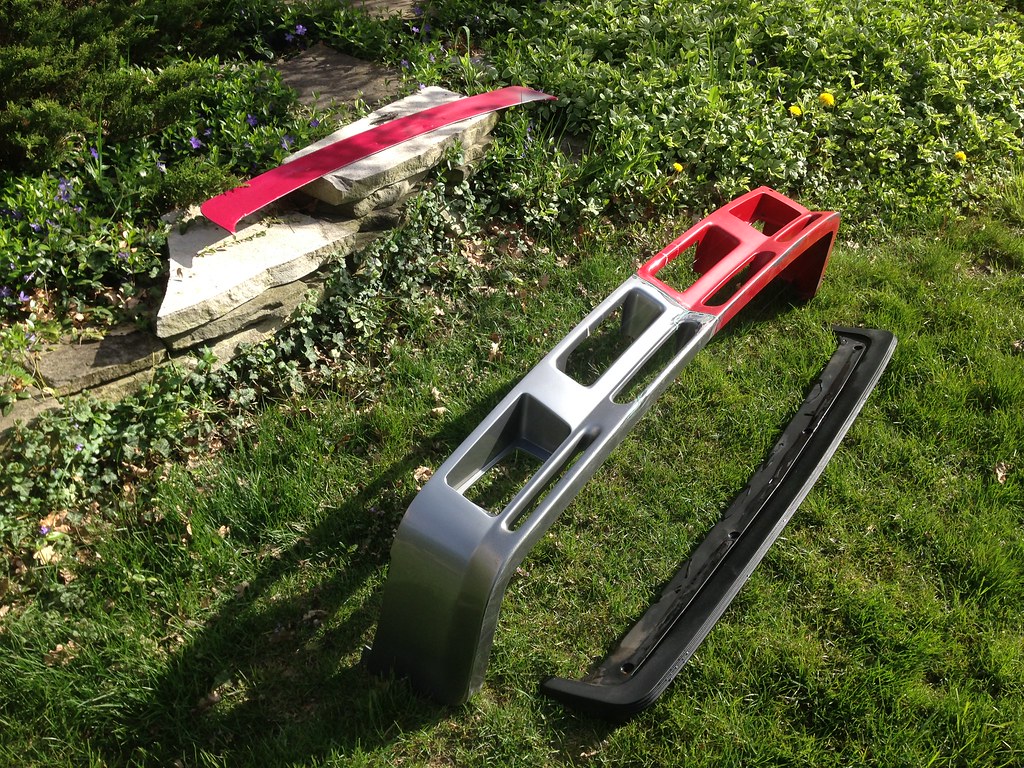
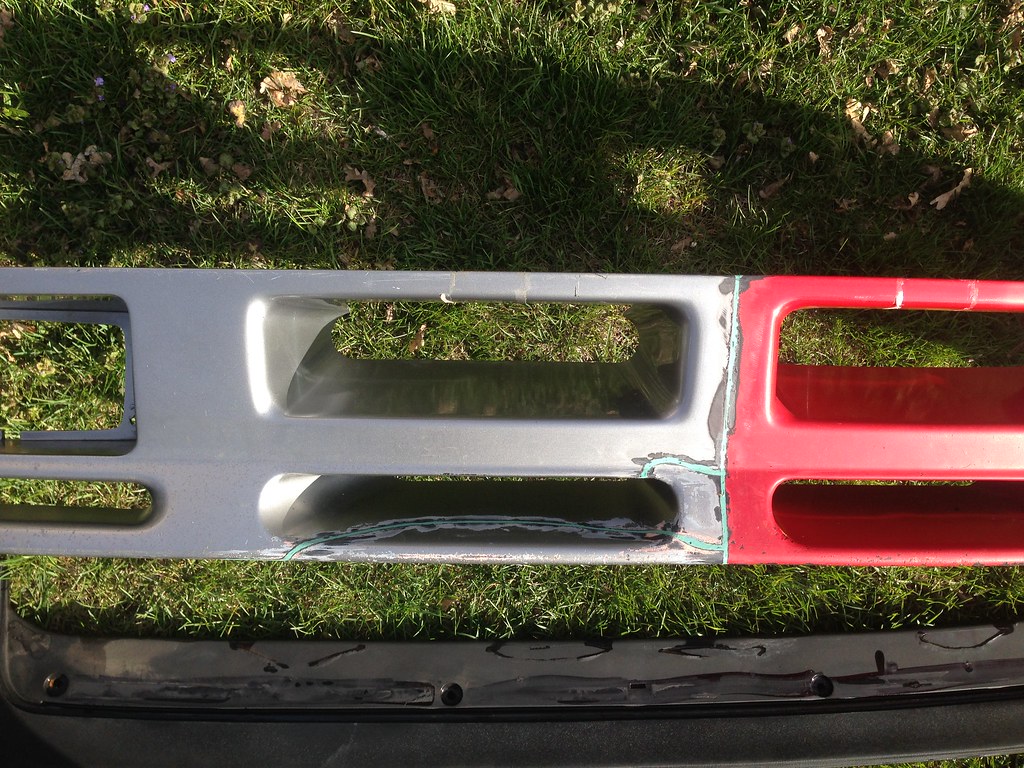
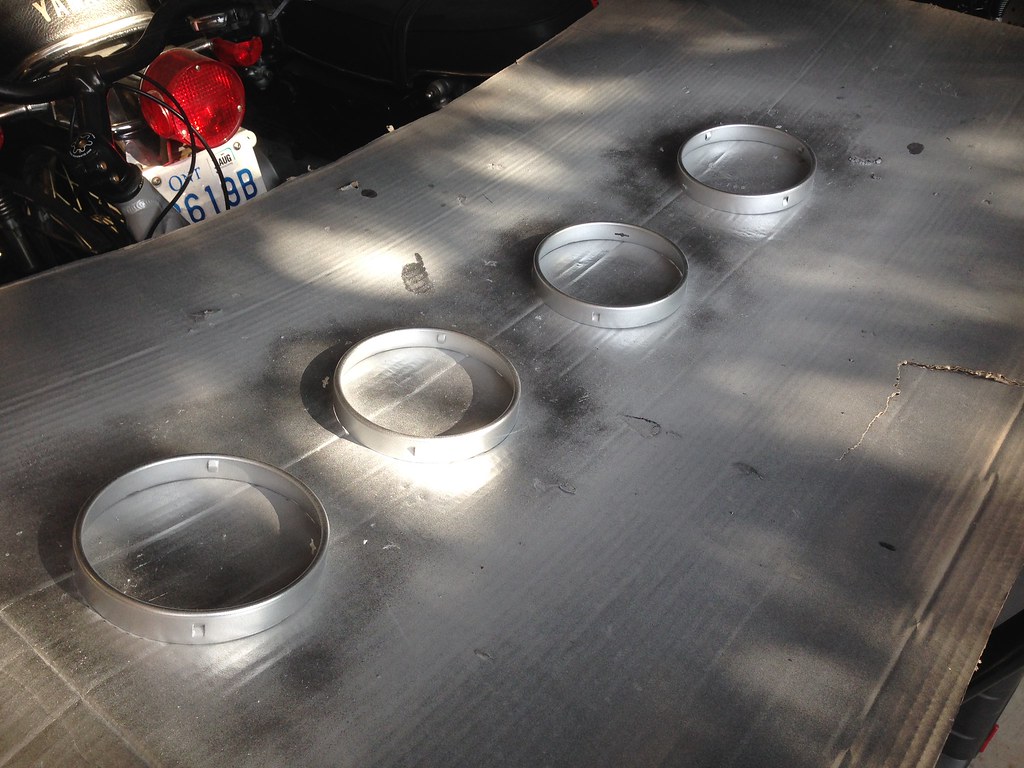
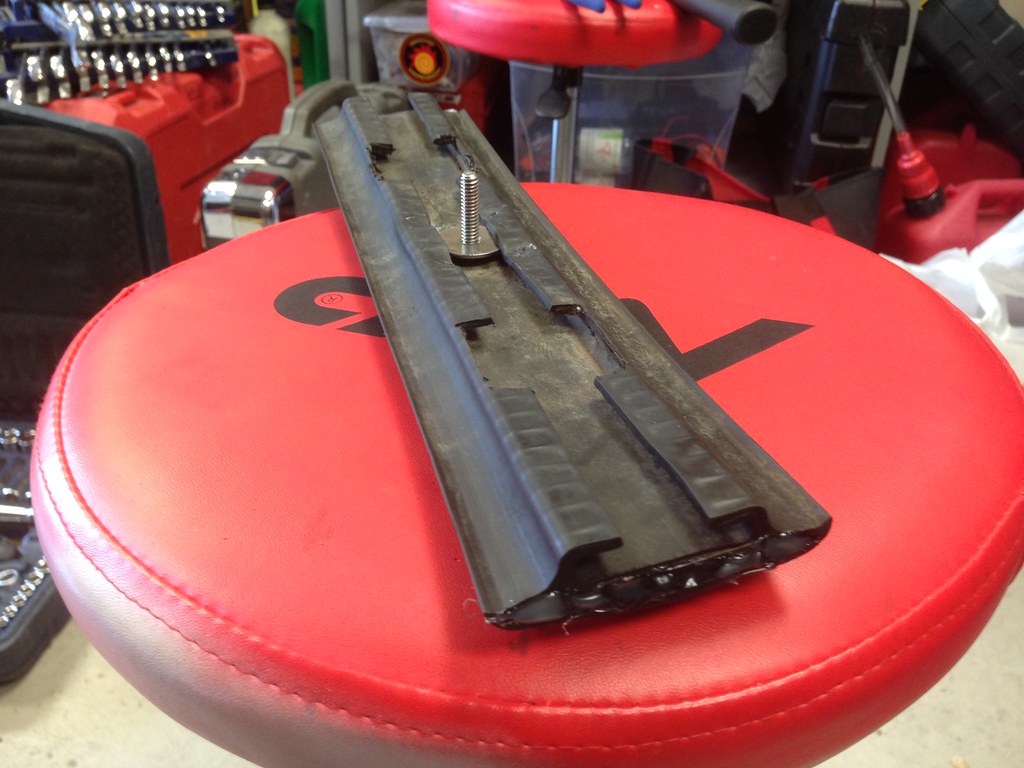
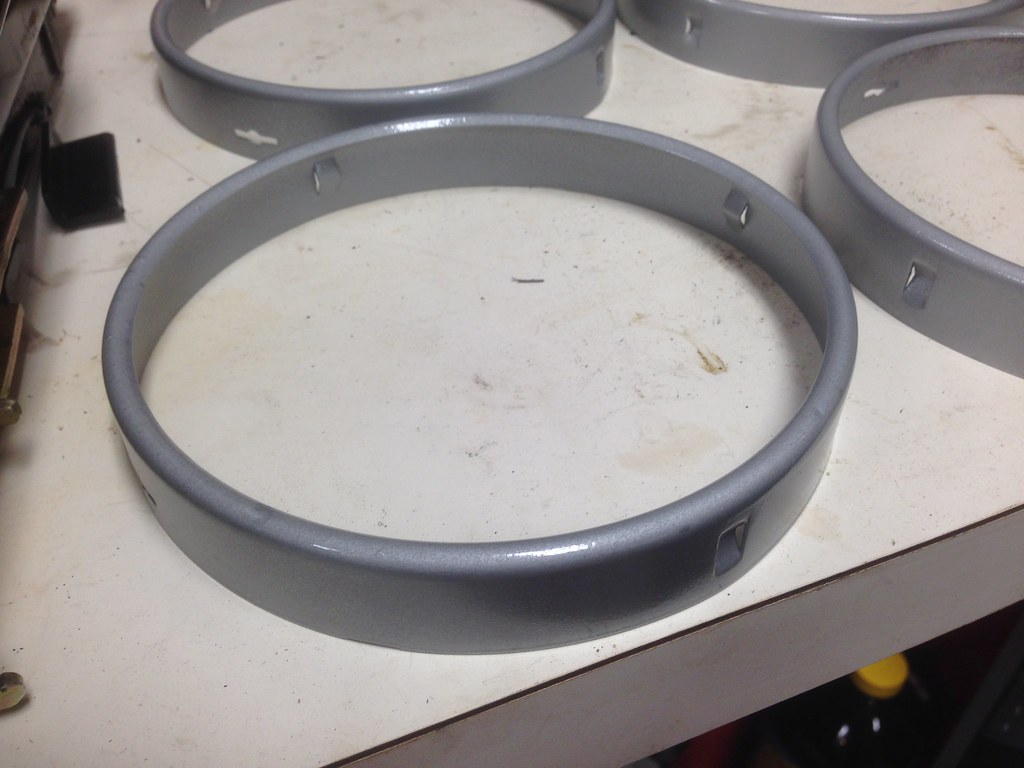
- Painted all the front bumper trim pieces with Duplicolor Bumper Coat.
- I laid down 6 or 7 coats
- Unfortunately, the UV damage / pitting still shows through. I was hoping the bumper coat was a higher build and would hide the damage.
- When I tackle the rear trim, I'm going to try a high build primer first along with some sanding. I can always redo the front trim in the future if it bothers me.
- I'm soaking the bumper and trim mounting hardware overnight in some rust converter. Anything that doesn't turn out nice will be replaced with new hardware (if I can find it).
Prep consisted of a rubdown with Duplicolor grease and wax remover, followed by a wash with dish soap and water.
3 coats.
7 coats.
-
---------------------------
-
May 4/16
Mostly worked on my girlfriend's Jetta this afternoon. Had to take the front bumper off to change a headlight housing, and de-oiled the side-mount intercooler while I was at it. She pulled out the driver's seat and gave the interior a full clean, then she did some prep and paint on her DS fender rust.
I did paint the E30's hood blanket with a can of Duplicolor Fabric Paint. I think I got 4 or 5 coats out of a single can. I bought a second can, but decided it wasn't needed. Hood blanket looks WAY better. Well worth the $14 and time to paint.
I did literally zero prep to paint the hood blanket, as a spot test with just a cloth and water was already pulling the blanket fibers apart.
I picked up some SS hardware to replace the stuff I cut from my bumper trim. Also grabbed some aluminum stock to make some iS airdam brackets.
Before (back of the blanket, which was actually cleaner then the front):
During (Front, one or two coats):
After: see May 11 update post below for finished+installed pictures.


Comment