Announcement

Collapse
No announcement yet.

Project Armo "330i" M-tech 1

Collapse
X
 
  • Filter
  • Time
  • Show
Clear All
new posts

    Today I did a little exercise in metal turning and whipped out three hose barbs. One in mild steel for a custom banjo connector and two in stainless steel for the power steering cooler.


    I'll make an E46-style cooling loop out of stainless steel hydraulic pipe. By default I bent the pipe double. The rest of the bends I'll need to do according to the car.


    I think I'll fix it with twin Stauff clamps.


    Merry christmas to everone!
    Last edited by Skarpa; 12-22-2017, 11:15 AM.
    E30 Armo "330i"

    Comment


      I started fiddling with the power steering cooling loop but then I decided to leave it until the assembly stage to be sure I won't have any collisions with other stuff that's not currently in place. However, looking at the front panels I was reminded that I have a wrong type of front valance. It's a stock 316 unit so it's missing the openings for A/C and potential oil cooler. A/C front valance costs 250 euros which I didn't want to pay so I decided to make the necessary openings in the current valance. Anyway, these cars at this point are individuals and it's always easiest to have the correct fit with original body panels rather than new ones. I had a look at reference photos for the size and shape of the openings and then marked and cut them.


      The edges needed to be bent inwards. I got the corners started by making dimples using a a pipe and a ball end hammer. Then I bent the straight sections using pliers. The lip is so narrow that stretching the metal is not an issue. It's not crucial to bend it all at once. In the end I finished the corners with a hammer and a piece of round bar and then straightened the lip by tapping it with a hammer and a dolly.


      In the middle of the valance there is an indent and I've never quite understood why. I didn't try to do the lip completely by bending. I just cut reliefs where necessary and then finished the lip by welding.


      The openings turned out fine. After finishing them I just needed to return the valance to it's original shape. Making the bends messed up with the curvature of the valance but it was pretty easy to correct. While doing that I also did a little better job at straightening the dents caused by a parking lot collision the day I bought the car. In the left end of the valance there was some rust.


      I had some rear arch patch panel pieces lying around and with a little searching I found a good match for the shape in the top corner.


      The bottom corner I'll need to make out of straight sheet metal.
      Last edited by Skarpa; 01-03-2018, 01:59 AM.
      E30 Armo "330i"

      Comment


        Nice work on the valance, looks great!

        Comment


          Originally posted by alistairolsen View Post
          Nice work on the valance, looks great!
          Thanks!
          E30 Armo "330i"

          Comment


            I had to do a small modification for our house's roof ladder so I took them to the garage for welding. While there I got a few small jobs done as well. I made an adjustable stopper for the throttle pedal linkage using an extension nut and a bolt. I also fitted the clutch pedal switch bracket for the cruise control. I got the more sturdier version that bolts in to the pedal assembly in two points. It required much less modification than the version I had. I just need to get a switch that fits into a round hole.


            I also painted the diff case, half shafts and a few other parts. Now the diff is ready to be assembled.
            Last edited by Skarpa; 01-07-2018, 01:31 PM.
            E30 Armo "330i"

            Comment


              Yesterday I fixed the bottom corners of the front valance. Before the work both looked pretty much like this:


              I bent the basic stepped profile of the bottom edge and then started working on the more complicated shapes in the corner. I cut a slit and bent the lip to get the protrusion going.


              Then I weld the section and cut the shape of the wheel arch and bent the lip with pliers, hammer and dolly.


              The lip had a discontinuity at the bend so I welded it shut. Then I drilled and filed the hole for the front lip fixture.


              I cut the patch panel into size and used that as a template to cut off the rusty section of the valance.


              It turned out pretty well. With the experience from the first one it was a lot faster to make the second one and it came out even better.


              I've also been assembling the diff but more on that when I actually have something to show.
              Last edited by Skarpa; 01-26-2018, 09:46 PM.
              E30 Armo "330i"

              Comment


                That looks really good.. complex shape.
                You must be having a really good time doing that!
                Are you metalworking and welding professionally or is it a hobby?

                Love the rust repair threads, especially from the U.K. some real artists there
                I can watch the Project Binky videos forever
                I BUY/SELL REFURBISHED CM5907s & CM5908s

                HOWTOs:
                DB vert plastic bumpers
                OEM Keys
                MTech1 docs

                88 ix Lach/Card
                91 ic Calypso 3.1
                86 Cosmo 2.7

                OEM+ or bust!


                reelizmpro: I will always be an e30 guy.. I still do all of my own labor
                TrentW: There's just something so right about a well-built M20 in an E30
                e30m3s54turbo: I save my money for tuner parts.

                Comment


                  Originally posted by bradnic View Post
                  That looks really good.. complex shape.
                  You must be having a really good time doing that!
                  Are you metalworking and welding professionally or is it a hobby?

                  Love the rust repair threads, especially from the U.K. some real artists there
                  I can watch the Project Binky videos forever
                  It's just a hobby for me. I originally studied as a carpenter but haven't really worked as one. Then I became a mechanical design engineer. Prior to this project I had zero experience in welding or bodywork but I've always done various crafting, fabricating and tinkering. I've grown to enjoy sheet metal work and bodywork quite a lot during the project and I'm already kinda pondering on next project to undertake when Armo is done. Probably something that involves more complex bodywork. I'd like to learn more and expand my skillset. Also I'd like to get a bit better equipment for metal working so I wouldn't need to do everything "on the knee" as we say in Finnish. That will, however require a more permanent garage or shop. I can get kicked out from my current one pretty much any day but it's free so I can't complain. Project Binky is indeed awesome and inspirational. My other youtube favorites include This Old Tony, MCM and The Fab Forums among others. Got any good recommendations? Or links to build threads I should check out?
                  Last edited by Skarpa; 01-26-2018, 09:53 PM.
                  E30 Armo "330i"

                  Comment


                    this one is just incredible http://forum.retro-rides.org/thread/...m5-blue?page=6 I've referenced it a lot

                    Comment


                      Originally posted by iXguido View Post
                      this one is just incredible http://forum.retro-rides.org/thread/...m5-blue?page=6 I've referenced it a lot
                      Thanks for the tip. Seems like a good thread.
                      E30 Armo "330i"

                      Comment


                        It's been a while since last update but don't worry, the project continues with the same glacier-like speed as always. Actually I've recently had quite a lot going on but not much to show for it yet. But here's something.

                        A workmate welded a tailor fitted banjo connector to a hose barb I turned earlier.

                        I pressed the E36 M3 rubber bushings to the painted lollipops. I'll mount the lollipops on the control arms once the control arms are going under the car so they'll settle in position while still lubricated.


                        I cleaned and assembled the rear shocks. Not much to say about them. They are yellow and of questionable quality. Certainly not Bilstein or Koni but they worked ok the last time they were under the car. I'll switch to better ones when these are done.


                        All mocking up related to the engine is done so I dropped it from the body and started working on the battery shelf. I drilled off the spot welds and started thinking about what I want in its place.


                        Earlier I planned to just trim the battery shelf and use the M3 plastic cover but I've decided that I mislike that look. The plastic cover has many useless (for me) contours and even if I trim the lip in the bottom I'm still left with a funny sliver of battery shelf showing.


                        I'll ditch the M3 cover and lose the whole battery shelf indentation. Instead I'll make straight panel in the shape of the surrounding firewall and do the wheel well in the same shape as on the driver's side. On the cabin side I'll need to make separate brackets for the glove box hinge. The main power cable and the ecu wire loom will have pass-throughs with rubber grommets in the new panel.


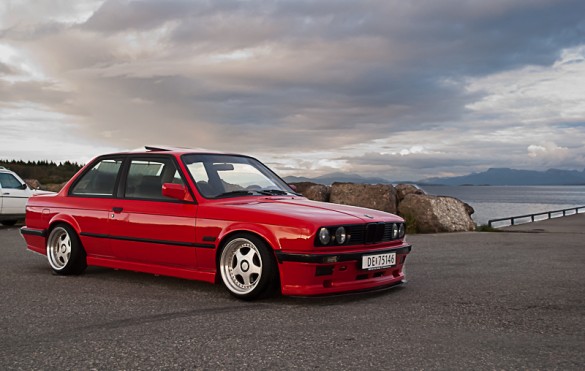
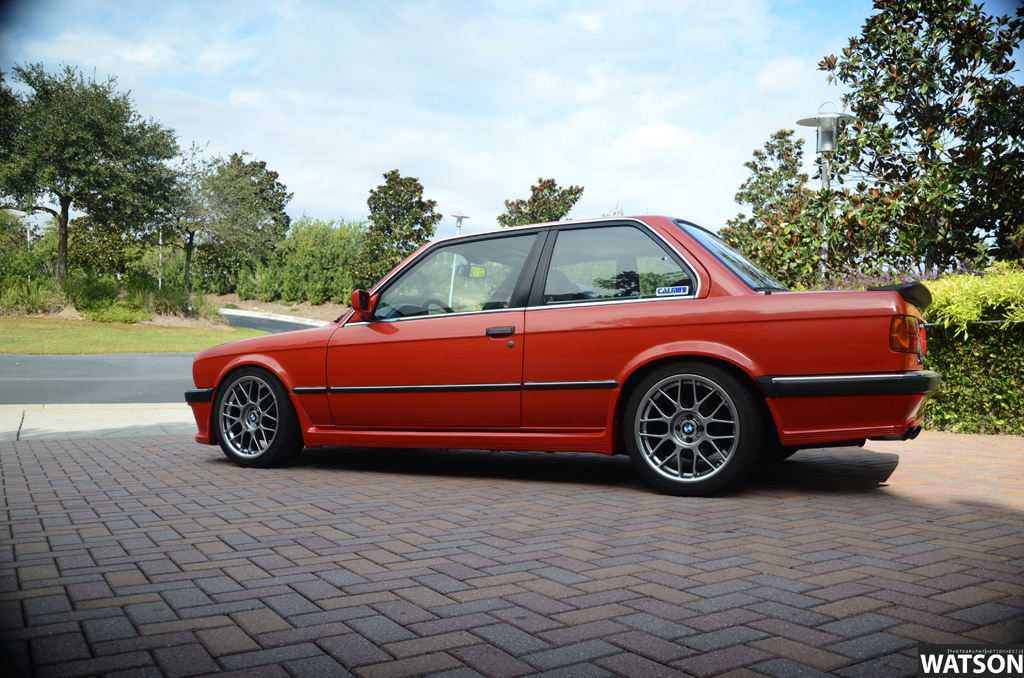
                        A few days ago I was looking at pictures of a zinnoberrot M-tech 1 and thinking to myself that that's pretty close to how I picture Armo when finished. The major difference on the outside was that this car had the older style M-tech side skirts without the upturned ends. When looking at the pictures I realized that the ends of the newer side skirts have always seemed a little off in my eyes. After small pondering I sold the skirts I had and bought the older style skirts off ebay. With the straight skirts the side profile of the car will be more streamlined. The bottom line of the valances and the skirts and the side trim line are more continuous without distractions. A couple of pics robbed from internet to demonstrate the difference:

                        Older style:

                        (This is not the "future Armo" pic. I'll keep all the chrome in the car)

                        Versus the new one:
                        Last edited by Skarpa; 02-13-2018, 04:30 AM.
                        E30 Armo "330i"

                        Comment


                          Mtech1 is the only way to go :-)
                          :up:
                          I BUY/SELL REFURBISHED CM5907s & CM5908s

                          HOWTOs:
                          DB vert plastic bumpers
                          OEM Keys
                          MTech1 docs

                          88 ix Lach/Card
                          91 ic Calypso 3.1
                          86 Cosmo 2.7

                          OEM+ or bust!


                          reelizmpro: I will always be an e30 guy.. I still do all of my own labor
                          TrentW: There's just something so right about a well-built M20 in an E30
                          e30m3s54turbo: I save my money for tuner parts.

                          Comment


                            Originally posted by bradnic View Post
                            Mtech1 is the only way to go :-)
                            :up:
                            The prefacelift BBS kits are also pretty sweet but yeah, it's always been the M-tech 1 for this car.
                            Last edited by Skarpa; 02-15-2018, 12:33 AM.
                            E30 Armo "330i"

                            Comment


                              mtech1 is definitely my favorite look, second is prefacelift bbs kits. Love me an early model
                              1984 Delphin 318i 2 door

                              Comment


                                Go mtech 1! my vote

                                Comment

                                Working...
                                X