-
-
The trunk looks really good.
That's a shame about the 318is. It looks nice in the pictures.Leave a comment:
-
Any interest in selling the cluster off that 318is?
Haha, clean build. I was wondering why the fuck you powder coated rods then I noticed they were part of a table.Leave a comment:
-
Loving that all your parts cars have the double vent valance which is like rocking horse shit over here!Leave a comment:
-
Ok guys so another pretty big update...ummm I got another parts car LOL! I need to stop with the parts cars foreals. But here is the story. So I found this red 91 318is on CL he was selling for a decent price. Has a running motor and runs just fine. Has BC coilovers, very very clean black sport interior euro smiles grills and a bunch of more goodies. He was selling it for fairly cheap because of a rust issue with the car. It didn't look that bad when i was buying it since it was slammed on the coilovers. So at that time i thought it all looked decent and possibly fixable but Once i put it on the lift the entire drivers floor was gone including the frame rail. Its all rotted out the control arm surpisingly still barley hangs on. But anyway the plan with this 318is is a full part out.
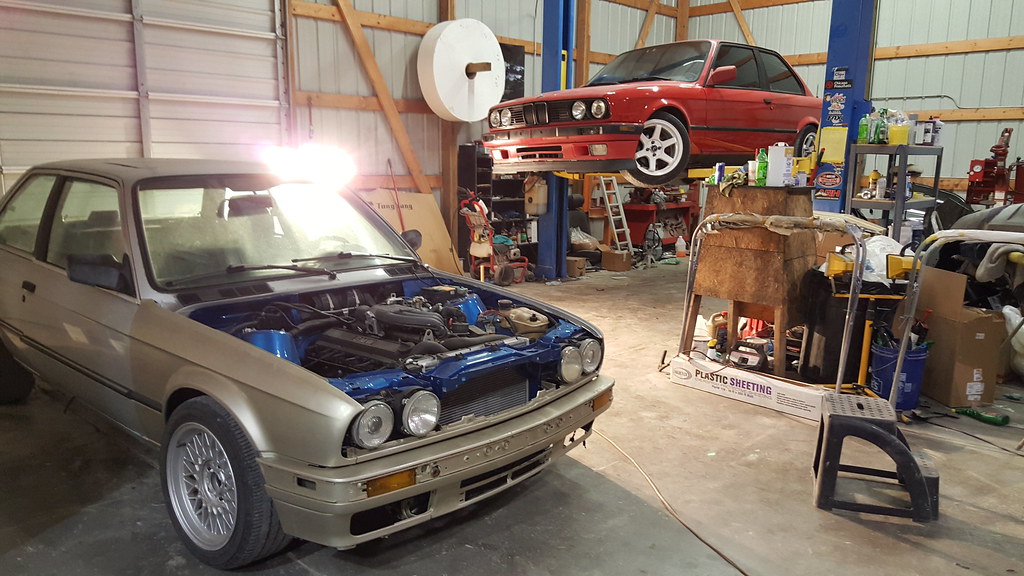 20171211_185101 by Daniel Pak, on Flickr
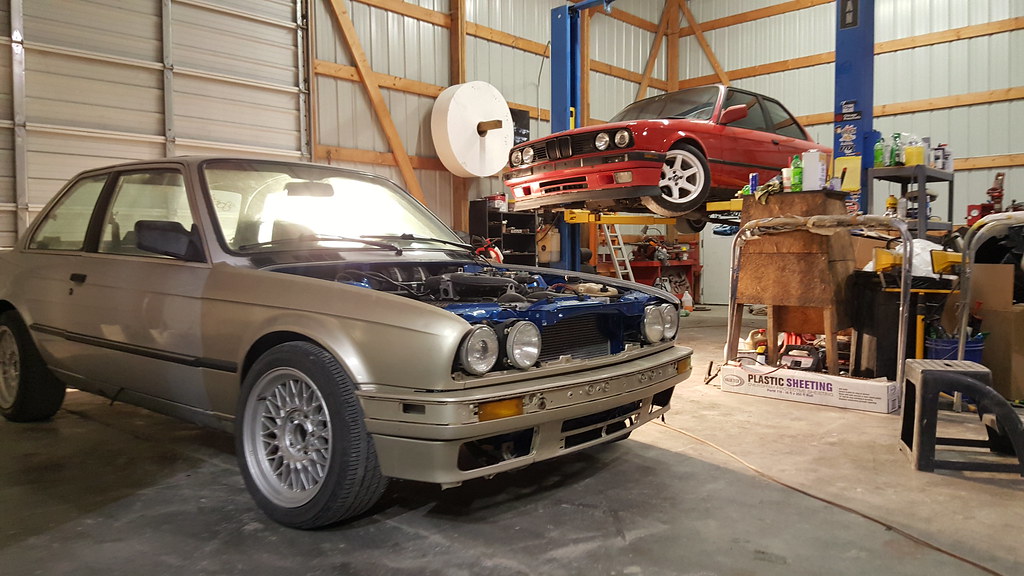 20171211_185107 by Daniel Pak, on Flickr
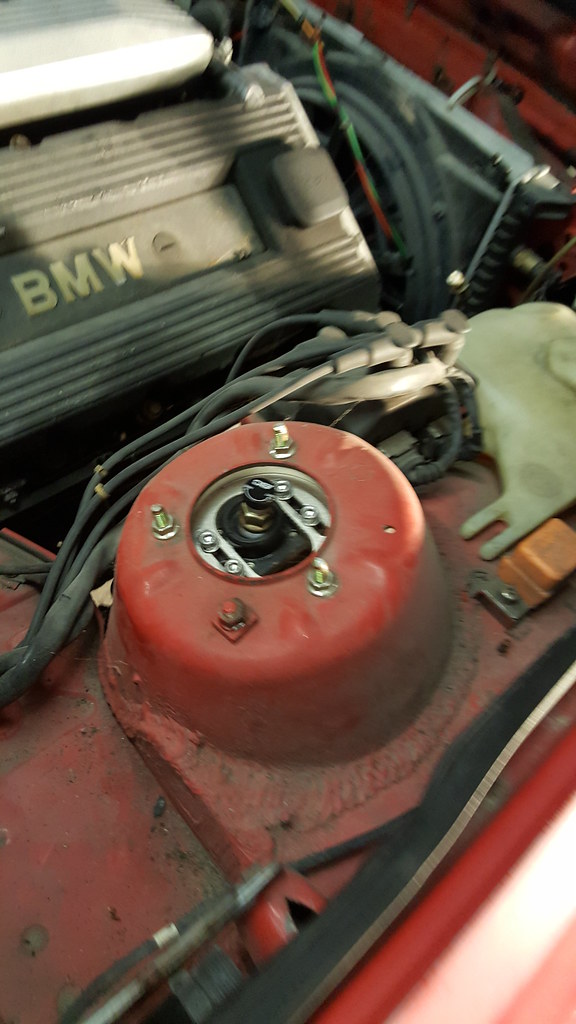 20171211_190934 by Daniel Pak, on Flickr
Also had motorsport hardware extended studs and lugs
Also had e46 aluminium arms with the offset lollipops
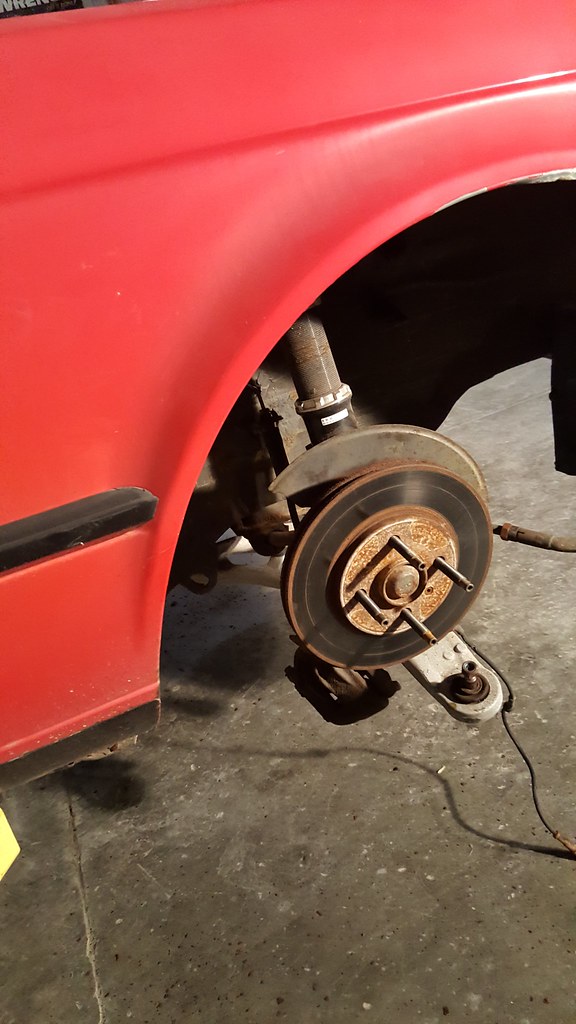 20171211_190938 by Daniel Pak, on Flickr
Started to disassemble the e30s suspension and swapping the coilovers out onto the e30
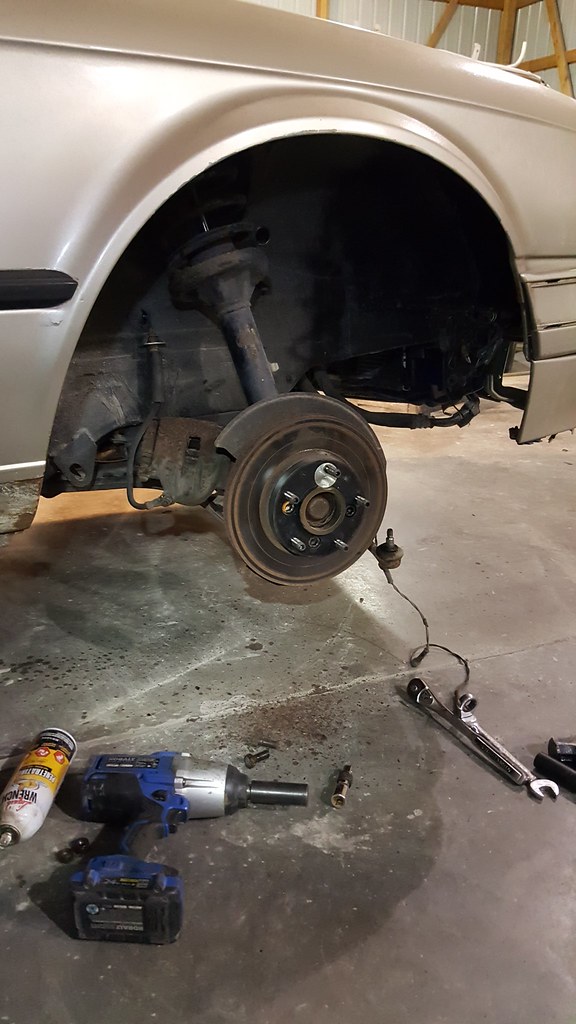 20171211_195149 by Daniel Pak, on Flickr
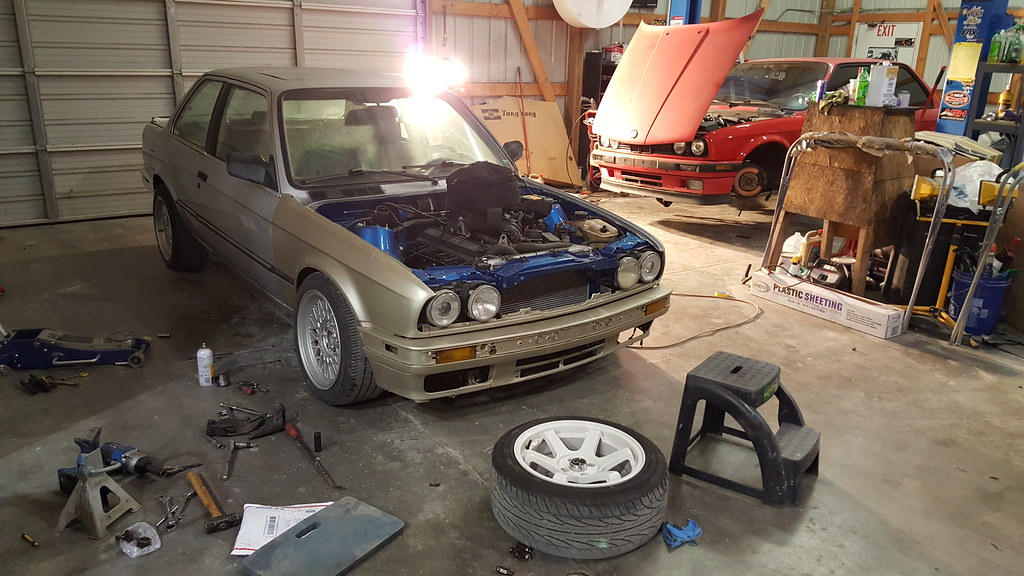 20171211_222142 by Daniel Pak, on Flickr
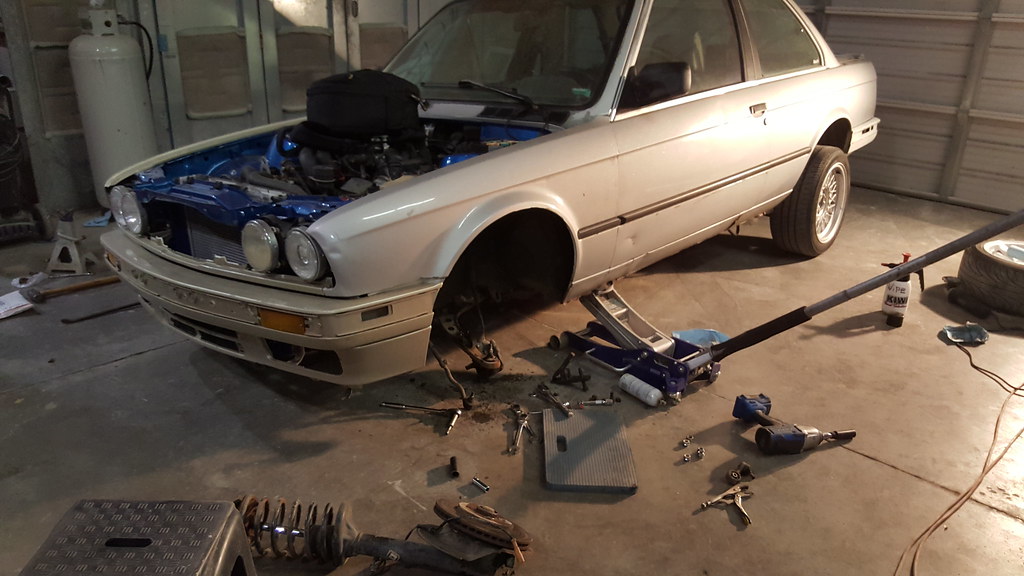 20171211_225750 by Daniel Pak, on Flickr
Leave a comment:
-
So as the car stood for some time I still did some work on it here and there. And I had photos of the progress on my phone all the way up to how it looks now. Did changes here and there as well.
Installed the ellipsoids from my parts car and wired it all up. Also got a pair of euro grills
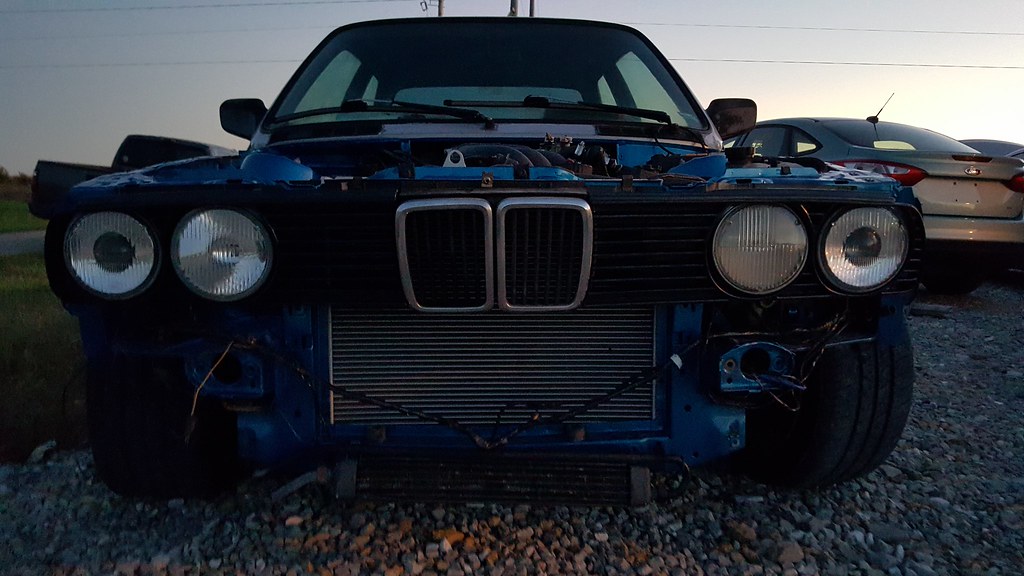 20171016_185431 by Daniel Pak, on Flickr
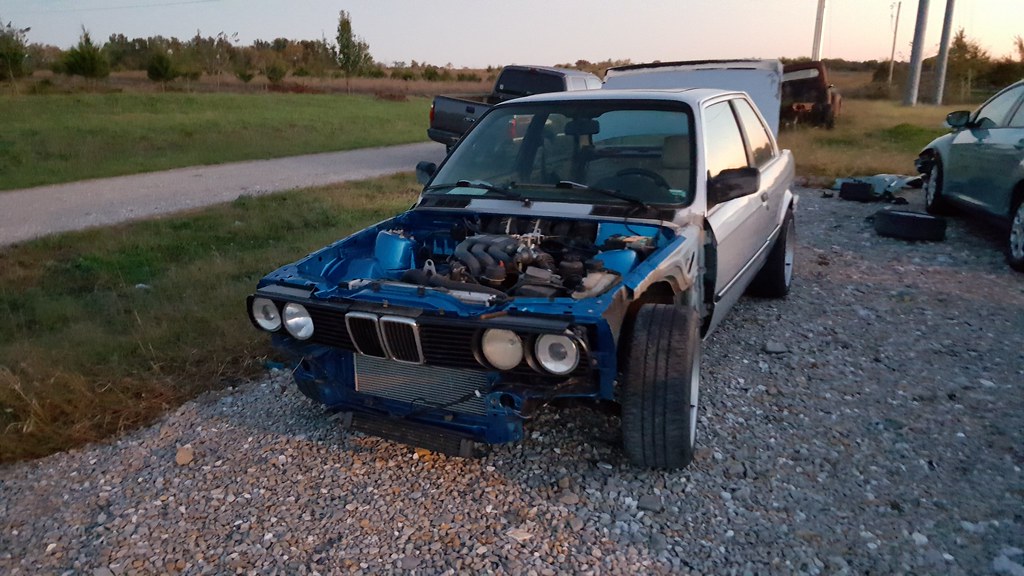 20171016_185437 by Daniel Pak, on Flickr
I also decided to put on my stock exhaust manifolds back on and just painted them a 2000F black ceremic paint. The ebay headers are complete crap. The fitment is horrible and the flanges were not straight were it meets the head and caused massive exhaust leaks. So they had to go asap.
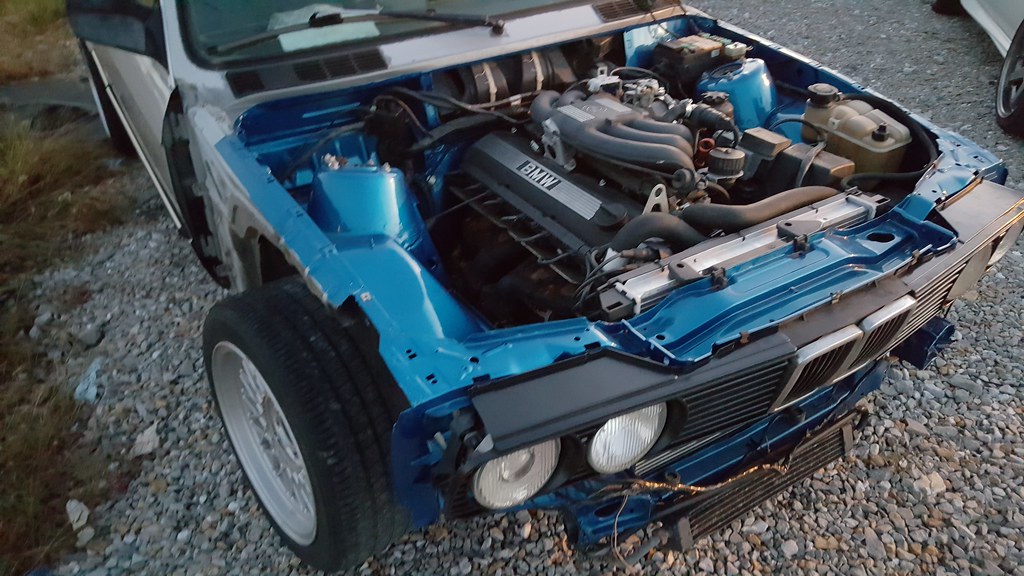 20171016_185444 by Daniel Pak, on Flickr
So now I started on the trunk, had bunch of sound deadening material glued to the panel i wanted it all removed and fix any rust that was present.
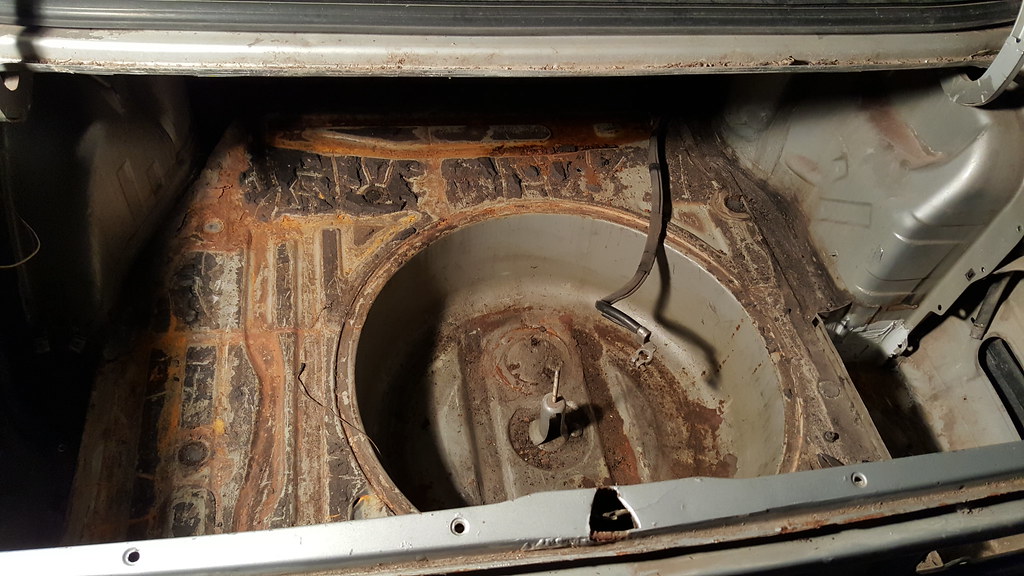 20171016_192257 by Daniel Pak, on Flickr
Mounted the rear bumper and picked up a ac schnitzer rear valance from CLASSIC EURO PARTS. I picked it up to use it on my next e30 project soon in the future but just for the heck i tried to mount it on the early model and fitment is terrible. The rear arches curve alot more on the earlys than the lates.
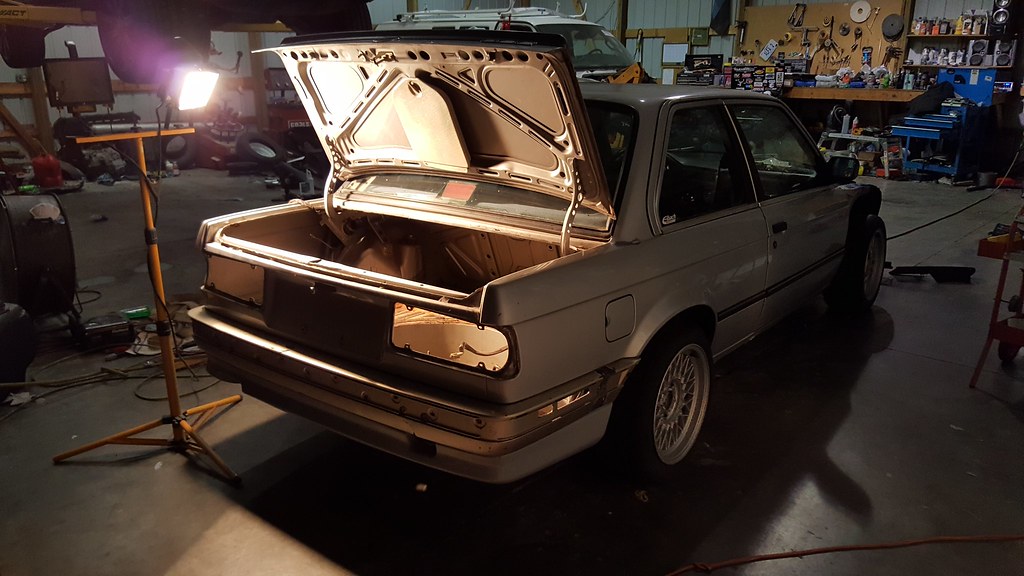 20171016_192315 by Daniel Pak, on Flickr
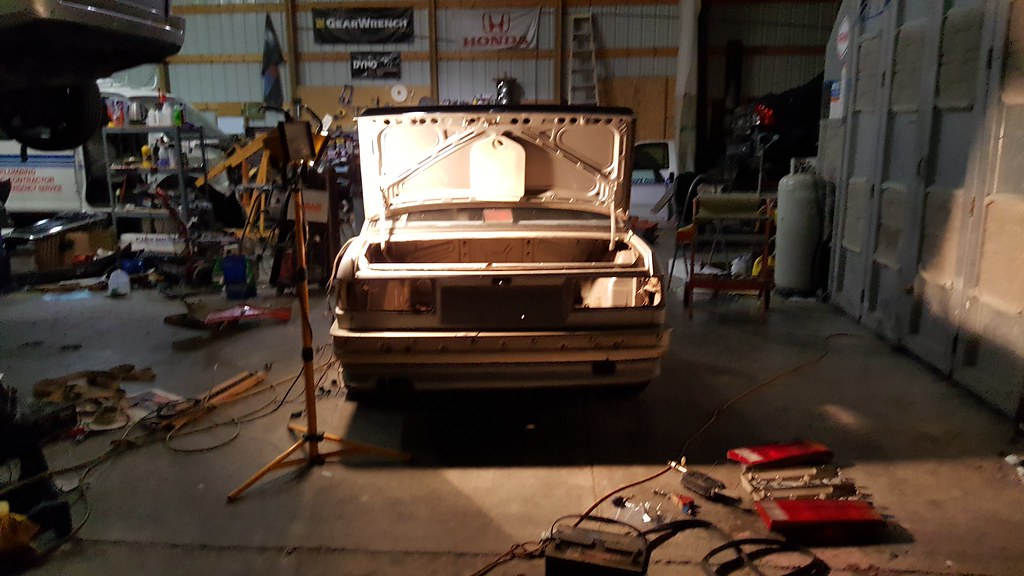 20171016_192326 by Daniel Pak, on Flickr
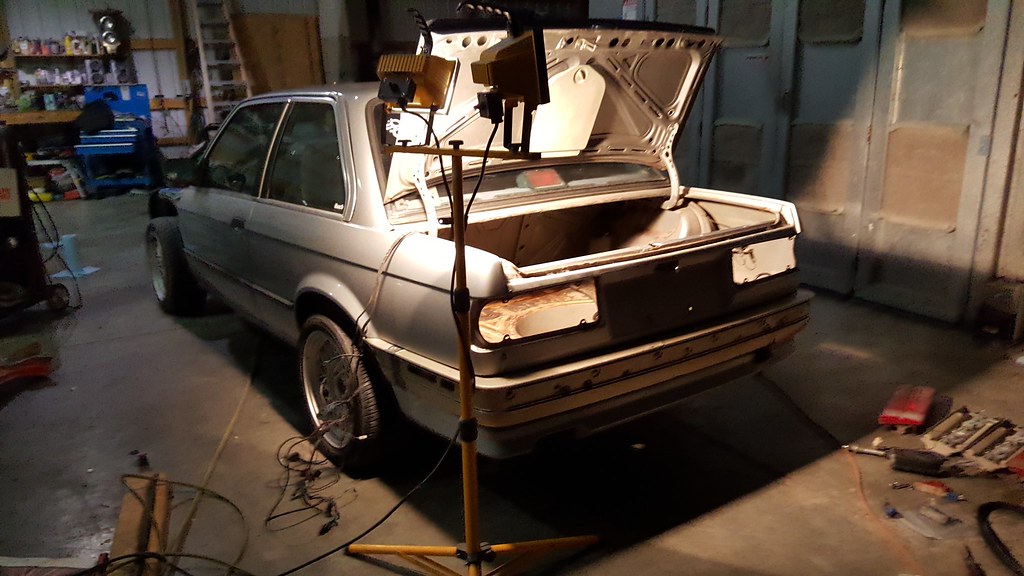 20171016_192330 by Daniel Pak, on Flickr
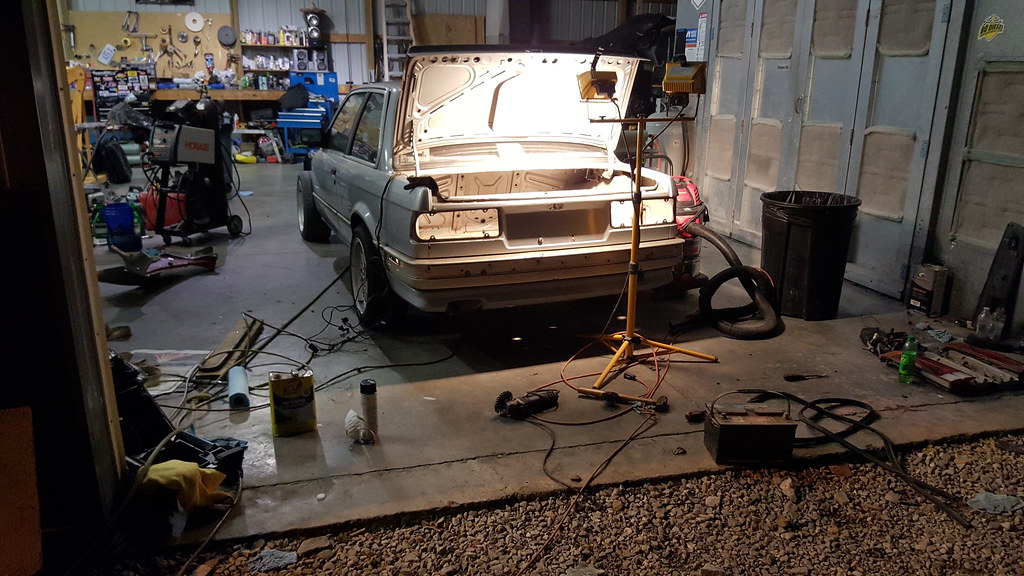 20171016_213037 by Daniel Pak, on Flickr
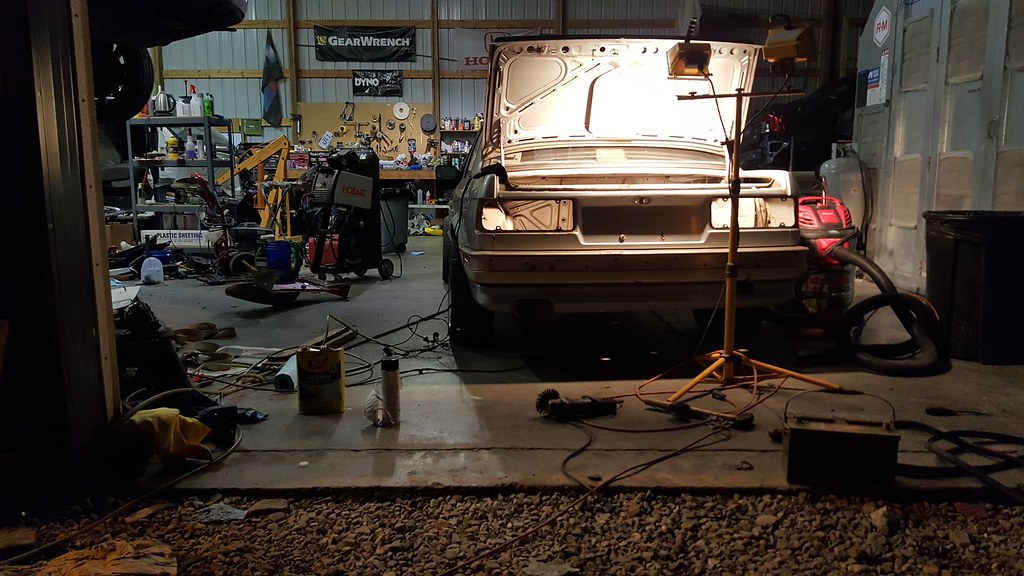 20171016_213048 by Daniel Pak, on Flickr
And the brushing process begins yay.
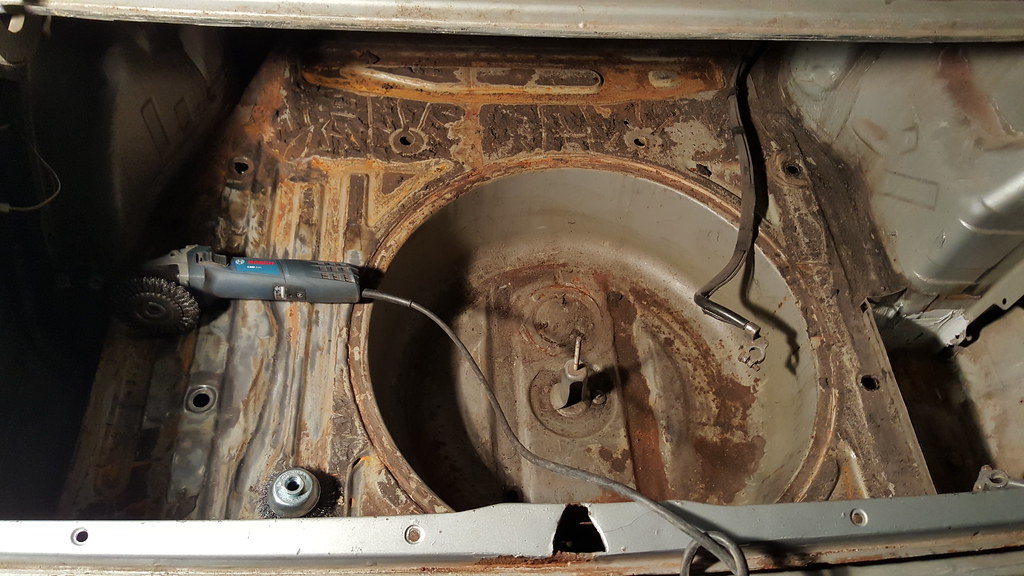 20171016_203251 by Daniel Pak, on Flickr
And stripped it all to bare metal Fixed some tiny rust holes here and there and seam sealed all the welds to fully seal the metal.
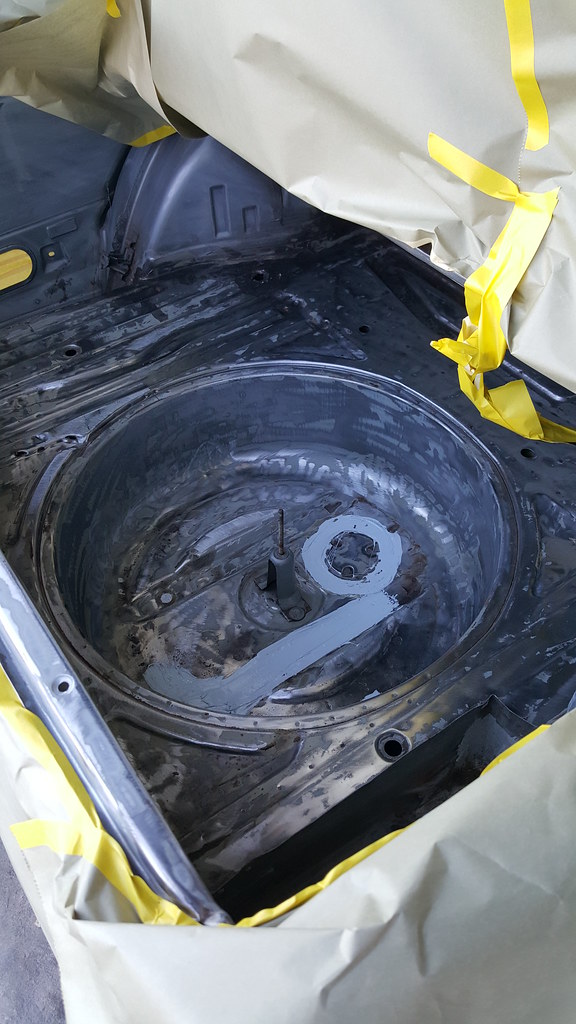 20171123_161020 by Daniel Pak, on Flickr
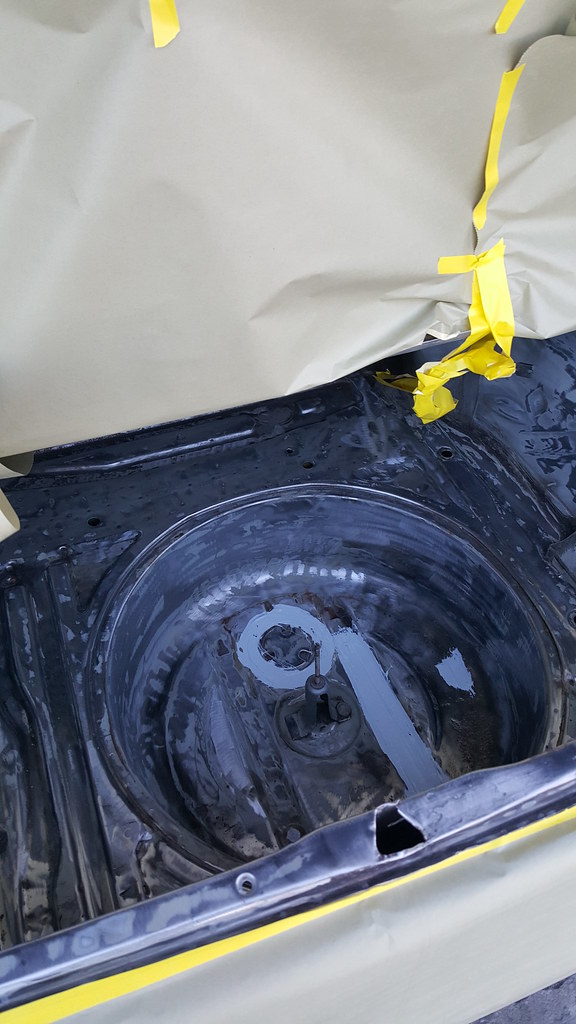 20171123_161024 by Daniel Pak, on Flickr
And with a fresh coat of epoxy primer Mmmm.....
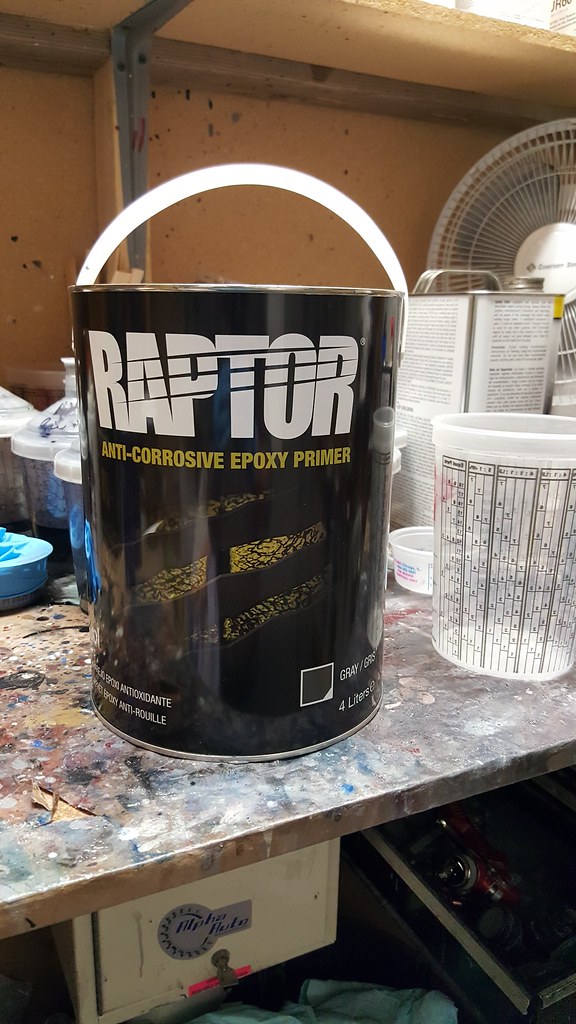 20171123_160530 by Daniel Pak, on Flickr
3....2.....1....
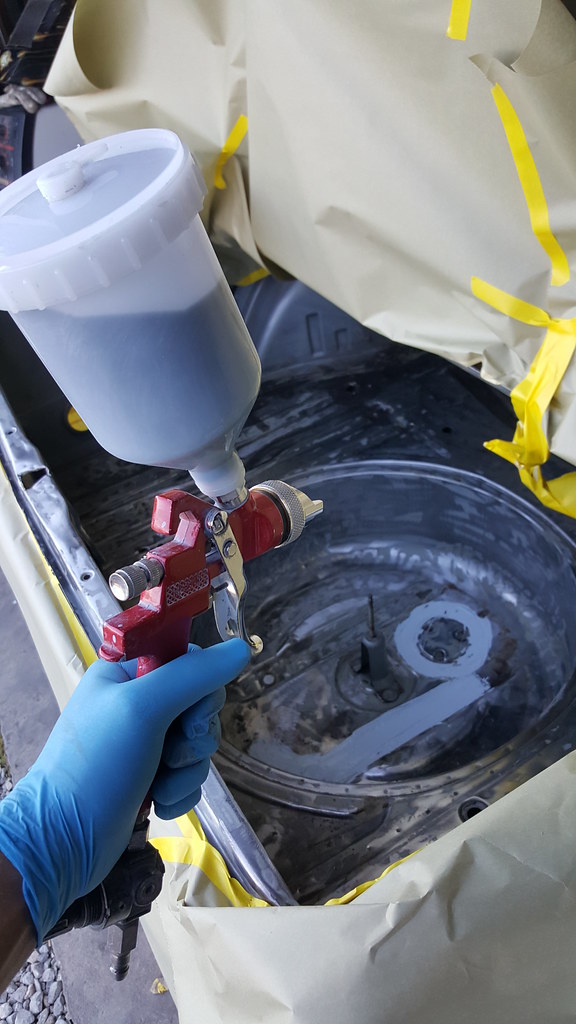 20171123_161017 by Daniel Pak, on Flickr
So clean
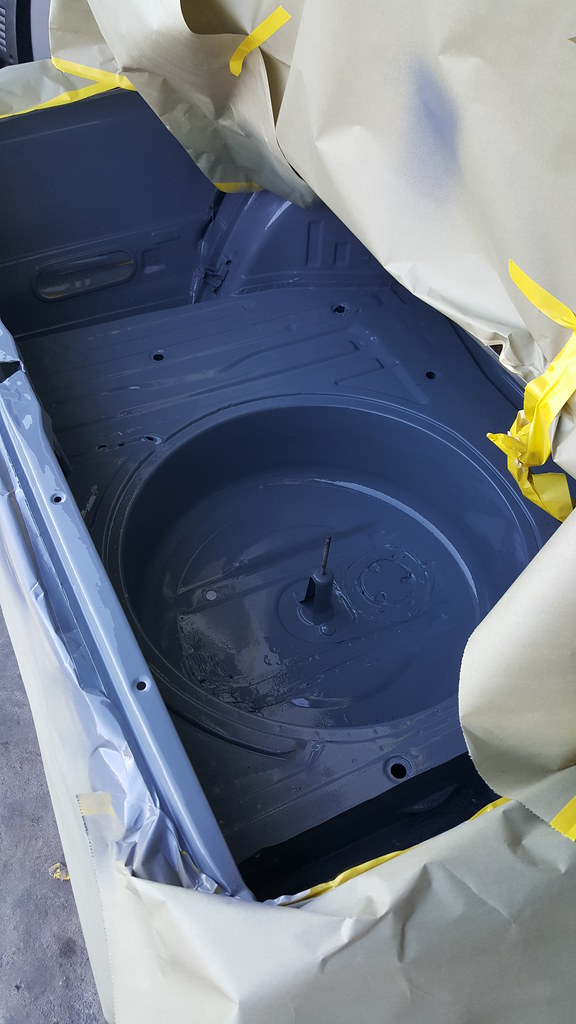 20171123_161523 by Daniel Pak, on Flickr
 20171123_161526 by Daniel Pak, on Flickr
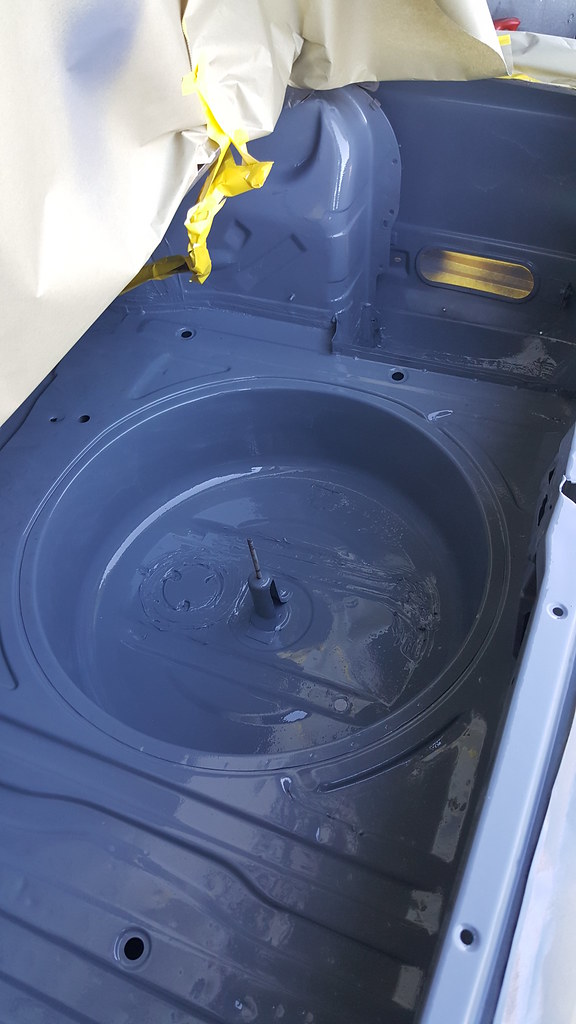 20171123_161529(0) by Daniel Pak, on Flickr
I think im gonna put M3 badges on my car now because of this undercoat yea??
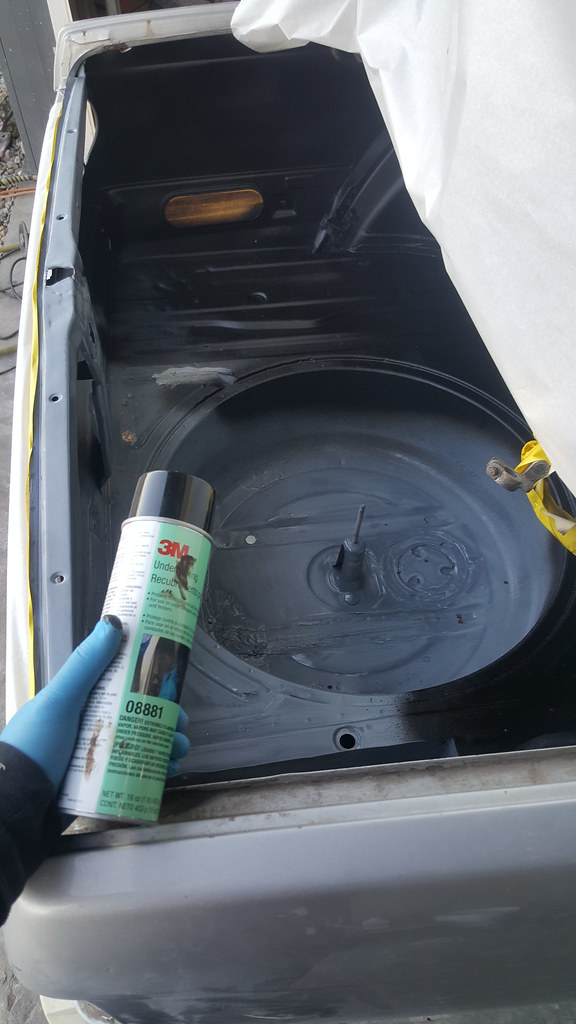 20171202_160746 by Daniel Pak, on Flickr
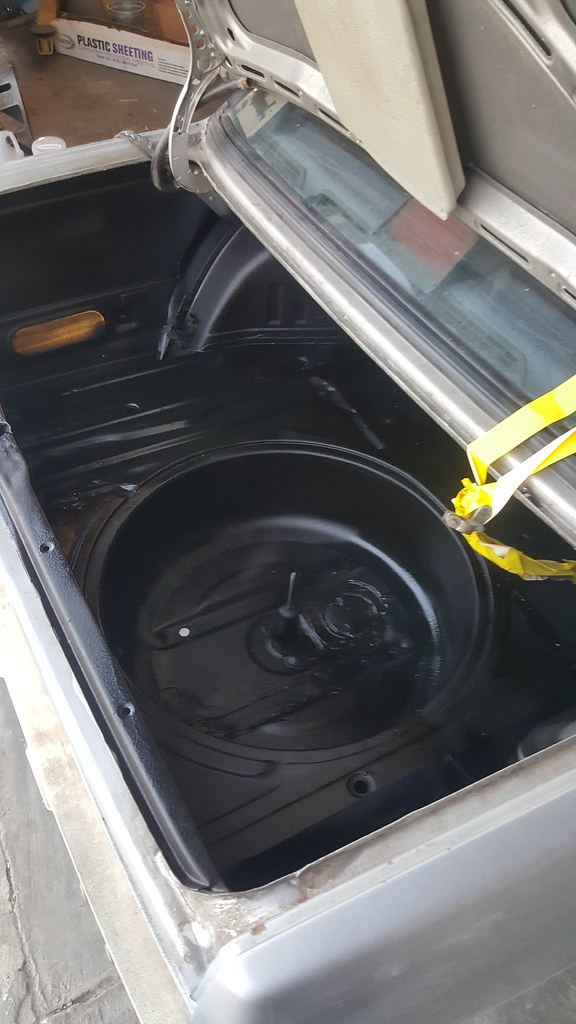 20171202_161846 by Daniel Pak, on Flickr
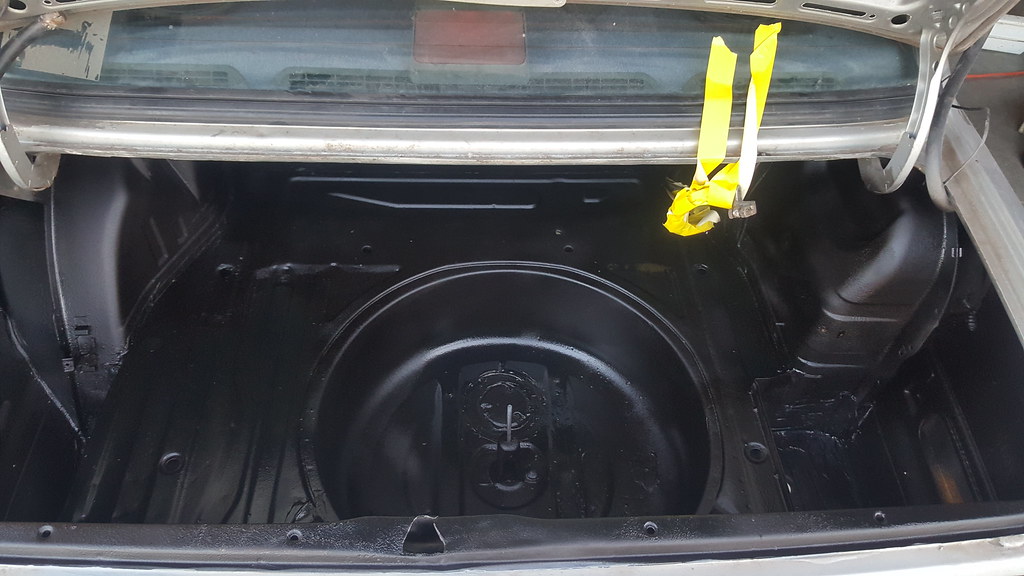 20171202_161852 by Daniel Pak, on Flickr
Leave a comment:
-
-
Just read through this entire thread. Great work! I can't wait to see the e30 fully painted blue.Leave a comment:
-
Ok guys so its been about a year since ive updated this thread. And I havent been working too much on the e30 ive just had too much stuff going on. but just recently after this long winter its starting to get fairly warm and im having more motivation to finish up my E30.
First thing is first. Remember the 2.7 block I had and the motor had a bad head? Well, ive done a little something to it the past month or so. I decided to make a little coffee table for the shop from it. Check it!
I didnt have photos of the block assembled or how i was disassembling it.
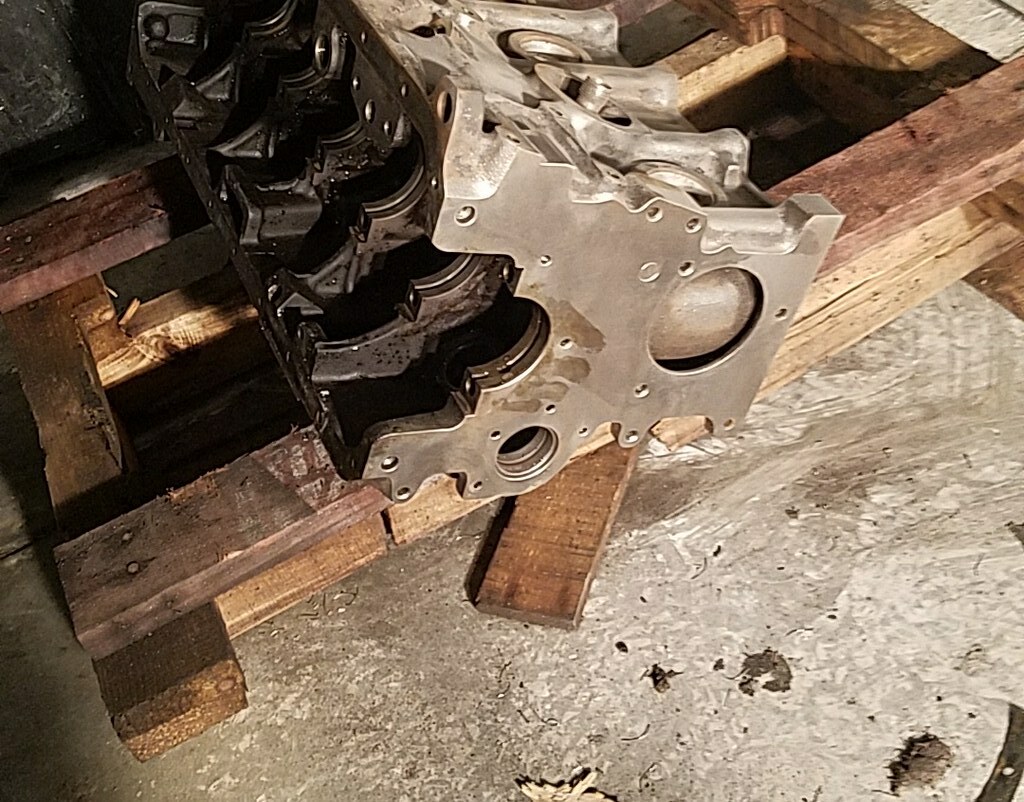 20180215_201134 by Daniel Pak, on Flickr
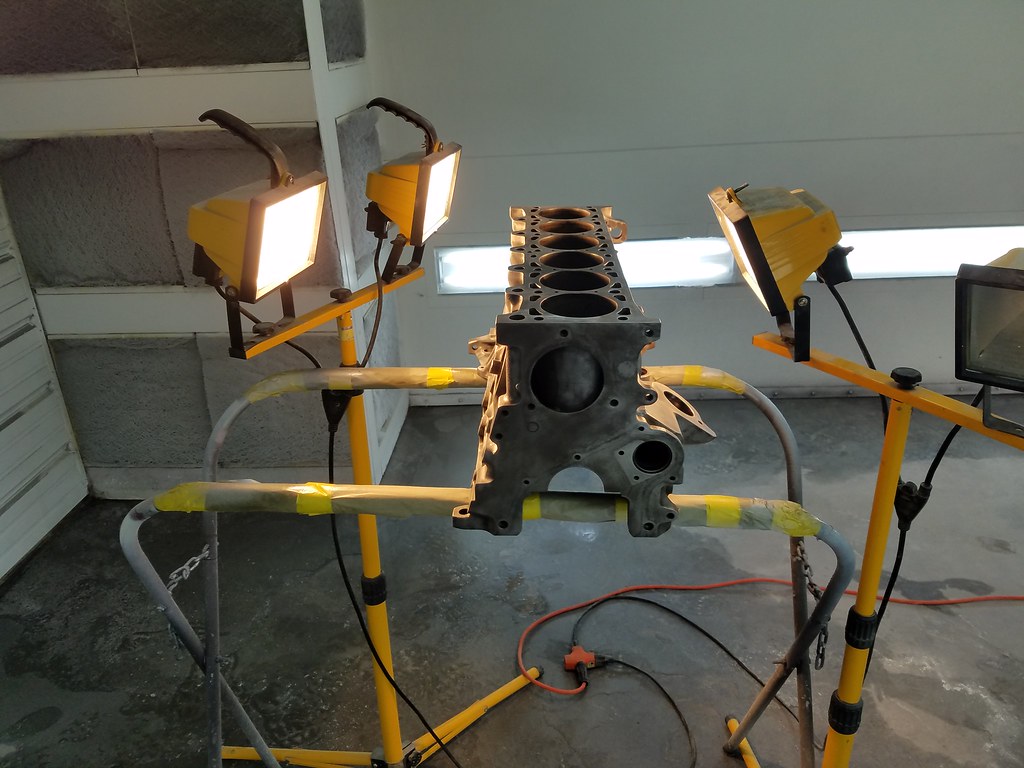
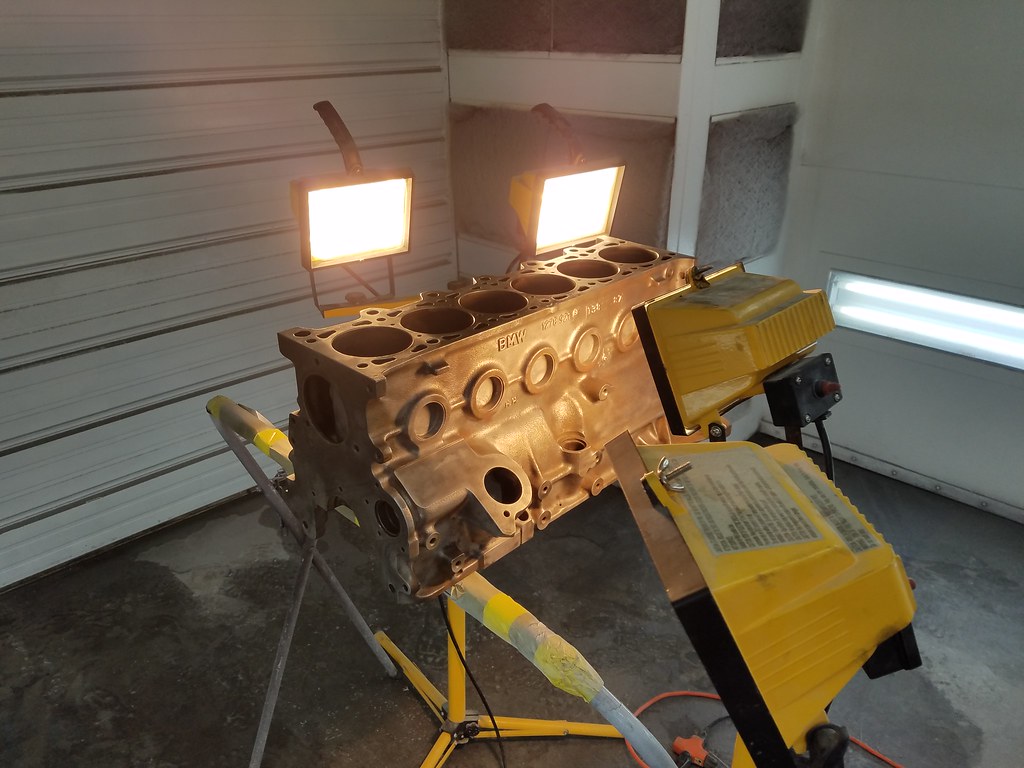
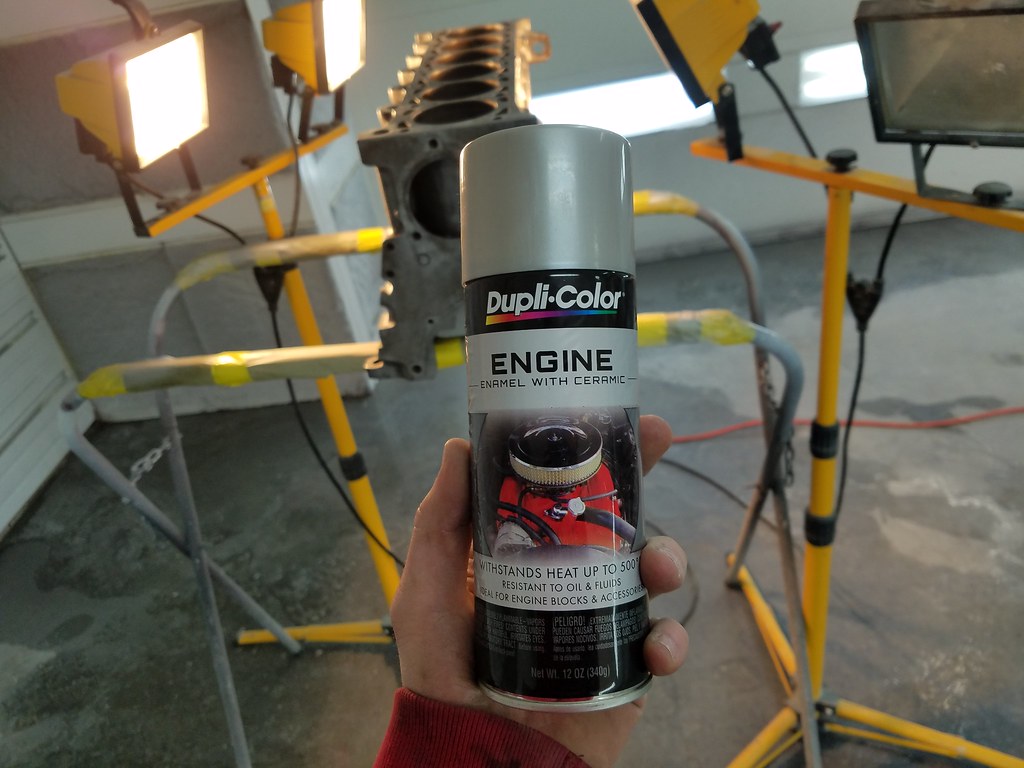
I cleaned the block as best i could and even sandblasted it. Since these blocks are Iron blocks they are a bit harder to clean than aluminium. But now i cleaned it real well and prepped it for paint.
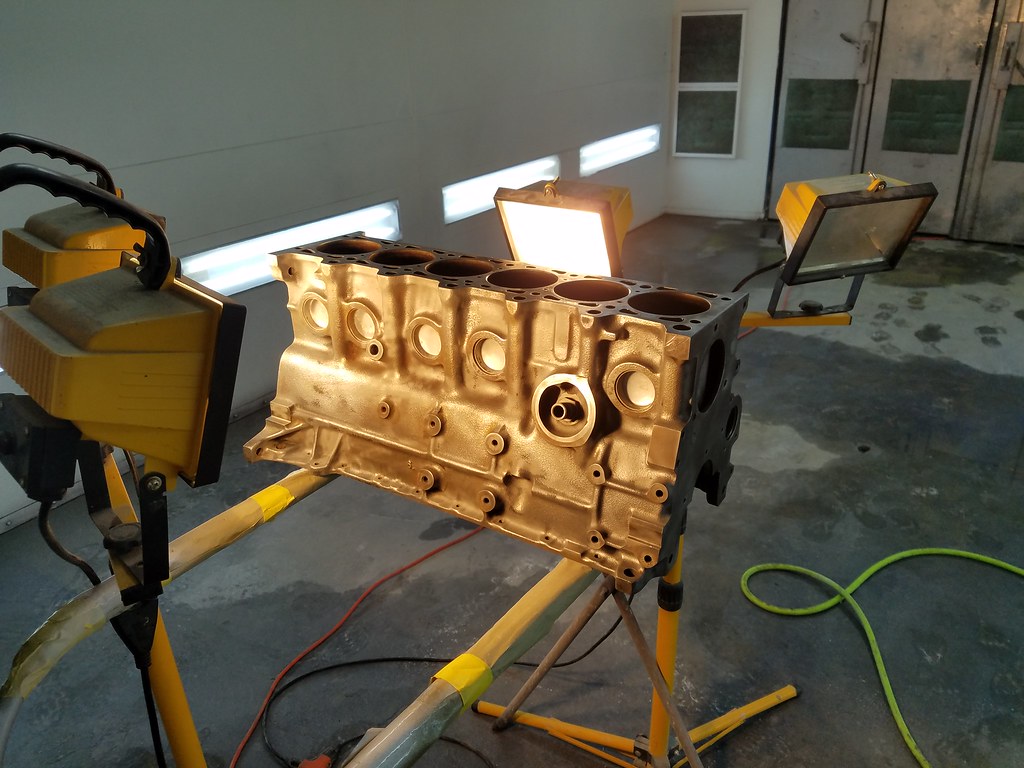 20180217_182337 by Daniel Pak, on Flickr
 20180217_182340 by Daniel Pak, on Flickr
 20180217_182343 by Daniel Pak, on Flickr
 20180217_182349 by Daniel Pak, on Flickr
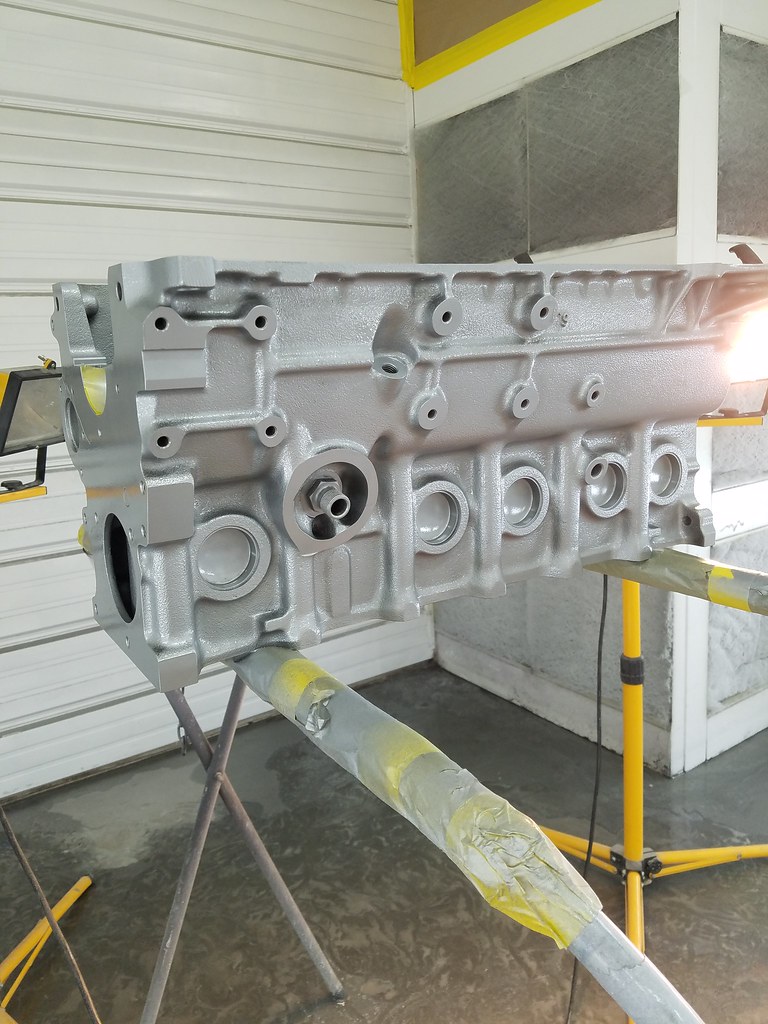
Fresh paint and fresh clear coat
 20180217_194602 by Daniel Pak, on Flickr
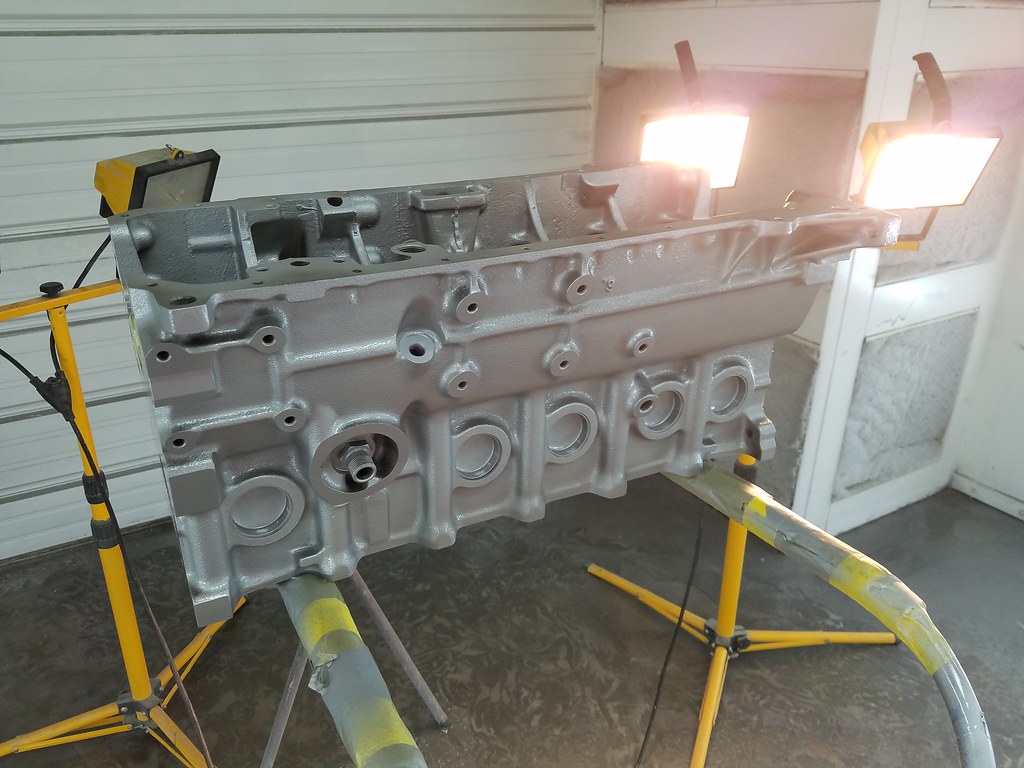 20180217_195259 by Daniel Pak, on Flickr
So I wanted to make the rods and the pistons as the legs of the table to give it a nicer look and so the table can be just a bit taller than just the block on its own. I first bolted up the rod to the oil pan mounts and welded the other part of the rod to it and angled it perfectly so that the table will sit straight.
The Rods i powdercoated candy red! Looks gorgeous.
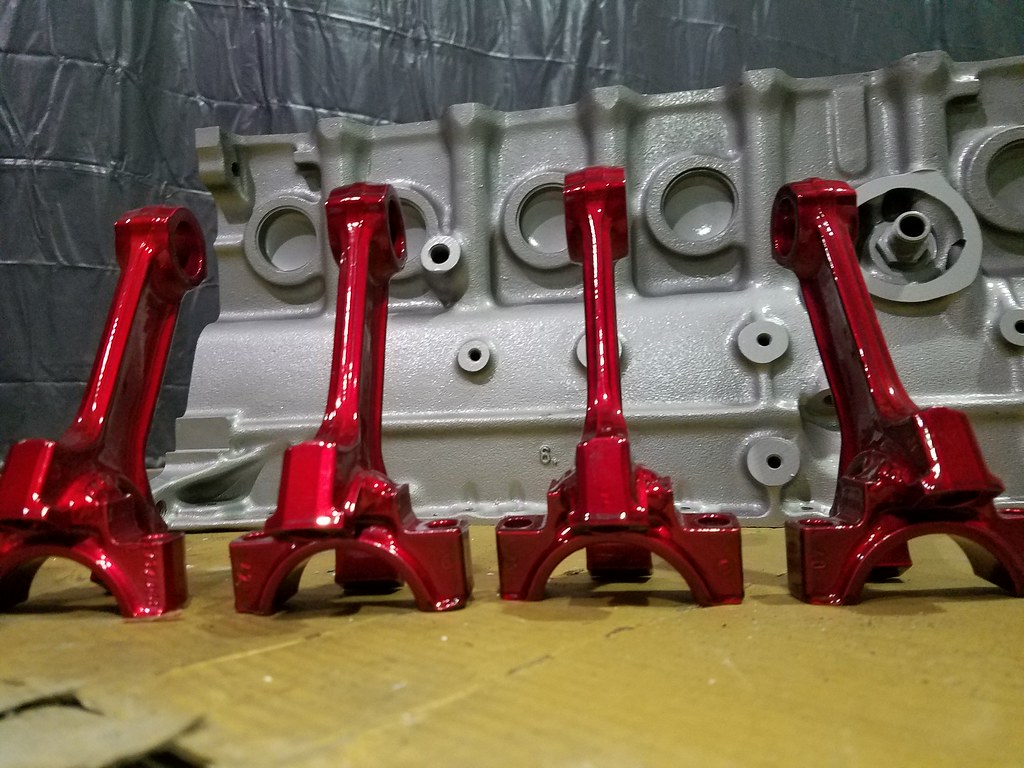 20180301_210231 by Daniel Pak, on Flickr
As for the pistons I just cleaned them and left them raw aluminium.
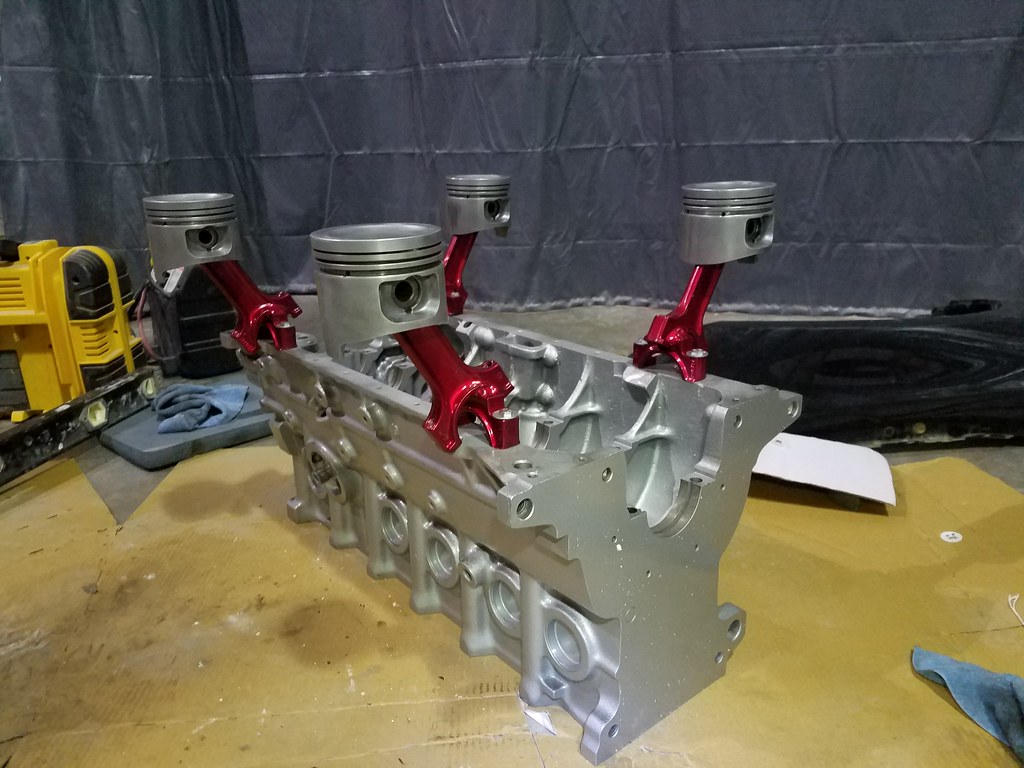 20180301_221422 by Daniel Pak, on Flickr
Honed the cylinders to give it a much cleaner look. Also polished the inside of the cylinders so that the LEDs reflect like a mirror inside the cylinders.
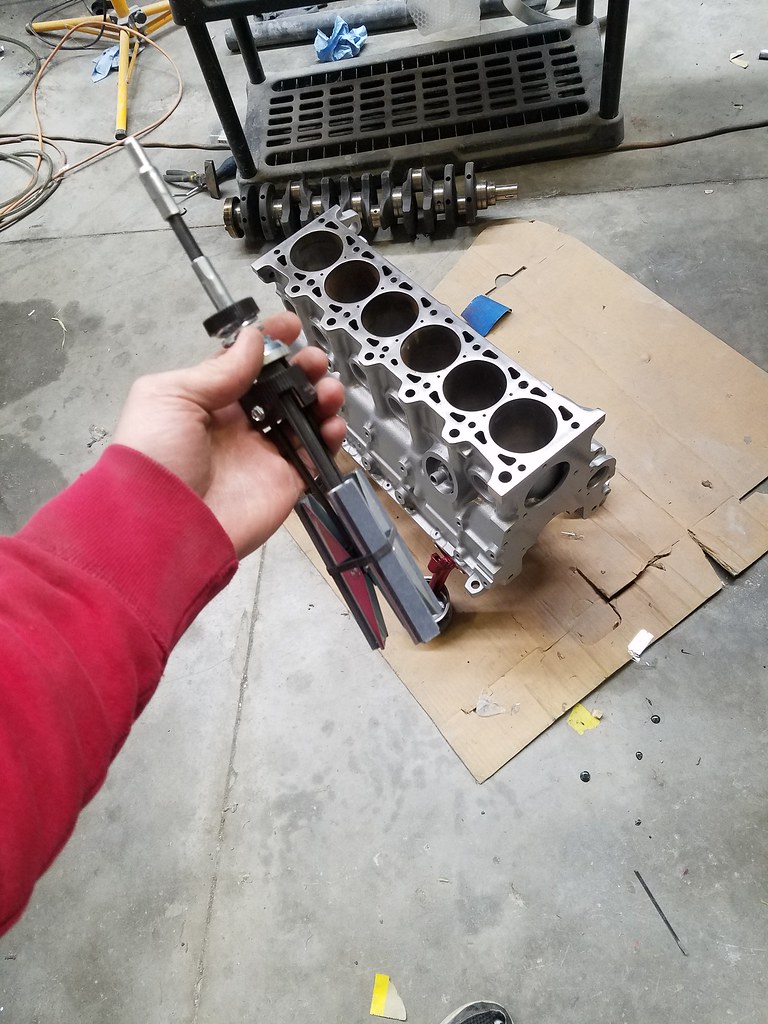 20180317_133213 by Daniel Pak, on Flickr
And for the final touch i polished the top of the block and added some leds inside the block.
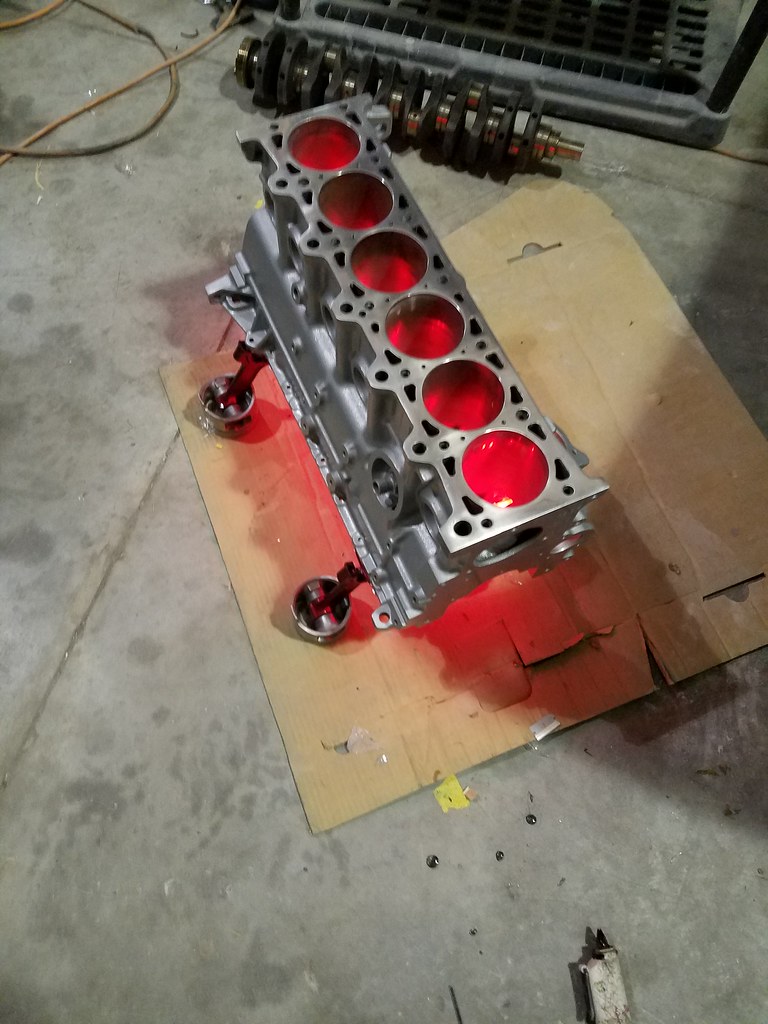 20180316_204603 by Daniel Pak, on Flickr
Last thing i need to source is a piece of glass for the top of the block to finally put this table to use.
This is just a quick little update. Ive have alot more in store for the e30 and plan on updating this threat a LOT more. Stay tuned!!!Leave a comment:
-
After rear main seal replaced and the Flywheel was resurfaced the clutch is now going in!
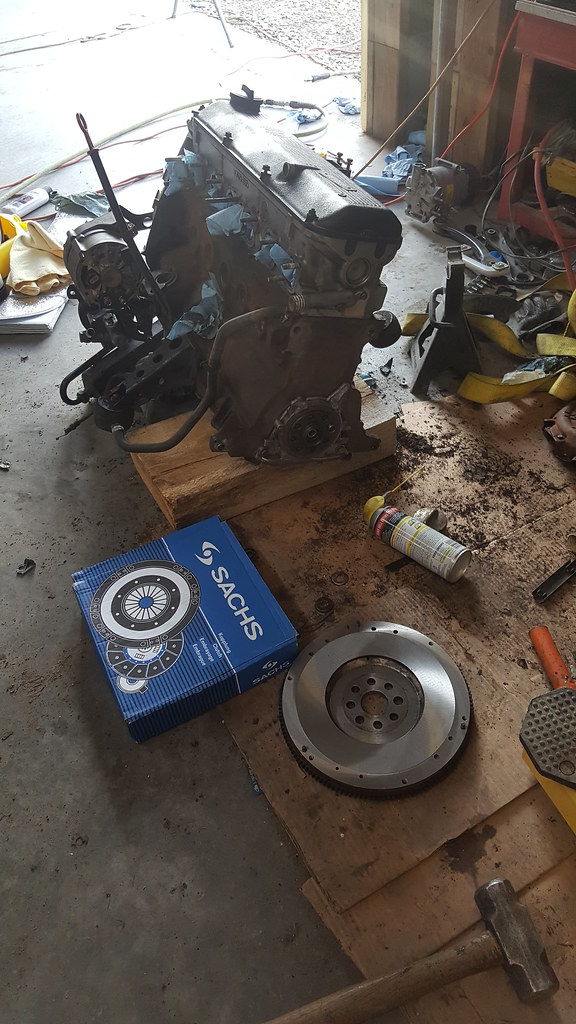 20170320_175418 by Daniel Pak, on Flickr
Has more torque on the bolts than your Honda.
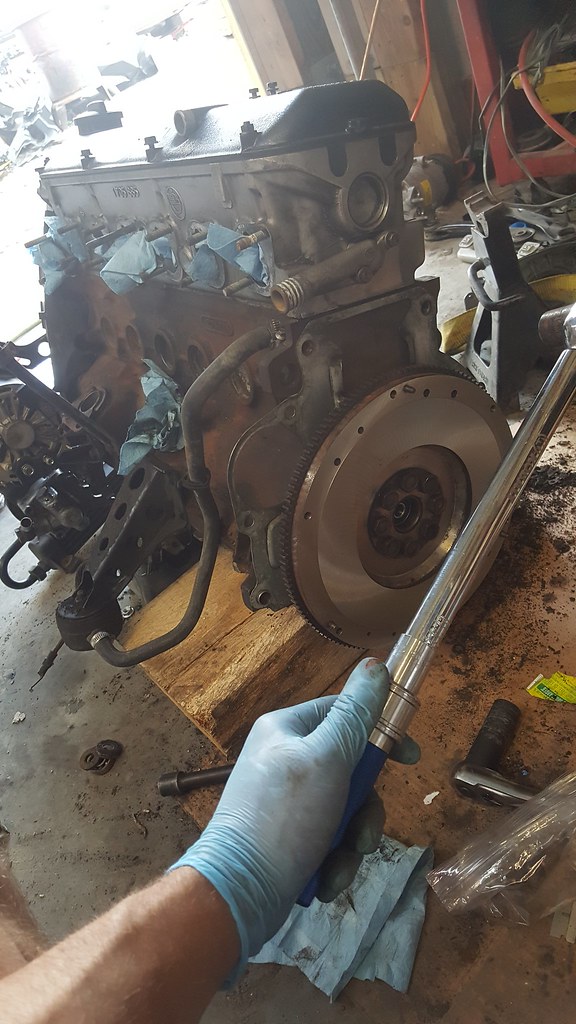 20170320_182918 by Daniel Pak, on Flickr
 20170320_193642 by Daniel Pak, on Flickr
So after doing some research about late eta g260 trans and all that i realized my TOB is about 5mm short when using the single mass flywheel. Since my original transmission had a dual mass flywheel it pushed the clutch stack a little further. My only option was to get a 323i TOB but I welded 5mm spacers on the TOB tabs to compensate for it. Now clutch engagement is spot on.
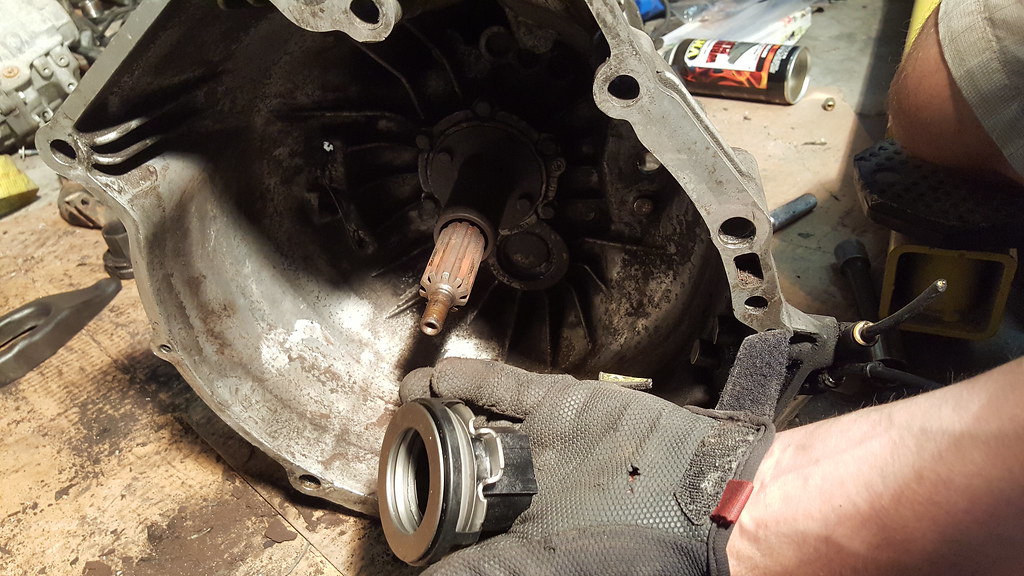 20170320_193706 by Daniel Pak, on Flickr
Still prepping the engine for full installment.
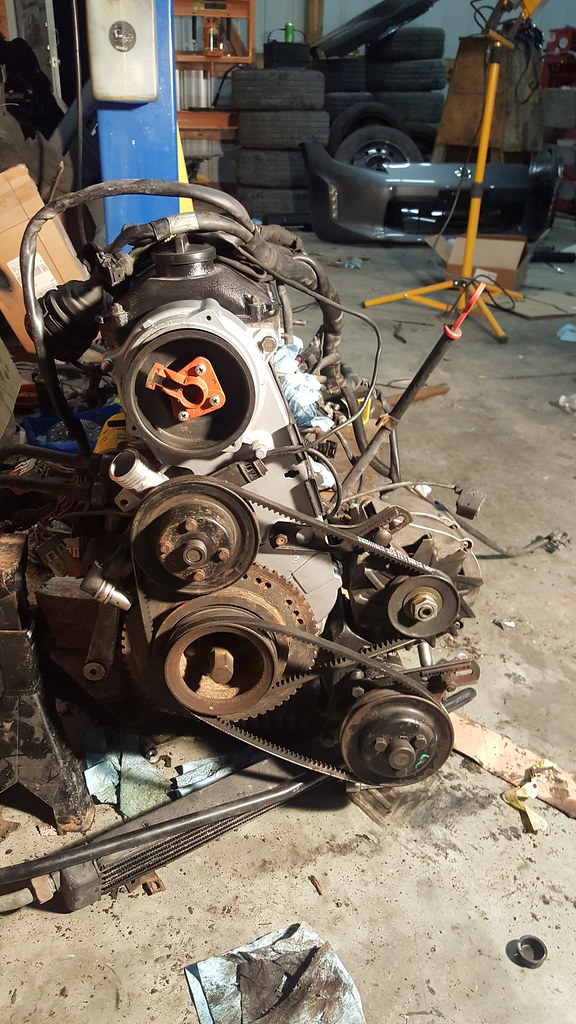 20170320_223422 by Daniel Pak, on Flickr
Here is the intake mani all ready to get slapped on the motor.
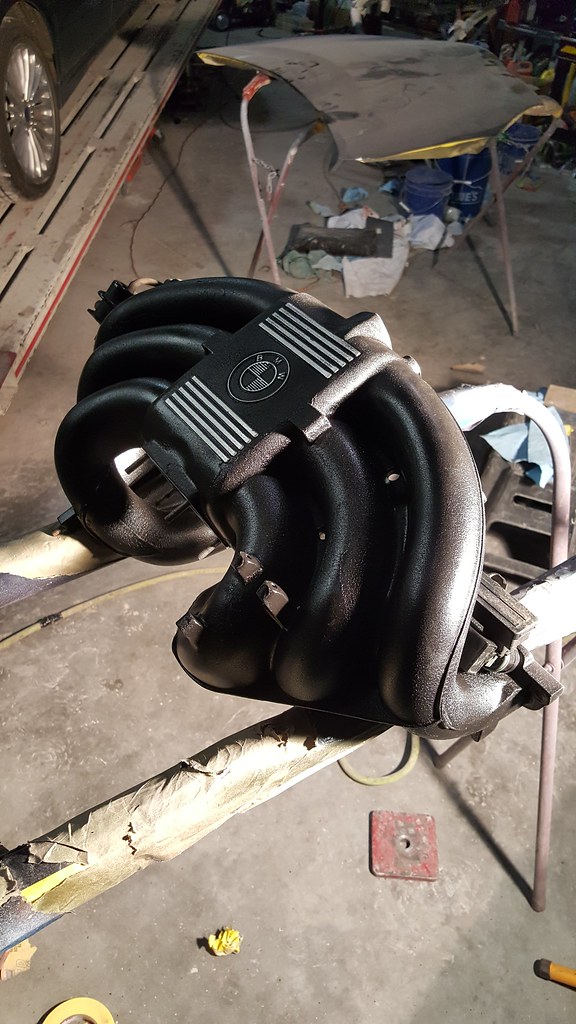 20170321_194803 by Daniel Pak, on Flickr
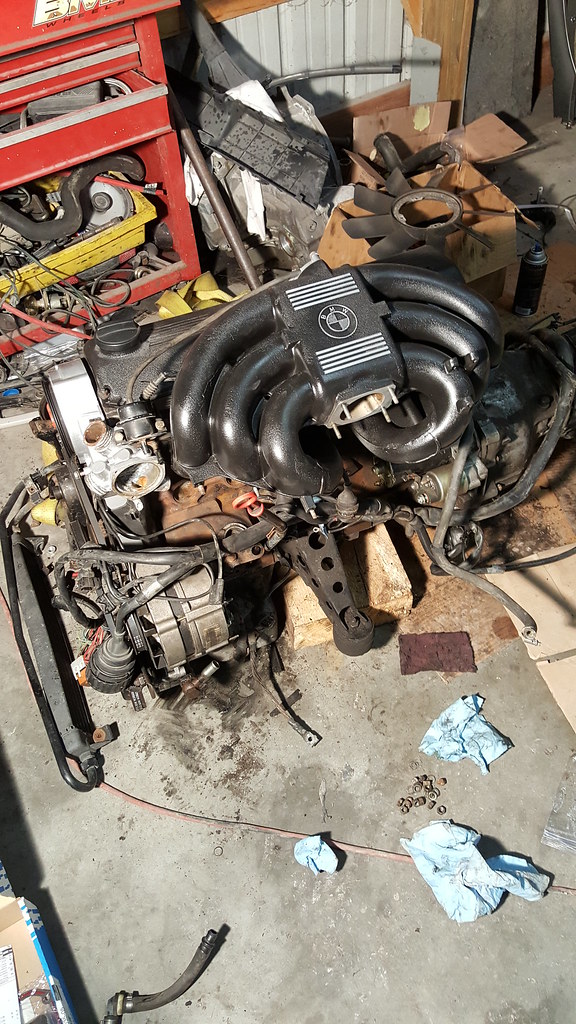 20170321_203259 by Daniel Pak, on Flickr
The moment i was waiting for a long time. Just attached the engine and about ready to go in. But first, picture time for my fellow r3v members
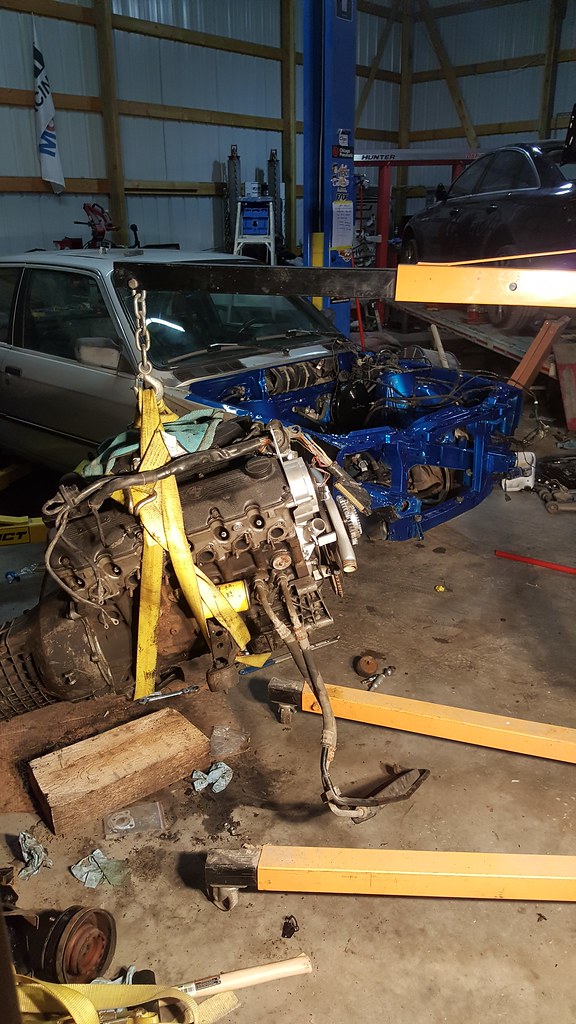 20170327_220843 by Daniel Pak, on Flickr
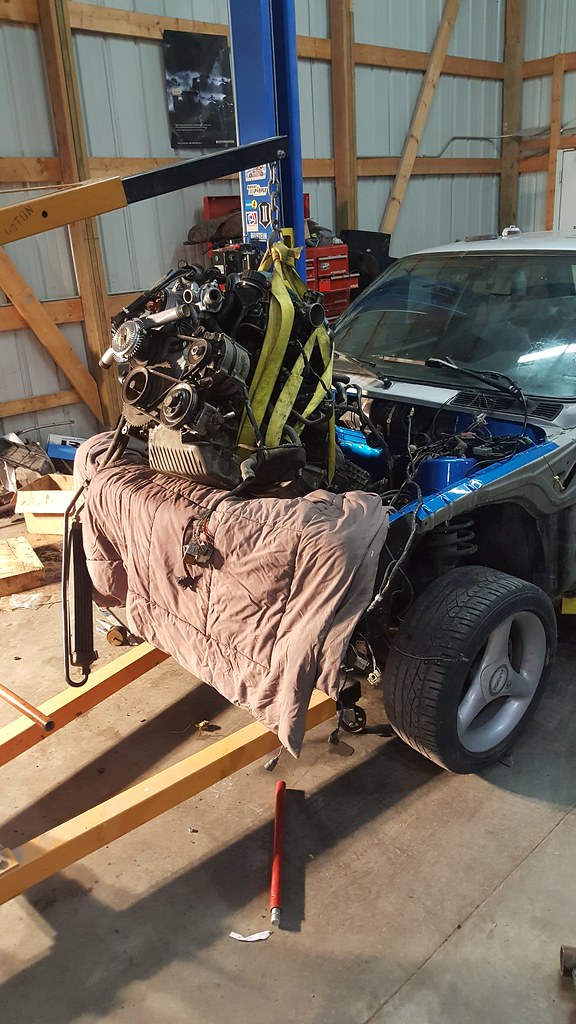 20170327_222040 by Daniel Pak, on Flickr
And its in. Ebay headers because racecar. My stock pipes were rusted bad and they just look terrible.
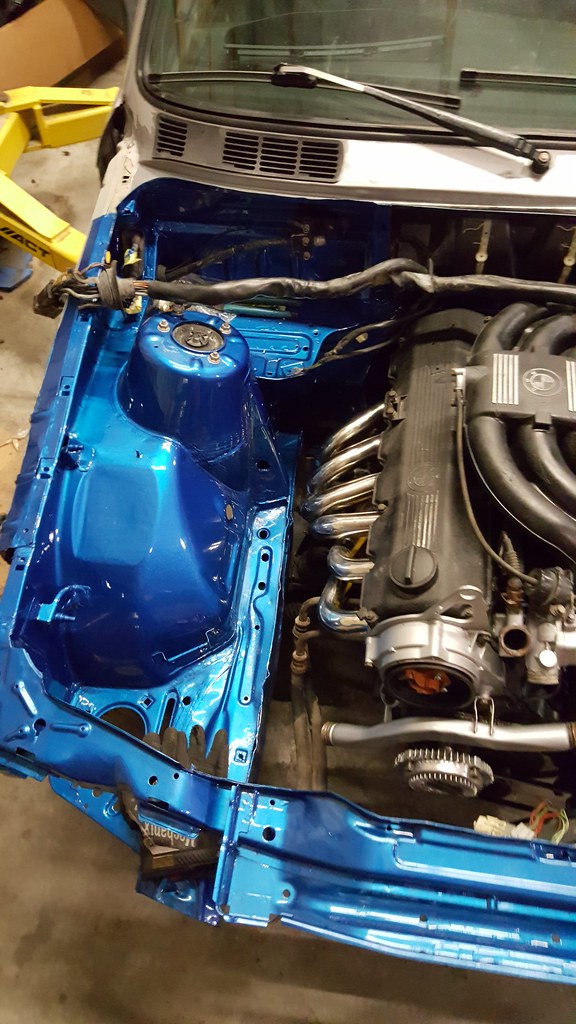 20170328_040257 by Daniel Pak, on Flickr
So shiney
 20170328_040306 by Daniel Pak, on Flickr
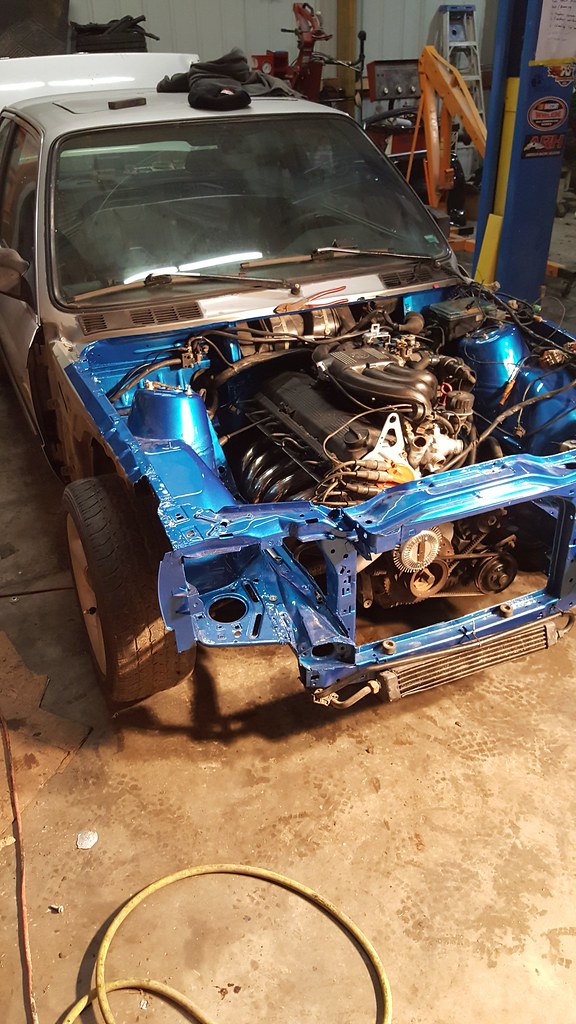 20170330_013134 by Daniel Pak, on Flickr
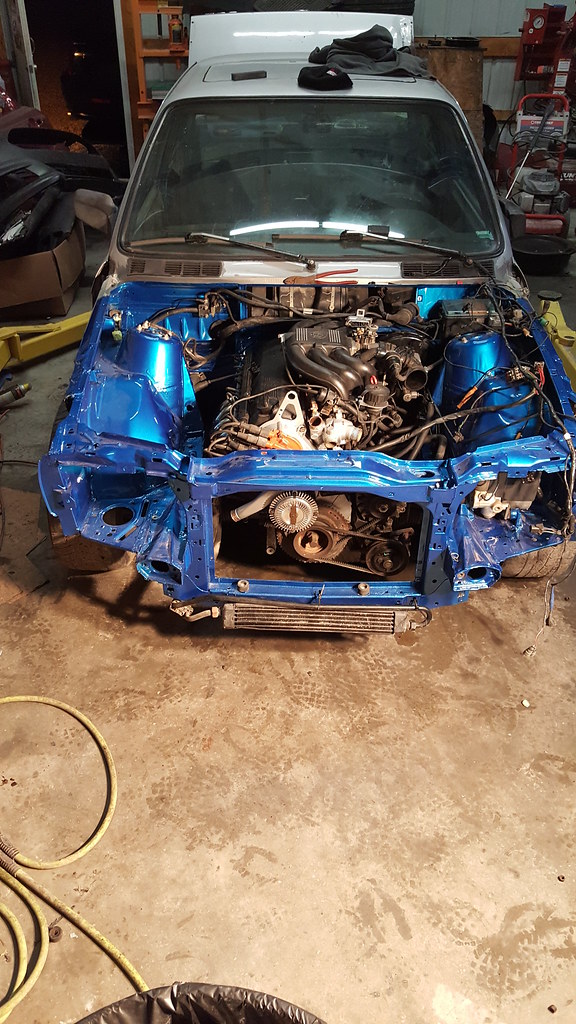 20170330_013138 by Daniel Pak, on Flickr
Well thats it for this update. I know ive been slacking abit on this car but will try to keep it updated asap. PeaceLast edited by danielpak_ek9; 03-25-2018, 01:26 PM.Leave a comment:
-
I keep forgetting to update this thread all the time I just got done with a few things after the car has been painted.
All the goodies i have collected!
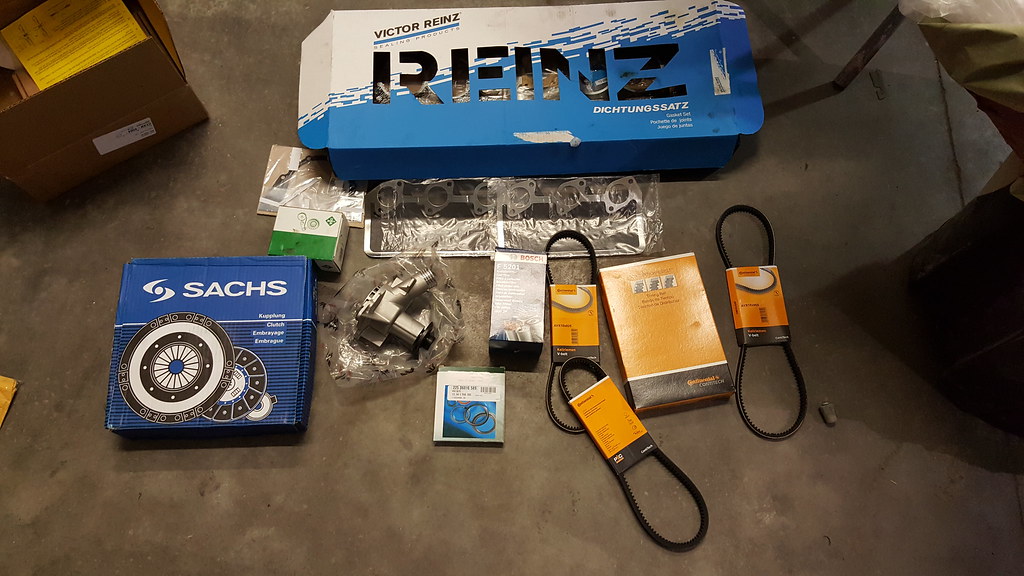 20170309_195217 by Daniel Pak, on Flickr
started to find all the seals i could replace the "while im already here" parts
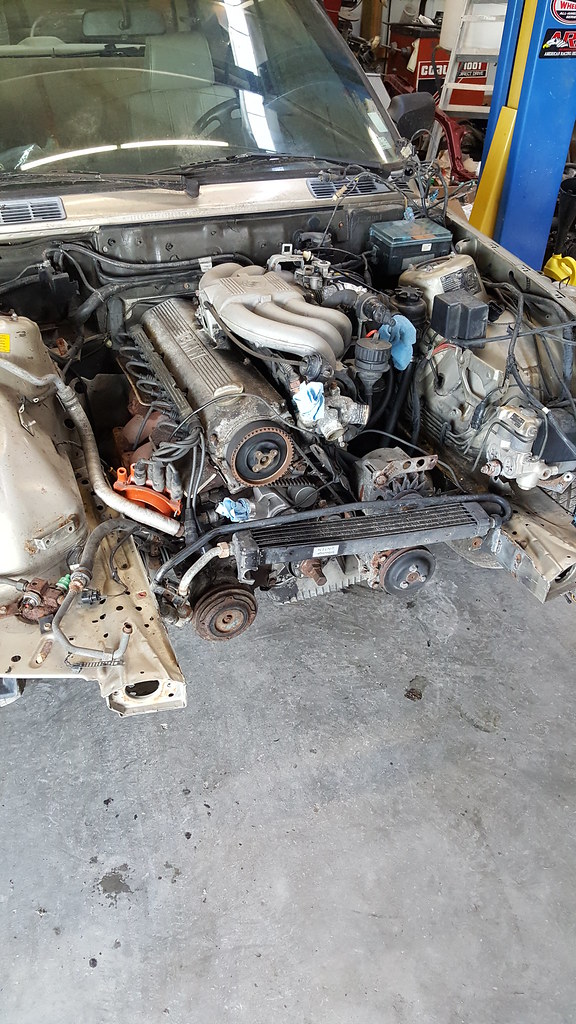 20170314_181038 by Daniel Pak, on Flickr
Replaced the cam seal!
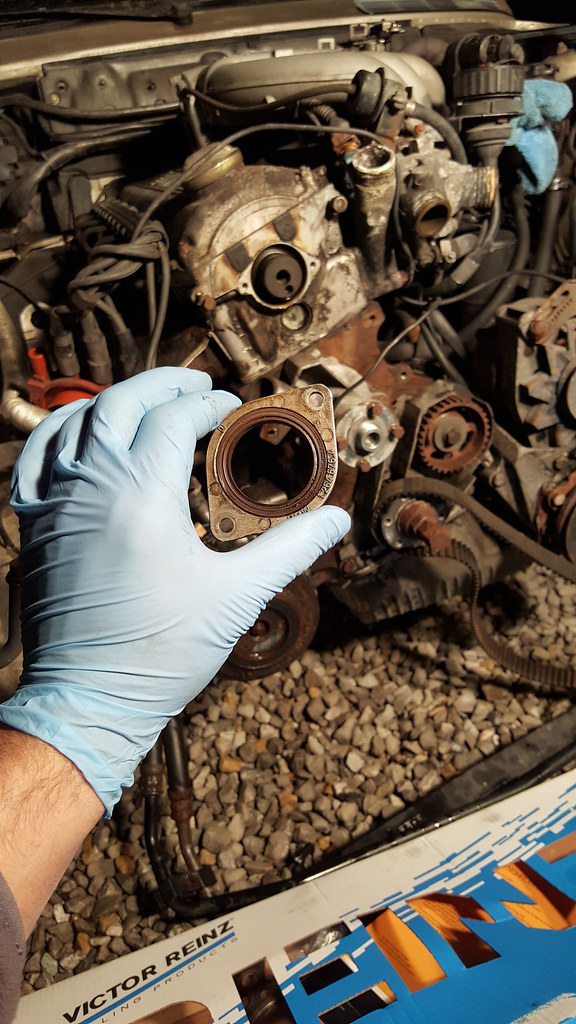 20170309_190654 by Daniel Pak, on Flickr
didnt get pictures of installing the new timing belt and such but now it got it on the lift to pull the motor out!
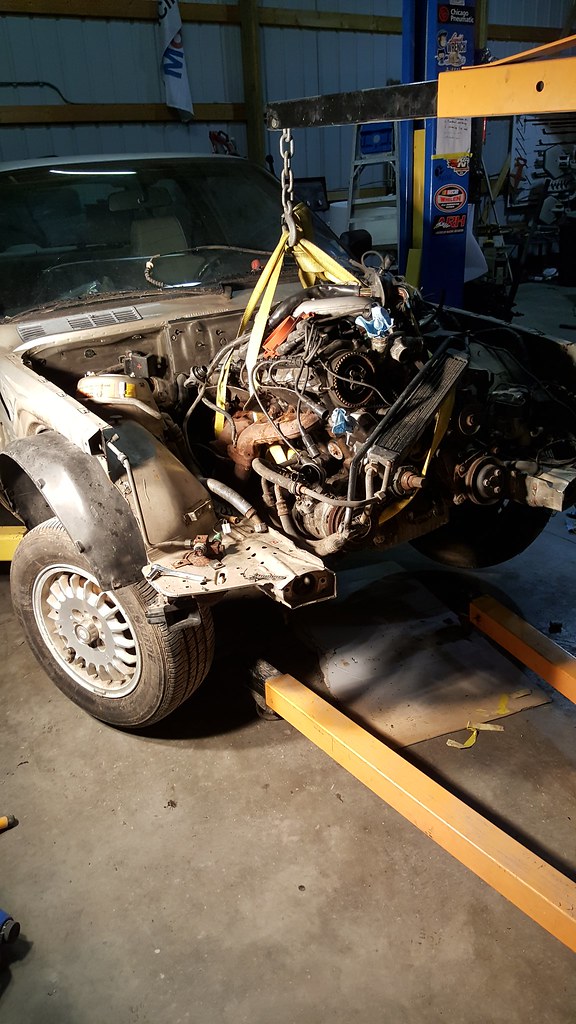 20170314_200652 by Daniel Pak, on Flickr
almost there!
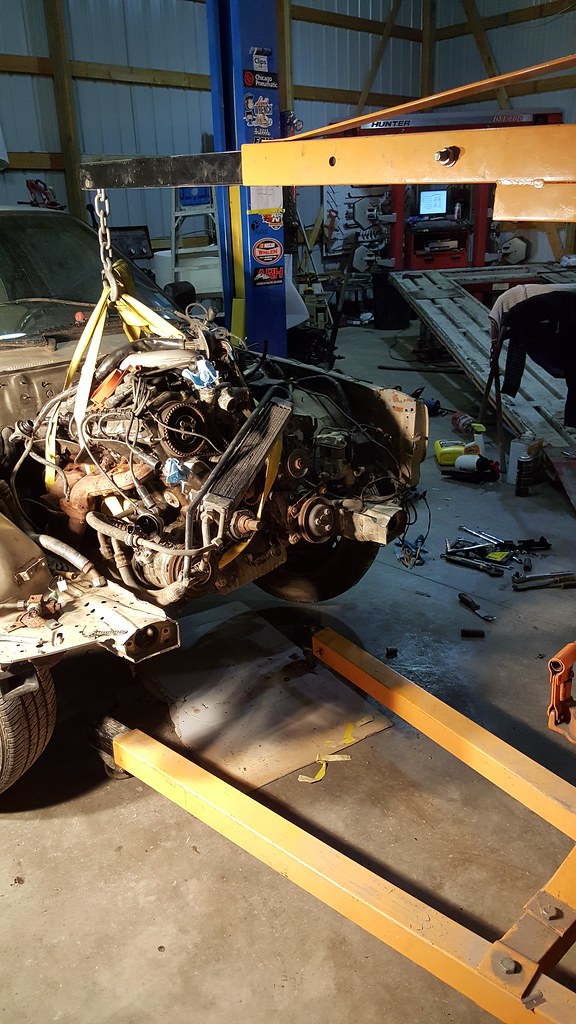 20170314_200655 by Daniel Pak, on Flickr
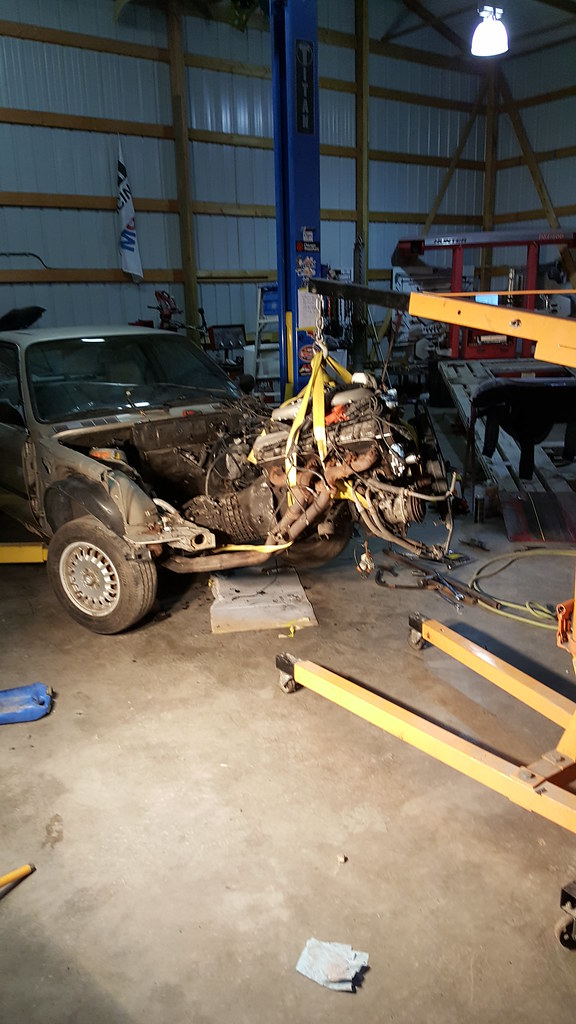 20170314_202803 by Daniel Pak, on Flickr
pulled the oilpan and cleaned the surface inside and out and the mating surface to install a new seal
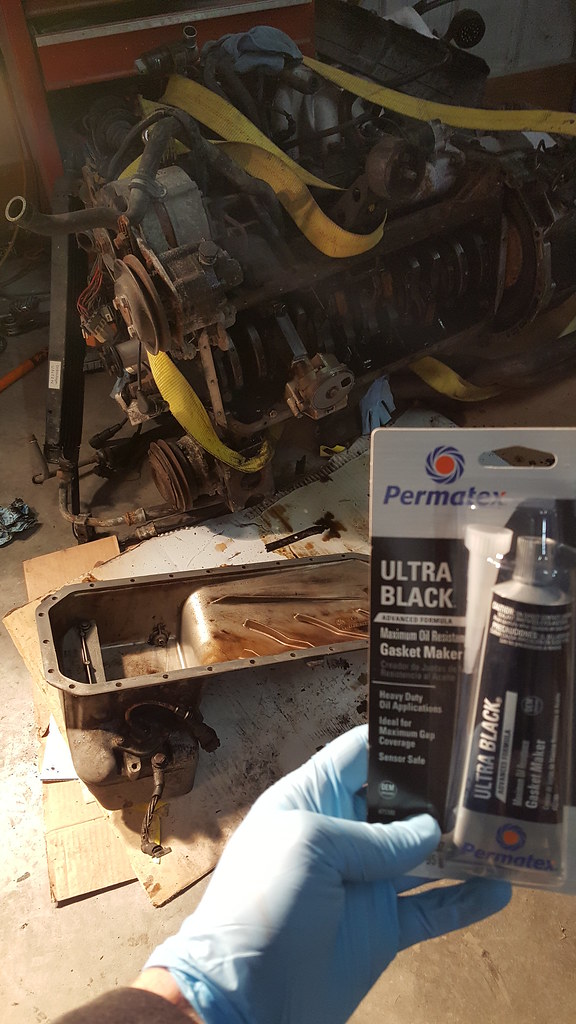 20170314_223906 by Daniel Pak, on Flickr
I woulda took pictures of the process but this material is very ikky and messy. But the pan is on!
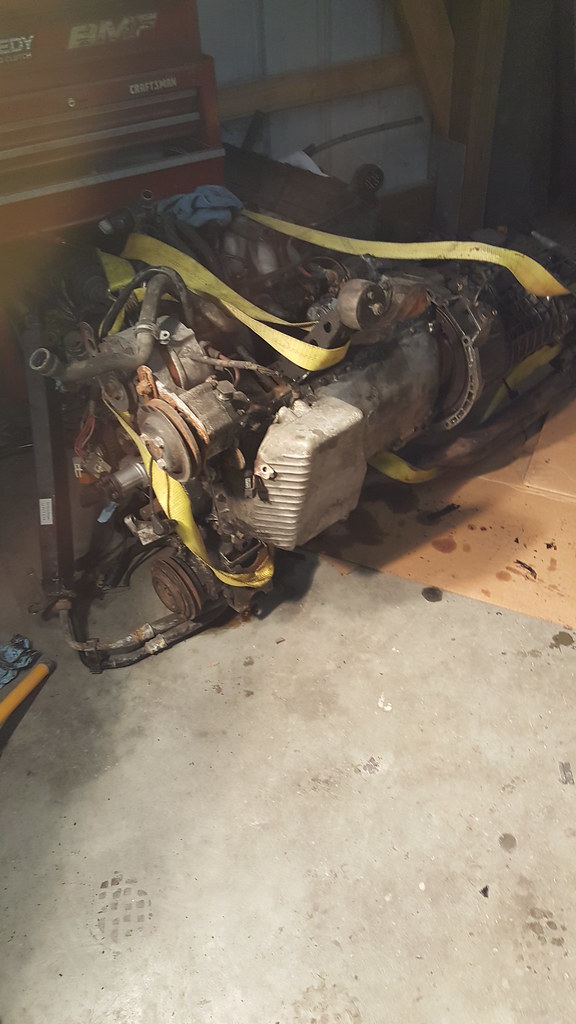 20170314_234733 by Daniel Pak, on Flickr
Looks so empty and filthy.
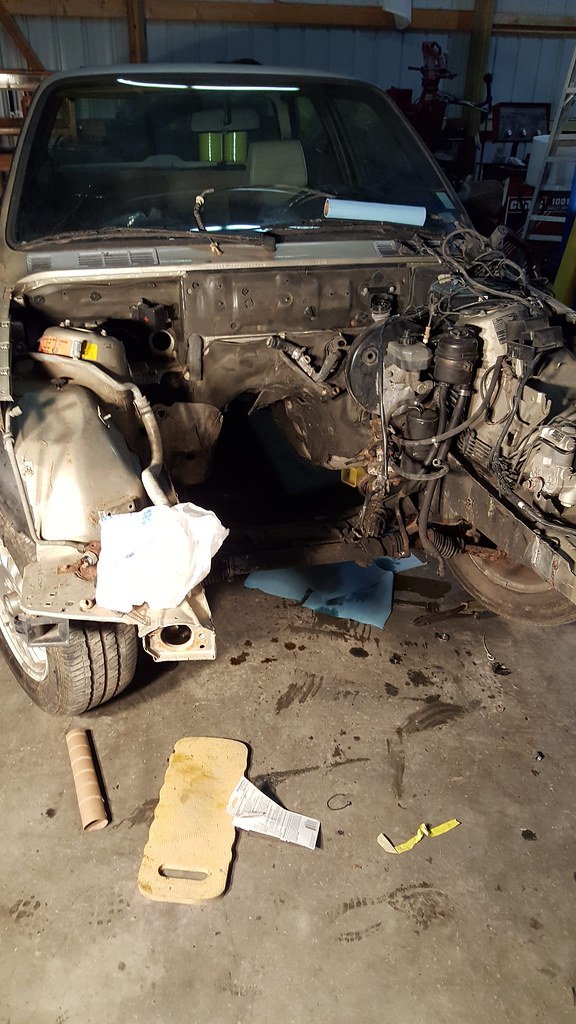 20170314_234738 by Daniel Pak, on Flickr
started dissasembly of the motor for cleaning and basically refreshing the seals.
 20170315_175209 by Daniel Pak, on Flickr
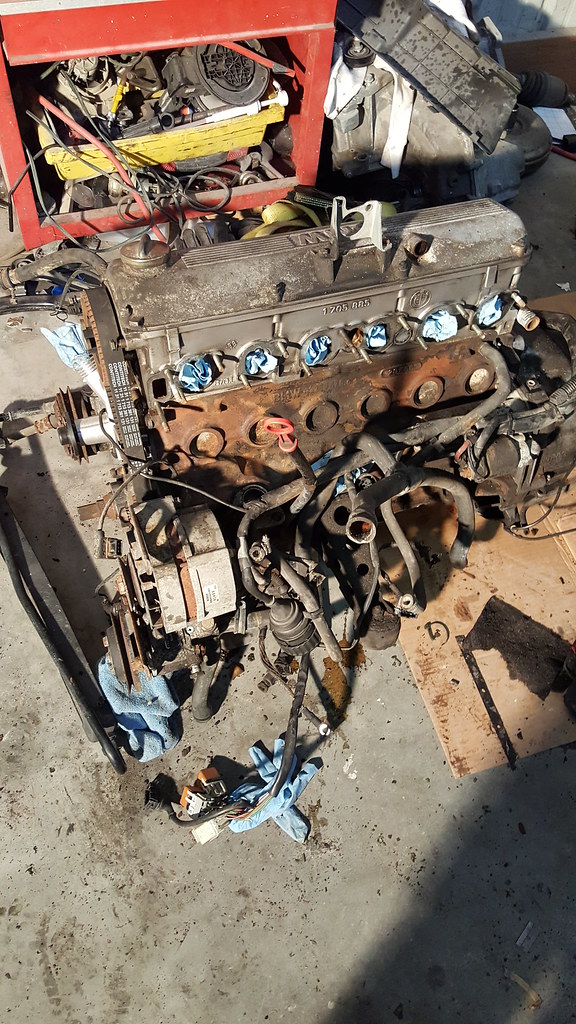 20170315_190145 by Daniel Pak, on Flickr
rear main seal ready to be replaced
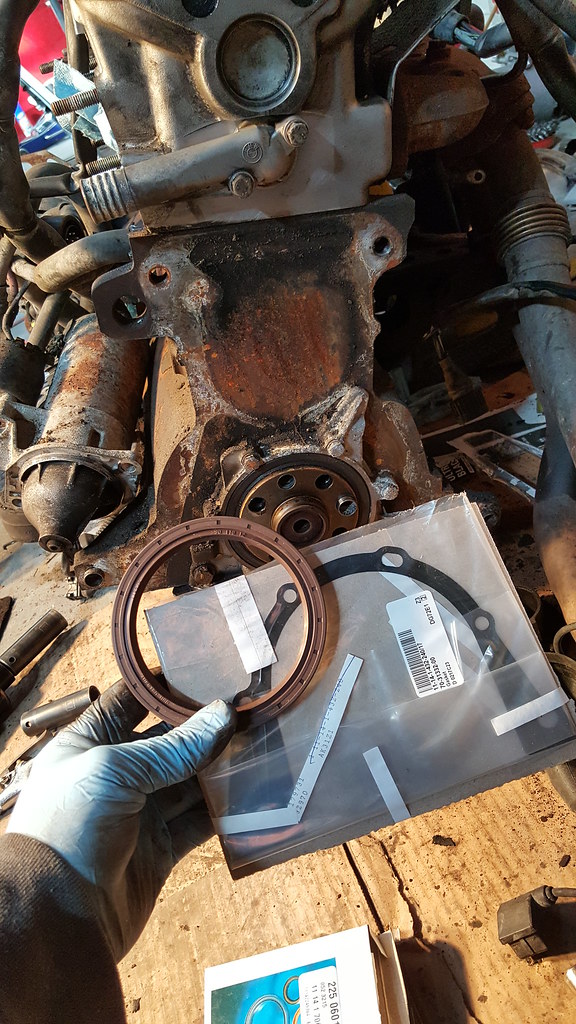 20170318_104559 by Daniel Pak, on Flickr
painted the new manifold and cleaned up the ports. Mmm looks so clean!
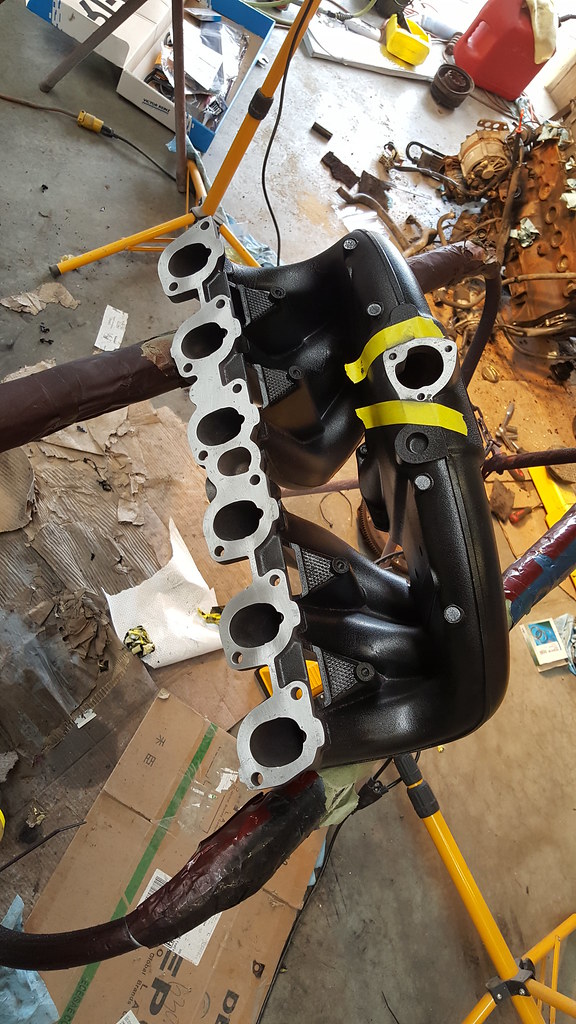 20170318_152835 by Daniel Pak, on Flickr
Bare longblock
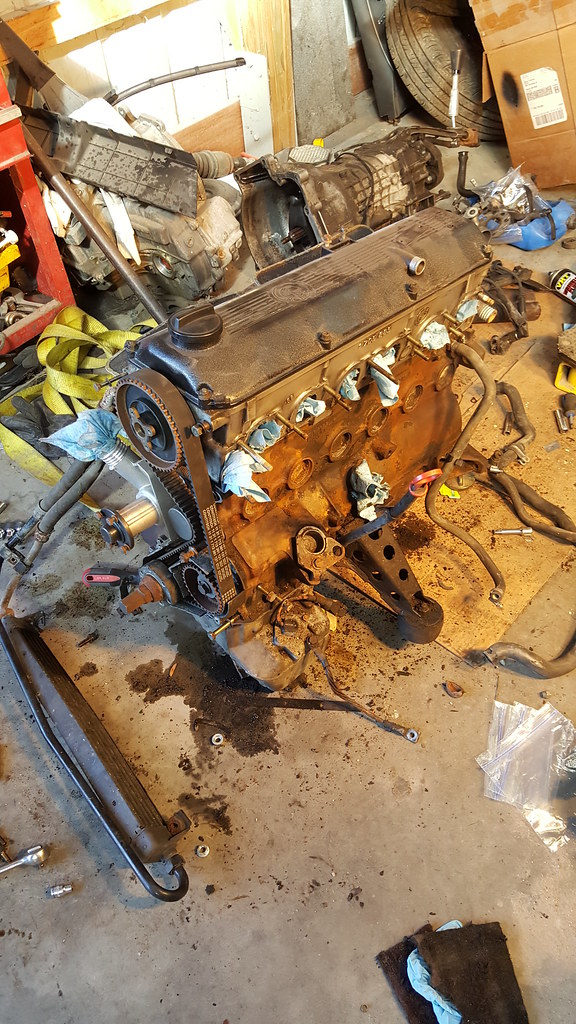 20170318_161635 by Daniel Pak, on Flickr
Painted accessories of the engine a aluminum cast color
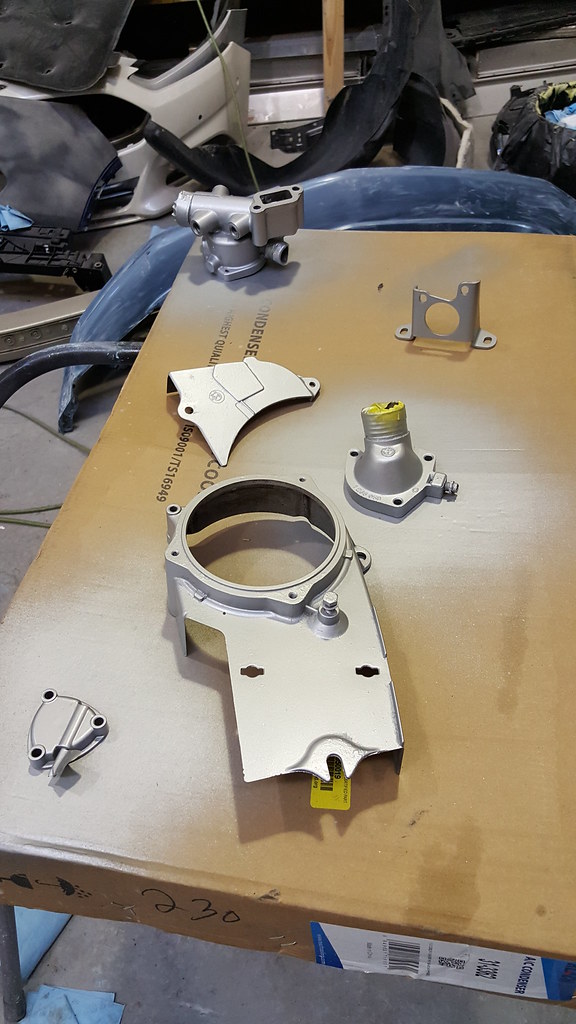 20170318_163007 by Daniel Pak, on Flickr
Thats it for now i guess, will keep yall updated!Last edited by danielpak_ek9; 03-25-2018, 01:15 PM.Leave a comment:
-
-
That paint looks incredible. Can't wait to see the whole thing painted! There's nothing wrong with putting an M20 back in. You could build a 2.7 stroker and be close to M50 power.Leave a comment:


Leave a comment: