-
I really enjoyed helping for the few days that I did before your concourse, nice to see some newer pictures getting up in this thread.Leave a comment:
-
John, phenomenal work as always man.
I'm doing the same with my S50 car. Cage removal, new carpet, new seats, etc. Definitely not to the level of cleanliness that you are though.Leave a comment:
-
One way to make sure you are enjoying this thread to its full potential is to realize that your car will NEVER be as clean as this one.Leave a comment:
-
Holy wow!! Car looks clean as hell! i read through the whole thread. Love the build, A+ in my eyesLeave a comment:
-
Outdated update 2 2011
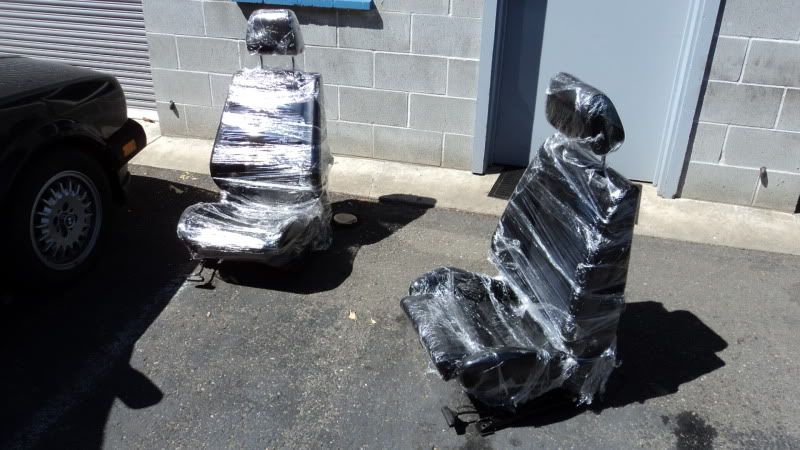
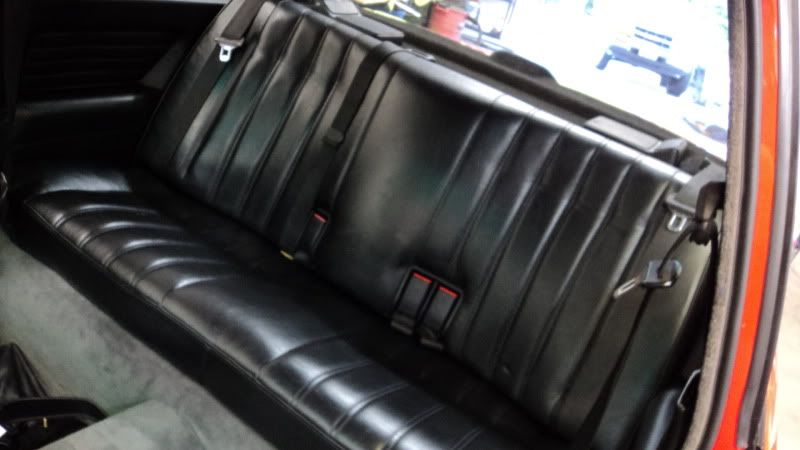
Bought some better condition seats and smothered them in Griot's leather rejuvenate. Then wrapped them in saran wrap and left them to bake in the sun and condition:
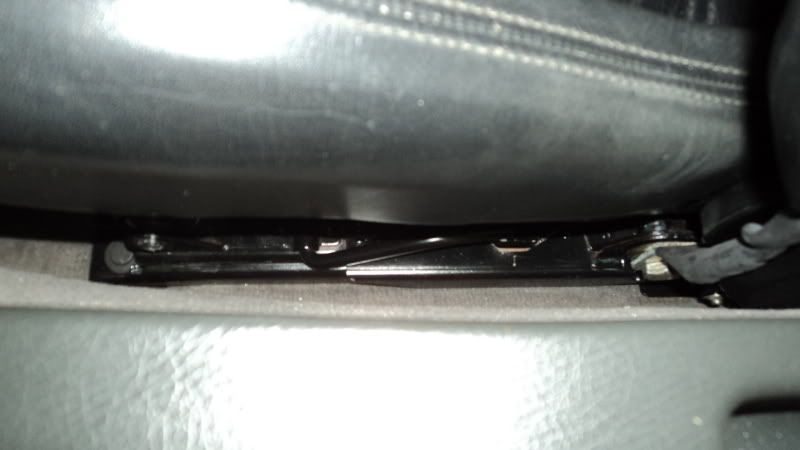
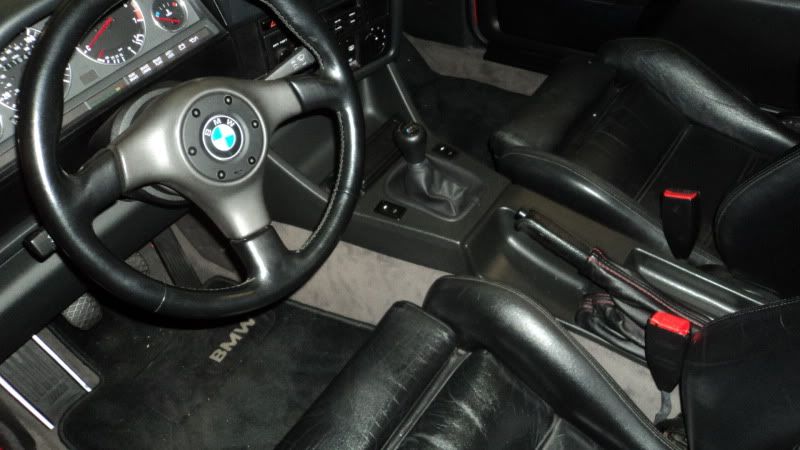
Cleaned the seat rails and installed the seats
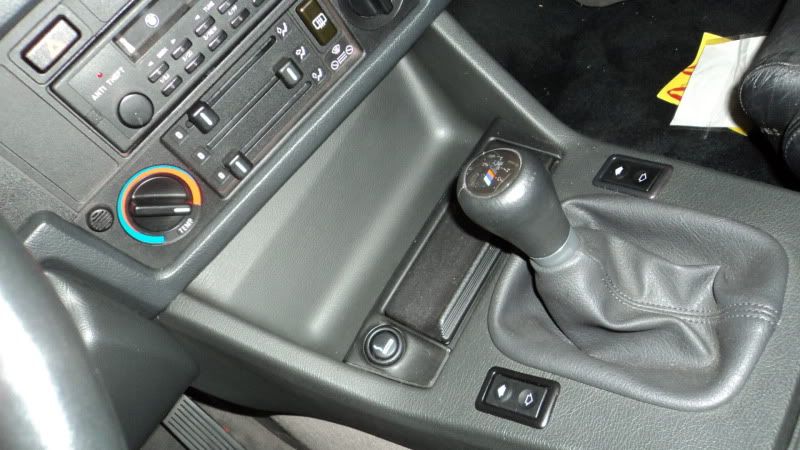
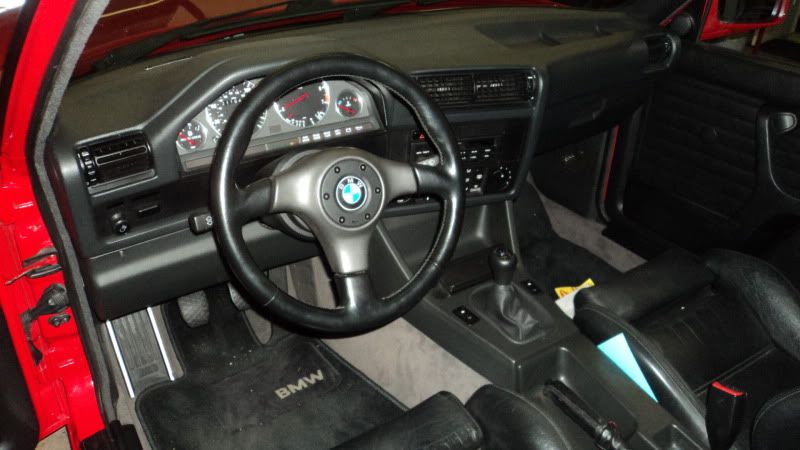
Finished assembling the Center conceals and dashboard
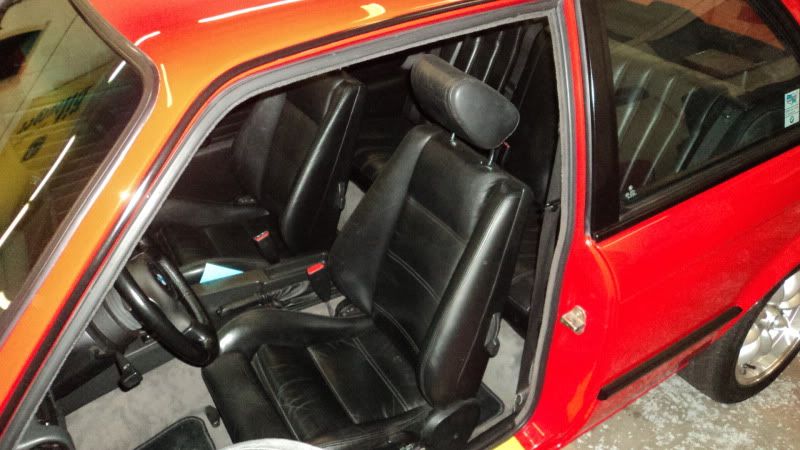
Complete shots
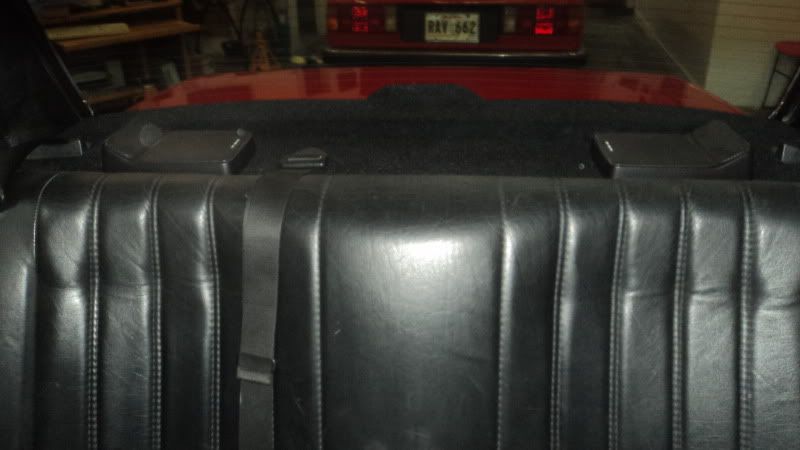
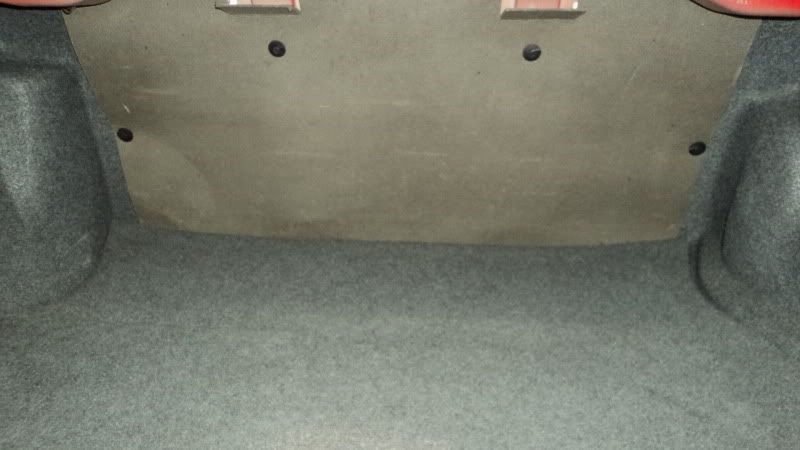
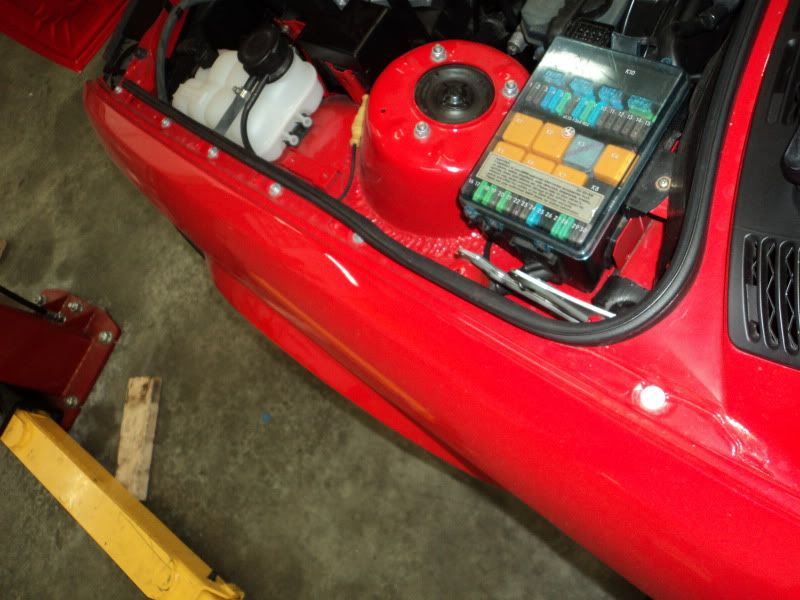
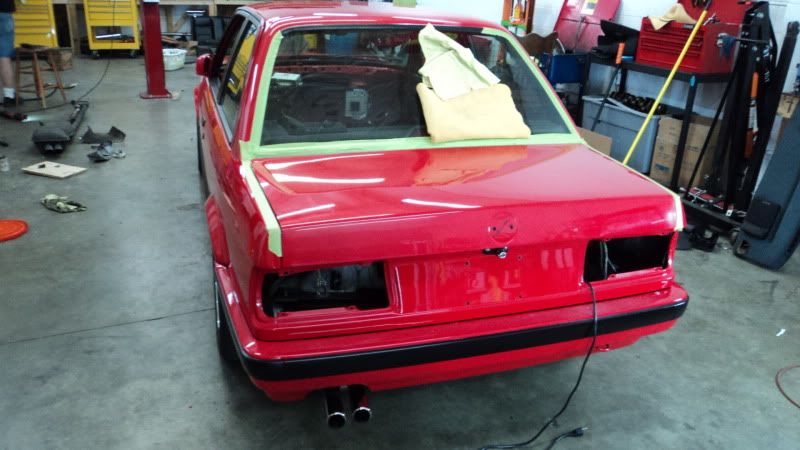
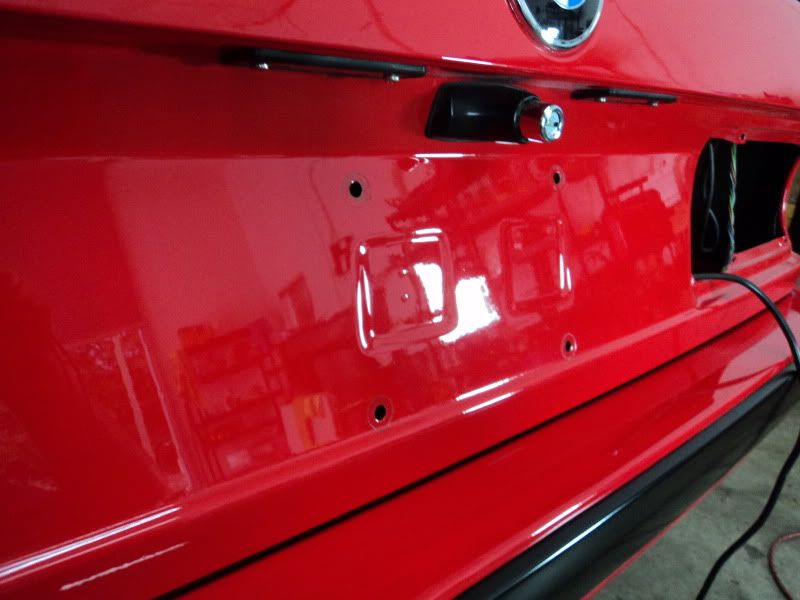
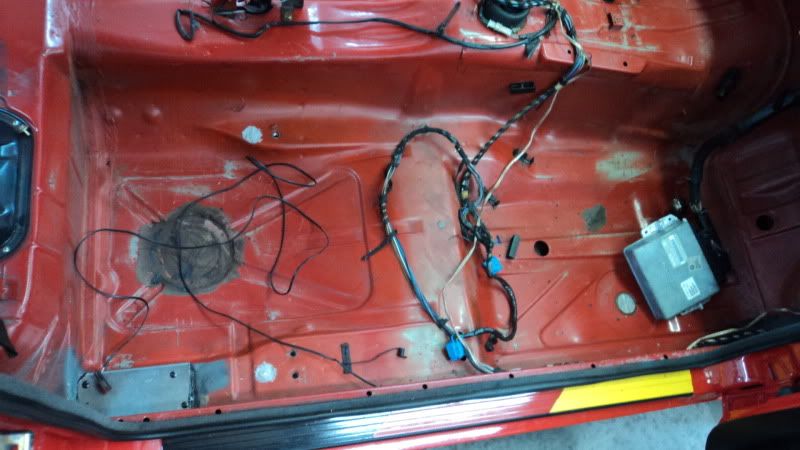
Trunk Done
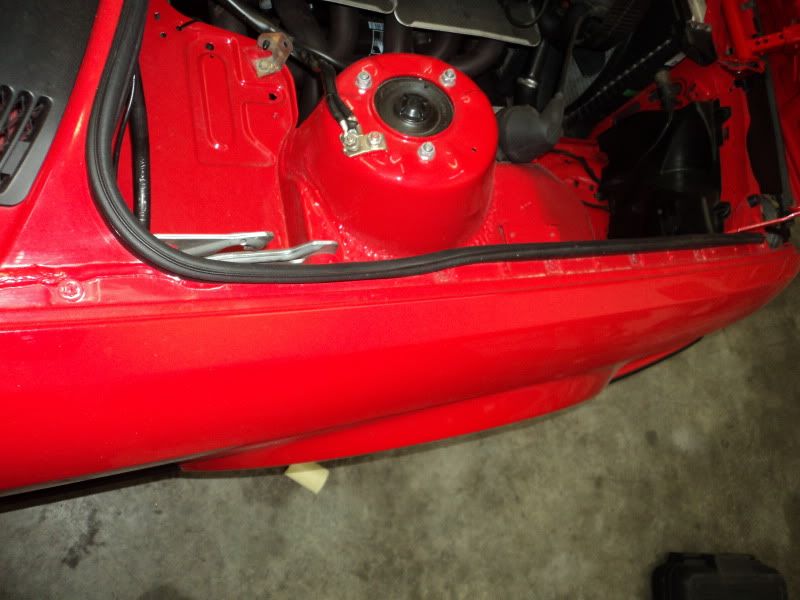
Had another coolant leak at the throttle body, and I needed to clean it all up anyways:
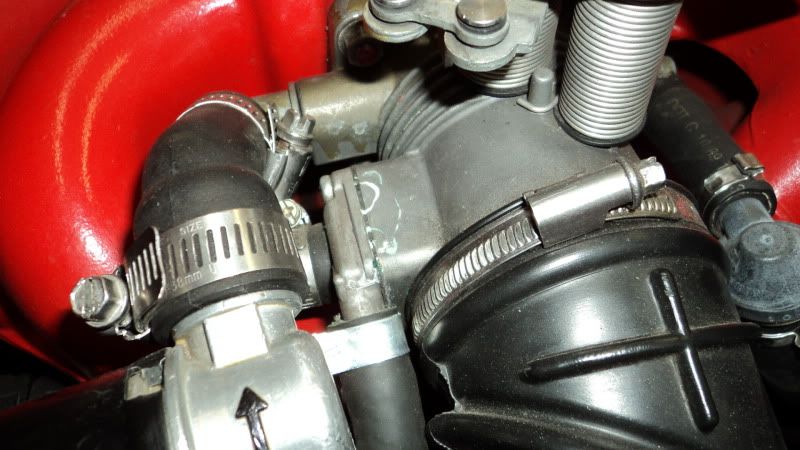
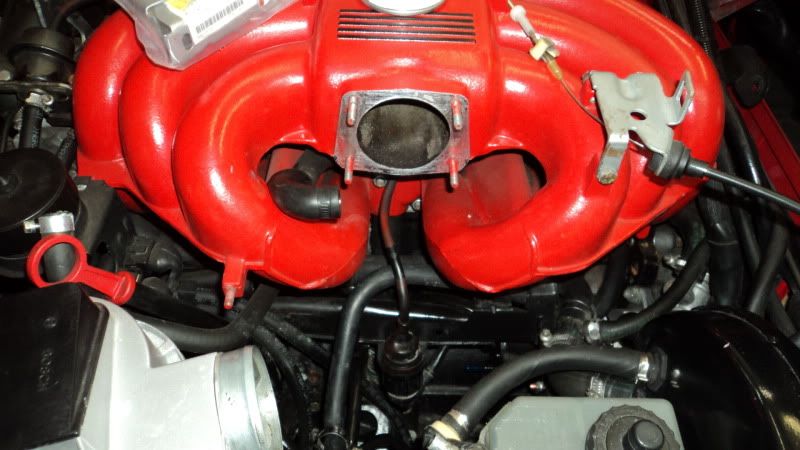
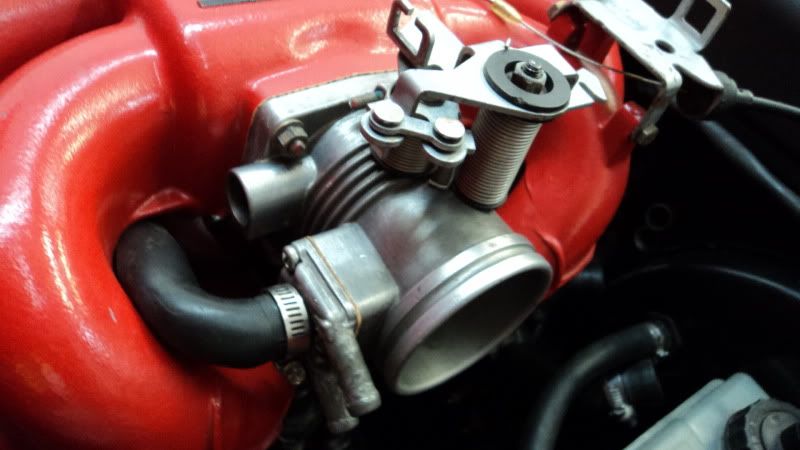
Much cleaner
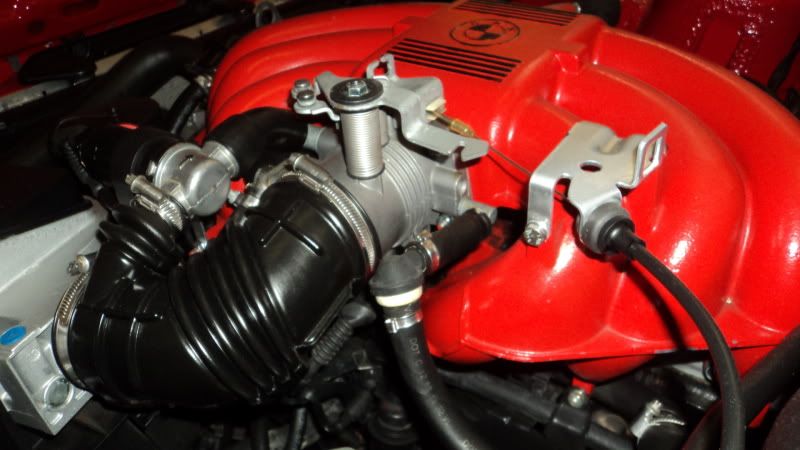
Also took cars of a lot of mismatched nuts and bolts, replaced them with stainless ones. and cleaned up all the brackets I could
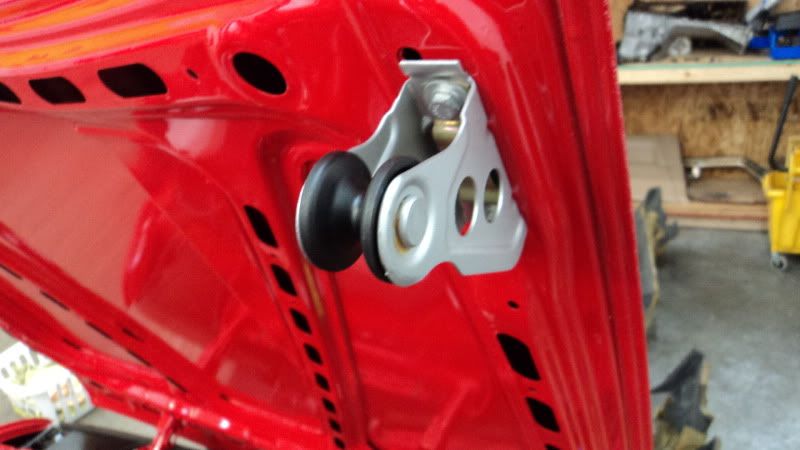
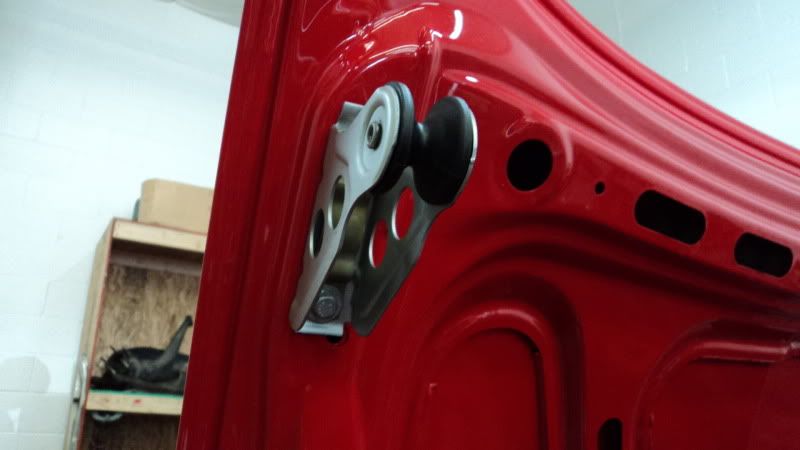
Old roller
New rollers
Fender before
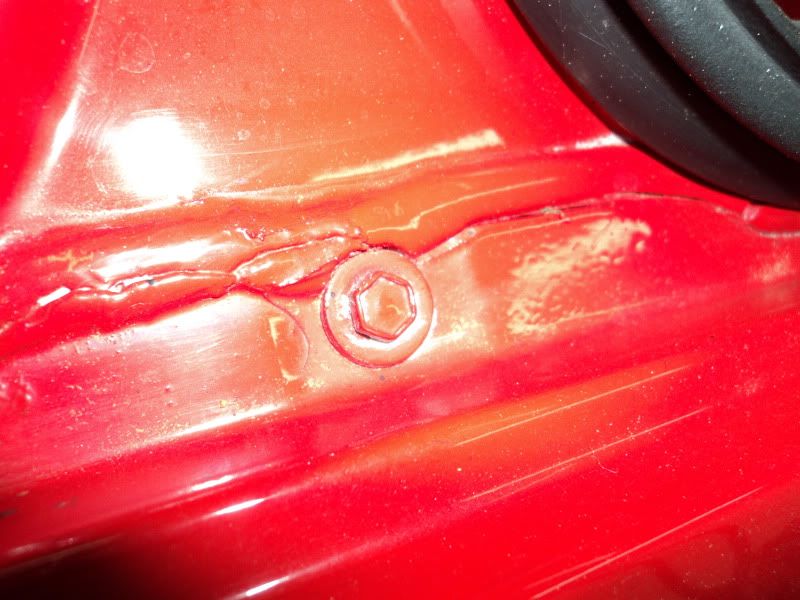
Fender after
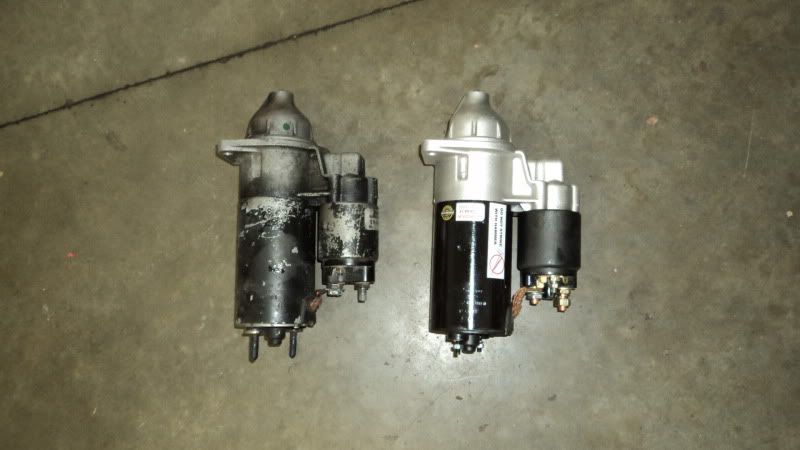
I actually lost points for my starter one year! So, I changed it out.
Coil bracket

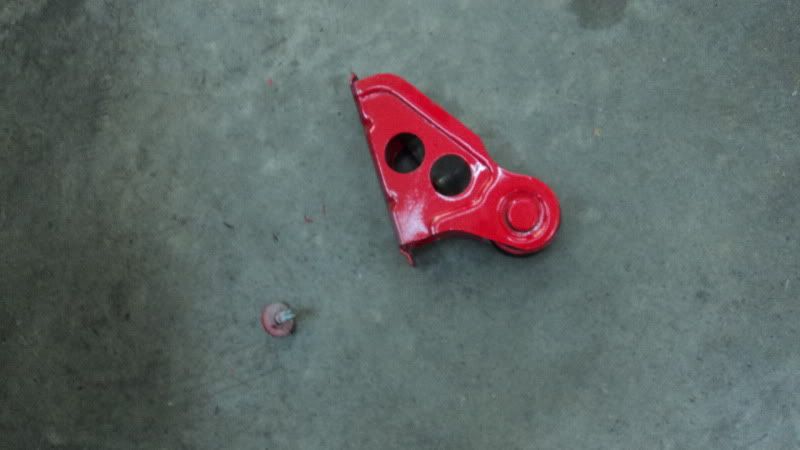
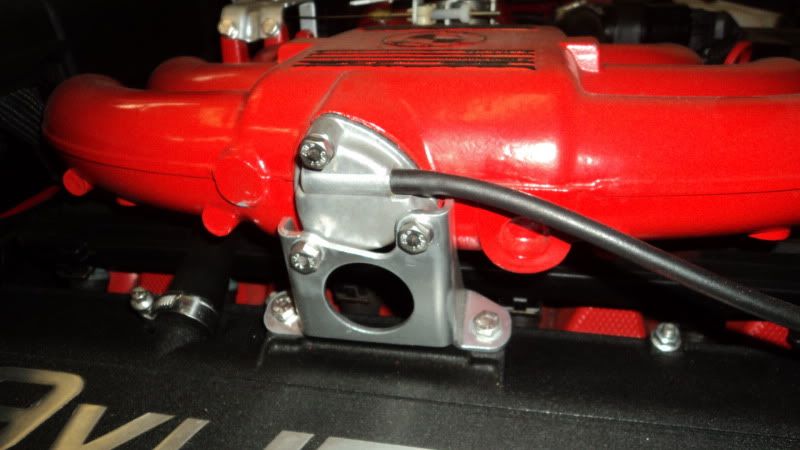
Manifold bracket
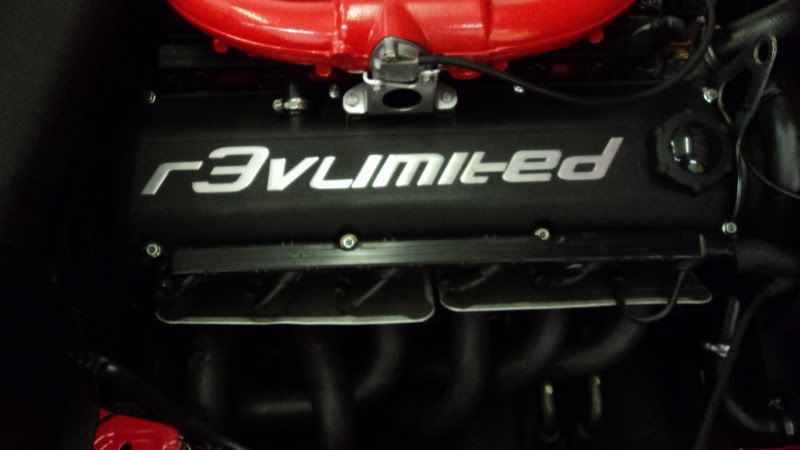
James let me barrow the R3Vlimited valve cover
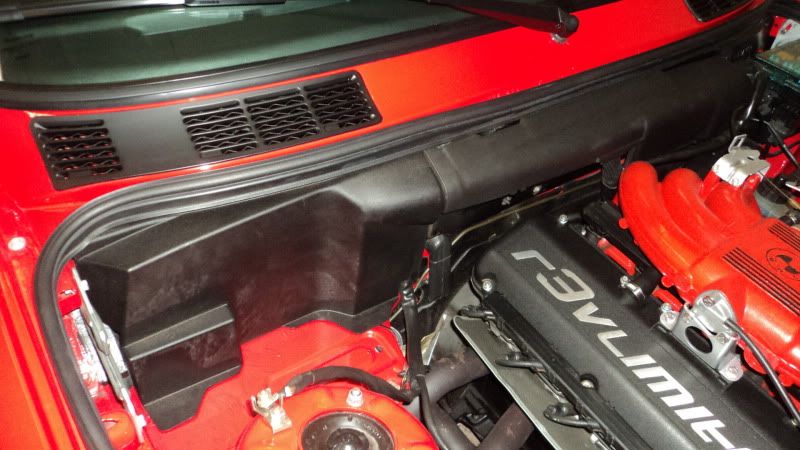
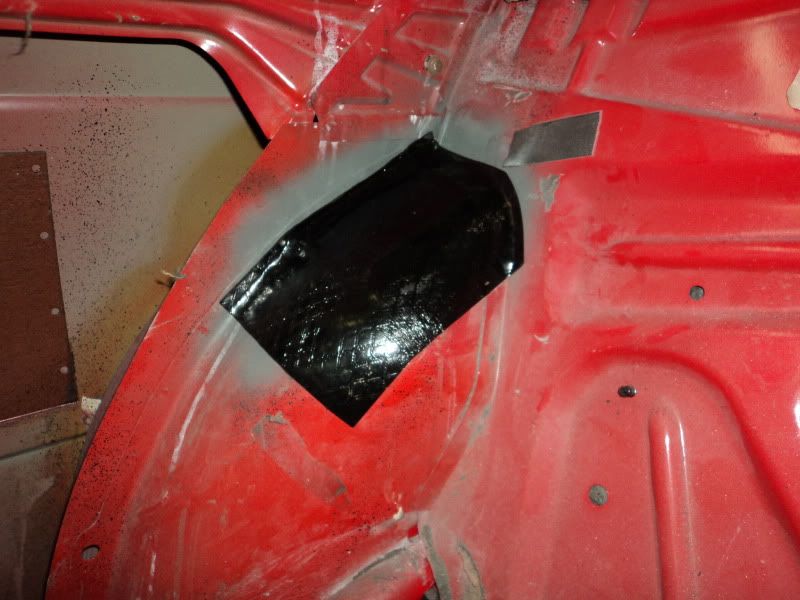
M3 firewall covers installed
The whole time we were assembling everything else we were also wet sanding and re polishing the entire car
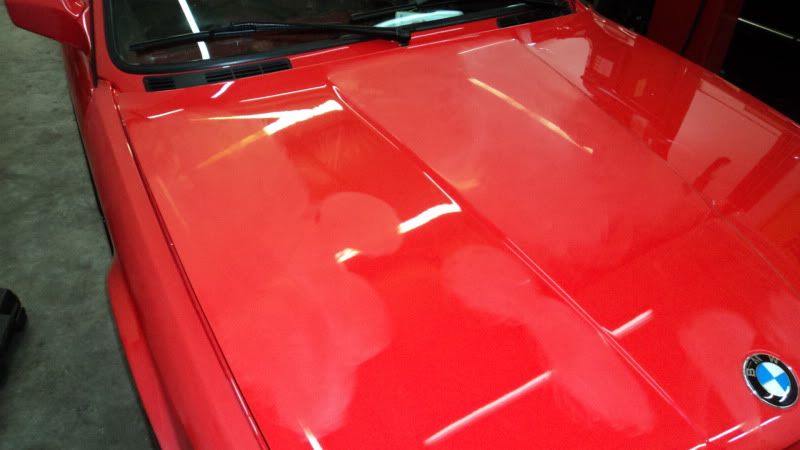
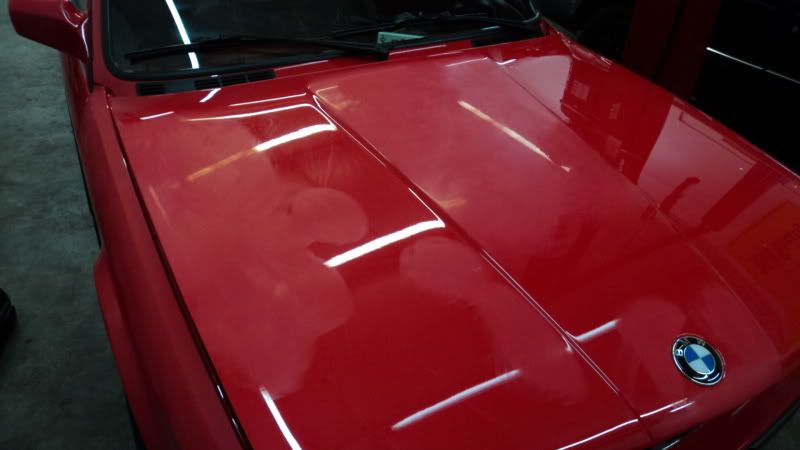
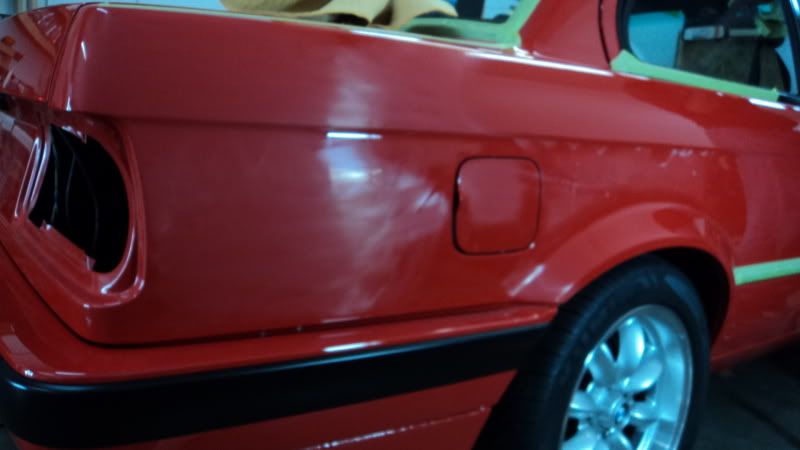
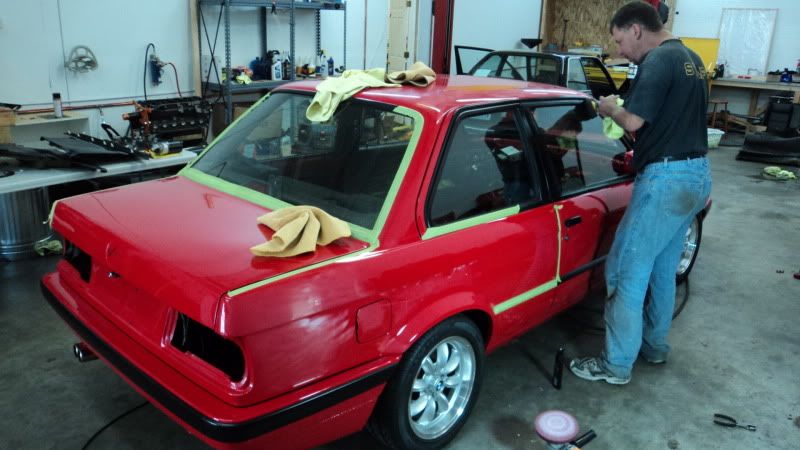
There used to be a lot more orange peel here
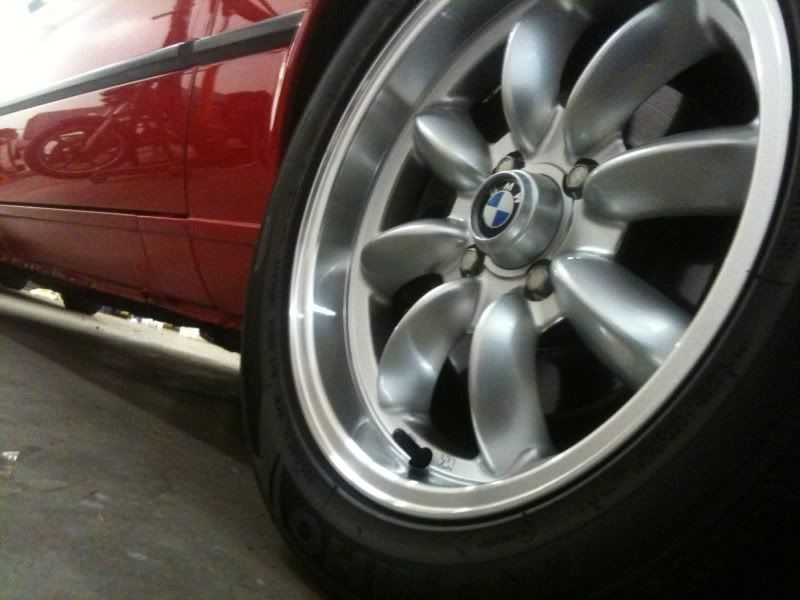
Polishing and waxing done! Cleaned up the wheels.

Next post will be all complete shots and all my Thank yous to everyone who helped. I need to add a few more shots into these two last updates. Then I'll take some current shots as well but I need to do a detail on a clients car right now. I promise I'll have the thread done by tonight!Leave a comment:
-
* DROOL !! *
I think the ONLY thing that jumped out at me was non-shaved SRS impact sensor brackets..
love, LOVE, LOVE the cleanliness and execution.
can't believe I hadn't seen this thread earlier..Leave a comment:
-
Outdated update 1 Interior 2011
Due to me trying to run my shop, I have slacked big time on updates.
All of these updates were done around May/June/July 2011 The BMWCCA Concours de'Elegance was held on July 24th 2011. That was my deadline.
In 2010 I finished with another second place. It seems no matter how hard I try and clean this thing I always lose to Keith and his beautiful Henna M3.
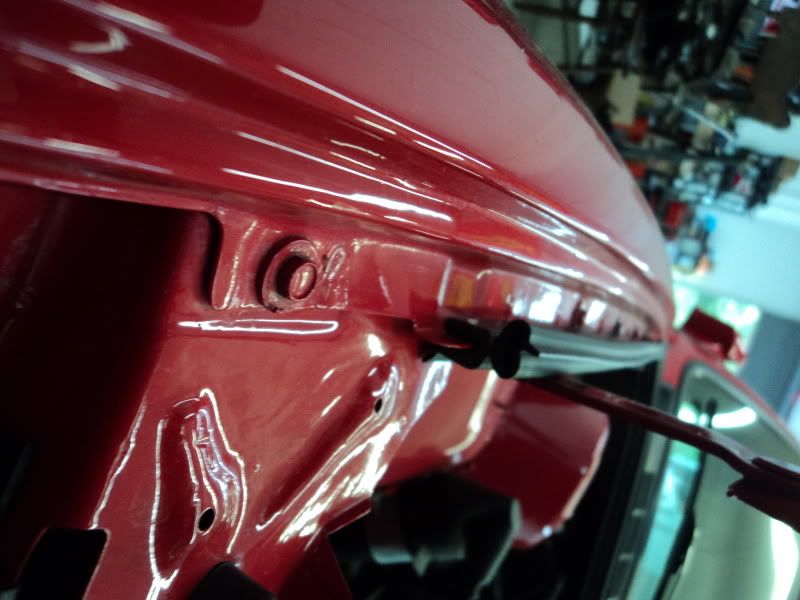
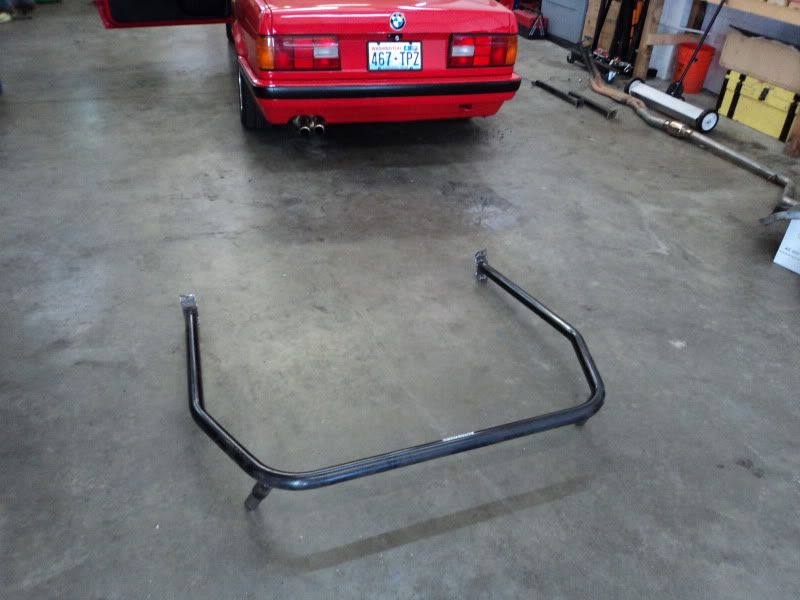
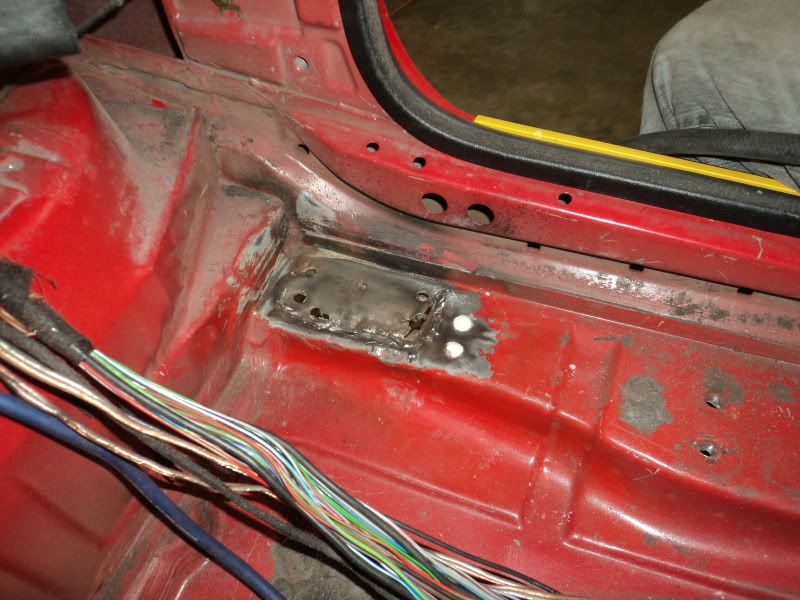
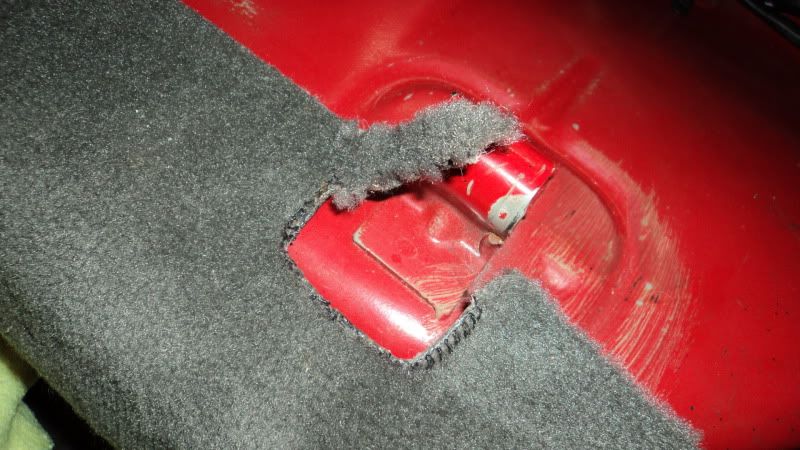
I had been putting it off, but it was clear to me now that to try and improve the car, my street bar would have to go. The only problem was it was welded in. I would not only need to remove it, but fix all the damage.
Let's begin. I am going to keep commentary semi-light through this
Cutting the welds out:
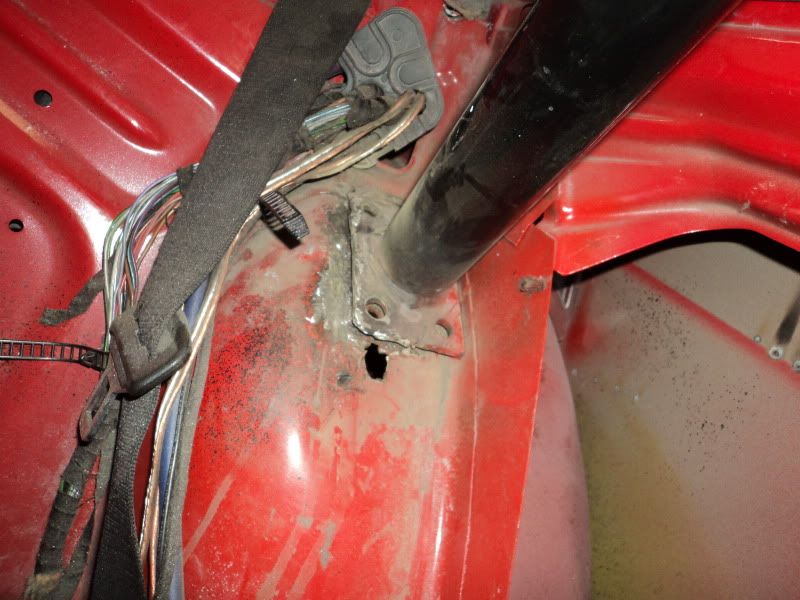
Out!
What a mess:
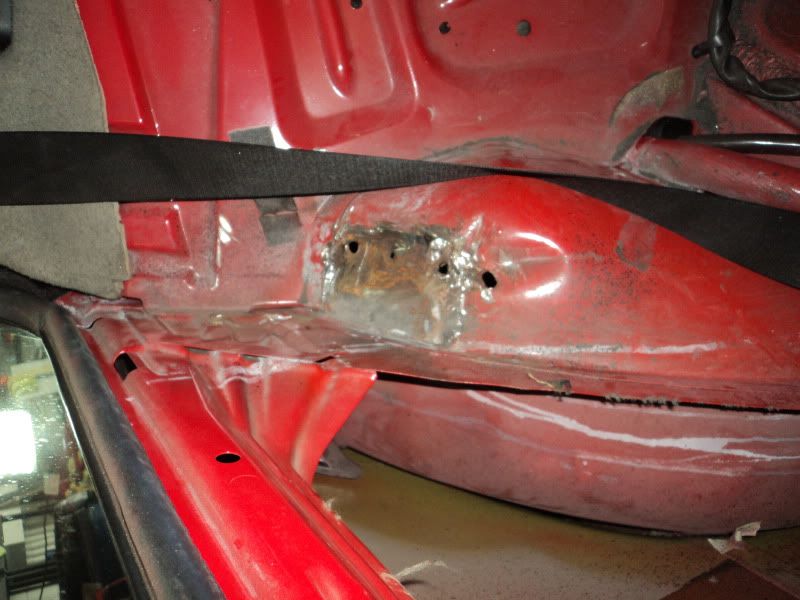
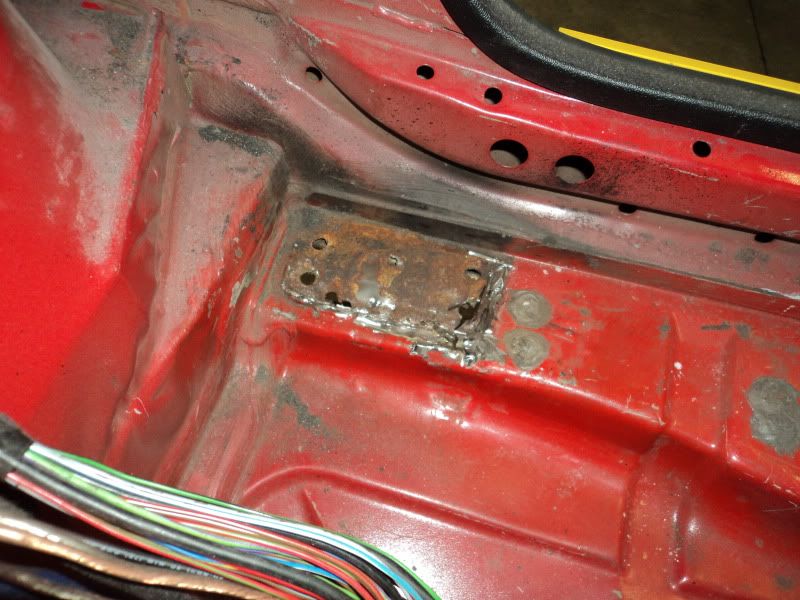

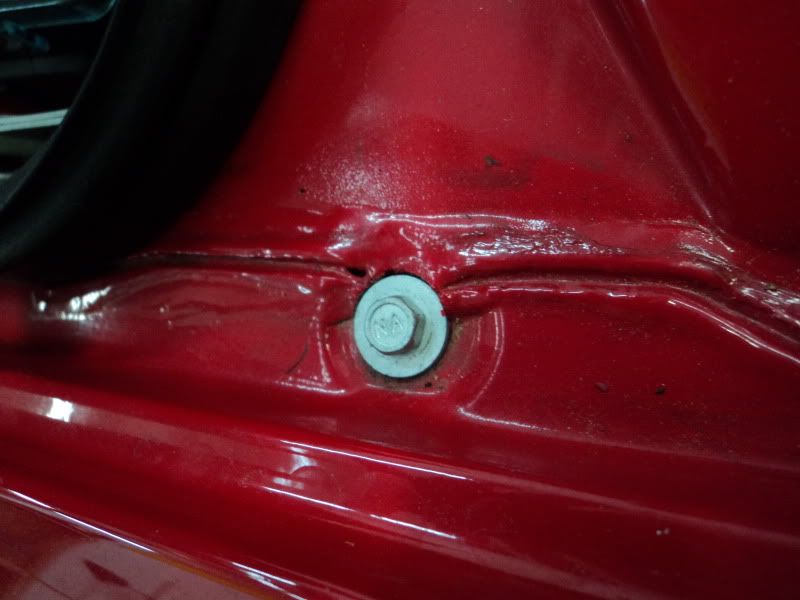
We ground all four points down to clean metal. Then primed them with self etching primer:
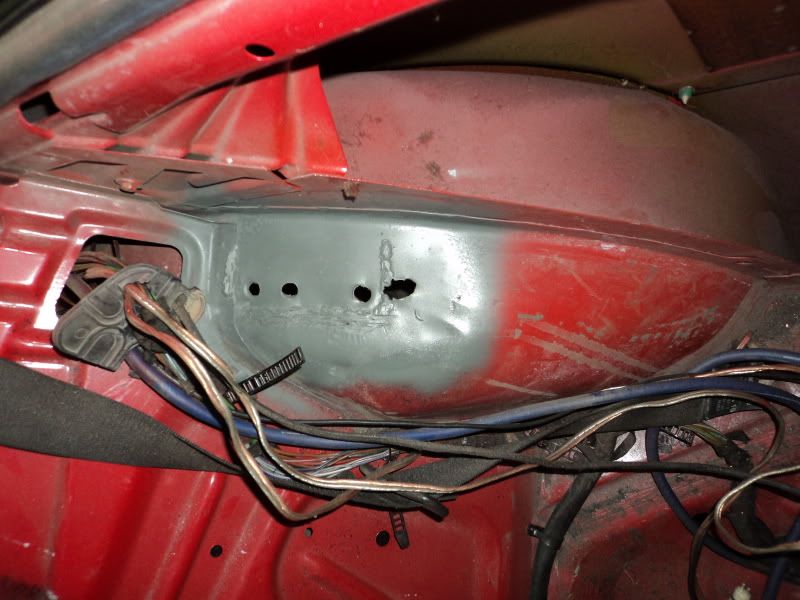
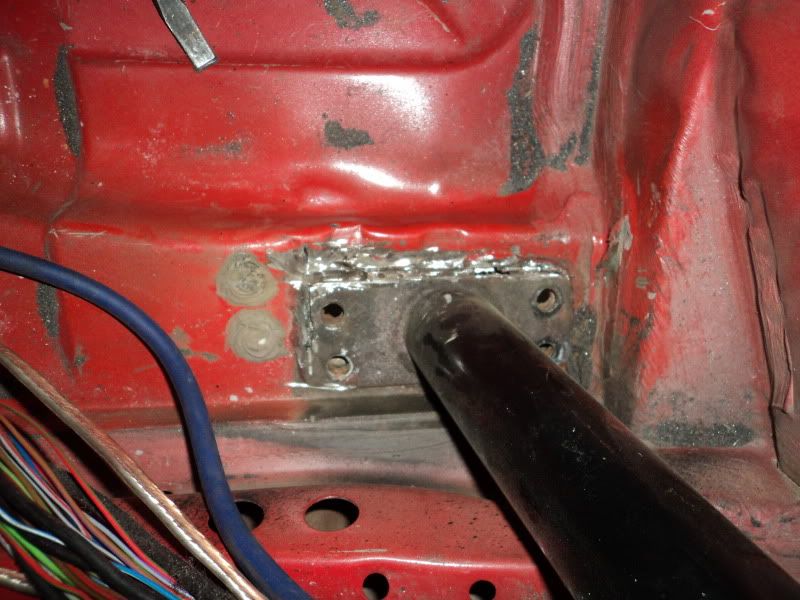
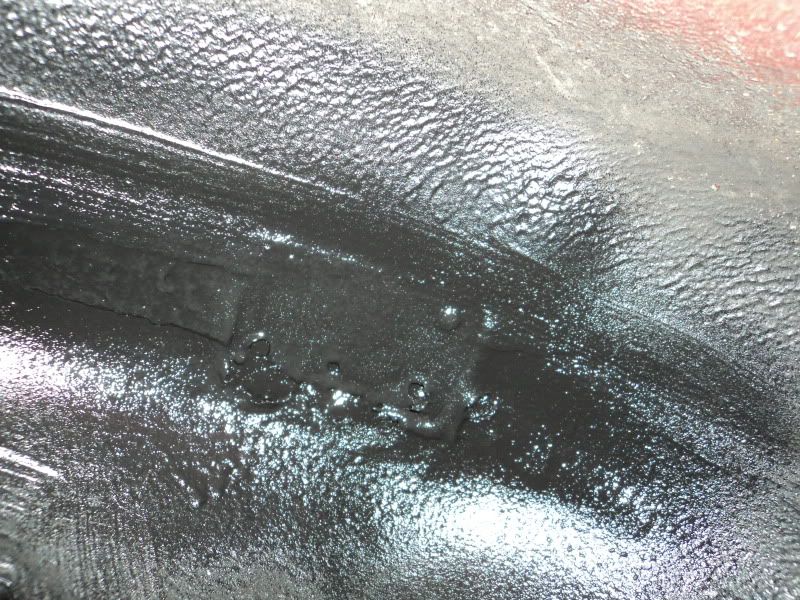
For the rear wheel arches it was as simple as laying down some body tar and undercoating the underside. This would both protect the area from water and allow for a very permanent and reliable fix.
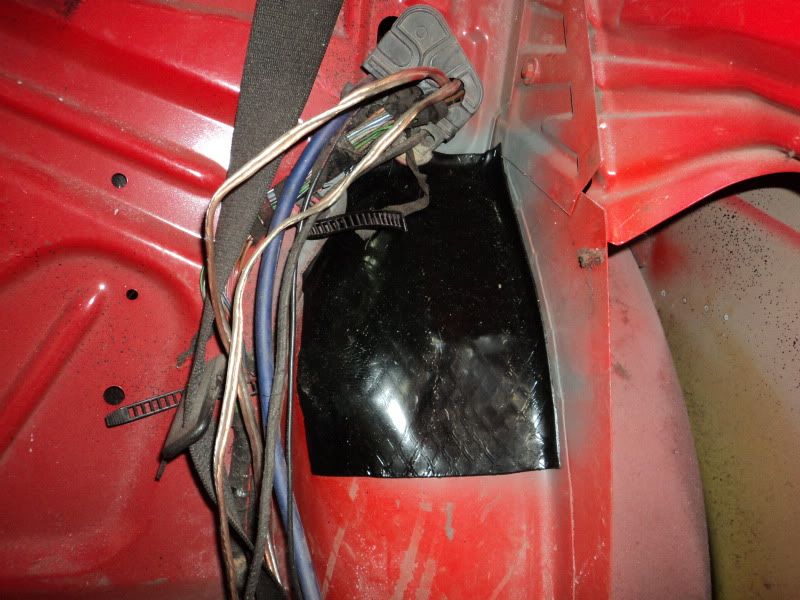
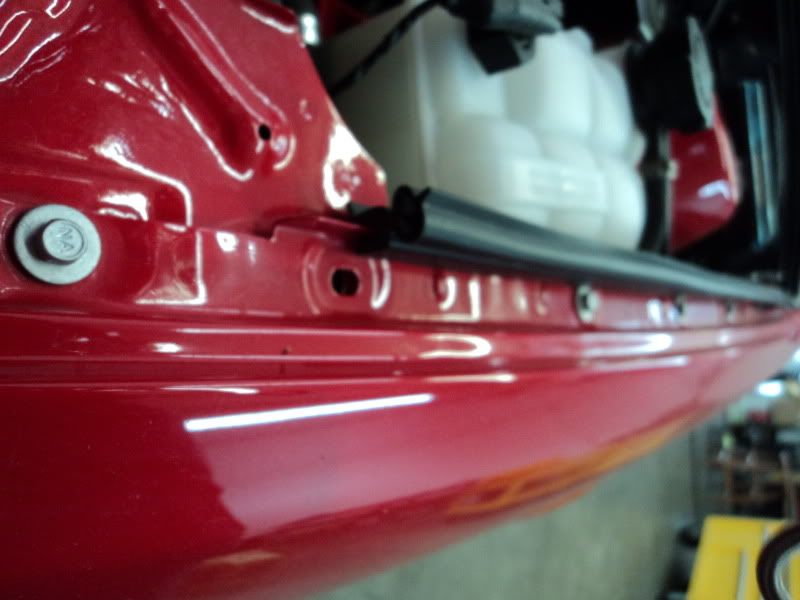
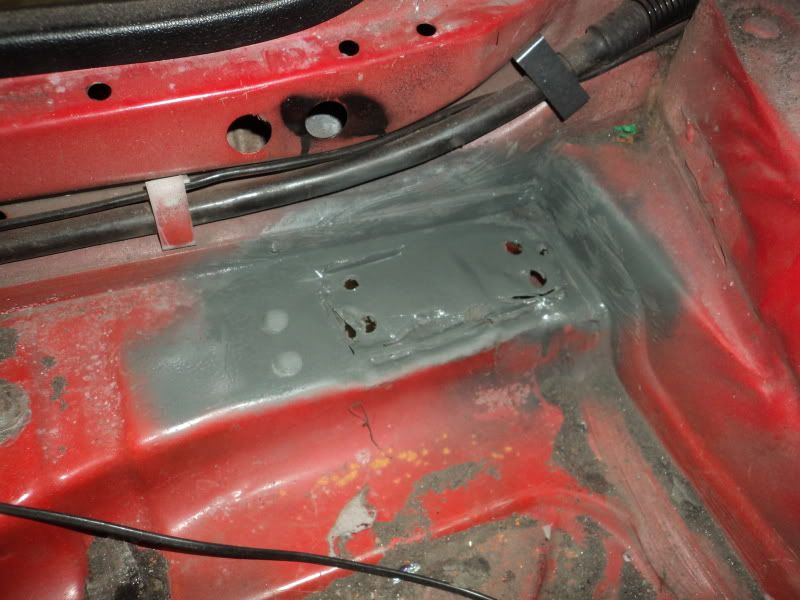
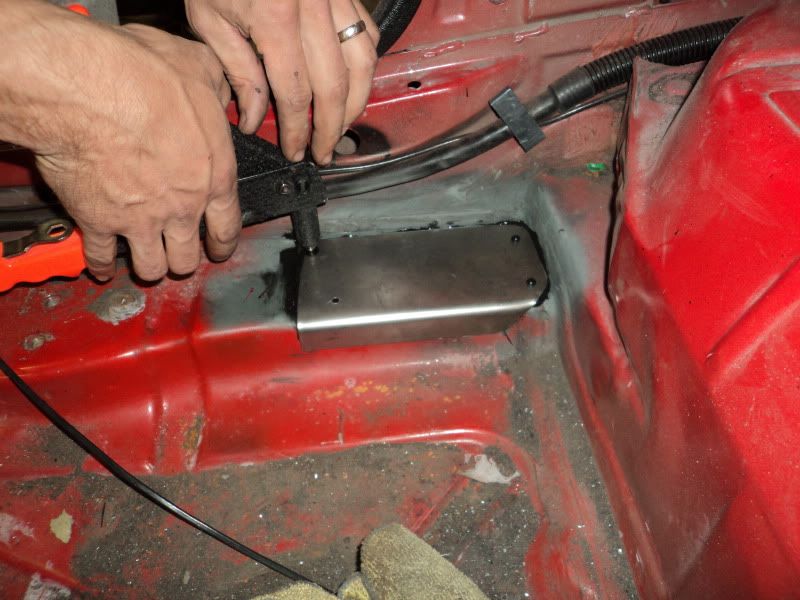
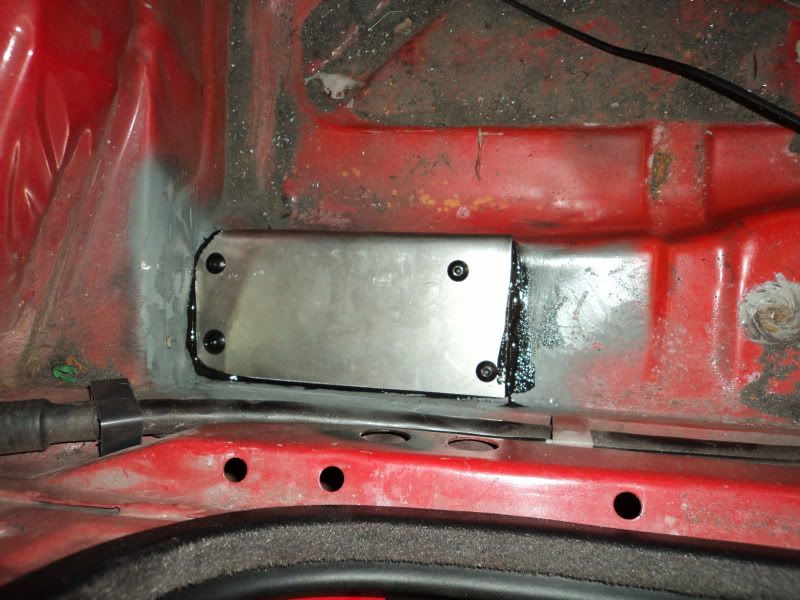
The floor was a different story. We needed to repair the area and ensure we would have no future issues. The solution was to make a plate to cover the damaged area and permanently protect it. Here is the plate we made:
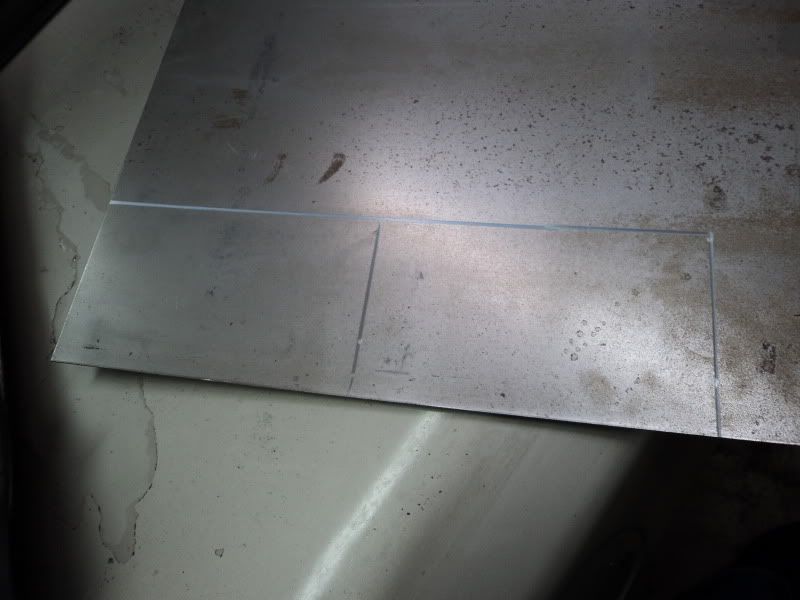
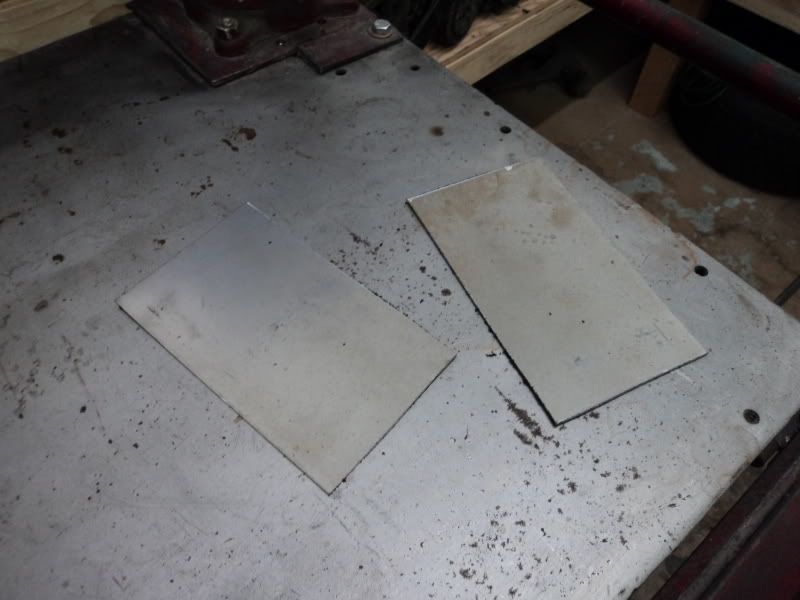
A little trip to the bender:
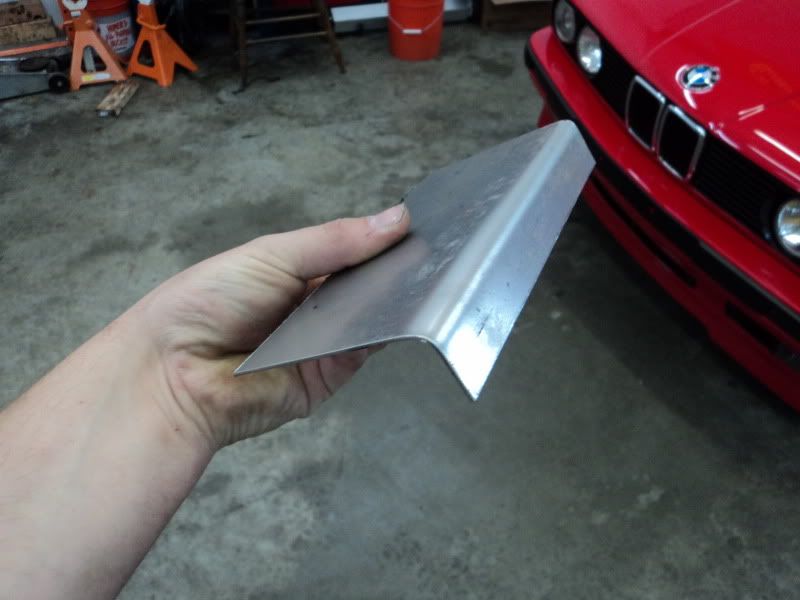
Nice fitment:
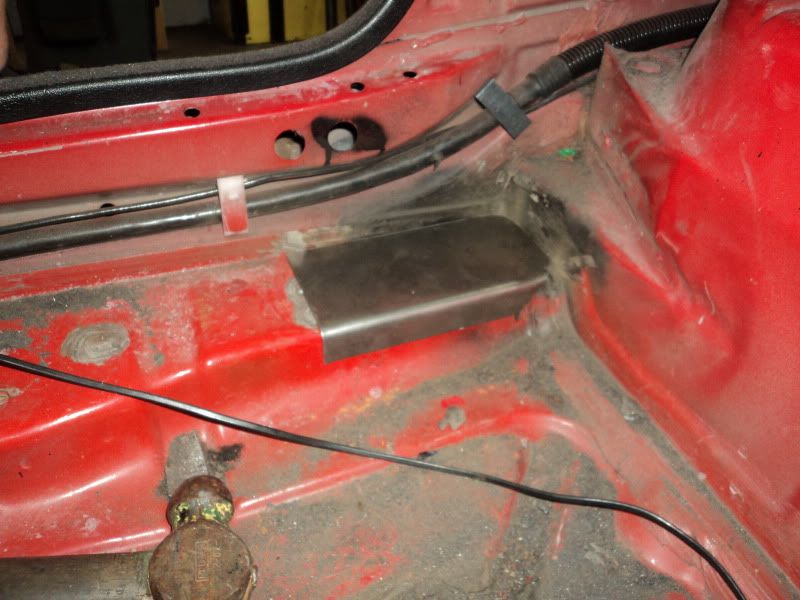
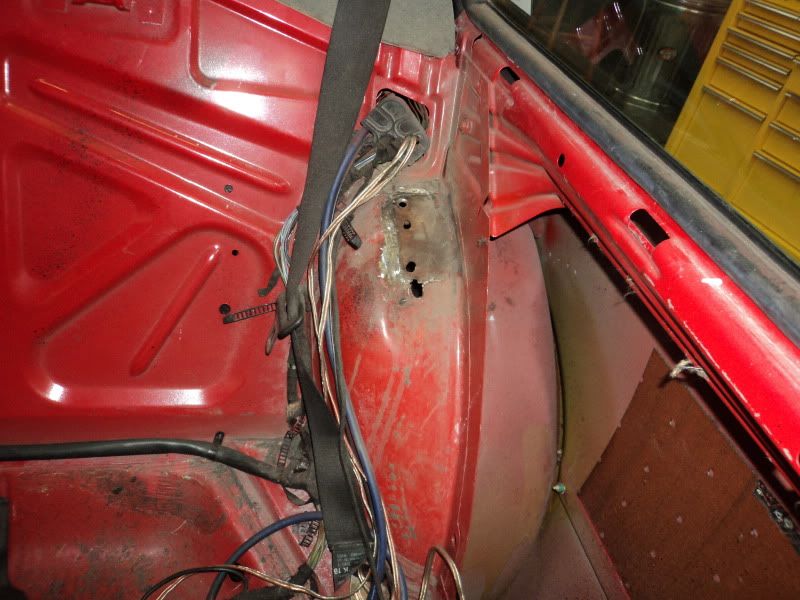
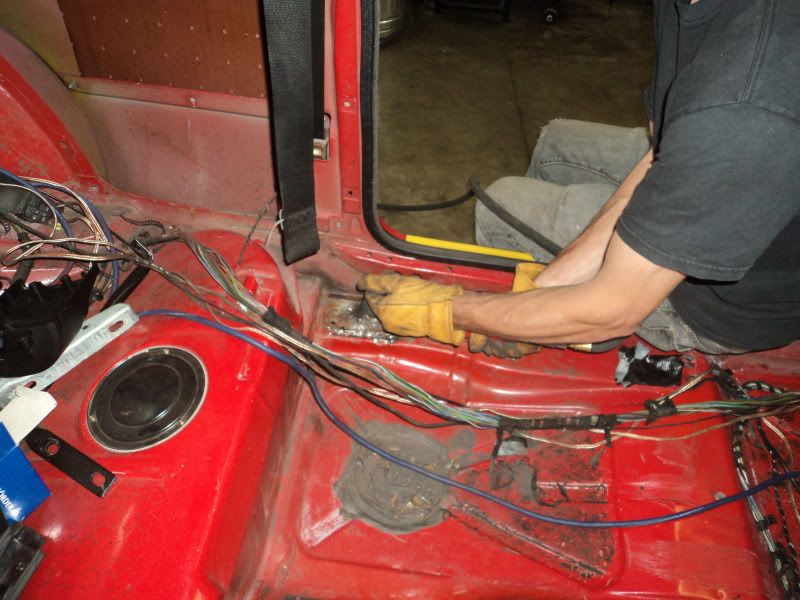
Now we had our solution. It was time to install it. We used 8115 Panel bonding and rivets to ensure they would be strong and never-ever fail.
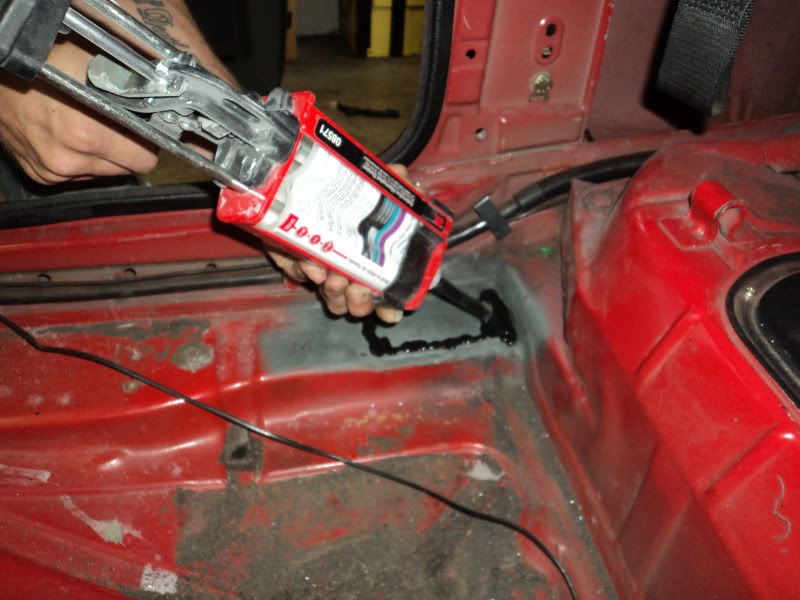
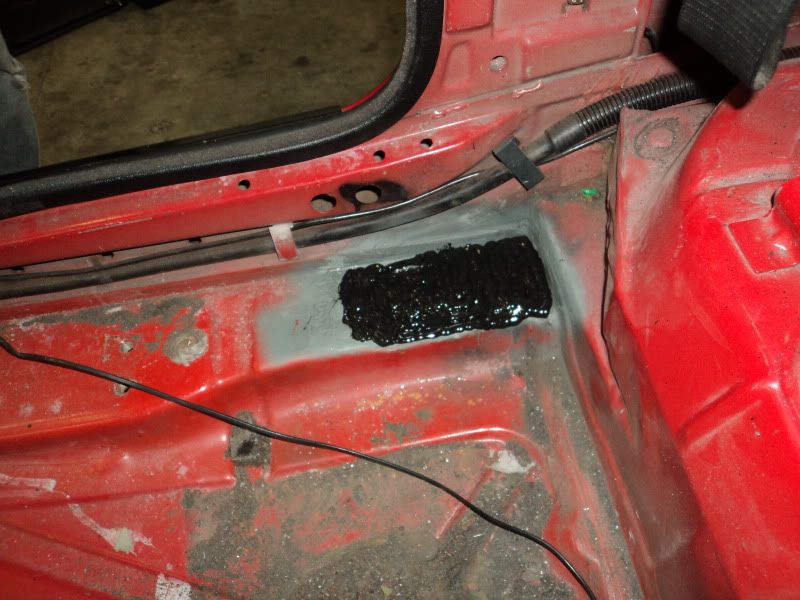
Laid in place, drilled some holes for the rivets and began securing:
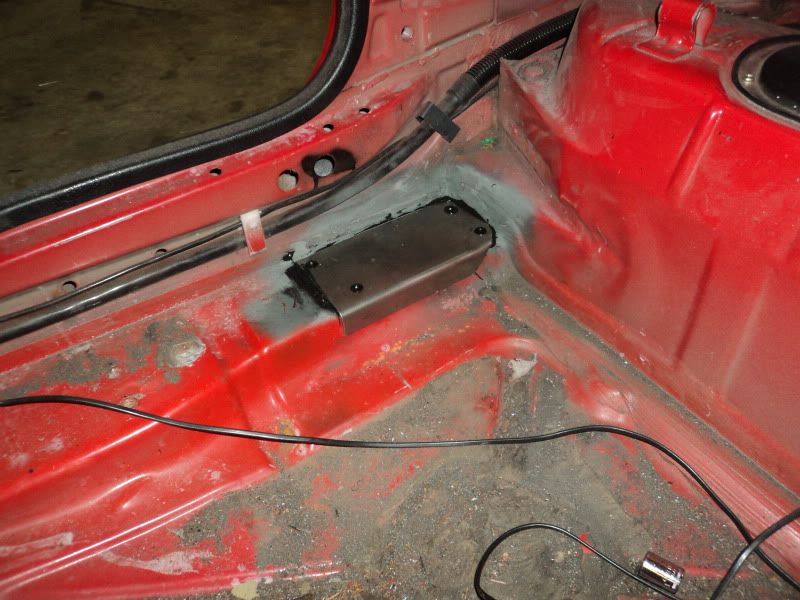
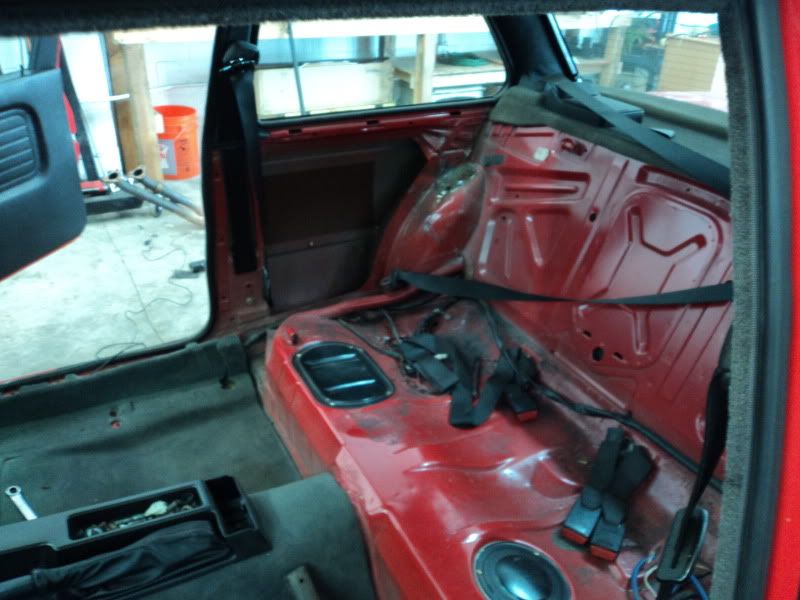
The hard part was over. We had fixed the damage from the street bar, but I had a lot more to finish if my car was going to be a true restoration. Just looking good on the outside is fine, but I never wanted to have to worry about pulling this interior again. That meant making everything perfect while I was in there this time.
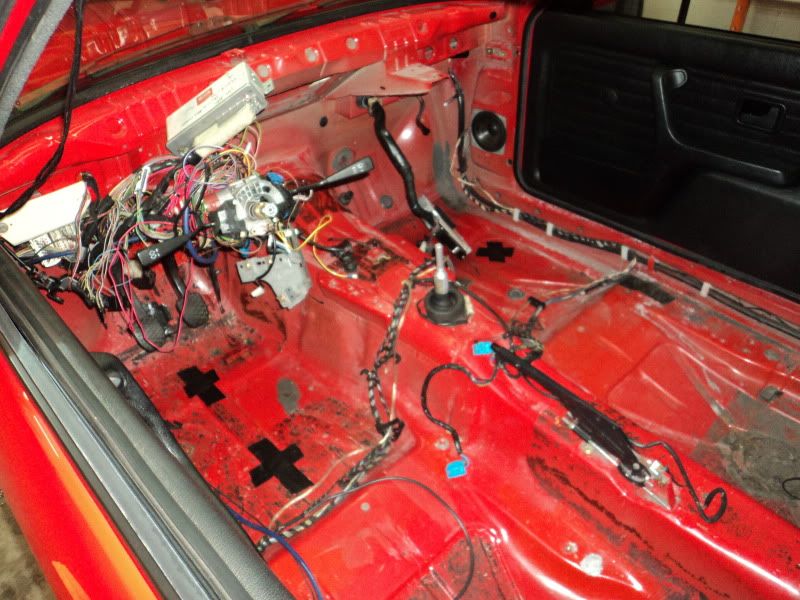
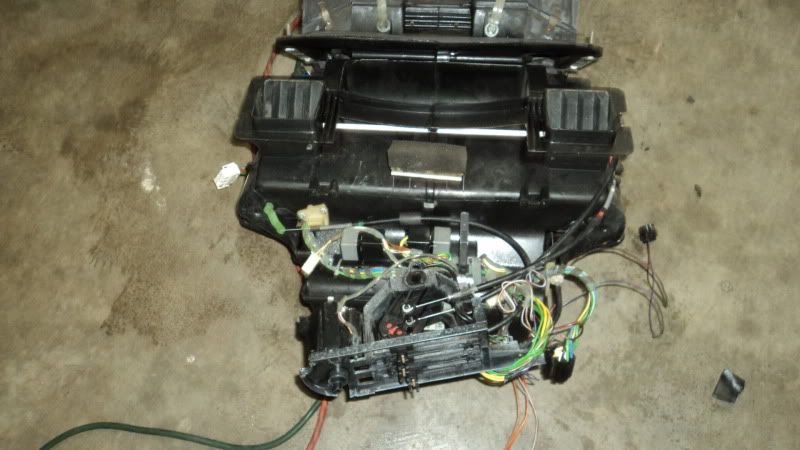
I removed the dash and heater box, yet again. What was under the carpet hadn't been touched since the first construction in 2008. I knew i needed to just finish it
Replaced all the plugs
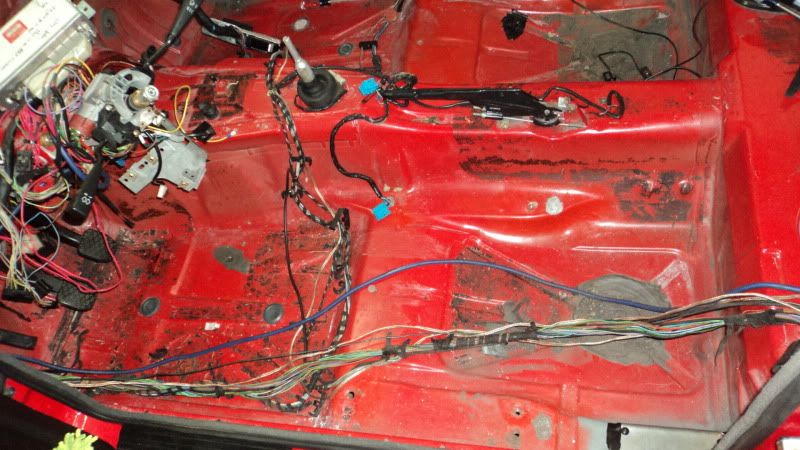
My buddy Reid and I spent about 2 hours scrubbing the tar residue off with brake clean
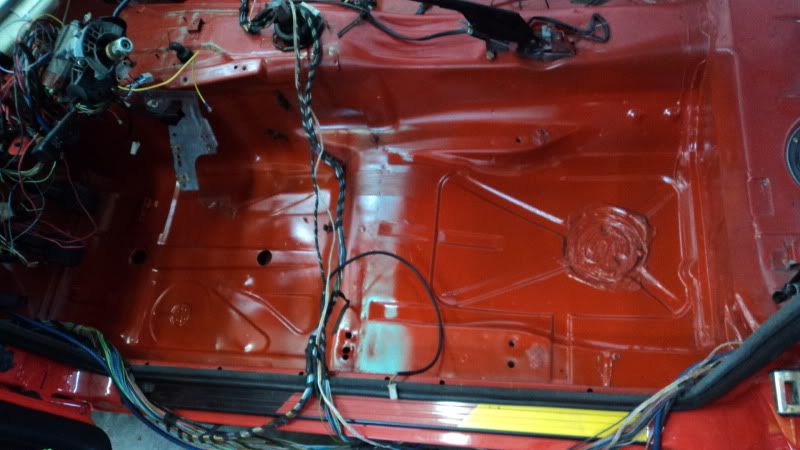
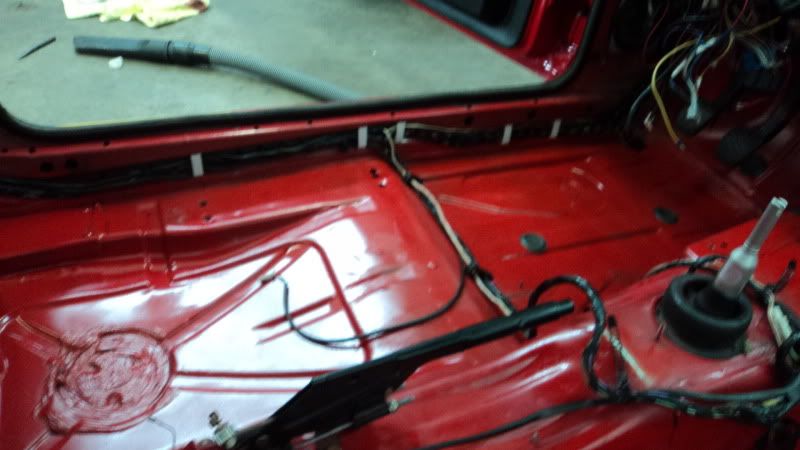
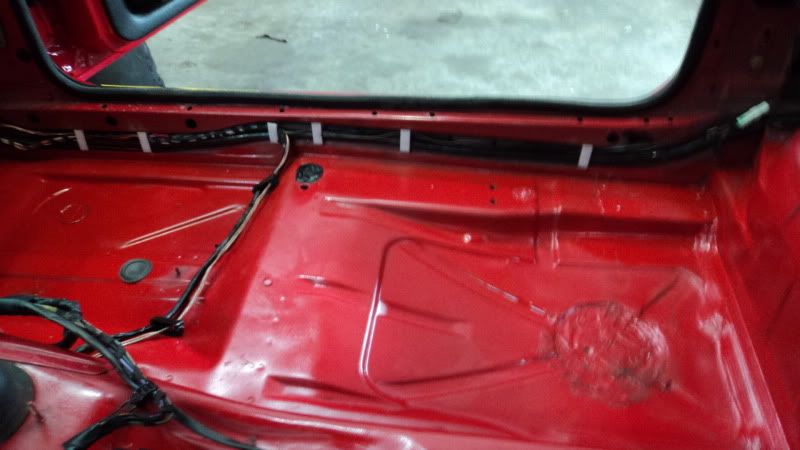
Then gave the chassis a nice fresh coat of paint

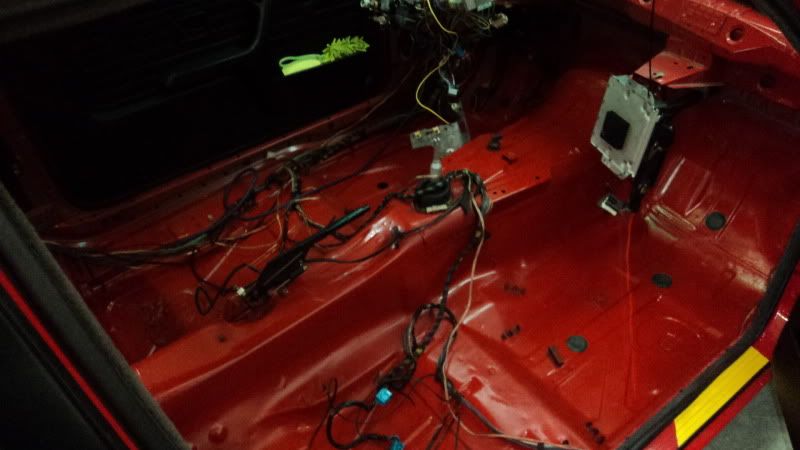
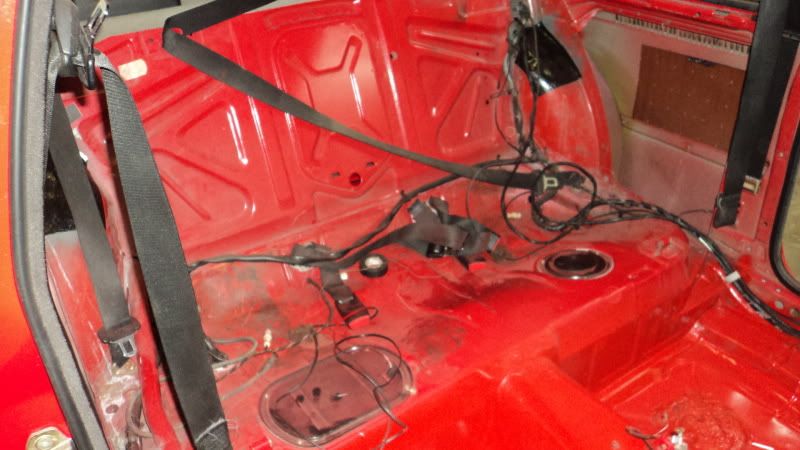
Next, I put all the wiring back into its factory locations, which took about 3 hours :-x
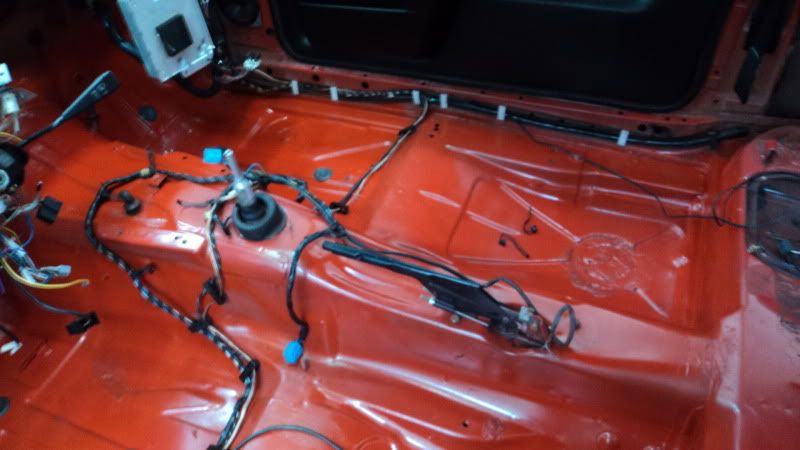
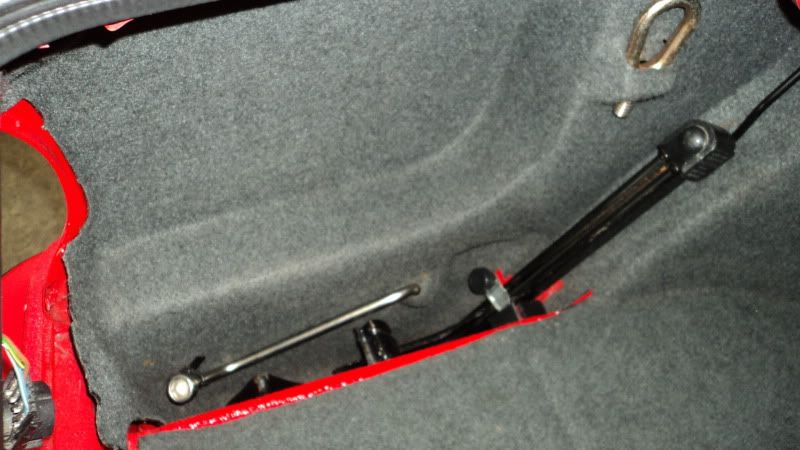
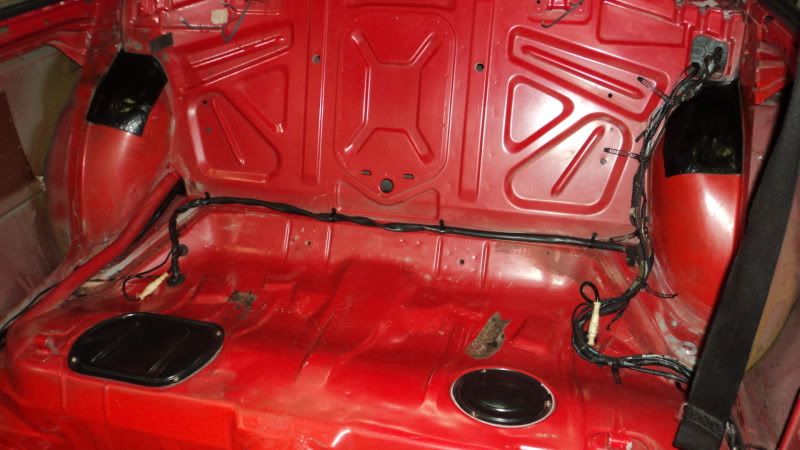
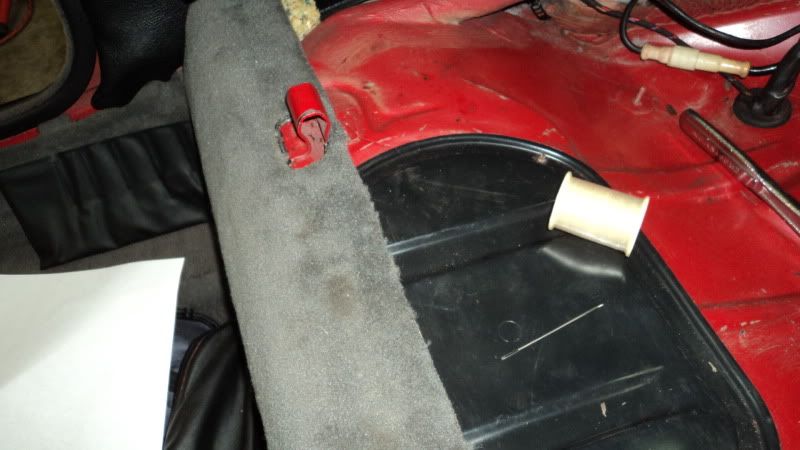
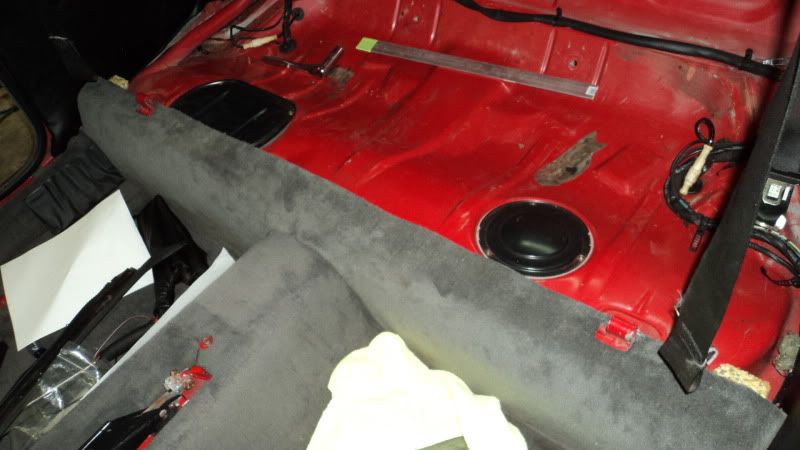
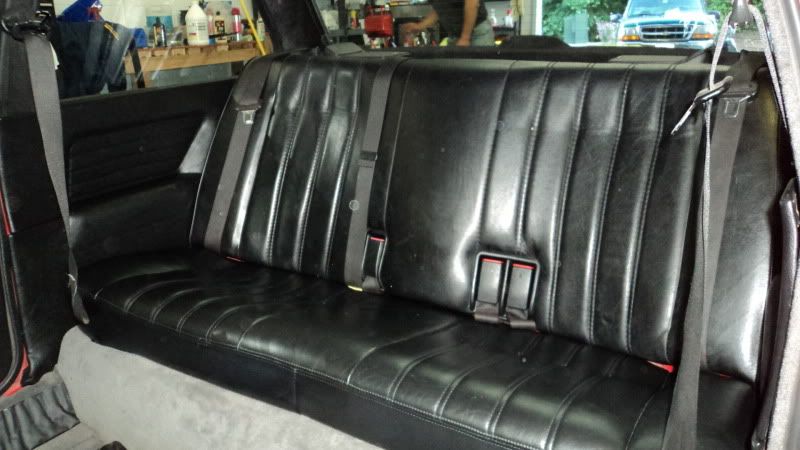
Back seat area
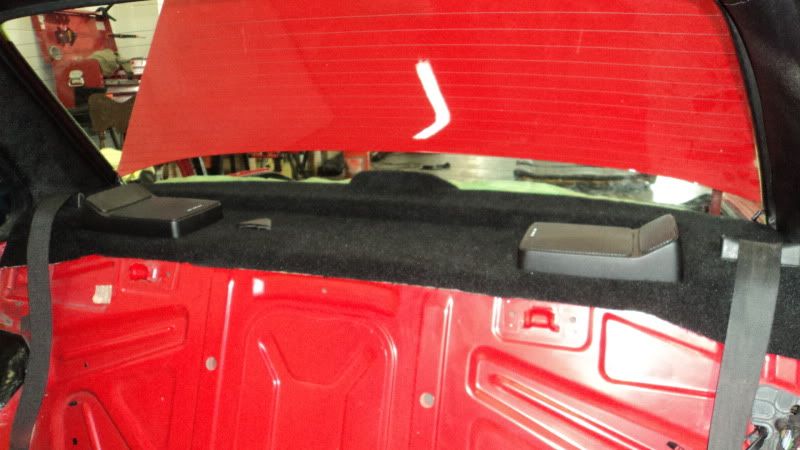
Luke's reupholstered rear deck, looking sexy:
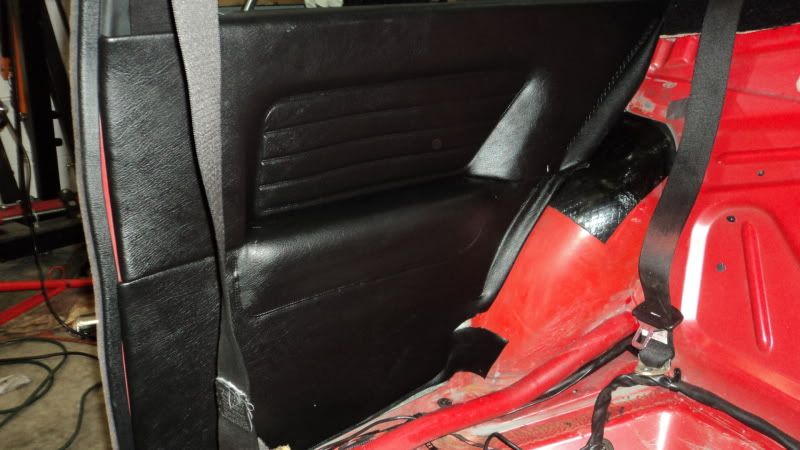
Quarter panels in:
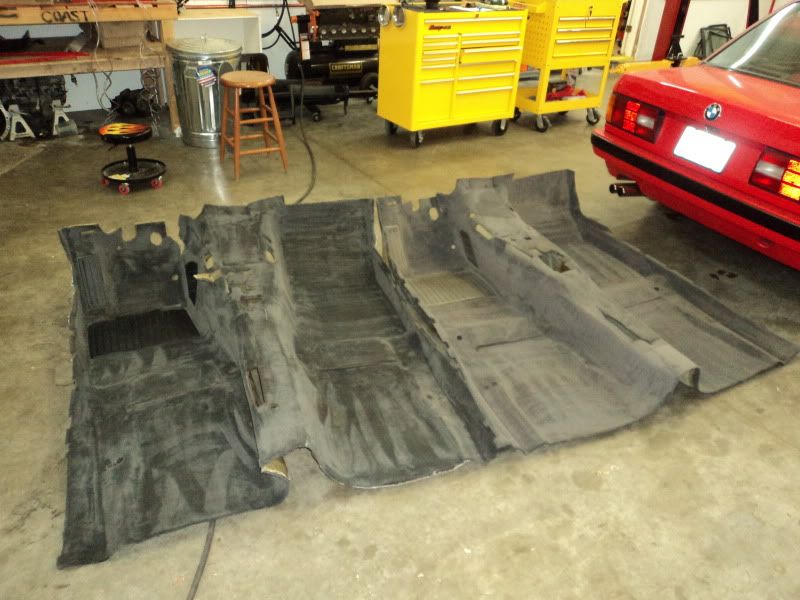
Choosing which carpet to run. The last carpet obviously had holes in it from the cage.
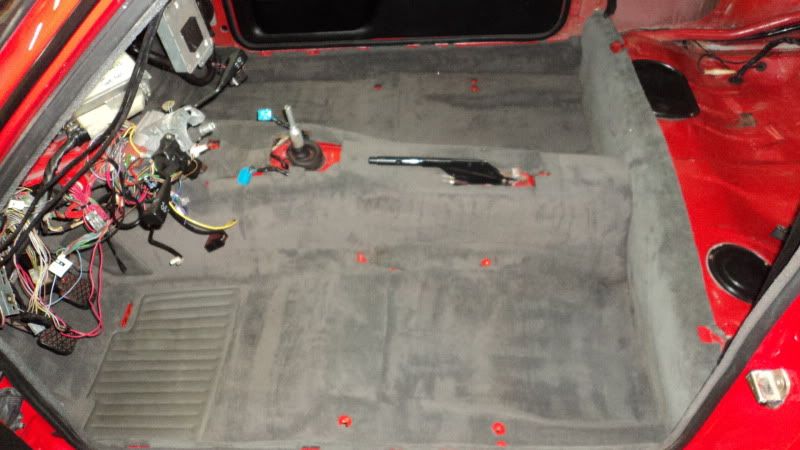
Not acceptable!
With some mad sewing skills this problem was a thing of the past
Rear seat time!
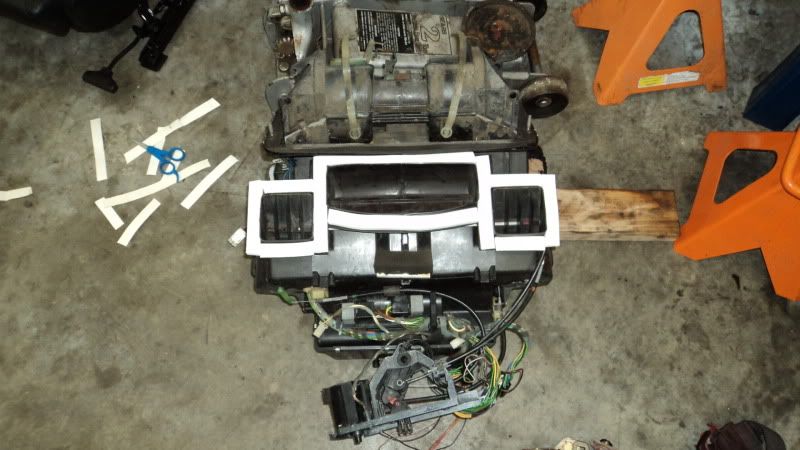
My heater core was starting to leak so it was time for me to change it out. along with some of the seals. Yuk
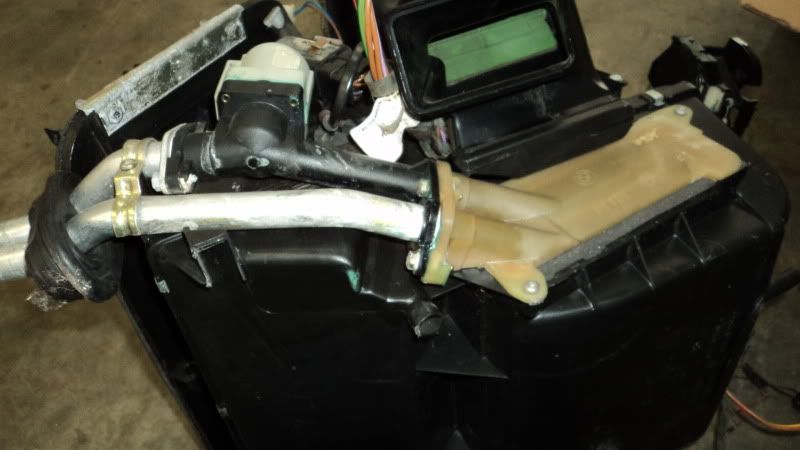
New core in and new foam seal on
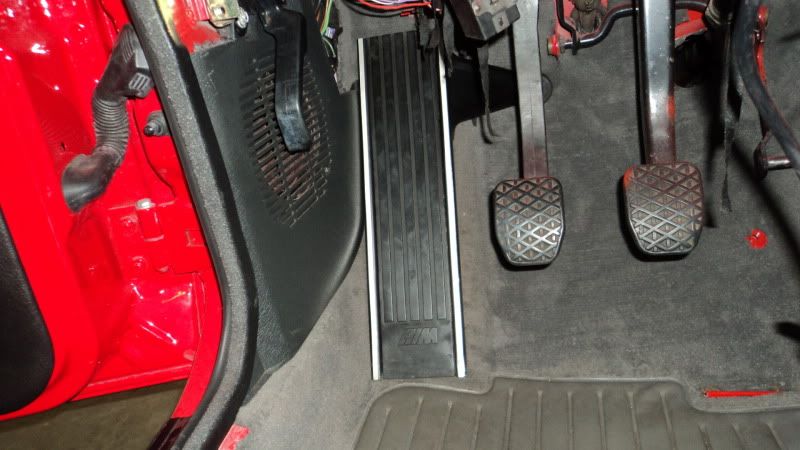
New Mtech dead pedal thanks to CourtM3!
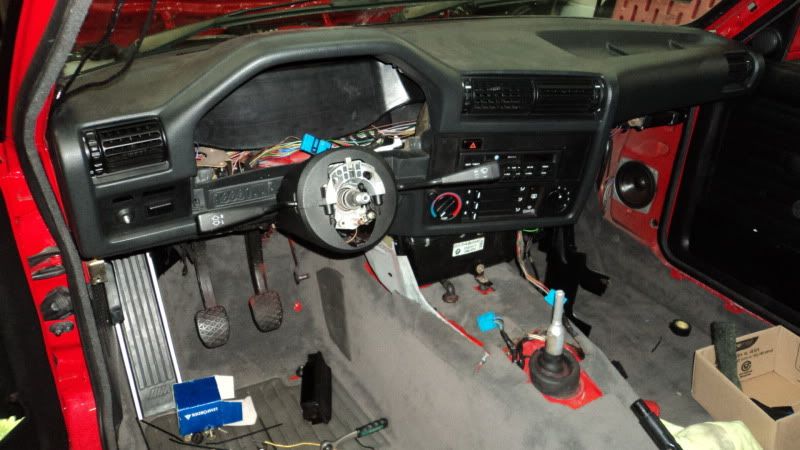
Heater box and dash back in place:
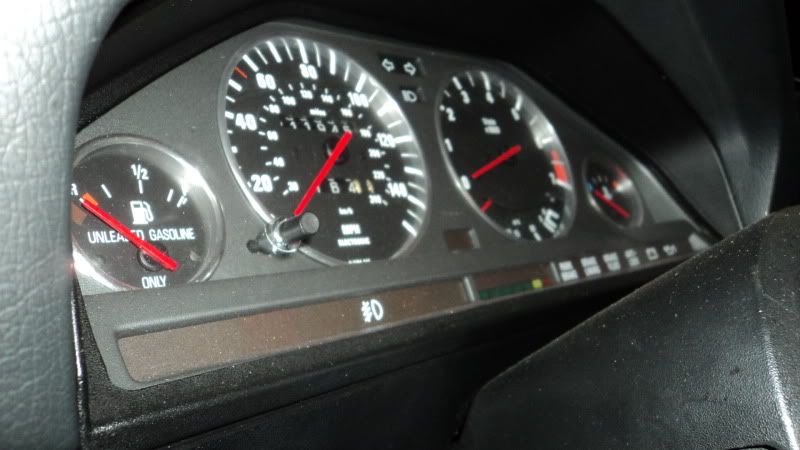
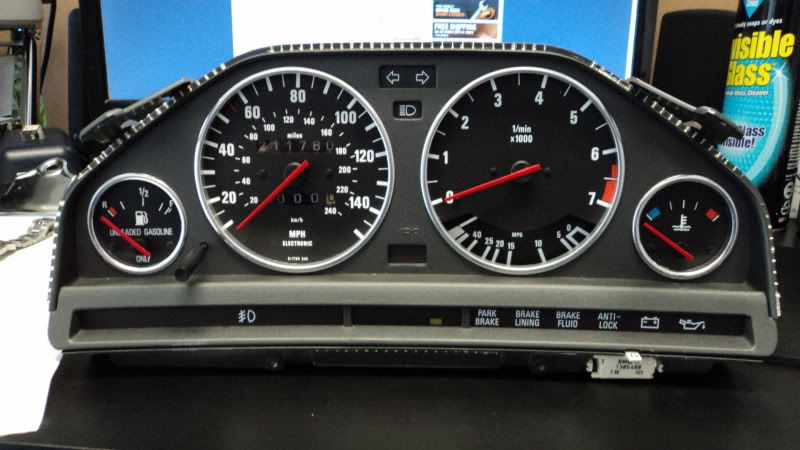
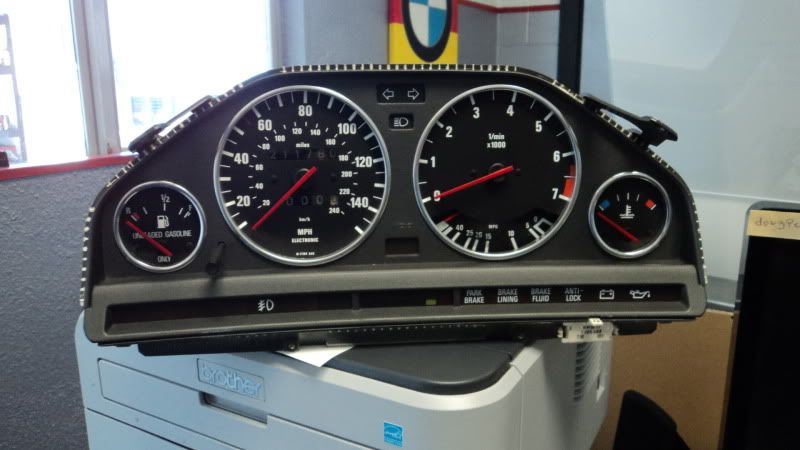
Finished painting my MPG needle
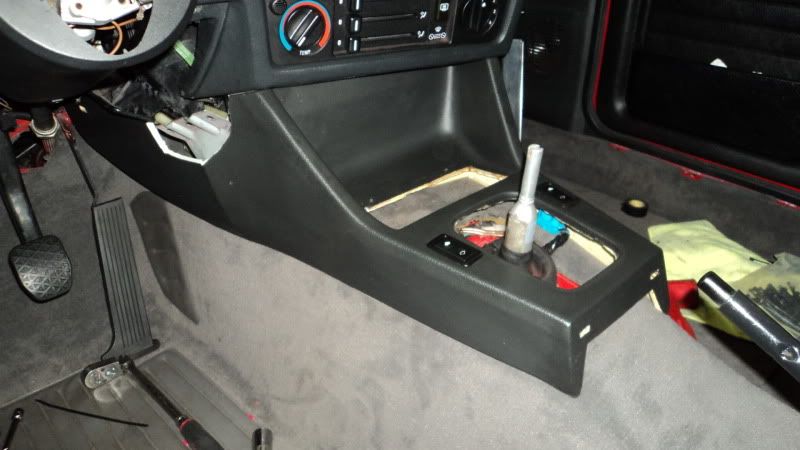
Modified an early 2 button center conceal for an airbag dash and installed it
That's all for tonight. Ill keep uploading and finishing the update tomorrow!Last edited by Jparkr; 12-11-2011, 01:22 PM.Leave a comment:

Leave a comment: