Announcement

Collapse
No announcement yet.

1990 325is oem+ Now turbo (Video)

Collapse
X
 
  • Filter
  • Time
  • Show
Clear All
new posts

    #16
    Looking good...I like the unique gauge cluster now.
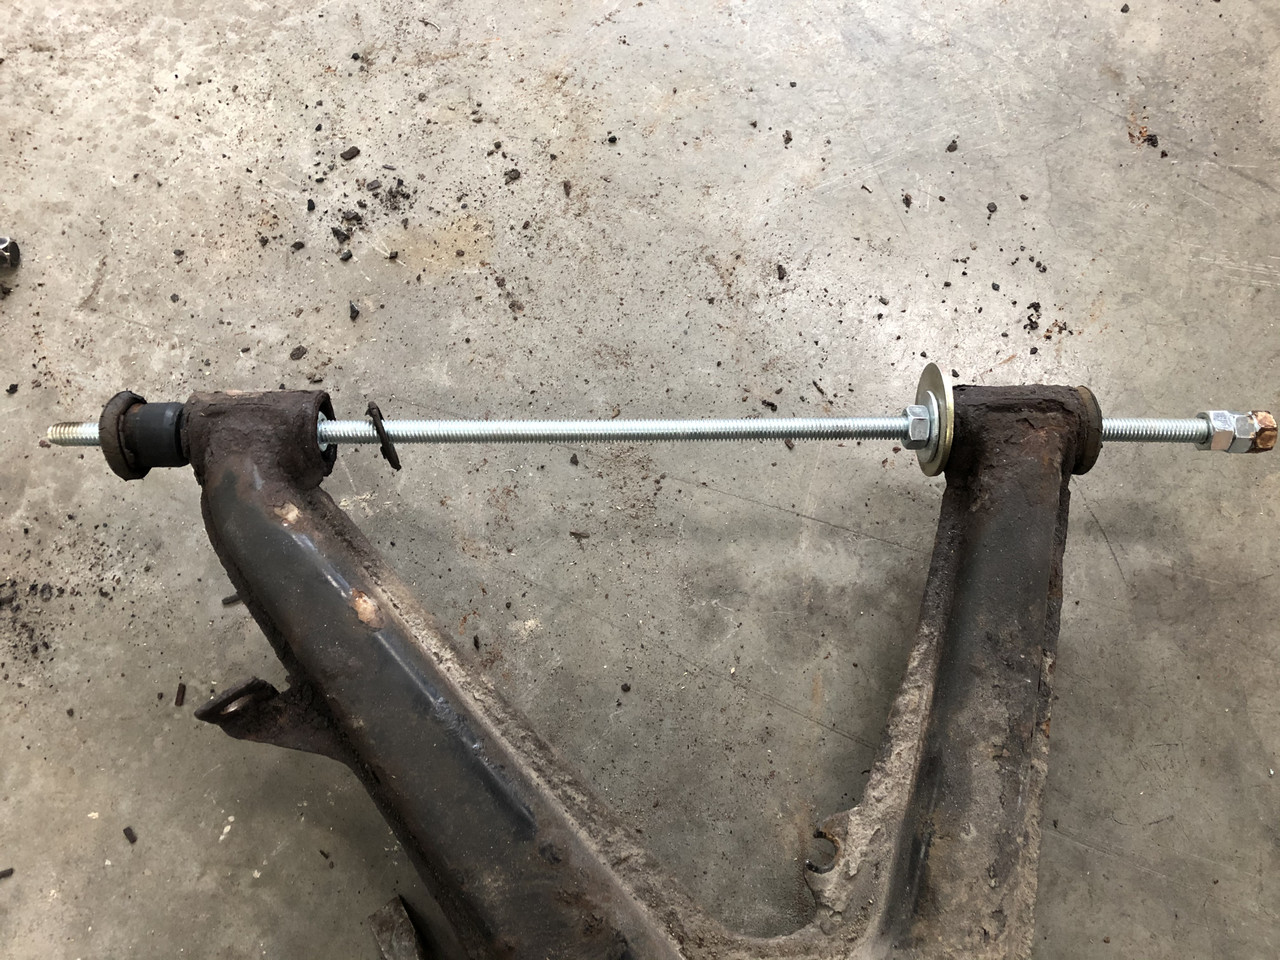
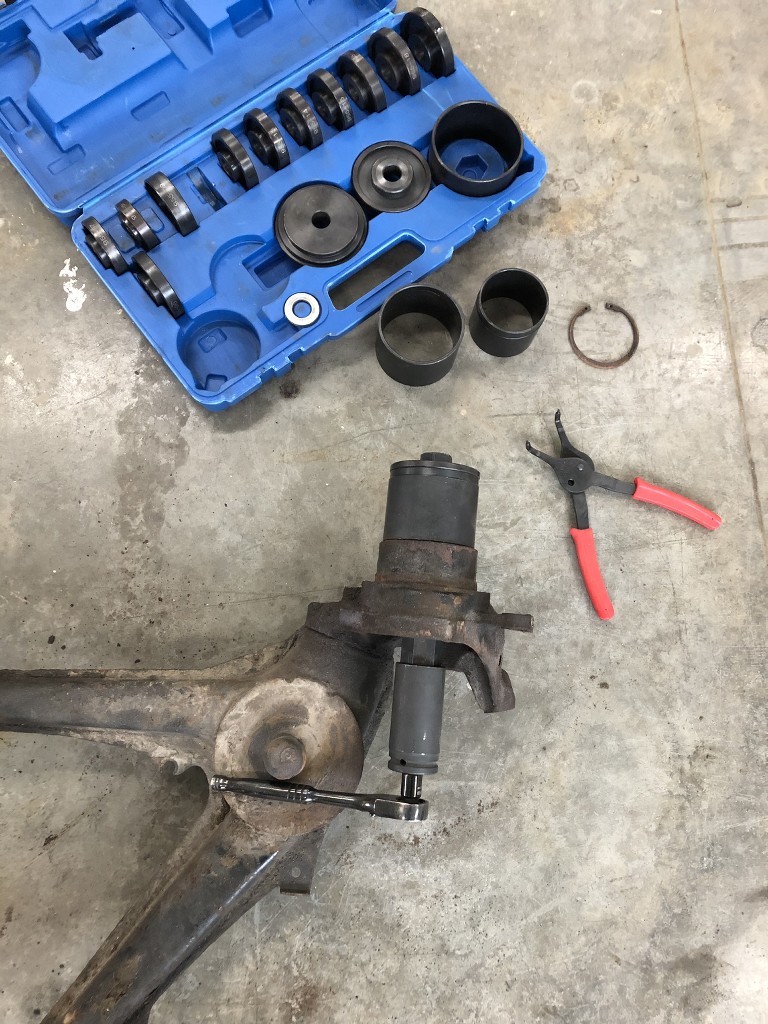
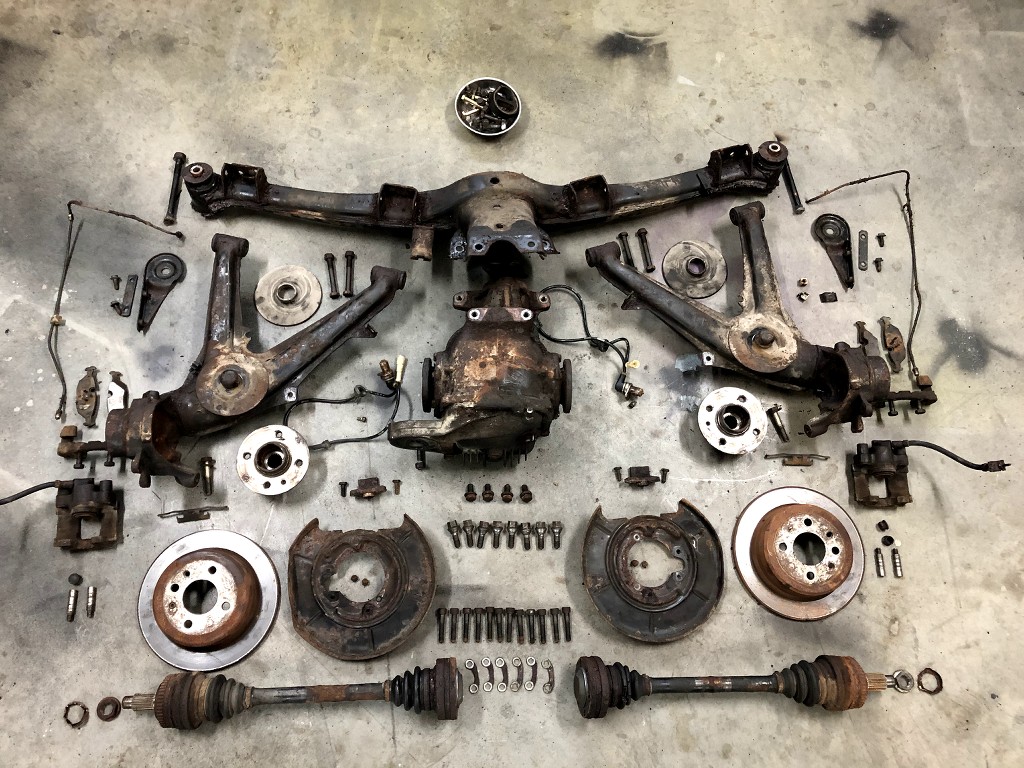
    I have a lot of the same parts waiting in the garage as I will also need to drop the rear subframe and replace the bushings etc.
    What suspension setup are you going with? I decided to go with M3 springs and Bilstein B4s.
    Keep the pictures coming...and your house is so nice...kinda European style but I guess that makes sense as Quebec is more Euro than the rest of Canada.

    Comment


      #17
      Originally posted by finnmole View Post
      What suspension setup are you going with? I decided to go with M3 springs and Bilstein B4s.
      for my syspention i am in reflexion, at the moment i don't know if i go with 4 koni yellow shock with drop spring ( spring that i already have on the car ) or going with full coilover system..

      its been few day since i post new pictures/ updates. i spent couple hours on the car and work progress well !

      i pull out the bushing on the RTA , remove the wheel bearing and burned out the subframe bushing.


      i send the TA and subframe at the sandblast shop .got it back and i made reinforcement plate for the TA and weld it.
      then iprimed it with high build primer.


      little refresh of the sway bar and its coponent.
      full process repaint sway bar
      evething else new


      the brake line on the TA were completely rusted. i dont understand how they were not leaking...so i made new one


      rear hub was in good shape. i got them a fresh look by :
      sandblast, wire wheel and paint the rear


      time to get the rear caliper a new look. i replace all the seal/bushing and paint them gold. ( basecoat/clearcoat)
      i already paint several caliper on my past car with basecoat/cleacoat spray gun and it hold well on a regular drive. i don't plan to track the car so the paint will be good !


      i am pretty happy with the result !


      time for the Axle rebuil. i was not very confient with them as they look very worn. but once i all dismentle it, i found no sign of failure.
      -torn apart the axel
      -master wash to remove the old grease
      -dremel wire wheel all the inside part to get a new smooth finidh for the ball to slide/roll
      -sandblast
      -high build primer
      -basecoat/clearcoat
      -all new 4 boot with clamp and grease


      its hard to beleive this is the same axle !

      that it for now. i keep working on the car.
      i am still open to any advice/ comment !

      Comment


        #18
        So satisfying to watch.... great work
        '85 Alpine Weiß 2-door with m20b30 ground up build

        Comment


          #19
          Holy shit that house. 5/7

          Great work on the cleaning and rebuild man, it's so satisfying to see the work done.
          I do things.

          Comment


            #20
            Great photos! Great restoration work!

            Comment


              #21
              great work man! i know how time consuming the rust repair can be, especially with kids. I'm finishing up the same project currently.

              Comment


                #22
                Thanks !
                Its crazy how Time consuming this is.. i have already put near hundred of hour on that car ..

                but like you said, the results are very satifaying !

                Comment


                  #23
                  I really enjoy following your work. It is inspiration for me to do a good job. Sent from my iPhone using Tapatalk

                  Comment


                    #24
                    thank you everyone !

                    i really apreciate, it is good to see that people can see good work1

                    little update today.

                    i give the DIFF a fresh look.
                    replace some bolt and plug, sandblast and paint.


                    painted the TA and subframe.


                    give a little coat of paint to older and newer bolt, braket, shim etc


                    this is it for today.

                    my next step is to redo the 3 fuel line from front to back and the rear brake line from the ABS and the rear T.. should be very funny.....!

                    Comment


                      #25
                      Very nice work...subscribed!
                      1991 318is
                      2004 330ci
                      2011 335d

                      Comment


                        #26
                        Sub'd! Great work. I really like the paint photo progress. For suspension I was very happy with the Bilstein B12 kit. Car doesn't get driven enough to warrant changing ride height multiple times and provides a comfortable, especially the harshness of Detroit.
                        OBD1 S52 E36 Compact
                        84 318i M10 Zender

                        Comment


                          #27
                          work is on progress ! it is so time consuming.. when i start all this i did not think it will be like that.. but anyway , i like working on this car !

                          i am about to order my coilover , i will go with BC coilover. i read some review and for the price they seem hard to beat , anyone have something to tell about it before i order them ??

                          since i fishish to refinish and collect all the part/pieces for the subframe assembly, i have been able to make my famous ''explode view'' picture of everthing like new !

                          here ar the comparation between before and after,


                          so satisfaying for me to see that !

                          before i reassemble everything back on the car, some work is needed under the car where the subframe goes..

                          like replace the ''T'' and small brake line,
                          remake the brake line braket ( the were too rusted ),
                          repair some rust
                          make full brake line from front to rear
                          make 3 metal fuel line.

                          this was a challenge to bent everything like oem to make the same route as oem one. brake line bent easy but fuel line damn...they give me hard time ..!


                          old line vs new line


                          fitment is not perfrect but all the line in original place, dont rub on anything and rock solid


                          the car have some rust on the steel join under the car in the tunel
                          i grind the rust down with the wirewheel on the grinder, then sandblast, zinc primer, seam scealer ( there were no hole ) and gravel guard


                          this is it for now.

                          i'm in the work for my shifter.. i dont like the z3 one as the shifter is in to pieces ?? why that ? it make a sloppy feel even if everthing is new..
                          my plan is to remove the upper section ( the one who is scealed with urethan on the loewr section ) and weld steel rod and tap it 12x1.5
                          also i will make a solid rear carrier bushing. i have brand new one in place and it have play in it..
                          i know that e30 is known to always have sloppy shifter feel, but i try my best to eliminate the most of it .. any advice ??

                          Comment


                            #28
                            DSSR helps the feel.

                            Comment


                              #29
                              Originally posted by jeenyus View Post
                              DSSR helps the feel.
                              I already have DSSR ..

                              Comment


                                #30
                                Wow man you're not messing around. Awesome build thread so far. I just started my E30 last month, same color as yours. Luckily my car was in California its whole life so I don't have to deal with the rust.

                                Comment

                                Working...
                                X