If this is your first visit, be sure to
check out the FAQ by clicking the
link above. You may have to register
before you can post: click the register link above to proceed. To start viewing messages,
select the forum that you want to visit from the selection below.
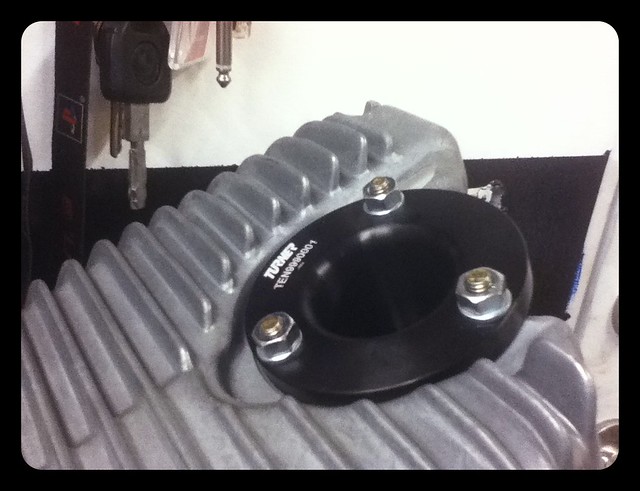
Picked up a set of eyeball arms from treehouse racing,
proceeded to strip the "kawasaki green" paint and repaint them MG maroon.
Installed the Vanos gasket I ordered before vacation (thanks to Webb)
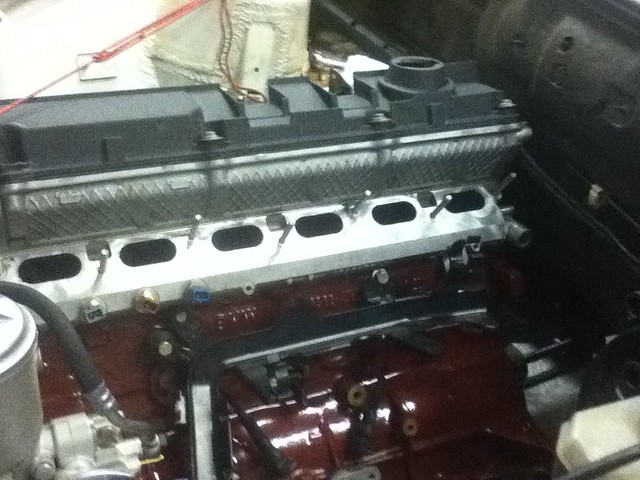
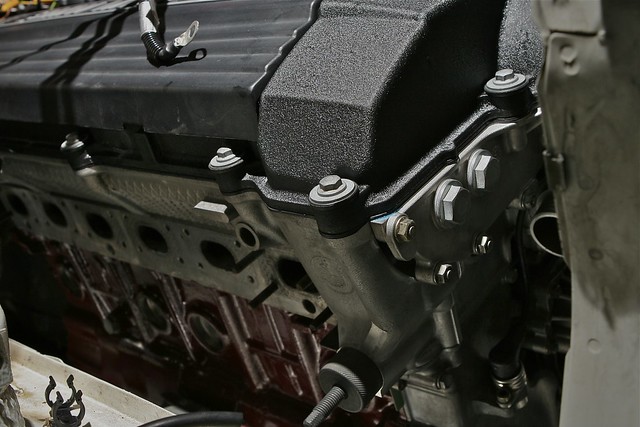
Powder coated valve cover should be on the doorstep this evening when I get home.
Well I set the motor in place for the first time this evening, amazing how much more room the US motors offer over the Euro s50/s54 motors. Also got my powder coated valve cover installed from "87vert30" top notch seller and product the wrinkle finish really covers up the flaws normally apparent in the m50s' magnesium covers and looks like it will hold up much better than the PO's attempt to repaint the valve cover.
-FREEDOM-is cruisin at 80, windows down and listening to the perfect song-thinking"this is it" -The Beauty in the Tragedy- MECHANIC SMASH!!- (you all know you do it) Got Drop?? ;-)
Originally posted by JinormusJ
But of course
E30s are know to be notoriously really really really ridiculously good looking
Any idea how you're going to install the headers/exhaust with the engine in? I know when I rebuilt the top end getting the manifolds seated was a major pain in the ass with everything else assembled. Not impossible but, if I had actual headers or some form of "nicer" exhaust manifolds it would have been 5x harder.
Really beautiful looking engine though. Love the red block! Not sure how I've missed this thread up until now.
I've never had any problem getting headers on after the fact on most of these swaps.(excluding the euro headers on s50b32>e30M) last set I used were racelands from fleabay but they went on ok. I have a set of OE OBD2 headers I'm getting welded/milled/ceramic coated before they go on. I've found it's hard to beat the factory fit and finish of bmw's headers.
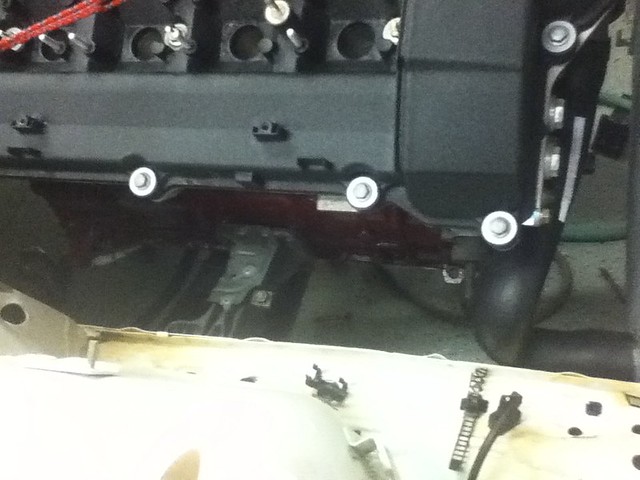
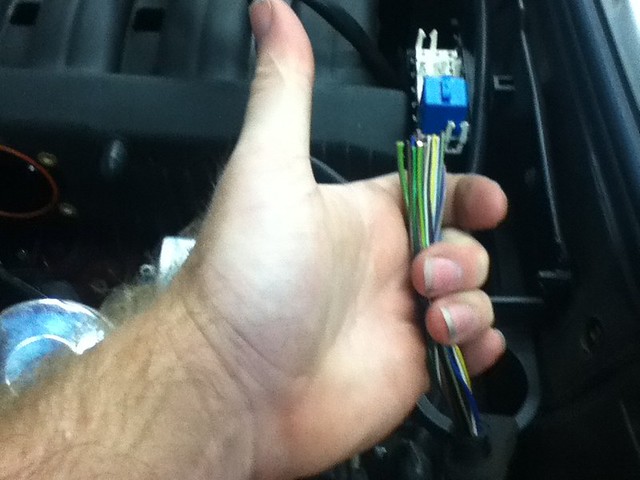
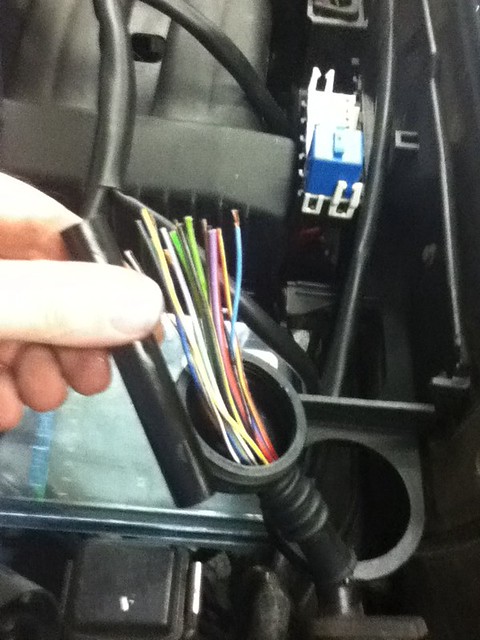
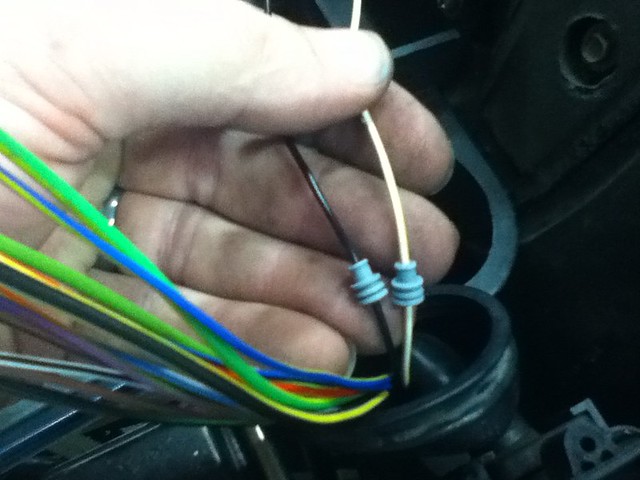
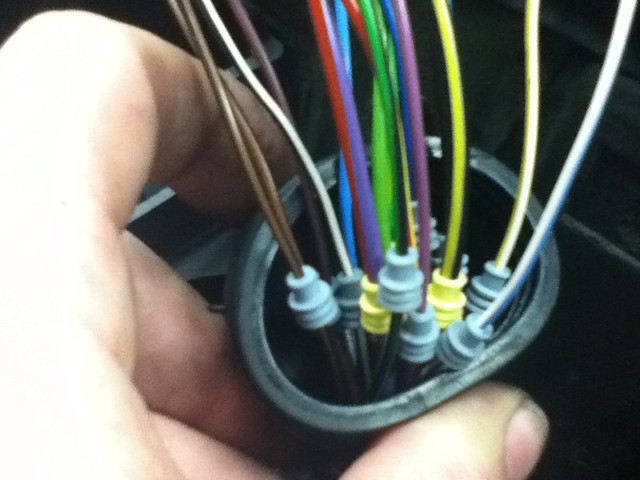
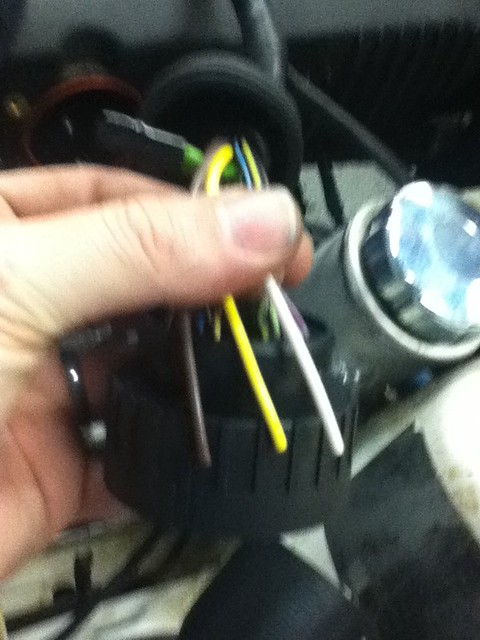
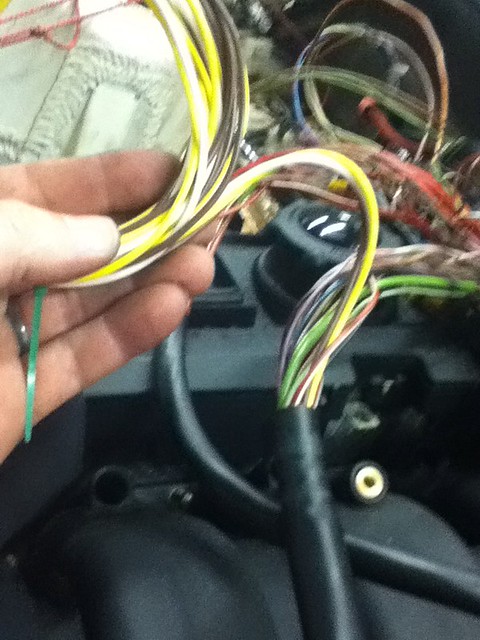
Run any and all extra wires before you go any farther. Shown are my wires for the oil temp/pressure gauges I'll be adding soon.(you could add oil level sensor wires to the M50 harness this way as well) They will be back fed through the stock harness and will utilize extra pin holes already available on the connector for a nice clean factory look.
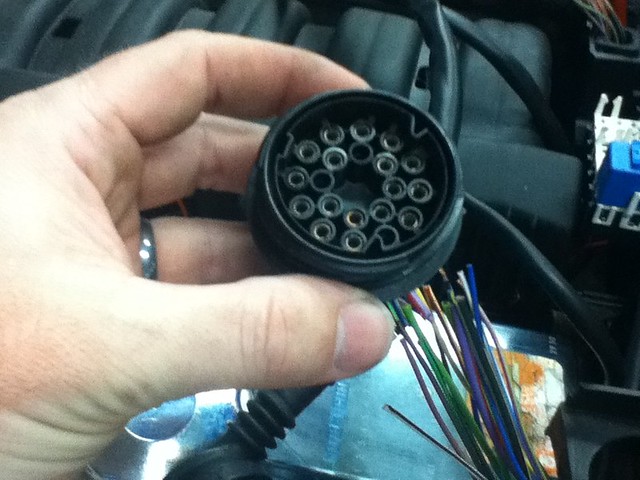
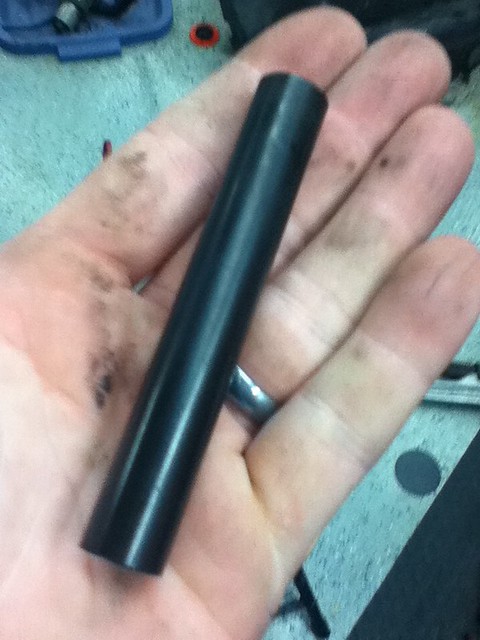
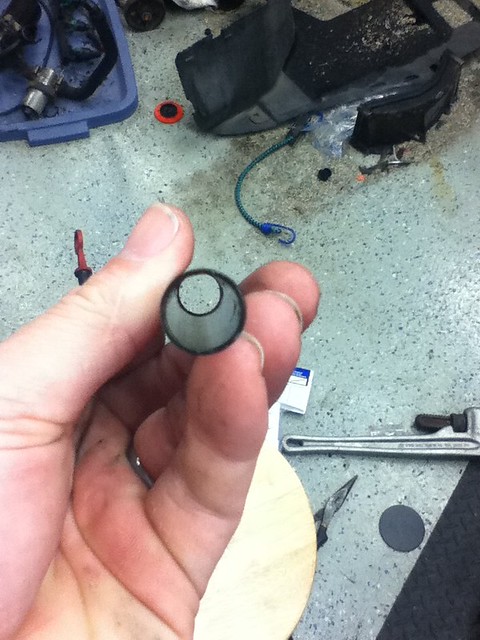
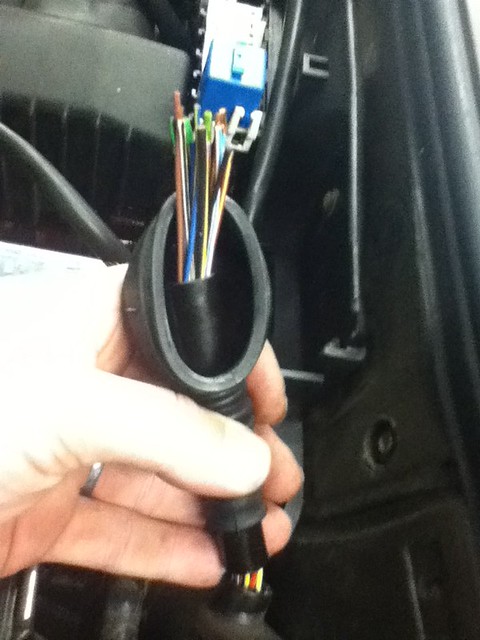
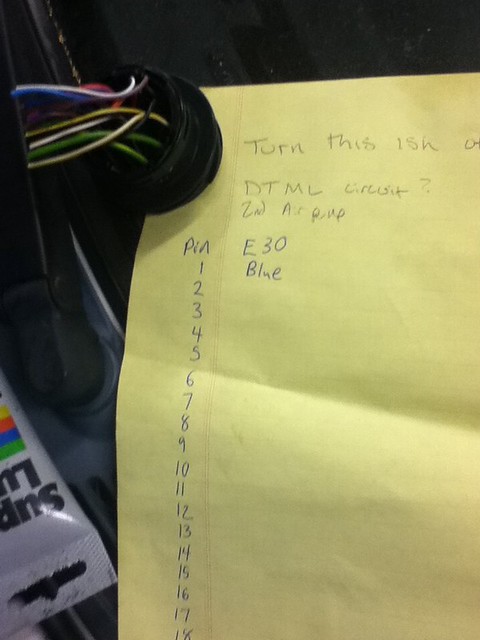
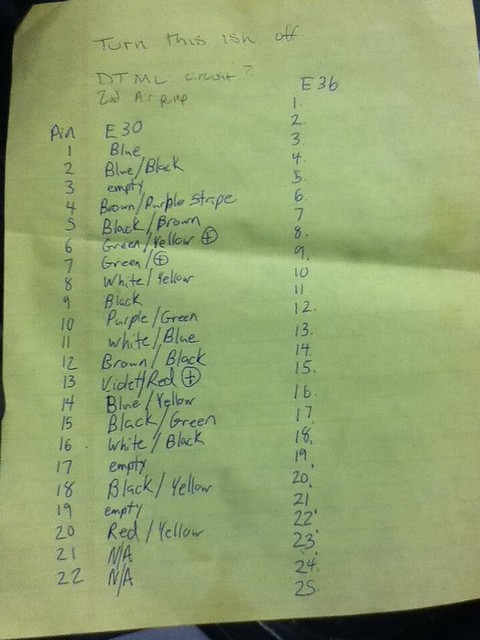
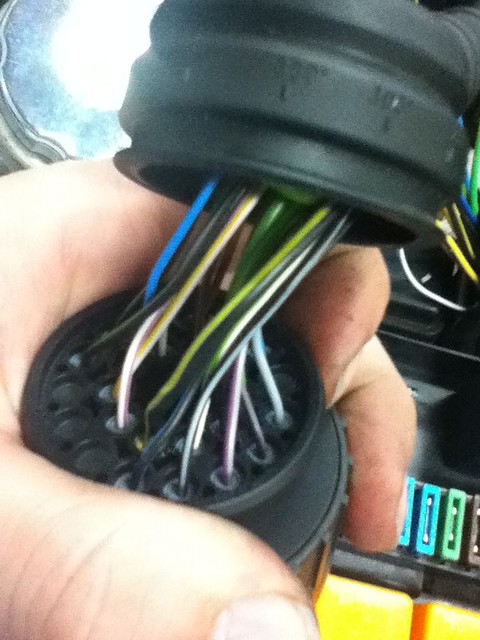
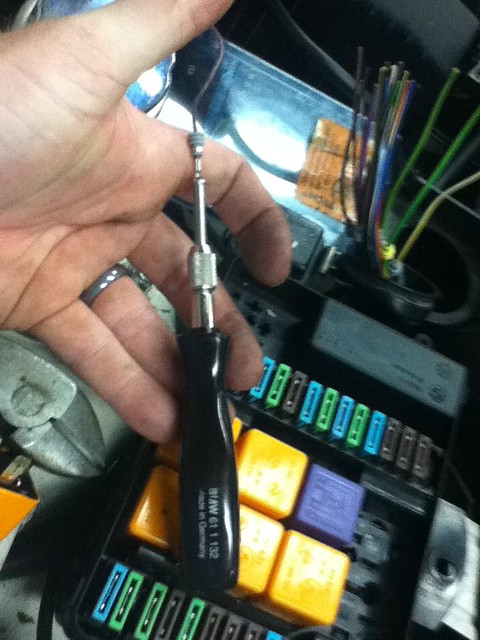
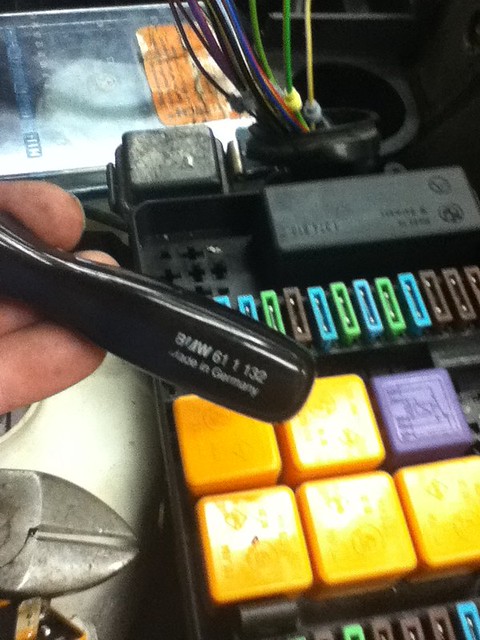
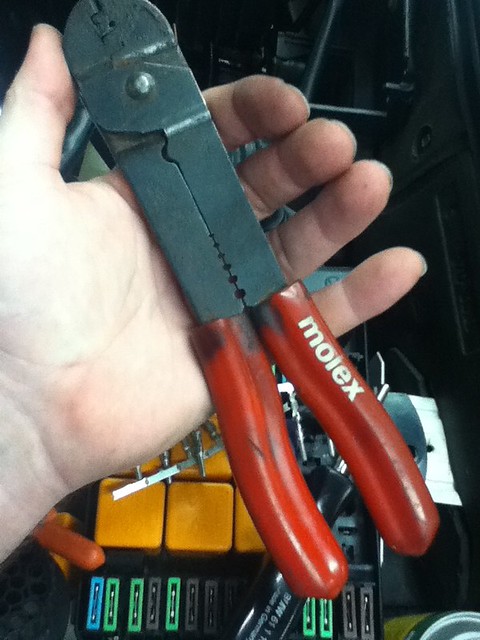
Now it's time to go draw up a new pinout for the new connector I'll be grafting onto the e30's main harness.(using the factory ETMs) Stay tuned for swap wiring 201 where we'll cover converting the pinout chart your making at home into a finished connector using factory style methods, below you'll find some of the tools and supplies you might like to have on hand for the next installment of my series "Swap Wiring 201".
BMW factory round pin removal tool. (Current BMW PN= 83 30 0 495 385) Photo by systemdelete, on Flickr
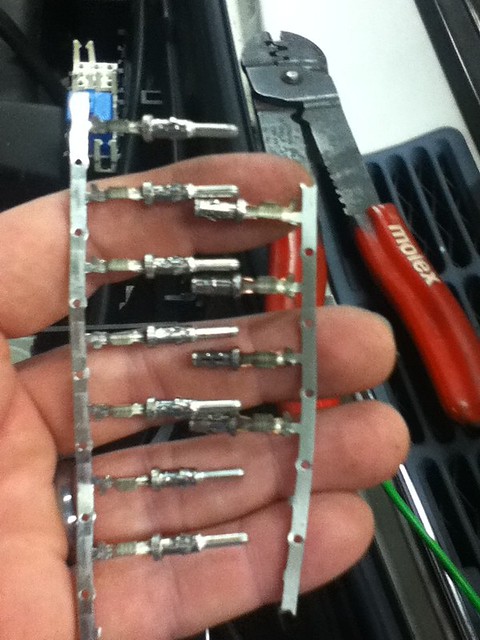
Factory male and female pins.(only male are needed if you aren't adding any extra wires to the factory m50 harness)
61131376191-Small male pins used for most thin signal wires
61131376193-Larger capacity male pins for thicker wires or multiple wire to one pin
61138352926-Female pins for properly adding accessory wires to the factory m50 harness side. Photo by systemdelete, on Flickr
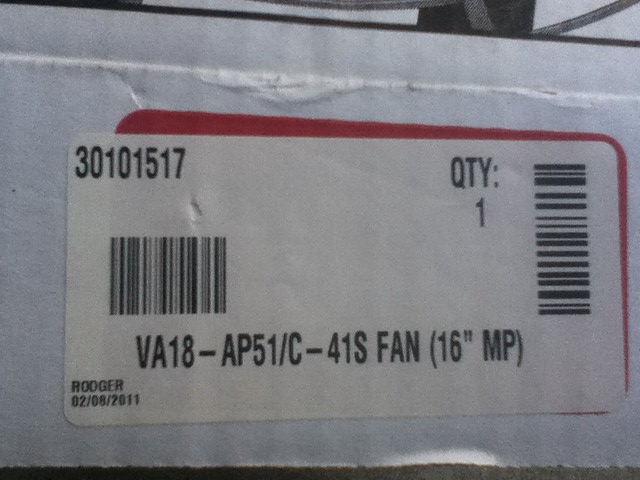
Yesterday I replaced my aux fan with a more efficient Spal pusher unit, this 16" pusher fan weighs less, is more compact, flows significantly more air than the stock fan, and pulls 3 less amps at full tilt. I am wiring it to the stock harness for the aux fan and changing out the temp sensor in the radiator so that this fan will automatically cool on low speed if the coolant is above a certain temp or if the A/C is on to keep the A/C running efficiently in traffic. The high speed defaults the fan to high if the radiator temp temp rises too high as a backup should the fan resistor for low speed fail or the thermostat/WP allow the car to overheat.
Photo by systemdelete, on Flickr
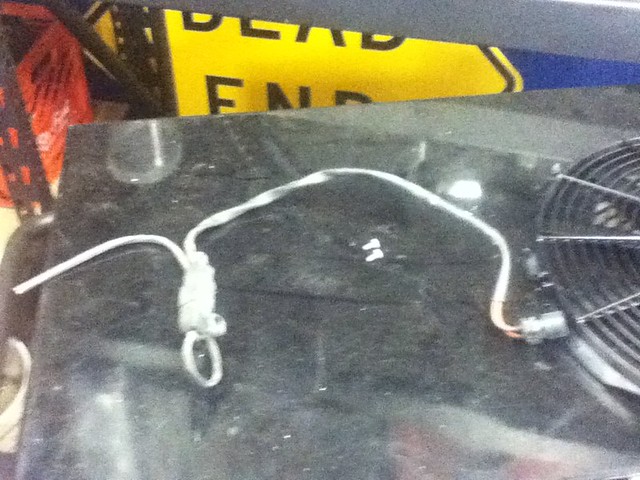
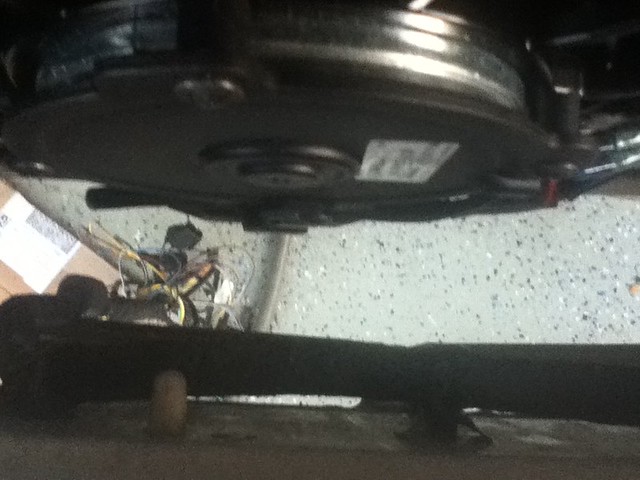
This is the harness I cut off the stock fan, tested, cleaned, and grafted onto my new fan. It's not really complicated just be sure to observe polarity when installing an double check the fan spins the correct direction before installation. If in doubt also check that your low speed resistor is good and if not replace it at this time. If you find you need a slightly faster low speed take a meter to the junk yards and look for one with less resistance, many older Mercedes had a slightly lower resistance resistor. (I often use these on r134a conversions to increase efficiency in traffic.)
Photo by systemdelete, on Flickr
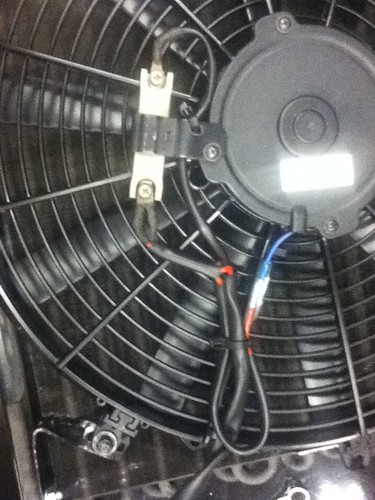
Here's the harness grafted onto the new fan assembly with the resistor mounted to the motor housing so it will get some airflow to keep it cool.
Photo by systemdelete, on Flickr
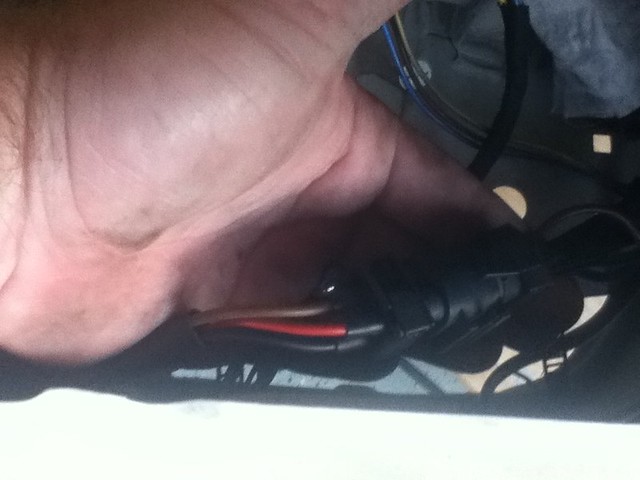
Factory harness plugs right in nice and clean, just like the stock aux fan did. originally.
Photo by systemdelete, on Flickr
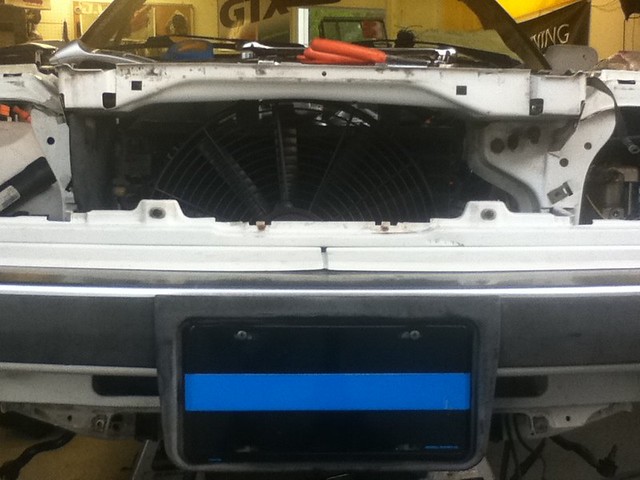
Thinner profile leaves a little more room in front of the fan.
Photo by systemdelete, on Flickr
Above is the PN for the Spal fan I used, everything else was recycled stock parts.
Photo by systemdelete, on Flickr
Hard to tell from the pic, but it really looks clean and the guard in front of the blades allows for better use of the space in behind the grills.
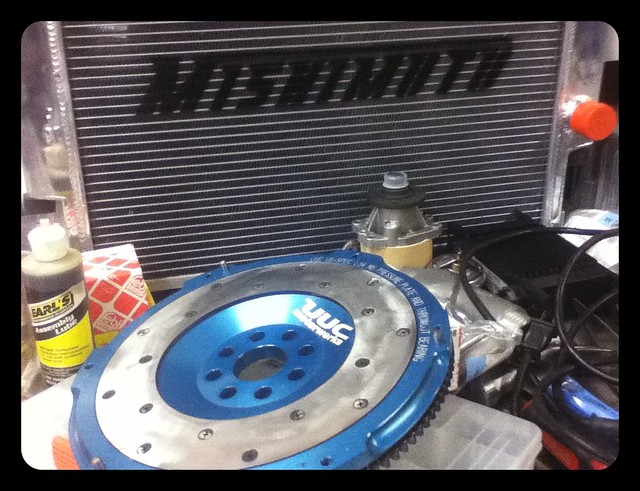
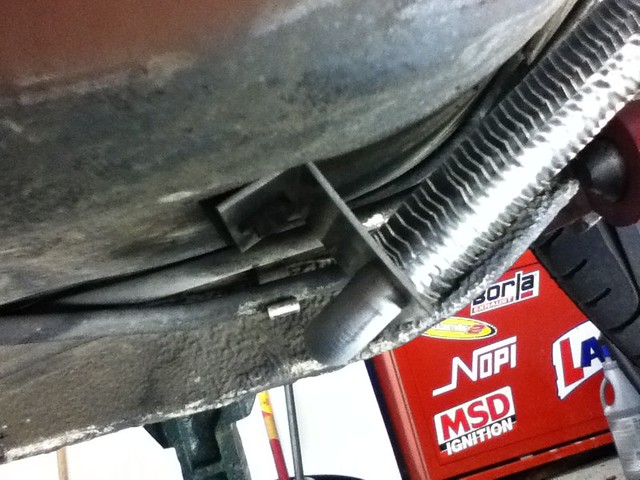
This weekend I had a few friends (thanks to Chris, Jim, Gene, and Evan) over to help and got my flywheel, clutch, transmission, starter, eyeball arms, and power steering cooler installed, and had Friday off so I got napa to make the high pressure power steering hose for me.
Photo by systemdelete, on Flickr
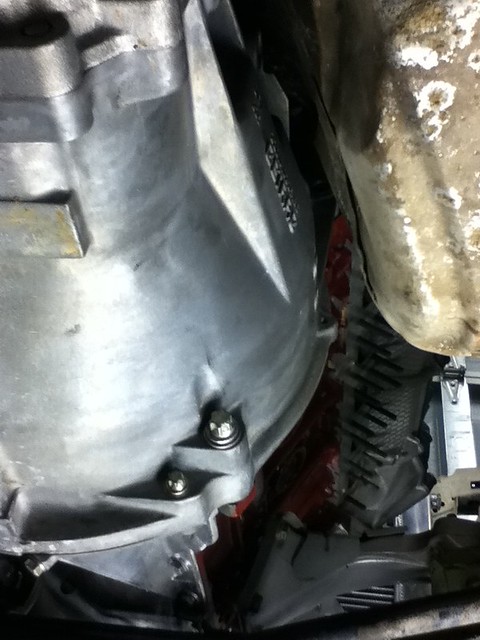
Transmission installed, may not be a feat for some, but with a bad shoulder an injured back the extra sets of hands were well appreciated.
Photo by systemdelete, on Flickr
Shows mounting position of the cooler.
Photo by systemdelete, on Flickr
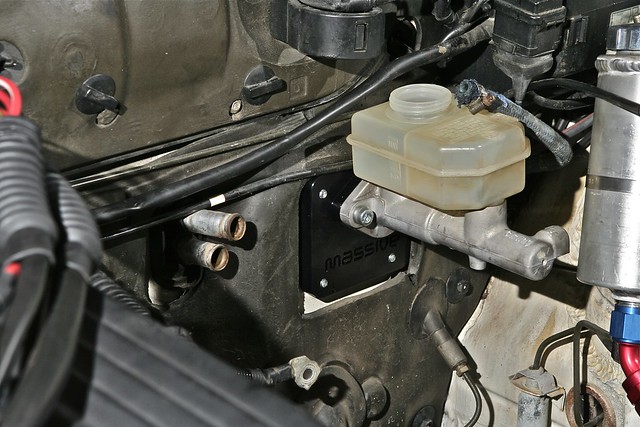
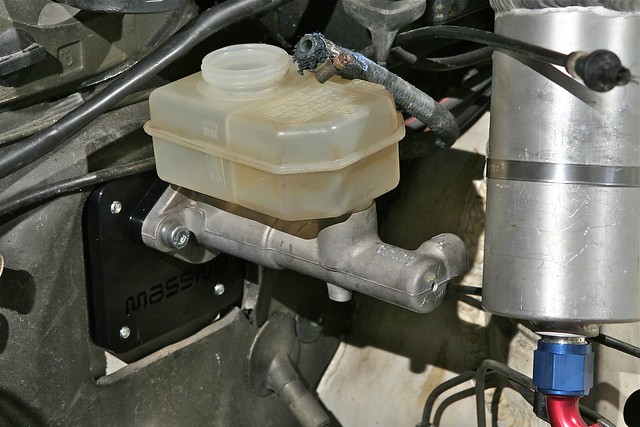
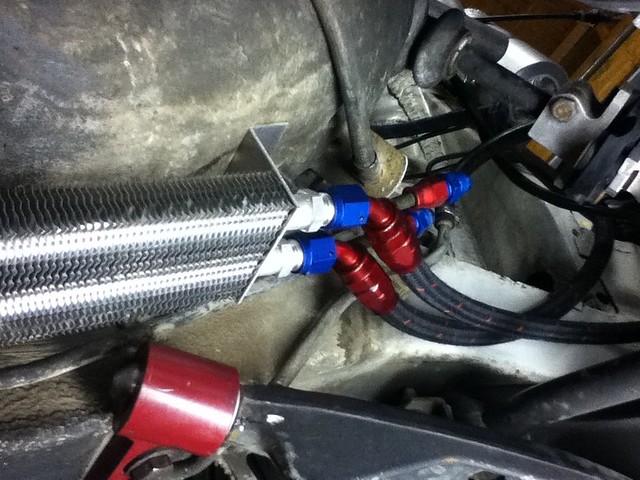
Beginning to plumb the power steering system now that the motor is mounted in it's final resting position.
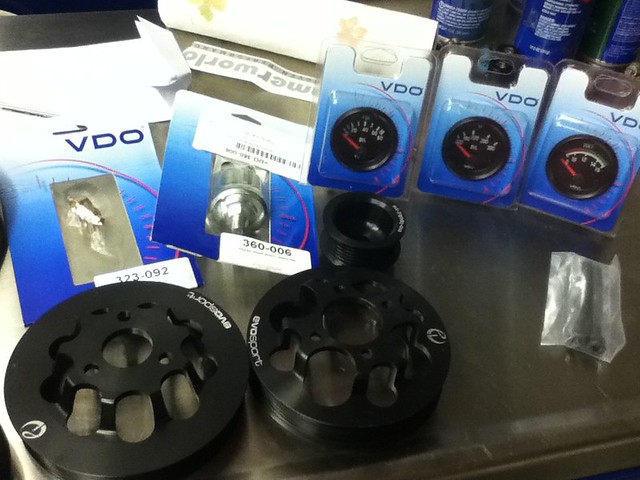
Tonight my evosport pulleys and gauges came in, unfortunately the oil pressure sender has the wrong thread pitch,the evosport water pump pulley interferes with my harmonic damper, and the belt which was shipped with the pulleys was too short. :/ Tonight was mostly chock full of fail, save for the warm fuzzy feeling from helping another forum member in need.


Comment