
11-20-2018
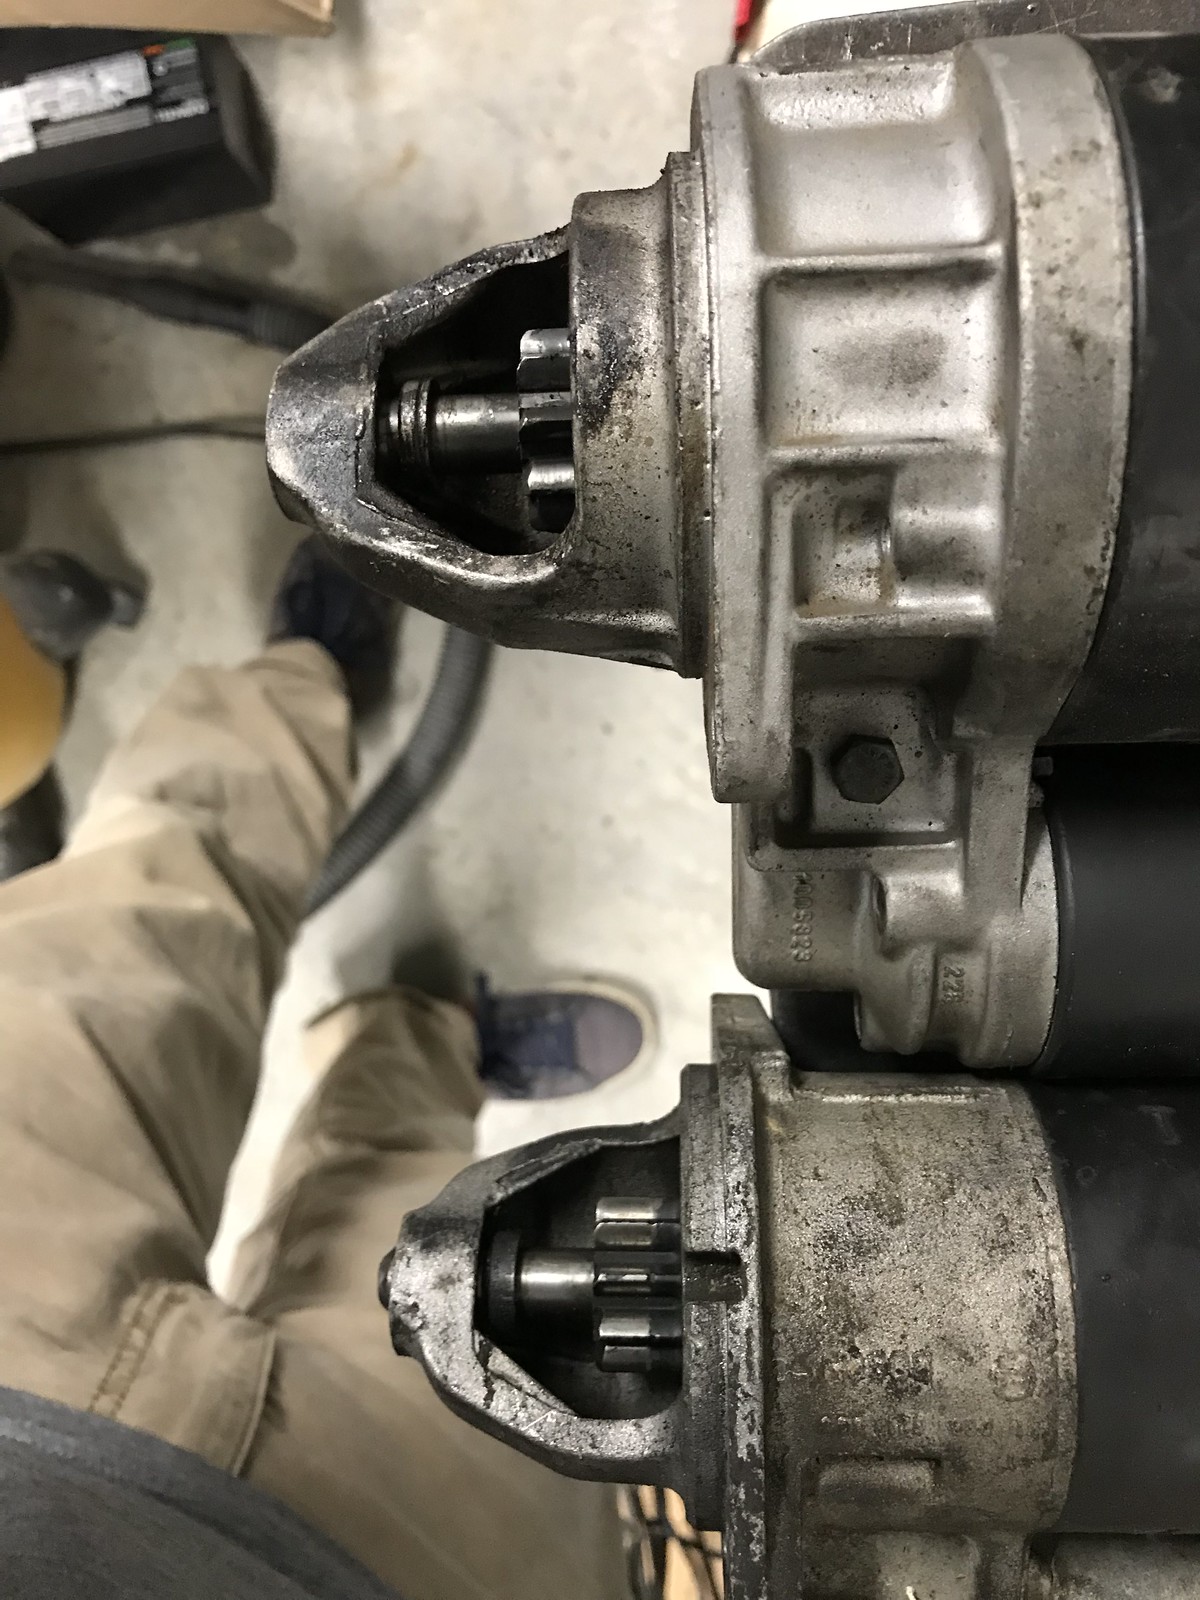
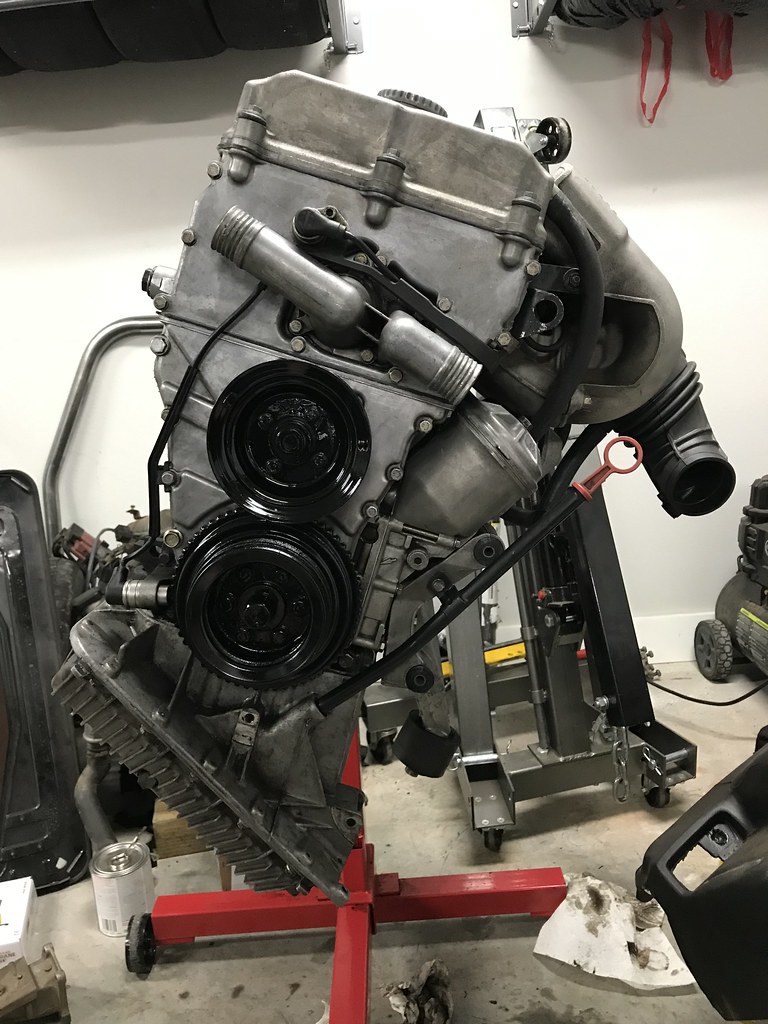
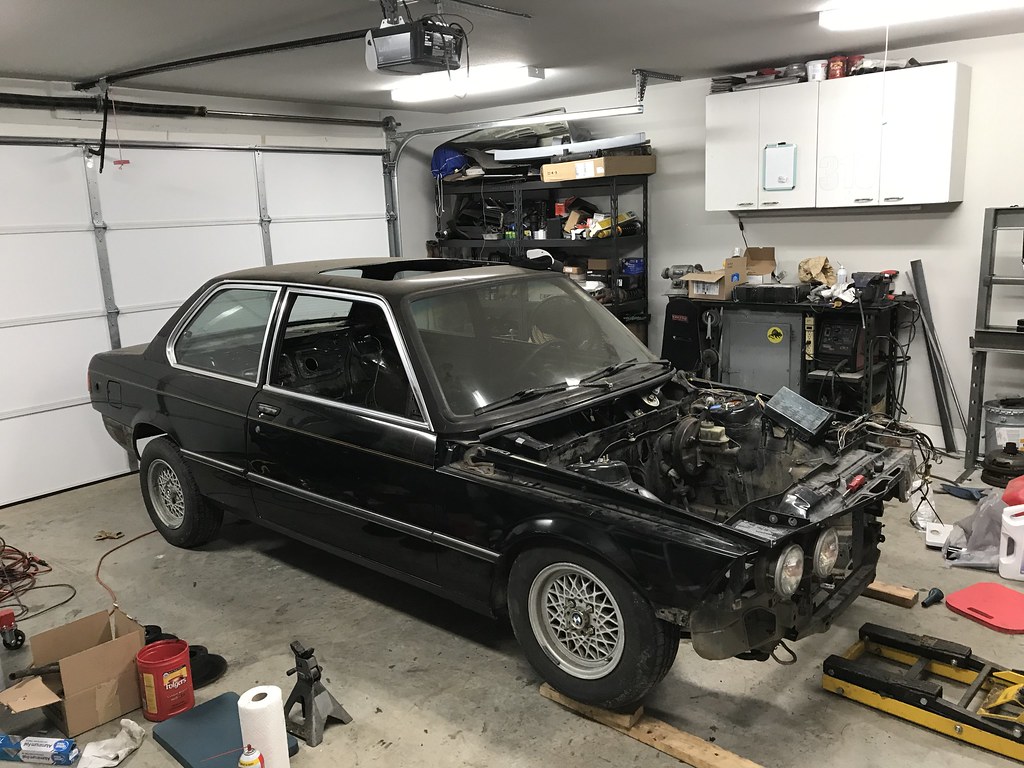
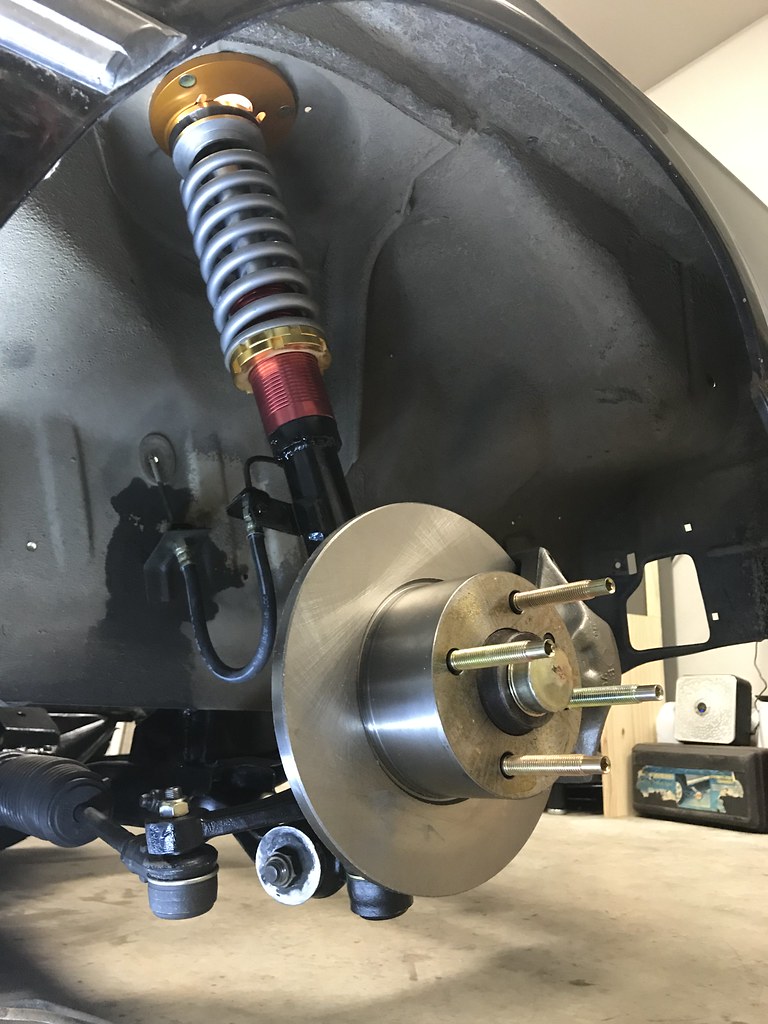
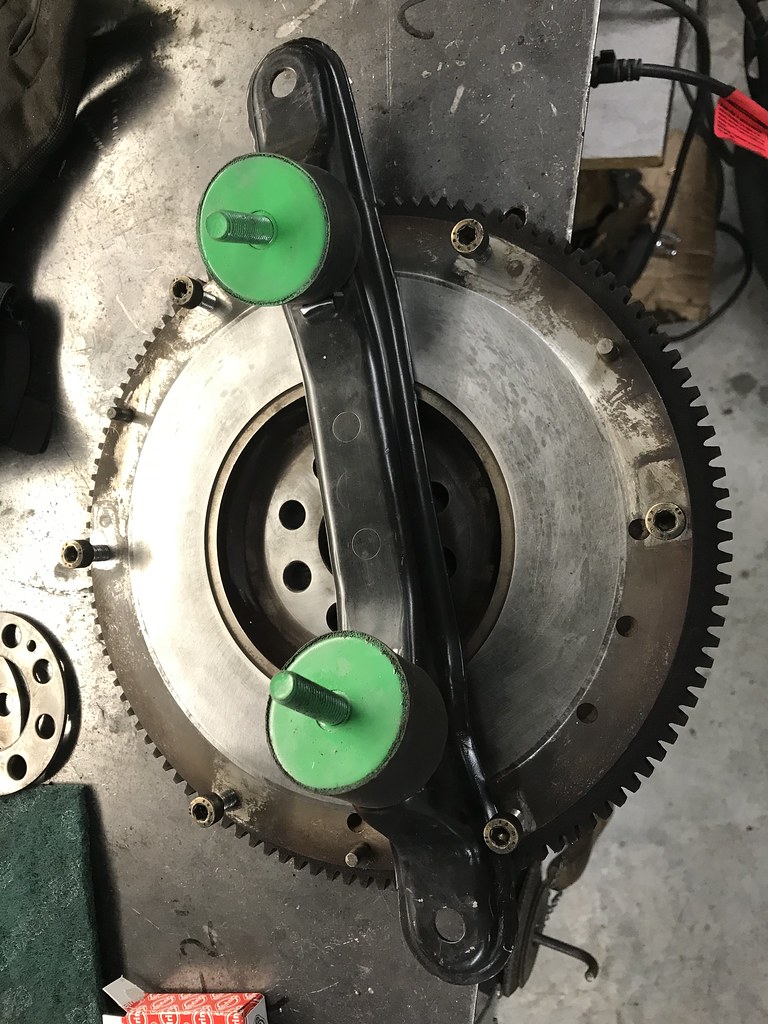
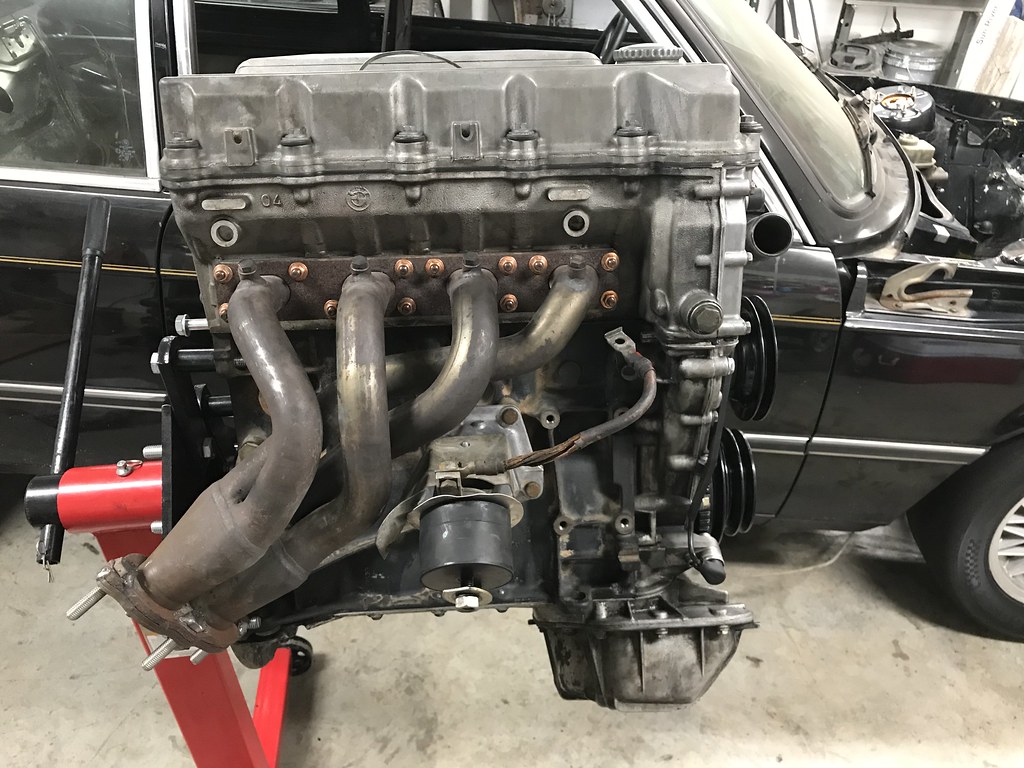
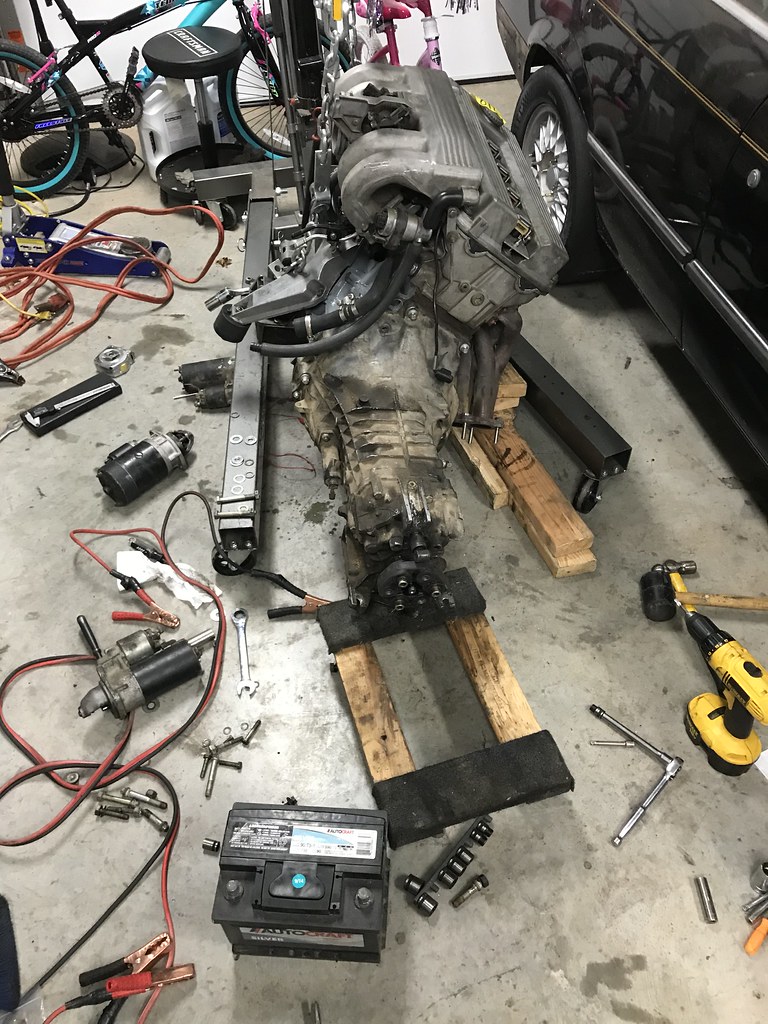
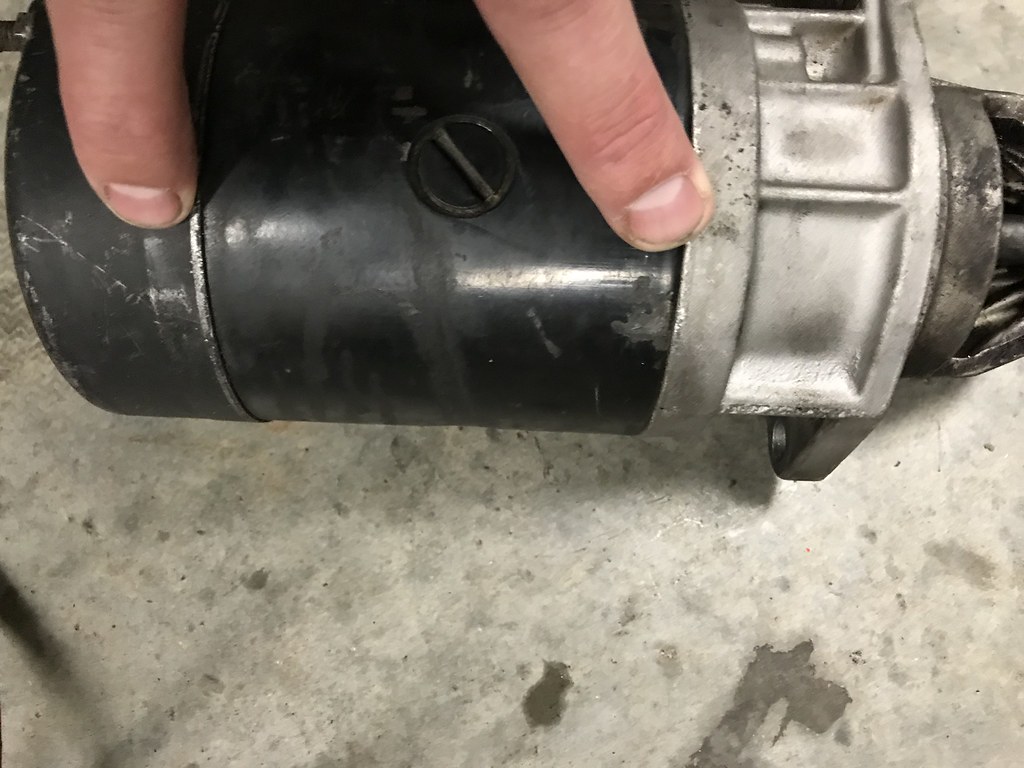
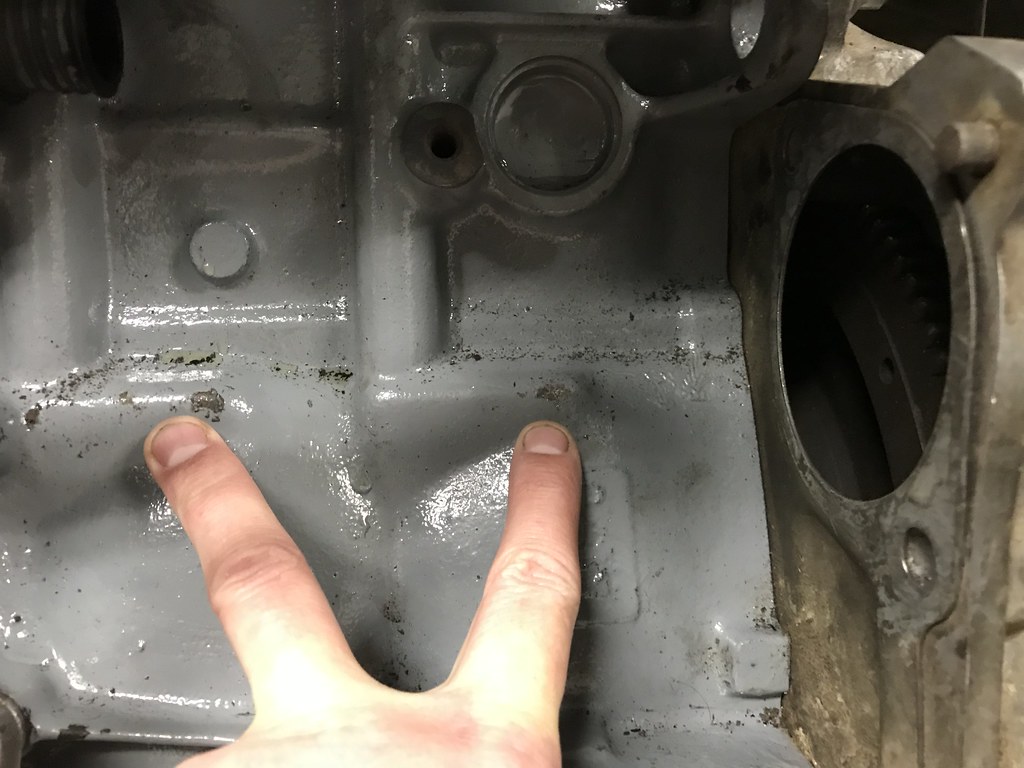
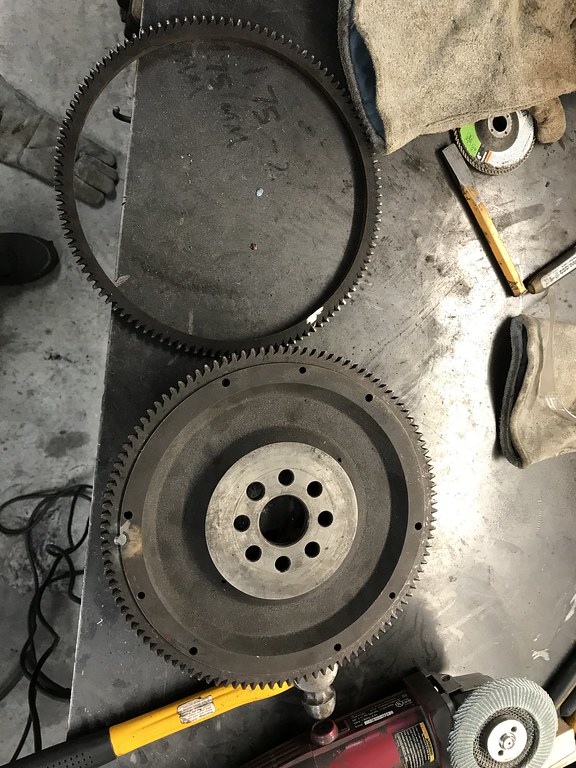
Did some more measuring last night for the m10 flywheel swap. I noticed the m42 starter bolts directly to the bellhousing, but the m10 bolts to the block AND the bellhousing. This means the m10 starter has about 7.25mm more protrusion into the trans when used on the m42 Getrag 240. Either I put a 7mm spacer between the starter or try to use the m42 and hope for the best, or go back to swapping ring gears? Either way I have some thinking to do.
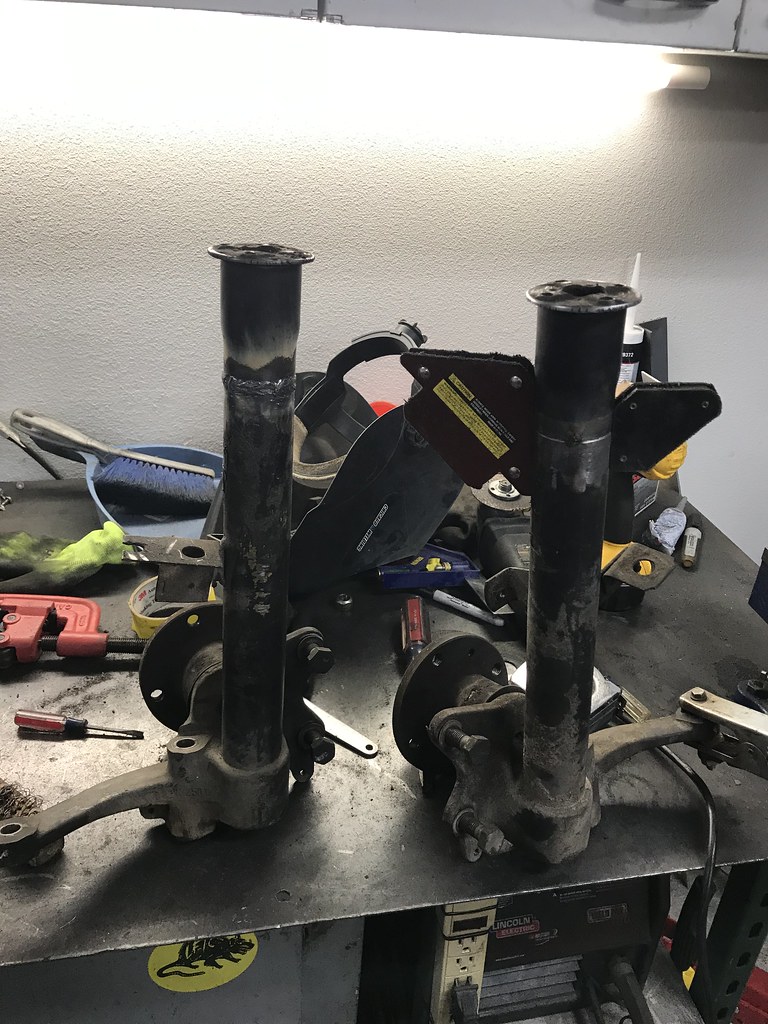
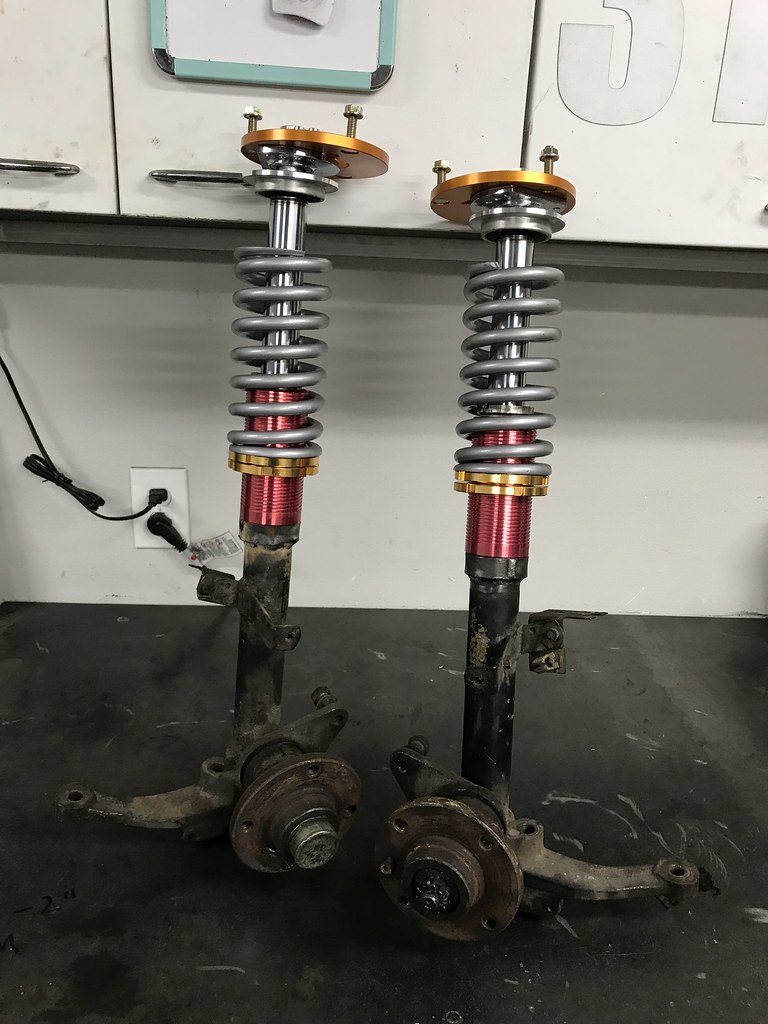
 Untitled by hatchethairy, on Flickr
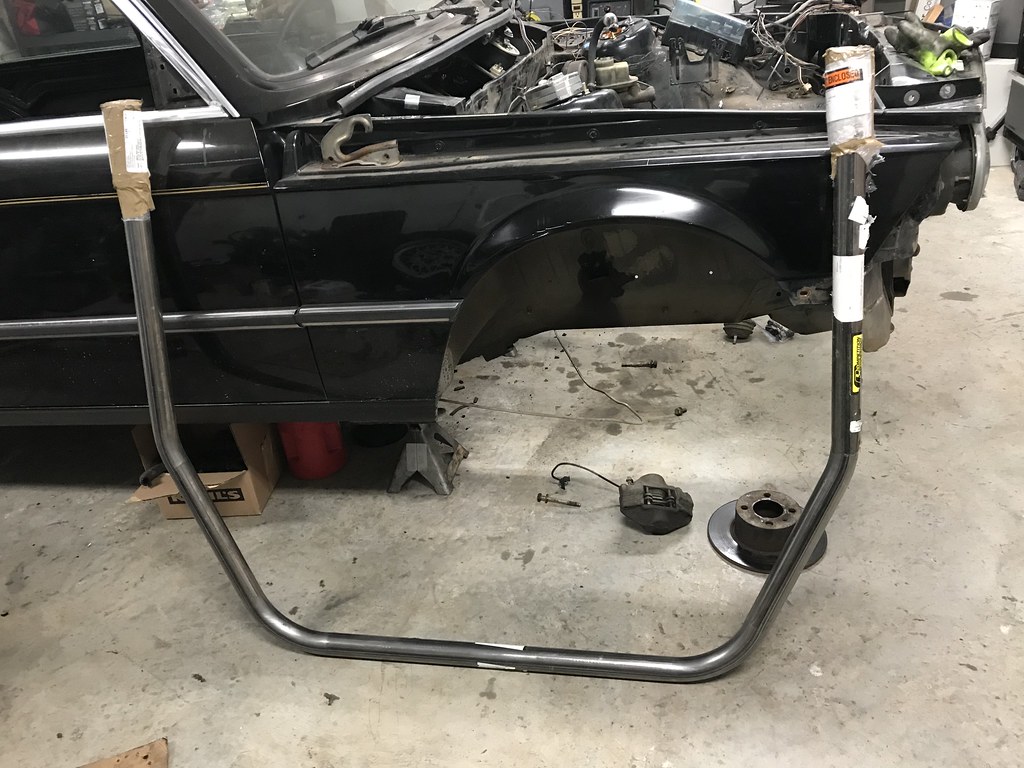
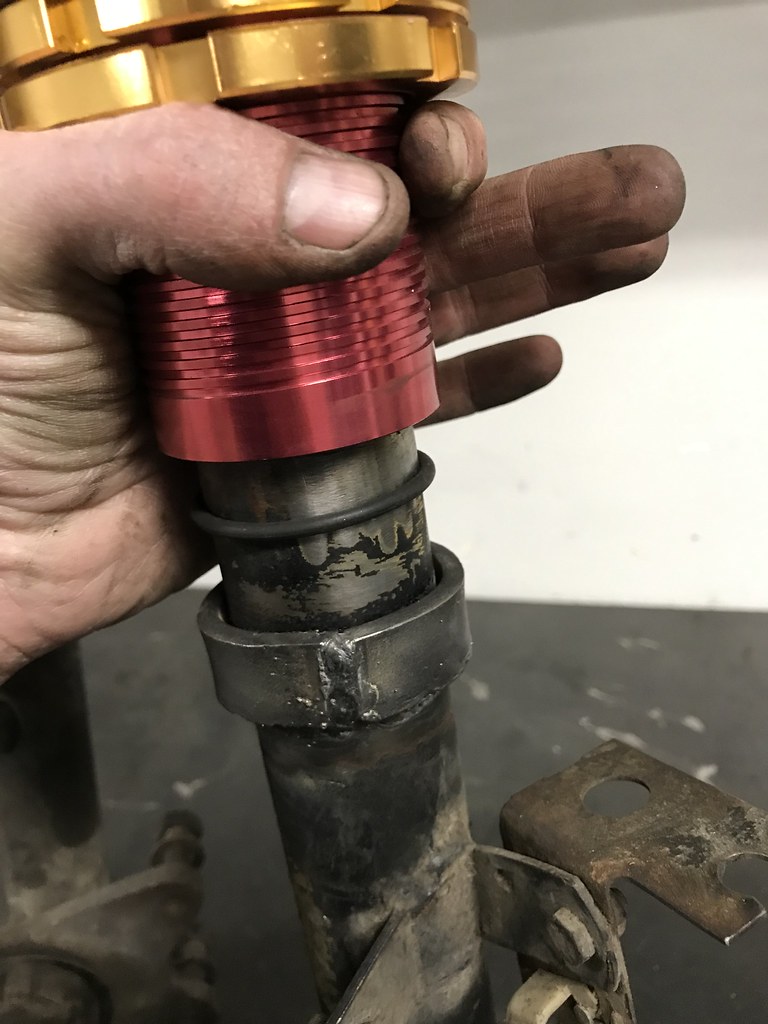
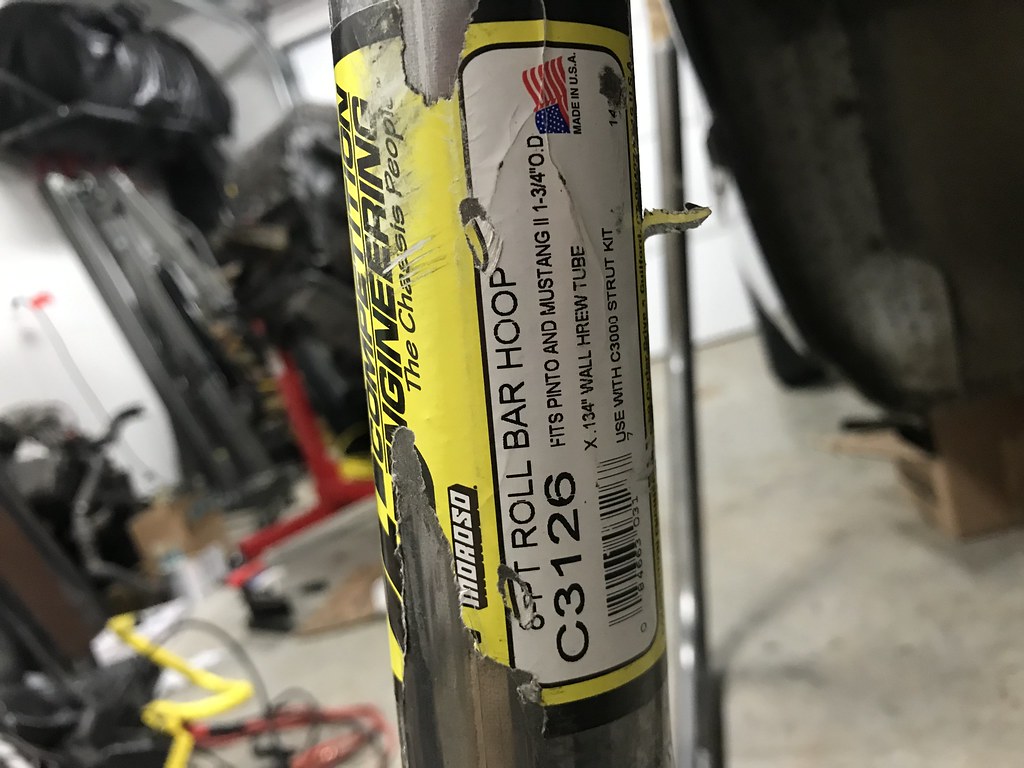
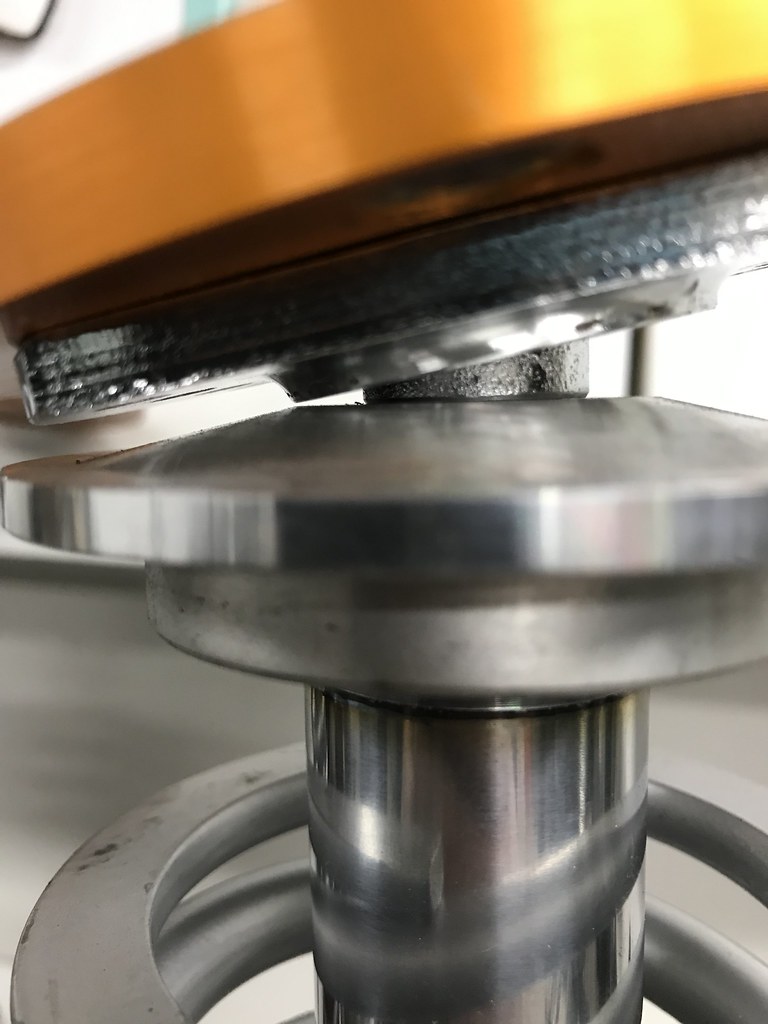
 Untitled by hatchethairy, on Flickr
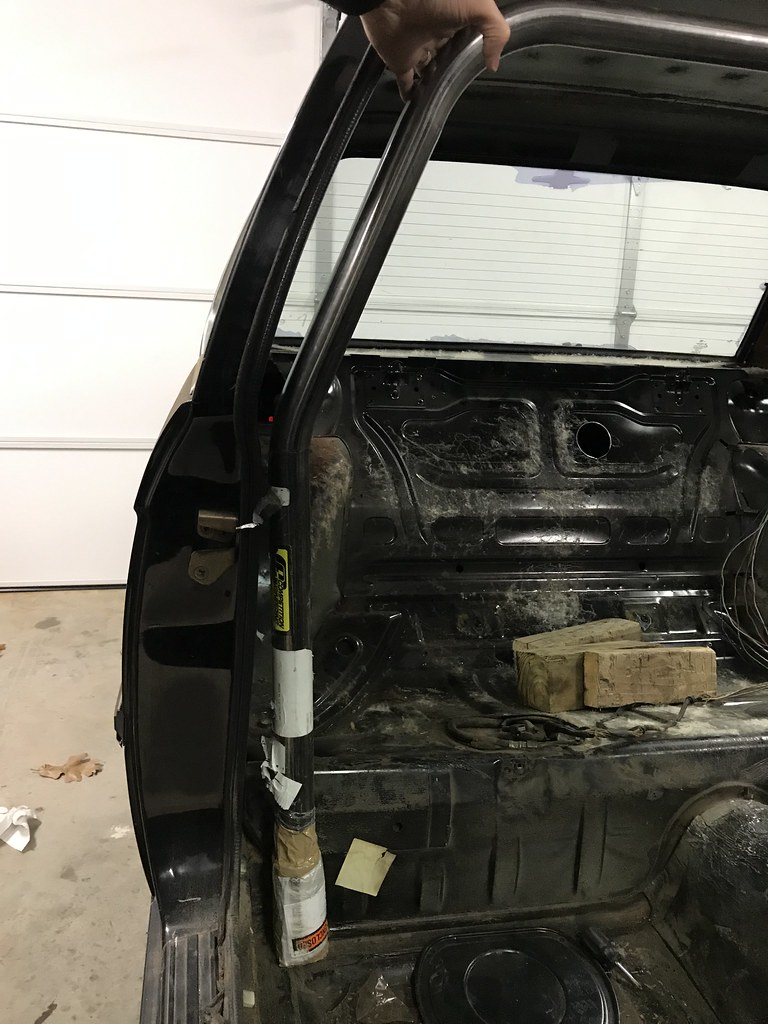
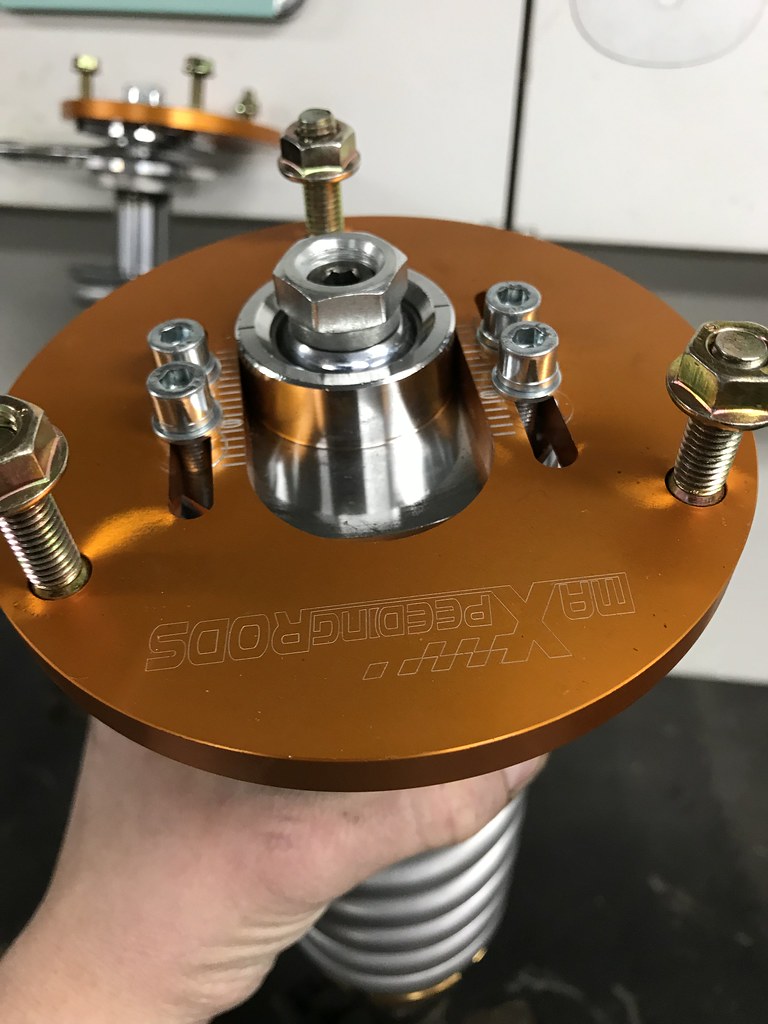
Did some more measuring last night for the m10 flywheel swap. I noticed the m42 starter bolts directly to the bellhousing, but the m10 bolts to the block AND the bellhousing. This means the m10 starter has about 7.25mm more protrusion into the trans when used on the m42 Getrag 240. Either I put a 7mm spacer between the starter or try to use the m42 and hope for the best, or go back to swapping ring gears? Either way I have some thinking to do.
Untitled by hatchethairy, on FlickrUntitled by hatchethairy, on Flickr


Comment