
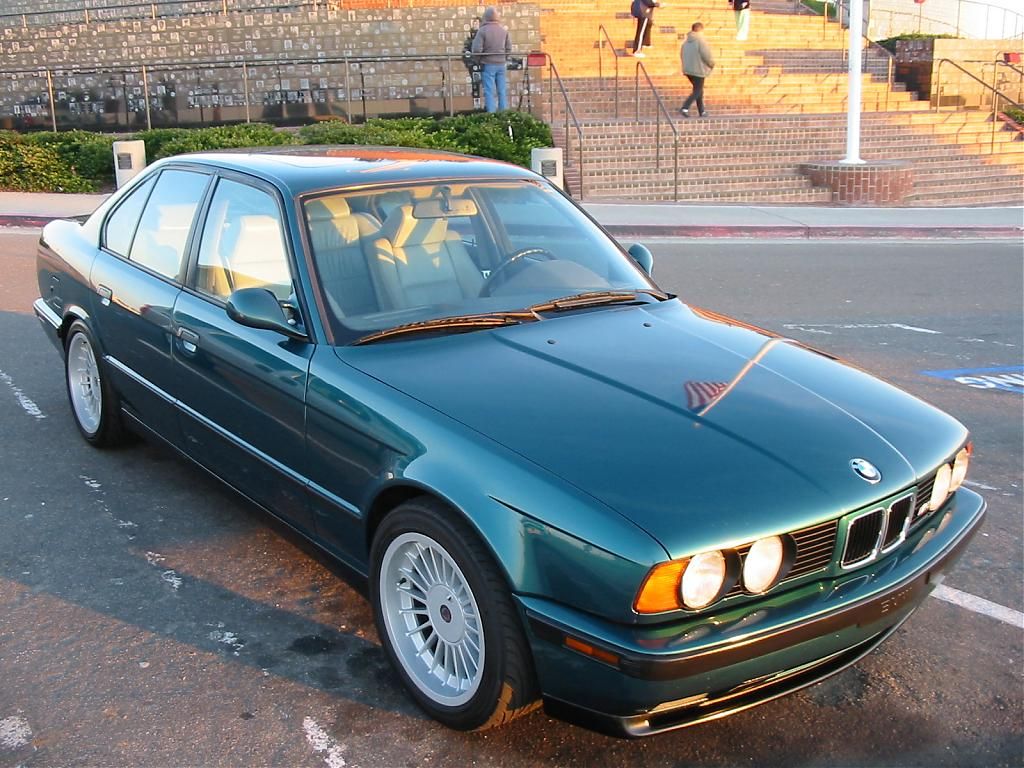
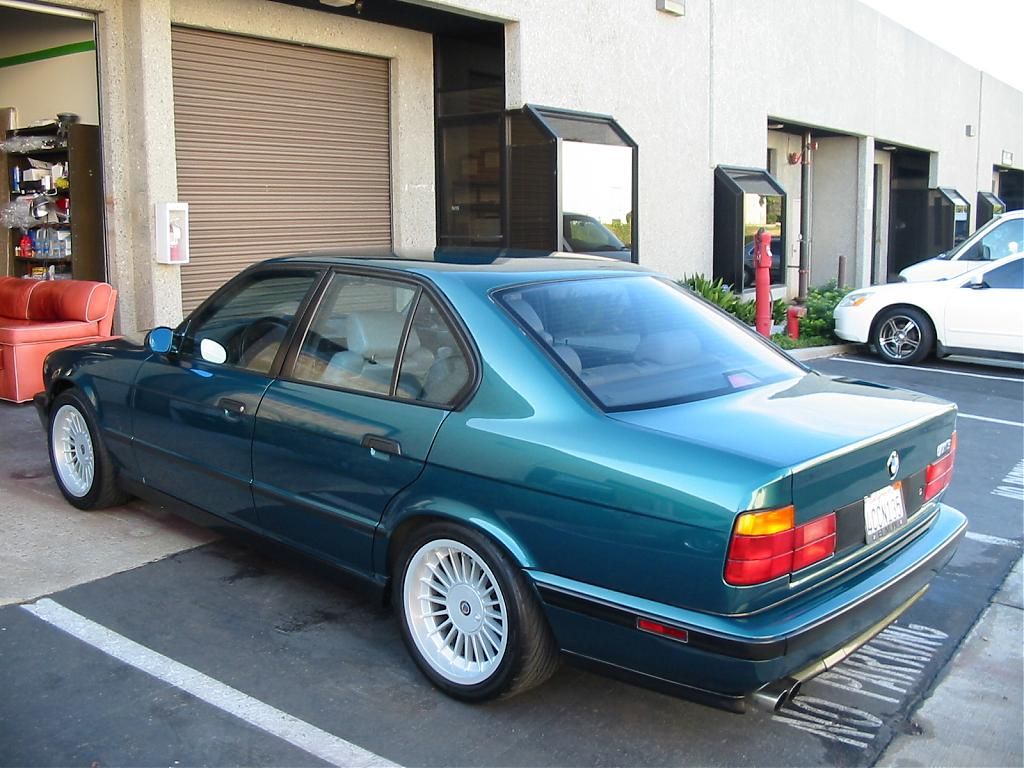
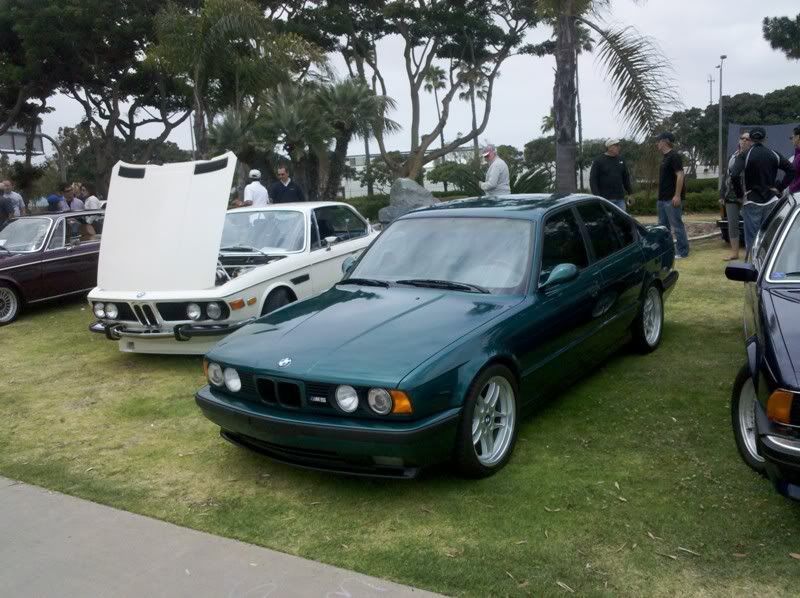
I'll keep the back story to a cliff notes version and get to the build. Picked up my '93 Lagoon Green M5 a few years back from a friend. It had 153k or so on the clock and was in much better shape then the other local cars I looked at. Since purchasing it I have done a lot of odds and ends. All maintenance items I have done thus far have been using genuine BMW parts. The short list is as follows.
Power steering system re-hose
Modified power steering pump for SLS delete
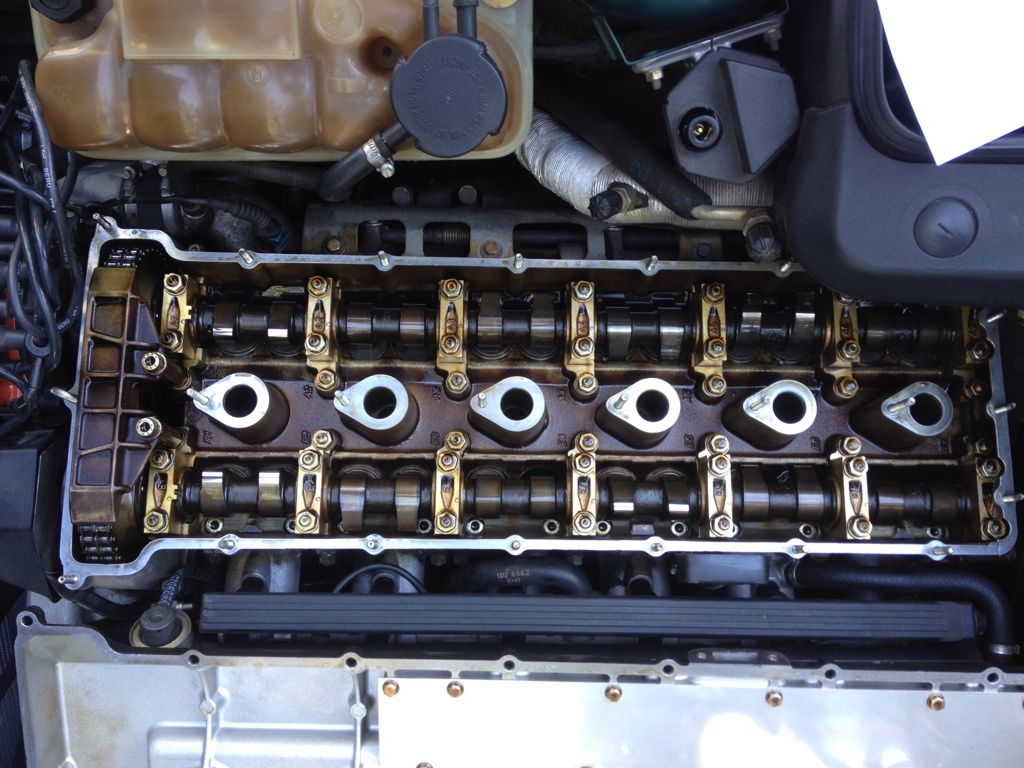
Valve cover gasket
Valve adjustment
Fluid changes on all systems
Door handle gaskets
Seat trim
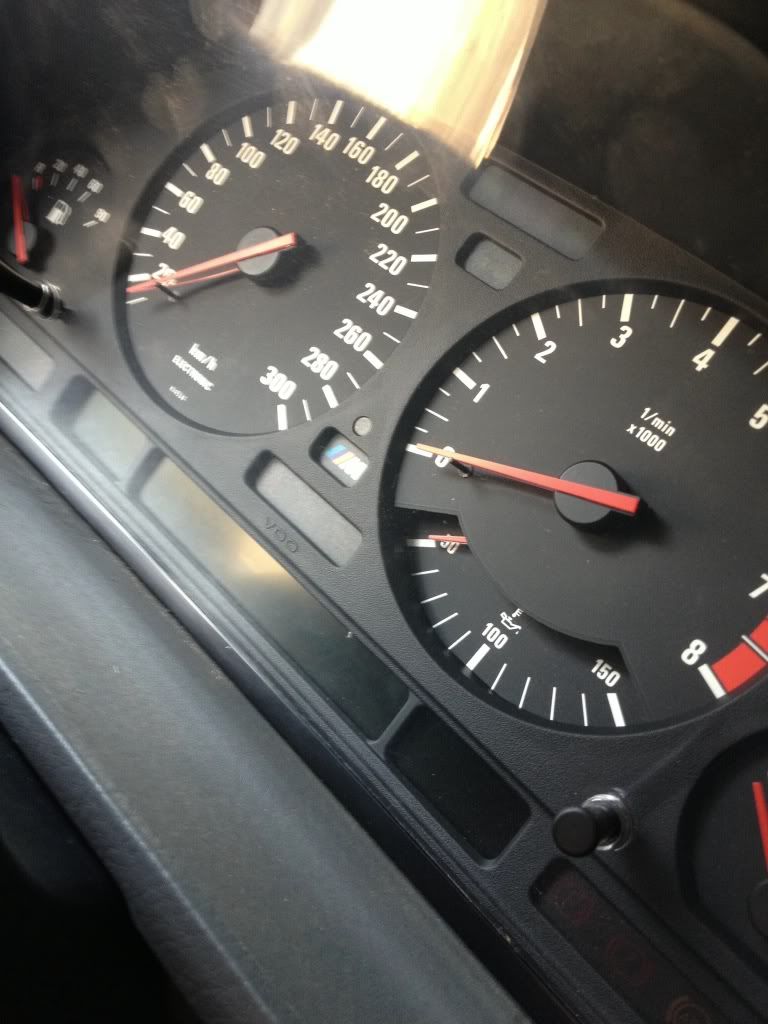
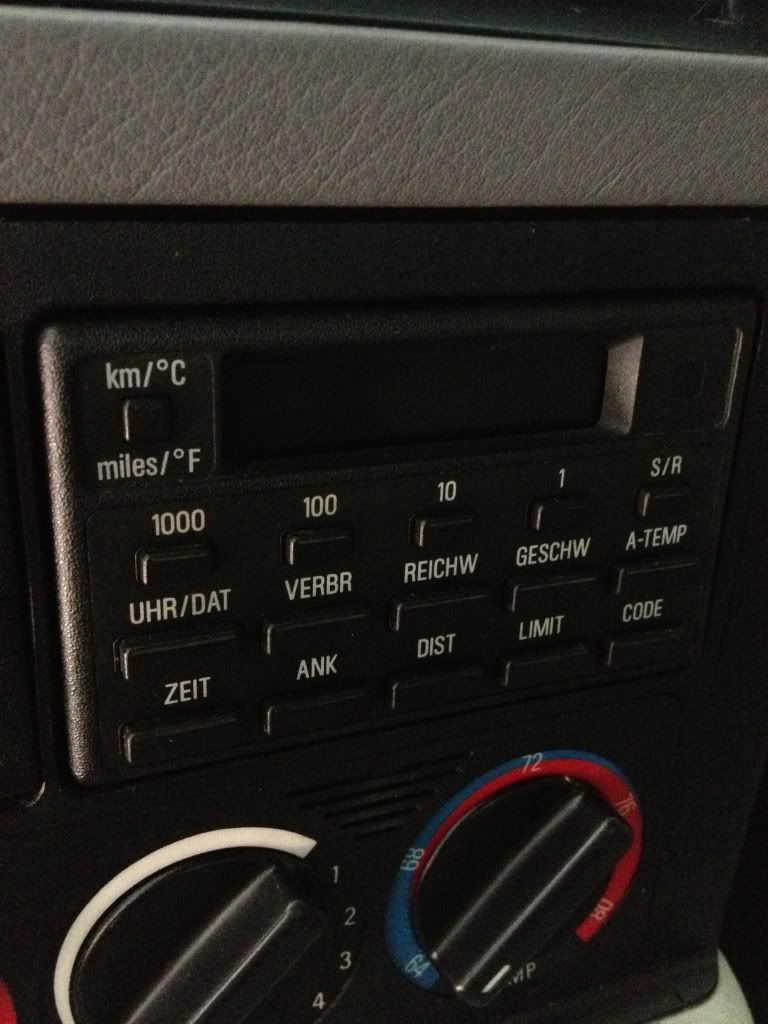
Euro cluster
German OBC
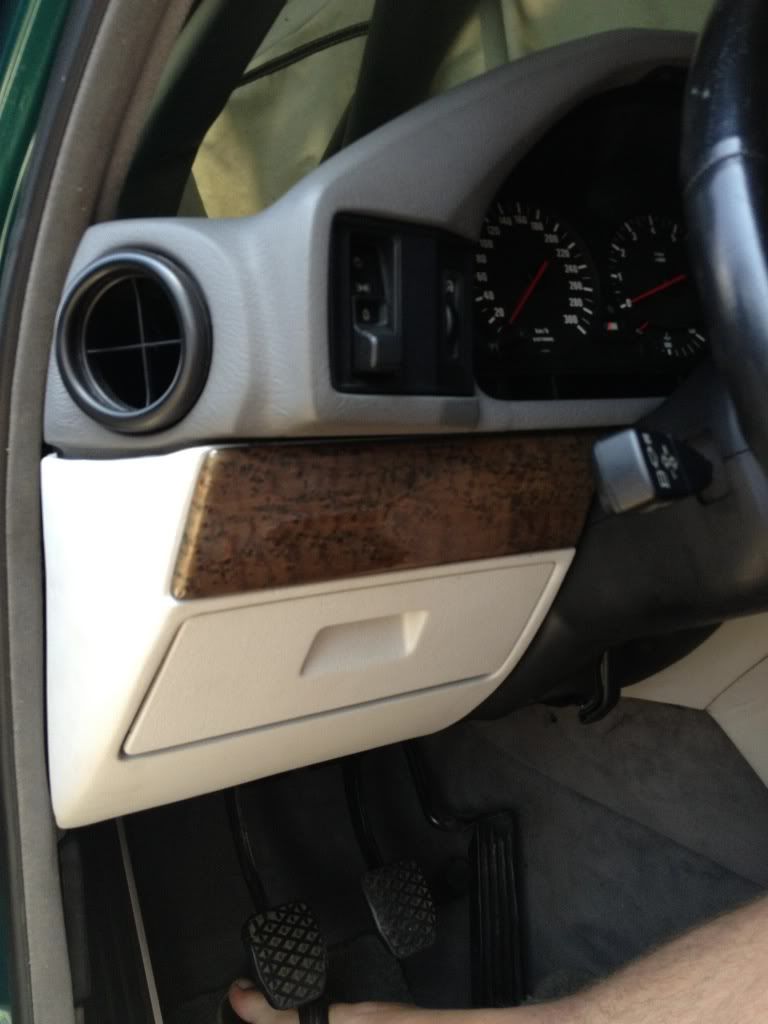
Driver's glove box
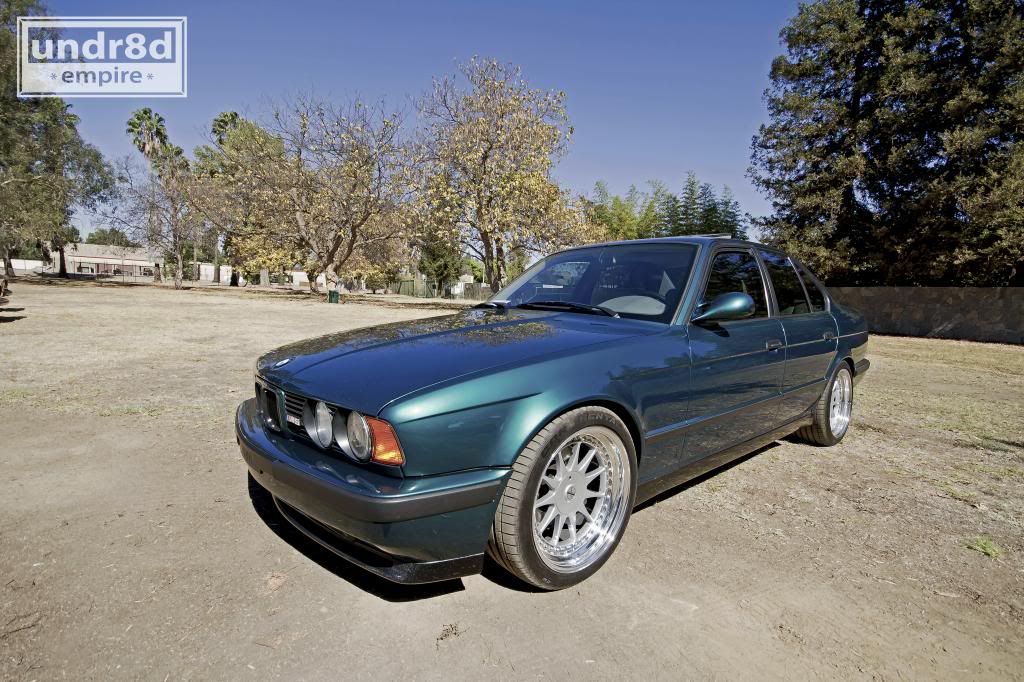
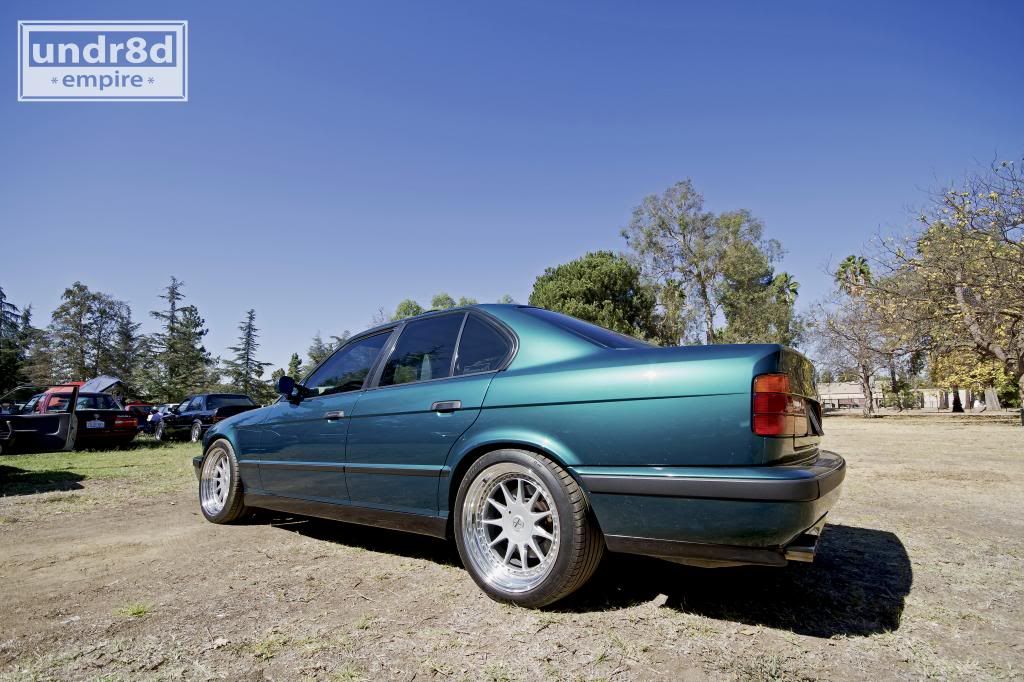
18x8.5 and 18x9.5 Hartge 3 piece wheels
Shock mounts front and rear
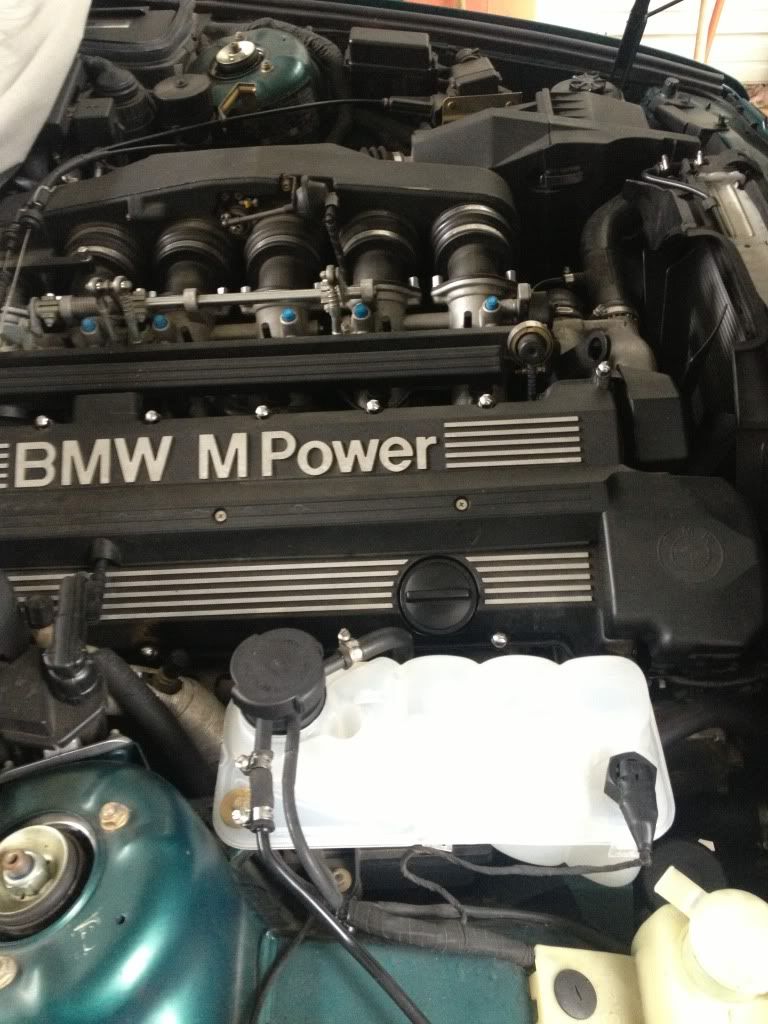
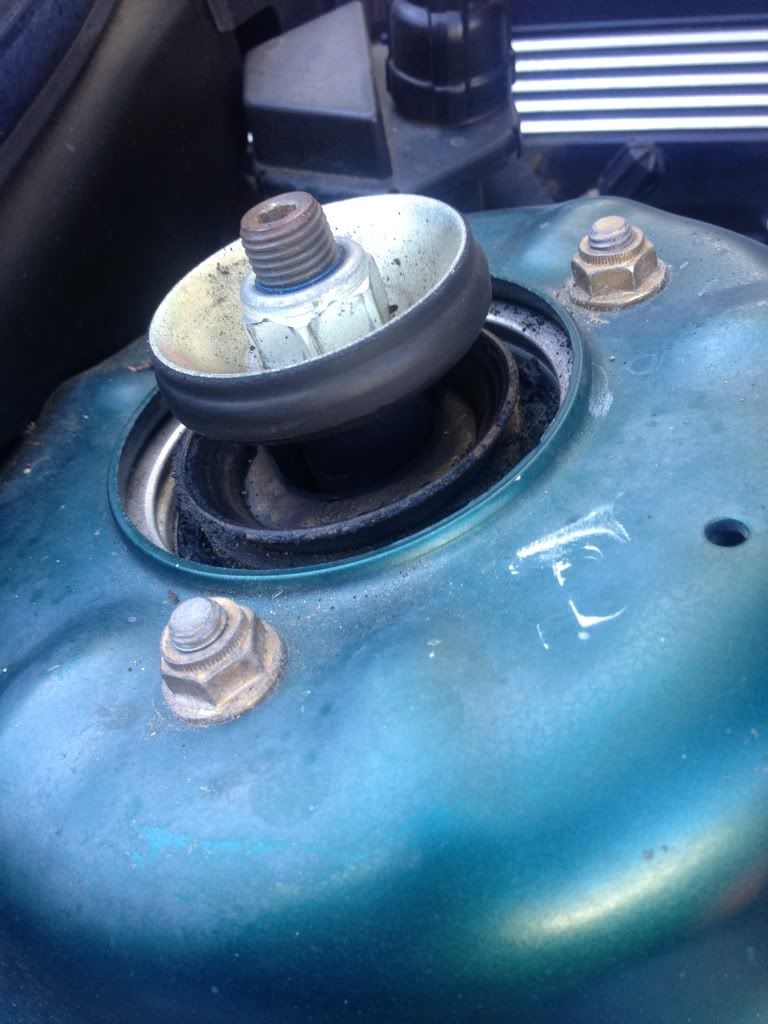
Coolant resevior, cap and level sensor
Euro plate filler
Seat re-dye and new seat trim
Respray passenger side mirror
Items previous owner installed include:
UUC SSK
H&R springs
RD valved Bilstiens
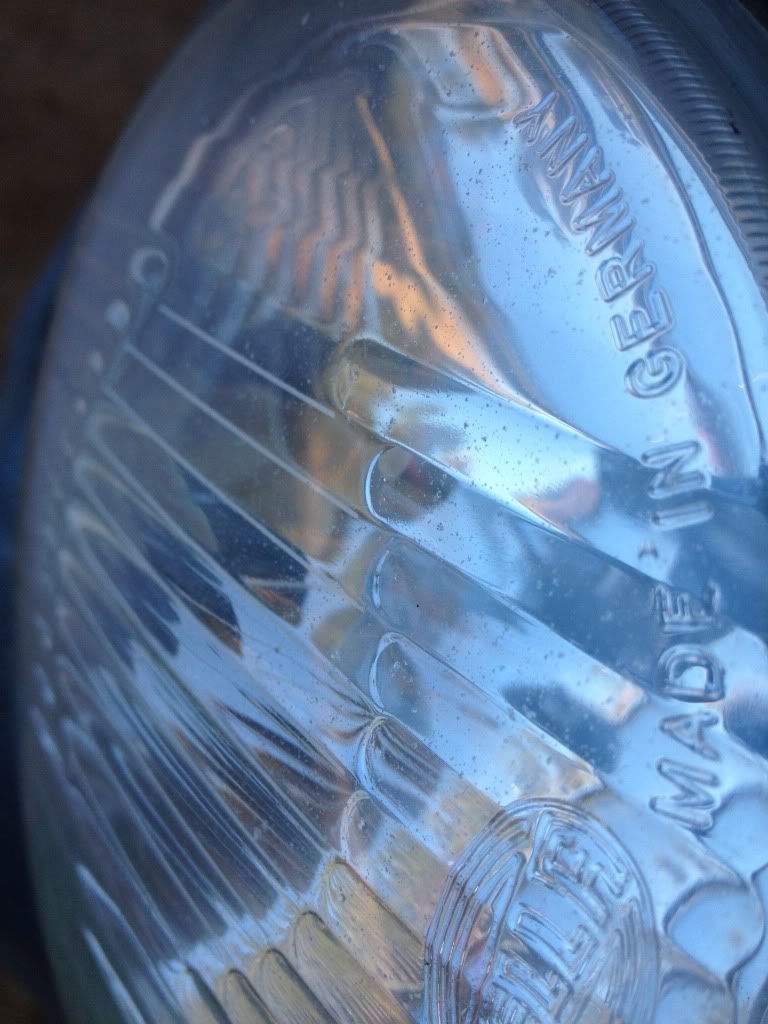
Euro lights
Euro trim
Dinan chip (not currently installed)
Larger injectors (not sure exact size)
Long term plans are to make it as close to show room new as possible, coilovers, Eisenmann Race muffler, Smoked euro Hellas, rebuild the motor with a little more pep. If I keep the car as long as I would like to think I will, I would love to turbo it some day. I'm on the slow and steady build approach and so far it has paid off in my eyes.
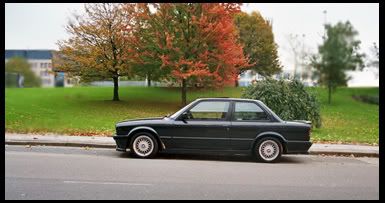
Here is the car before I got it a couple of owners ago.
How it sat when I got it.
Valve cover gasket replacement.
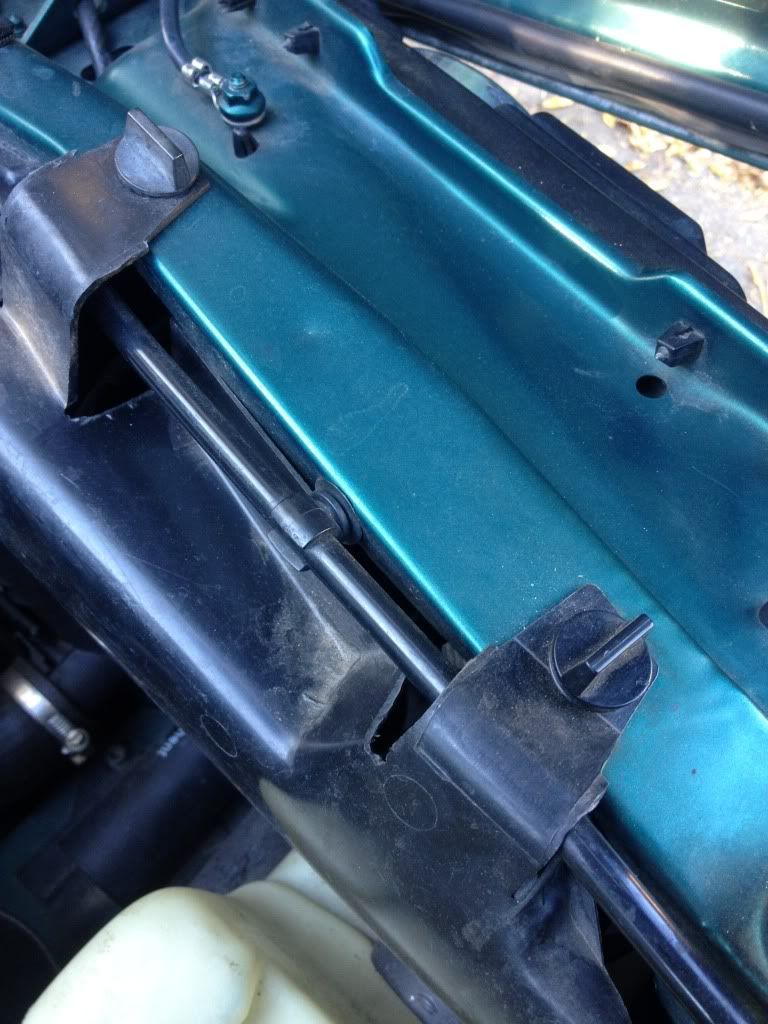
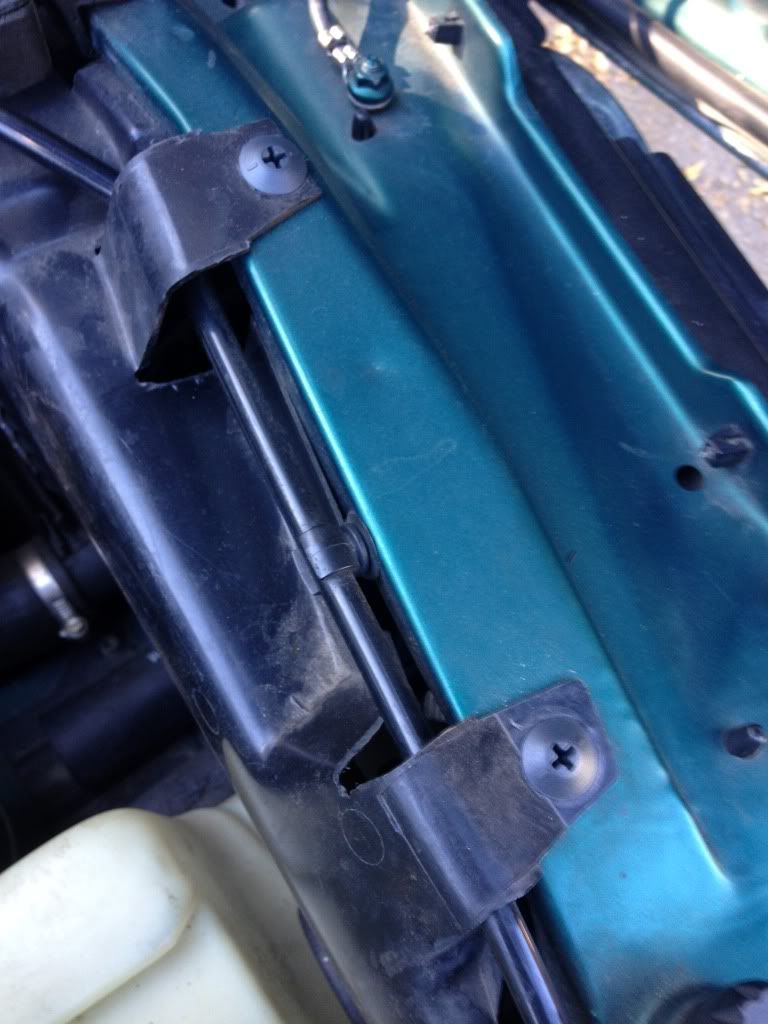
New expansion tank.
Driver's glove box.
Euro cluster.
German OBC.
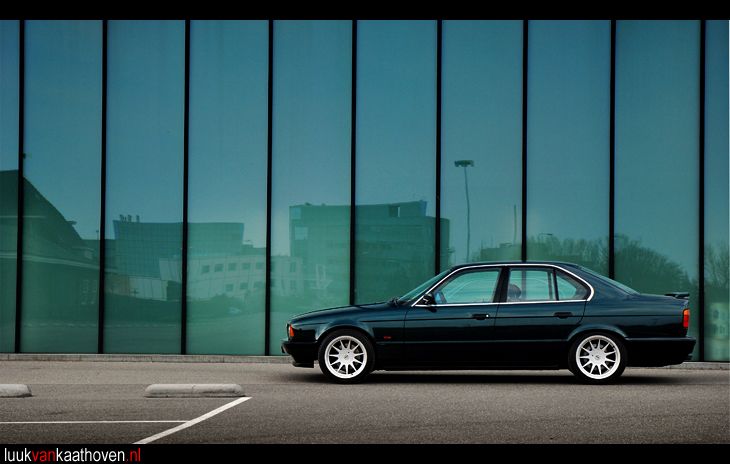
With the new shoes.
Shock mount replacement front and rear.
Right shock mount.
Left shock mount.

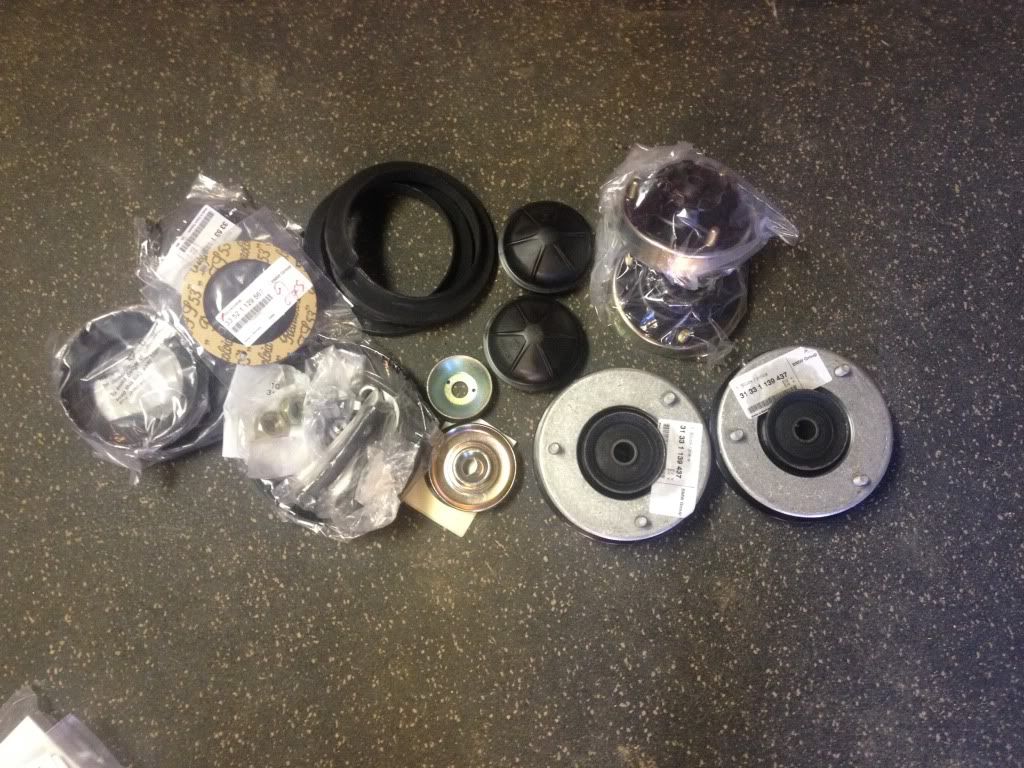
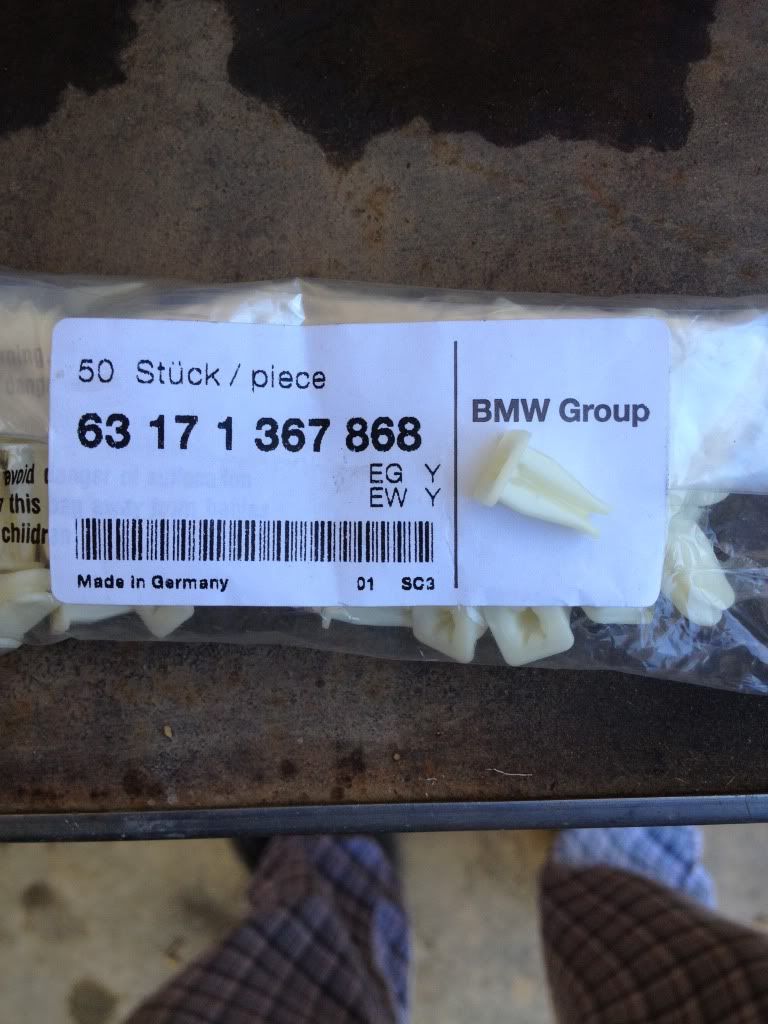
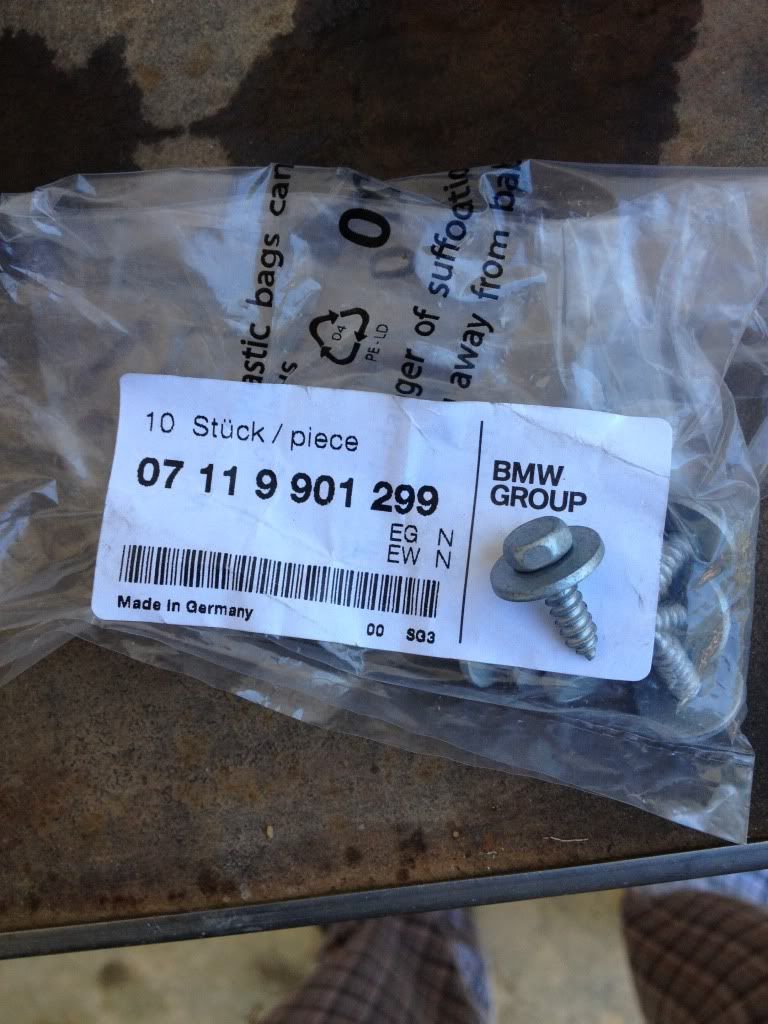
Goodie bag.
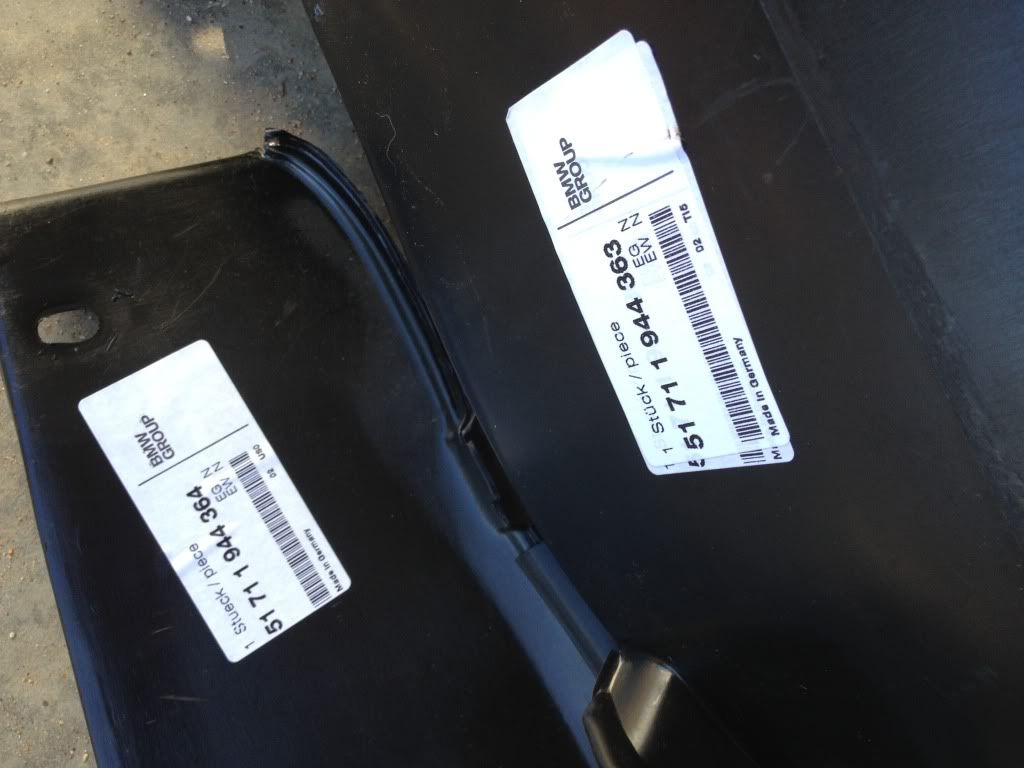
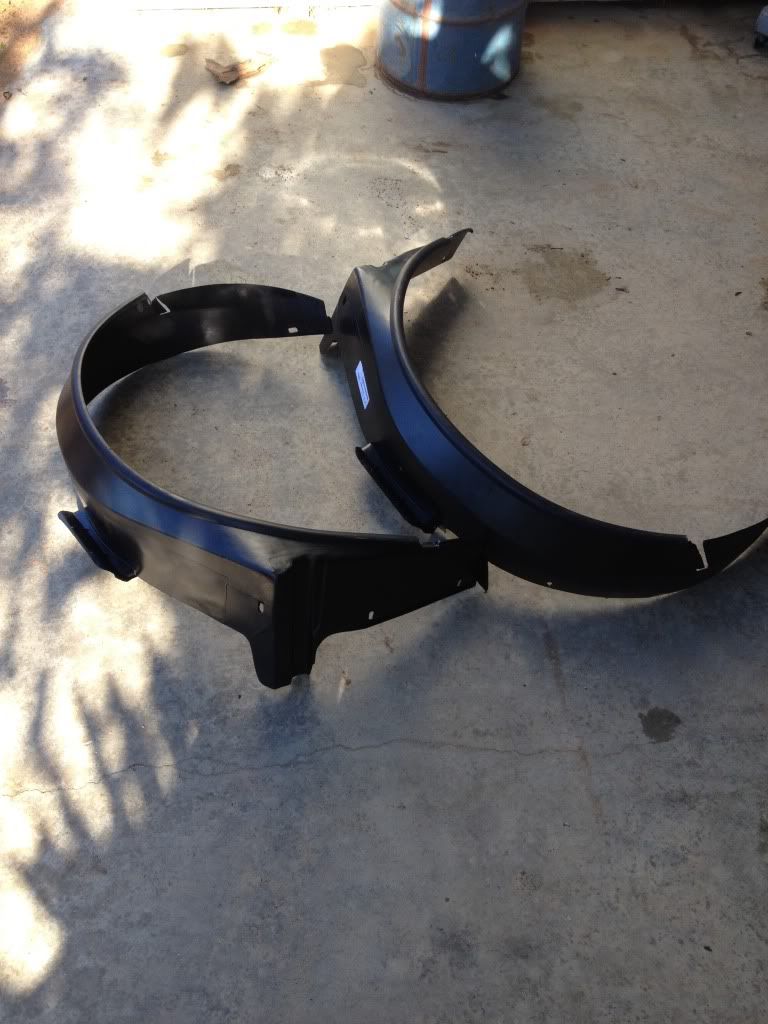
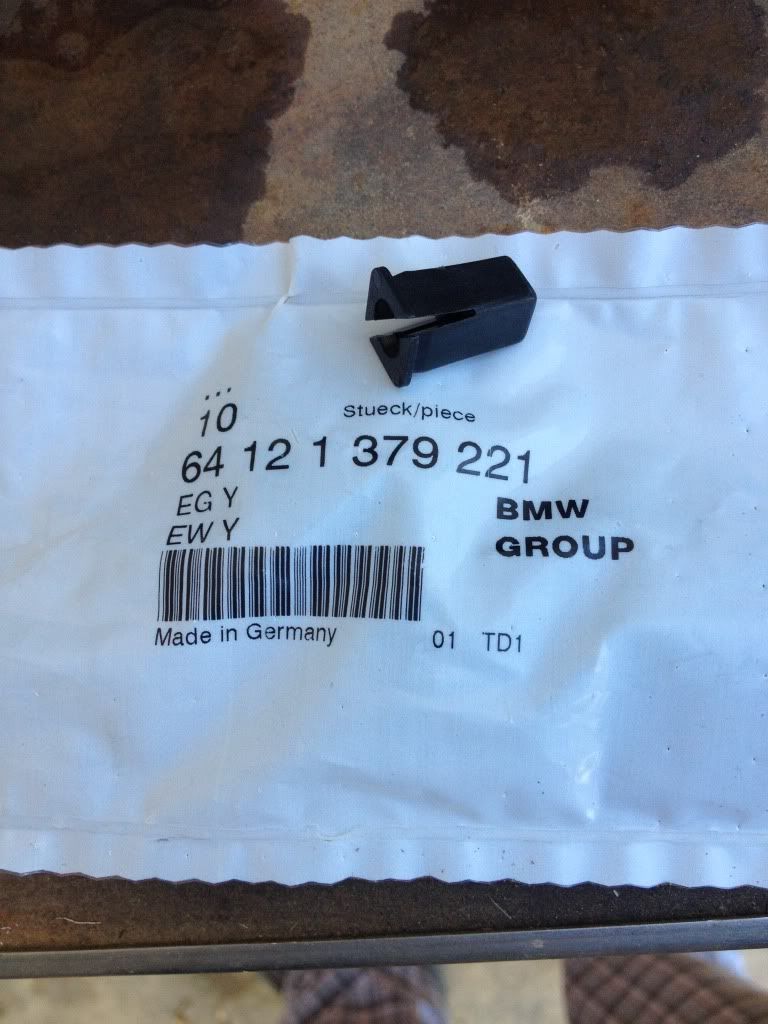
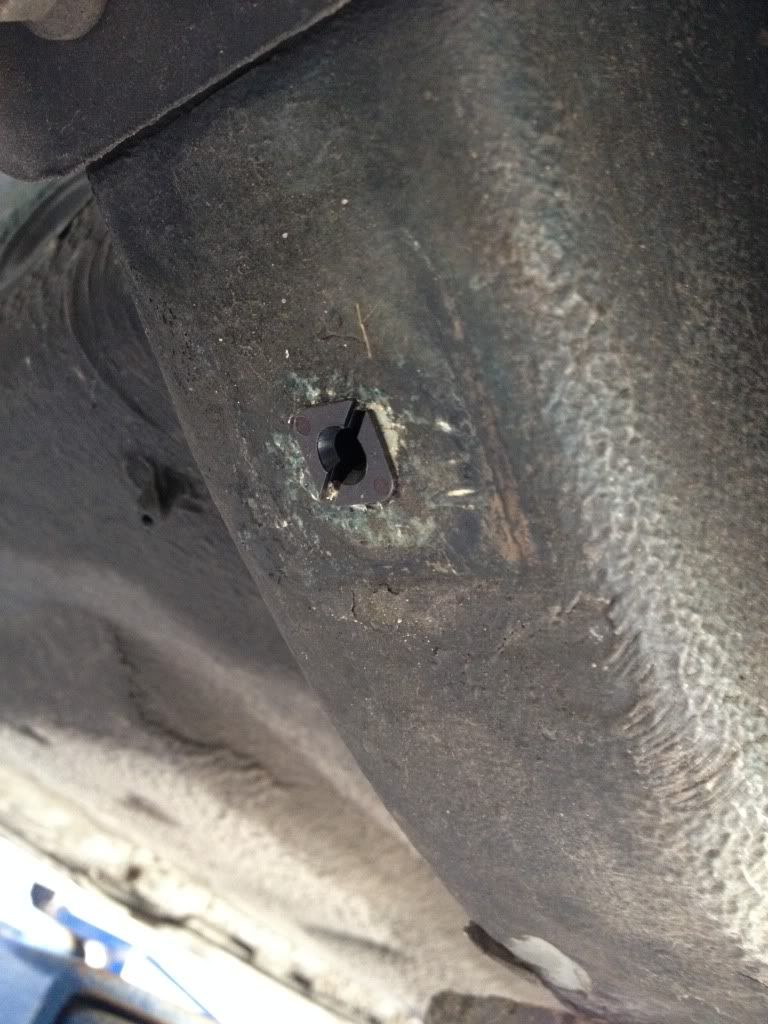
Always chasing nic nacs. Swapped out the old incorrect head light backing cover clips.
Old.
New.
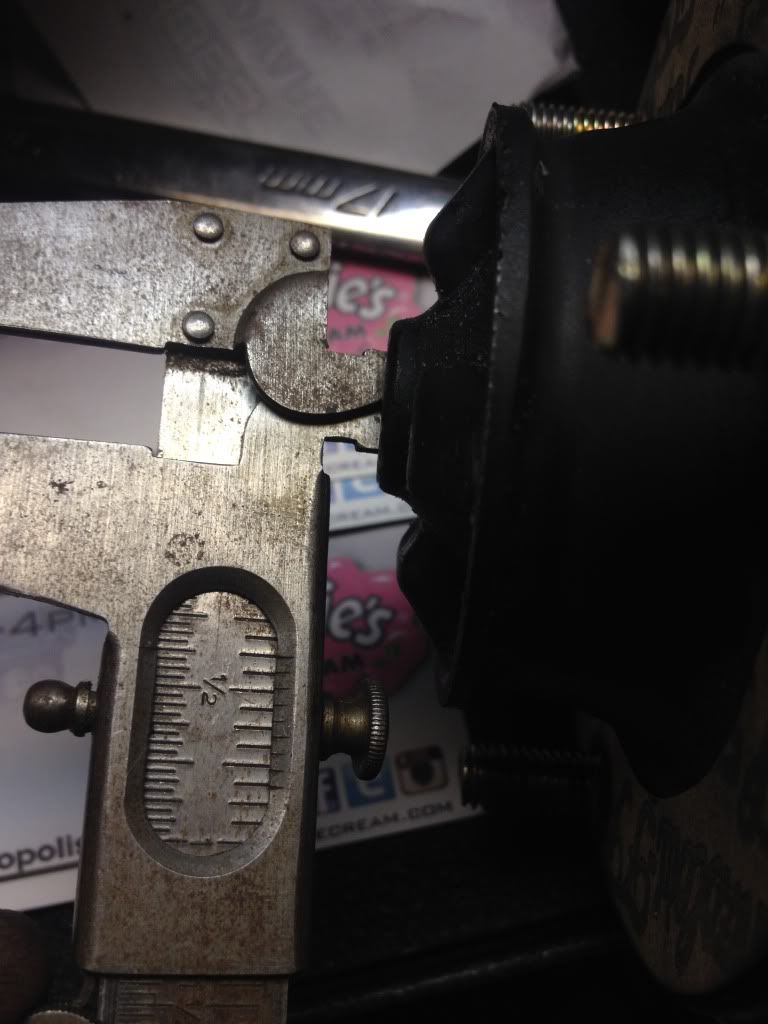
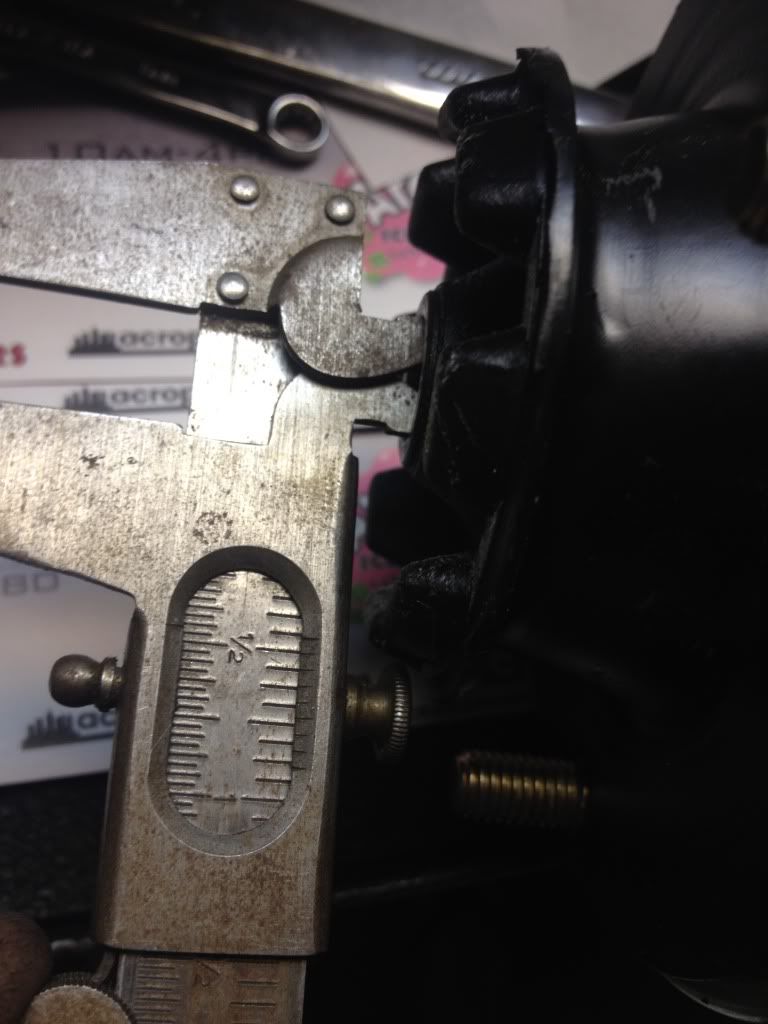
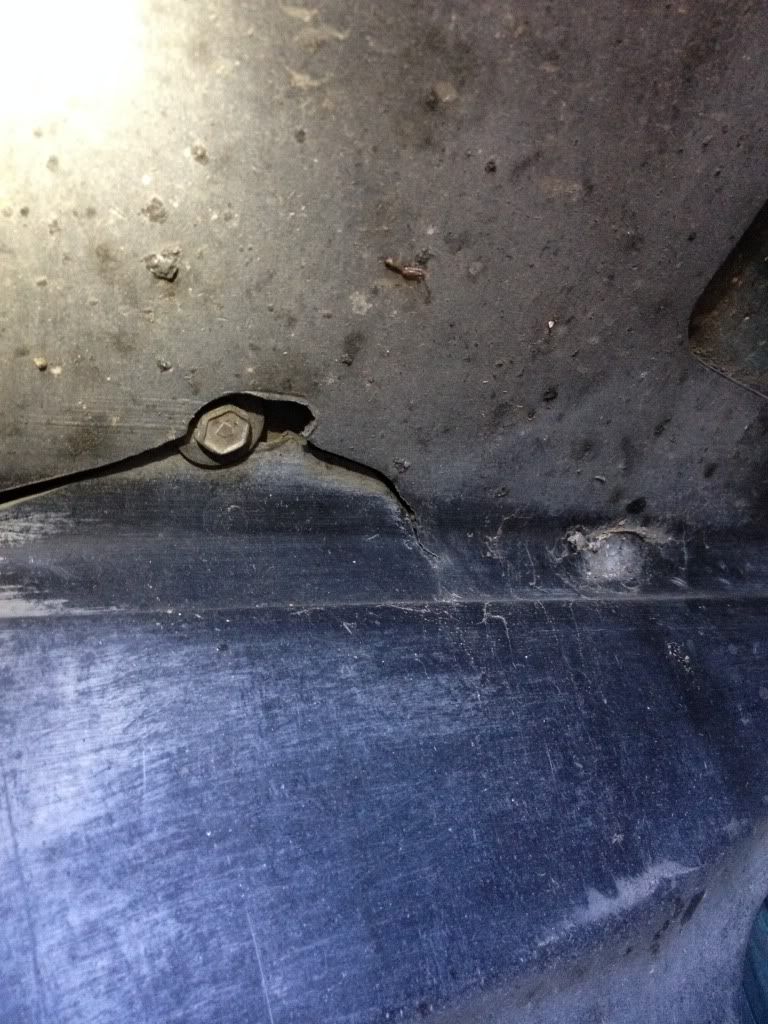
When changing the rear shock mounts (which were not looking much better than the fronts) I ran into a problem with shock mount ID. The new mounts are too large for the RD Billies on the car.
Old shock mount.
New shock mount.
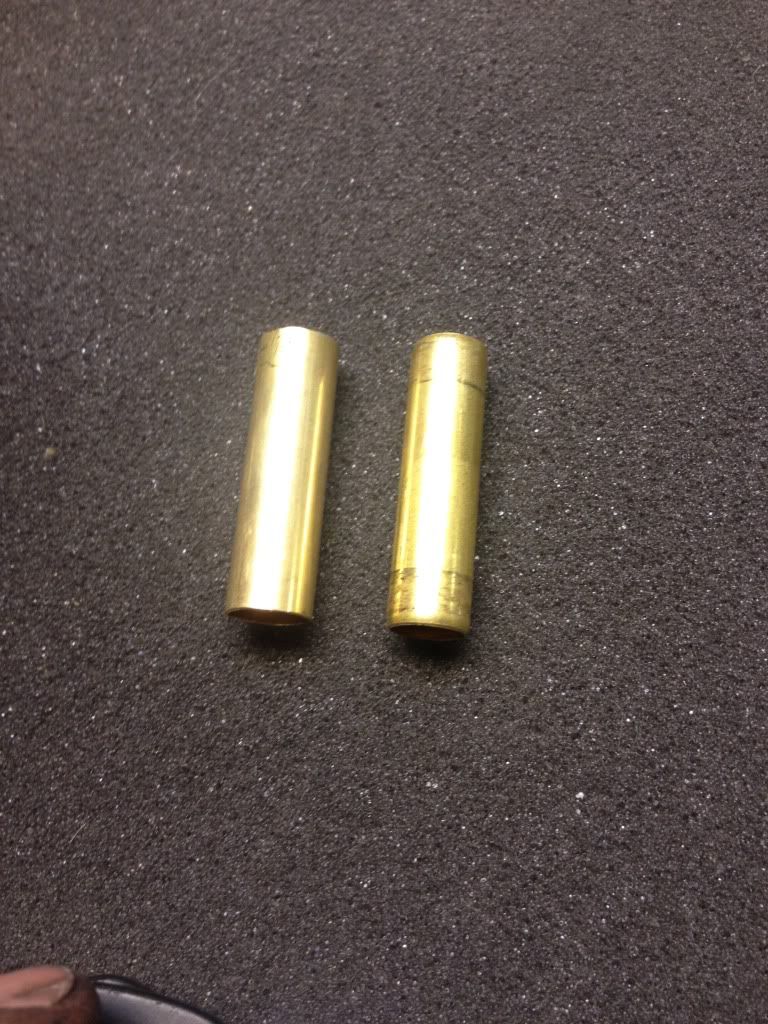
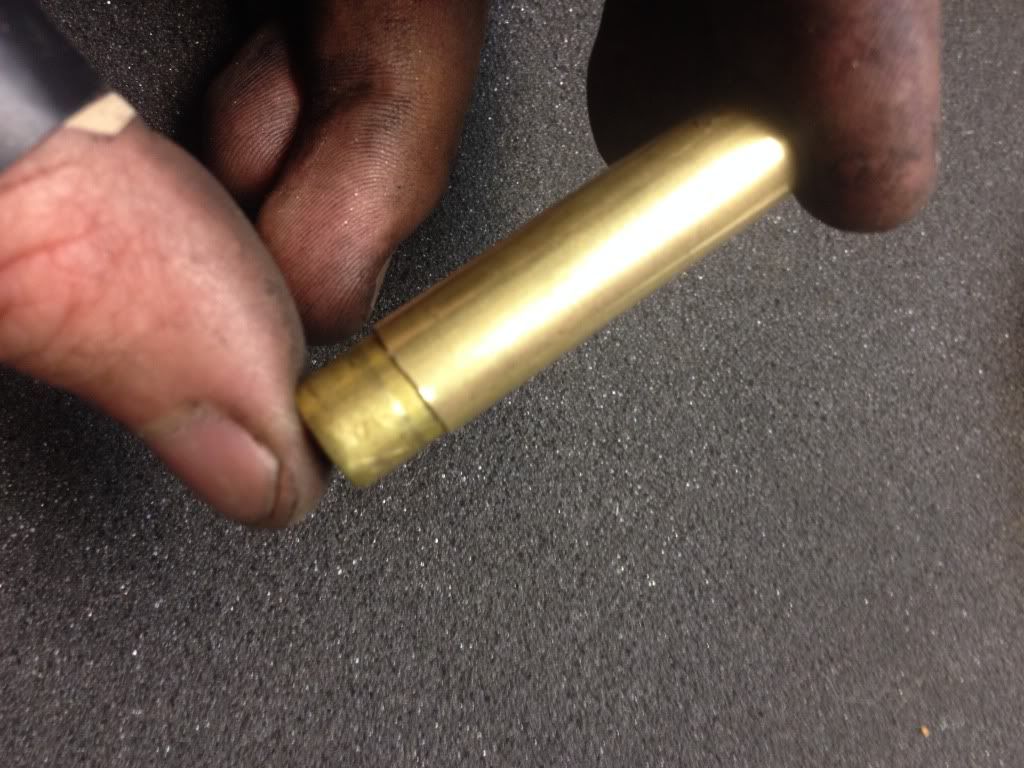
A quick run into the hardware store proved fruitful. It took two different size brass tubes but the result worked perfect. I did not get the exact dimensions but the two tubes fit inside each other with no play.
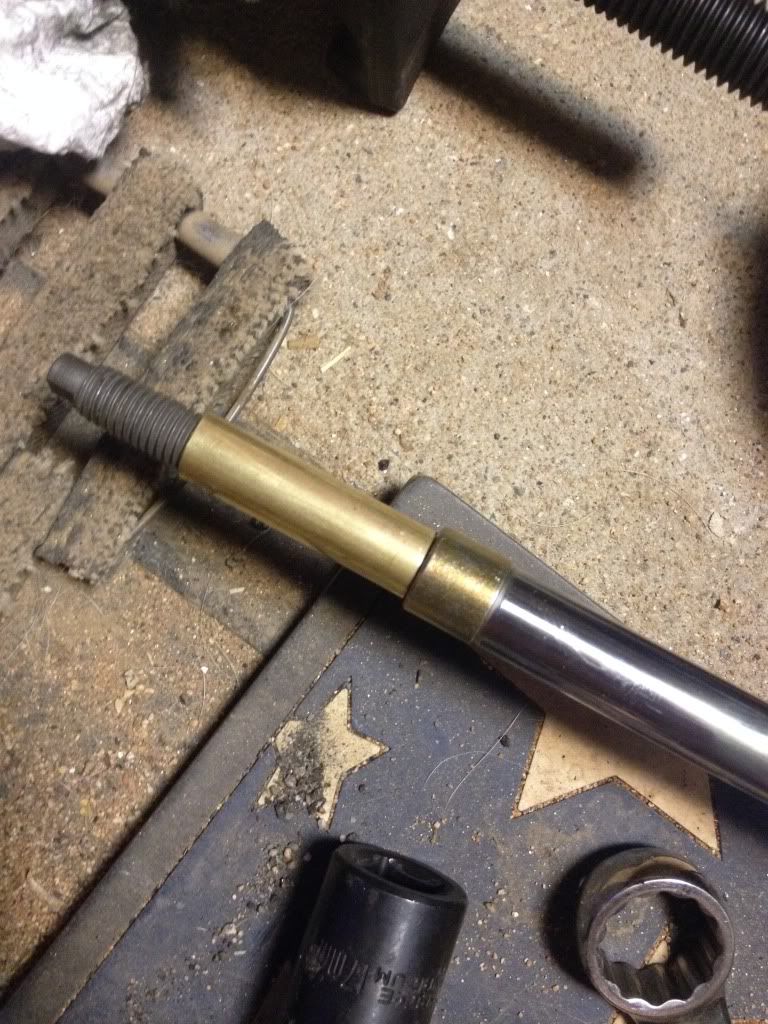
I cut them a mil short so there is no load on them. They just keep the strut mount centered nicely so I could reassemble the rear strut assemblies. I think this should work just fine and it is more motivation to move on with the second suspension set up sooner then later.
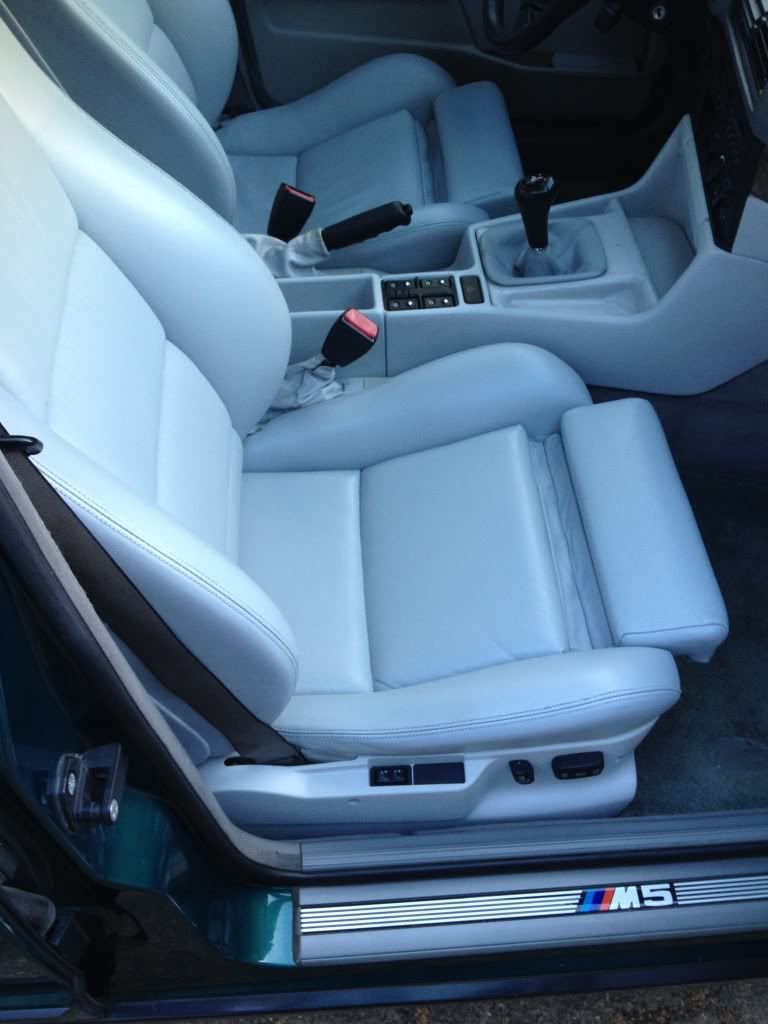
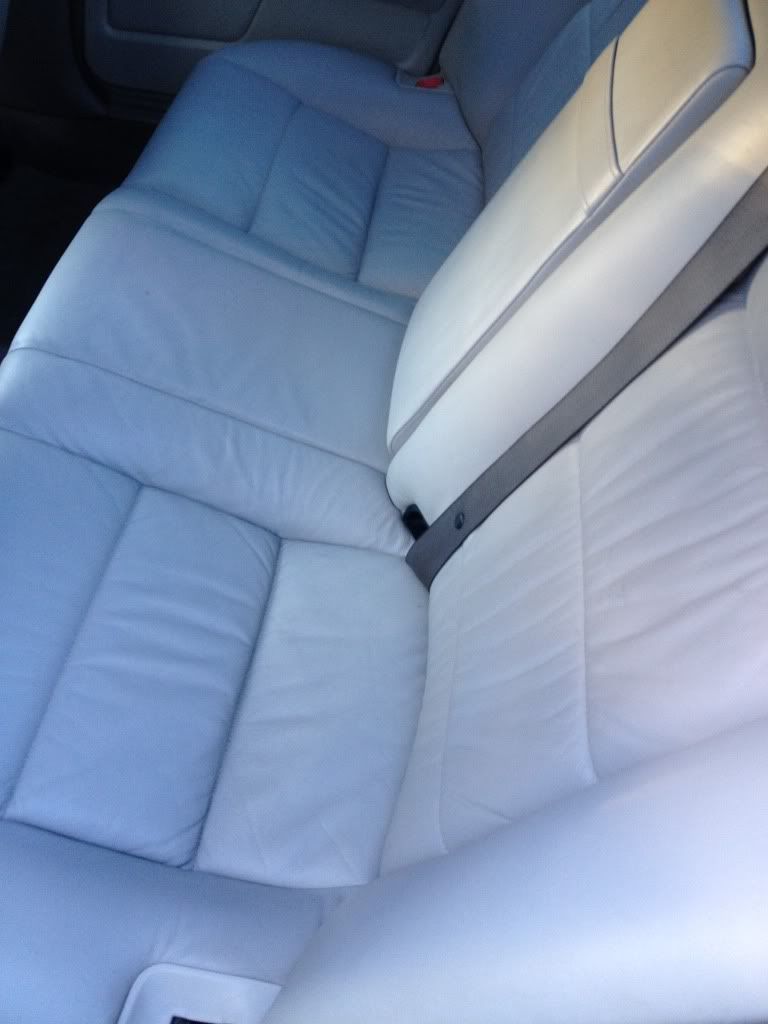
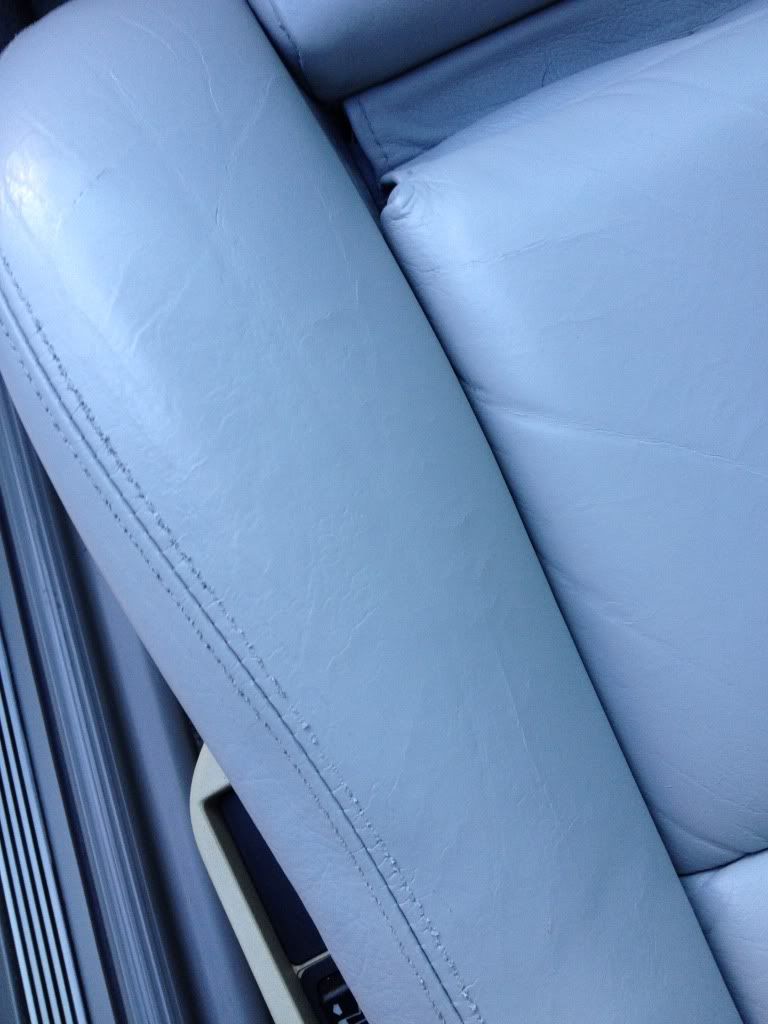
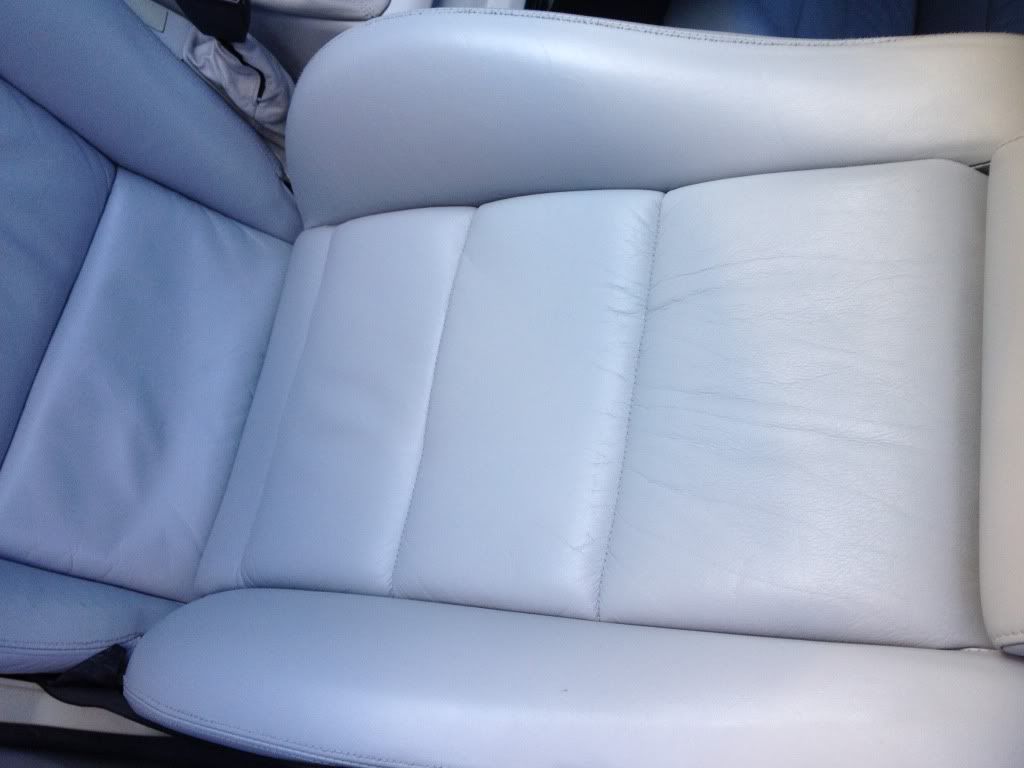
Seat re-dye.


They definitely look better than before and with the cost of Leatherique I am glad I went this route as it saved me tons of time however I have come to the conclusion that while dye is great for touch up and minor blemishes, it does not come out good enough in my opinion for final restoration. I will be having my seats reupholstered in the future but this will get me down the road for the next year or two while I tackle other projects on the car.
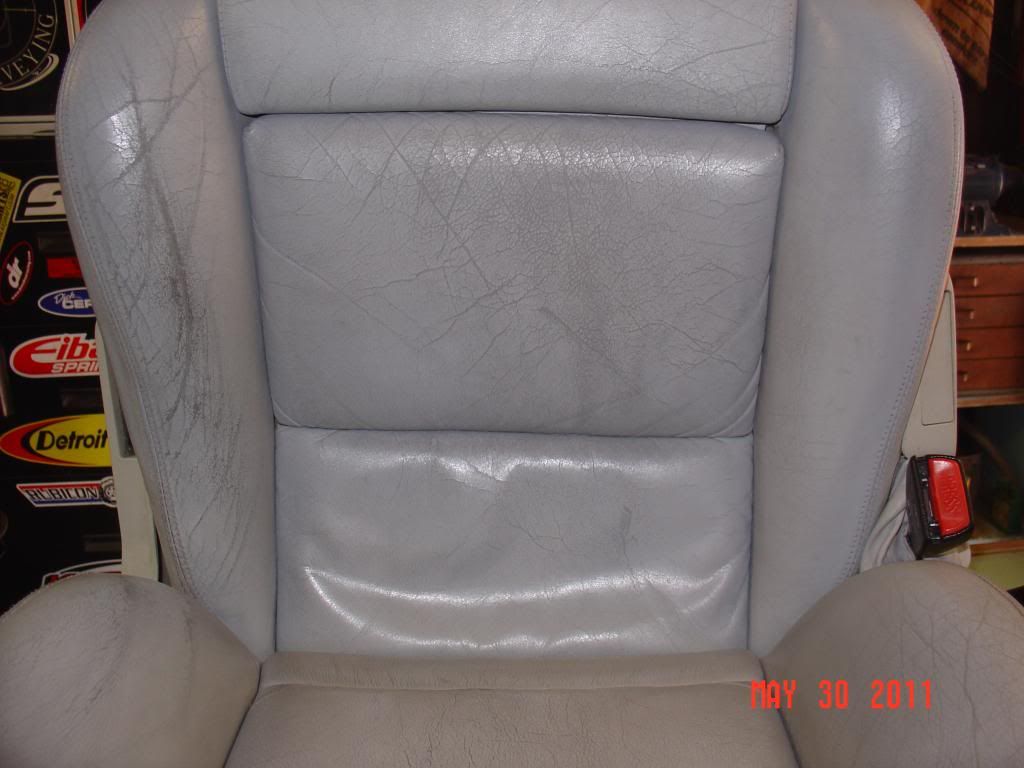
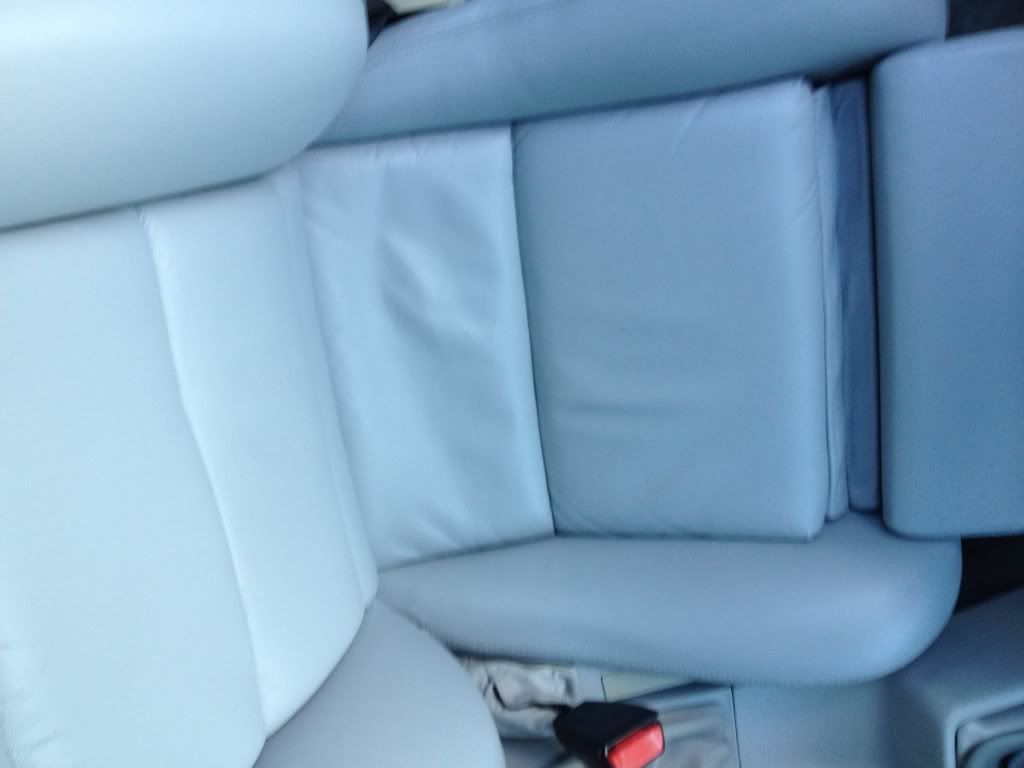
Here is a before of the driver seat which was the worst of them. After cleaning the seat it looked even worse since the old dye would continue to come off as I scrubbed with a soft bristle brush.
So as you can kind of see in the close up pics of the driver seat it is far from perfect but significantly better than before. This is just a temporary band-aid to get me down the road so I can focus on mechanical projects.

The black kidney grills were bugging me so I swapped them out with the chrome grills on my 525i. I will purchase a new set and new grill badge when I respray the front end but this will do for now.
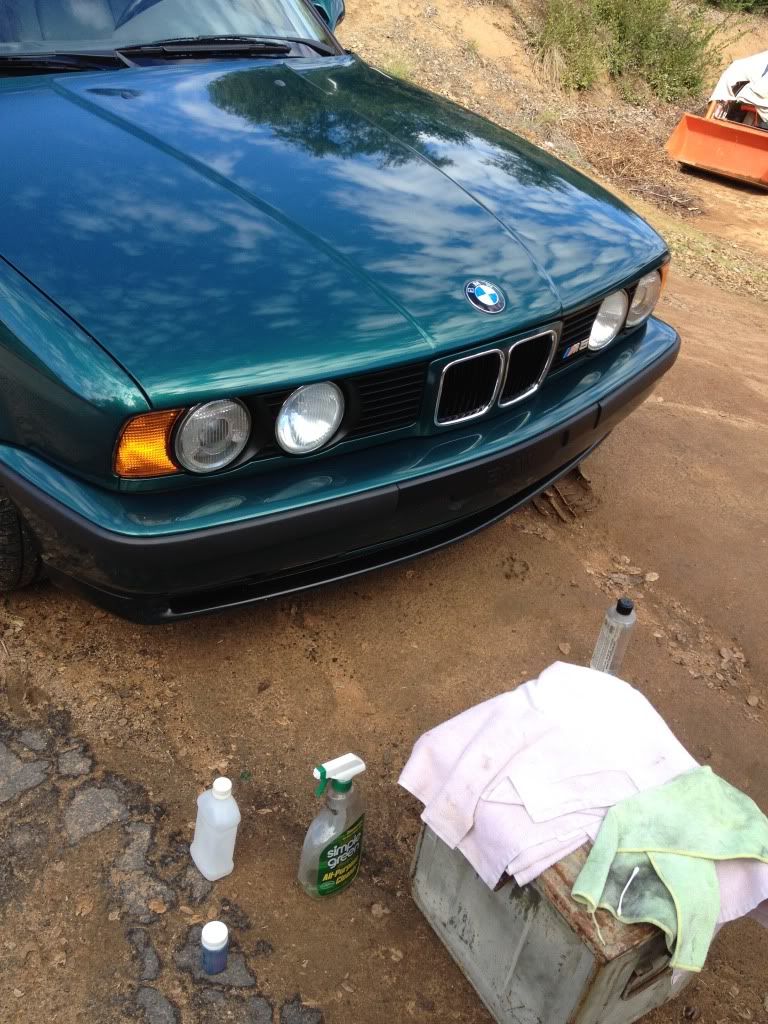
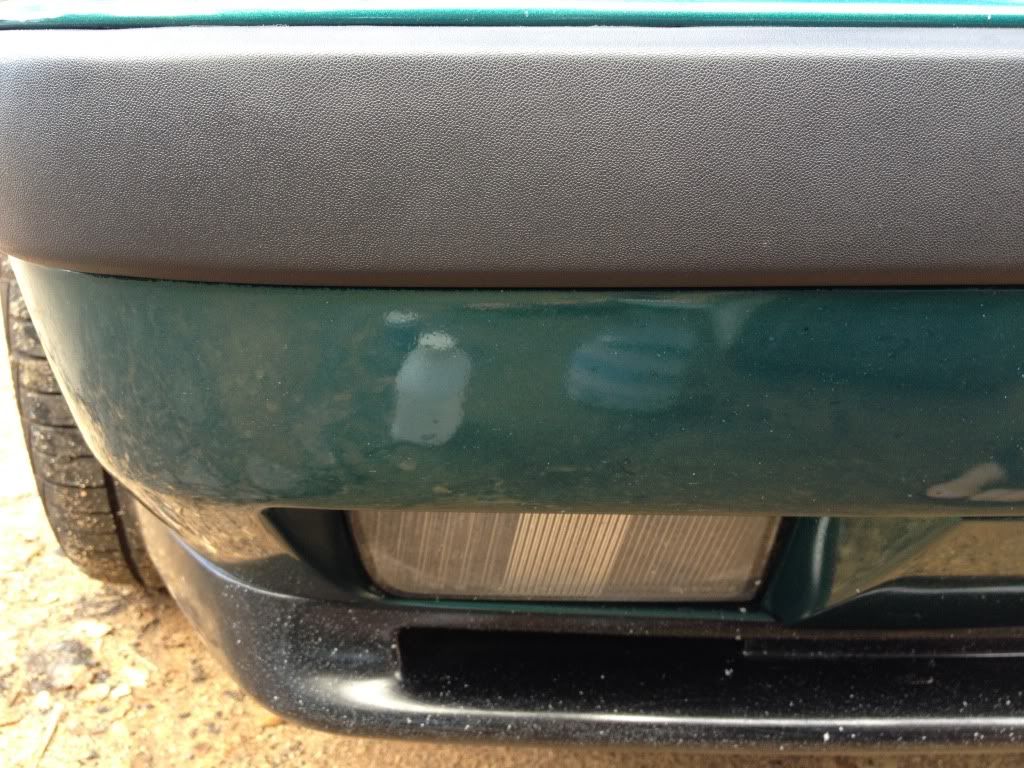
I also had a bottle of touch up paint from my body shop. The front end of the car looks like someone took a shotgun to it so this will help significantly. Again, I plan to have the front end reshot since the lower lip is hideous but for now another significant improvement has been made.
Before section.
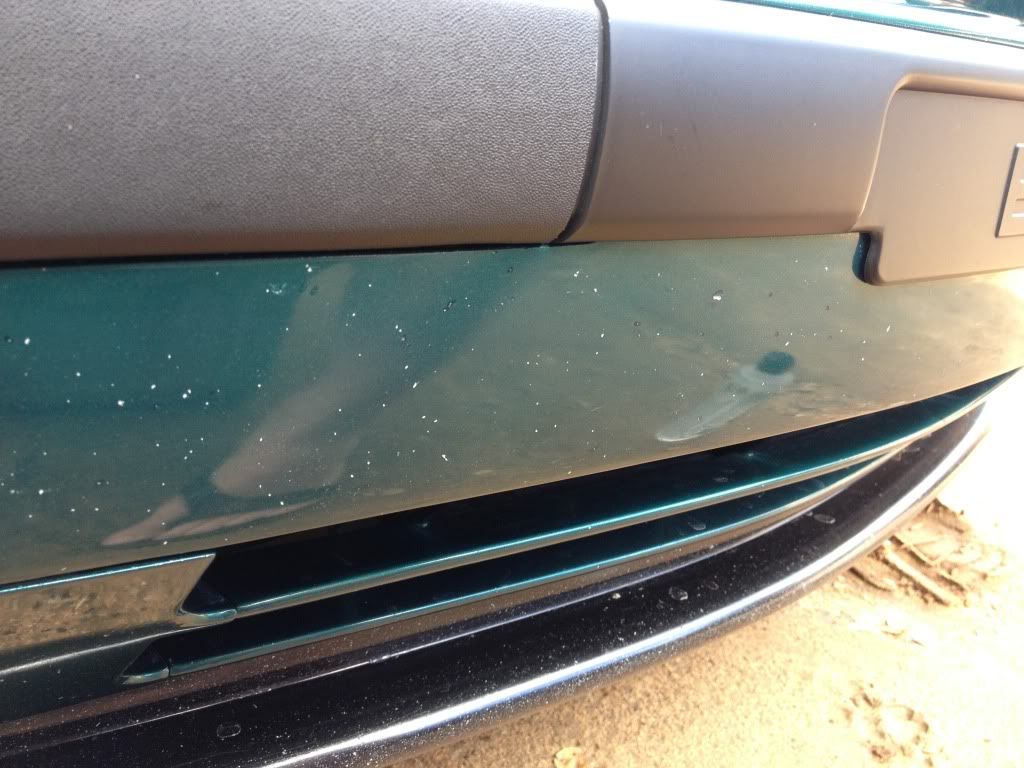
And after section.
That's all for now.
Power steering system re-hose
Modified power steering pump for SLS delete
Valve cover gasket
Valve adjustment
Fluid changes on all systems
Door handle gaskets
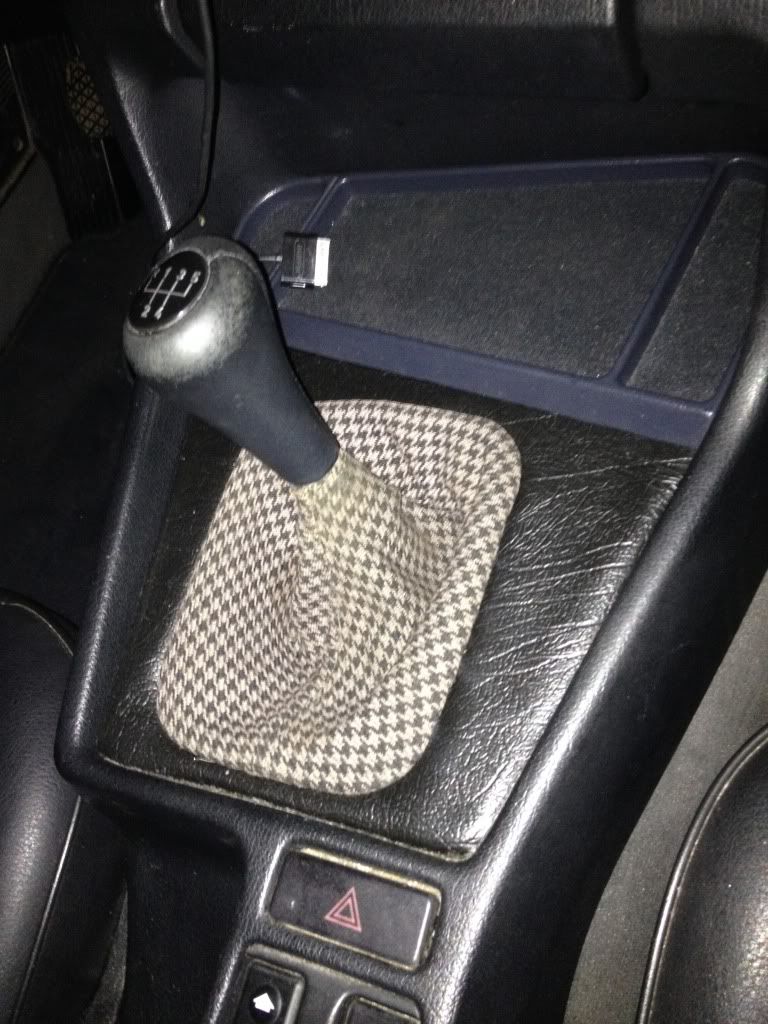
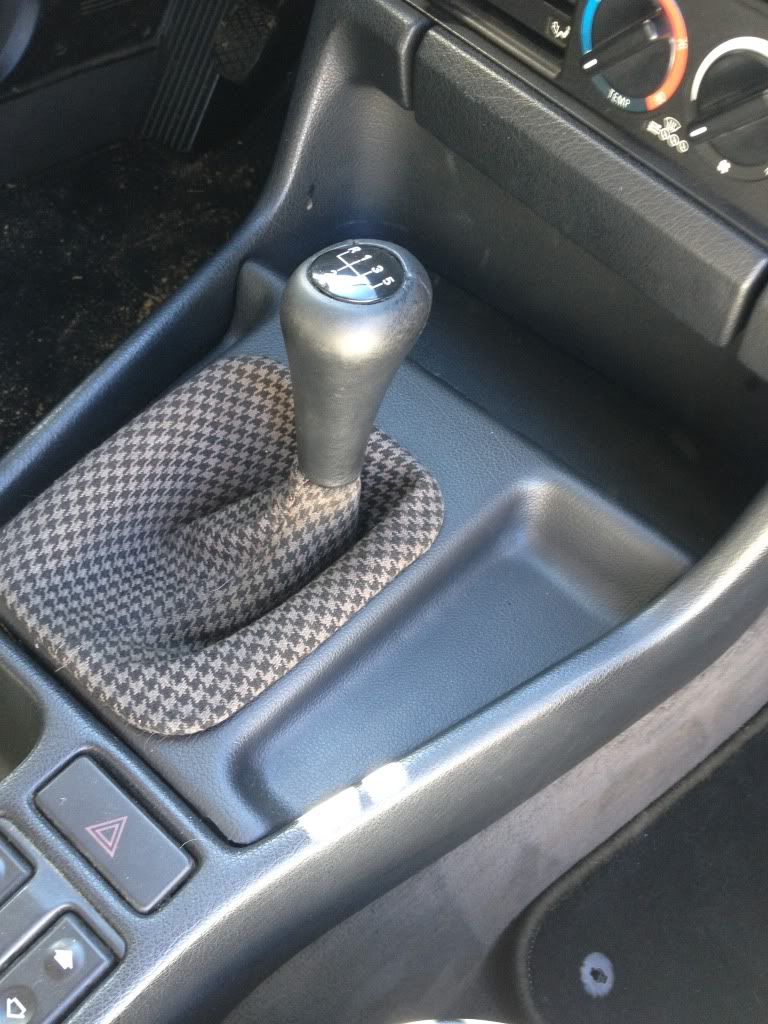
Seat trim
Euro cluster
German OBC
Driver's glove box
18x8.5 and 18x9.5 Hartge 3 piece wheels
Shock mounts front and rear
Coolant resevior, cap and level sensor
Euro plate filler
Seat re-dye and new seat trim
Respray passenger side mirror
Items previous owner installed include:
UUC SSK
H&R springs
RD valved Bilstiens
Euro lights
Euro trim
Dinan chip (not currently installed)
Larger injectors (not sure exact size)
Long term plans are to make it as close to show room new as possible, coilovers, Eisenmann Race muffler, Smoked euro Hellas, rebuild the motor with a little more pep. If I keep the car as long as I would like to think I will, I would love to turbo it some day. I'm on the slow and steady build approach and so far it has paid off in my eyes.
Here is the car before I got it a couple of owners ago.


How it sat when I got it.


Valve cover gasket replacement.

New expansion tank.

Driver's glove box.

Euro cluster.

German OBC.

With the new shoes.


Shock mount replacement front and rear.
Right shock mount.

Left shock mount.

Goodie bag.

Always chasing nic nacs. Swapped out the old incorrect head light backing cover clips.
Old.

New.

When changing the rear shock mounts (which were not looking much better than the fronts) I ran into a problem with shock mount ID. The new mounts are too large for the RD Billies on the car.
Old shock mount.

New shock mount.

A quick run into the hardware store proved fruitful. It took two different size brass tubes but the result worked perfect. I did not get the exact dimensions but the two tubes fit inside each other with no play.


I cut them a mil short so there is no load on them. They just keep the strut mount centered nicely so I could reassemble the rear strut assemblies. I think this should work just fine and it is more motivation to move on with the second suspension set up sooner then later.
Seat re-dye.
They definitely look better than before and with the cost of Leatherique I am glad I went this route as it saved me tons of time however I have come to the conclusion that while dye is great for touch up and minor blemishes, it does not come out good enough in my opinion for final restoration. I will be having my seats reupholstered in the future but this will get me down the road for the next year or two while I tackle other projects on the car.
Here is a before of the driver seat which was the worst of them. After cleaning the seat it looked even worse since the old dye would continue to come off as I scrubbed with a soft bristle brush.
So as you can kind of see in the close up pics of the driver seat it is far from perfect but significantly better than before. This is just a temporary band-aid to get me down the road so I can focus on mechanical projects.
The black kidney grills were bugging me so I swapped them out with the chrome grills on my 525i. I will purchase a new set and new grill badge when I respray the front end but this will do for now.
I also had a bottle of touch up paint from my body shop. The front end of the car looks like someone took a shotgun to it so this will help significantly. Again, I plan to have the front end reshot since the lower lip is hideous but for now another significant improvement has been made.
Before section.
And after section.
That's all for now.


Comment