
Copy and paste of my DIY on E30tech. For the coupe see here: >Click Here<
He lacks the rest of the removal, but he shows the body specific bits about the coupe and convertible that I don't have with a 4 door kit.
Tools required:
8mm socket
9mm socket
10mm socket
12mm socket
T-55 Torx socket
6mm allen key
Small phillips screw driver
Large phillips screw driver
Flat head screw driver
Needle nose pliers
Be expected to break a few clips here and there. If your clips are original to the car like half of mine were, it's bound to happen.
Front Fender Pods
The front pods are not held on by any nuts, just two screws located inside the wheel well. They are screwed into 2 plastic mounting points riveted into the fender.
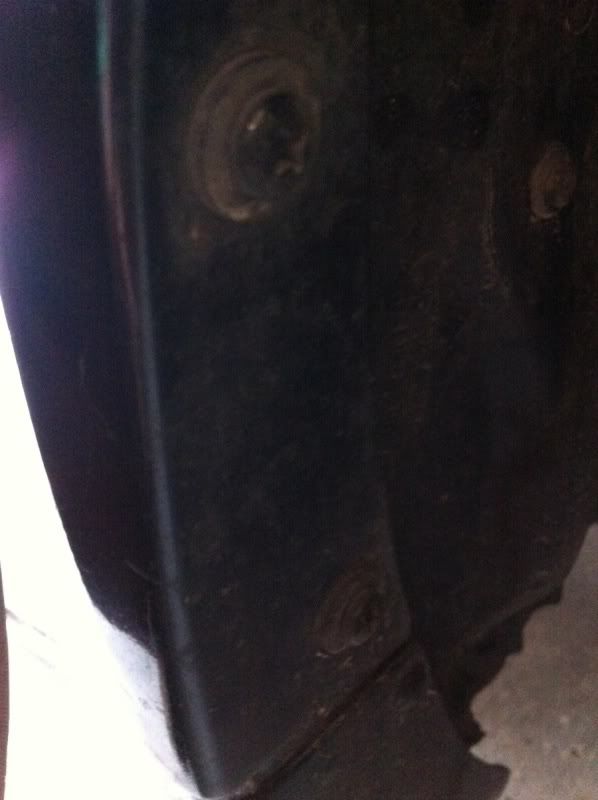
After you remove the screws, gentle pry the pod away from the fender. There's 2 small push in clips that hold into the fender.
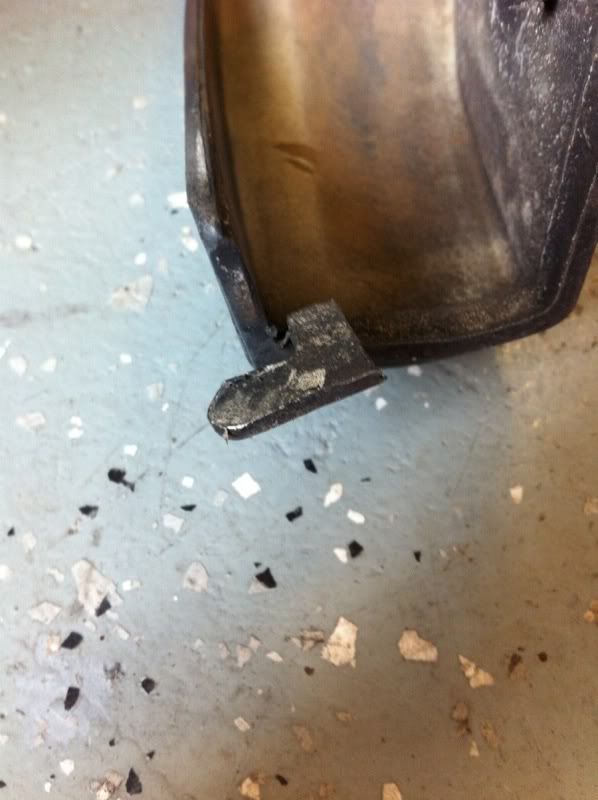
Once you have the top free, you must slide the pod towards the rear of the car to have the small tab at the bottom of the pod aligned in the hole in the skirt. It just lifts out after that.
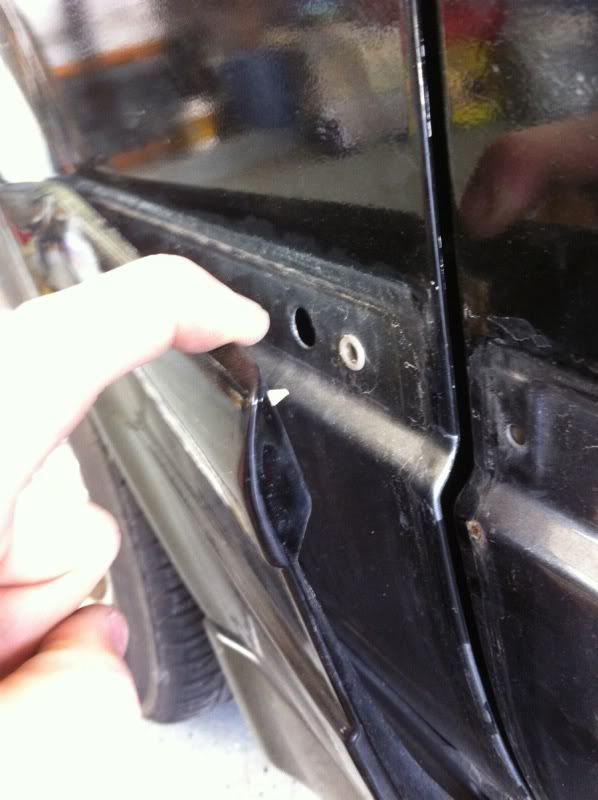
Front and Rear doors*:
*Both doors have the same removal process except for the location of the 9mm nut of the rear door pod. It's located near the hinge under a small rubber plug.
The door pods are held on with a small 9mm plastic nut located on the interior side of the door. Note the clips on the bottom of the door.
Front Door:
Rear Door:
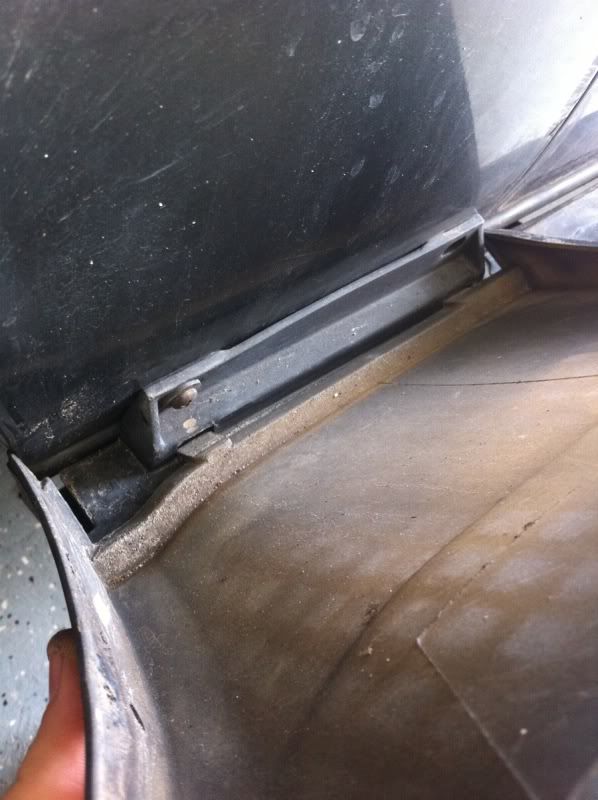
Once that is removed you, take a 12mm socket to the small clips on the bottom of the door. They just need to be turned to remove the tension and a screw driver to pry them off of the pod.
The pod can now come off in the same way as the fender pods.
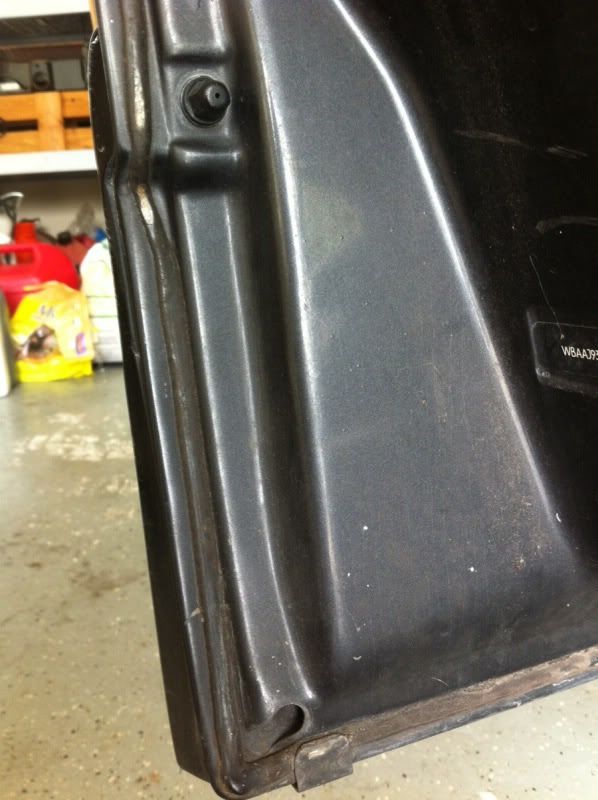
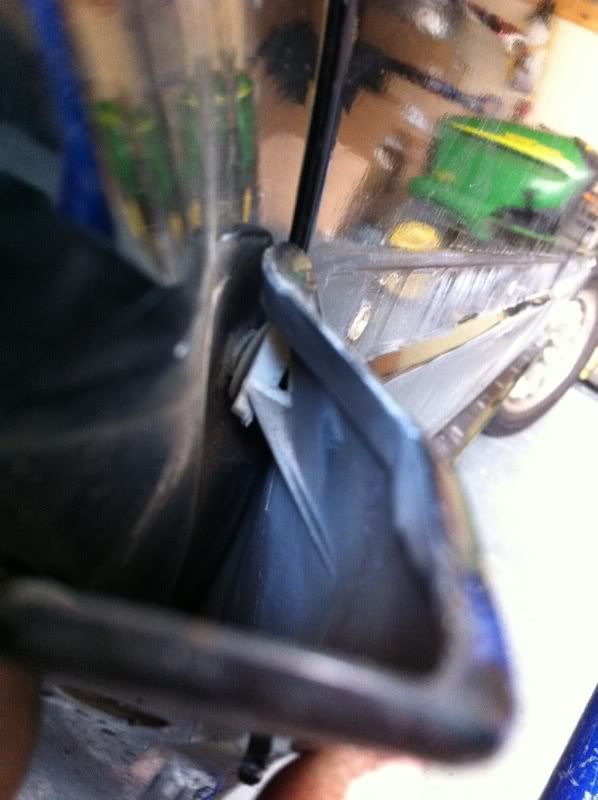
Rear Quarter Panel Pod:
This one isn't as simple as it seems. At first glance all you will see are two flush rivets inside the fender, there's more to it than that.
You will need a small phillips screw driver to push the rivets centers out of the rest of the rivet. A small mallet may be required. ;)
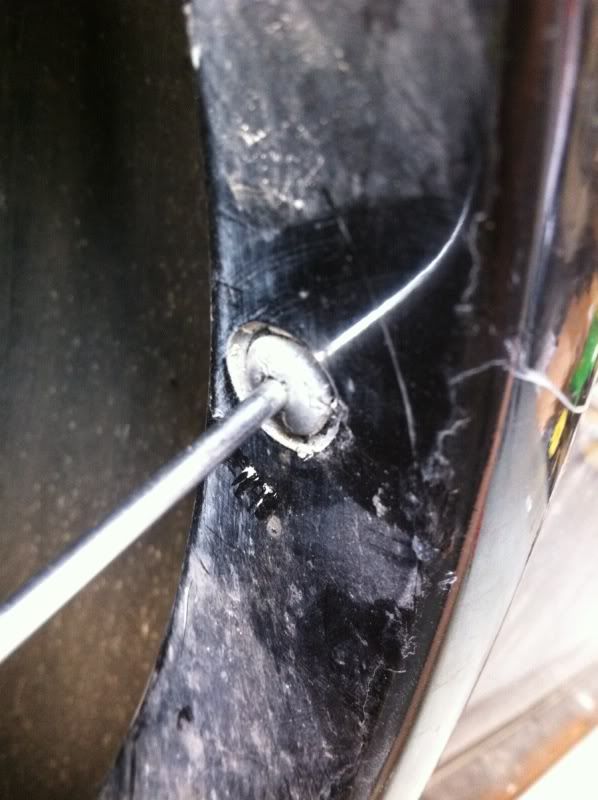
You can just pry the rear of the pod from there. The front of the pod is held in by a small push in clip. There is also a small tab in the skirt just like it as well. So as a result, the removal is the same.
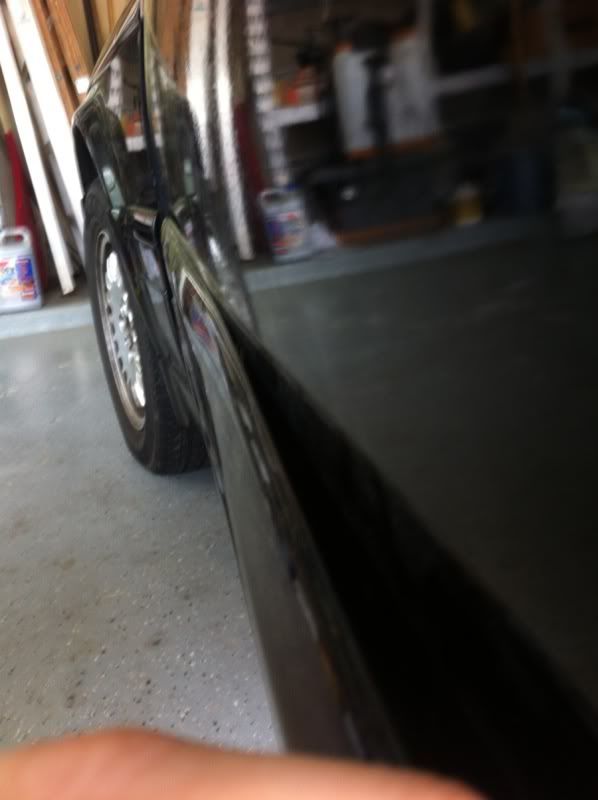
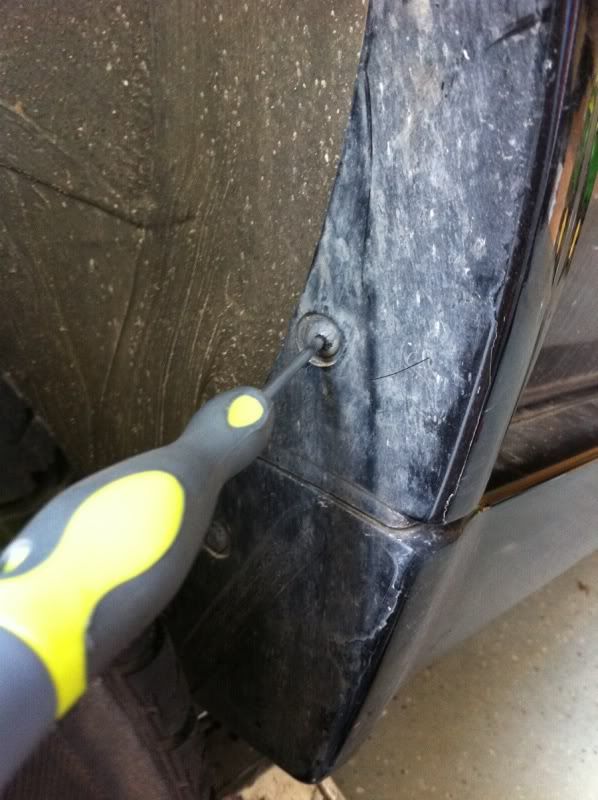
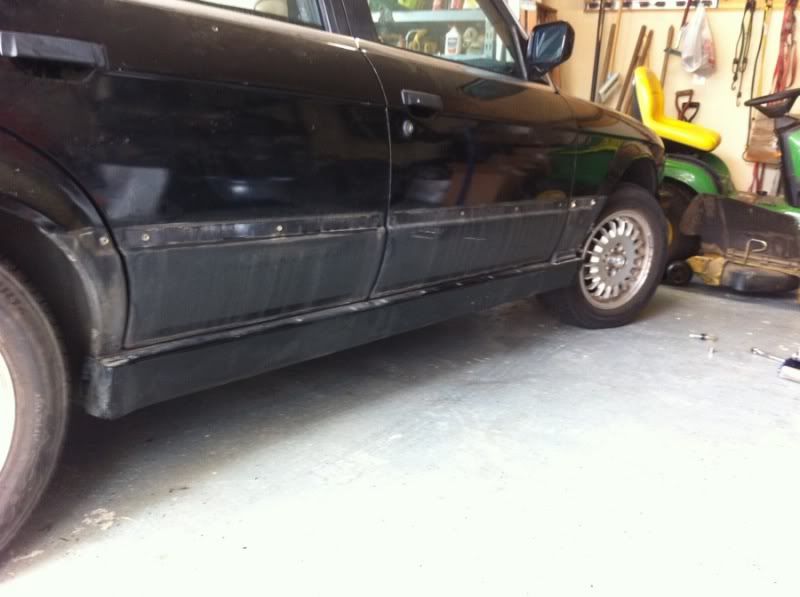
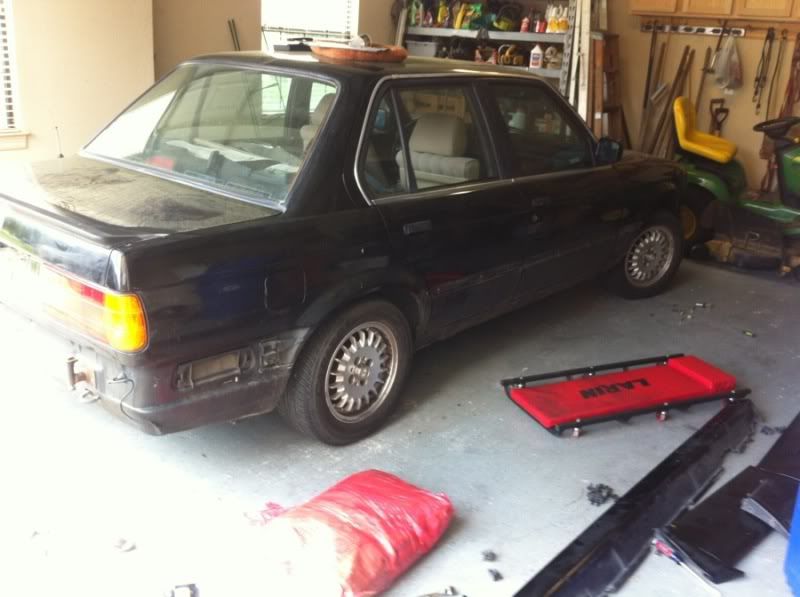
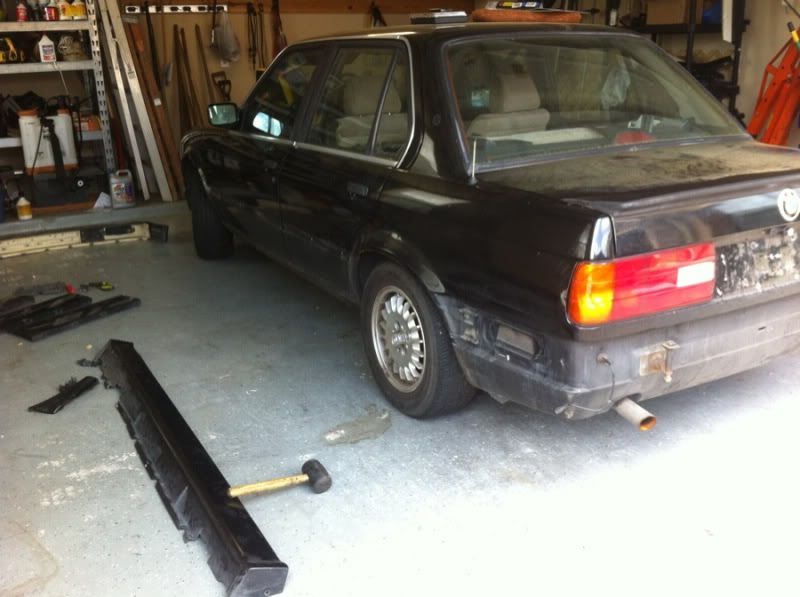
Side Skirts:
The side skirts are held on by a series of clips, rivets, and screws.
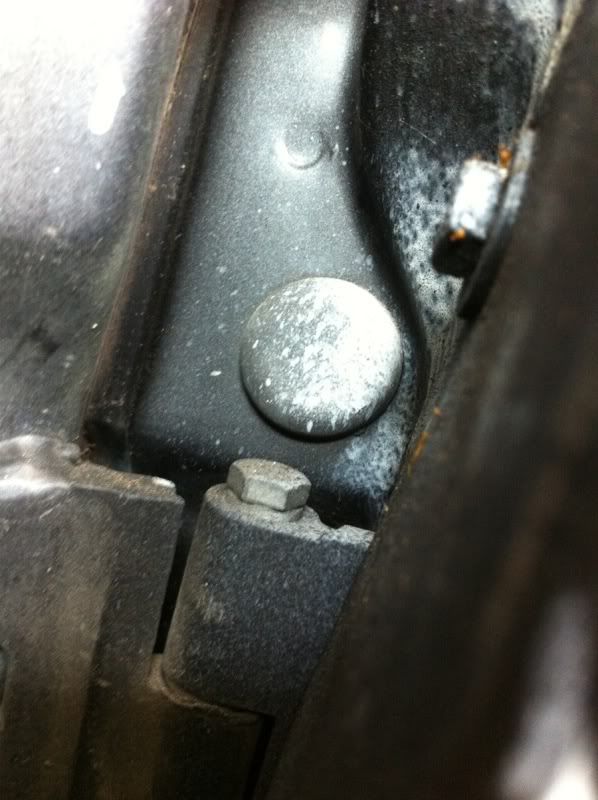
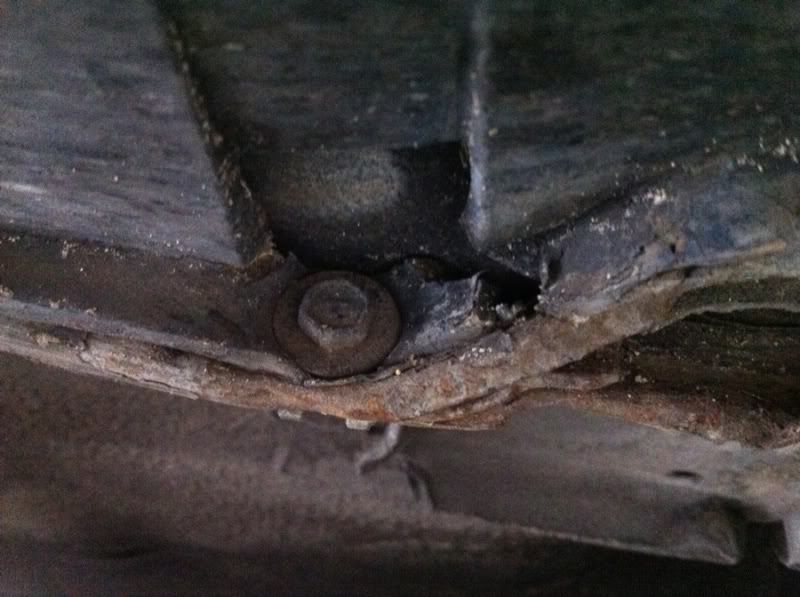
There's a 8mm hex screw under the skirt near the front jacking point
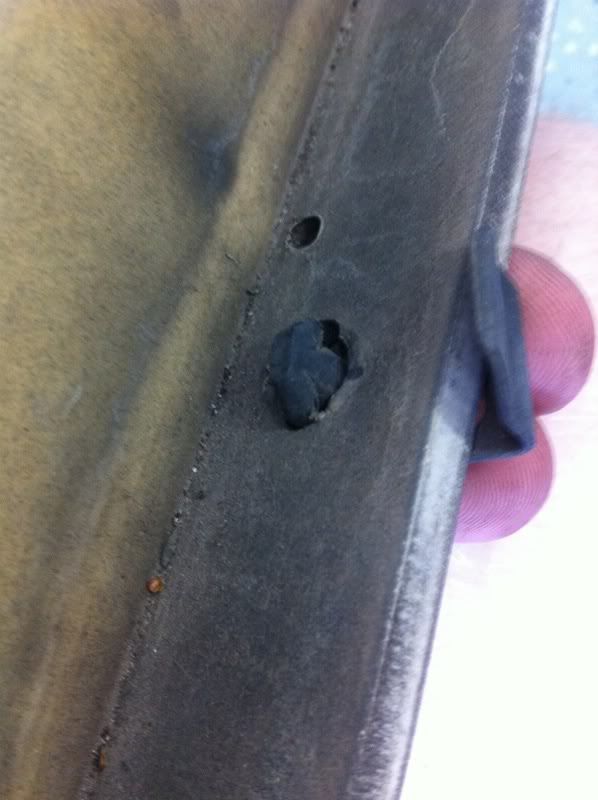
A rivet in the fender well:
These two rivets will need to be pulled out using some needle nose pliers or a rivet puller.
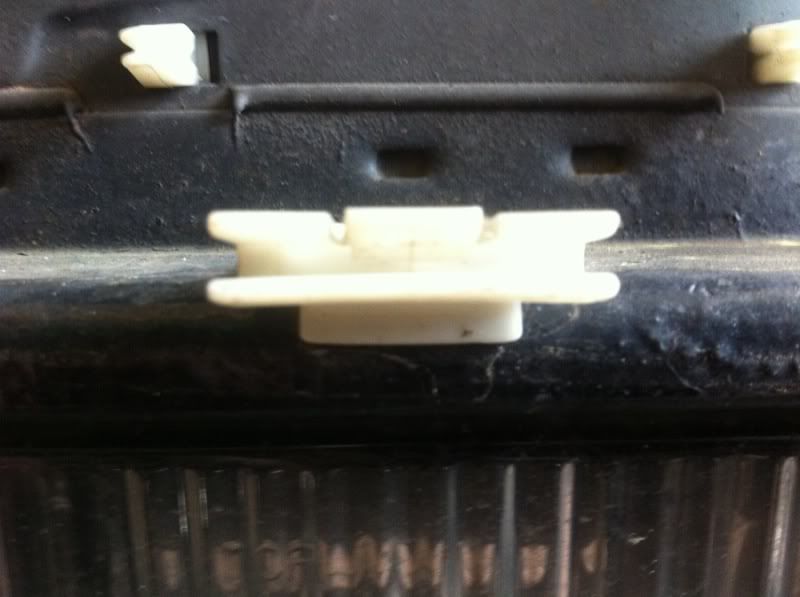
Now for the tricky part, the bottom clips. There's a bunch of these little buggers. What I do to remove their grip is take a flat head screw driver to the square portion of the clip and pry the rear of the clip back out, releasing its "bite" on the car. Then its just a matter of prying them off of the car.
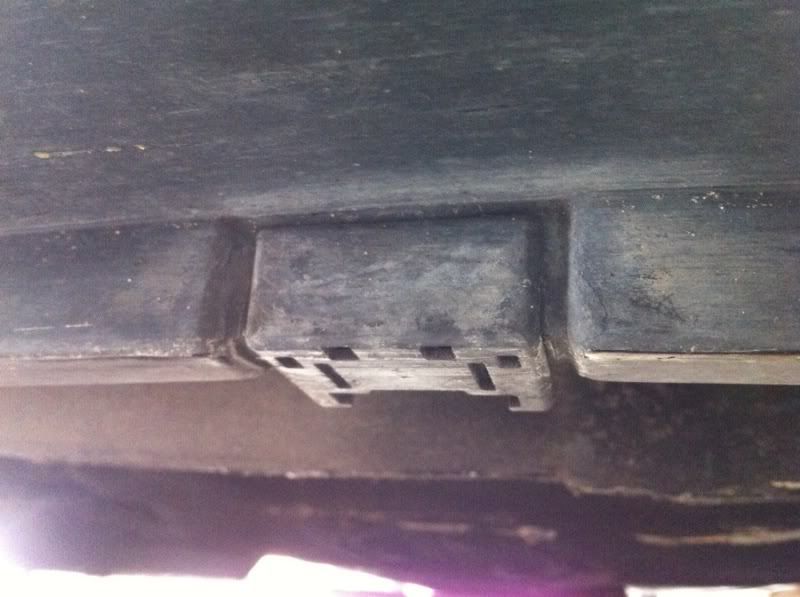
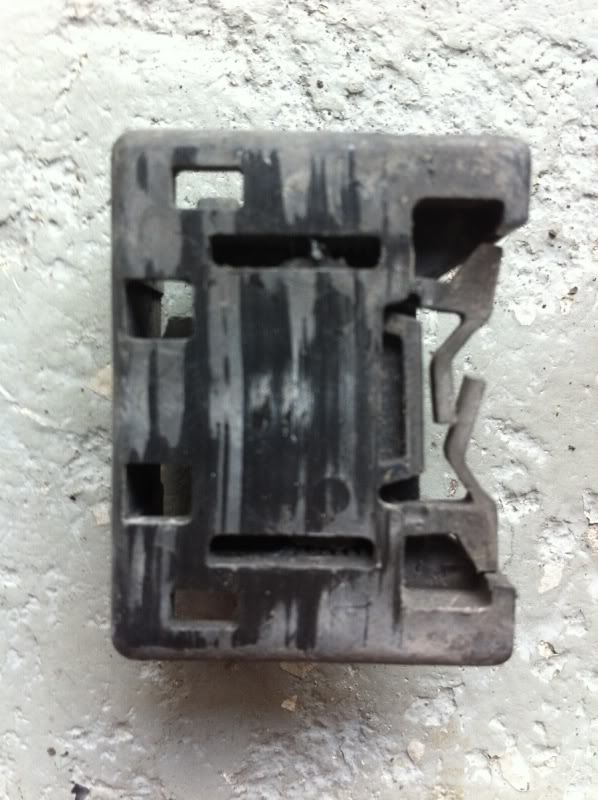

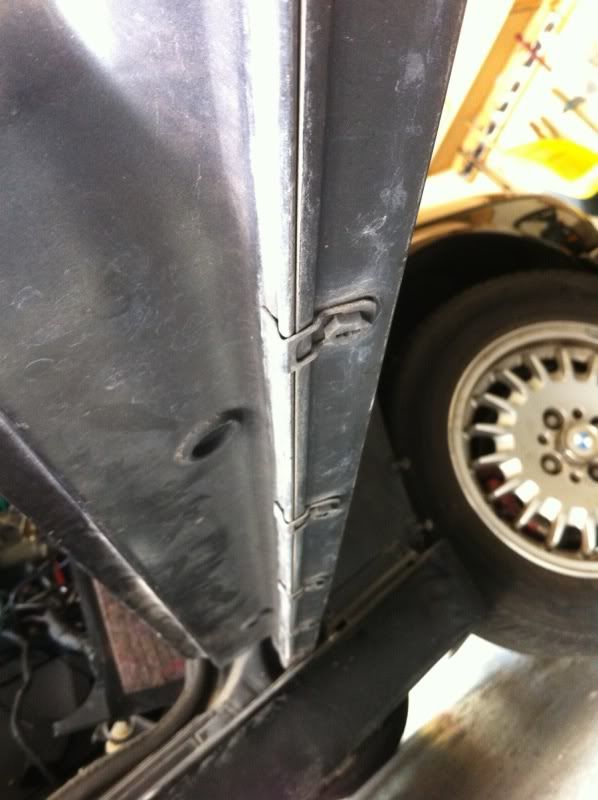
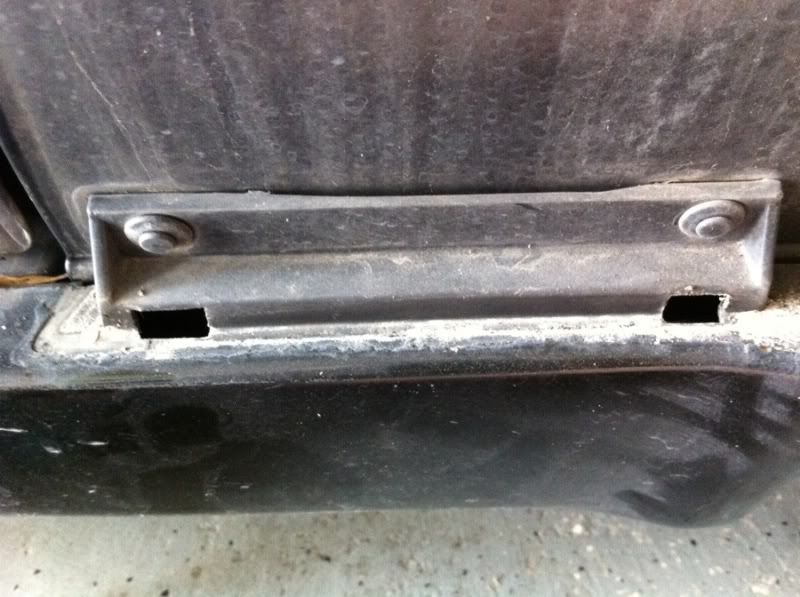
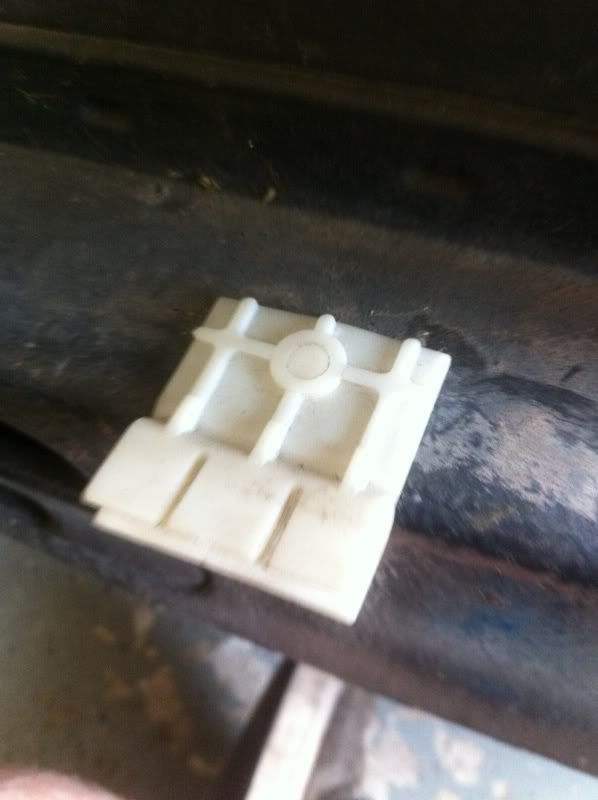
The last remaining clips that hold on the skirts look like this:
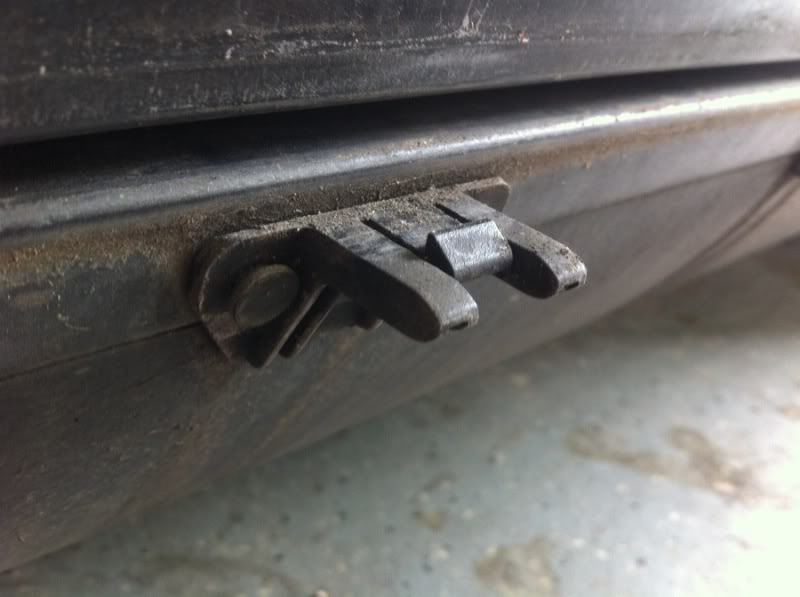
I just slowly wiggled and pried the skirt loose till all of the clips had released.
Front Valence:
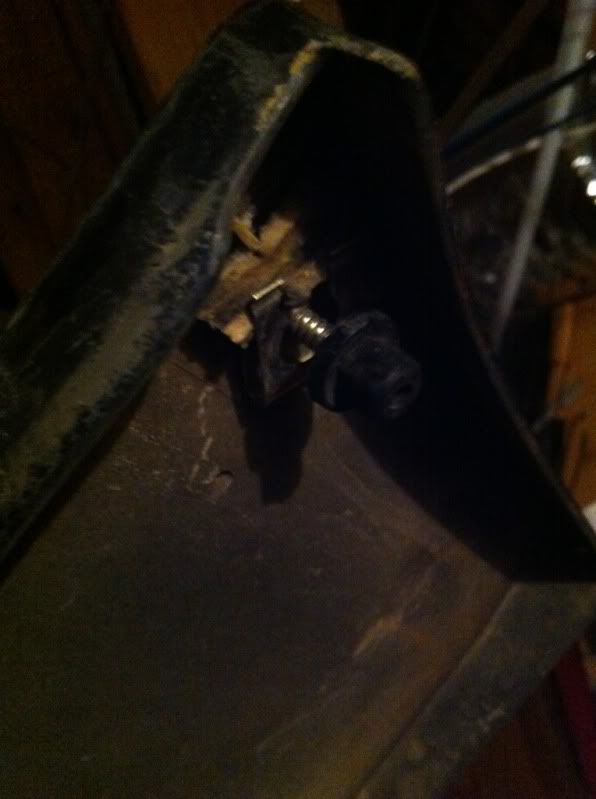
Note: I took my valence off almost 2 years ago. How I remounted it was minus the small black brackets attached to the metal valence. These are held in by metal rivets that will be required to be drilled out if you wish to remove the valence. Be careful not to break the brackets as they are not available to be ordered separate from the valence.
The sides of the valence are held in by a small 10mm plastic nut and a metal clip. Undo the nut and pull the sides out of the holes in the valence.
The front is held in by these white plastic clips. Use a flat head screw driver to pry the clip loose as you gently pull the valence away from the car.
Rear Valence and Bumper:
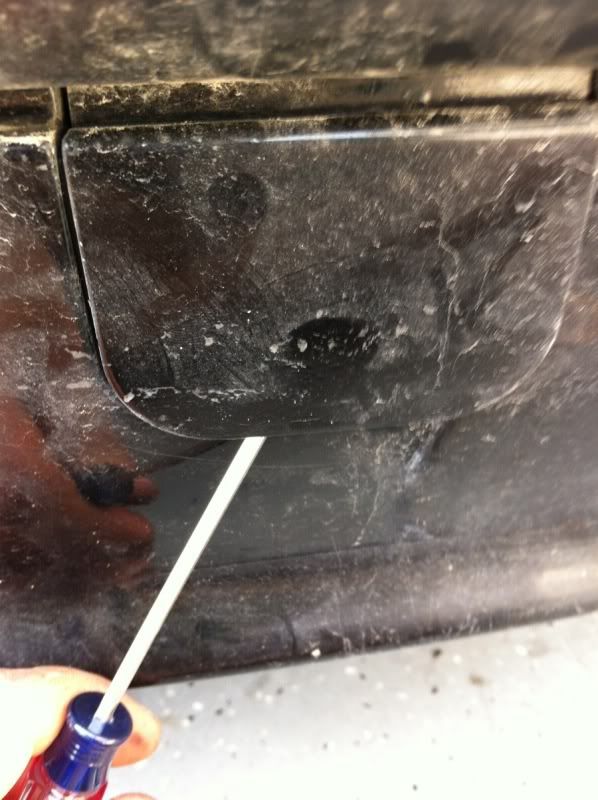
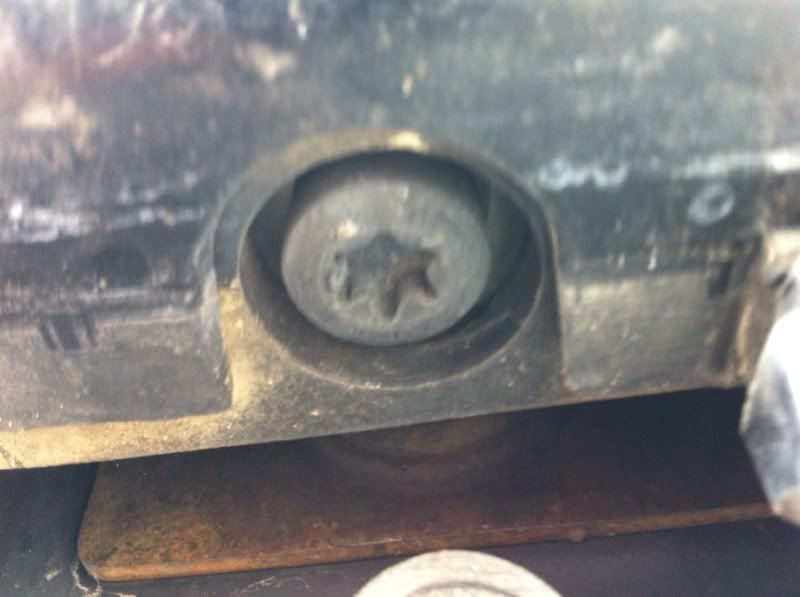
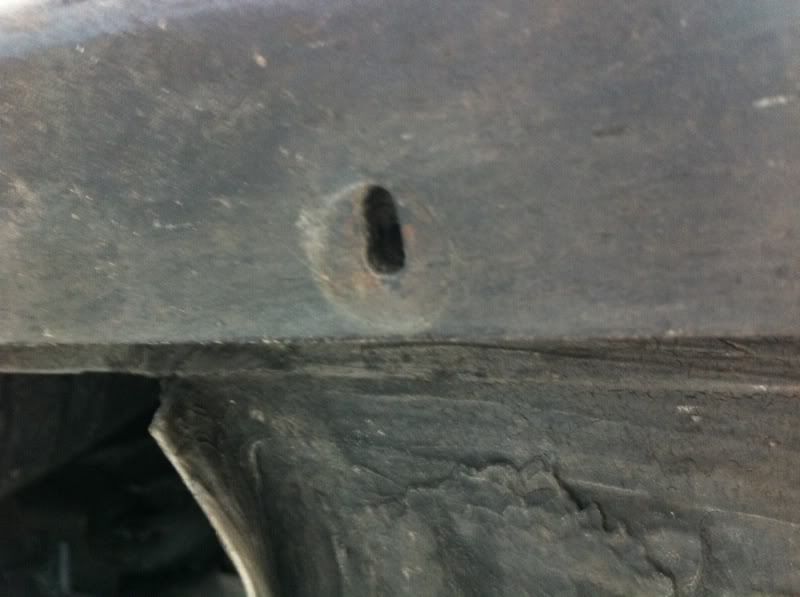
The rear section of the M-tec 2 kit is technically 2 separate pieces, but they are joined together by rivets. Removing it isn't difficult though. The two "plug" looking pieces need to come off. Use a small flat head to pry from the bottom to expose the bolt holes for the bumper. These should be a T-55.
The sides of the valence are held in by two phillips screws that I'm missing. They like to fall out apparently. (I replaced them 4 months ago)
Then just pull the bumper off just like you would a normal non MT-2 bumper. It is freaking heavy, so be warned.
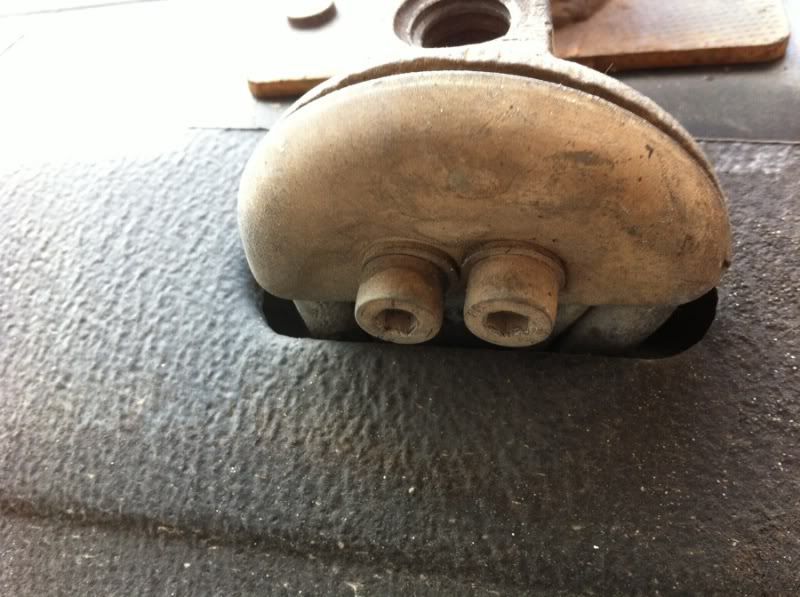
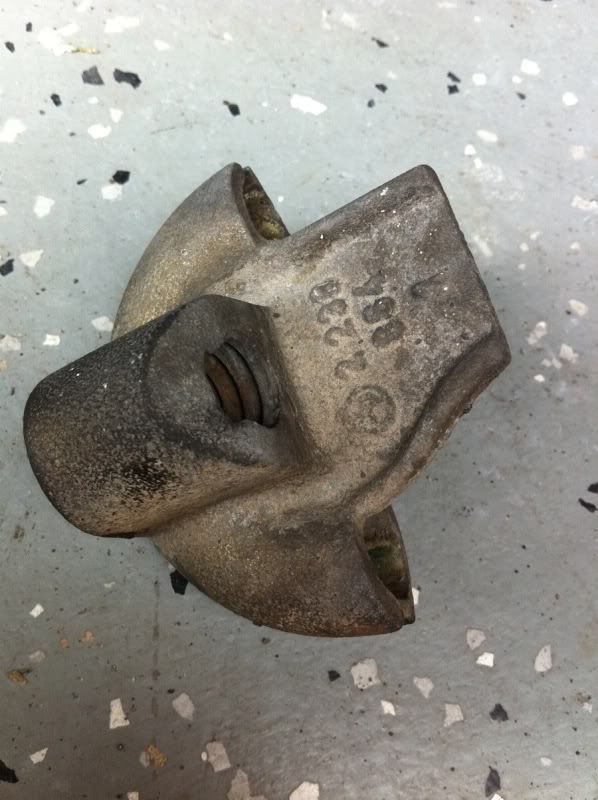
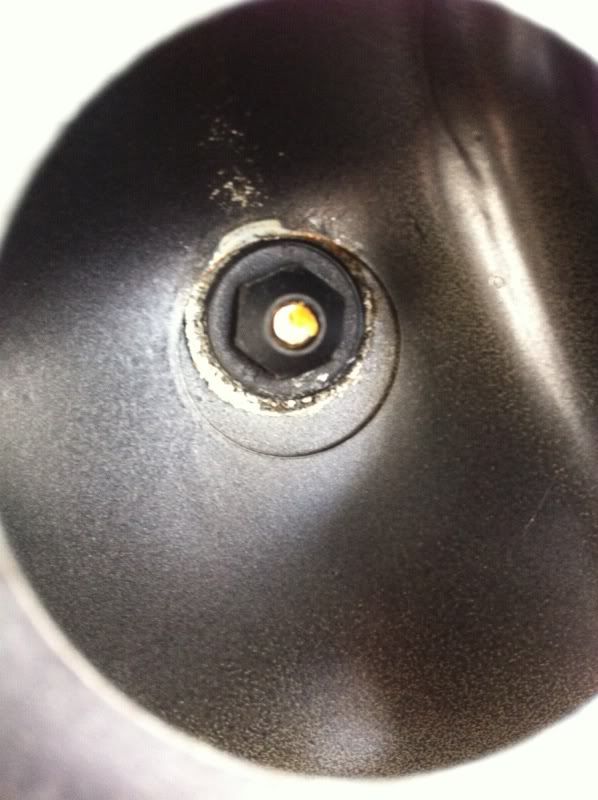
To remove the tow hook receiver, you'll need a 6mm allen socket.
Rear Spoiler:
Remove the 10mm plastic nuts under the trunk.
Then you remove the 10mm metal nuts along the edge of the trunk.

Lift it up off of the trunk and that's the last of your MT-2 kit left on your car!
He lacks the rest of the removal, but he shows the body specific bits about the coupe and convertible that I don't have with a 4 door kit.
Tools required:
8mm socket
9mm socket
10mm socket
12mm socket
T-55 Torx socket
6mm allen key
Small phillips screw driver
Large phillips screw driver
Flat head screw driver
Needle nose pliers
Be expected to break a few clips here and there. If your clips are original to the car like half of mine were, it's bound to happen.
Front Fender Pods
The front pods are not held on by any nuts, just two screws located inside the wheel well. They are screwed into 2 plastic mounting points riveted into the fender.
After you remove the screws, gentle pry the pod away from the fender. There's 2 small push in clips that hold into the fender.
Once you have the top free, you must slide the pod towards the rear of the car to have the small tab at the bottom of the pod aligned in the hole in the skirt. It just lifts out after that.
Front and Rear doors*:
*Both doors have the same removal process except for the location of the 9mm nut of the rear door pod. It's located near the hinge under a small rubber plug.
The door pods are held on with a small 9mm plastic nut located on the interior side of the door. Note the clips on the bottom of the door.
Front Door:
Rear Door:
Once that is removed you, take a 12mm socket to the small clips on the bottom of the door. They just need to be turned to remove the tension and a screw driver to pry them off of the pod.
The pod can now come off in the same way as the fender pods.
Rear Quarter Panel Pod:
This one isn't as simple as it seems. At first glance all you will see are two flush rivets inside the fender, there's more to it than that.
You will need a small phillips screw driver to push the rivets centers out of the rest of the rivet. A small mallet may be required. ;)
You can just pry the rear of the pod from there. The front of the pod is held in by a small push in clip. There is also a small tab in the skirt just like it as well. So as a result, the removal is the same.
Side Skirts:
The side skirts are held on by a series of clips, rivets, and screws.
There's a 8mm hex screw under the skirt near the front jacking point
A rivet in the fender well:
These two rivets will need to be pulled out using some needle nose pliers or a rivet puller.
Now for the tricky part, the bottom clips. There's a bunch of these little buggers. What I do to remove their grip is take a flat head screw driver to the square portion of the clip and pry the rear of the clip back out, releasing its "bite" on the car. Then its just a matter of prying them off of the car.
The last remaining clips that hold on the skirts look like this:
I just slowly wiggled and pried the skirt loose till all of the clips had released.
Front Valence:
Note: I took my valence off almost 2 years ago. How I remounted it was minus the small black brackets attached to the metal valence. These are held in by metal rivets that will be required to be drilled out if you wish to remove the valence. Be careful not to break the brackets as they are not available to be ordered separate from the valence.
The sides of the valence are held in by a small 10mm plastic nut and a metal clip. Undo the nut and pull the sides out of the holes in the valence.
The front is held in by these white plastic clips. Use a flat head screw driver to pry the clip loose as you gently pull the valence away from the car.
Rear Valence and Bumper:
The rear section of the M-tec 2 kit is technically 2 separate pieces, but they are joined together by rivets. Removing it isn't difficult though. The two "plug" looking pieces need to come off. Use a small flat head to pry from the bottom to expose the bolt holes for the bumper. These should be a T-55.
The sides of the valence are held in by two phillips screws that I'm missing. They like to fall out apparently. (I replaced them 4 months ago)
Then just pull the bumper off just like you would a normal non MT-2 bumper. It is freaking heavy, so be warned.
To remove the tow hook receiver, you'll need a 6mm allen socket.
Rear Spoiler:
Remove the 10mm plastic nuts under the trunk.
Then you remove the 10mm metal nuts along the edge of the trunk.
Lift it up off of the trunk and that's the last of your MT-2 kit left on your car!
