Announcement

Collapse
No announcement yet.

My E30 Rehabilitation! ft. Boost Noises

Collapse
X
 
  • Filter
  • Time
  • Show
Clear All
new posts

    #91
    Originally posted by AusScare View Post
    Awesome thread and great progress on bringing this back to life! Look forward to seeing it visit the bodyshop at some point in the future so that the exterior matches the rest of the car! Keep up the good work.
    Thanks!! :grin:

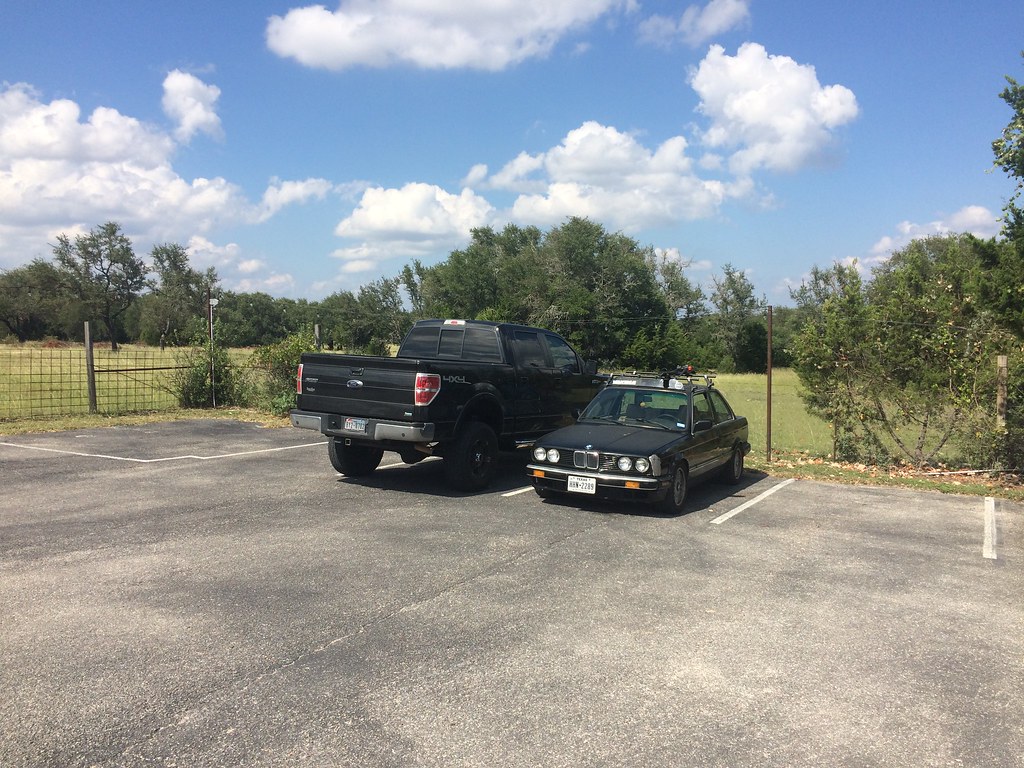
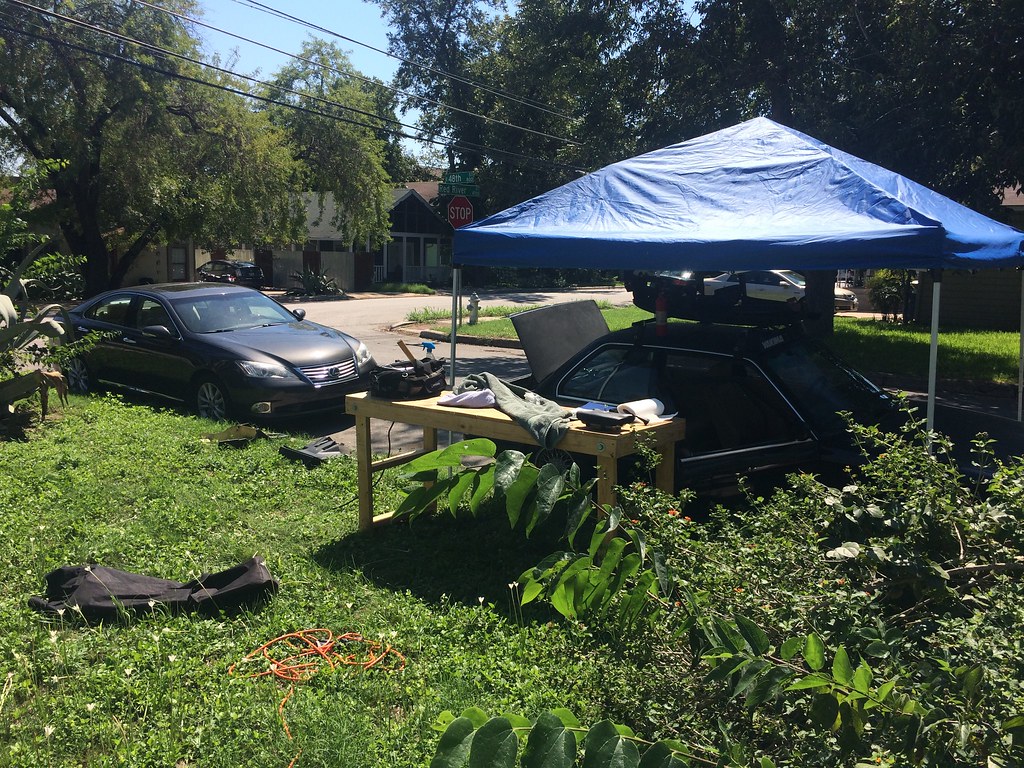
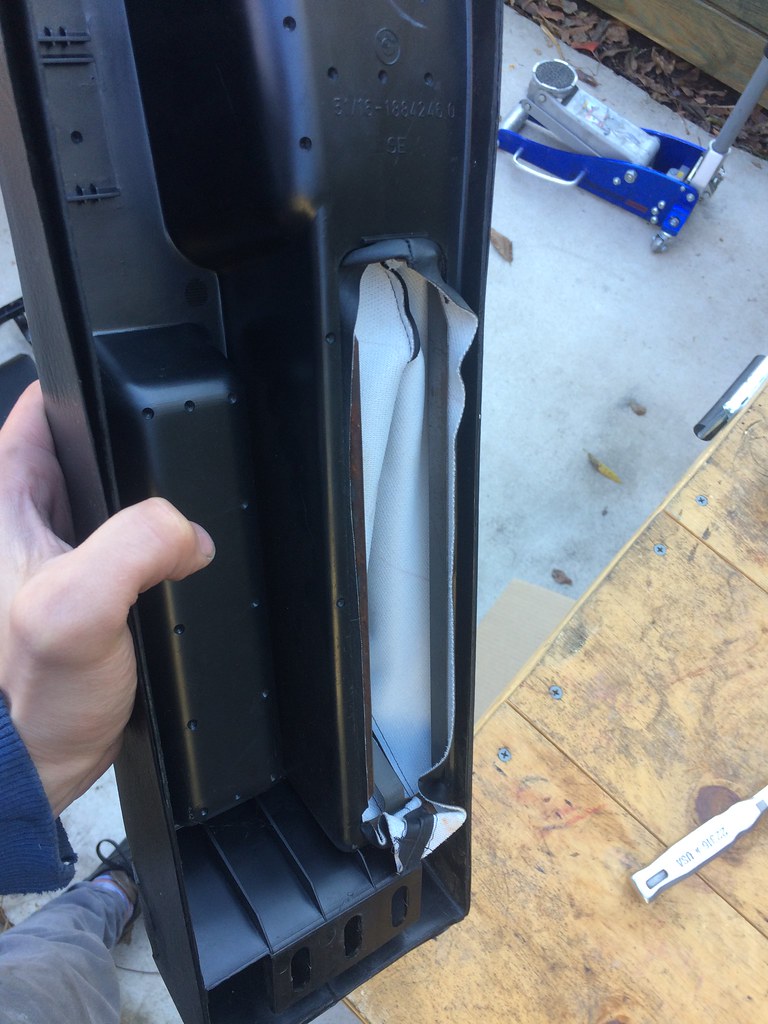
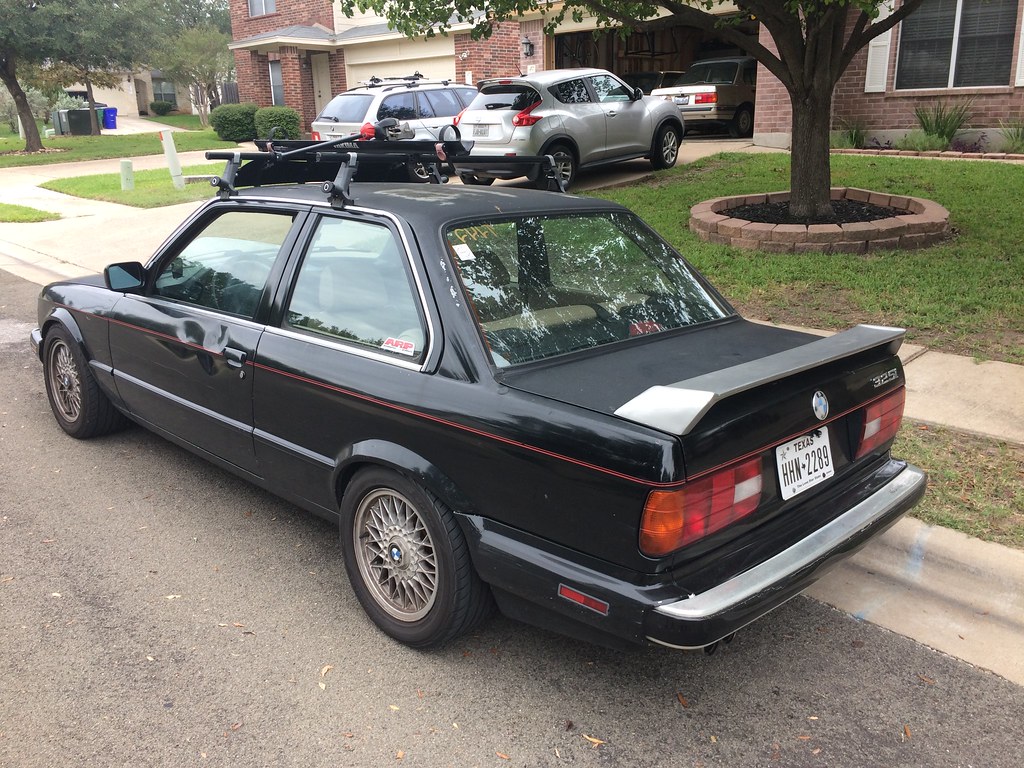
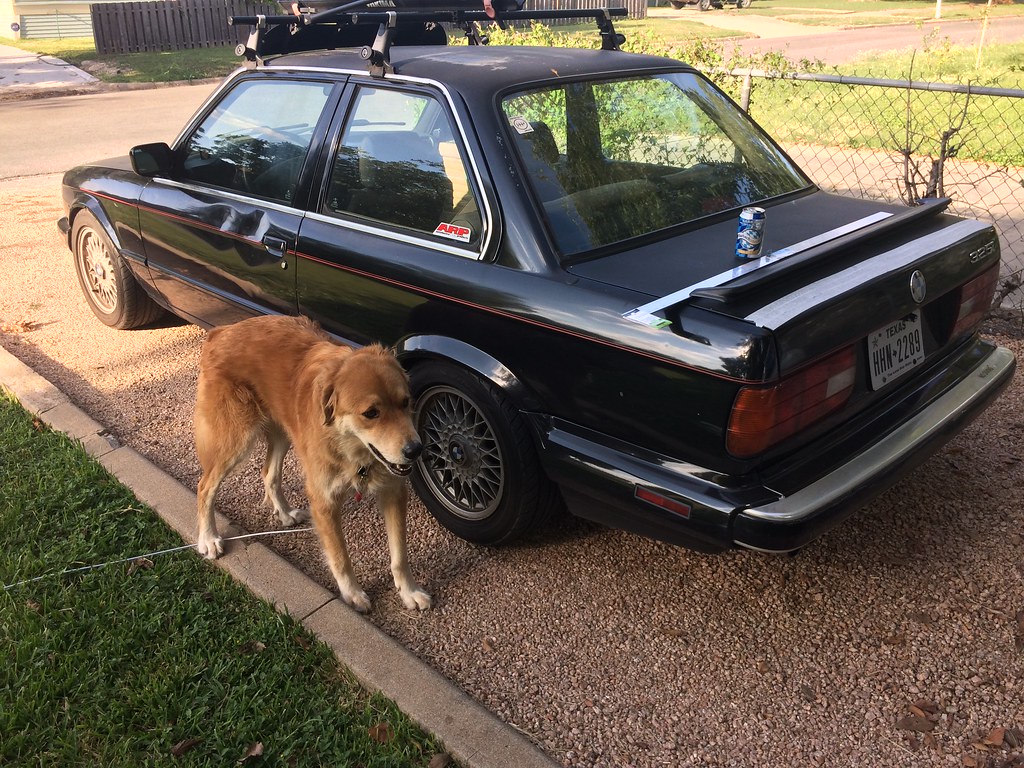
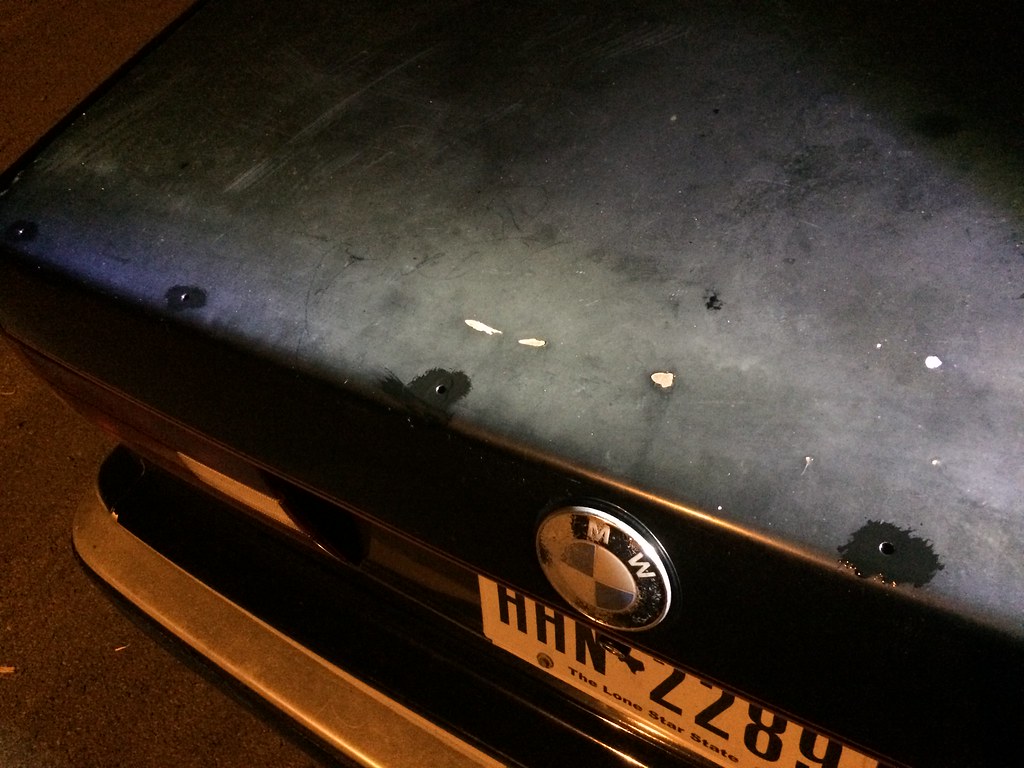
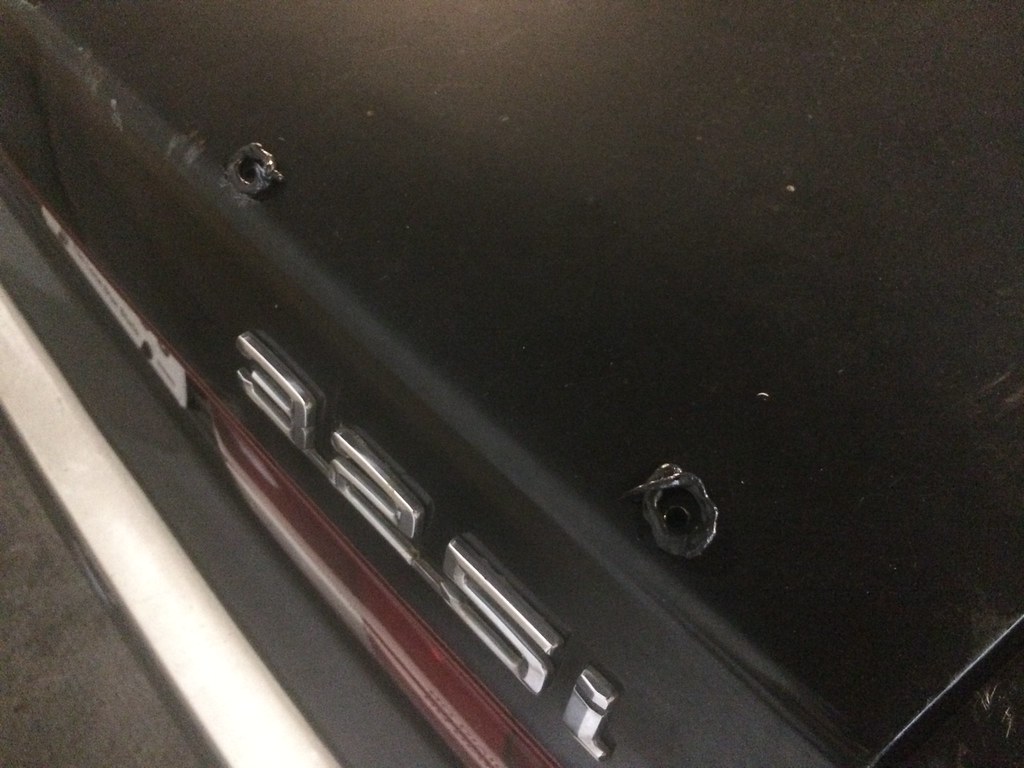
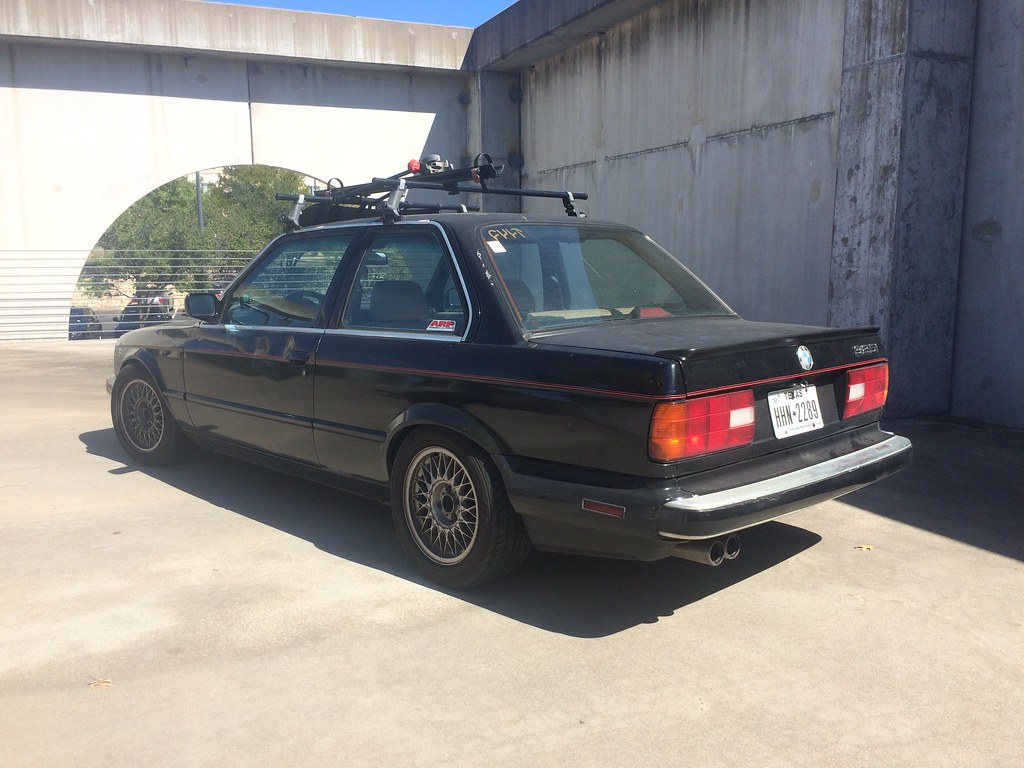
    I think it will be a bit until the exterior gets some love, but it will come with time. Nearly every body panel needs to be replaced, and including paint... it's a tall order.

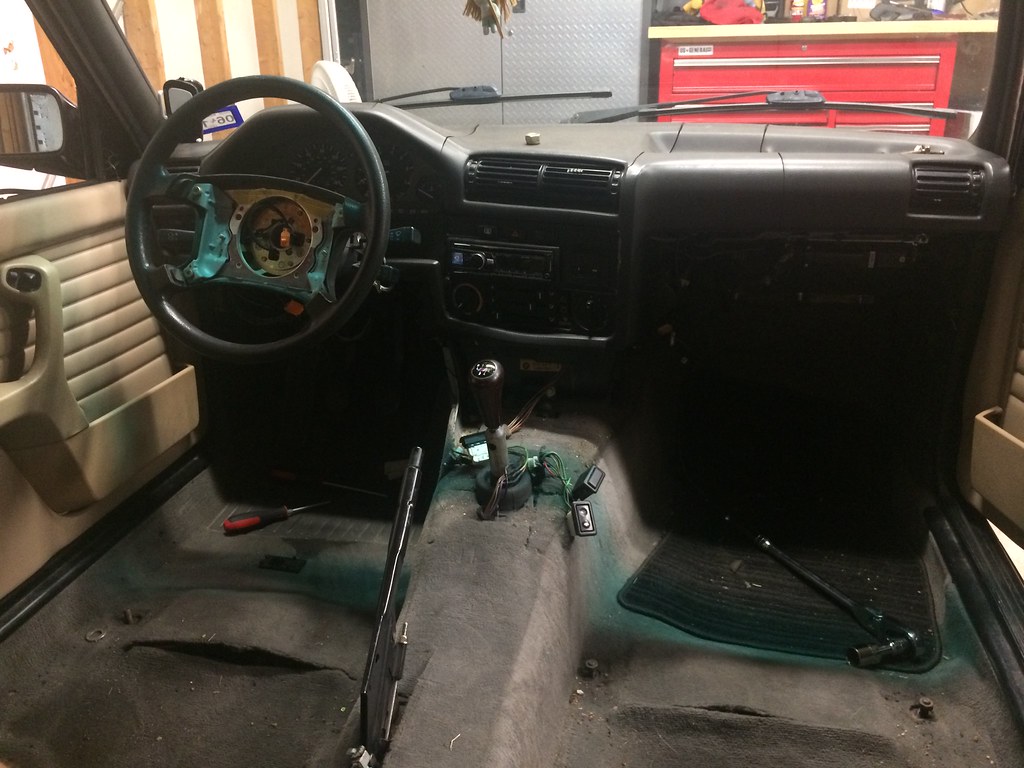
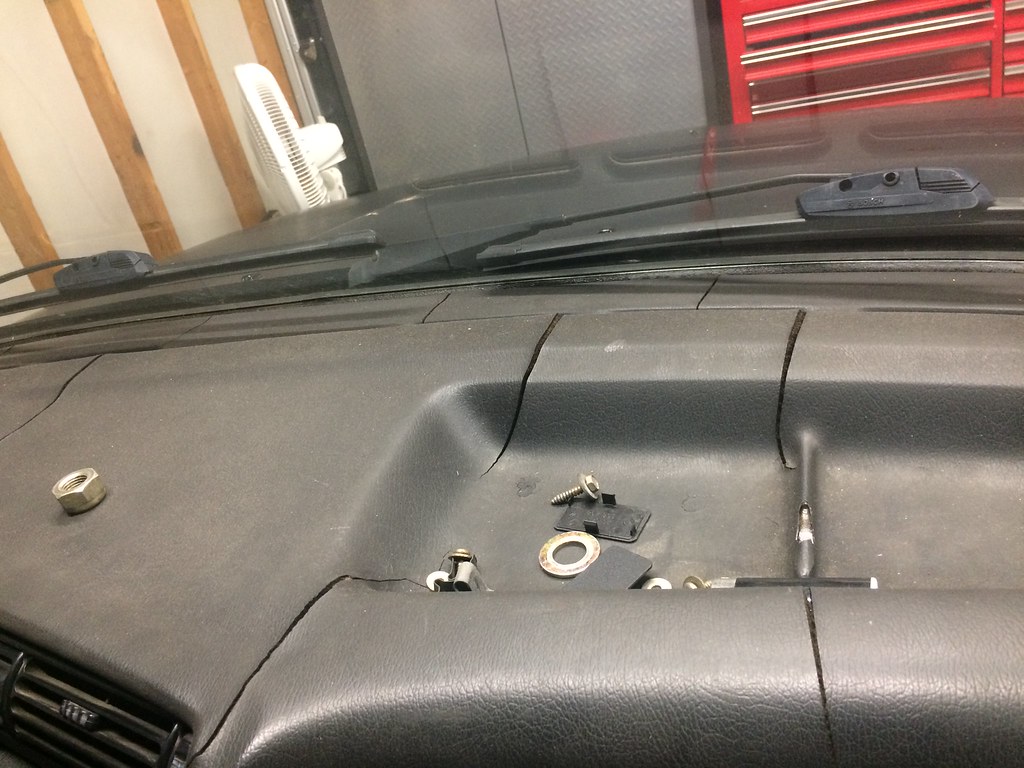
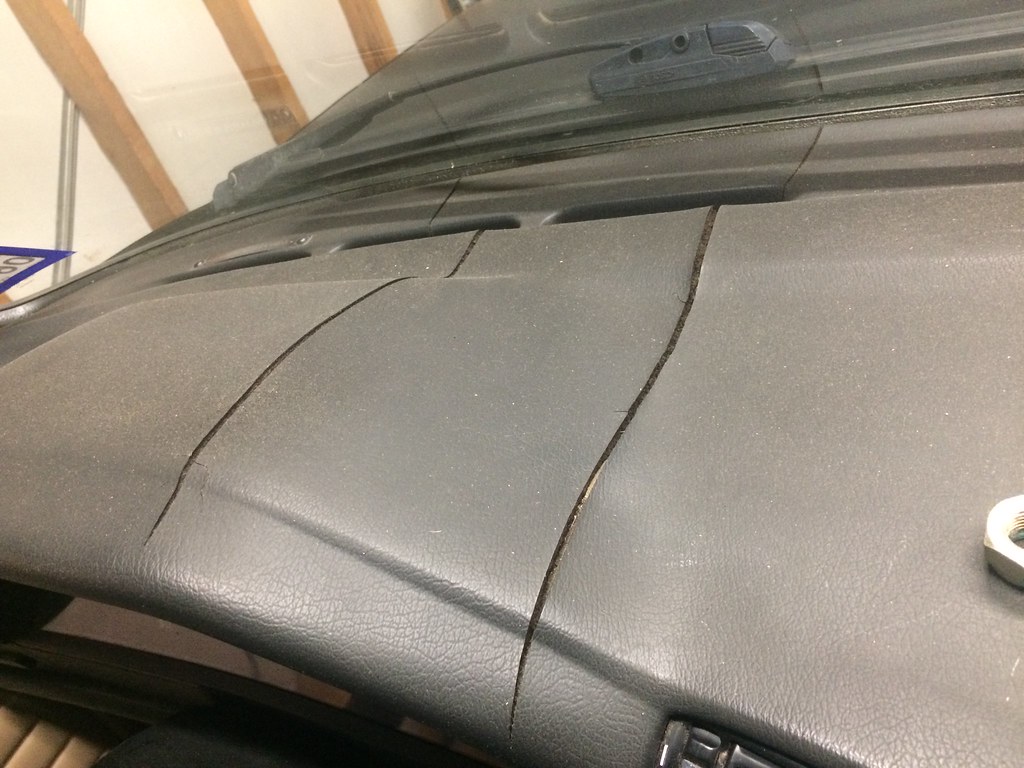
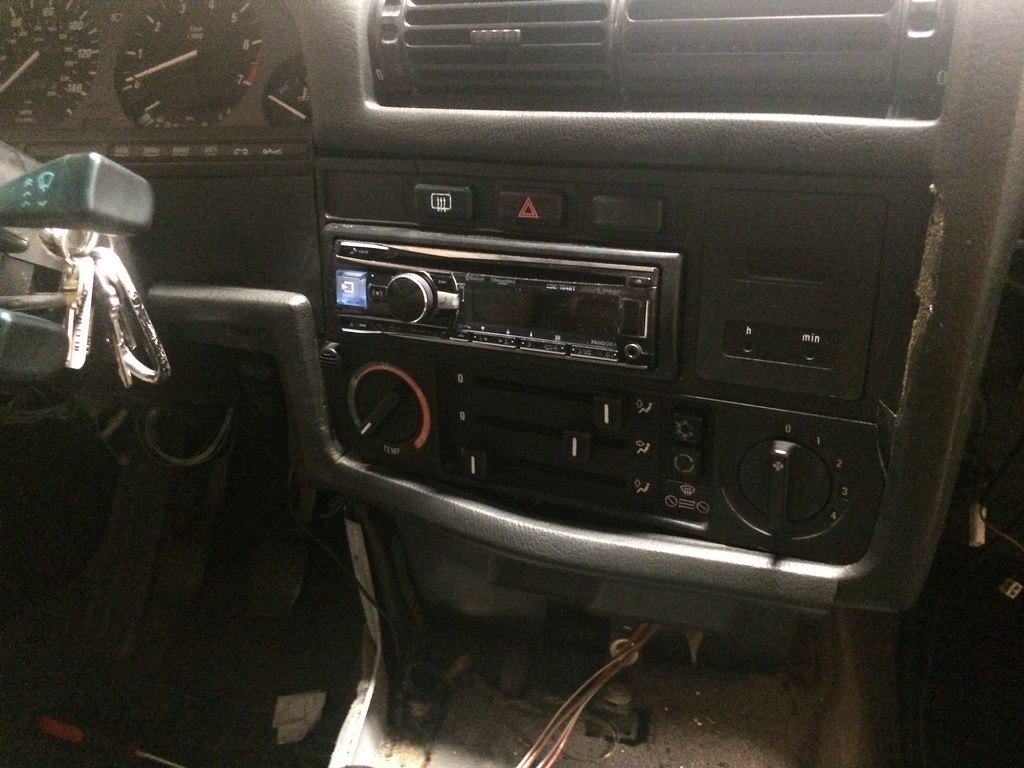
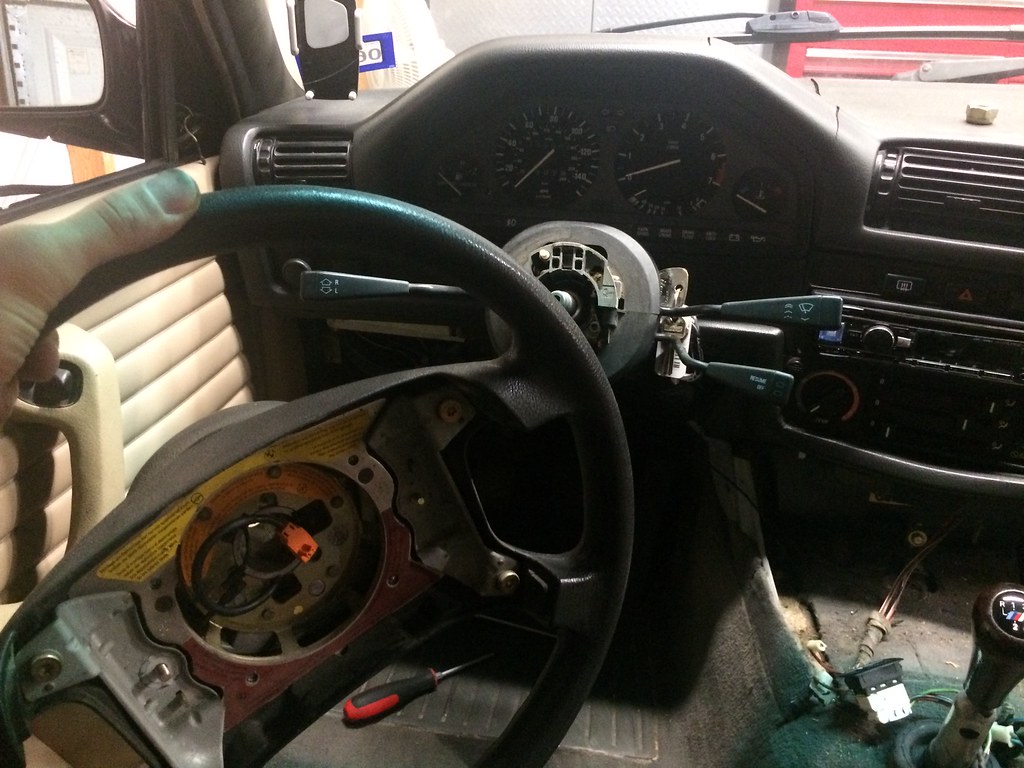
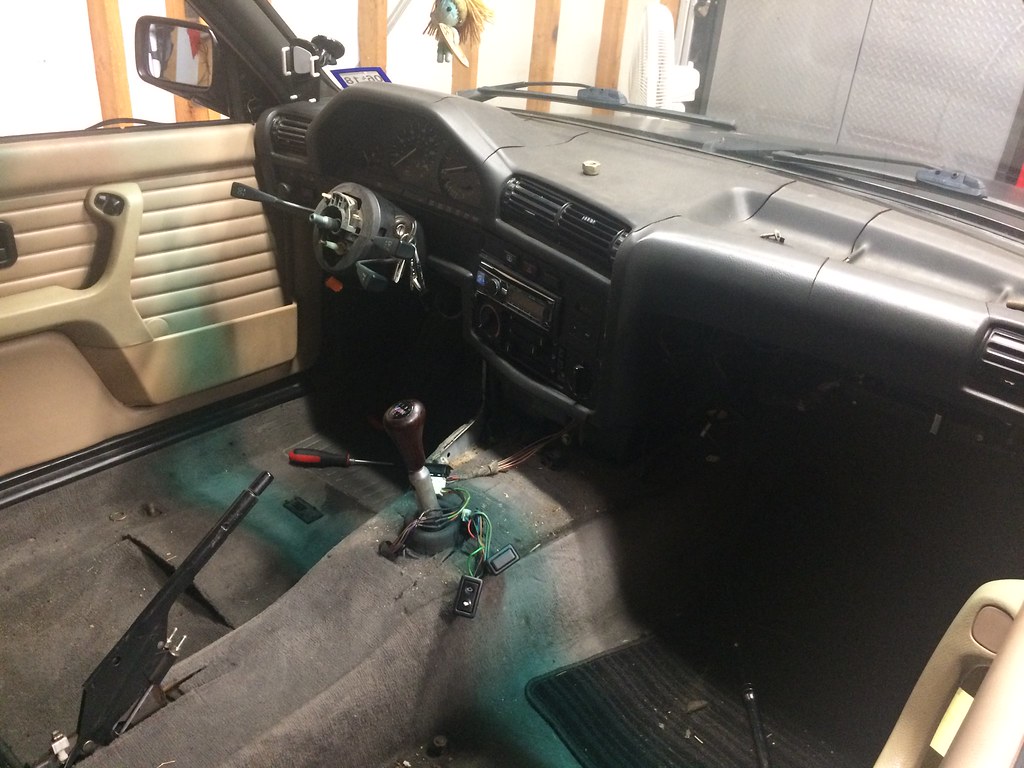
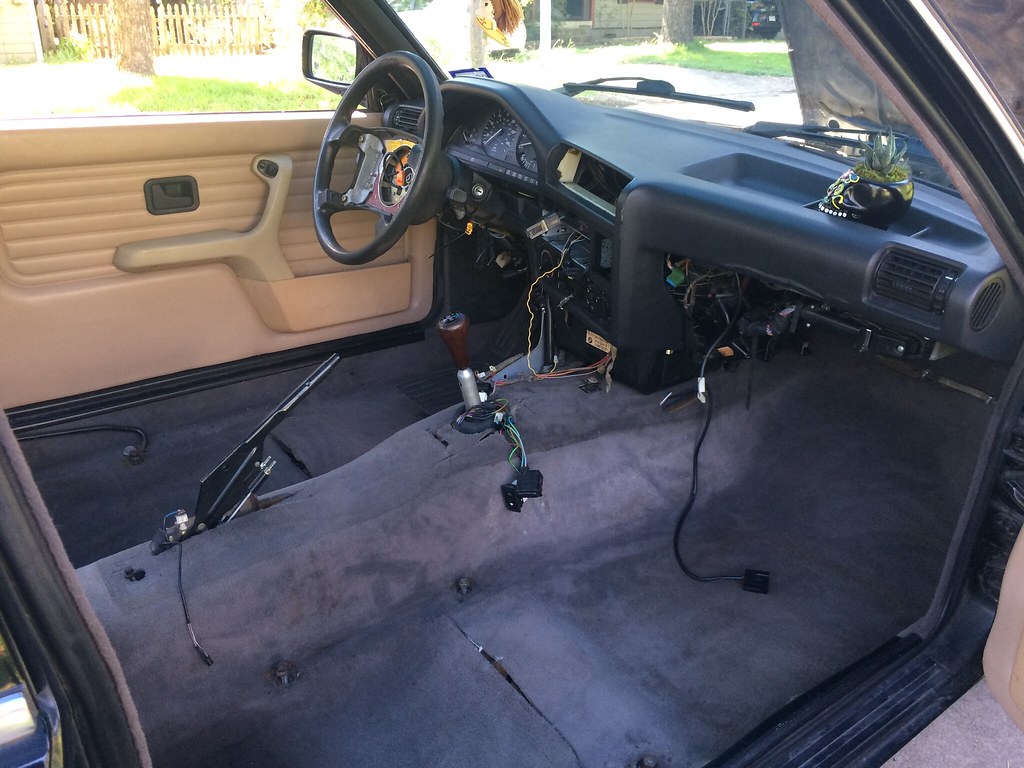
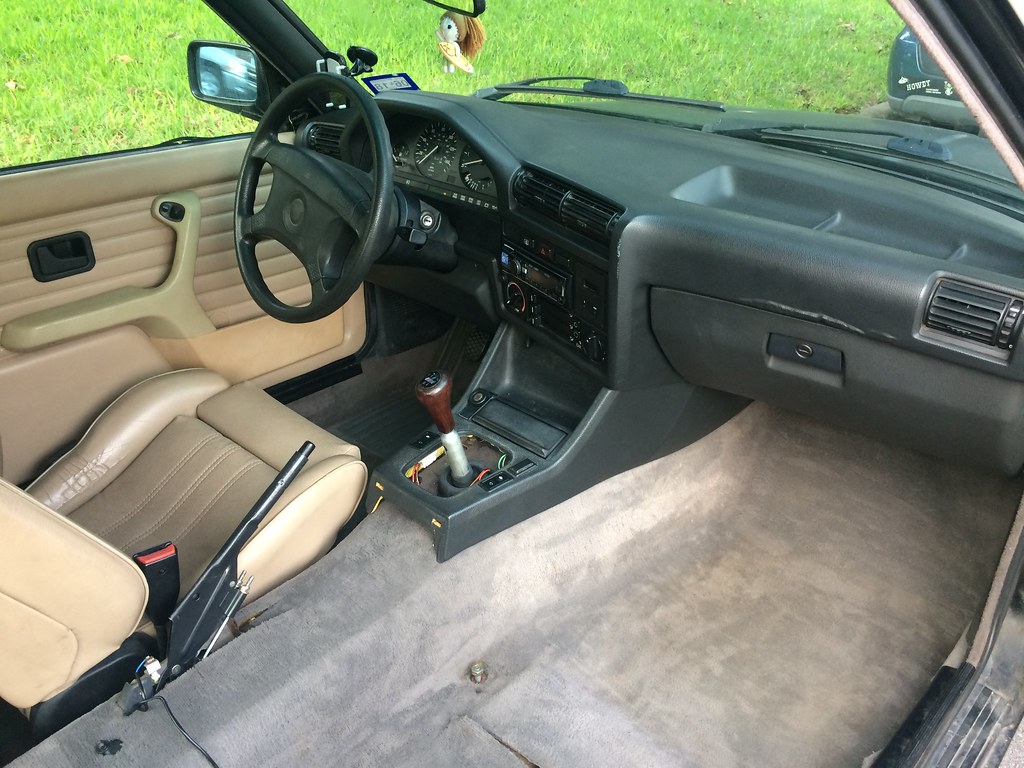
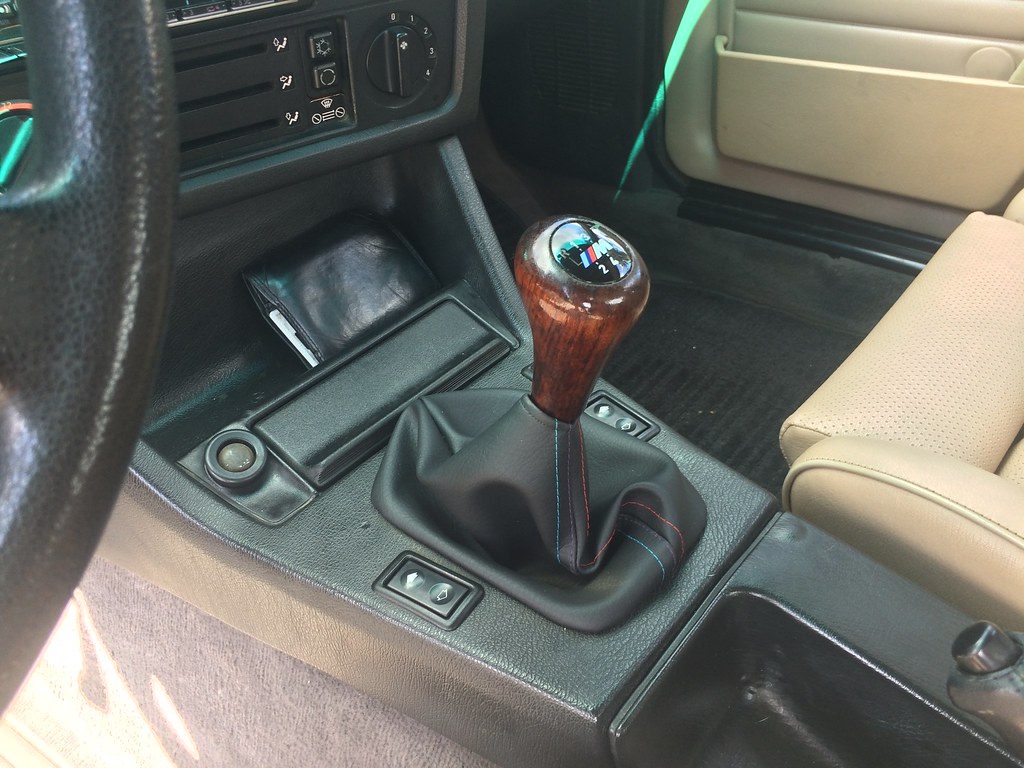
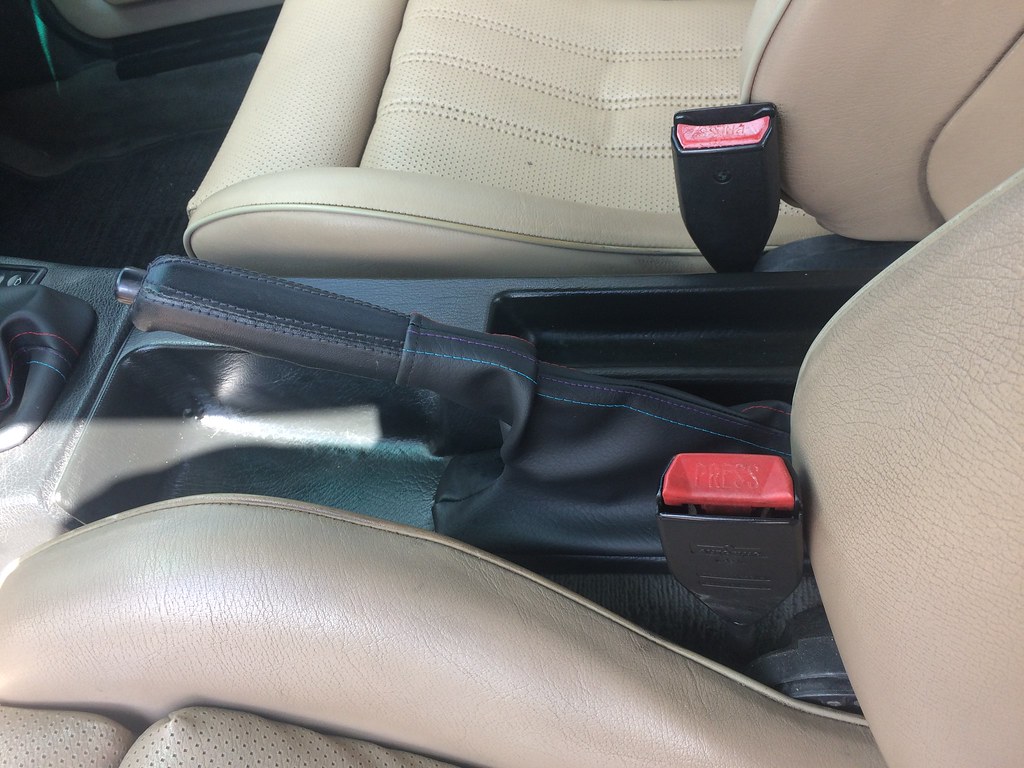
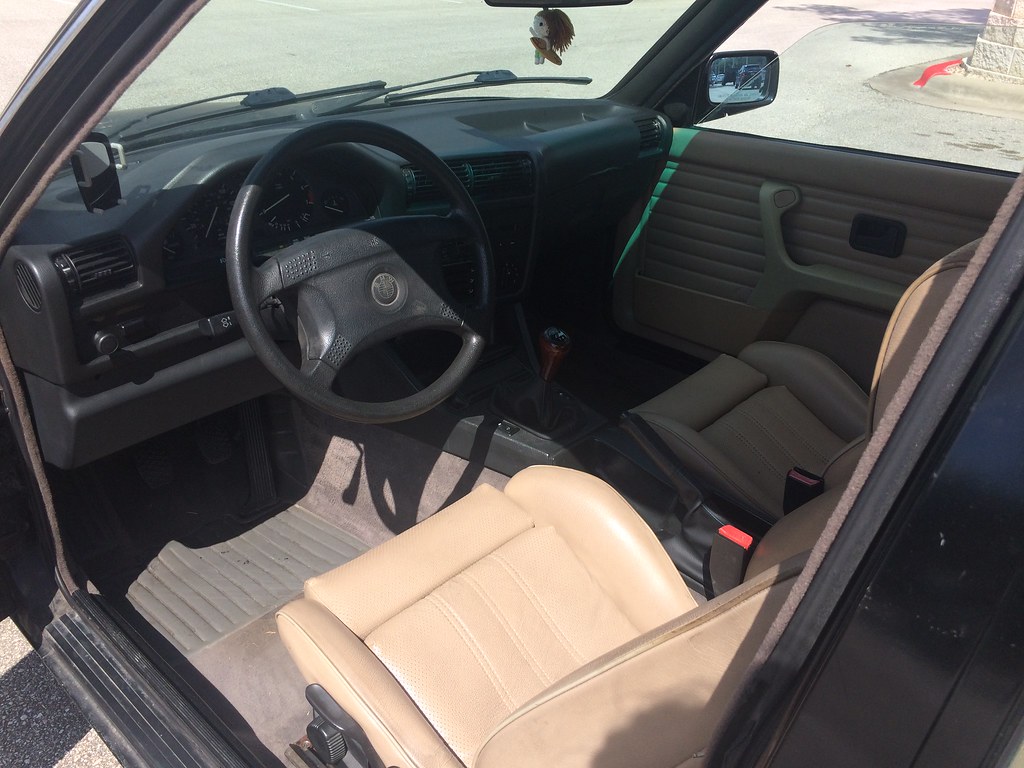
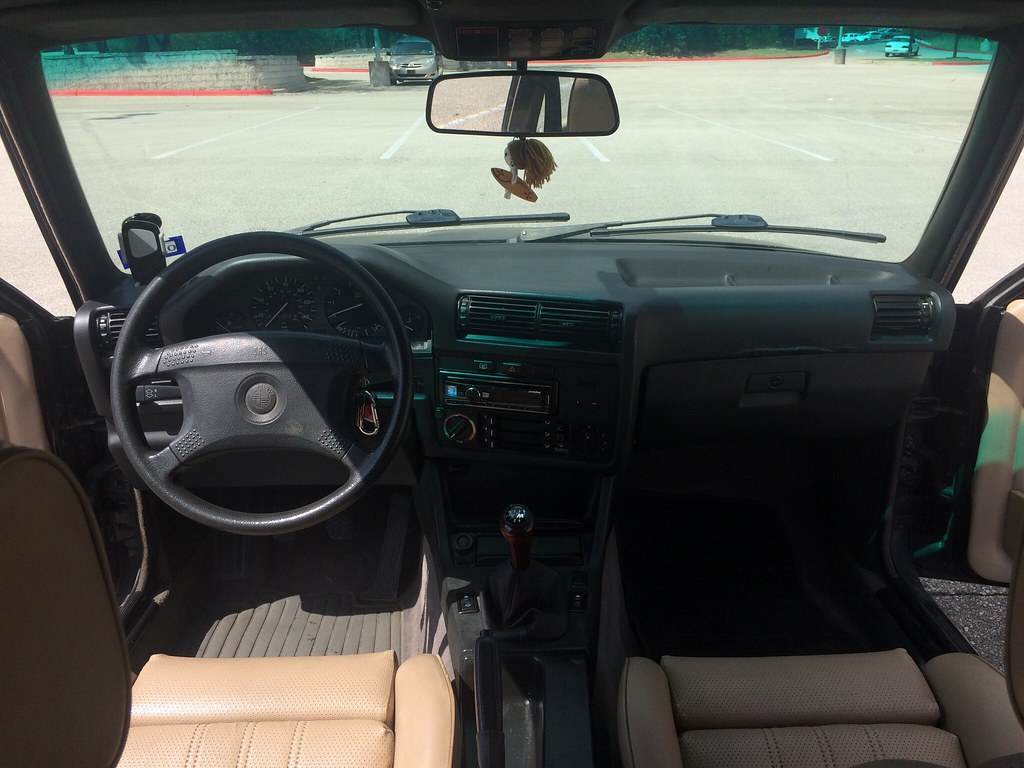
    For now I'm focused on making the interior cozy (what I spend the most time looking at every day) and just making the car a blast to drive.

    Comment


      #92
      Interior Overhaul and My Dirty Rack

      Updates!

      Sent an oil sample off to Blackstone Labs to get some insight as to how my engine is actually holding up. It has always seemed like a strong M20, but I wanted to see some actual data to back it up.

      Overall, I am very happy with Blackstone's findings. I am well within spec for most parameters aside from dirt getting into my oil. It appears that this has caused elevated piston wear levels, as I have doubled the universal average here. I'm not too concerned about it just yet, I've thrashed the car around in dry dirt several times now and haven't changed the airfilter in the past 10k miles... so I'm going to chalk this one up to neglected maintenance. New filter will be going in shortly!


      I am thrilled to say I am finally parking next to similarly valued vehicles, I can't tell you how frustrated I've been lately parking next to these peasant-mobiles.


      Please don't mind the glare, the rari and E30 went through an extensive waxing before being shipped to Pebble Beach. :nice:


      Did a little romping around with Kid8 and the BMW CCA, car chugged along for about 6 hours or so of total driving without issue. I've been racking up miles, officially at 119k!


      Stopped by a pub after the drive for some fried chicken and beers, came out to a big ass F150 parked next to me...

      *Spoiler Alert:* One day I'm going to get creamed by one of these Texas trucks, and that will be the end of My E30 Rehabilitation.


      Dash Swap (Airbag Car):

      Kid8 and I took a trip up to Dallas recently for some bits from a totaled S52 swap. Scored a crack free dash for cheap! It has a wrinkle above the glove box, but it is a vast improvement over my original dash.

      In preparation for the dash install I began stripping my interior, my bedroom is very multi-purpose - workshop, storage space...


      I love digging further into this cars past, pulled the airbag and found it was from an E34... looks like the airbag has gone off! Bet that was a bitch to clean.

      Pulling the airbag was simple. Two T25 torx bolts hold it in place, I just disconnected the battery and let the car sit a few hours before attempting to pull it. There is a small plug in the back of the airbag, pull it and you're home free - no drama.


      I drove around like this plus a driver’s seat for a few days to prepare for the dash install. Pulled nearly the entire interior in my parking garage after work, the lighting is a hell of a lot better and more importantly, there are no god damn mosquitos... thanks Harvey.

      As per usual, big thank you to Kid8 for another set of hands and providing me with a workspace. Daily driving the project car would be a lot more difficult without the extra help. :up:


      The offending dashboard. I would have considered trying to refurbish this thing but it was too far gone... extensive cracking was one thing, but the entire radio / HVAC console had warped from the summer heat (or PO abuse pulling the radio).

      I believe this is the worst E30 dash I've ever seen. :rofl:


      I don't think this picture conveys how bad the warping really was, this thing was beat.


      Steering wheel removed! Make sure to keep the key in the ignition while pulling it as the lock pin won't allow the steering wheel to be pulled off otherwise. For the airbag wheel (and maybe non airbag?) there was an additional plug hidden behind the hub that was connected within the steering column cover. Pop off the small plastic cover under the column and the plug can be undone.


      With the steering wheel out, the ECU, cruise control module, airbag module, and a couple other computers and their associated brackets needed to be removed from the old dash. The radio and HVAC controls were the last things to go, and the dash was ready to be unbolted.


      Removed! We pulled the dash out through the passenger side, this is one of those jobs that is miles easier with some help.

      Everything was seriously filthy back here.


      Sat back to admire the mess. :popcorn:


      I spent the rest of the night cleaning everything and scraped away the dry rotted foam from the heatercore. I now realize what was blowing in my eyes every time I turned the blower fan on, all of this shit!


      Kid8 had some AC unit foam lying around, so I used it to replace the old stuff.


      With the dashboard out of the car, we compared the two dashes to see what broken / missing clips we could salvage. Fortunately, I was also able to replace all the broken vents with working ones too.


      Since the dashboard came out of a non-airbag car, there were a couple brackets and modifications I had to make to the new dash. This bracket is one of them.

      The bracket was riveted to the mounting tab on the old dash, Kid8 drilled out the rivets and I reinstalled the bracket on the dash with some shallow hardware. For those curious this bracket holds in the knee padding behind the knee bolster on an airbag car.


      Dash installed! It definitely took a bit of muscle to get it in. We actually installed it twice before finally getting it right. The first time we removed the upper plastic panel surrounding the steering column - that was a mistake. Aside from dropping the column there is no way to get the panel back on with the dash in the car. We removed the dash and reinstalled the upper panel before attempting a second time.


      The install actually went very smooth, only made one mistake which is arguably a big one... broke the ignition switch while muscling the dash around the steering column. The plastic was so damn brittle the tabs on the switch cracked. I'm not thrilled with this solution, but I zip-tied the switch back in place. Hopefully it holds for the foreseeable future. Whoops.


      With Kid8 desperate to get me out of his hair, I drove the car back to my place and finished up the interior install with a bit of street wrenchin'. The driveway was occupied at the time, so had to make due!


      Cleaned up and tucked away the wiring mess behind knee bolster, might not look like much but this all hung down near the pedals before:


      Another difference I found between an airbag / non-airbag dash, are the mounting tabs for the upper-knee bolster panel. These didn't exist on the new dash, so I used a knife to cut notches for the knee bolster clips:


      Notch:


      Clip:


      I haven't had a knee bolster the entire time I've owned the car, so this felt like a big interior upgrade:


      I'm a fan of the Alpina style PODI gauge and plan on purchasing one in the future, so I drilled a 1/2" hole in the vent to route the gauge wiring while I had everything apart.

      I also placed a rubber grommet around the edges to prevent the future wires from getting chafed:


      Nearly back together after scrubbing the carpet and detailing the interior:


      Decided to add a little bling with a stitched 2M shiftboot. I used 3M plastic emblem and adhesive to mount the leather boot on the original plastic boot mount, I'm very happy with the result:


      I also installed a 2M ebrake boot with an E34 ebrake handle from the junkyard of course:


      Cleaned a couple other things up while I was at it.

      My window breaker switch was pretty sun bleached, so I touched it up with SEM trim paint.

      Sanded window breaker:


      Painted window breaker:


      Final product:


      I had to JB weld the door tweeters, these tabs have broken on every door tweeter I messed with... damn things.


      These interior shots aren't the best, but they'll do for now. Enjoy!


      Notice the wrinkle above the glove box... still miles better than my old dash.


      With the interior finished up (for now), it was time to add some swag to the exterior!

      New Spoiler!!!


      Not!

      But, I did decide to slap on an IS spoiler that I found at the junkyard. It's cracked and not exactly perfect, but it matched the patina of the exterior well enough.

      IS Spoiler Install:

      First step was to hire some good help:


      Then of course the required supplies - beer, scotch tape, flexible tape measure (metric preferred), tap, hammer, drill, and bits.


      Used POR15 on the drill holes of my dumpy trunk:


      Applied RTV "The Right Stuff" around the drill holes to prevent leaks:


      Installed.


      Here are the spoiler drill hole specs:


      Using Row52 I noticed a Z3 in a junkyard an hour or so away from me, I've been craving a tighter ratio rack so I decided to try and hunt it down.

      This lead me to "Bust a Nut Auto Salvage," where I searched for hours for this god damn thing... their organization is piss poor, but the silver lining is that some gems are still in the yard. Most junkyards around Austin get picked in short order.

      I think this image might be a pretty good indication as to why I had such a hard time:


      After a bit of weeding and searching around the yard for spare rims, I was able to jack the car up and get the rims under the frame rails of the car.


      It was clear this was a 1.9L Z3... so it was promising this might have the 2.7 turn rack.


      Dirty rack out! I snagged the xbrace while I was at it :devil:


      Bingo! Love me a good rack :pimp:


      After a bit of cleaning!


      To be continued! :)
      Last edited by zwill23; 03-14-2018, 11:08 AM.

      Comment


        #93
        Great work! How long did it take for you to pull the steering rack?

        Sent from my SM-N910V using Tapatalk

        Comment


          #94
          Originally posted by Levy3Poop View Post
          Great work! How long did it take for you to pull the steering rack?

          Sent from my SM-N910V using Tapatalk
          Thanks! About 2 hours I'd say, an hour of which was weeding and figuring out how to get the car jacked up safely.

          You could probably pull one in an hour or so if the car is already in the air.

          Comment


            #95
            Originally posted by zwill23 View Post
            Thanks! About 2 hours I'd say, an hour of which was weeding and figuring out how to get the car jacked up safely.

            You could probably pull one in an hour or so if the car is already in the air.
            Oh god, sounds like Bust A Nut was about as good of a scrap yard as you'd expect with a name like that lol. Well I can say I'm jealous. The steering ratio in my car has been driving me crazy lately

            Sent from my SM-N910V using Tapatalk

            Comment


              #96
              Man, your car is looking better and better every day!! Keep it up, and do mine next ;)

              Comment


                #97
                Originally posted by Levy3Poop View Post
                Oh god, sounds like Bust A Nut was about as good of a scrap yard as you'd expect with a name like that lol. Well I can say I'm jealous. The steering ratio in my car has been driving me crazy lately

                Sent from my SM-N910V using Tapatalk
                Hah! No need to get jealous yet, it will be a bit until I can swap it in. Reppin' the 4 turn rack for the moment.

                Originally posted by kid8 View Post
                Man, your car is looking better and better every day!! Keep it up, and do mine next ;)
                Which one? ;)

                Comment


                  #98
                  Right next to the z3 is a vert sway bar calling your name..... if it's still there of course.

                  Edit: Nevermind. After looking at the pics again, it's clearly not an e30.

                  Comment


                    #99
                    Originally posted by captain awesome View Post
                    Right next to the z3 is a vert sway bar calling your name..... if it's still there of course.

                    Edit: Nevermind. After looking at the pics again, it's clearly not an e30.
                    You're right that's an E36 vert (stole the antenna from it) ... but! There is an E30 vert in the yard as well, looks like I better plan another trip ;)

                    Comment


                      1. Baller work.
                      2. Thank you for said baller work. I've referred back to this thread many times for help replacing parts on mine. Great documentation! This is why e30s have such a vast online knowledge base.
                      1990 325iX - sterlingsilber metallic
                      1991 325i - lazurblau metallic


                      Originally posted by delamaize
                      E30 = Lego for men.

                      Comment


                        Originally posted by TheWipprSnappr View Post
                        1. Baller work.
                        2. Thank you for said baller work. I've referred back to this thread many times for help replacing parts on mine. Great documentation! This is why e30s have such a vast online knowledge base.
                        Thanks!!

                        Means a lot, I learn as I go here and R3v has been a massive resource of information. Glad I'm able to give back to the community, plus I admit I enjoy documenting it all. Through frustrating times it's nice to look back and realize how far it's come to light the fire under my ass to get past the hurtles ;D

                        These are silly cars, really.

                        Comment


                          I was supposed to be working on a paper, but I figured my time would be better spent looking through your rehab.

                          #1 I love your workbench. Simply awesome.
                          #2 Im loving the rehab on this car.
                          #3 Keep it up, its on its way to something special
                          Simon
                          Current Cars:
                          -1999 996.1 911 4/98 3.8L 6-Speed, 21st Century Beetle

                          Make R3V Great Again -2020

                          Comment


                            Originally posted by 2mAn View Post
                            I was supposed to be working on a paper, but I figured my time would be better spent looking through your rehab.

                            #1 I love your workbench. Simply awesome.
                            #2 Im loving the rehab on this car.
                            #3 Keep it up, its on its way to something special
                            Hah! That workbench has been one of most useful things I've ever made, it also functions quite well as a beer pong table ;)

                            I sure hope so :up:

                            Comment


                              Nice writing and awesome work. Great project!
                              E30 Armo "330i"

                              Comment


                                Just spent the last few hours reading this.
                                Nice work on fixing up this car.

                                I need to get motivated on fixing my photobucket and transferring to Flickr

                                Nice work on replacing the rear subframe and all those bushings


                                -
                                Project
                                Parts for Sale
                                Feedback
                                YouTube Channel

                                Comment

                                Working...
                                X