Announcement

Collapse
No announcement yet.

83 320is GRM Challenge/XP build

Collapse
X
 
  • Filter
  • Time
  • Show
Clear All
new posts

    #16
    10-11-2018


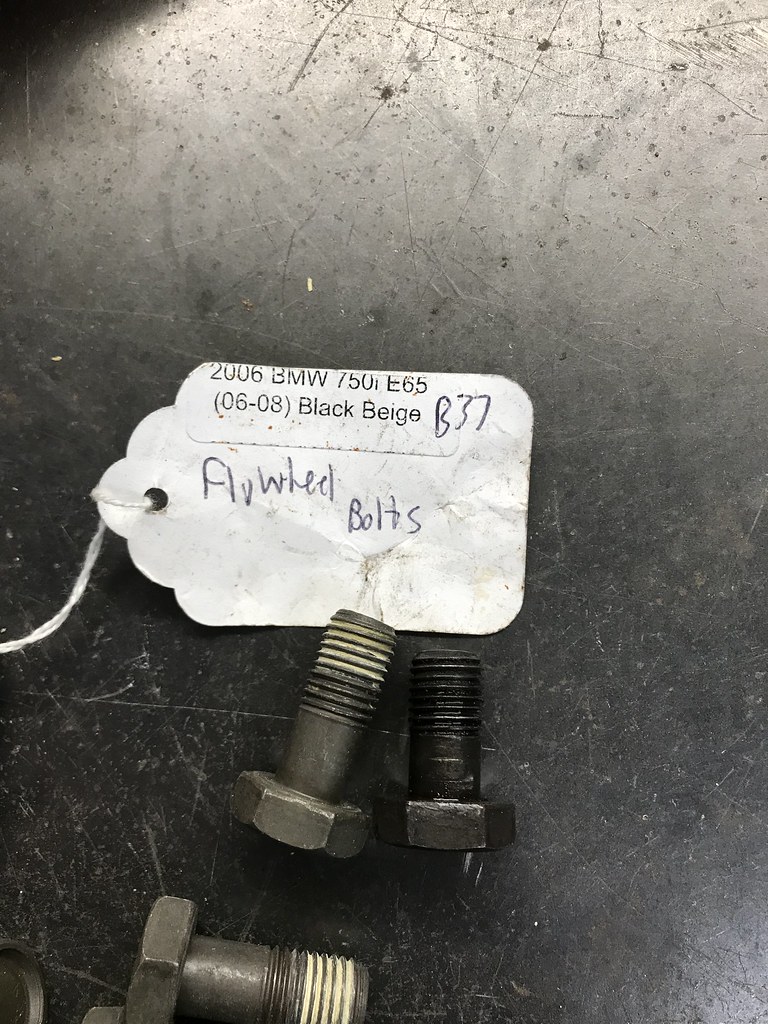
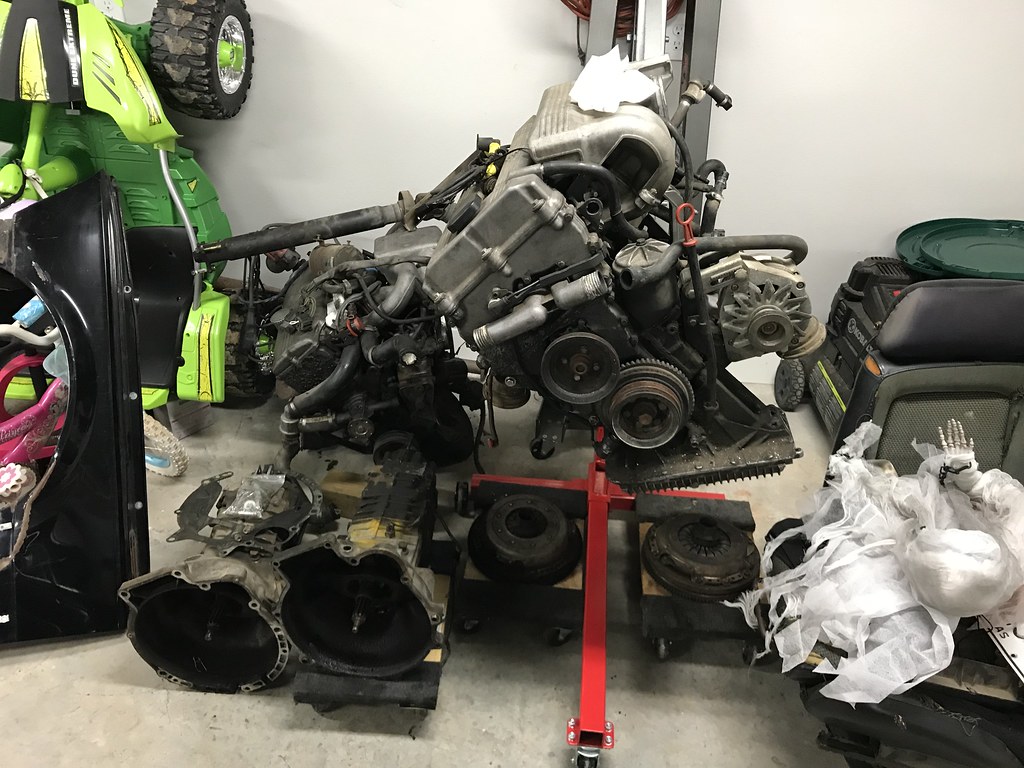
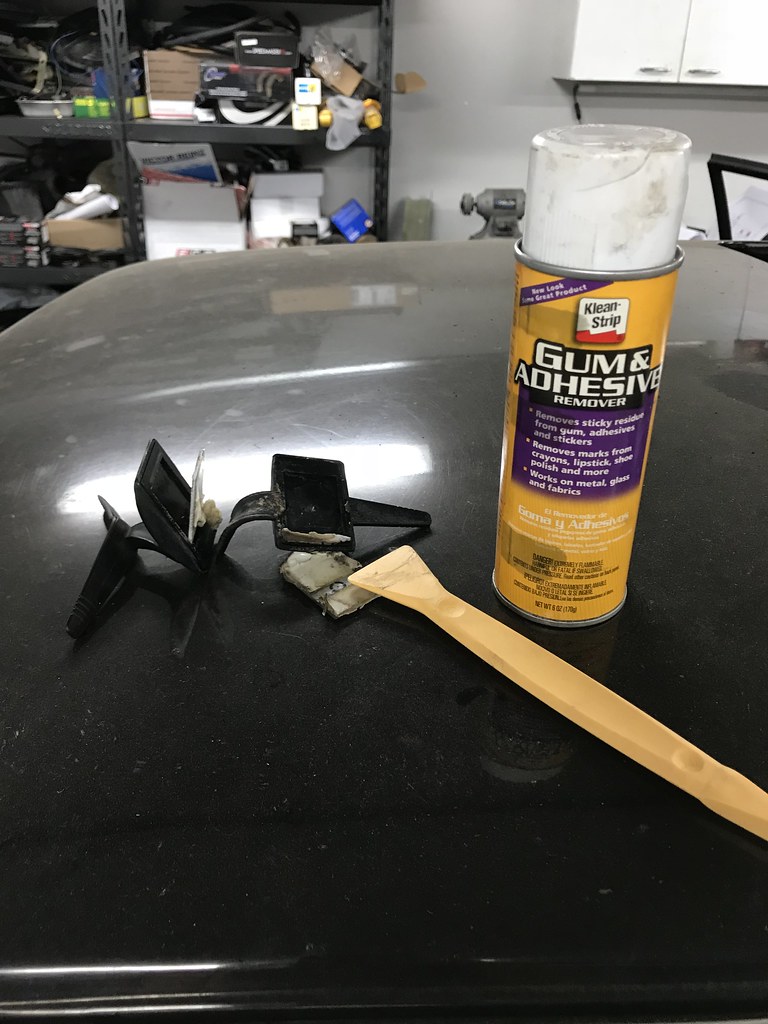
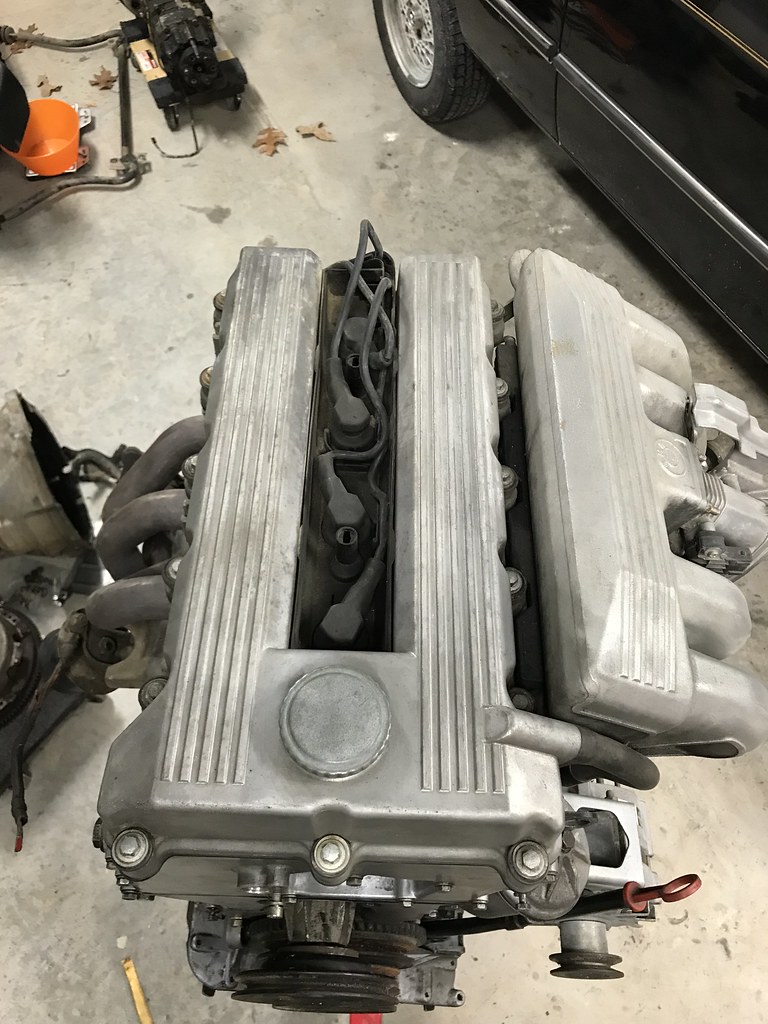
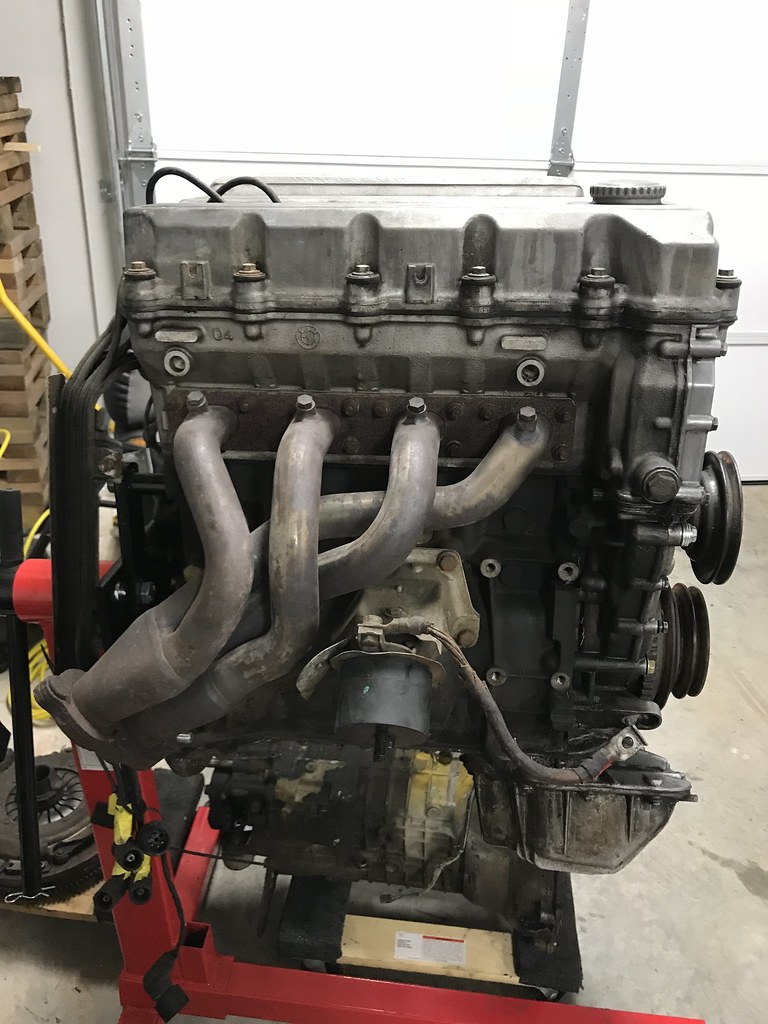
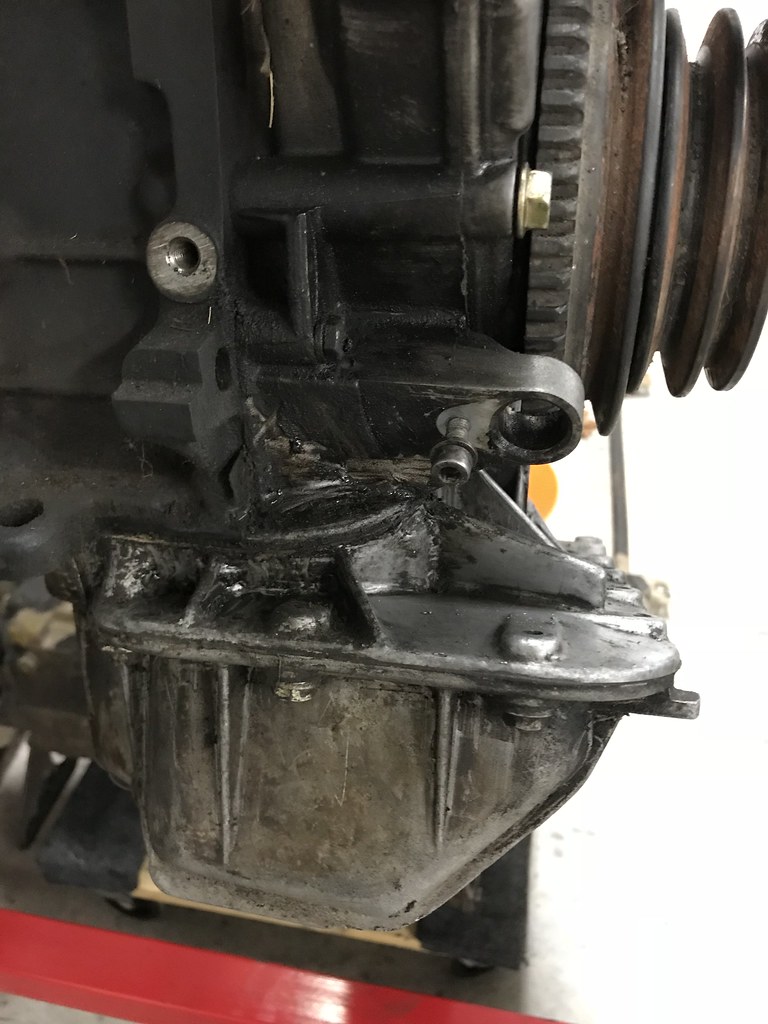
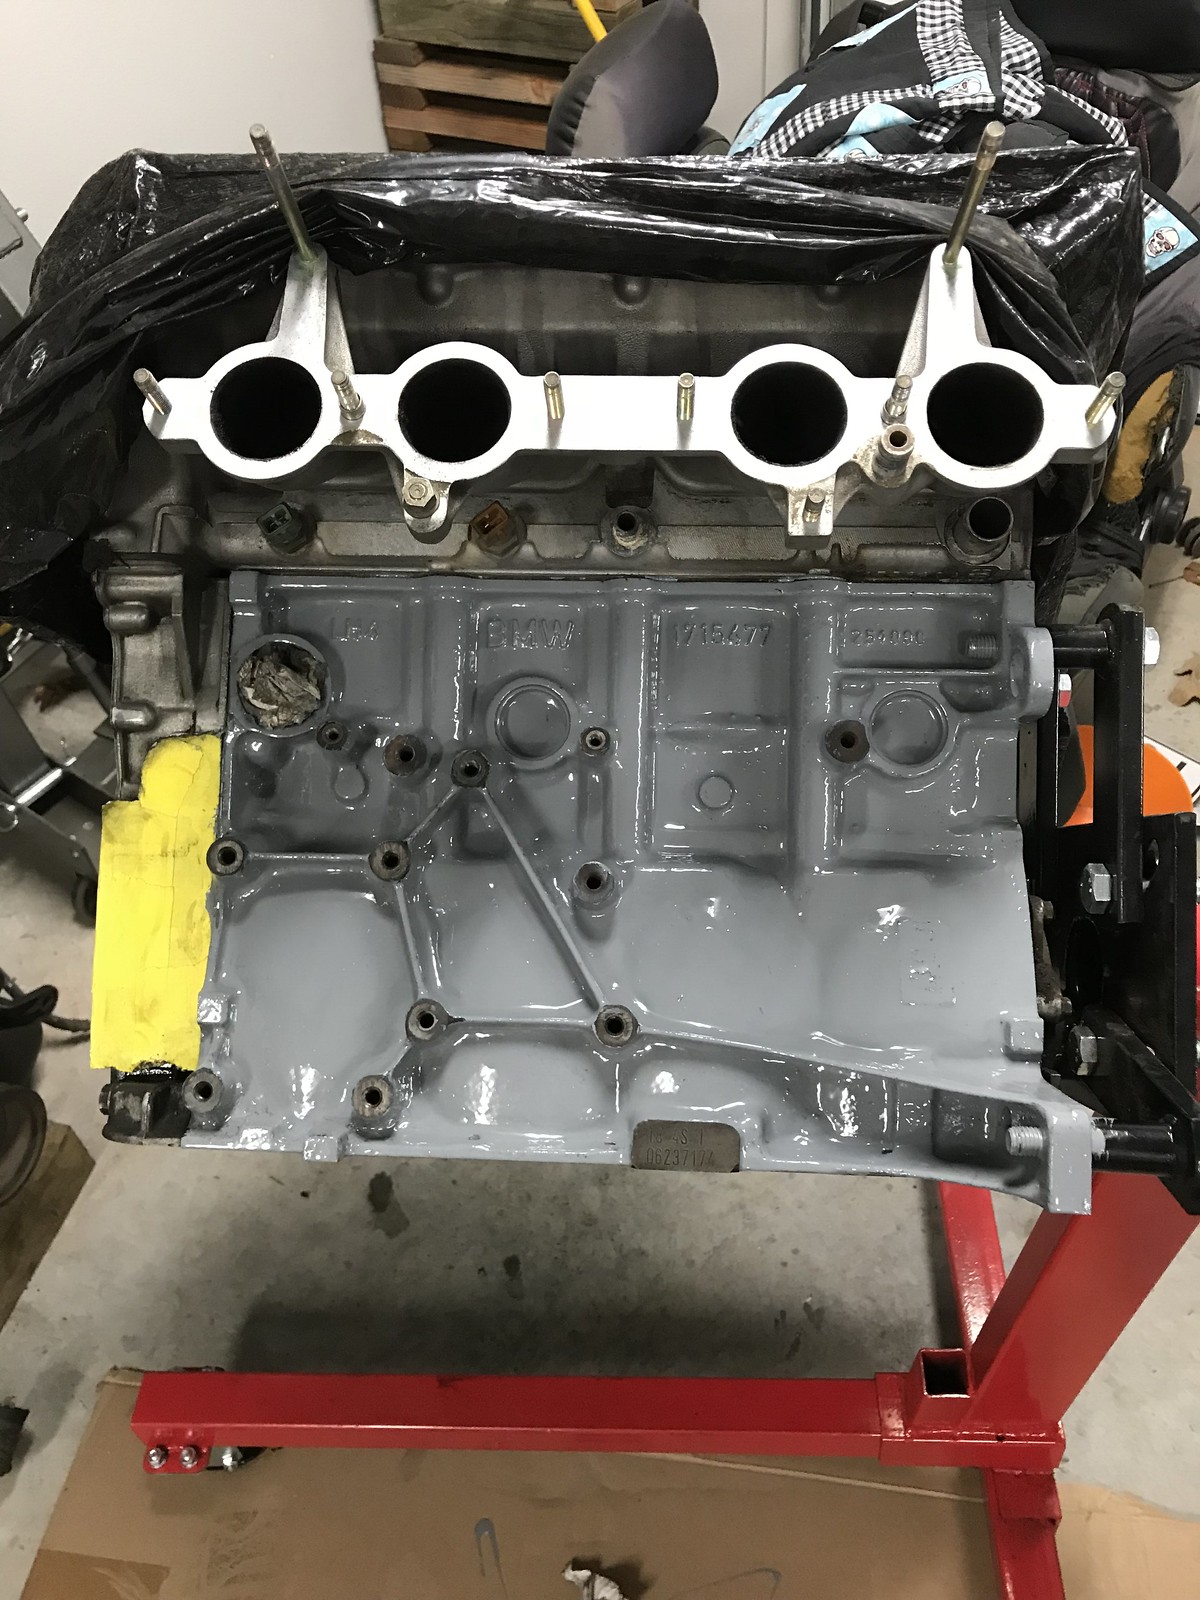
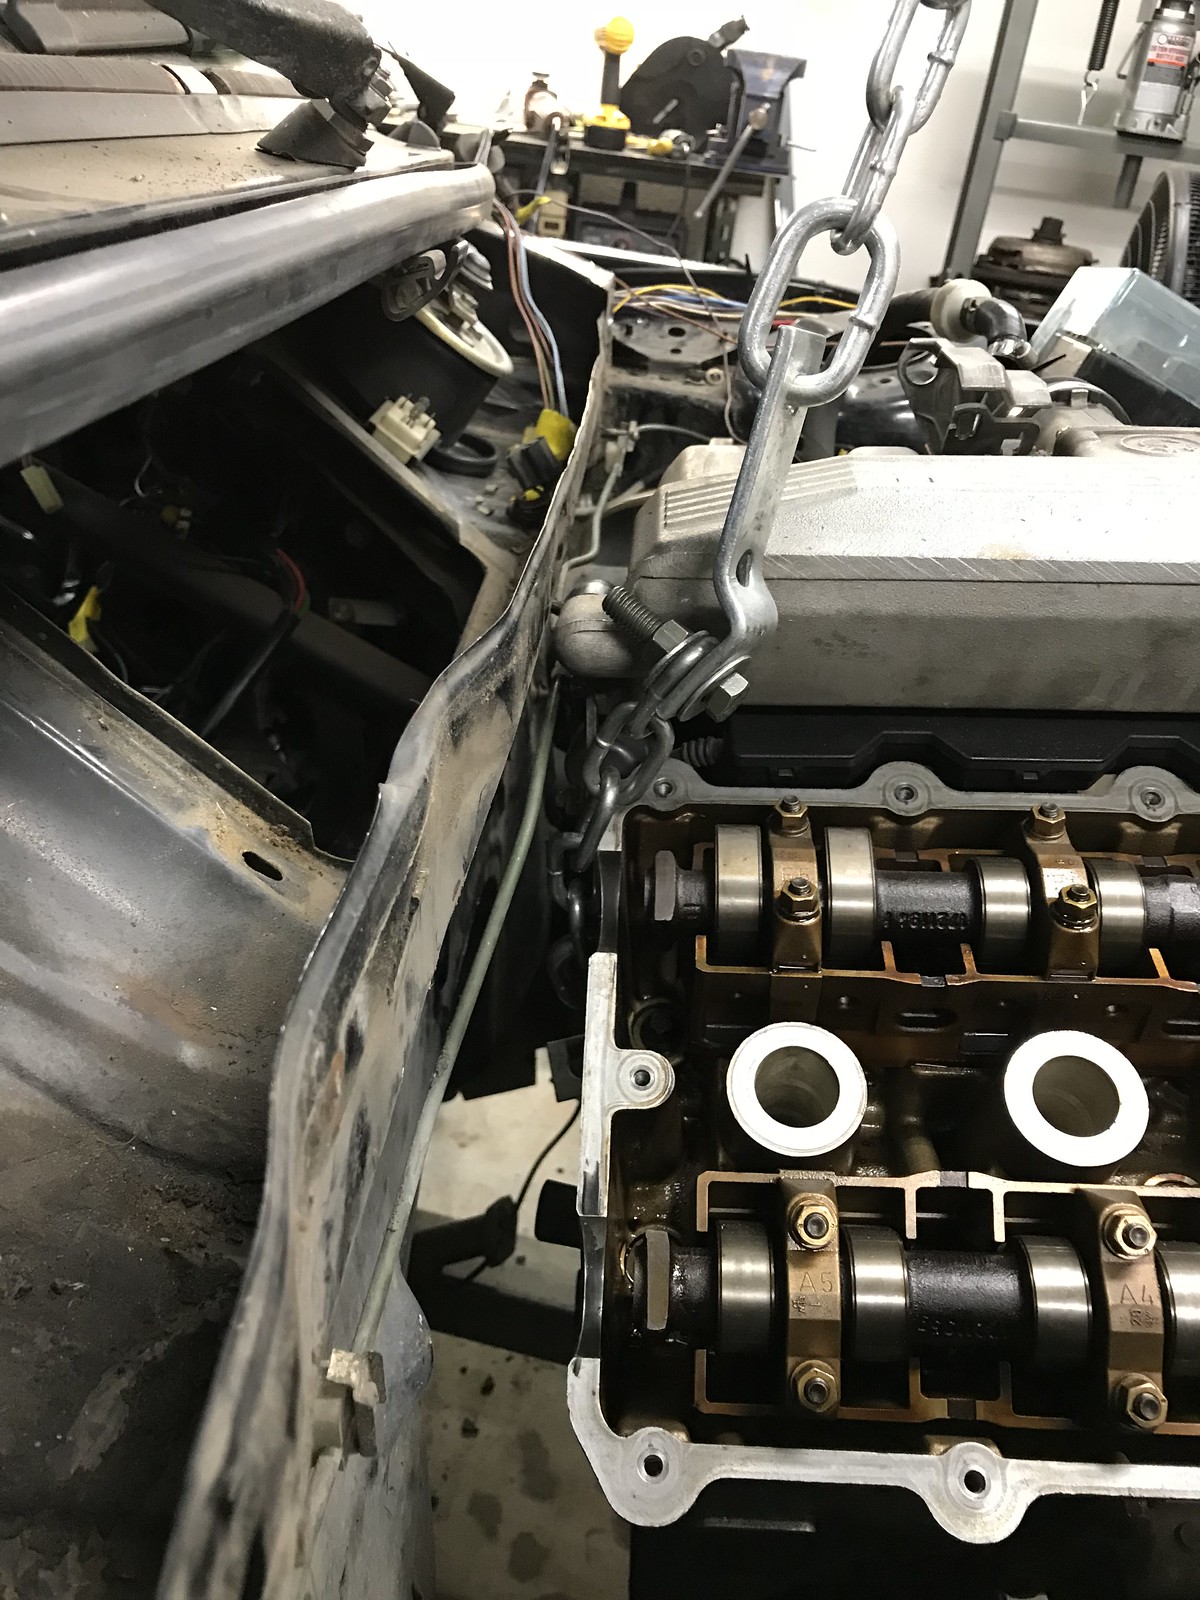
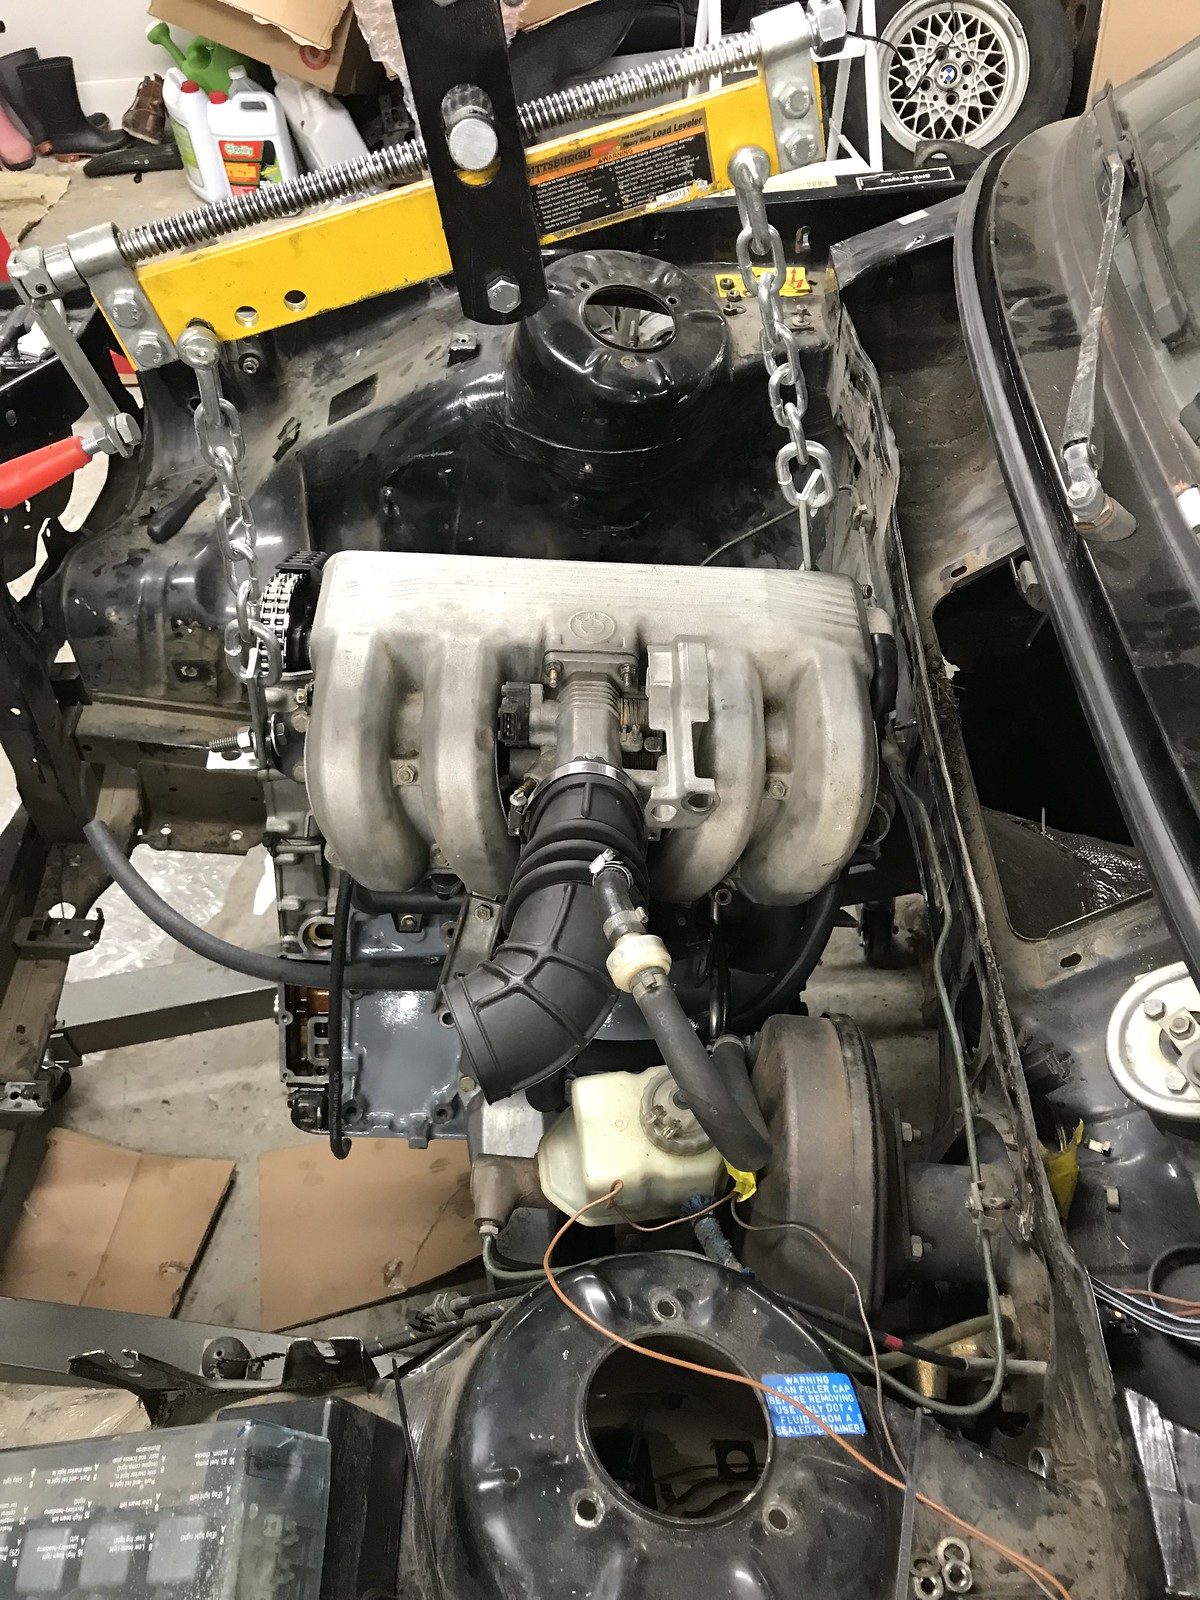
    Not much done last night other than some garage cleanup, organizing, and checking to see if I can swap ring gears between flywheels. The answer is yes and no. The inner diameter of the m10 is just enough that I would need to machine or grind a millimeter or more from the m42 ring to get it to fit. Probably just going to stick with either the m10 starter or spring for the reman one.


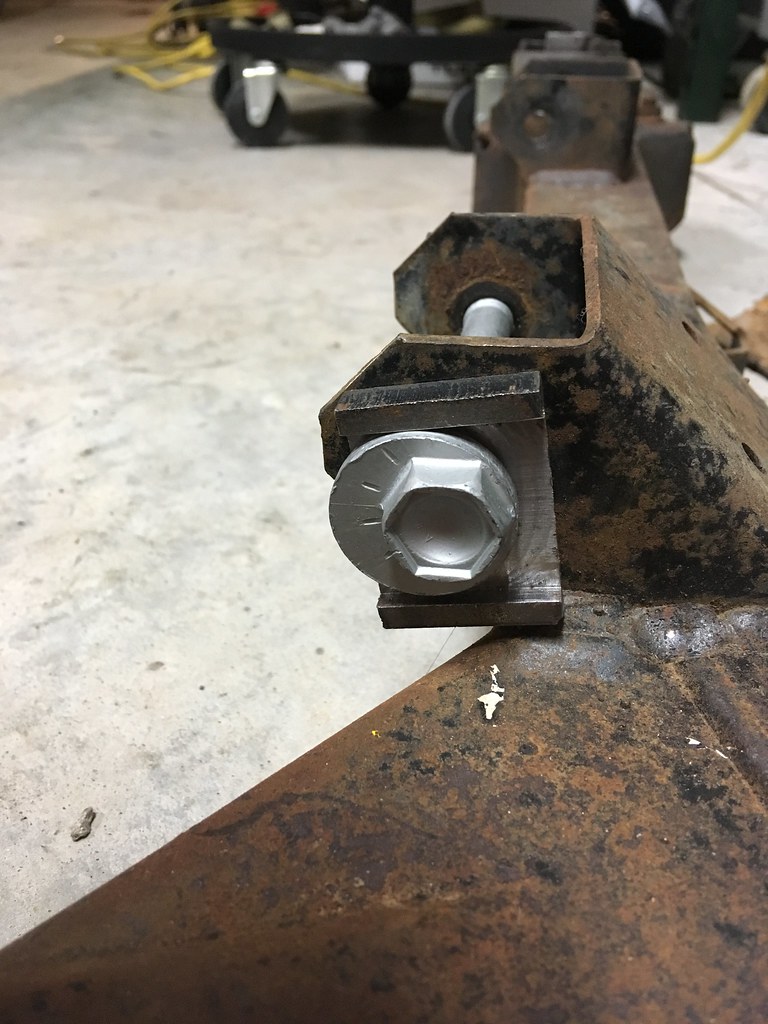
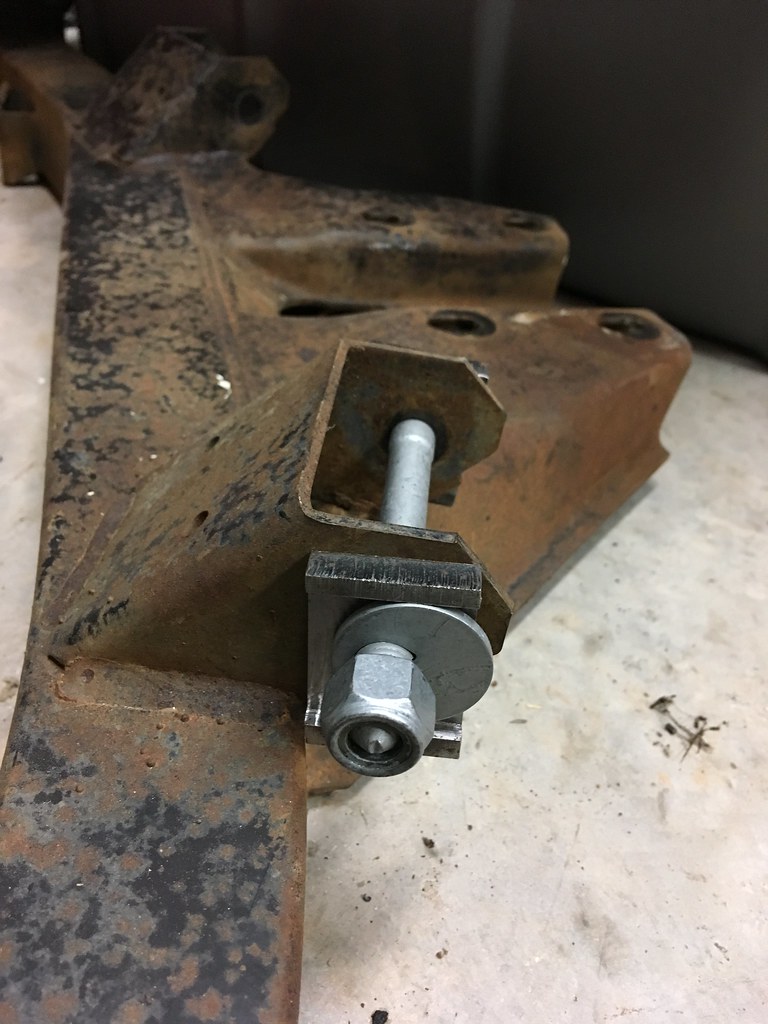
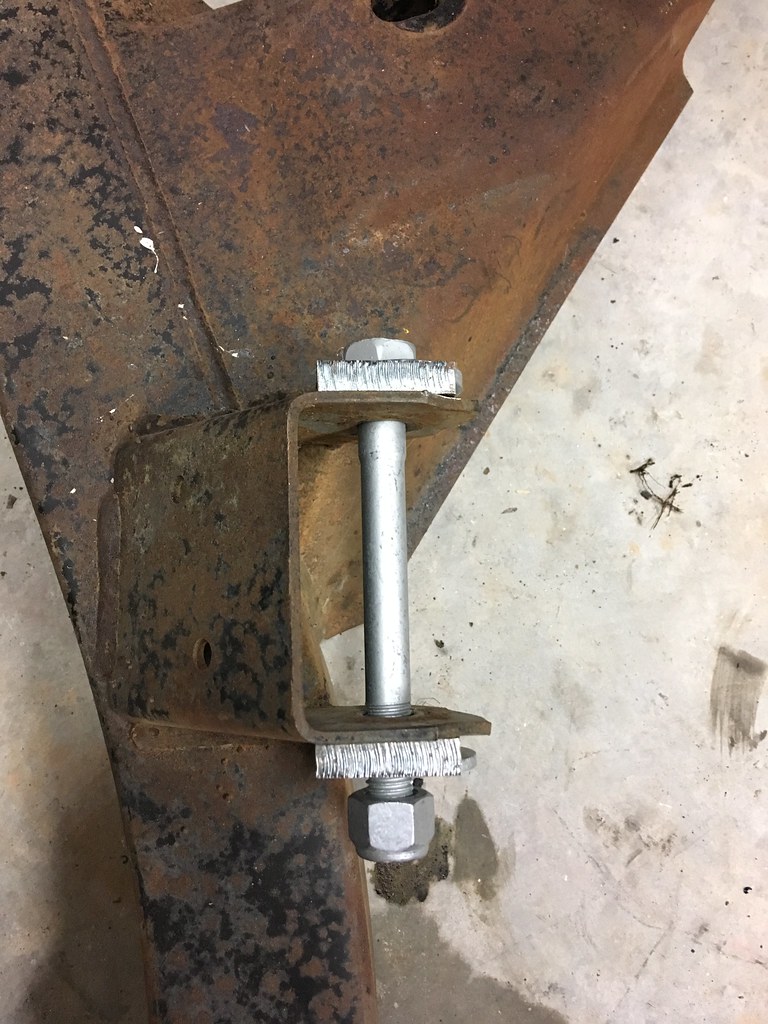
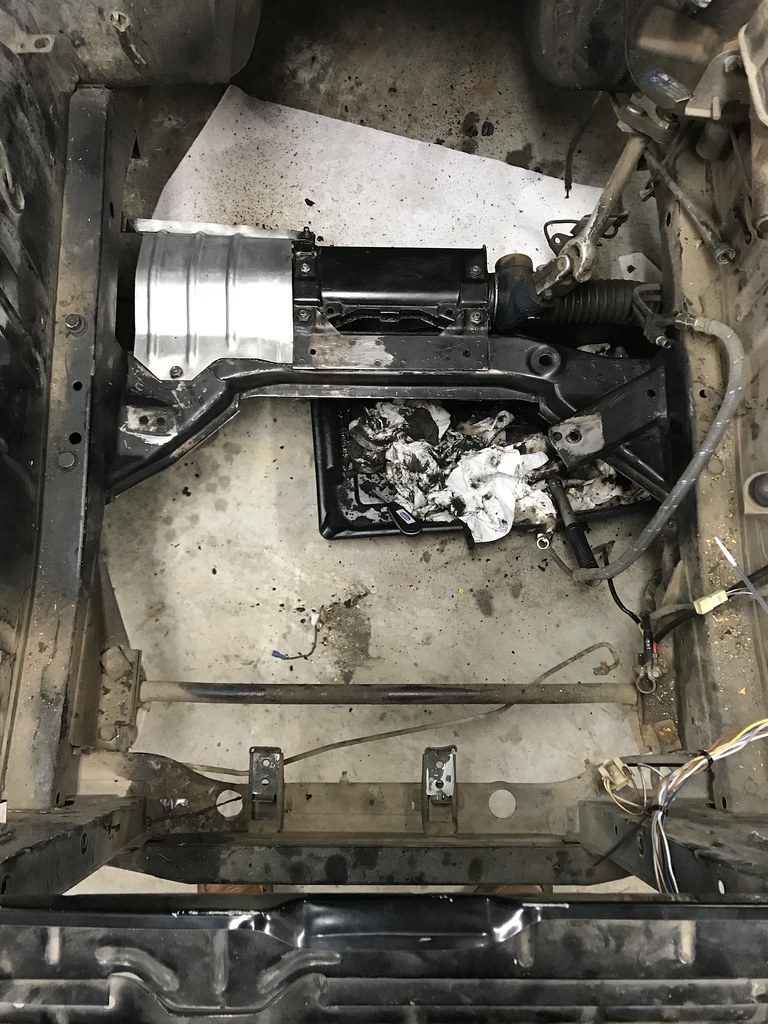
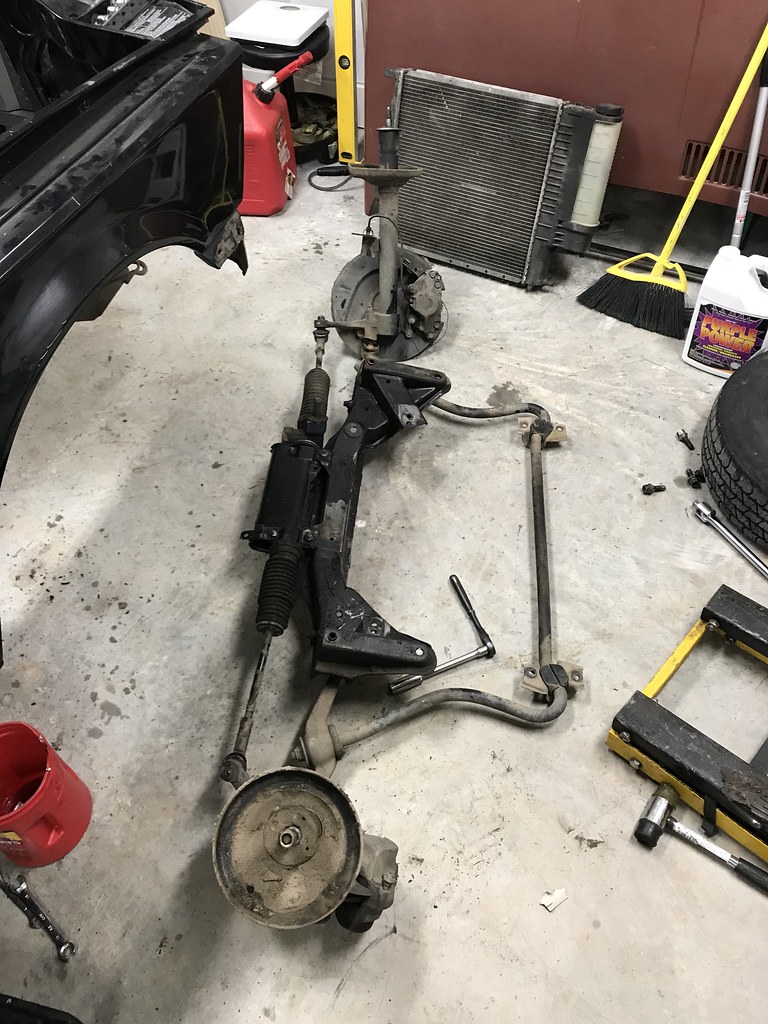
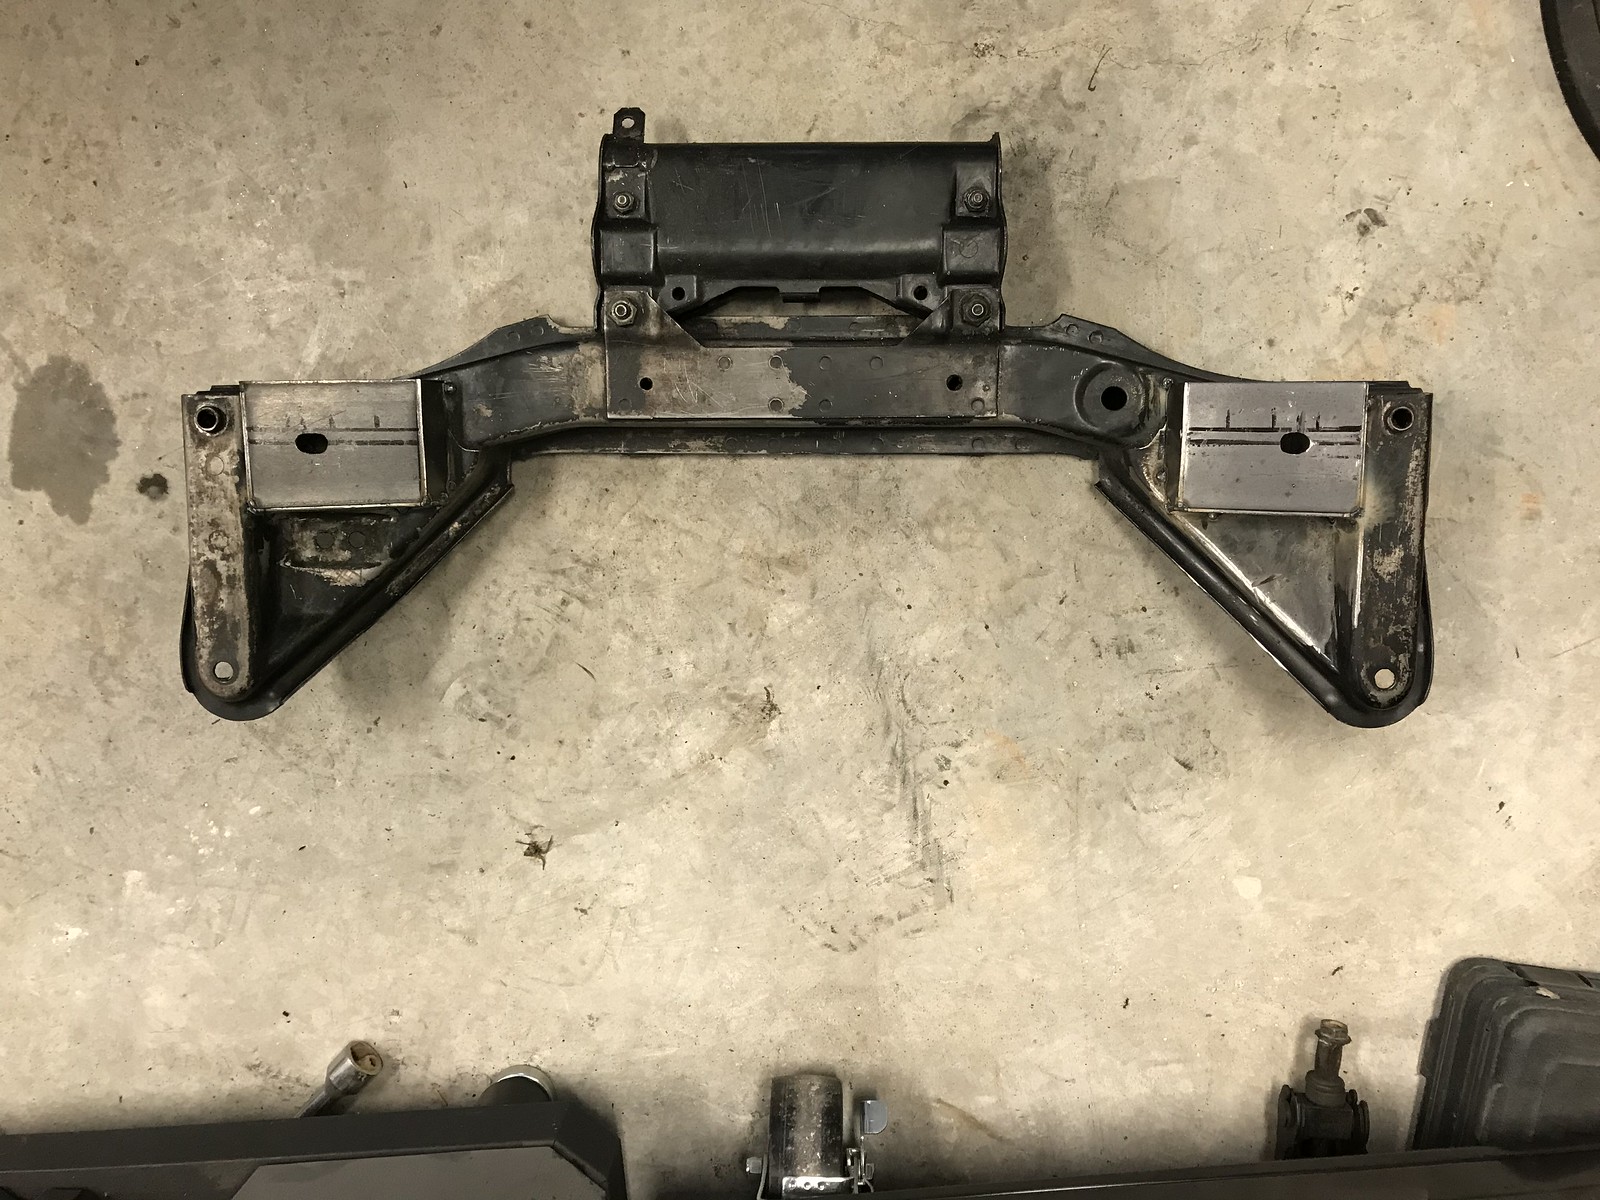
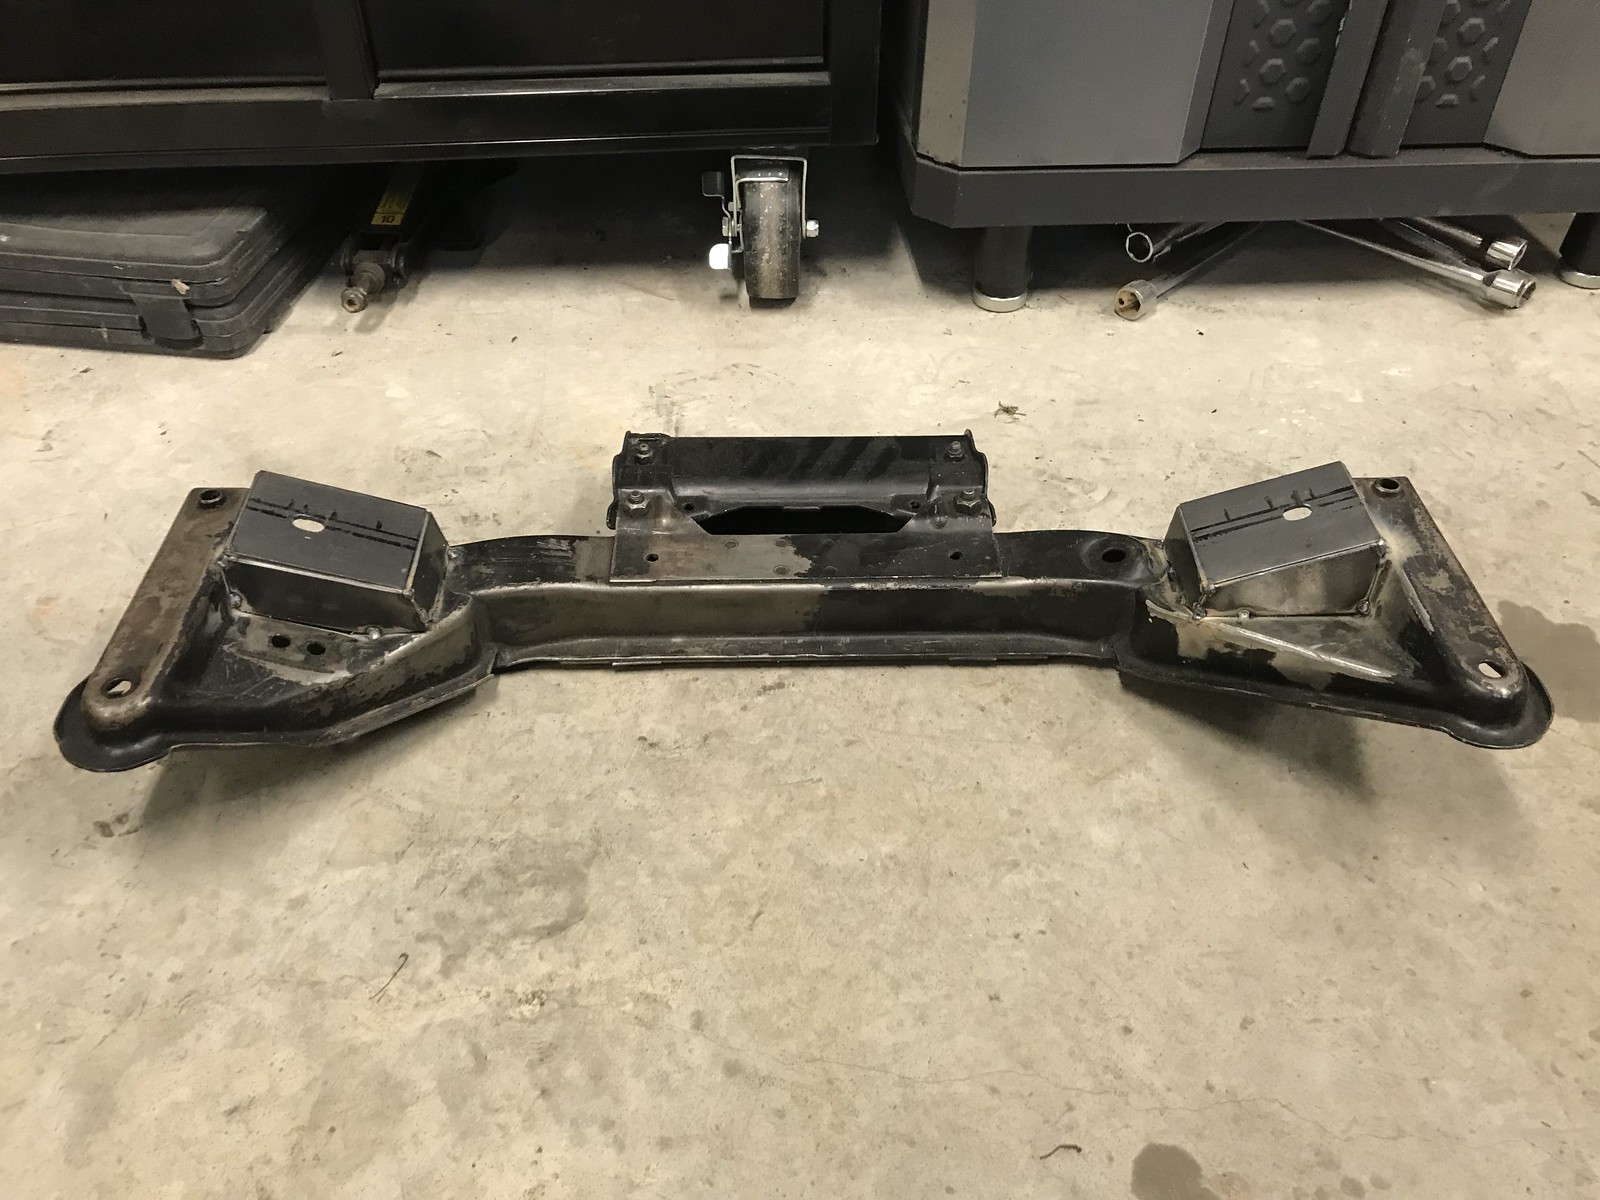
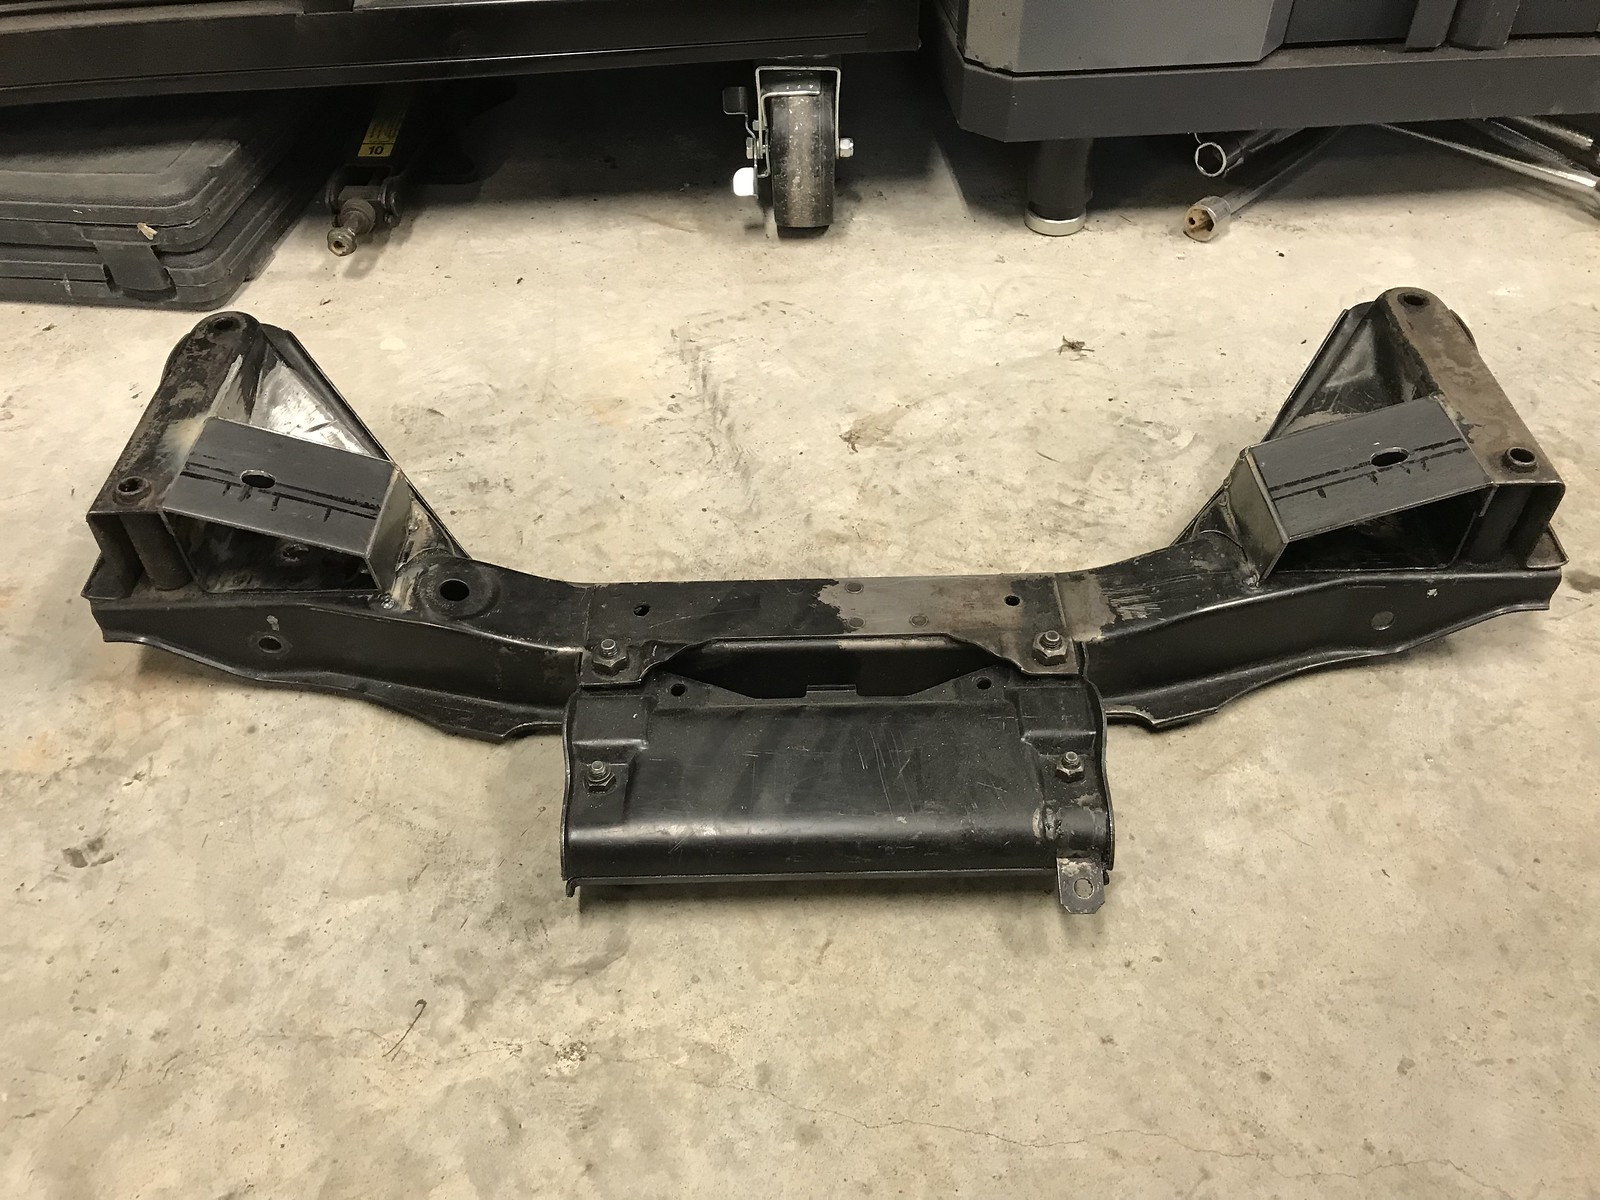
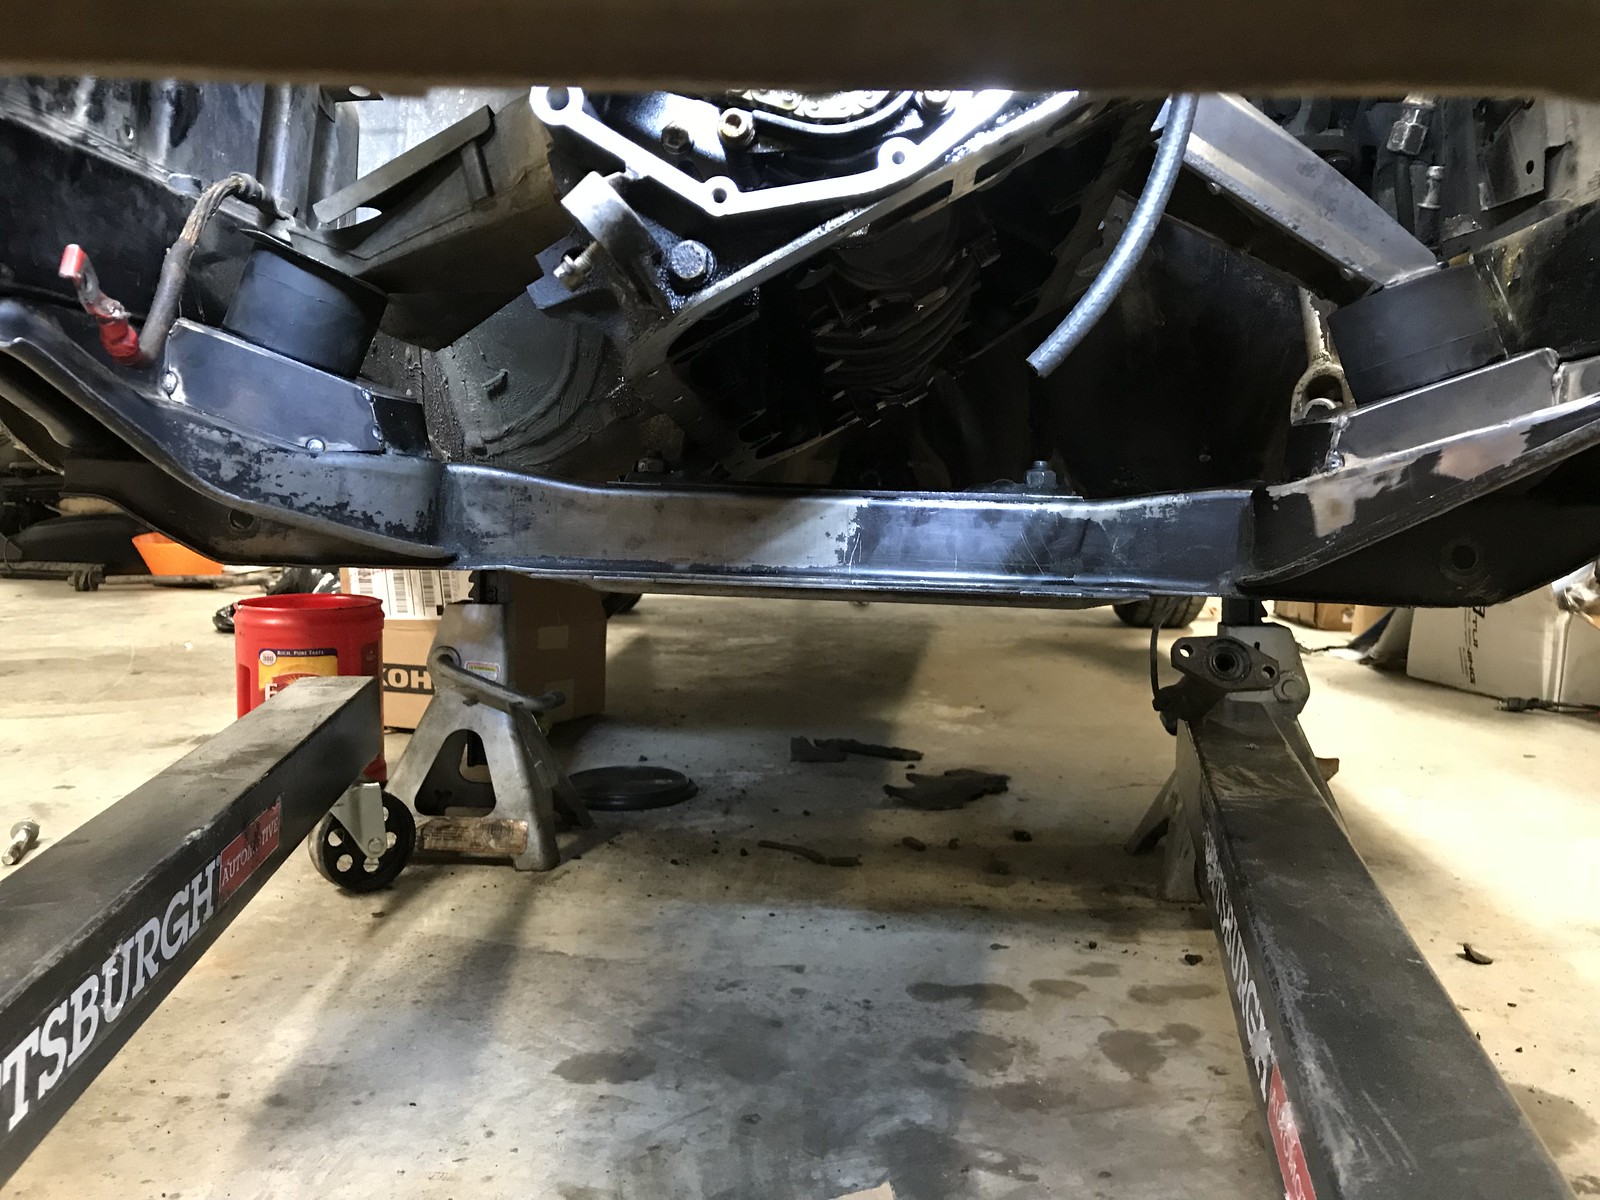
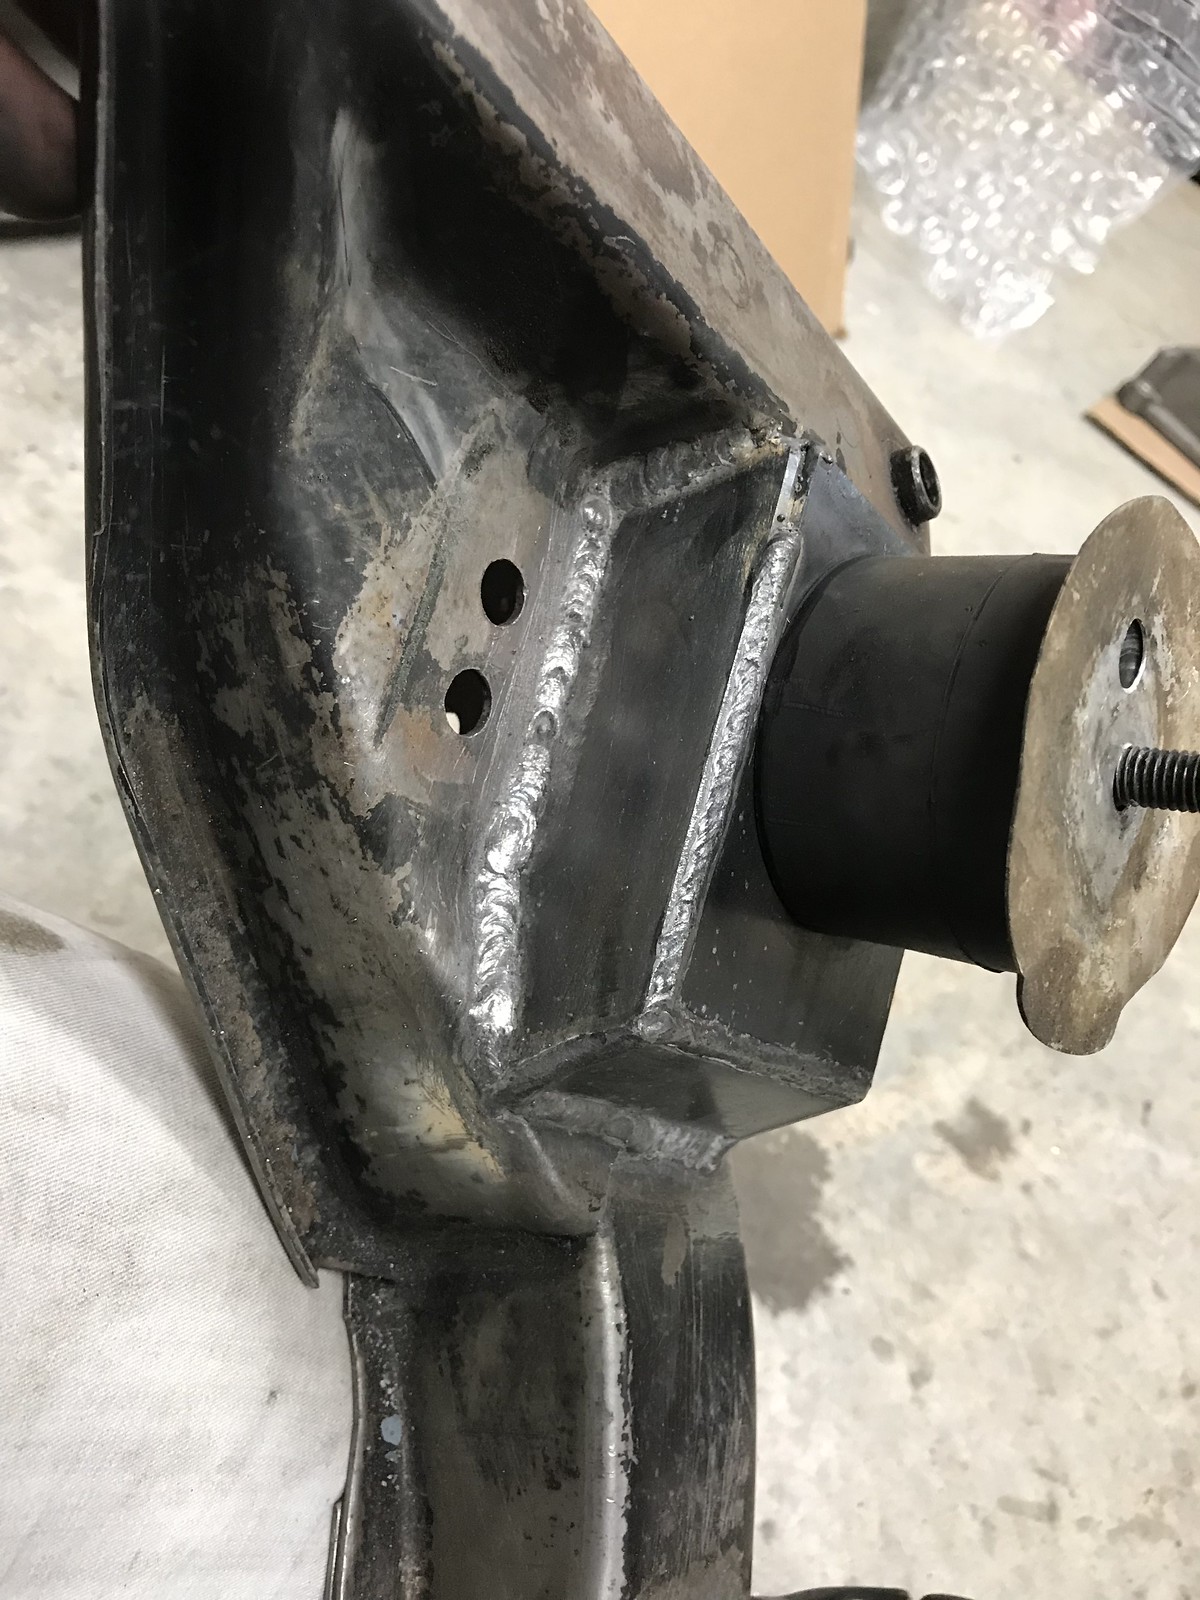
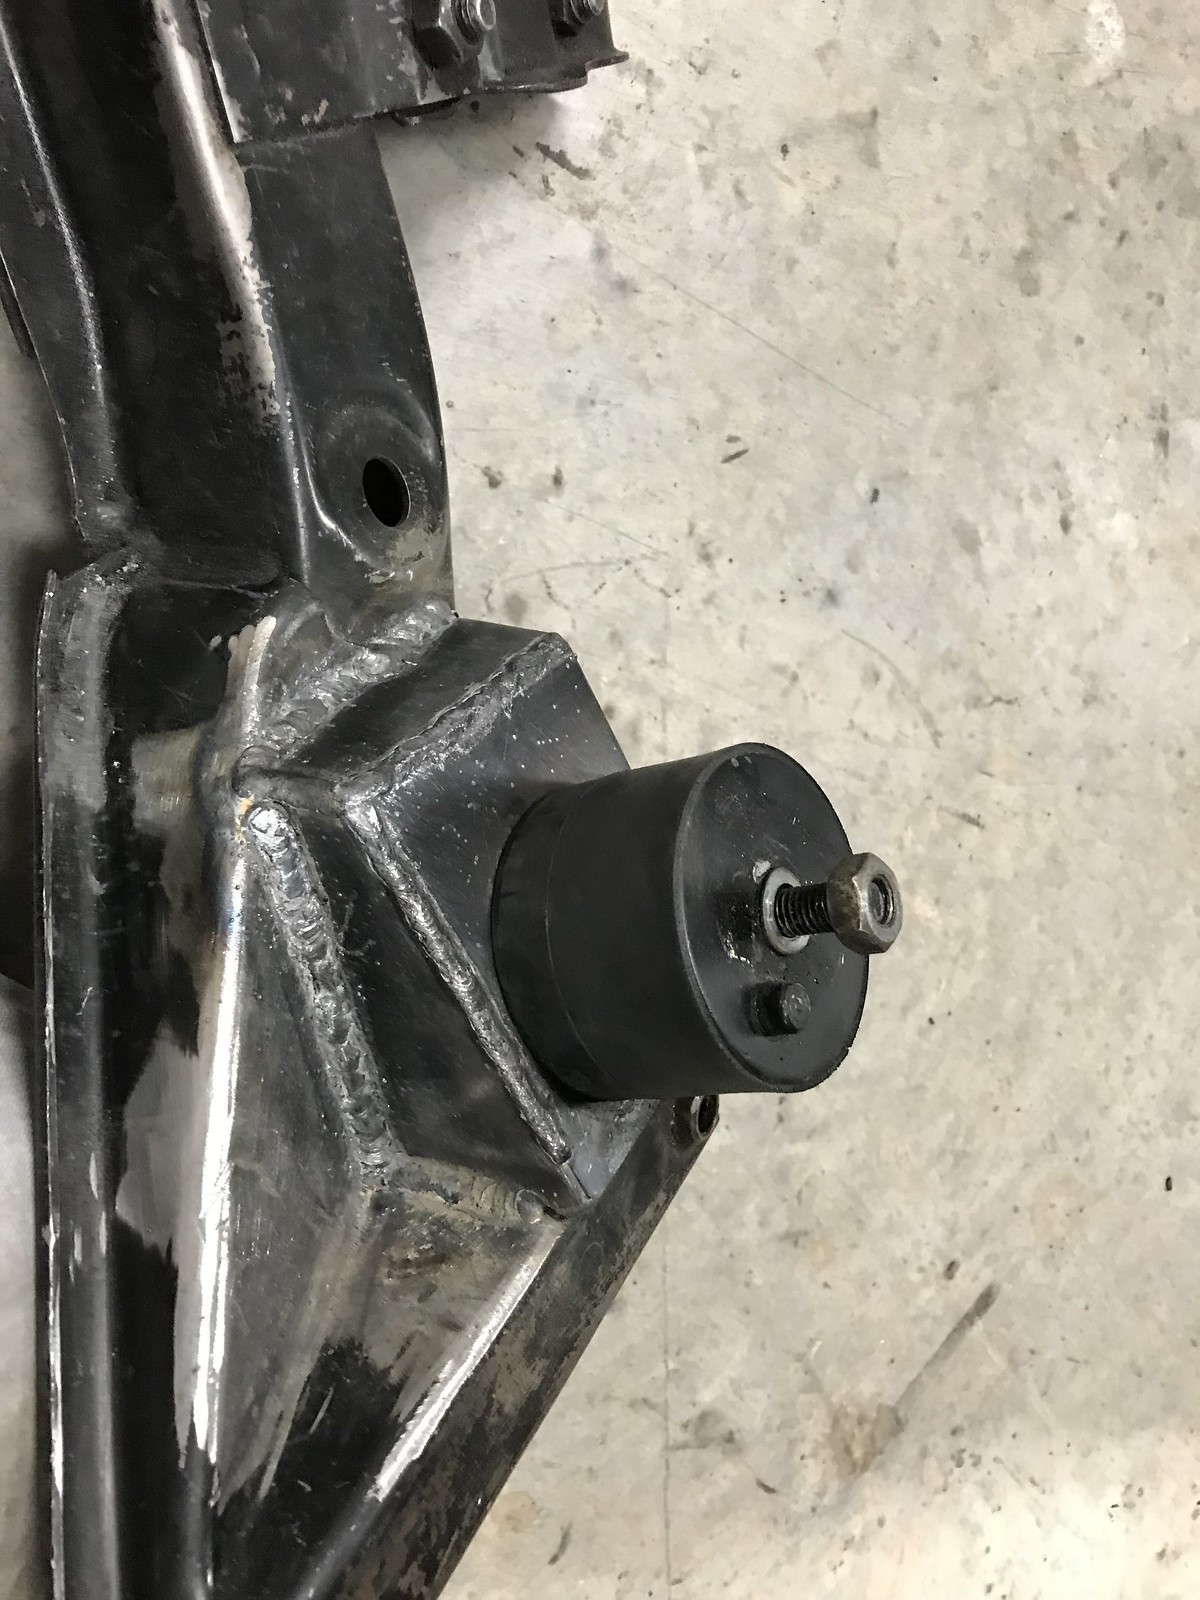
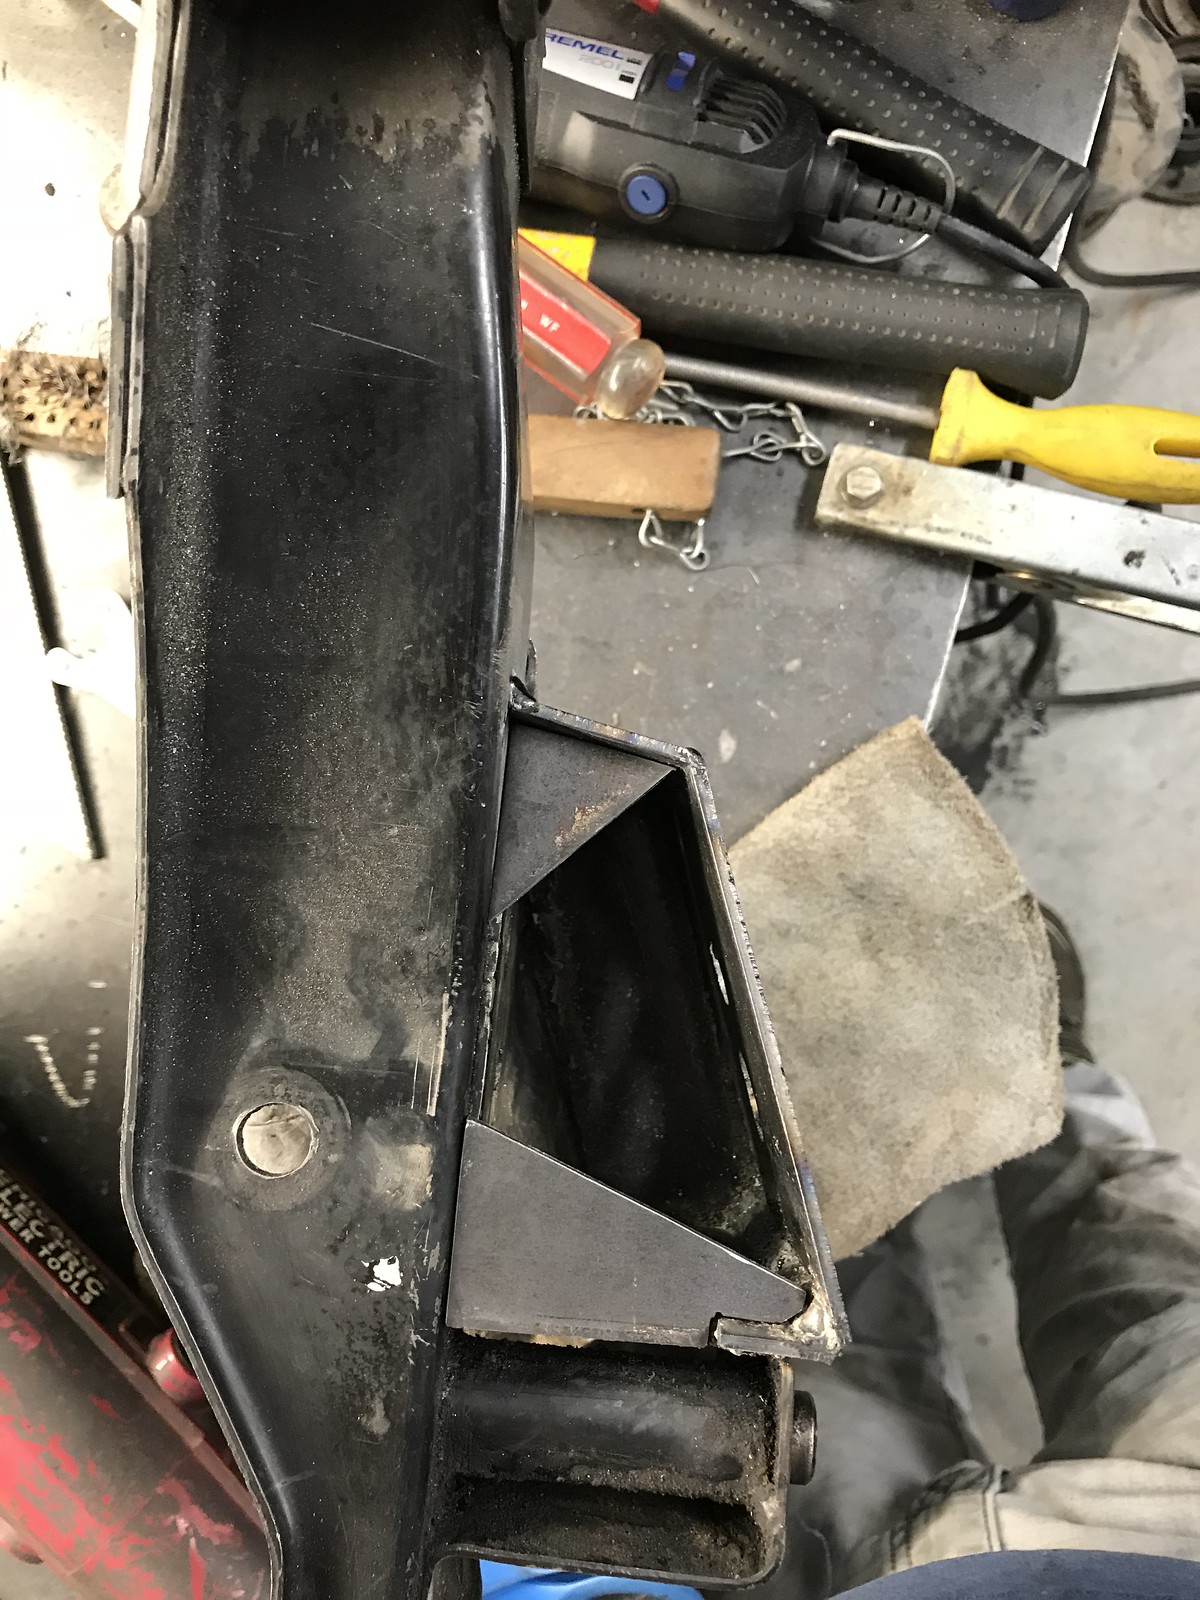
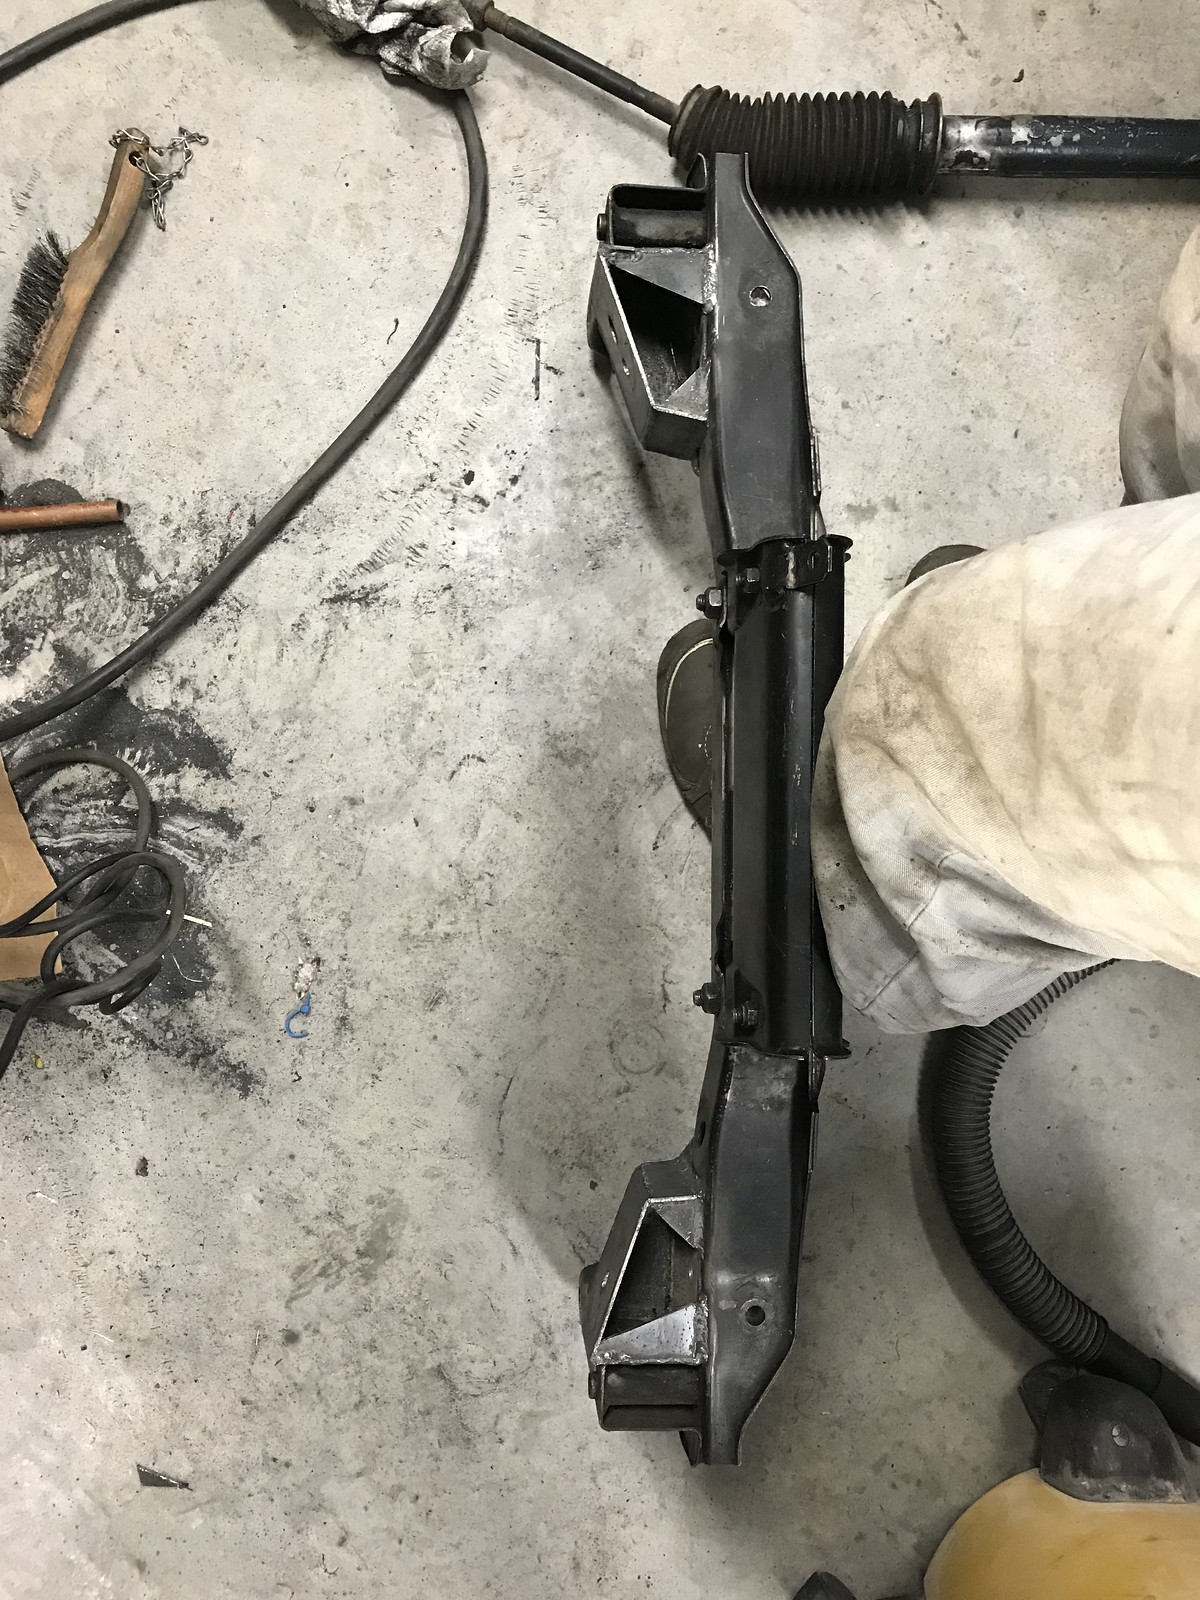
    One thing that sucks about BMW trailing arm suspension is the lack of adjustability. You can buy kits with brackets and eccentric bolts, but they are not budget friendly. Like around $200 for most because the BMW bolts used are around $17-20 EACH before even buying the washers and nuts. So I've found a cheaper solution intended for VW/Audis that still gets me the adjustment I want and effectively cost half of what most places are charging. The eccentrics are just slightly under the size of the ebay brackets, but when turned they rotate and adjust properly without issue. I will be putting a couple spot welds on each one once I get a good alignment figured out.

    E30 subframe adjuster brackets : $53.75 (Ebay)

    Eccentric bolt # WHT001679 : $27.44 for 4 (FCP Euro)

    Eccentric washer # WHT001675 : $8.08 for 4 (FCP Euro)

    Nut # N90635001 : $2.76 for 4 (FCP Euro)

    Total : $92.02

    Untitled by hatchethairy, on Flickr

    Untitled by hatchethairy, on Flickr

    Untitled by hatchethairy, on Flickr

    Comment


      #17
      10-12-2018


      Today was floor pan day. Much like I expected, I didn't get it all finished, but I got a ton of work done. I cut up two pieces and formed them from the dented hood that came with the car. It required scraping off all of the underhood foam, but didn't give me too much fuss. I've got one more spot by the pedal on the driver side and another on the passenger jacking pad that I'll get to later. For now I need to finish getting these plug welded in place. I also scored a cheap set of flywheel bolts that are slightly longer than the m10 so I don't have to cut down all of the m42 ones that are way too long. $3.50 for 9 of them and since I only need 8 it totals $3.11.

      Untitled by hatchethairy, on Flickr

      Untitled by hatchethairy, on Flickr

      Untitled by hatchethairy, on Flickr

      Untitled by hatchethairy, on Flickr

      Untitled by hatchethairy, on Flickr

      Untitled by hatchethairy, on Flickr

      Untitled by hatchethairy, on Flickr

      Untitled by hatchethairy, on Flickr

      Untitled by hatchethairy, on Flickr

      Untitled by hatchethairy, on Flickr

      Untitled by hatchethairy, on Flickr

      Comment


        #18
        10-16-2018


        Not much done in the last few days other than studying the wiring harnesses. Had another autocross Sunday and the rest was all family time. The electric door mirrors were removed, and I'll be making blanking plates from pieces of the hood. If I can find some lightweight non-hideous ones to bolt up that would be great specifically for HPDE. Almost forgot I got the m42 up on the engine stand and just about ready to dedicate time to gaskets and refresh. The rest of this week is mostly dedicated to welding in the pan patches that have been made and if possible start making the patch for the pedal area.

        Untitled by hatchethairy, on Flickr

        Untitled by hatchethairy, on Flickr

        Comment


          #19
          10-22-2018


          I didn't get much done most of the week. When passing the empty shell in the garage, I did a quick glance and scurried away. I needed a break anyway. My wife thought I had another autocross Sunday, so I told her it was a good time to get some floor pan work in. She agreed.

          I spent the first couple hours starting fires and putting them out with the rubber undercoating being so sensitive to my welding inputs. Once I finished welding in the patches I made the week prior, it was time to cut out the foot area where the pedal hinges. I took some measurements to help me locate the pedal first and cut away. I then spent way too much time fabbing up the hinge bracket, and then scrapping the first piece of patchwork that it would attach to. The second piece worked out okay, so I got it all welded in. The passenger side jacking pad will be next, and it's going to require a little more work higher up into the A pillar zone. I'm hoping to get some time in this week to cut it out and have it patched so all this sheet metal work can end.

          Untitled by hatchethairy, on Flickr


          Untitled by hatchethairy, on Flickr


          Untitled by hatchethairy, on Flickr


          Untitled by hatchethairy, on Flickr

          Untitled by hatchethairy, on Flickr

          Untitled by hatchethairy, on Flickr


          Untitled by hatchethairy, on Flickr

          Comment


            #20
            10-24-2018


            I didn't have much time to tinker last night, but I've had a hankering for dash removal. Half of the trim surrounding any buttons or levers are just pure crap, falling apart, and all mounting tabs are nonexistent. There were a couple surprises. The dash felt heavier than I expected, and the heater assembly seemed lighter. I didn't get a chance to weigh it all, but even in the steering column there was some weight shed. I'm guessing about 15-20 lbs including the engine bay cover. All the surrounding metal at the firewall creating the blower housing will be trimmed and a lightweight blanking plate will seal up the big hole. I'm thinking a good chunk of the wires will be deleted when I get to that stage as well.


            Untitled by hatchethairy, on Flickr


            Untitled by hatchethairy, on Flickr


            Untitled by hatchethairy, on Flickr


            Untitled by hatchethairy, on Flickr


            Untitled by hatchethairy, on Flickr

            Comment


              #21
              10-25-2018


              I stumbled upon a Kirkey seat last night with a harness for $40, and raced over to claim it. After a conversation about my plans for it, he offered to knock $20 off the price to help out. Gotta love that. So for $20 I got a ~15" Kirkey with I think 15 degree layback and an of out of date Simpson 5 point harness. Doubt I'll use the harness, but nothing wrong with more for less. Since it was originally for circle track use, he also had a head bracket that bolts on to the right side. I fit in nice and snug, which is a big relief with such a small seat width. I'll keep my eyes peeled for a larger seat for passenger, but for now I've got the most important one out of the way.

              Untitled by hatchethairy, on Flickr


              Untitled by hatchethairy, on Flickr

              Comment


                #22
                10-26-2018


                Last night was spaghetti night. I'm not scare of wires, but it is always nerve-wrecking when the first wire you clip is the wrong one. Whoops. Anyway, I have a little more trimming to do, and possibly going to make my own fuse panel to get rid of the stock torpedo style fuses. Budget is getting slim, so whatever option I go has to be cheap.

                Untitled by hatchethairy, on Flickr

                Untitled by hatchethairy, on Flickr

                Untitled by hatchethairy, on Flickr

                Untitled by hatchethairy, on Flickr

                Comment


                  #23
                  10-30-2018


                  Last night I planned to get stuff done, but just kept staring at everything and getting discouraged at the overwhelming amount of work left to do. I finally snapped out of it and started stripping down more wires, trimming out the remains of the headliner, removing the rest of the front seat belts, and cutting away the degrading leather on the steering wheel. There's also this ugly alien spaceship thingy that's on the rear window that has bothered me. After some googles I found out it's a cell phone antenna and it's just glued to the glass. I sprayed some adhesive remover on it, put a heat gun to it, and scraped it off with a trim remover tool. It's the little things.


                  Almost forgot, I weighed the dash and hvac stuff minus the cluster. I am happy to report 44 lbs of weight savings.


                  Untitled by hatchethairy, on Flickr


                  Untitled by hatchethairy, on Flickr


                  Untitled by hatchethairy, on Flickr

                  Comment


                    #24
                    11-01-2018


                    A few more days have passed, and I haven't managed to get much done other than degreasing the front subframe. That thing was FILTHY, and it's still not really clean yet. I'm off early today, so any spare time I have will be dedicated to dropping the front suspension and subframe to start figuring out motor mounts. If autocross is going to be cold and rainy on Sunday, I'll probably just dedicate that time to cut and weld the mounts. My plan for this month is to get the m42 situated in the engine bay, rad mounted, driveshaft center support bearing brackets made, and start engine harness wiring. All of this has been done by many others before me, and luckily all of them have posted plenty of information to help guide me with each step. Somewhere in there I'll probably do the front suspension stuff and brakes since it will all be out. We'll see though.


                    Another thing of note is the SCCA has an upcoming rule proposal to allow motor swaps like mine, so if it passes the car will then be legal for D Prepared. The weight penalty is a little higher, so I'll probably have to add some ballast in the spare tire area since the minimum for my setup would be 2063.96 lbs. Fingers crossed that the rules pass.


                    Untitled by hatchethairy, on Flickr


                    11-02-2018


                    I had a few hours to tear down the front end yesterday with the sole mission to get my hands on the front subframe for motor mount fabrication. I didn't put much effort into separating the control arms from the spindle since they didn't want to let go, but I'll revisit that soon. It took FOREVER to clean the rest of the subframe since it was still plenty caked in car feces. Filthy. Once the caca was mostly removed, I chopped off the factory motor mount bracketry on the driver side and bolted up the new e24 motor mounts (part number 11811132322) to the m42 arms. Since the engine is on a stand I rotated it until the oil pan was level, and measured the angle of the mounts I'll need to fabricate. 20 degrees will do the trick, but since the e24 mounts I got are a bit shorter than the m42 ones, I may have to shim the mounts or build up a higher resting place on the subframe. I think the plan for now is to tack something up real good, and test fit it all to make sure I'm as close to the firewall and low as possible. Fabrication for the mounts won't be until at least Sunday night though, and it's driving me nuts. Forecast for Sunday's autocross is free of rain now, but it's tempting to skip so I can get some more work on the car done.

                    Untitled by hatchethairy, on Flickr

                    Untitled by hatchethairy, on Flickr

                    Untitled by hatchethairy, on Flickr


                    Untitled by hatchethairy, on Flickr

                    Comment


                      #25
                      11-07-2018


                      I'm tired of the sludge that's glued to the engine, so last night I started the long journey of cleaning it all up. I Hope to have it presentable and some of it ready for paint soon, just need to decide which direction I want to go. The oil cap from the m10 looks way cooler than the m42, so it got swapped. The thermostat was tested, and checks out fine, so it's one less thing to hit the budget.

                      Untitled by hatchethairy, on Flickr

                      Untitled by hatchethairy, on Flickr

                      Untitled by hatchethairy, on Flickr

                      Piles of crap scraped and wire brushed. I haven't started using any solvents or degreaser yet, as I find they end up making things messier when it's caked on this thick.

                      Untitled by hatchethairy, on Flickr

                      Untitled by hatchethairy, on Flickr

                      Untitled by hatchethairy, on Flickr

                      Untitled by hatchethairy, on Flickr

                      I also spent way too much time comparing the gearing I'll have with the e21 depending on the tire package I eventually go with. My e30 with the same motor and trans redlines in second gear way sooner than I prefer with 4.44 gears. I think ends up causing me more harm than good even with short courses. If I keep the 14" Hoosier package, second gear will top out around 60, which gives me another 7 mph over what I have now since the e21 is 3.91 ratio. At this point I don't know if it will be all that noticeable, but it's worth testing to see.

                      gearing comparisons by hatchethairy, on Flickr

                      hoosier a7 14- 4.44 by hatchethairy, on Flickr

                      Comment


                        #26
                        11-08-2018


                        I'm just continuing to make a mess to the point I have no where to place my feet. I have way more time in cleaning these than I care to admit, but I'm just about ready to put it all back together. The block and pulleys will get a coat of some cheap black paint, but the rest will all just remain as it came from the factory. After dropping the lower oil pan I found remnants of the old timing chain guides, so it appears someone did in fact replace all of the timing components. I feel pretty good about that since all of those parts are getting pretty pricey and would push me over budget.

                        Untitled by hatchethairy, on Flickr

                        Untitled by hatchethairy, on Flickr

                        Untitled by hatchethairy, on Flickr

                        Untitled by hatchethairy, on Flickr

                        Comment


                          #27
                          11-12-2018


                          More engine cleaning, and finally some paint on the intake side of the block has been brushed on. When I pulled the heater pipe, it broke off in the block, this was expected, so the new one was installed. I pulled and cleaned all injectors and put new fuel hoses in place before bolting the upper and lower back into their homes. I managed to figure out hose routing to delete the heater core piping using part of the stock hose and a 90 degree Pex fitting. More pics later, hopefully the motor will be back together and ready to drop in within a few days.

                          Untitled by hatchethairy, on Flickr

                          Untitled by hatchethairy, on Flickr

                          Untitled by hatchethairy, on Flickr

                          Comment


                            #28
                            11-15-2018


                            Not much to report here, just plumbing cooling lines and vaccum stuff still. I ditched the pex elbow and used just a straight coupler which saves me a couple bucks on budget, but also looks to be a better setup overall. My garage was a complete disaster, so I spent some time cleaning up and then focusing on prepping gasket surfaces. I realized I'm missing a couple small o-rings and gaskets, so until they roll in I'm just going to attack the exhaust side to prep for paint.

                            Untitled by hatchethairy, on Flickr

                            Untitled by hatchethairy, on Flickr

                            Comment


                              #29
                              11-19-2018


                              I spent some time Friday afternoon and Sunday morning knocking out the motor mounts to swap in the m42.

                              Untitled by hatchethairy, on Flickr

                              Untitled by hatchethairy, on Flickr

                              Untitled by hatchethairy, on Flickr

                              The test fit went well, so I burned it all in with the trusty flux core booger welding.

                              Untitled by hatchethairy, on Flickr

                              Untitled by hatchethairy, on Flickr

                              Untitled by hatchethairy, on Flickr

                              Untitled by hatchethairy, on Flickr

                              Untitled by hatchethairy, on Flickr

                              Untitled by hatchethairy, on Flickr

                              Untitled by hatchethairy, on Flickr

                              Untitled by hatchethairy, on Flickr

                              Untitled by hatchethairy, on Flickr

                              Comment


                                #30
                                11-19-2018


                                So I drilled 4 holes this afternoon to fit the e46 camber plates. I also picked up a cheap set of plates that has caster adjustment, but probably won't use them for the GRM challenge due to budget.

                                Untitled by hatchethairy, on Flickr

                                Untitled by hatchethairy, on Flickr

                                Untitled by hatchethairy, on Flickr

                                Untitled by hatchethairy, on Flickr

                                Garagistic has been slashing prices for black friday, so I snatched up a set of delrin control arm bushings, rear subframe mounts/bushings, and diff bushings. For some reason they shipped me two sets of control arm bushings, so I get to knock $15 off the budget. Yeehaw!

                                Untitled by hatchethairy, on Flickr

                                Comment

                                Working...
                                X