
This thread is going to be a quick dump of info from the past handful of months. I'll try to date each post accordingly to show when and where progress or posts were made.
06-25-2018
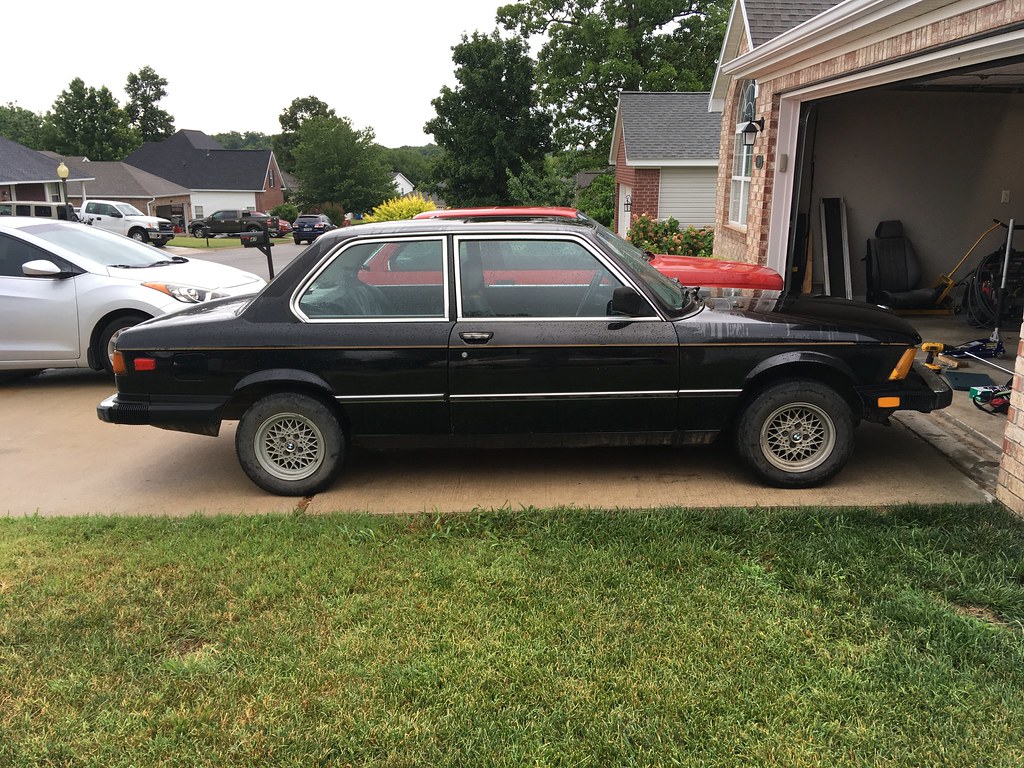
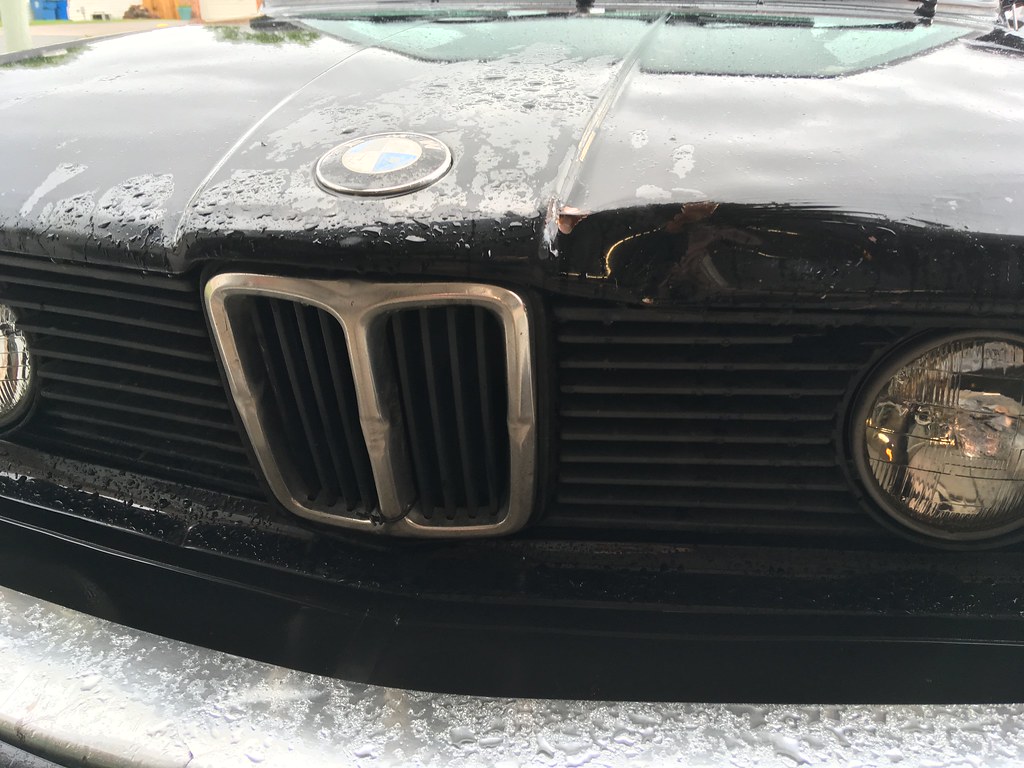
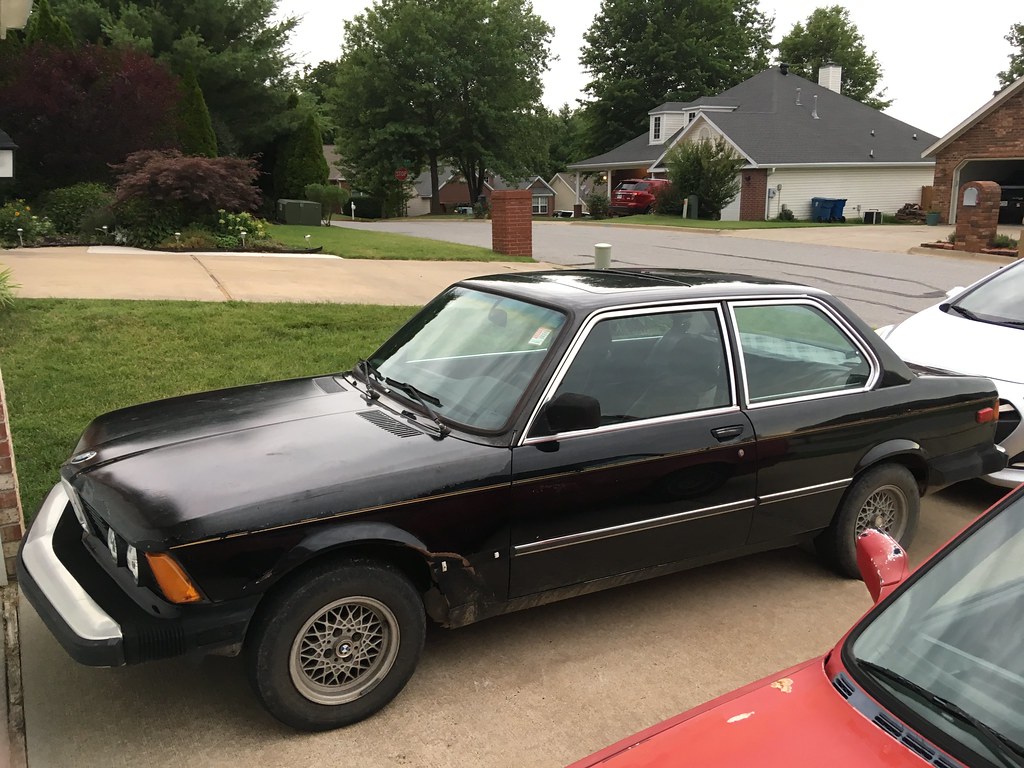
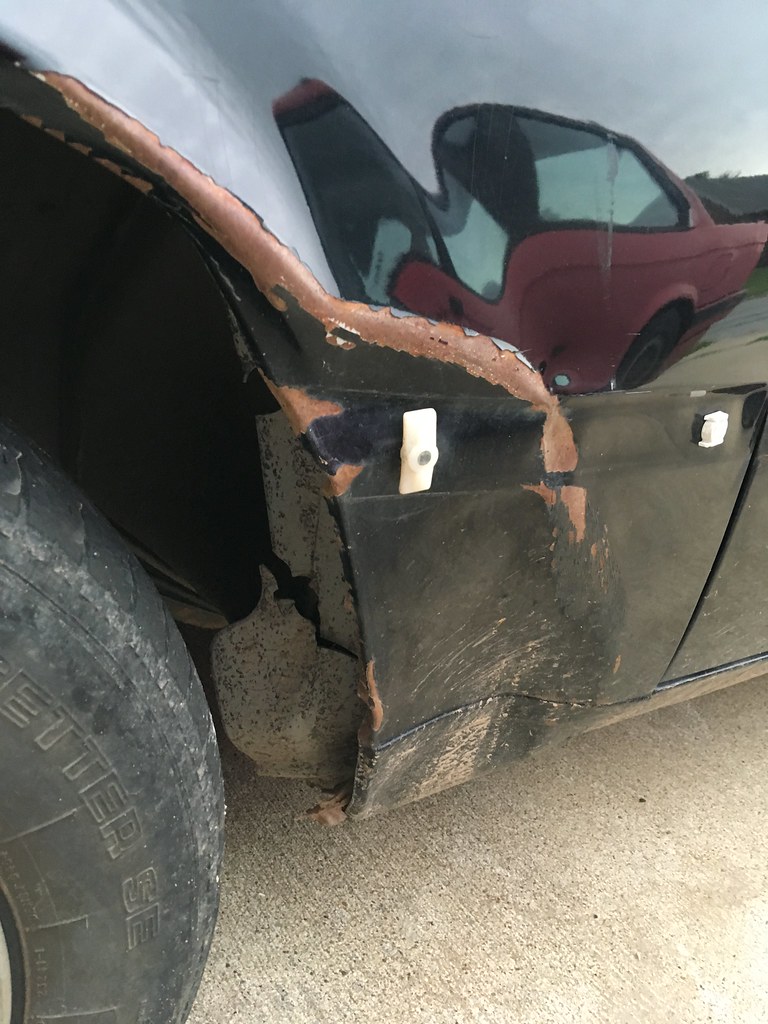
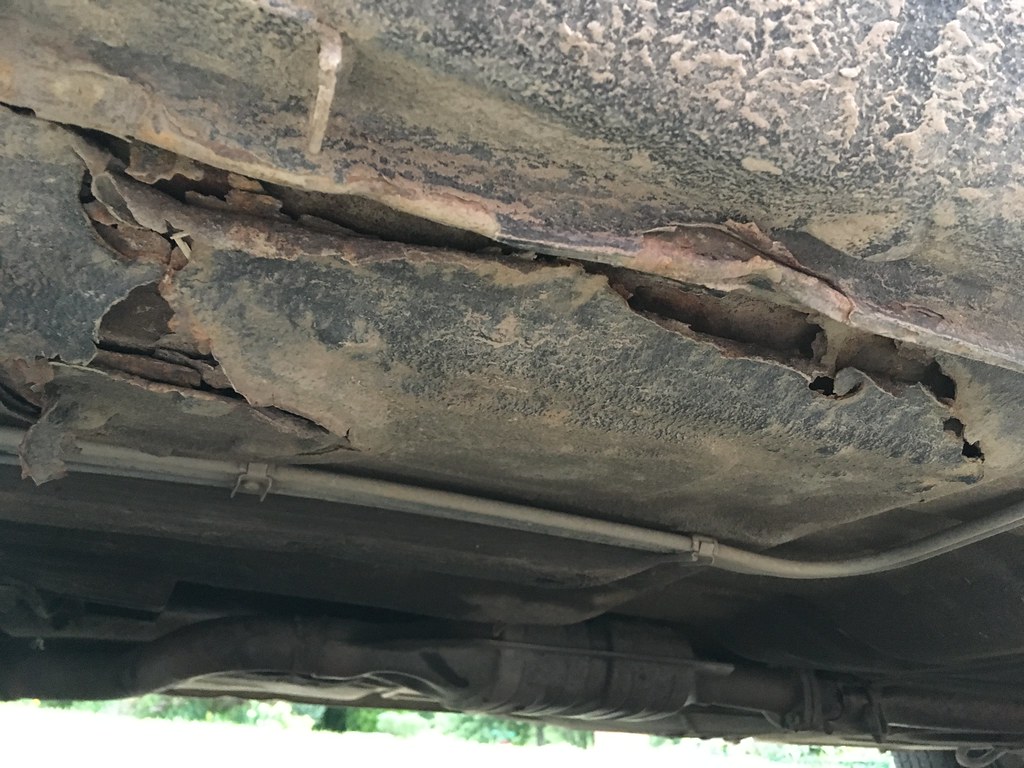
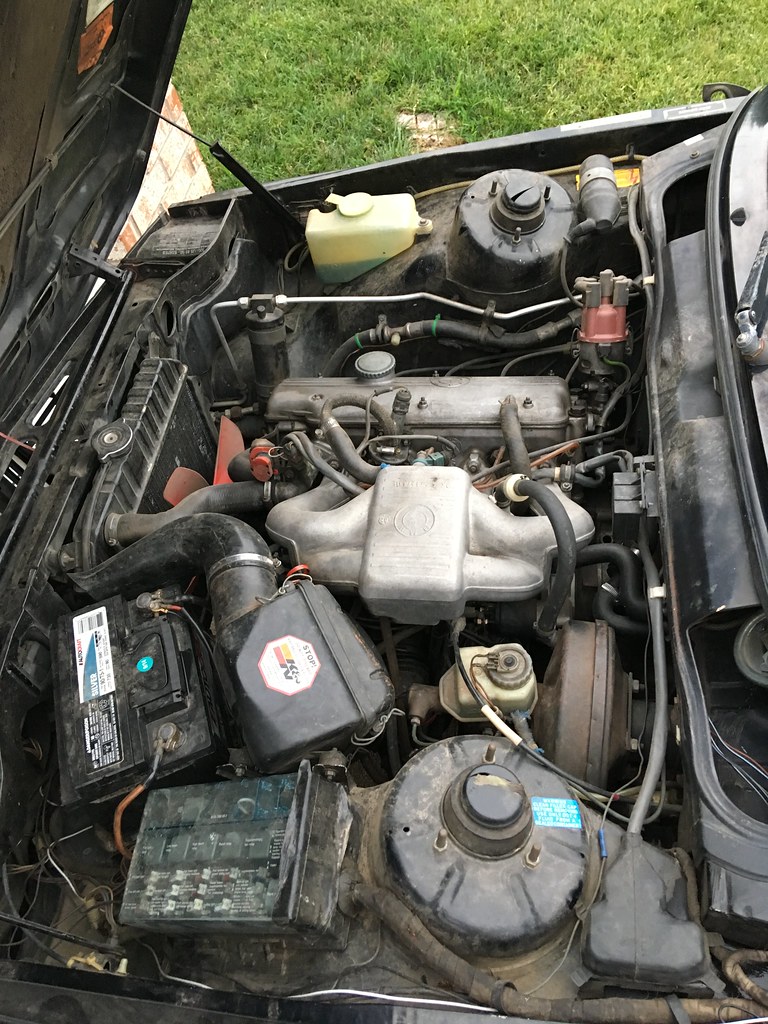
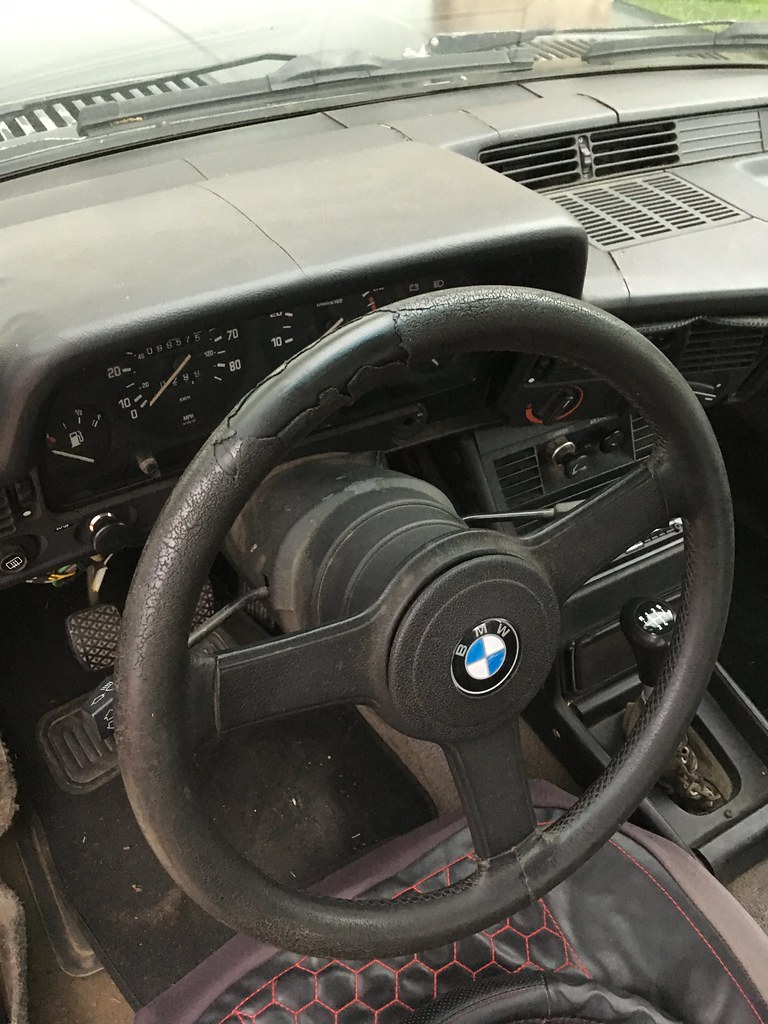
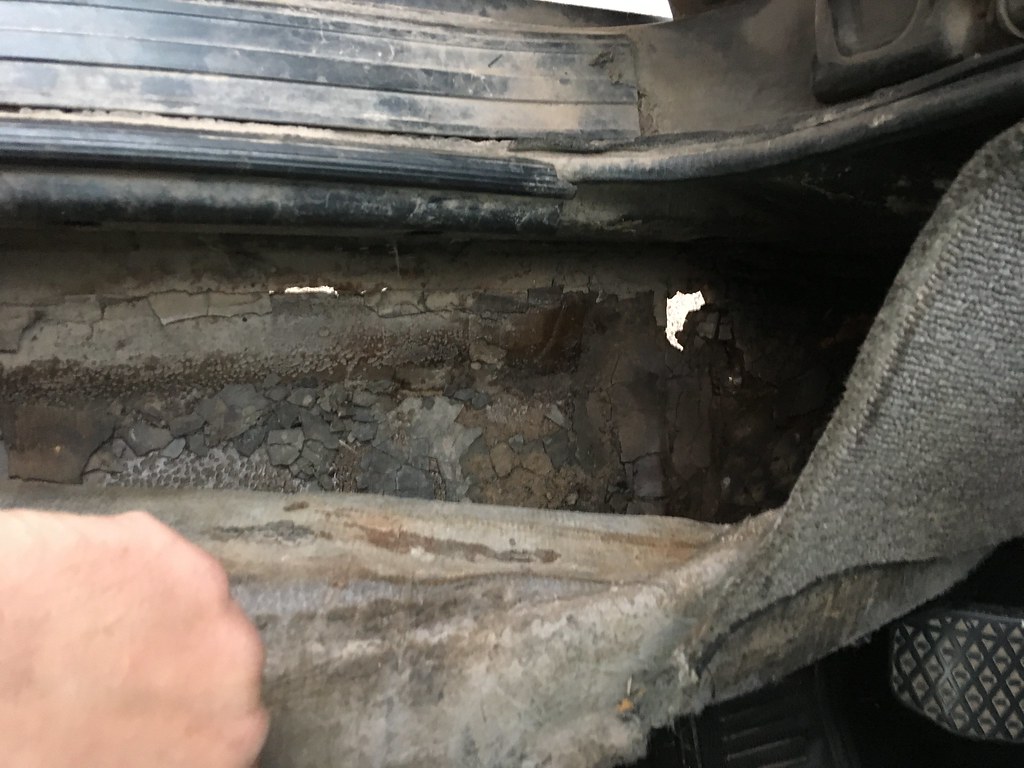
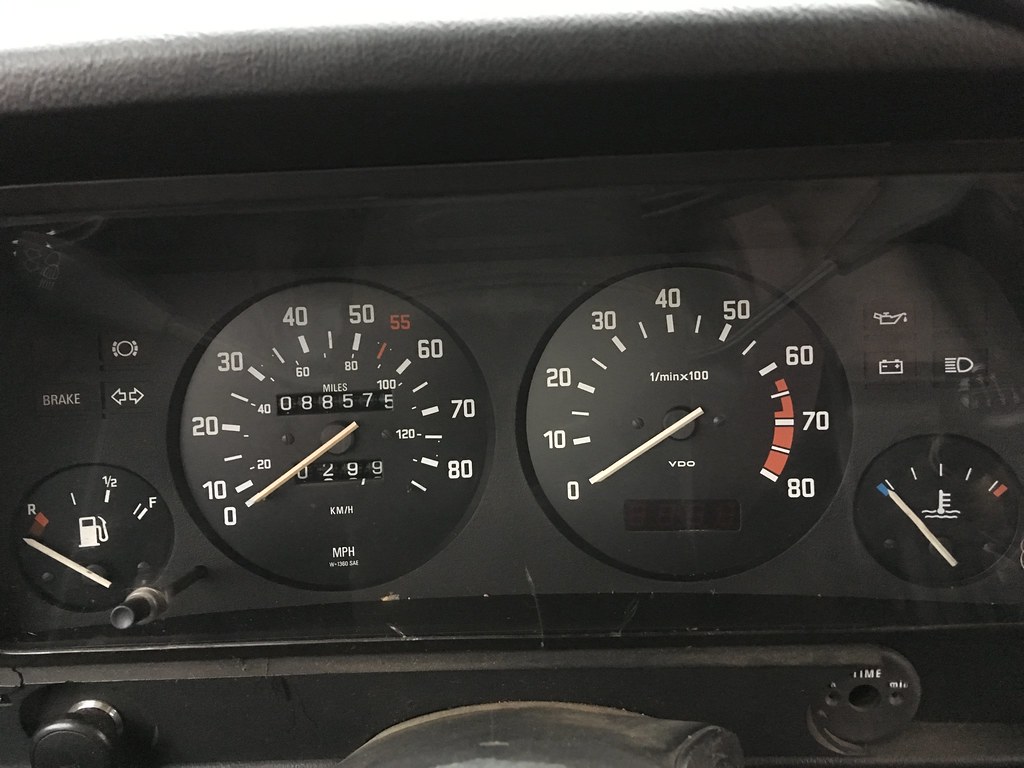
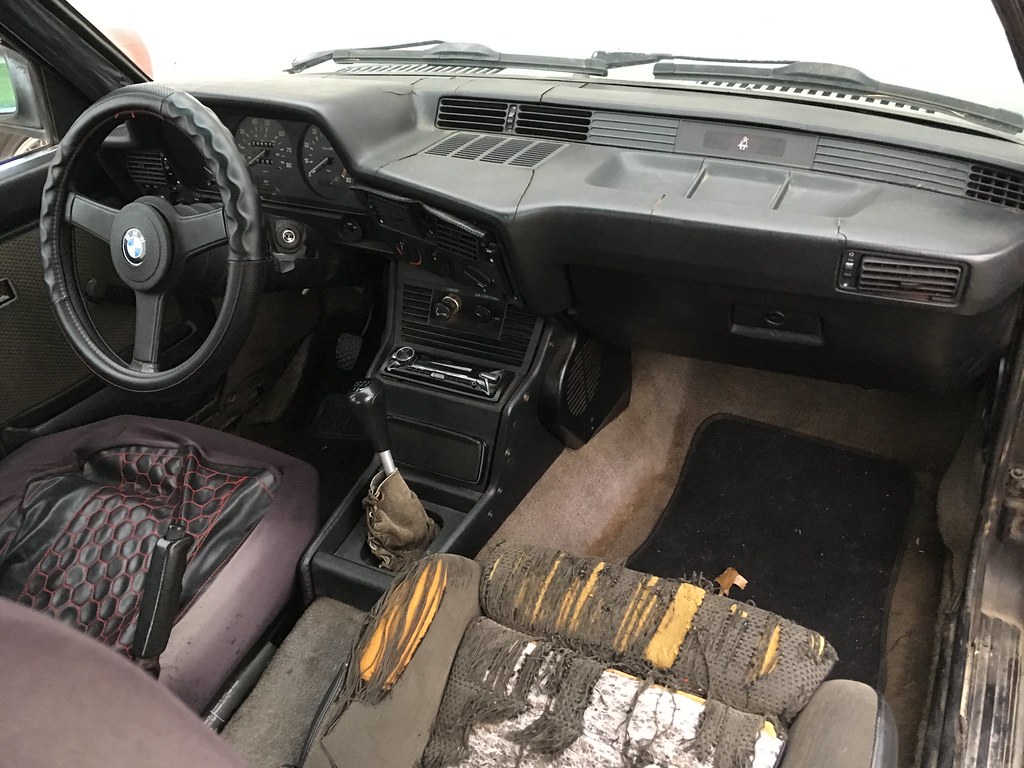
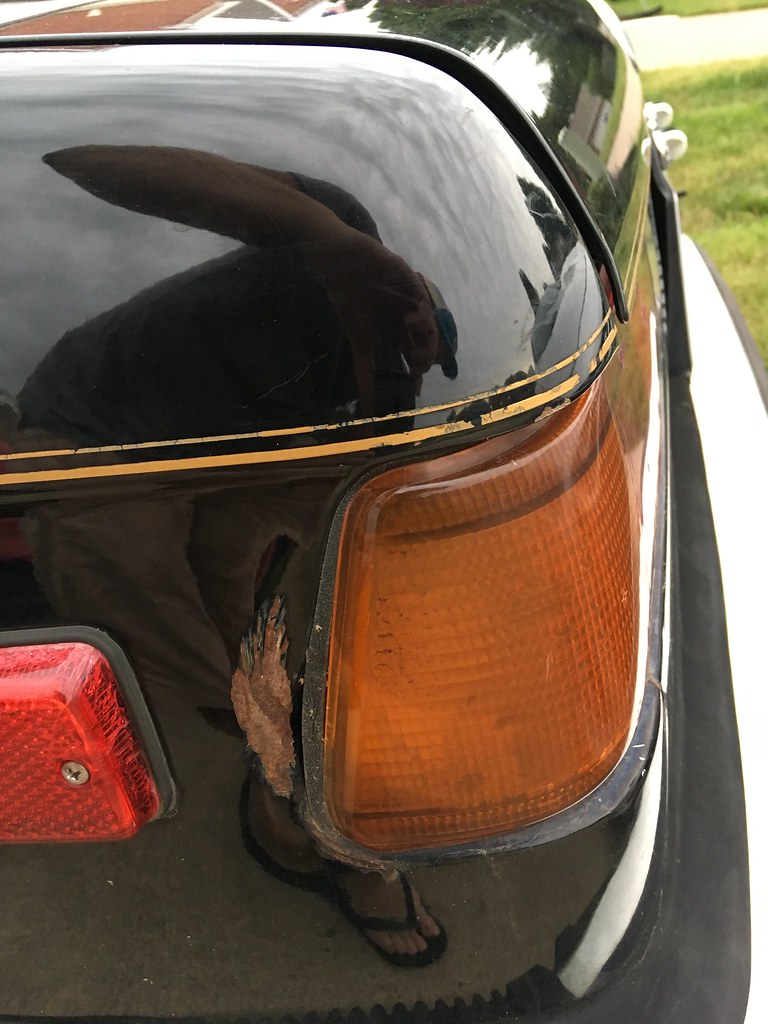
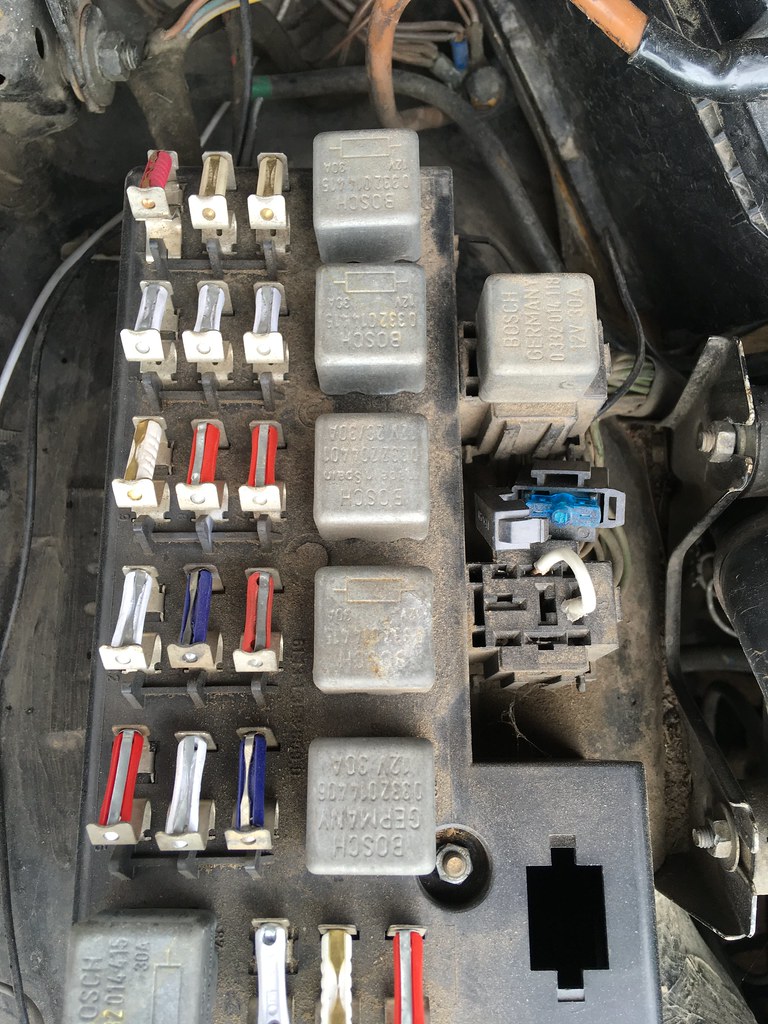
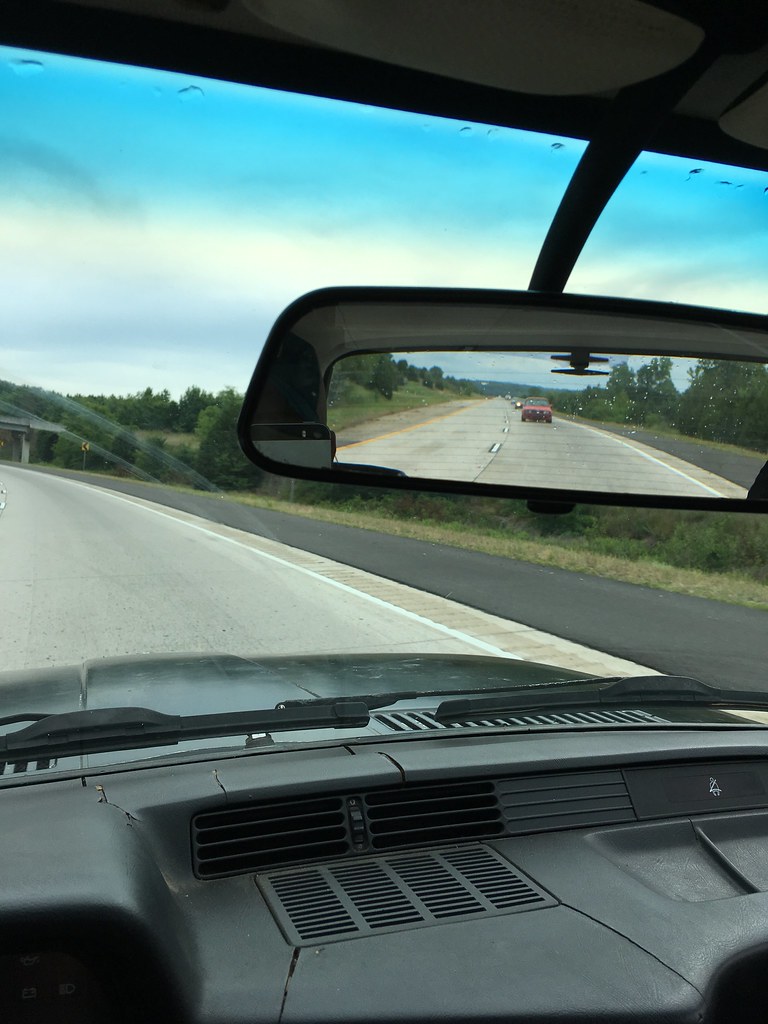
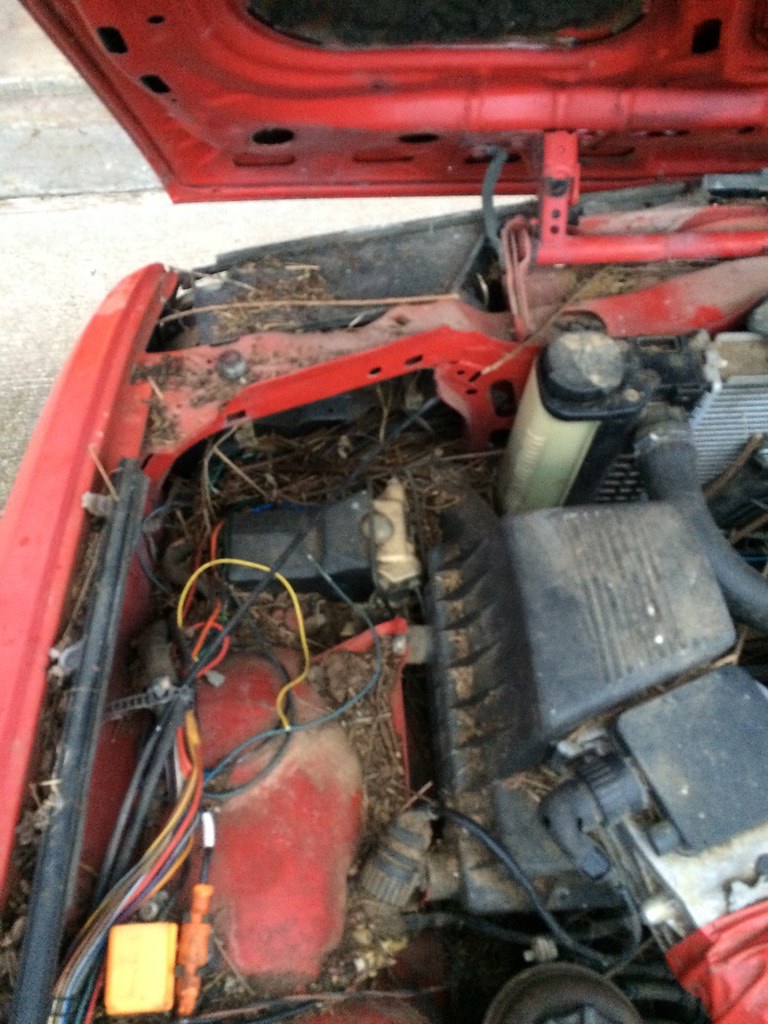
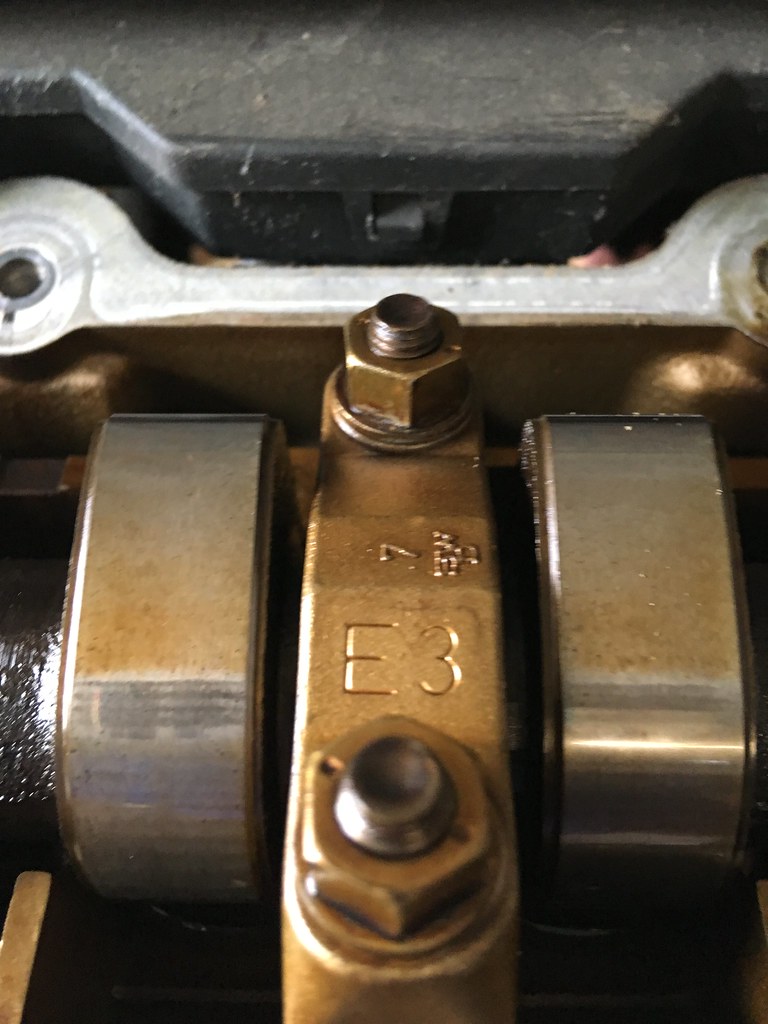
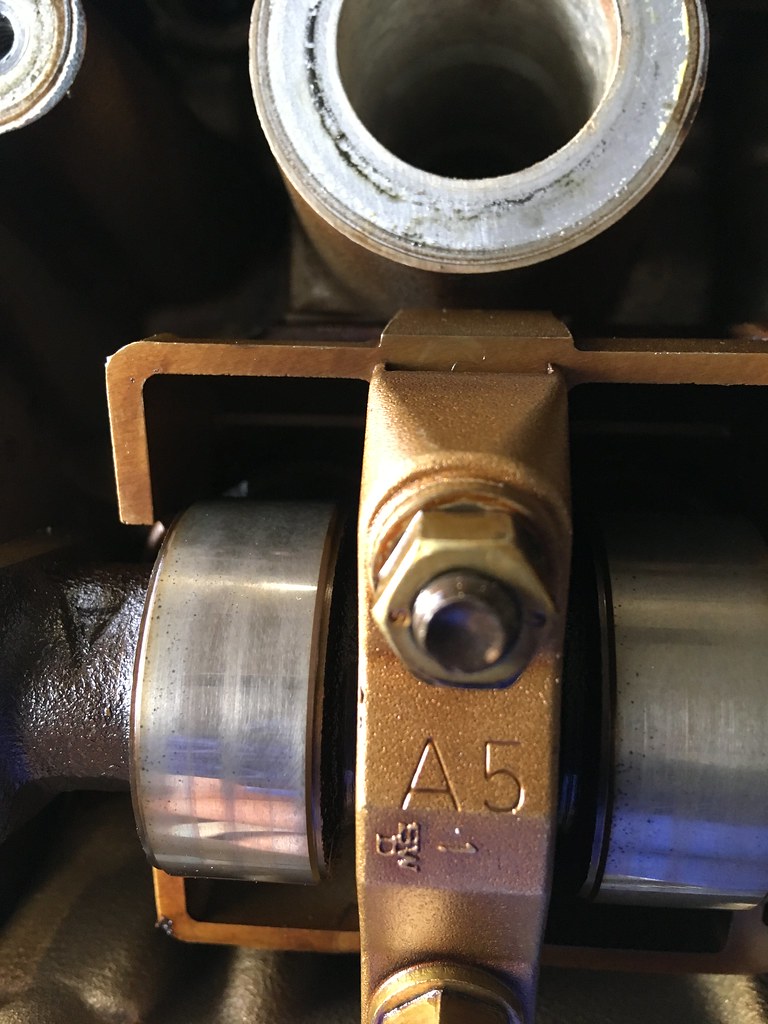
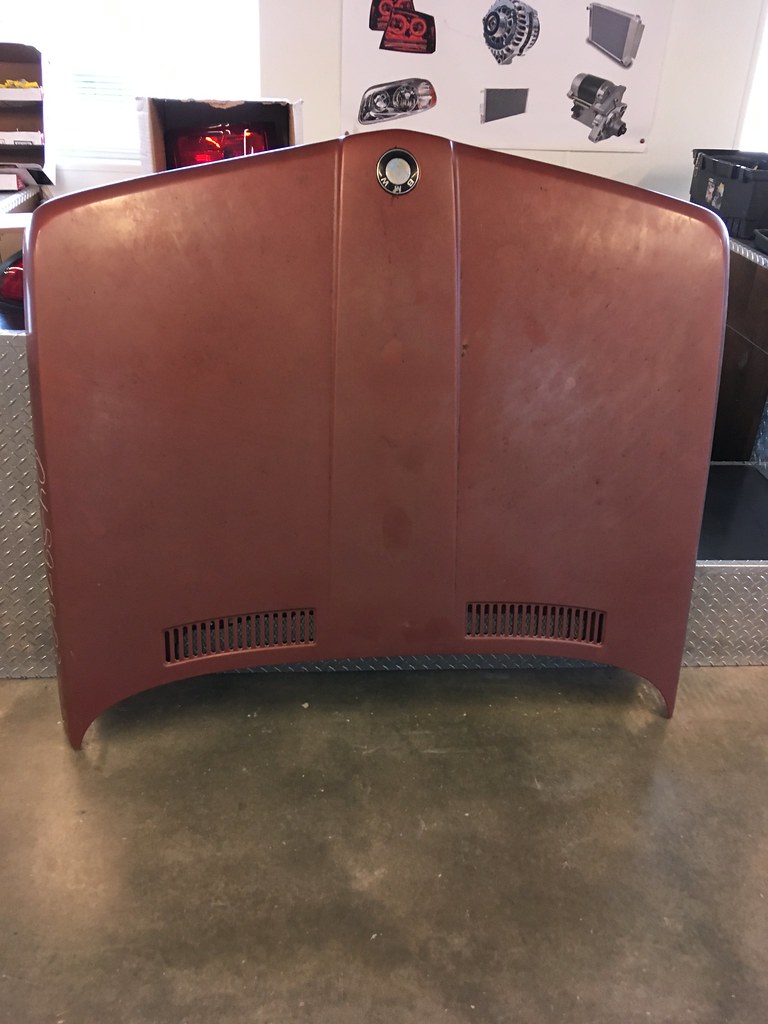
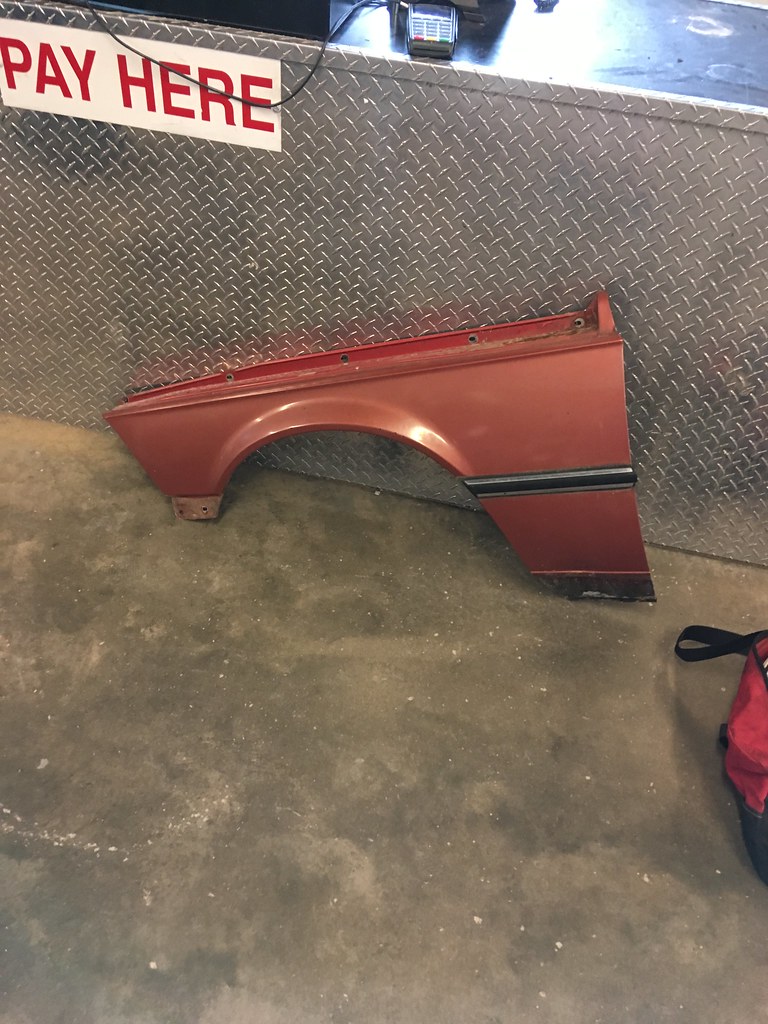
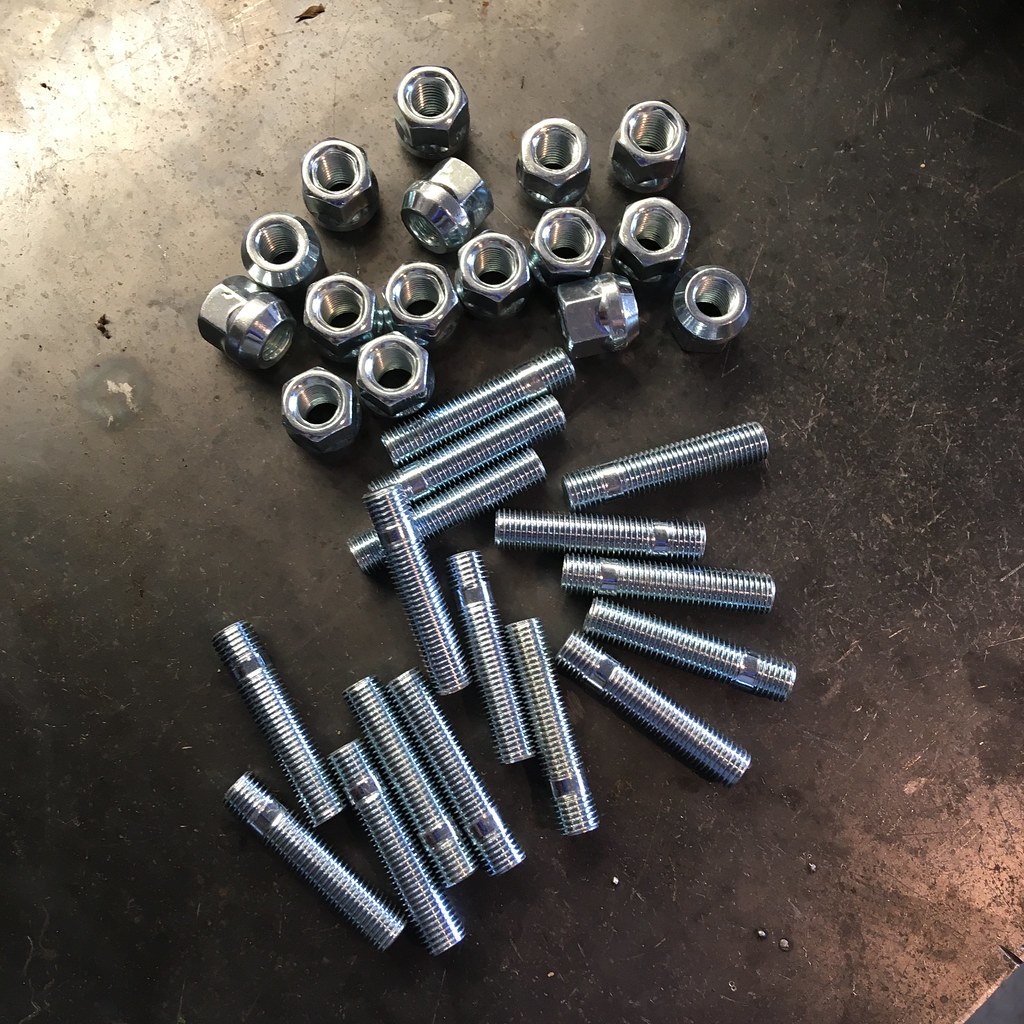
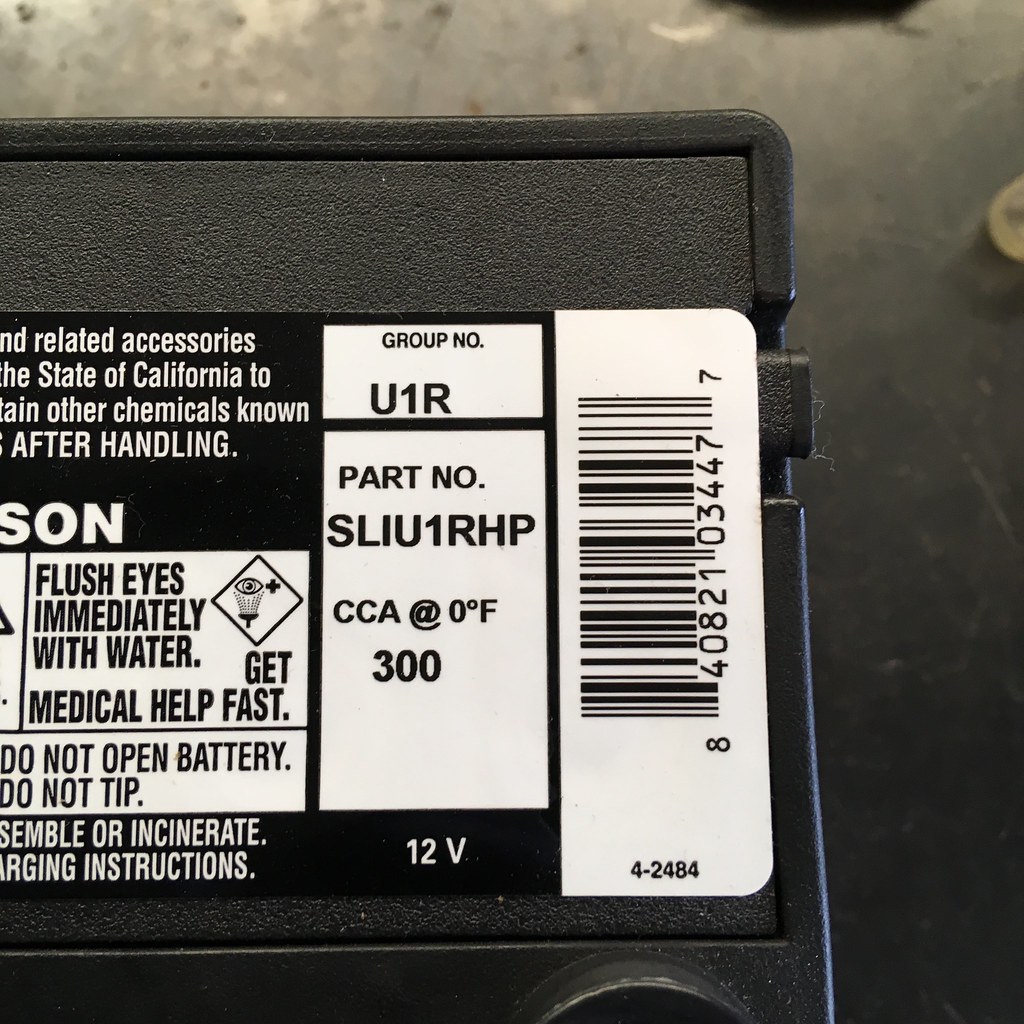
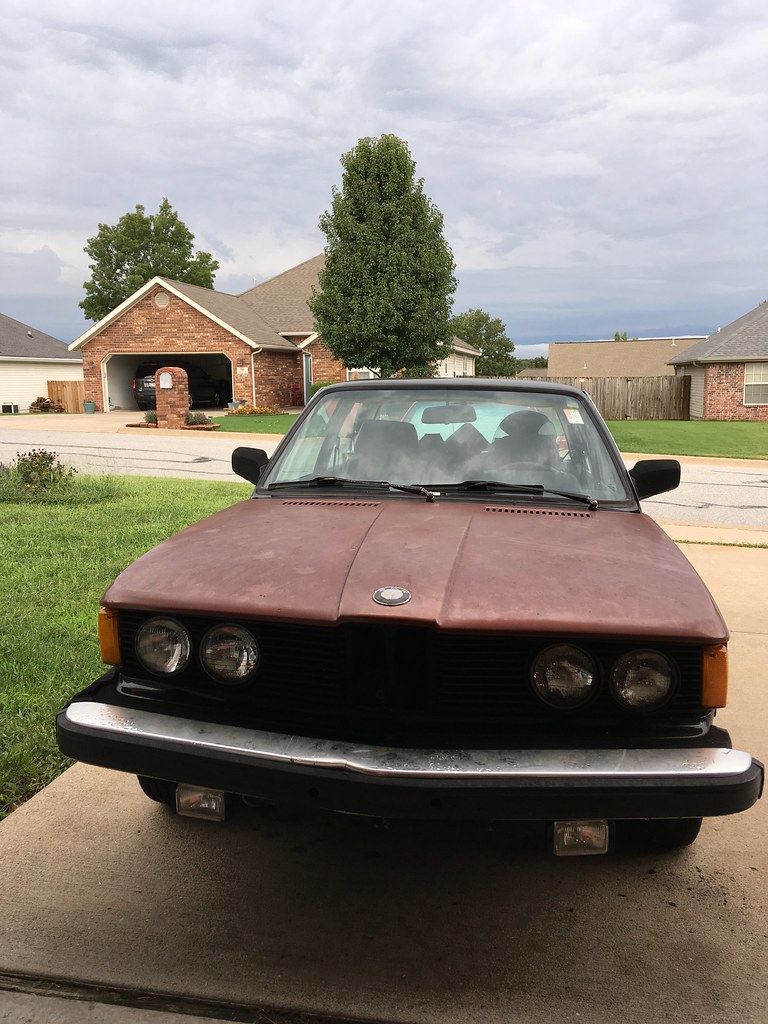
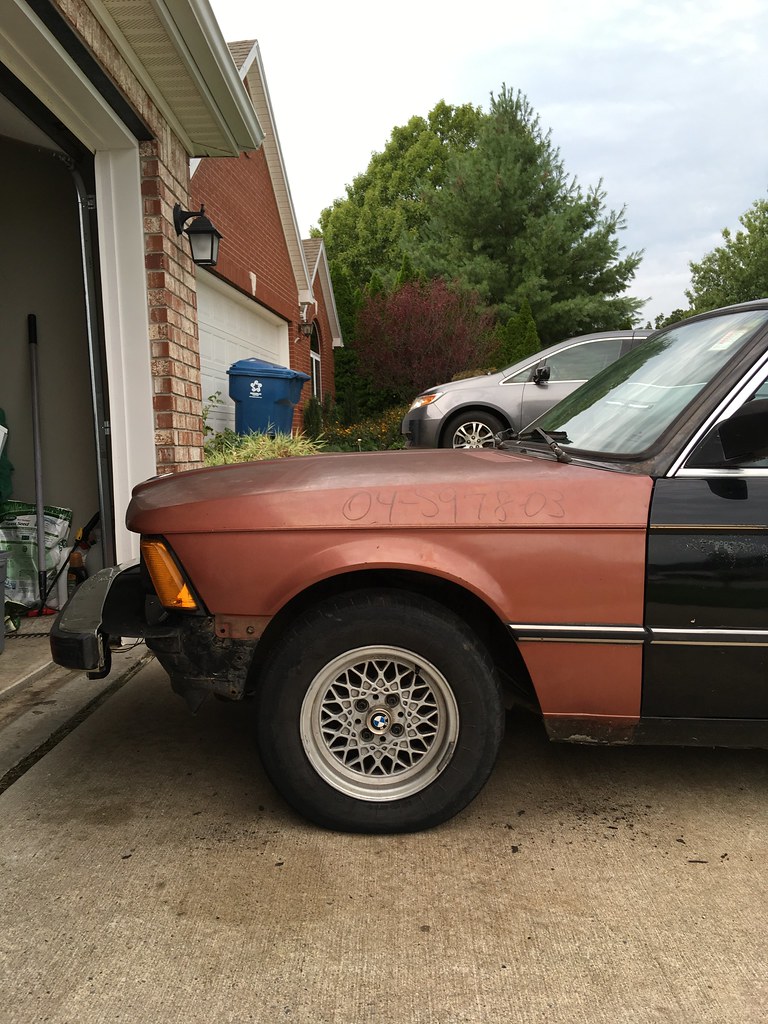
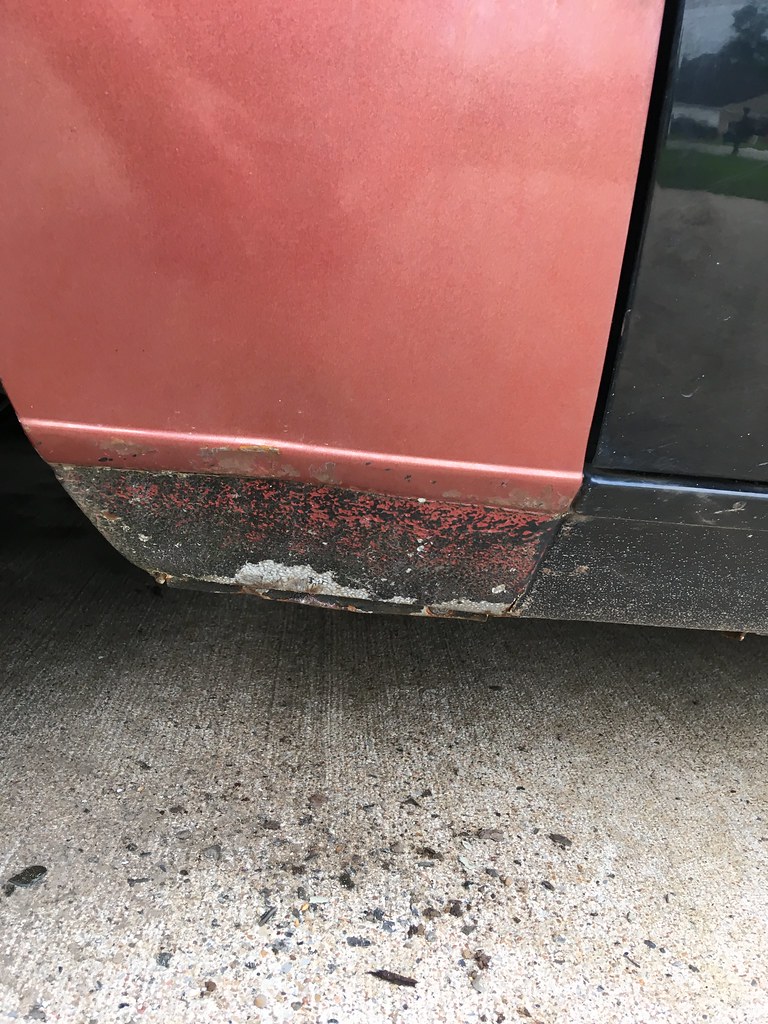
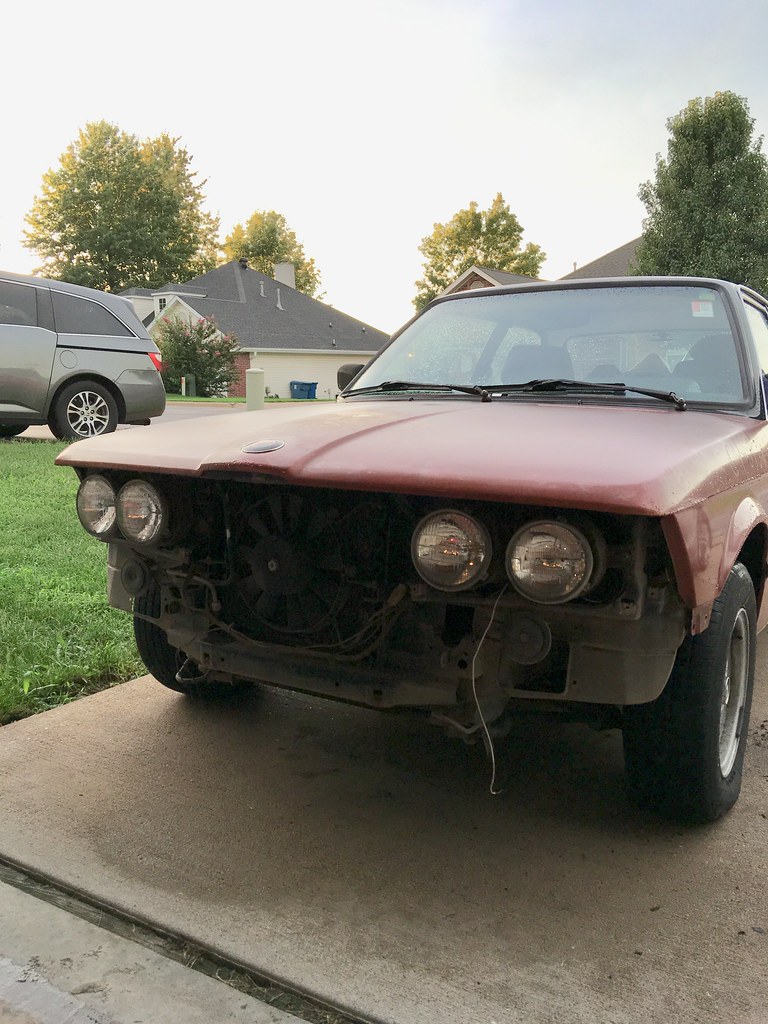
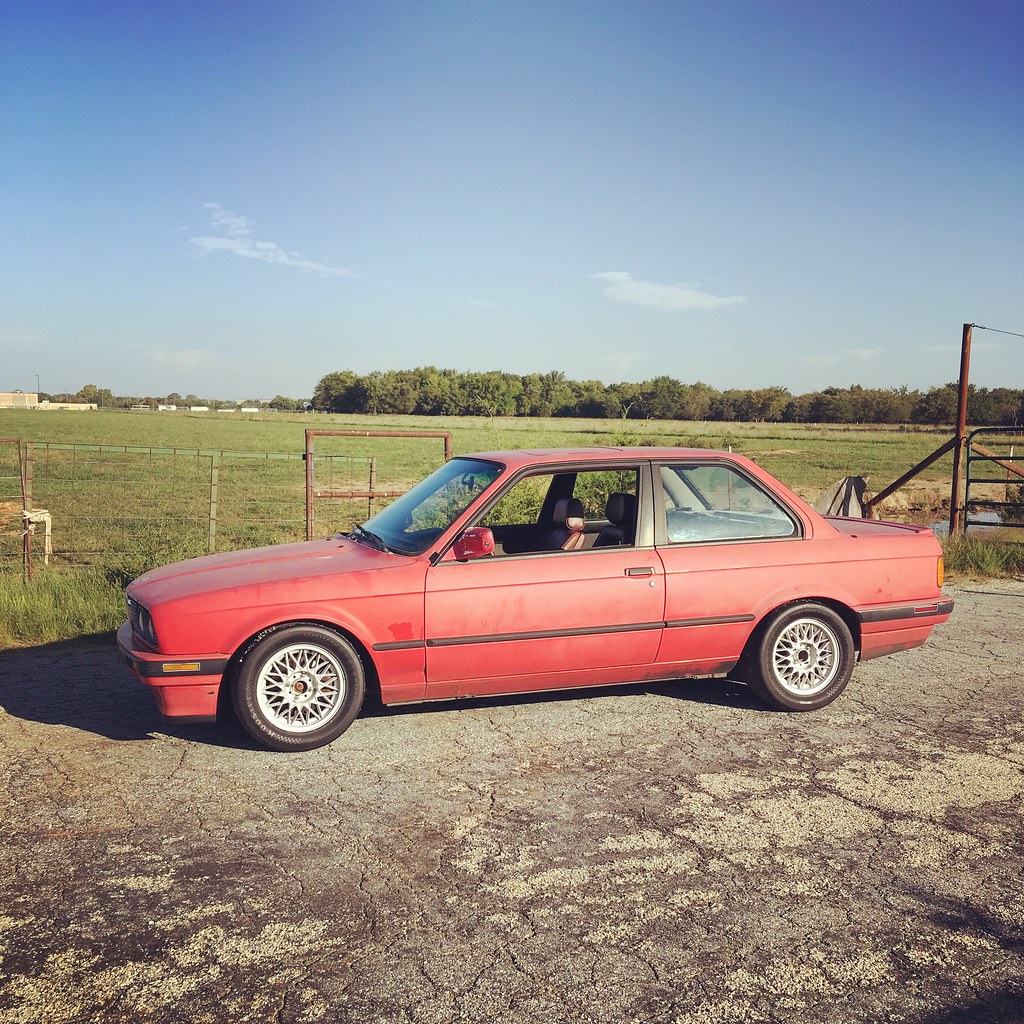
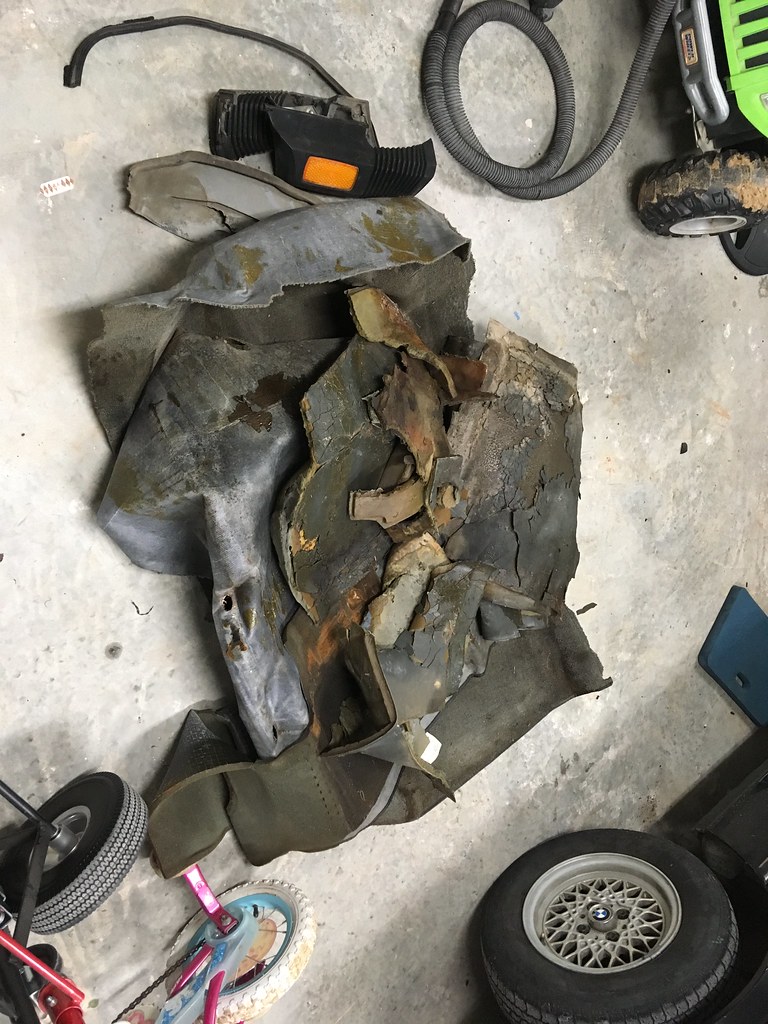
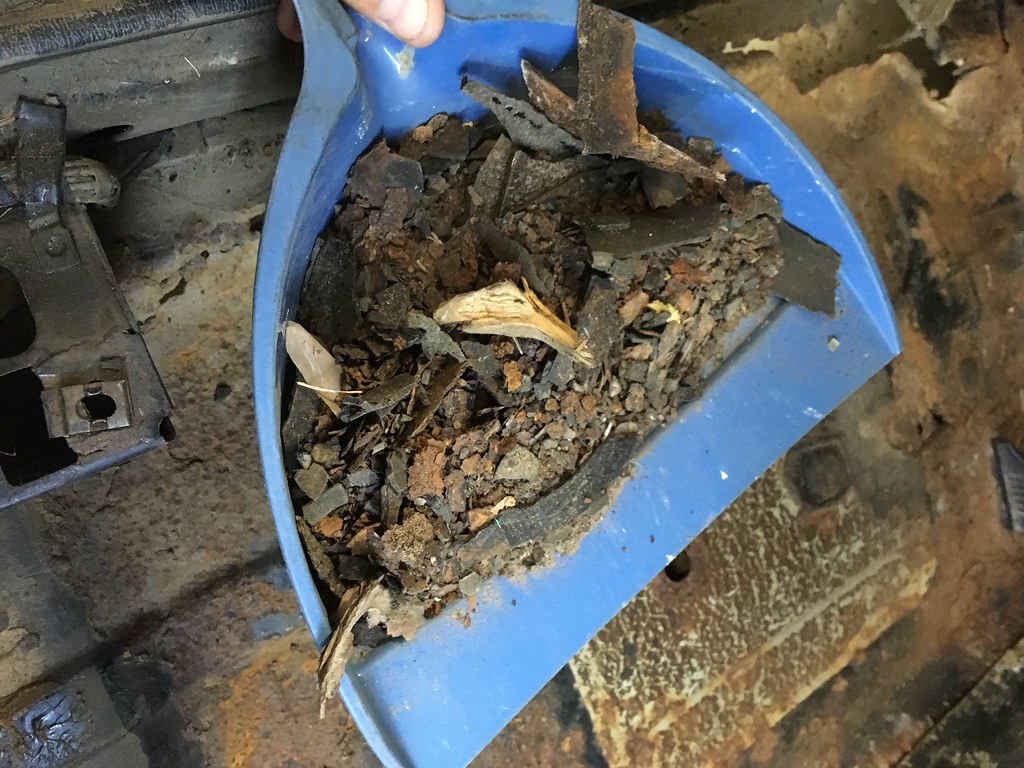
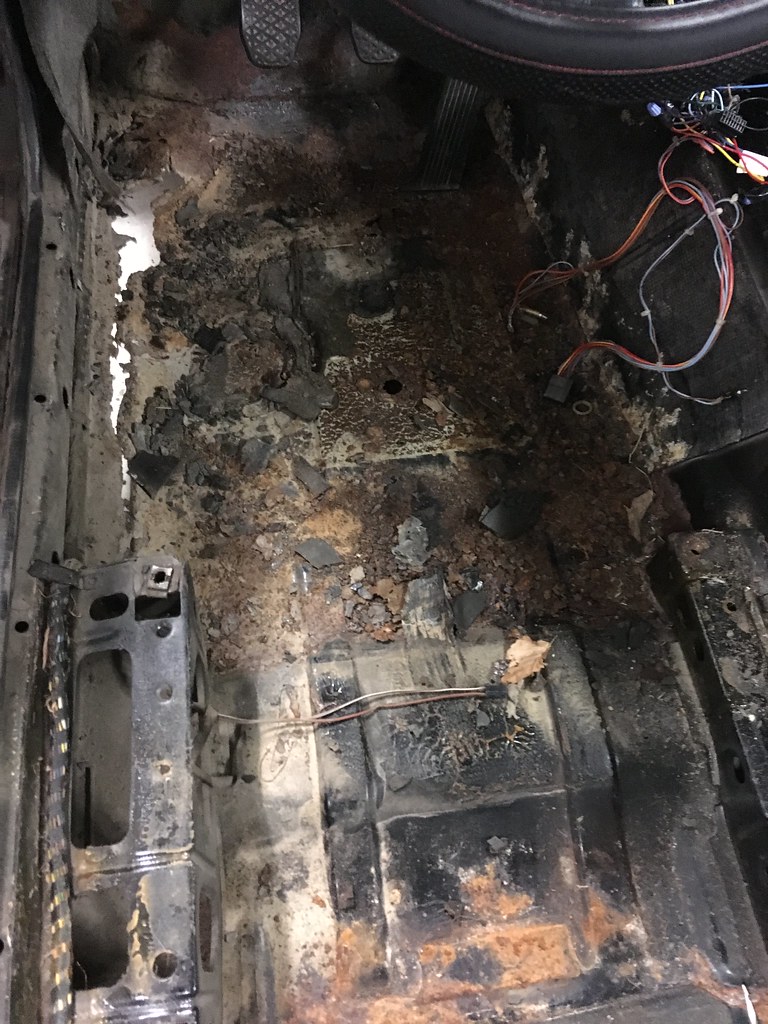
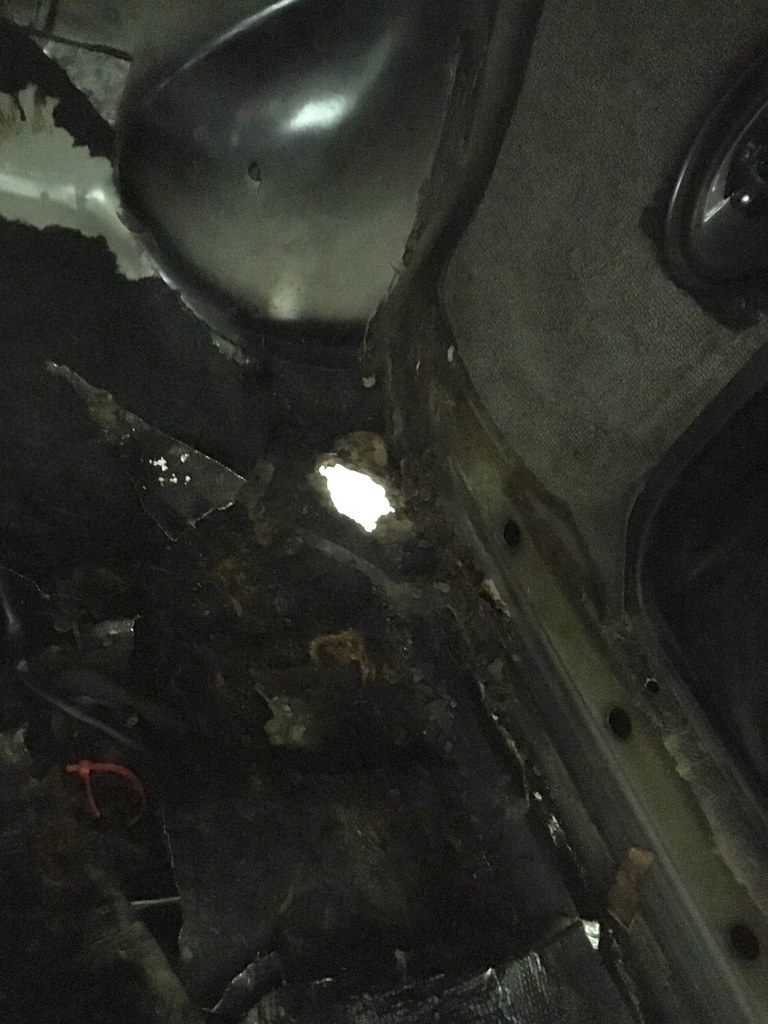
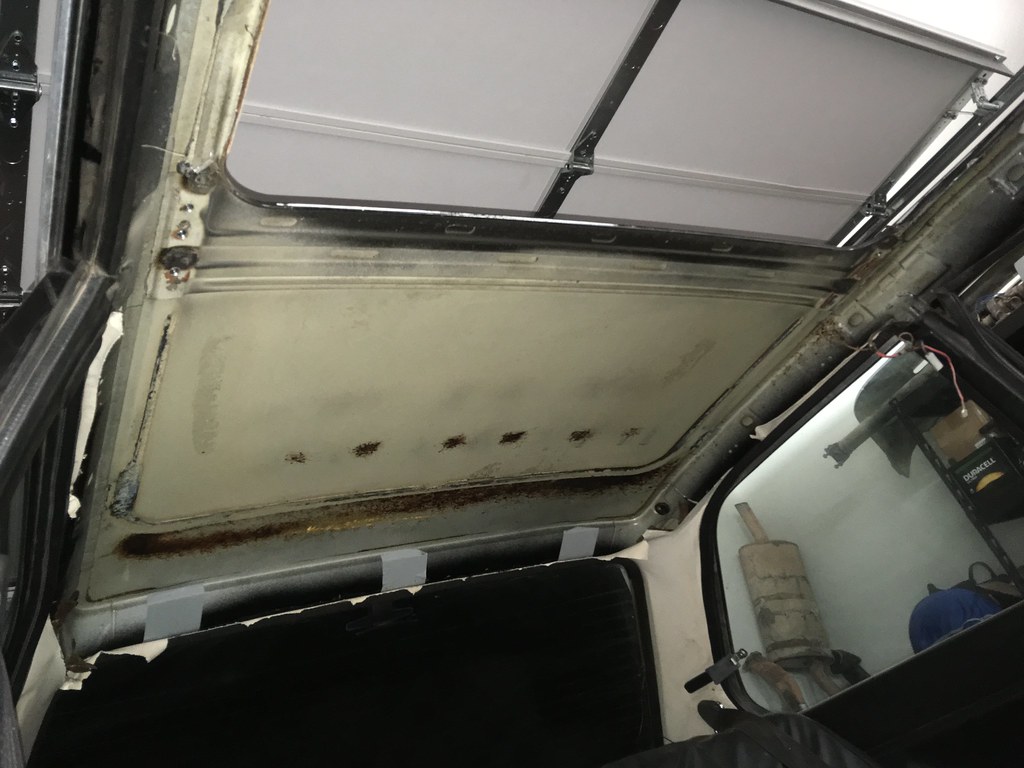
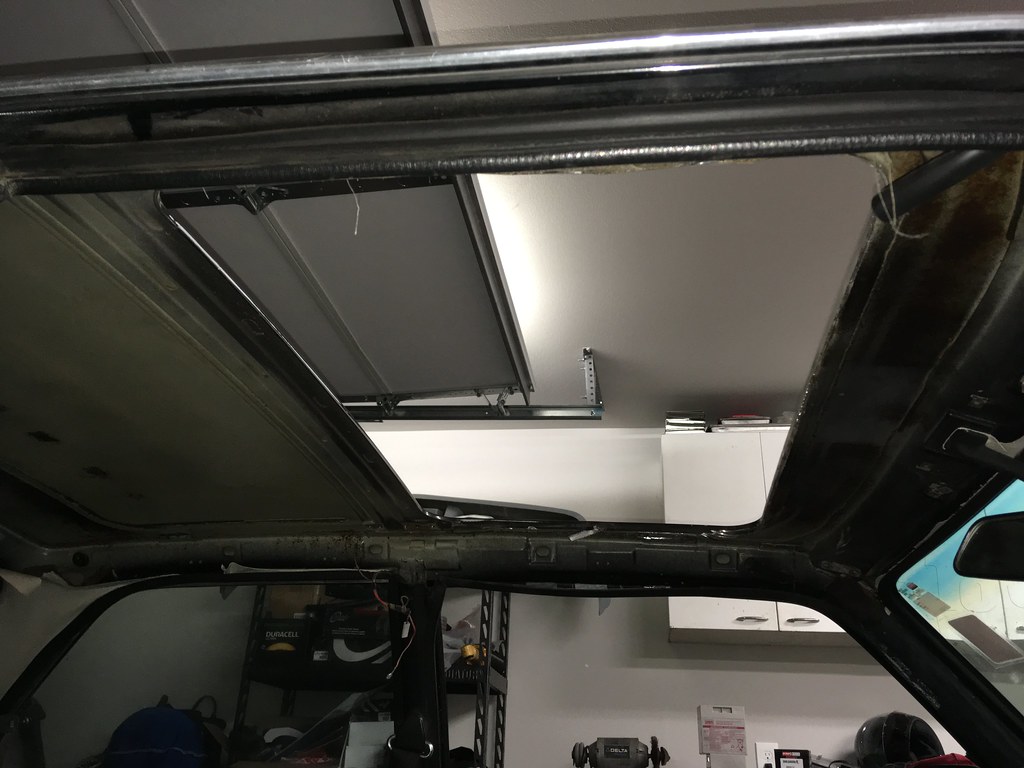
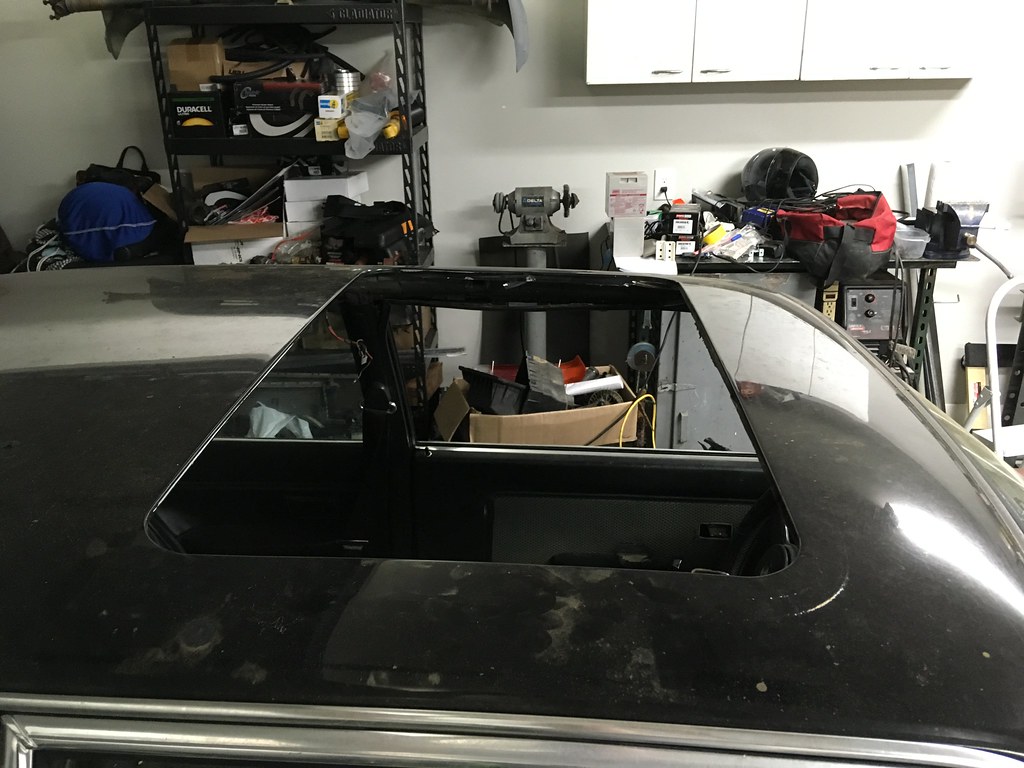
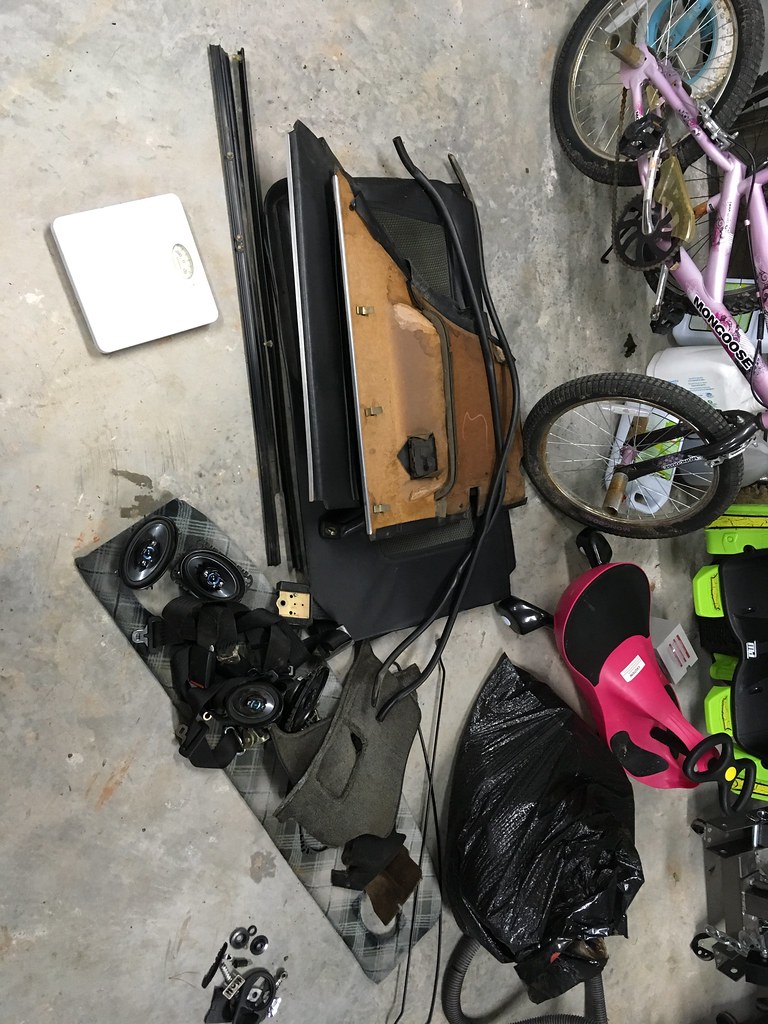
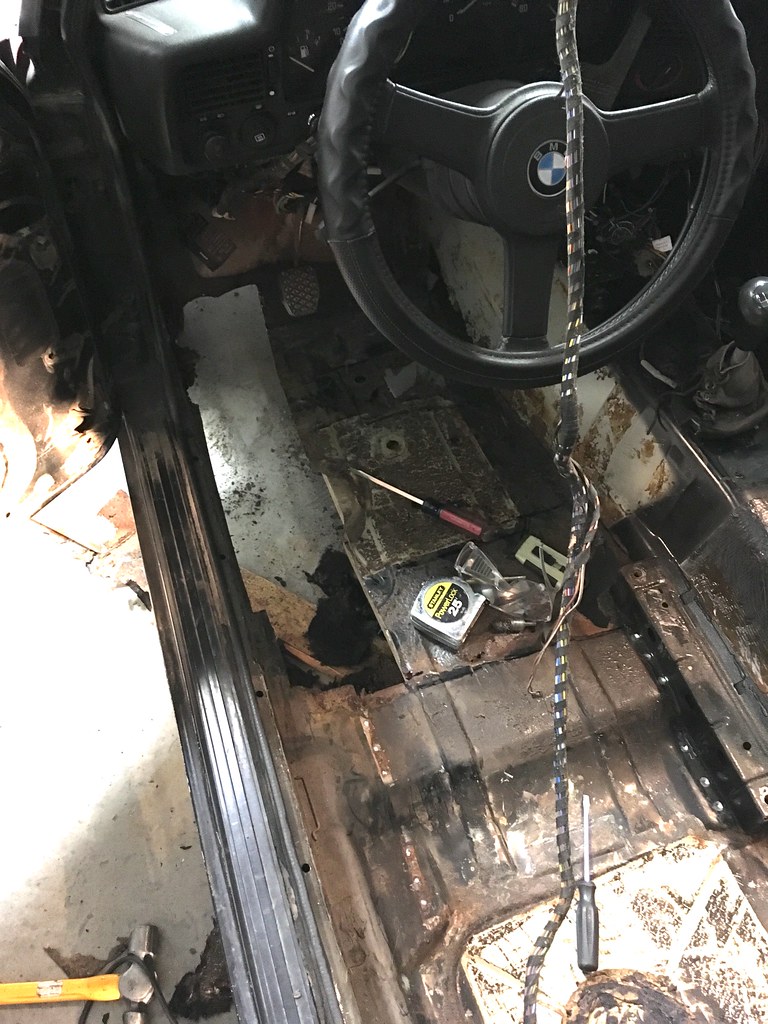
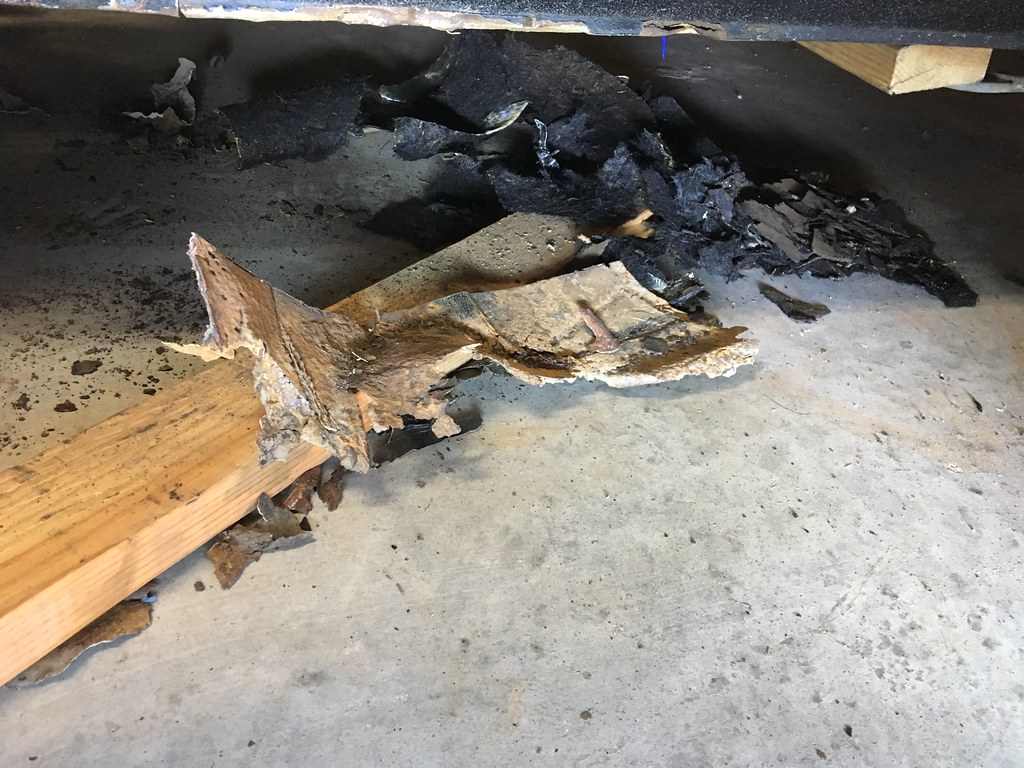
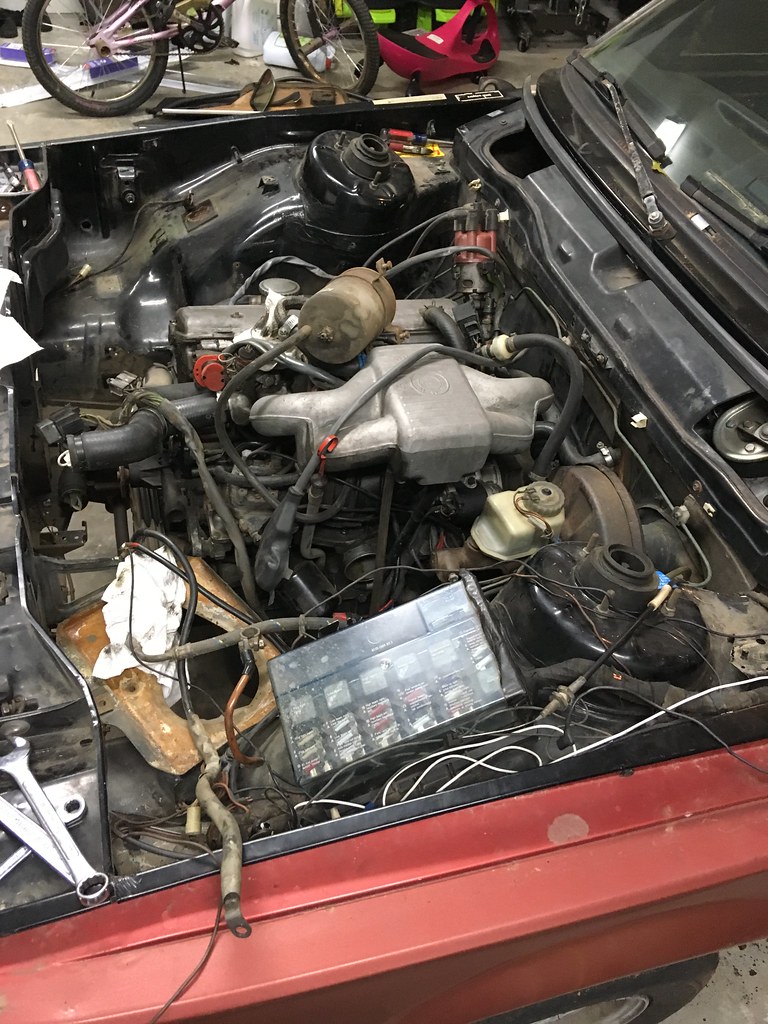
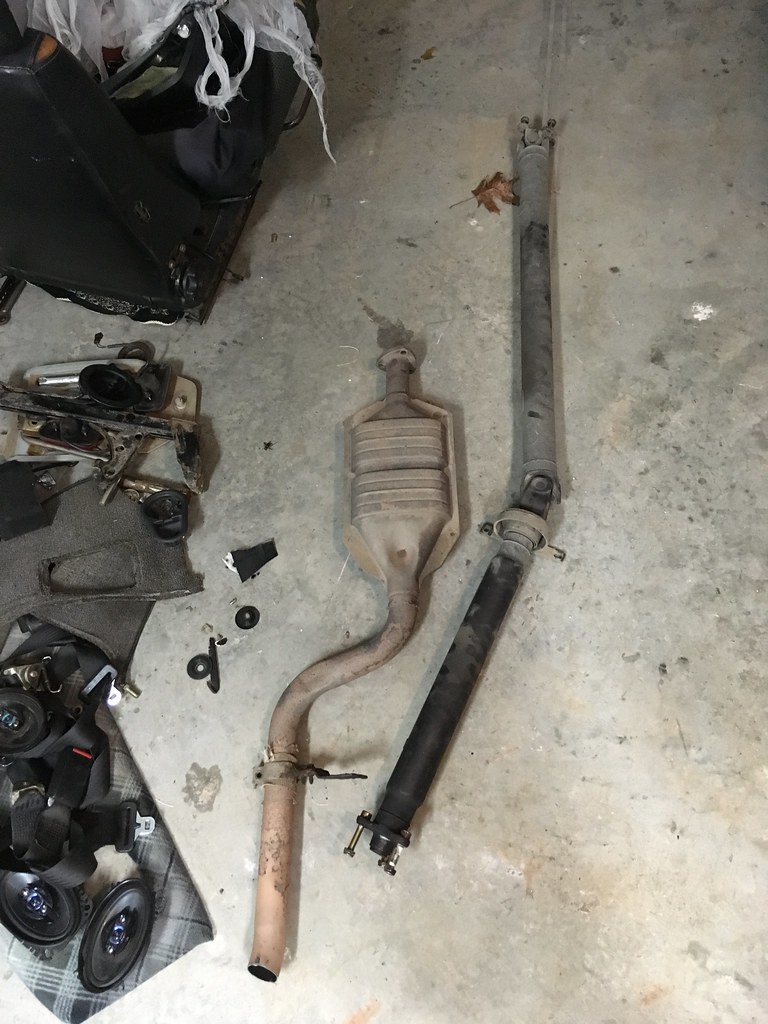
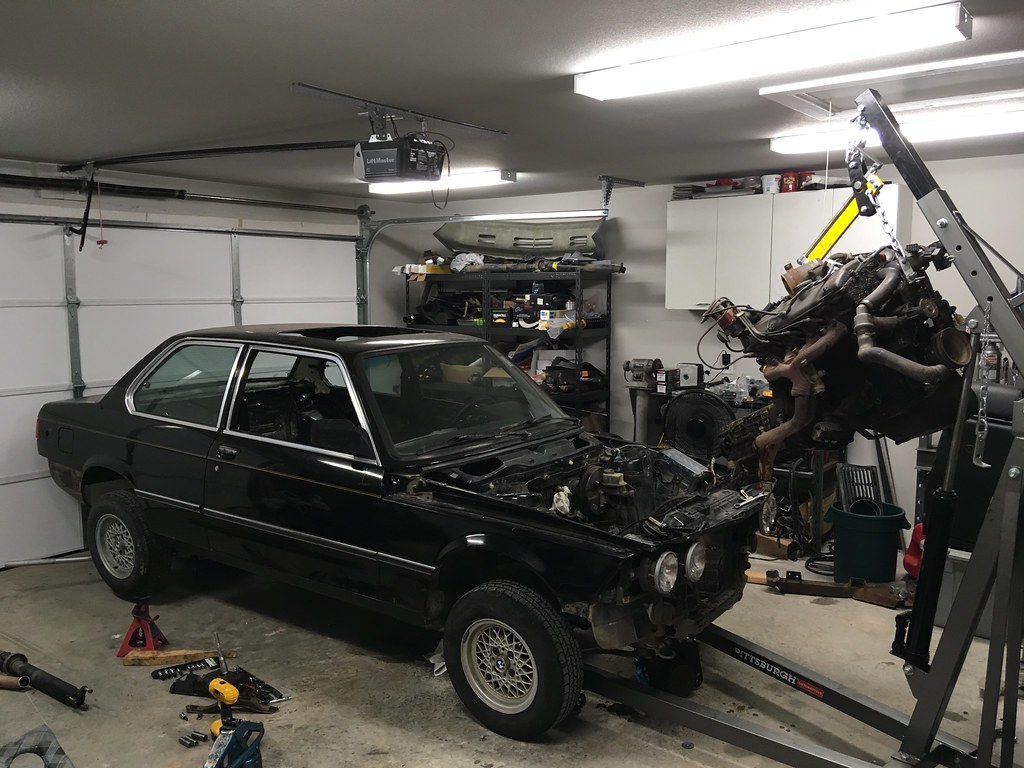
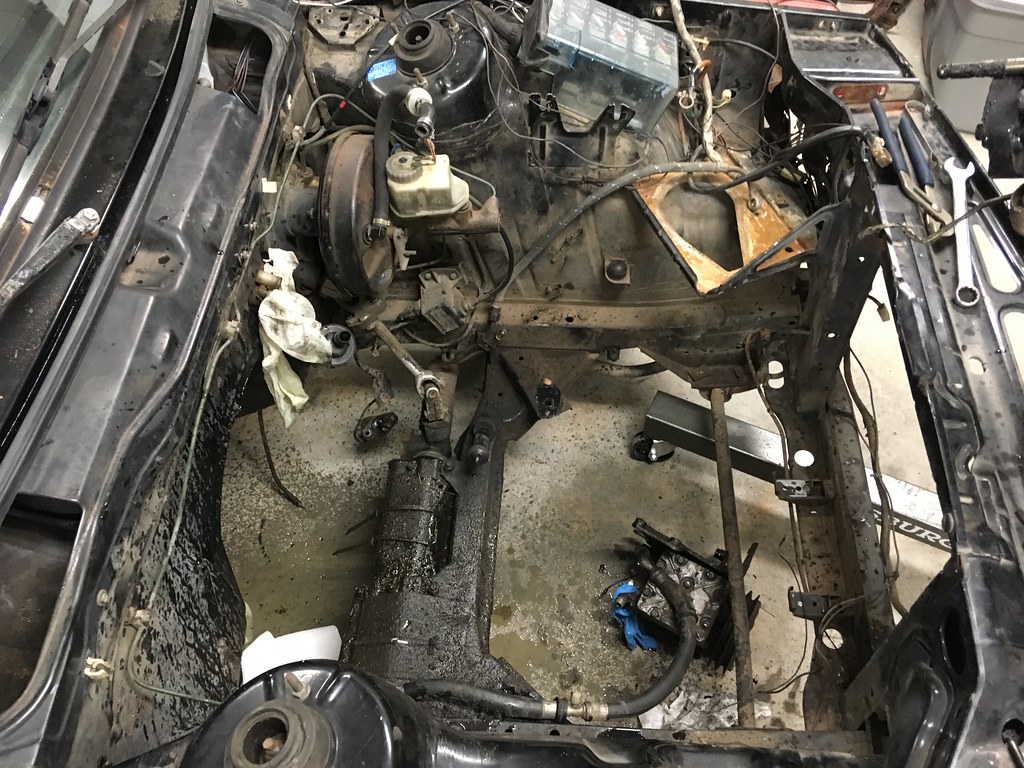
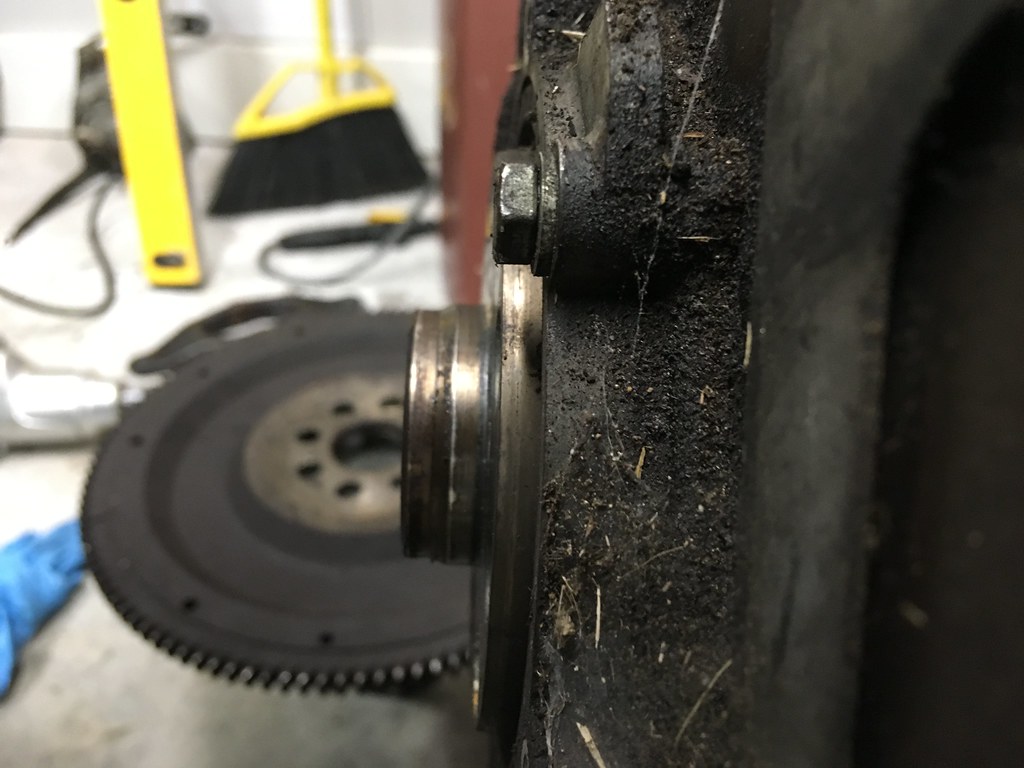
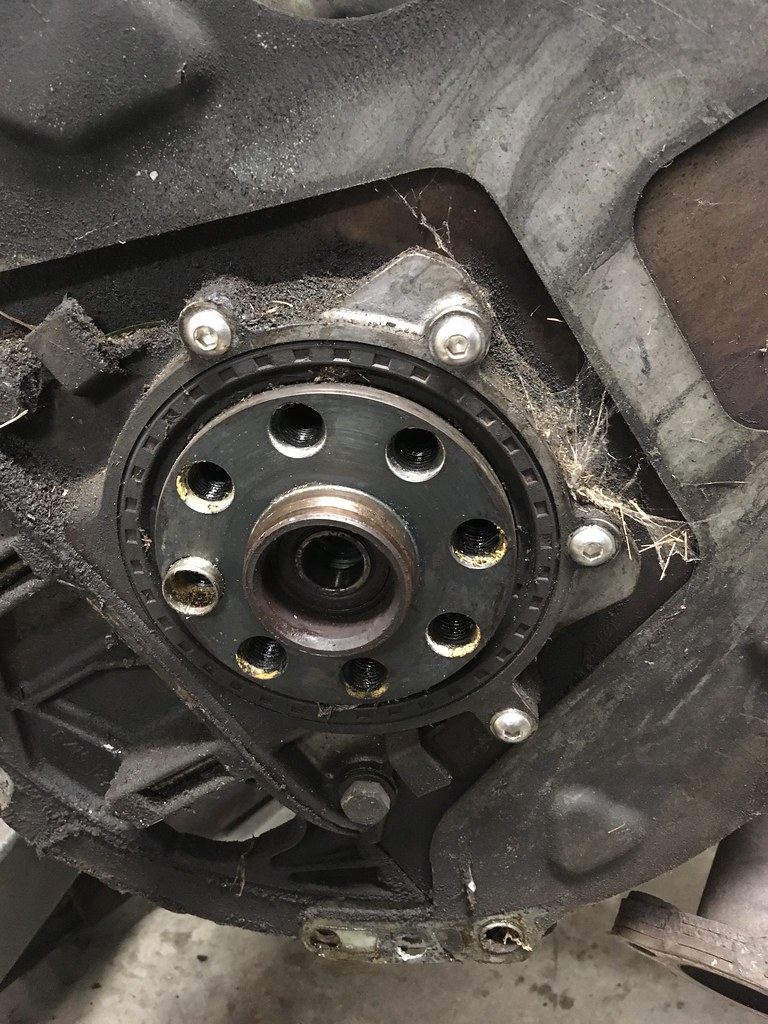
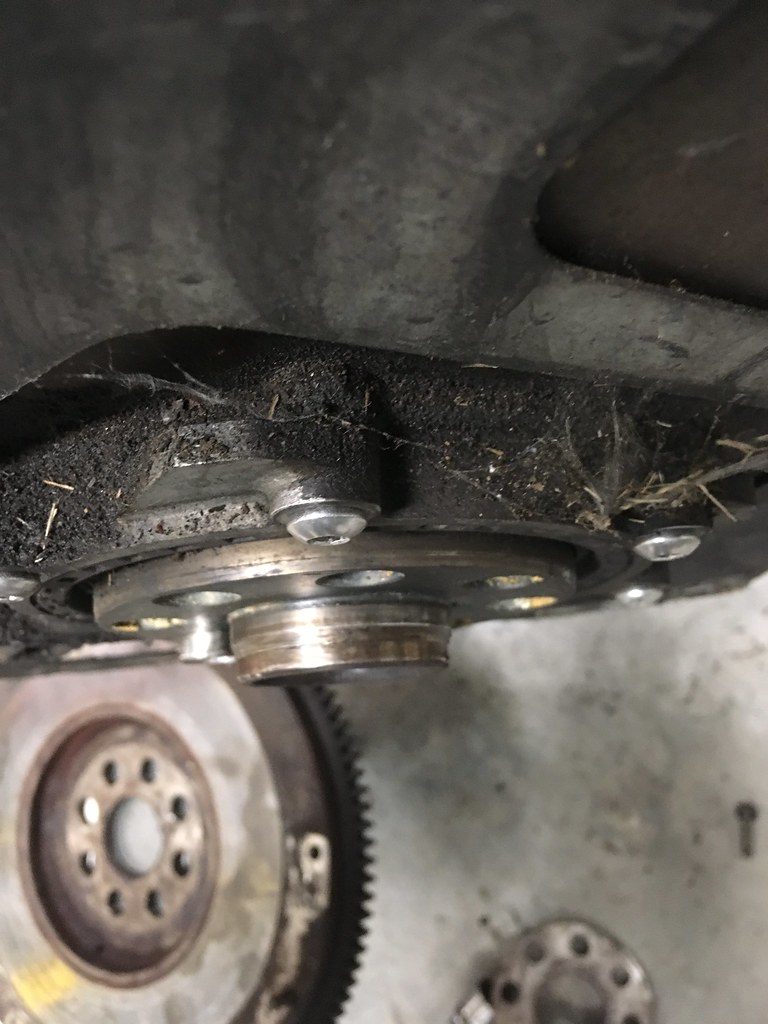
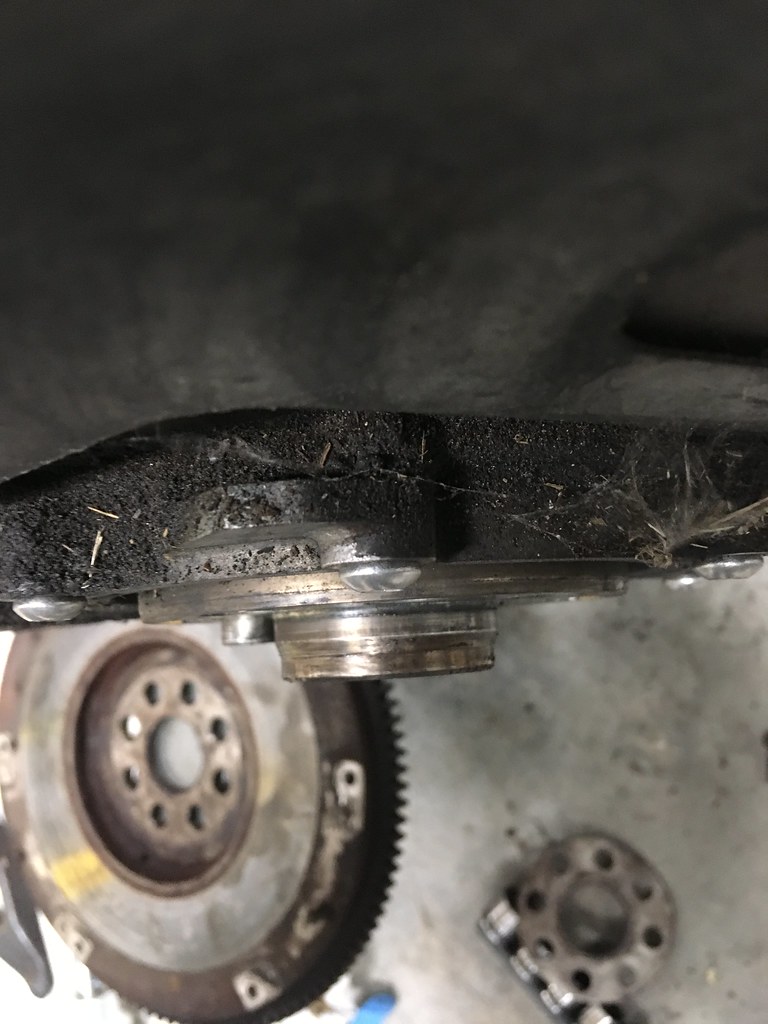
My first attempt at e21 ownership was aborted due to an overabundance of rust. Last week a local 320is popped up on CL for a price I couldn't pass up. Looking at the pics, I figured it was no more than a parts car. After driving it home and inspecting for rust, I've decided this one is worth saving. The driver side floor board is rusty from the jacking pad almost to the seat mount, and the passenger side is mostly just in the jacking pad but that's it for rust. The hood has a large dent, and the driver side fender is crumpled up pretty good, but there is a 78 320i at the local yard I can snatch some body parts from. The seller mentioned that he thought the rear driver wheel bearing was on the way out, and after an hour of highway it started to make some noise. The good news is that I have a spare set of trailing arms, subframe, and axles, so I can just get that all swapped out quickly. The sunroof is sagging at the rear passenger corner allow water in, and the interior is just crap all around.
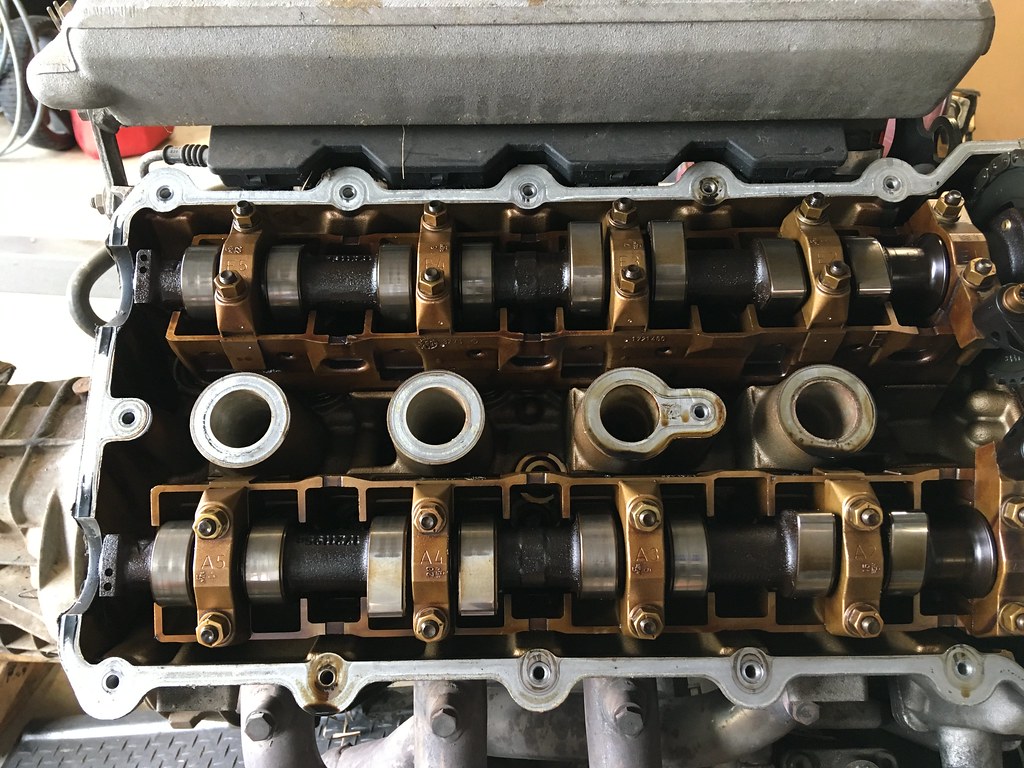
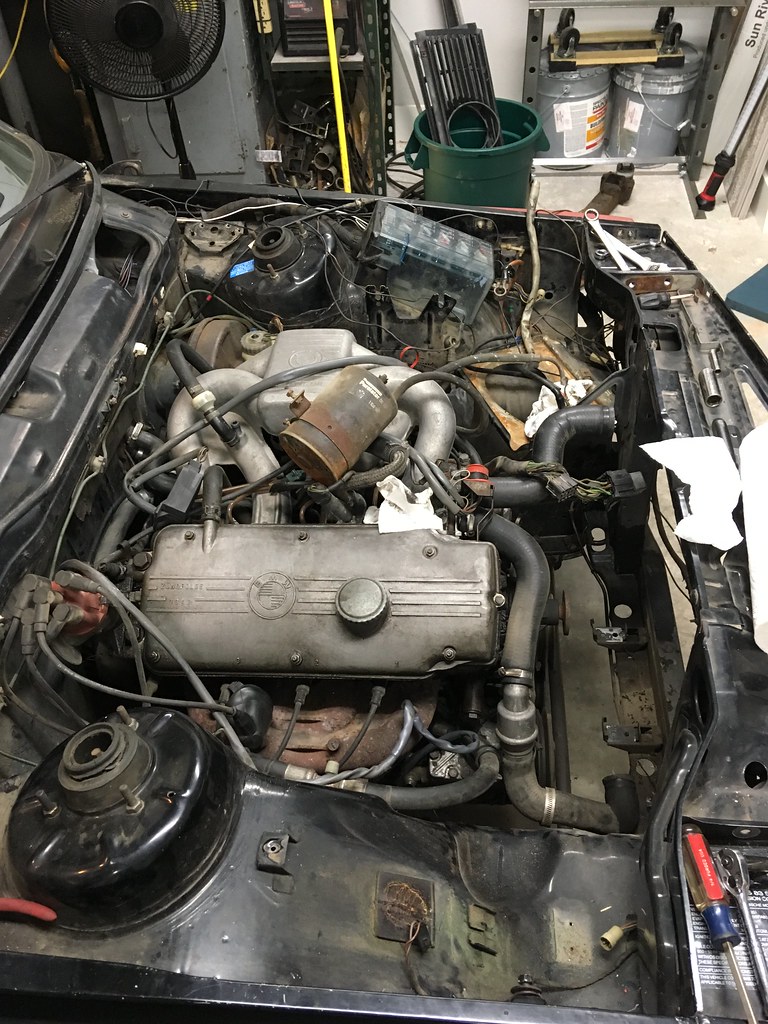
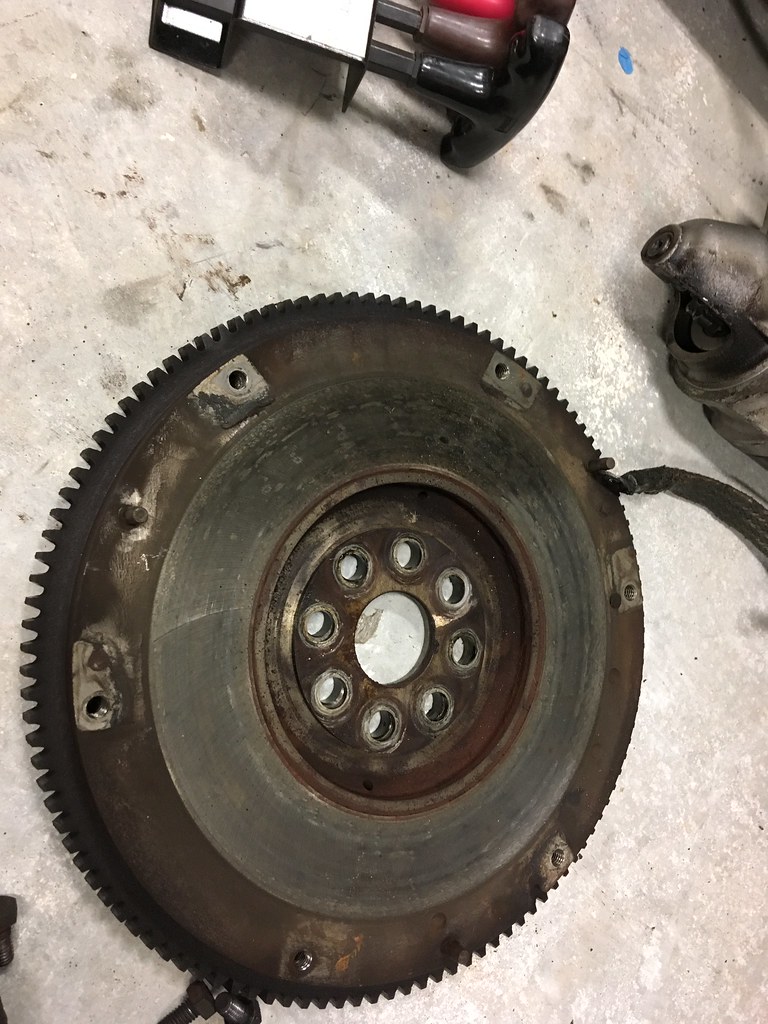
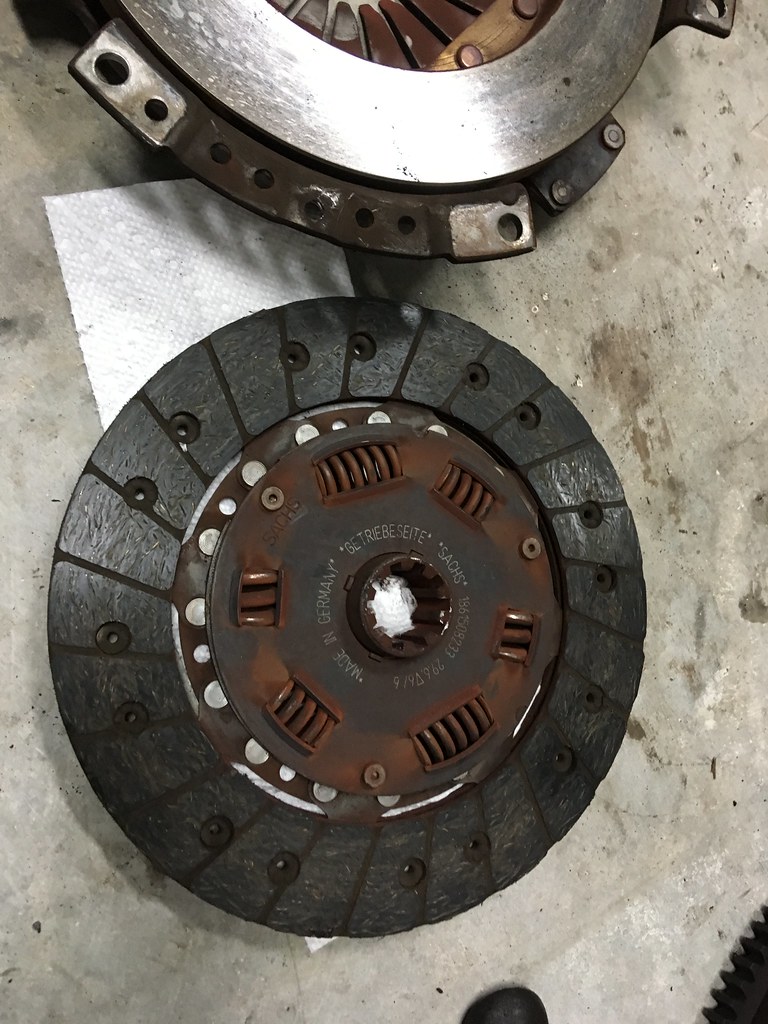
At this point, I'm not sure what direction I'm going to go. I have a spare m42/trans and just about everything needed for a swap, but I don't know if it's a worthy candidate. I pulled it from my 318is and swapped it with a known good motor/trans last year. It was left in a field for 11 years and it shows, all rubber parts will need replaced, but I don't think that will be too costly. I'm thinking a little digging is necessary before committing though. If anything it will be a dedicated autocross/track car since my 318is has become more of a daily driver than expected. I've got a set of 14" e30 basketweaves, but they require 15mm spacers. If I go full dedicated racer, 15x7 or 15x8 with some fender work or possibly flares may be in order. Just thinking out loud....
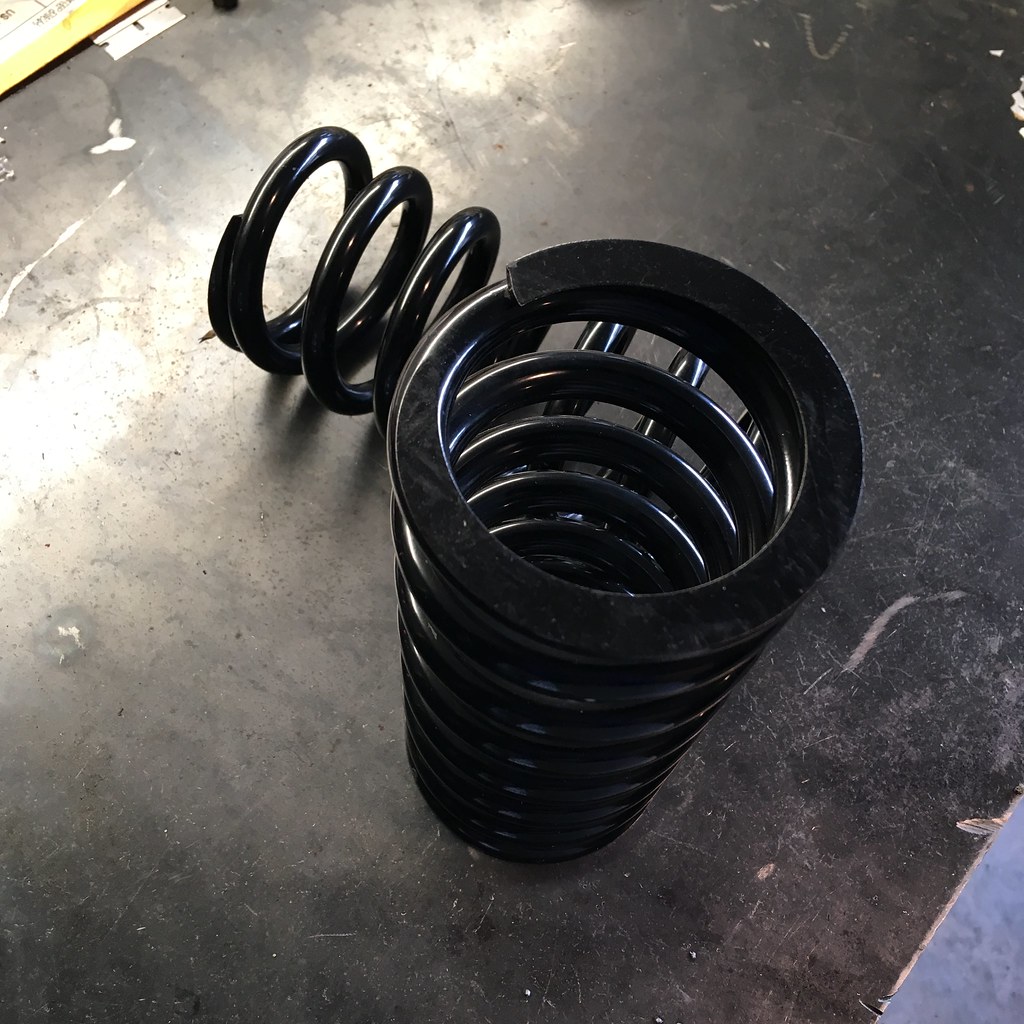
 Untitled by hatchethairy, on Flickr
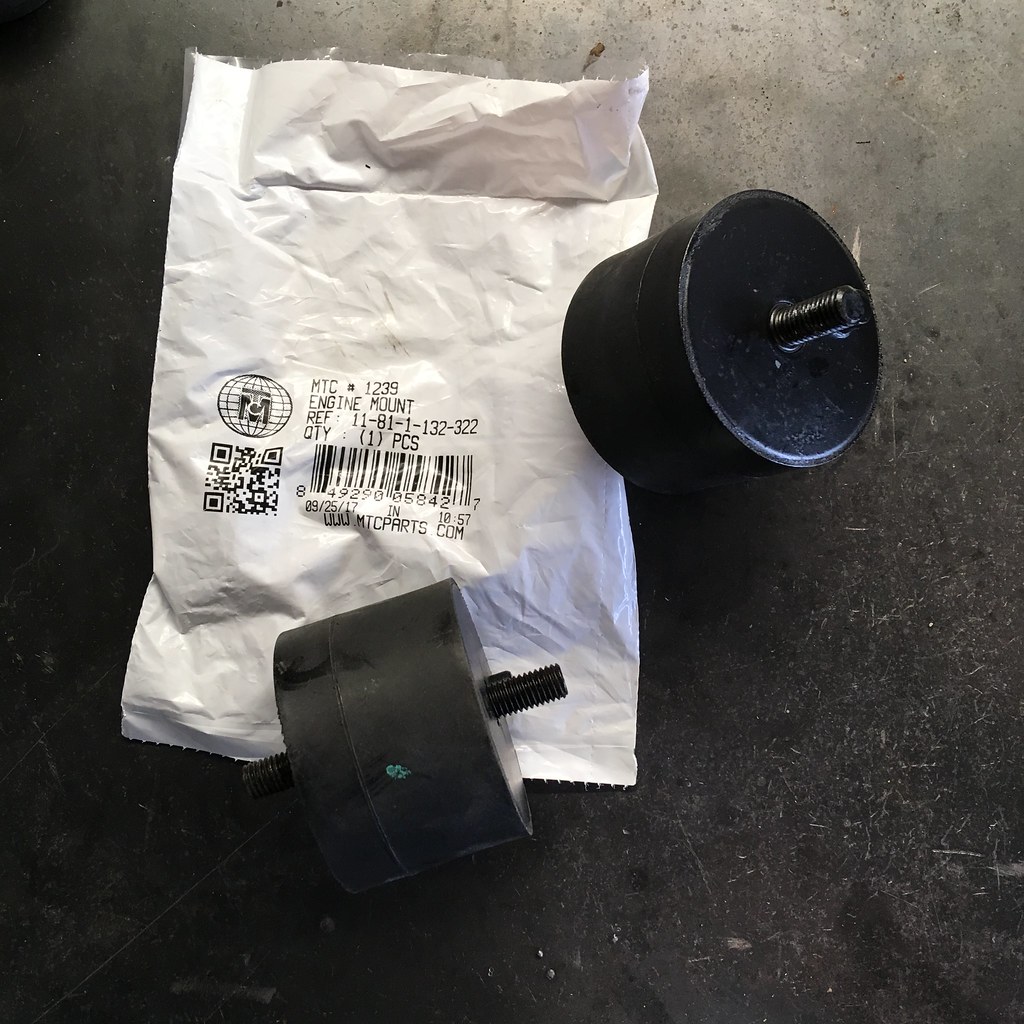
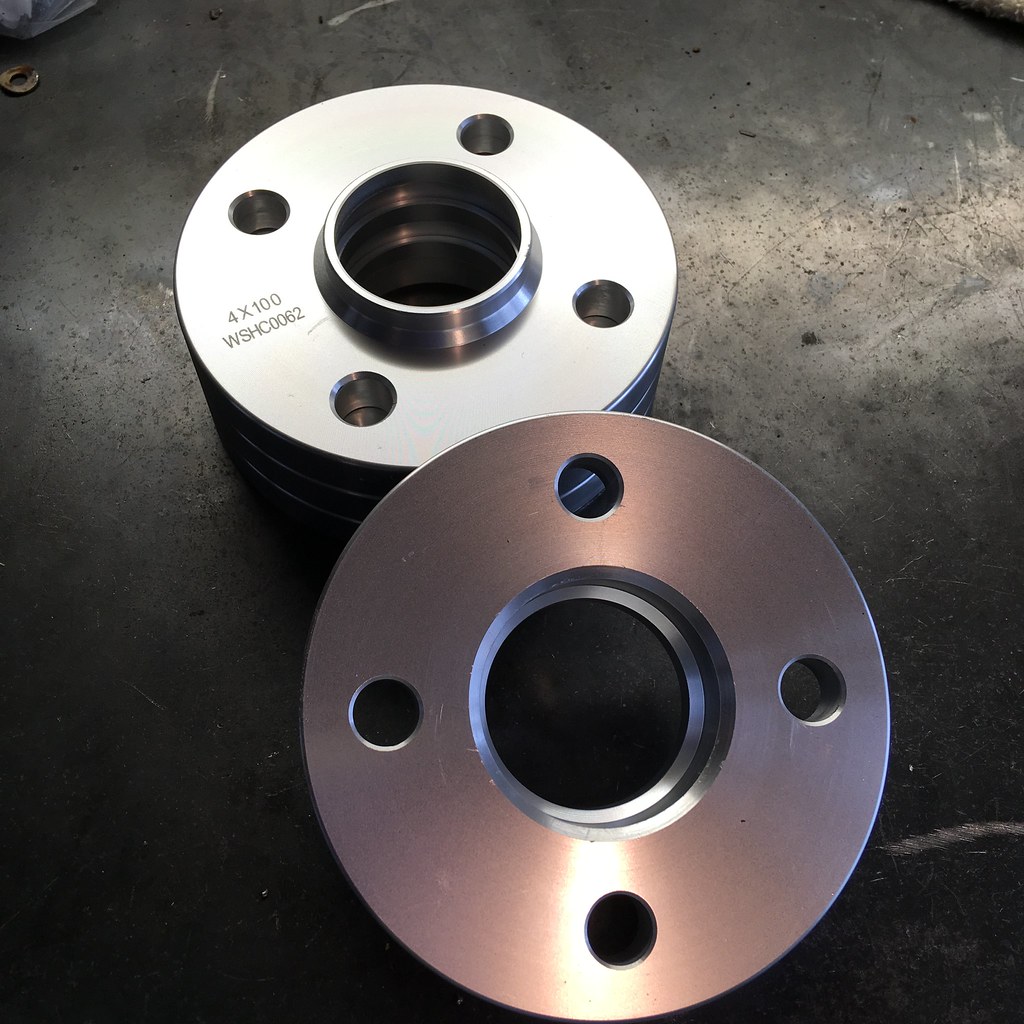
 Untitled by hatchethairy, on Flickr
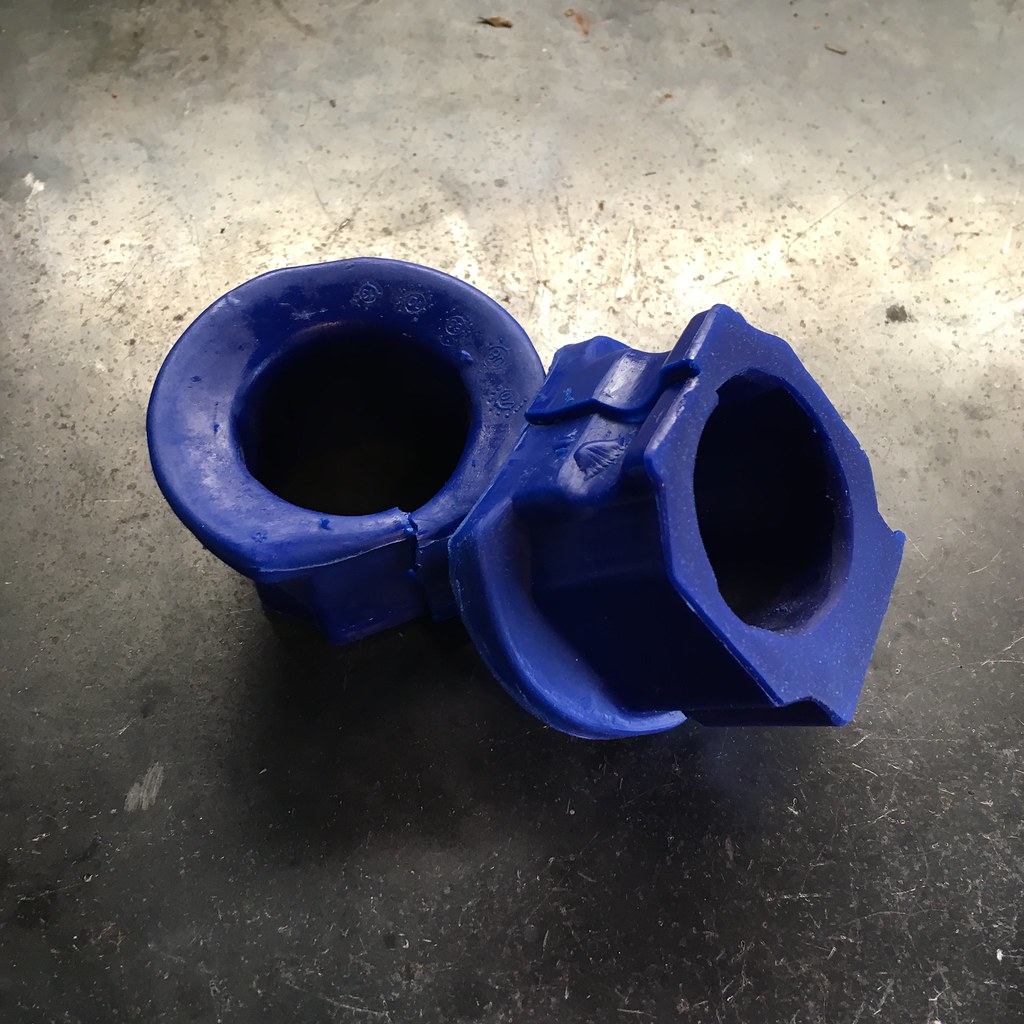
 Untitled by hatchethairy, on Flickr
 Untitled by hatchethairy, on Flickr
 Untitled by hatchethairy, on Flickr
 Untitled by hatchethairy, on Flickr
 Untitled by hatchethairy, on Flickr
 Untitled by hatchethairy, on Flickr
 Untitled by hatchethairy, on Flickr
 Untitled by hatchethairy, on Flickr
 Untitled by hatchethairy, on Flickr
 Untitled by hatchethairy, on Flickr
 Untitled by hatchethairy, on Flickr
 Untitled by hatchethairy, on Flickr
 Untitled by hatchethairy, on Flickr
 Untitled by hatchethairy, on Flickr
- - - Updated - - -
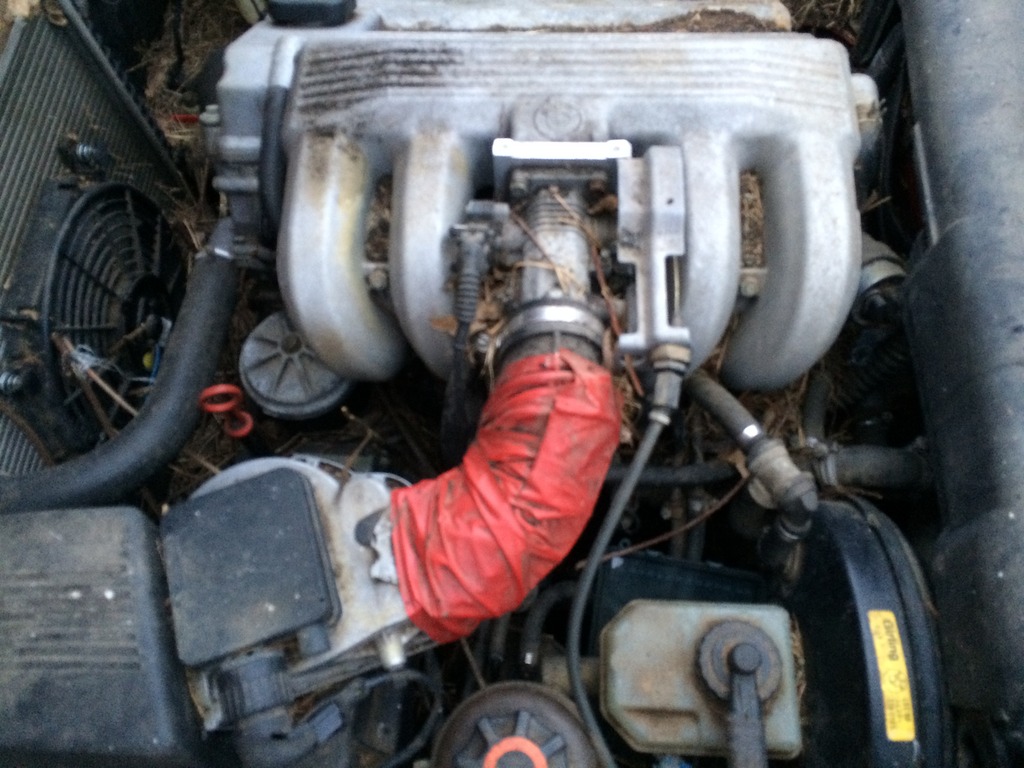
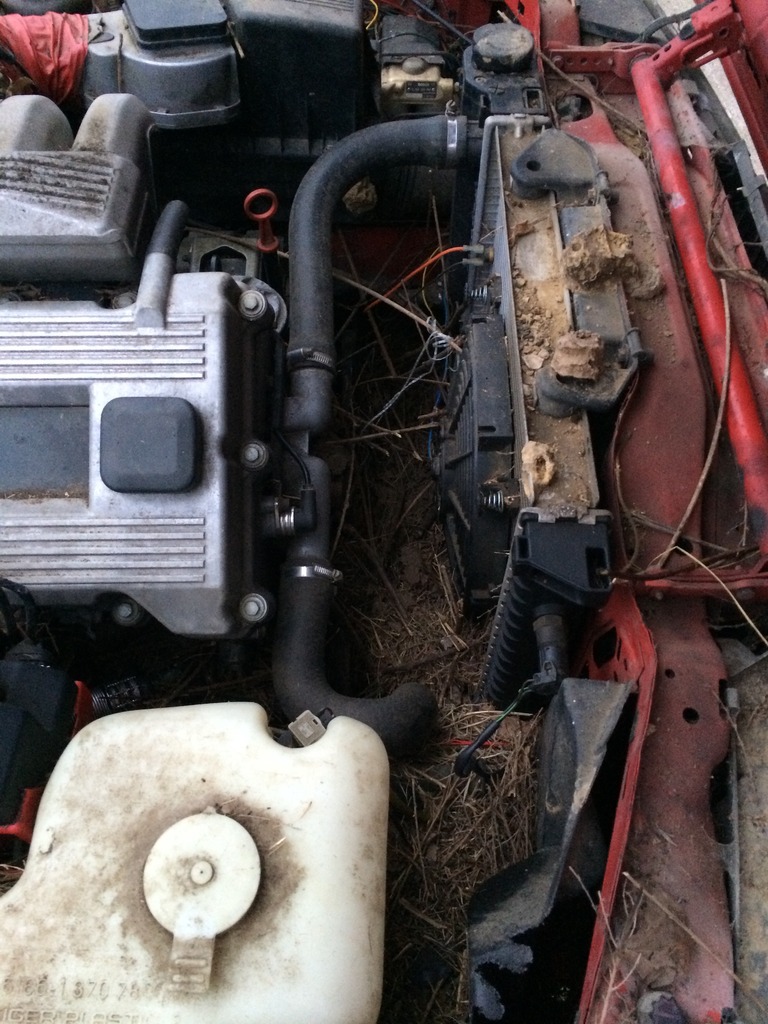
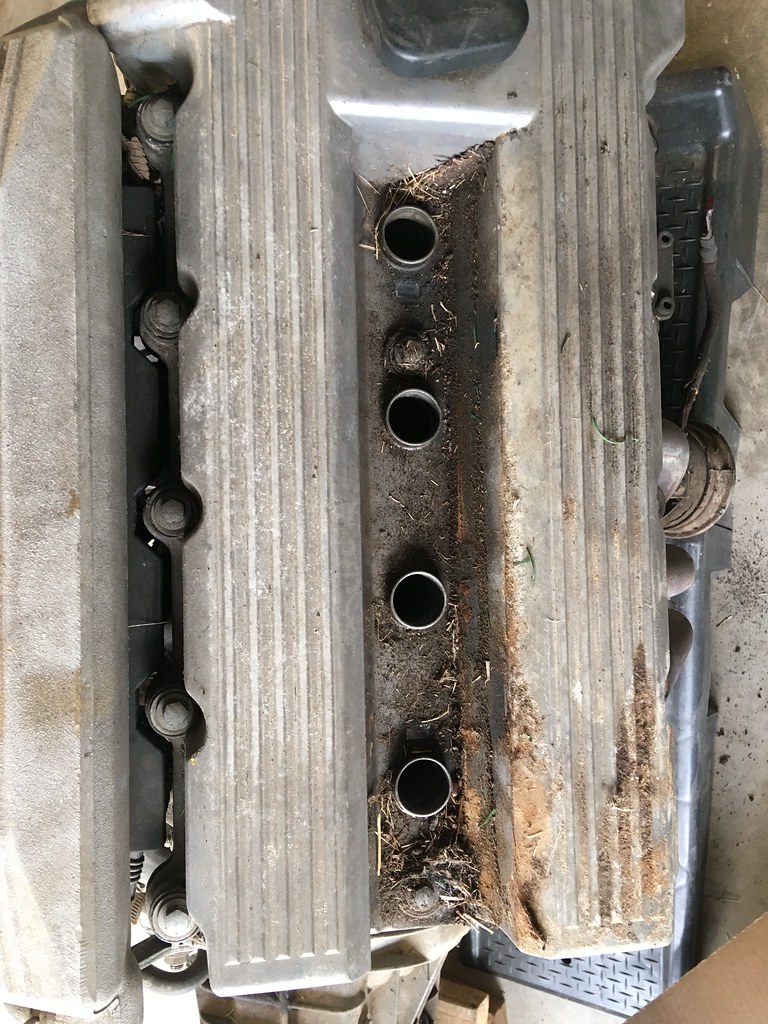
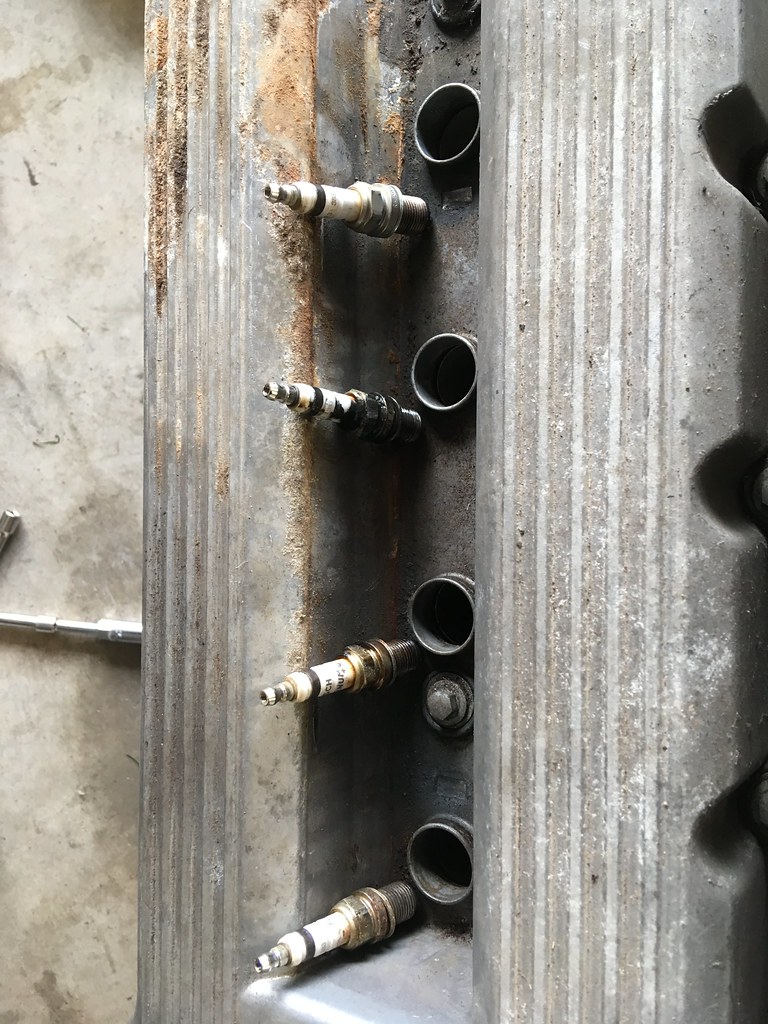
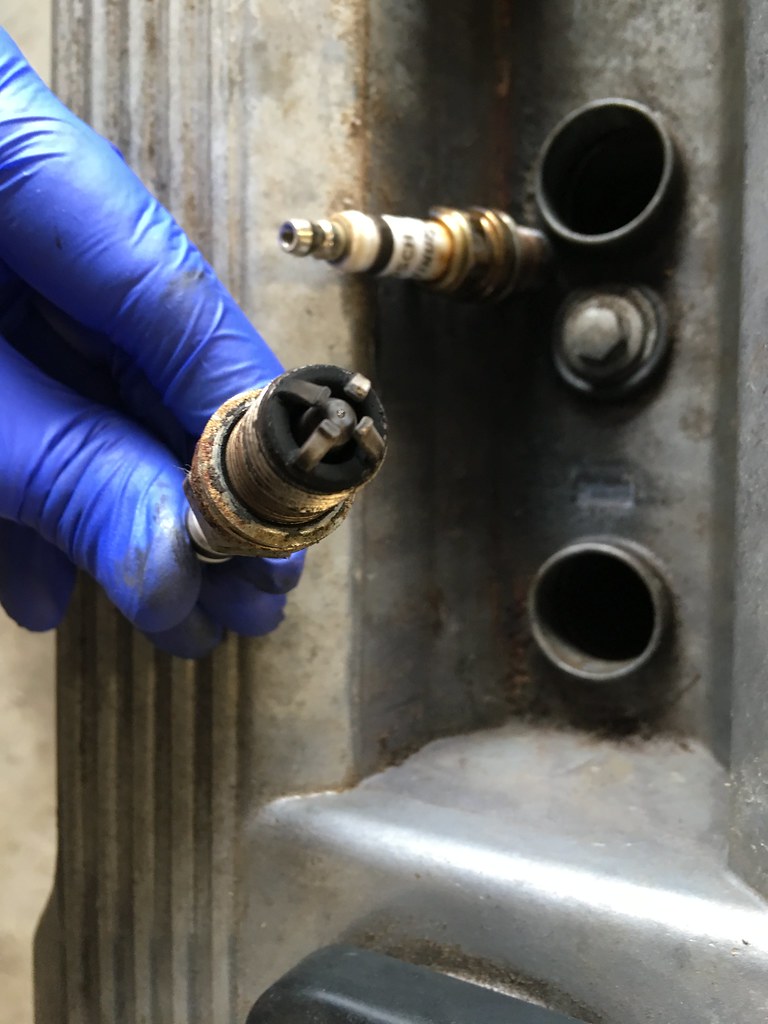
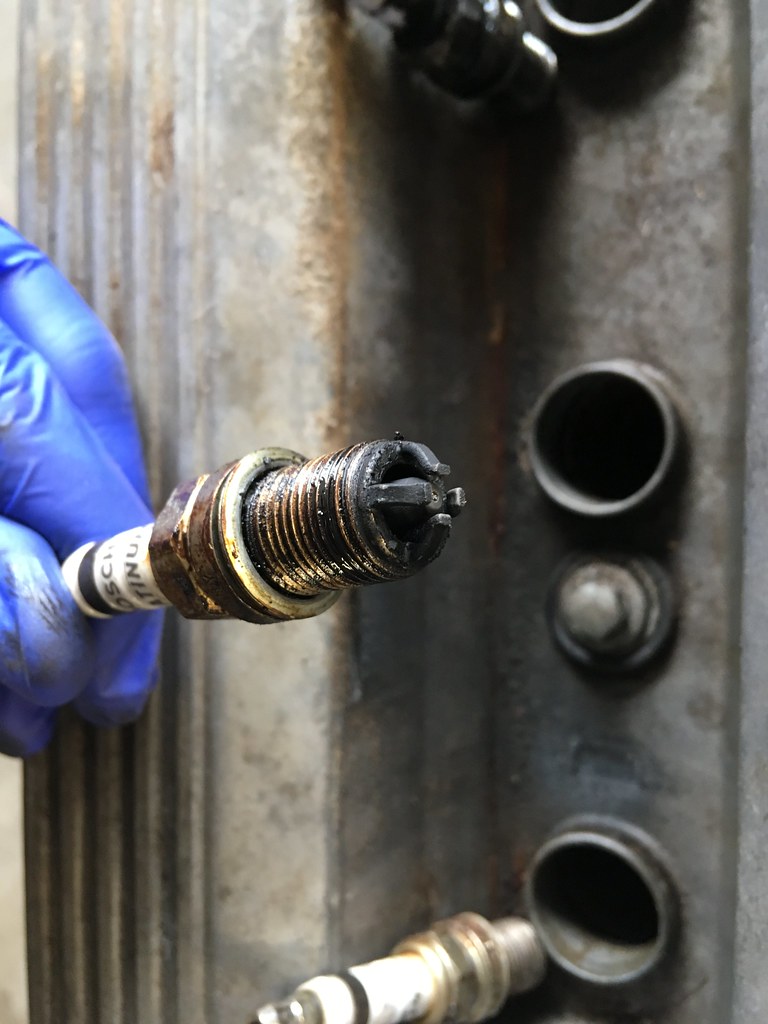
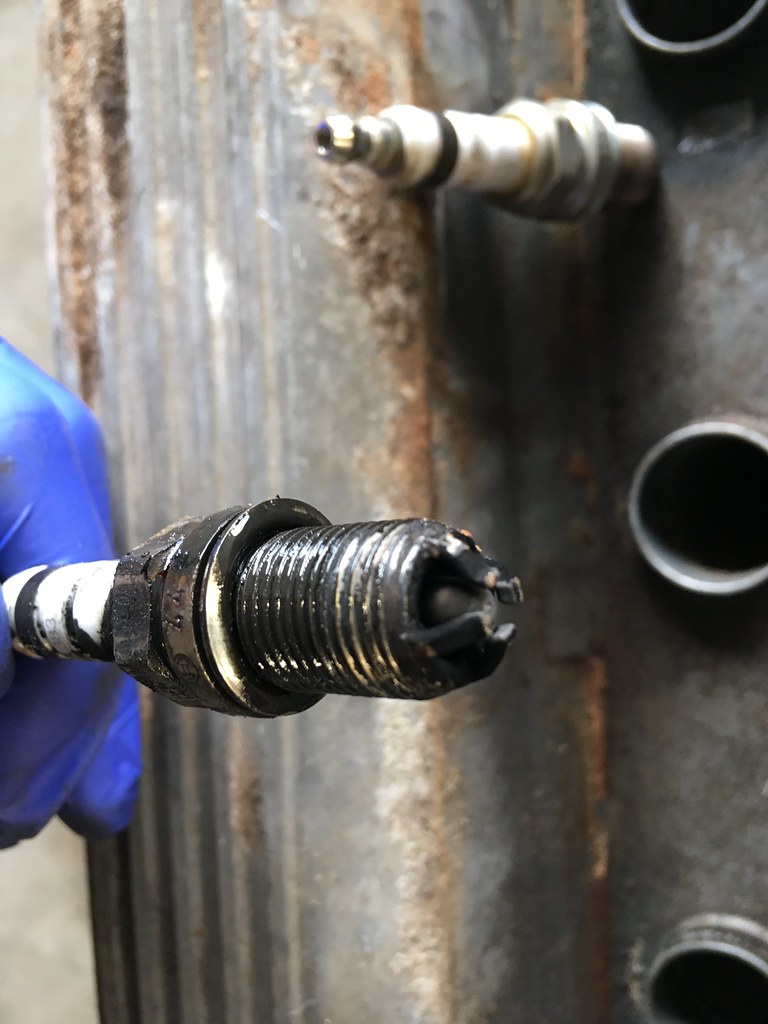
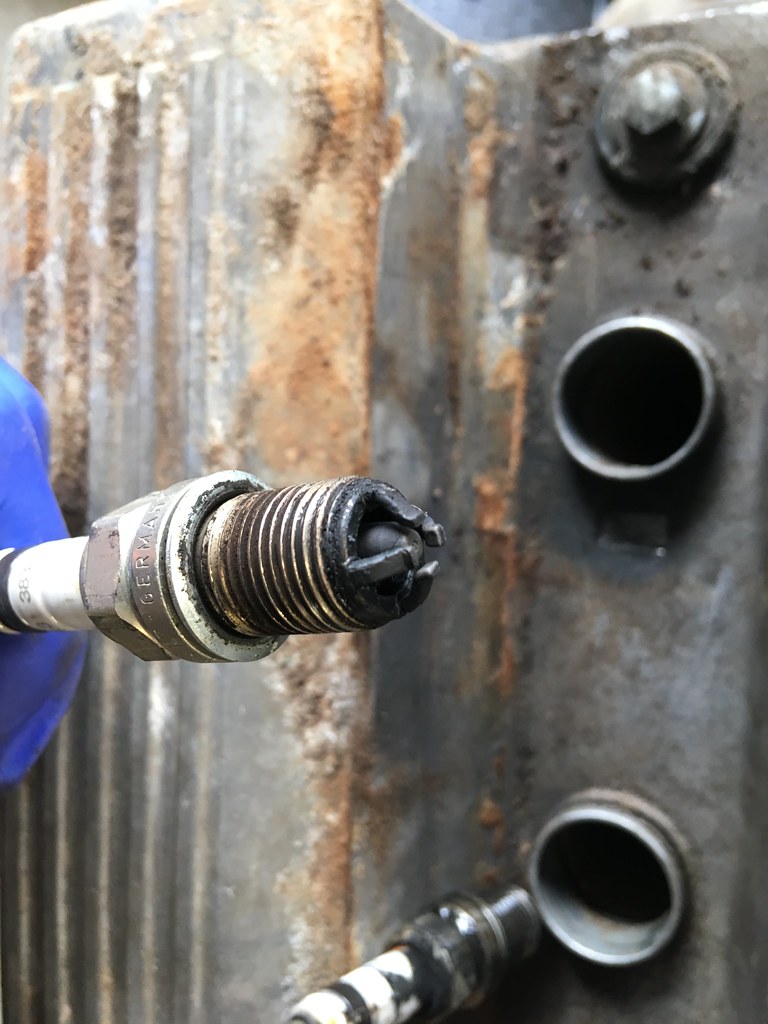
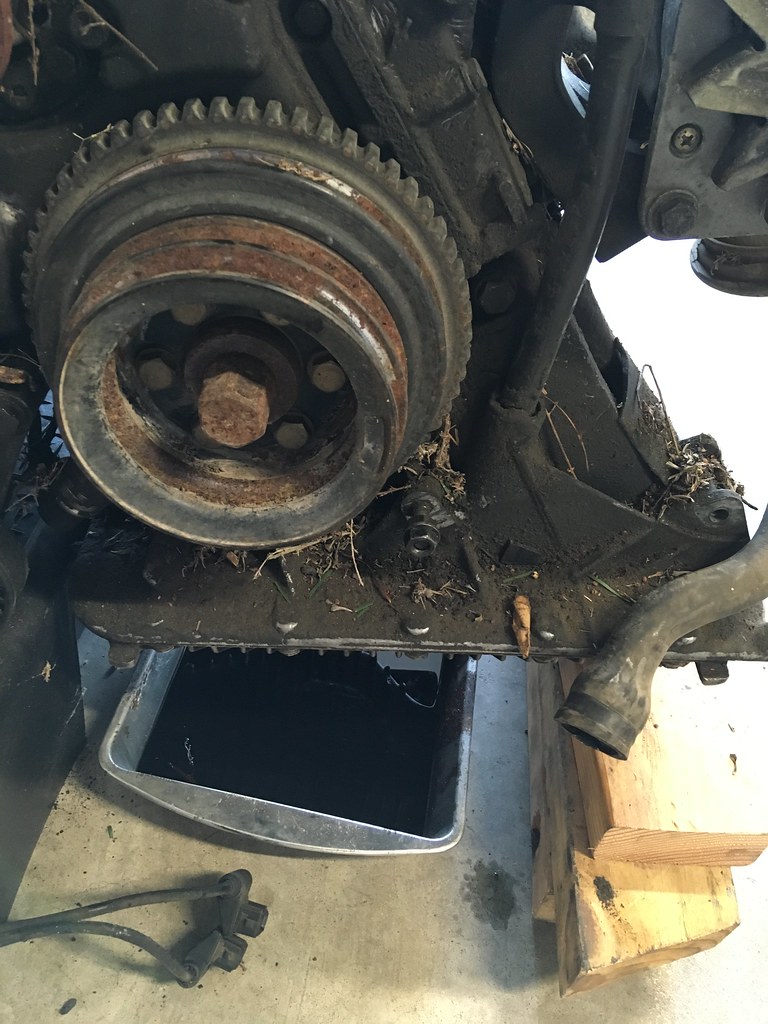
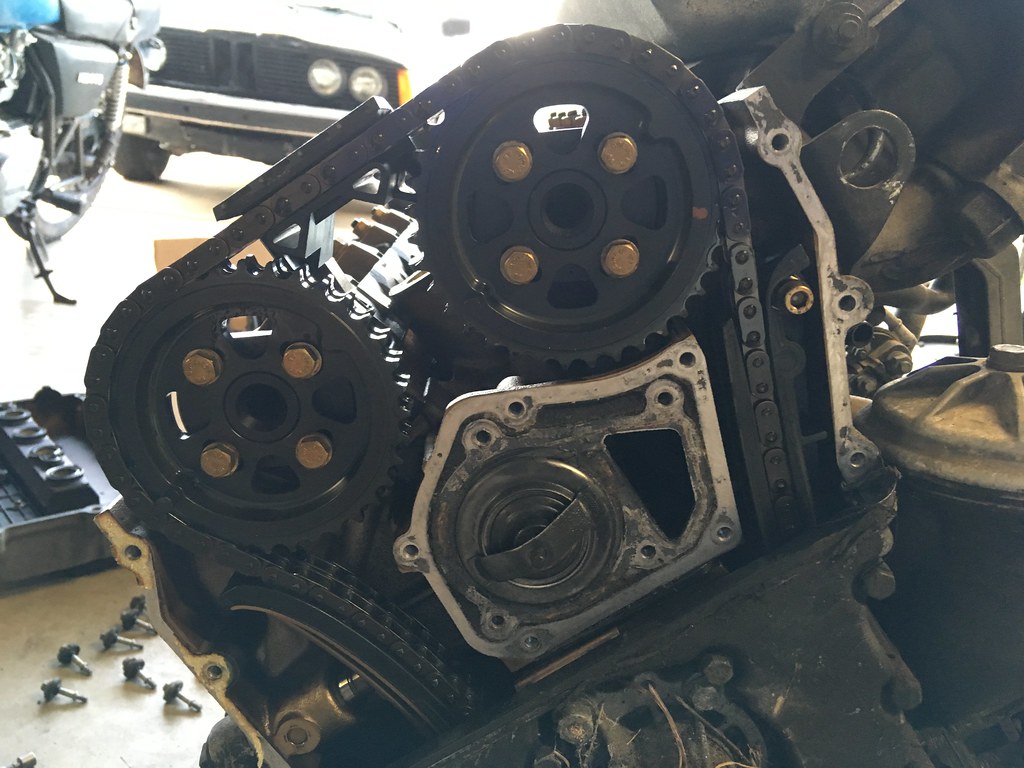
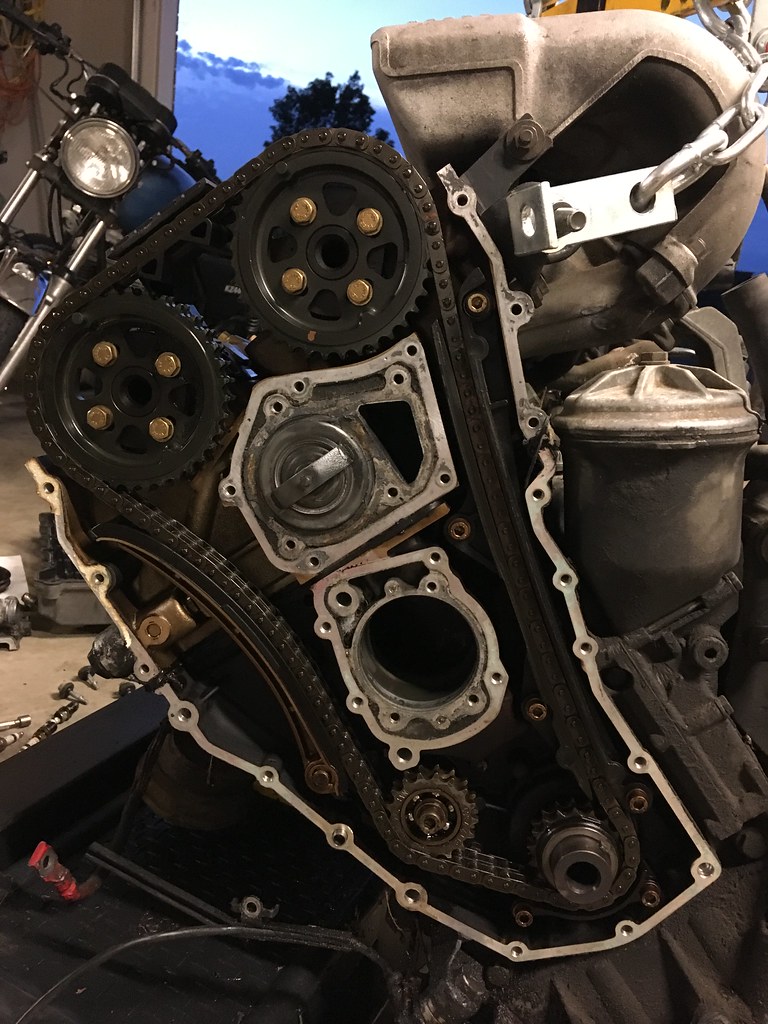
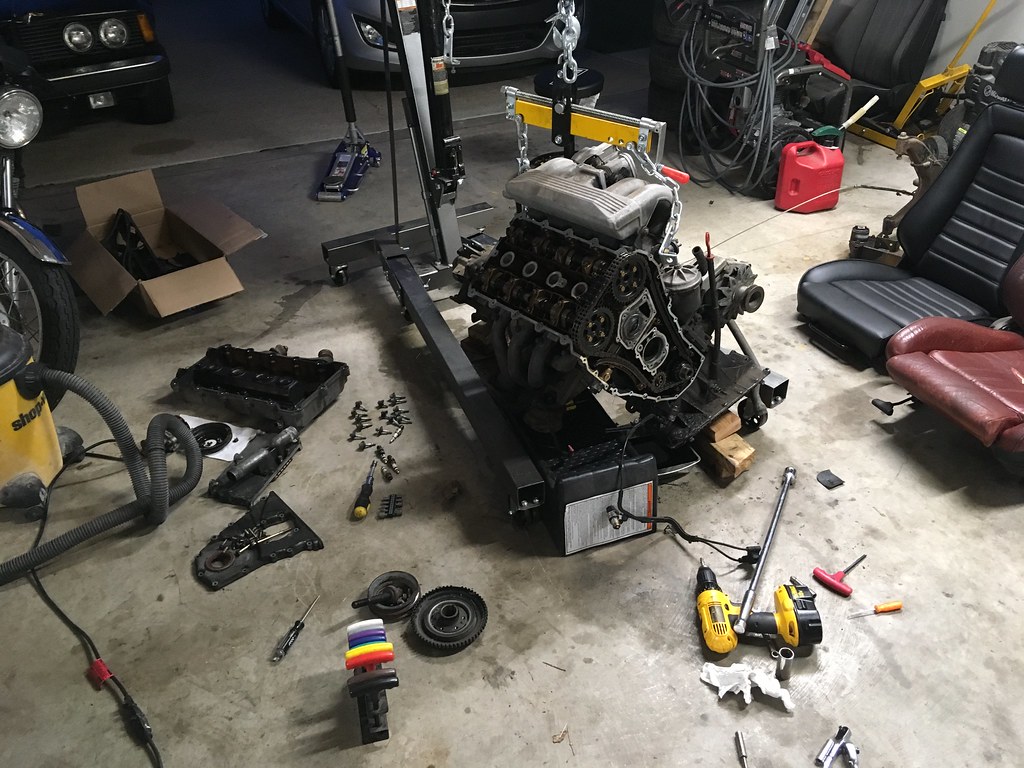
Just for reference, here is the m42 before it was pulled:
 1AF4AC5B-FA41-401C-8F60-C8227631CA54 by hatchethairy, on Flickr
 DF46BCD5-14E4-4791-9F7B-D4F7070B17F5 by hatchethairy, on Flickr
 CFDA6FBF-6DCB-4444-9D5A-0F10F269DDB2 by hatchethairy, on Flickr
 85BF72F9-098B-4708-AFD2-428E023840E8 by hatchethairy, on Flickr
06-25-2018
My first attempt at e21 ownership was aborted due to an overabundance of rust. Last week a local 320is popped up on CL for a price I couldn't pass up. Looking at the pics, I figured it was no more than a parts car. After driving it home and inspecting for rust, I've decided this one is worth saving. The driver side floor board is rusty from the jacking pad almost to the seat mount, and the passenger side is mostly just in the jacking pad but that's it for rust. The hood has a large dent, and the driver side fender is crumpled up pretty good, but there is a 78 320i at the local yard I can snatch some body parts from. The seller mentioned that he thought the rear driver wheel bearing was on the way out, and after an hour of highway it started to make some noise. The good news is that I have a spare set of trailing arms, subframe, and axles, so I can just get that all swapped out quickly. The sunroof is sagging at the rear passenger corner allow water in, and the interior is just crap all around.
At this point, I'm not sure what direction I'm going to go. I have a spare m42/trans and just about everything needed for a swap, but I don't know if it's a worthy candidate. I pulled it from my 318is and swapped it with a known good motor/trans last year. It was left in a field for 11 years and it shows, all rubber parts will need replaced, but I don't think that will be too costly. I'm thinking a little digging is necessary before committing though. If anything it will be a dedicated autocross/track car since my 318is has become more of a daily driver than expected. I've got a set of 14" e30 basketweaves, but they require 15mm spacers. If I go full dedicated racer, 15x7 or 15x8 with some fender work or possibly flares may be in order. Just thinking out loud....
Untitled by hatchethairy, on FlickrUntitled by hatchethairy, on FlickrUntitled by hatchethairy, on FlickrUntitled by hatchethairy, on FlickrUntitled by hatchethairy, on FlickrUntitled by hatchethairy, on FlickrUntitled by hatchethairy, on FlickrUntitled by hatchethairy, on FlickrUntitled by hatchethairy, on FlickrUntitled by hatchethairy, on FlickrUntitled by hatchethairy, on FlickrUntitled by hatchethairy, on FlickrUntitled by hatchethairy, on FlickrUntitled by hatchethairy, on FlickrUntitled by hatchethairy, on FlickrUntitled by hatchethairy, on Flickr- - - Updated - - -
Just for reference, here is the m42 before it was pulled:
1AF4AC5B-FA41-401C-8F60-C8227631CA54 by hatchethairy, on FlickrDF46BCD5-14E4-4791-9F7B-D4F7070B17F5 by hatchethairy, on FlickrCFDA6FBF-6DCB-4444-9D5A-0F10F269DDB2 by hatchethairy, on Flickr85BF72F9-098B-4708-AFD2-428E023840E8 by hatchethairy, on Flickr


Comment