Announcement

Collapse
No announcement yet.

This build escalated quickly...

Collapse
X
 
  • Filter
  • Time
  • Show
Clear All
new posts

    This build escalated quickly...

    Hey guys,

    Thanks for the add! Long time creeper, its about time I join this community. Over the years I have dug up tons of useful information from you guys, thank you. Hopefully this can help others out there as well. I know Im still going to need help, already have some questions in mind aha.

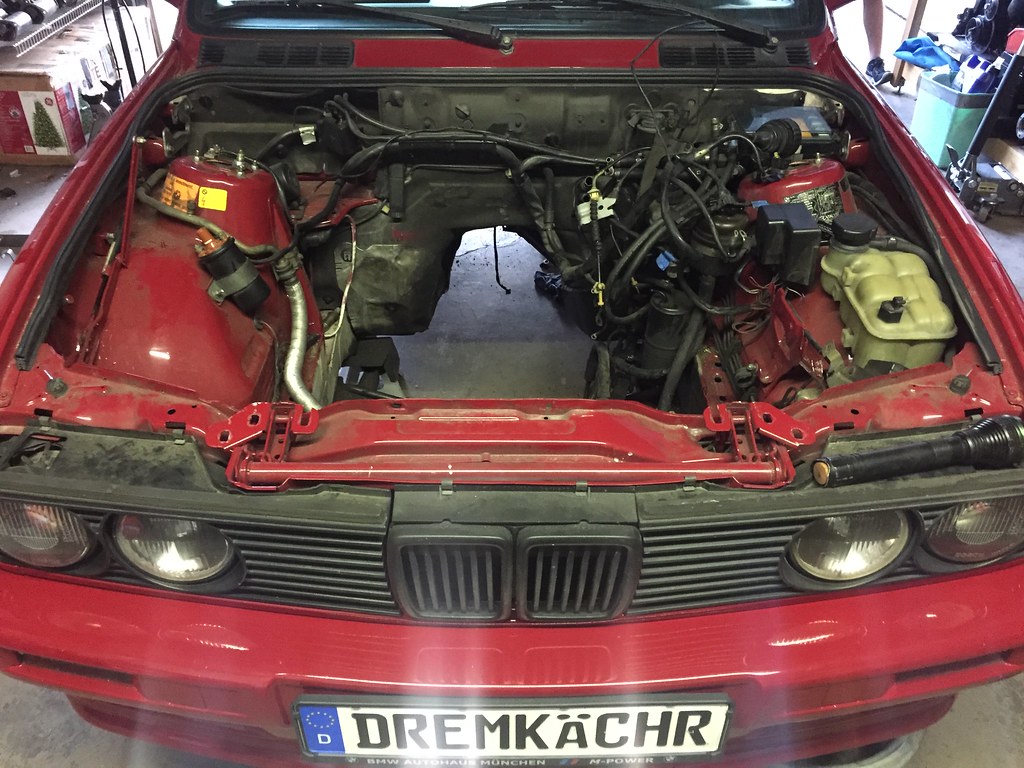
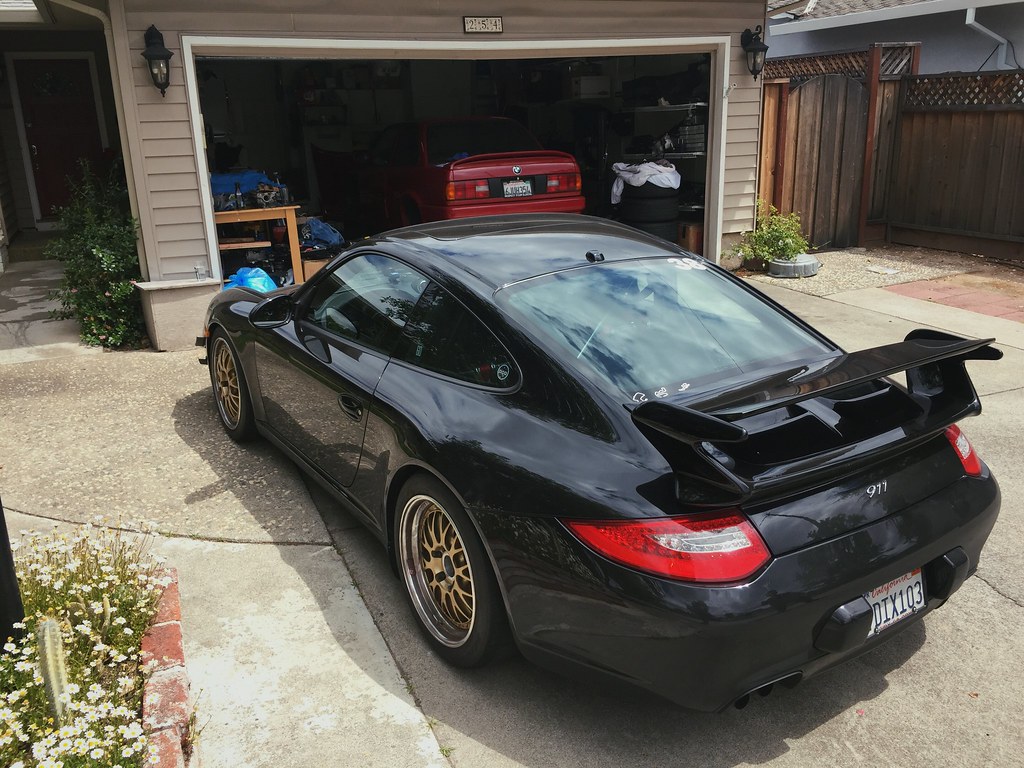
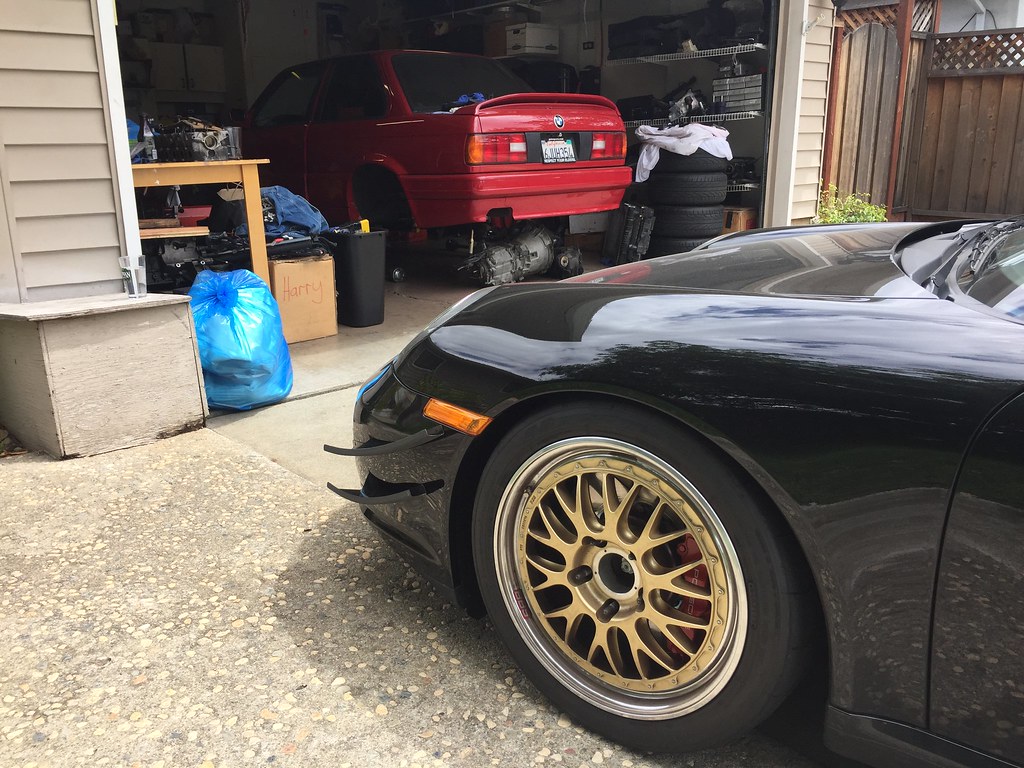
    Heres what Im working on. In March 2017 my E30 ended up on the back of a flatbed. I pulled off the freeway after a couple hundred mile trip and the car was misfiring bad. Next morning I started the car and it sounded like it was knocking.

    The Build by Evan Nessim, on Flickr

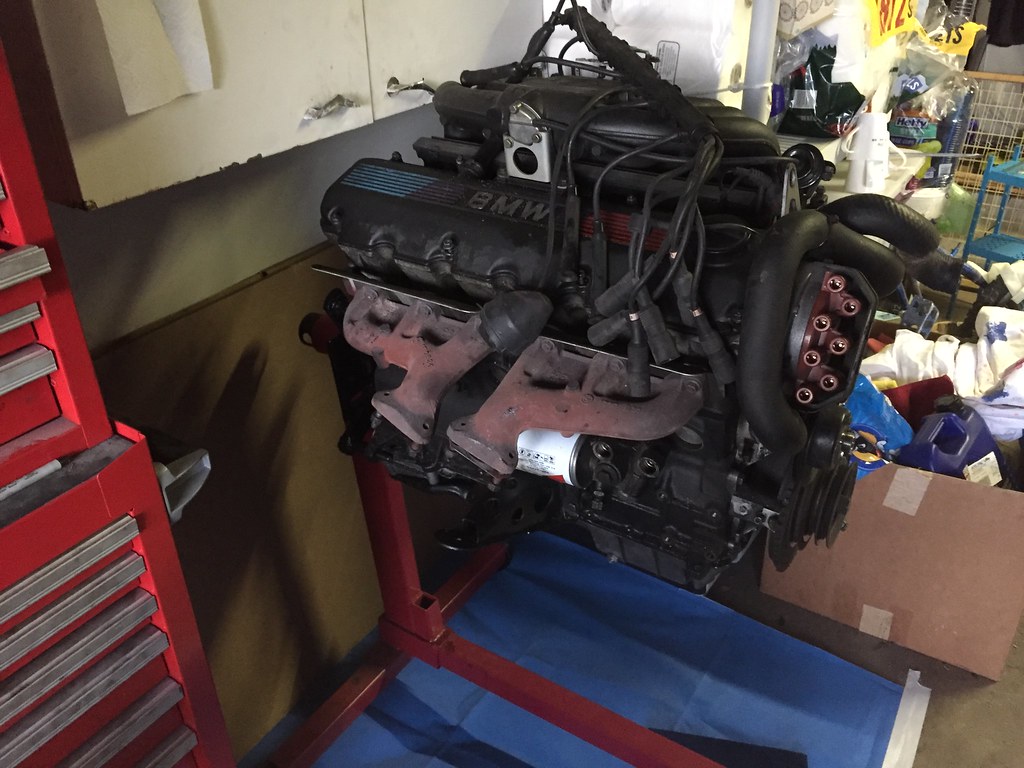
    Since the engine seemed tired I decided to pull the motor and do a full stock rebuild to get back on the road.

    The Build by Evan Nessim, on Flickr
    The Build by Evan Nessim, on Flickr

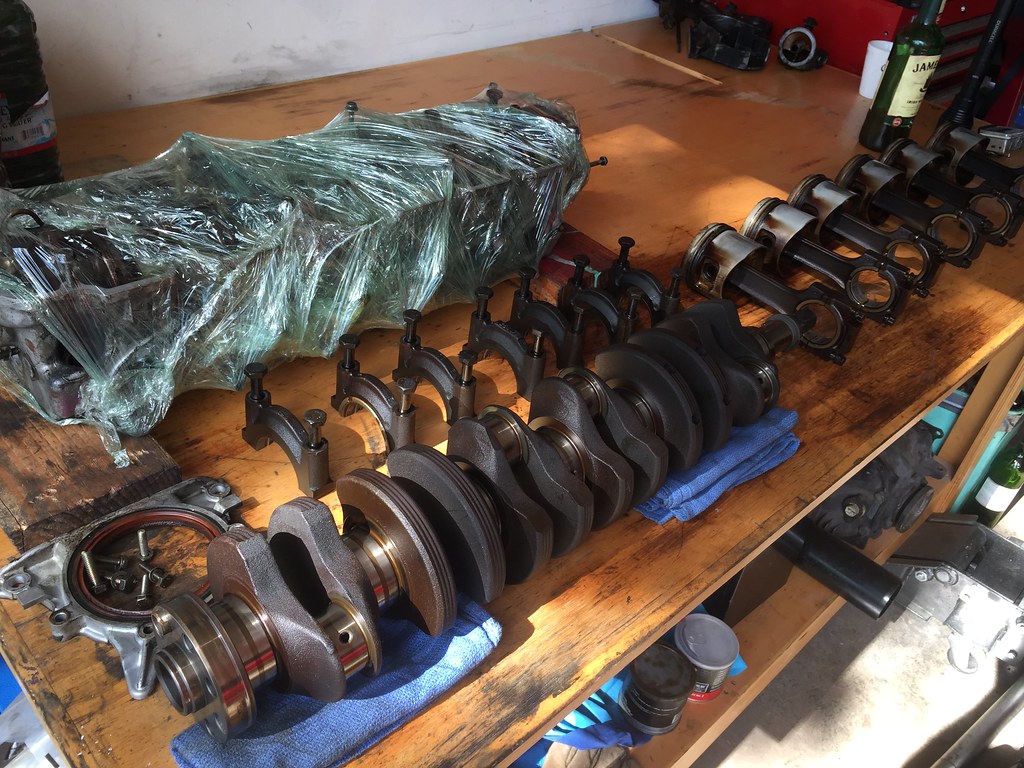
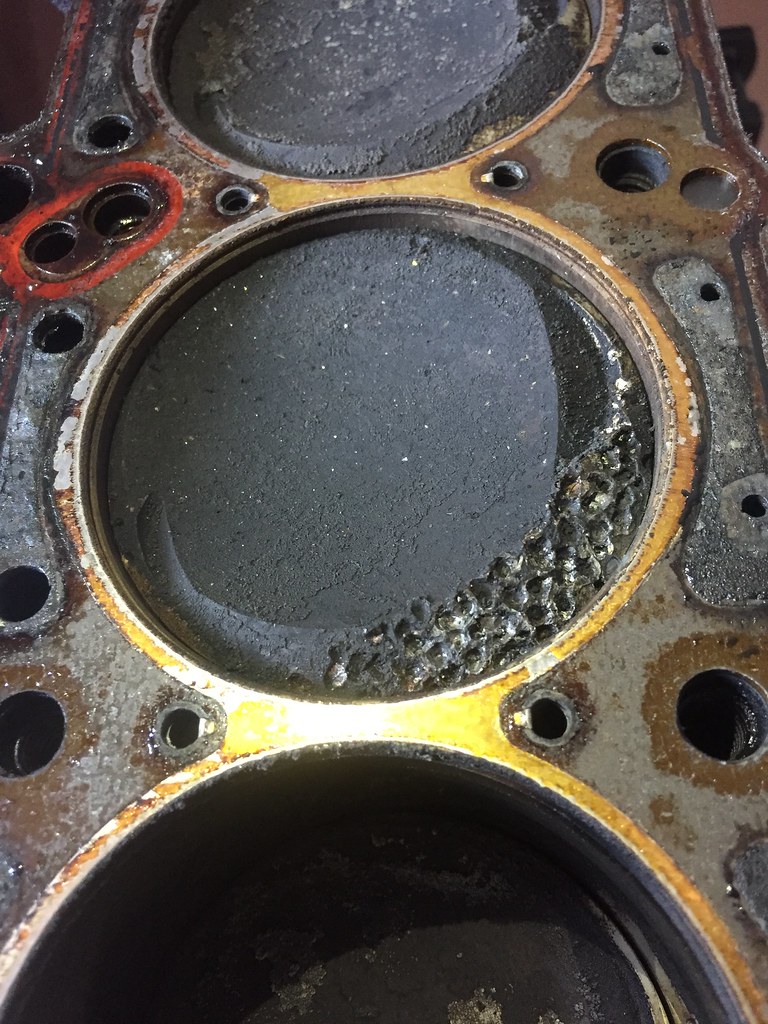
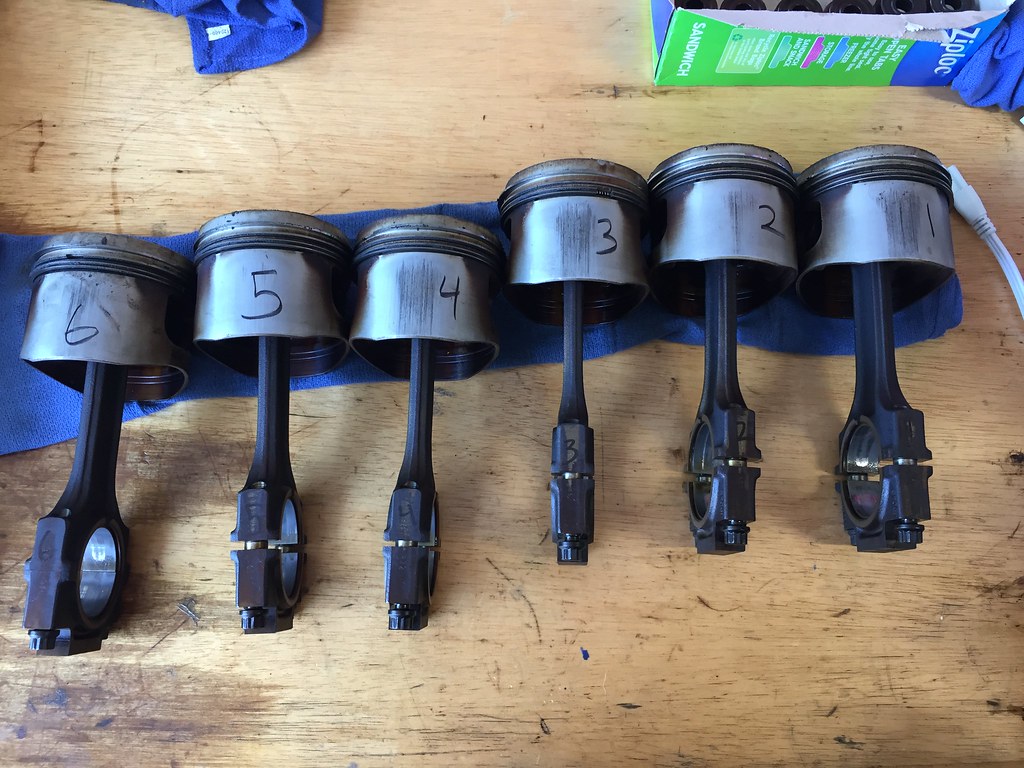
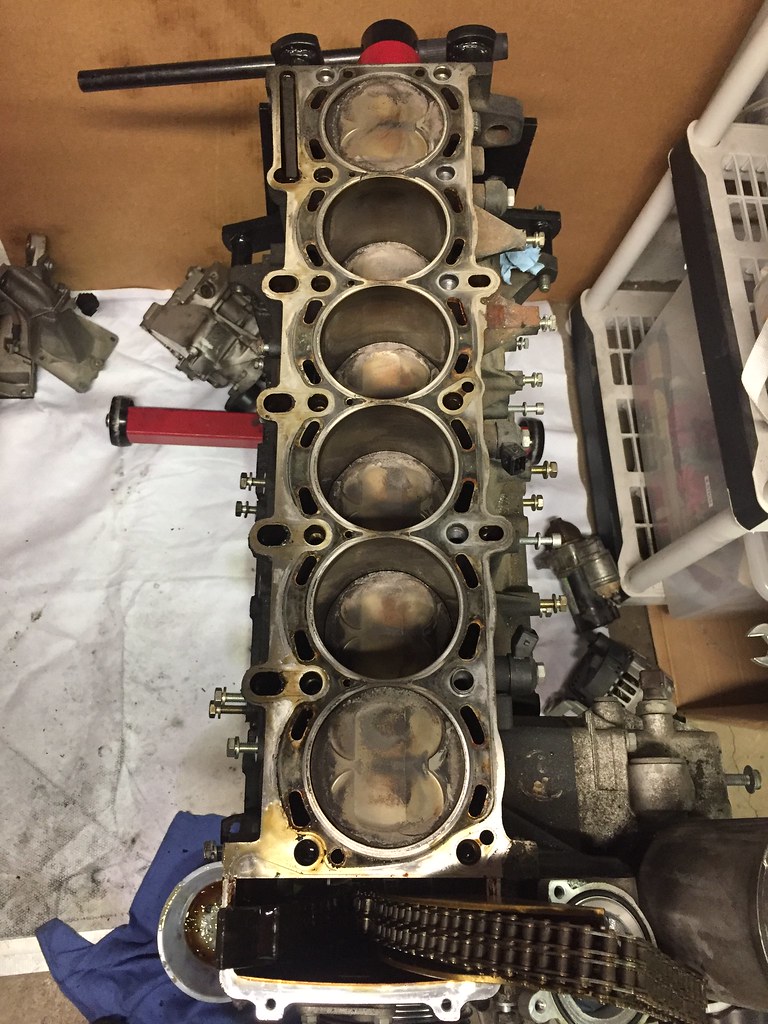
    All torn down. Something must have been jumping around in a couple cylinders for sure. Didnt have a clue just how worn the engine would be. So I figured may as well build a 3.1 stroker! I started making a build list and in the mean time cleaned up around the car.

    The Build by Evan Nessim, on Flickr
    The Build by Evan Nessim, on Flickr
    The Build by Evan Nessim, on Flickr
    The Build by Evan Nessim, on Flickr

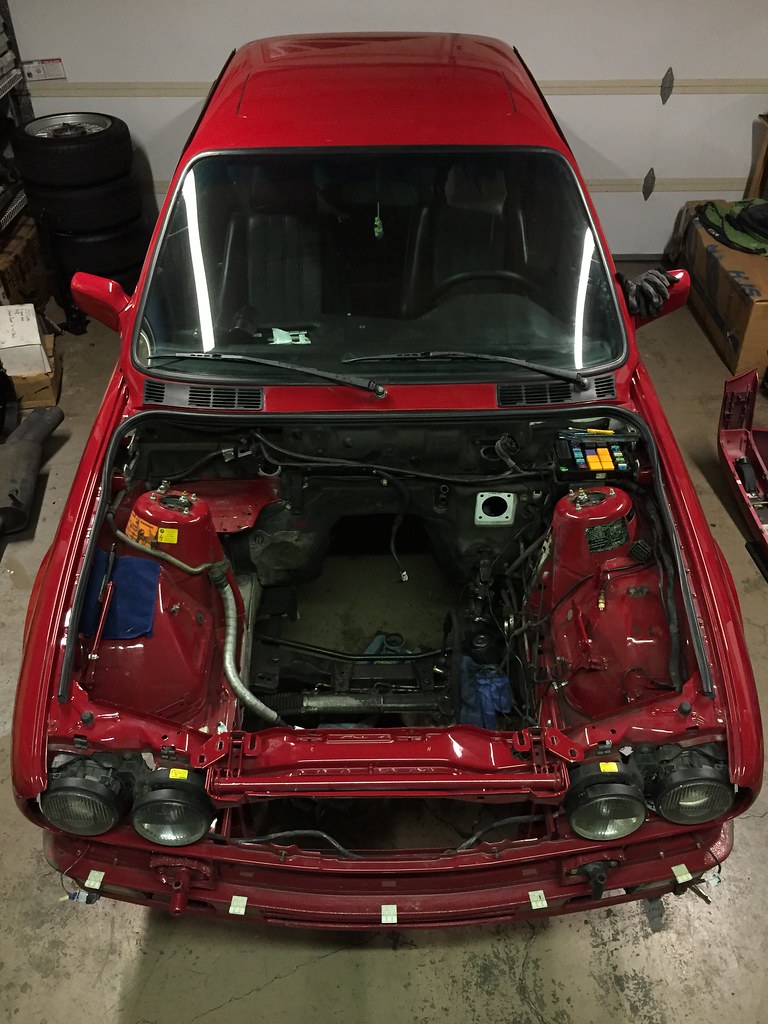
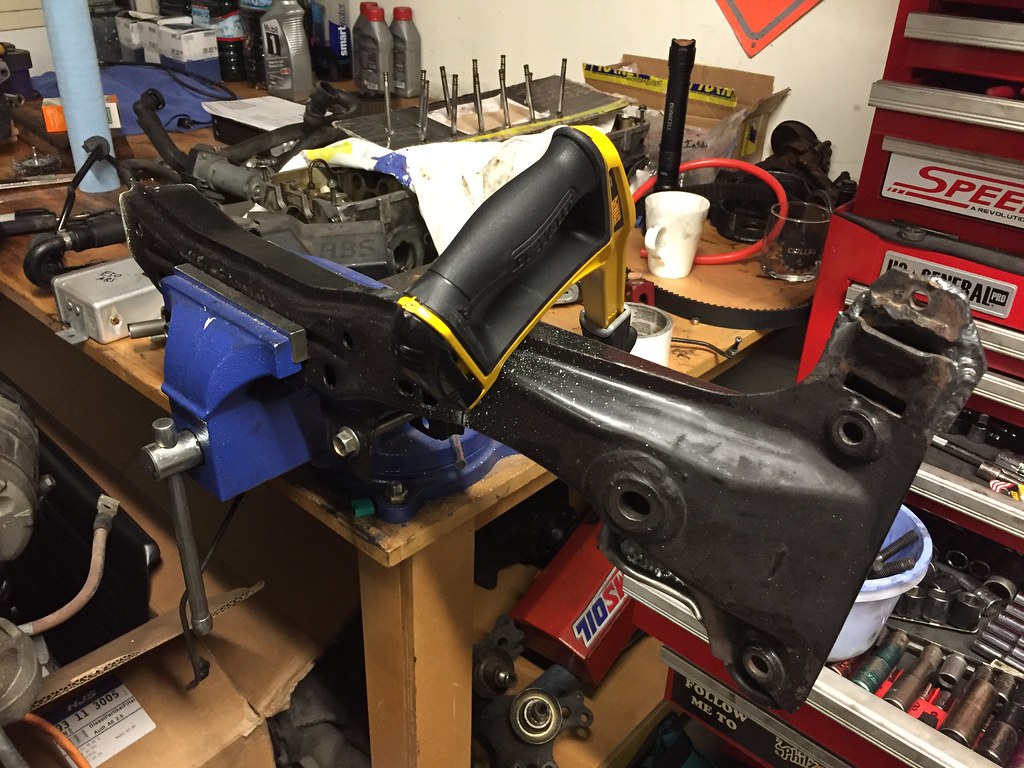
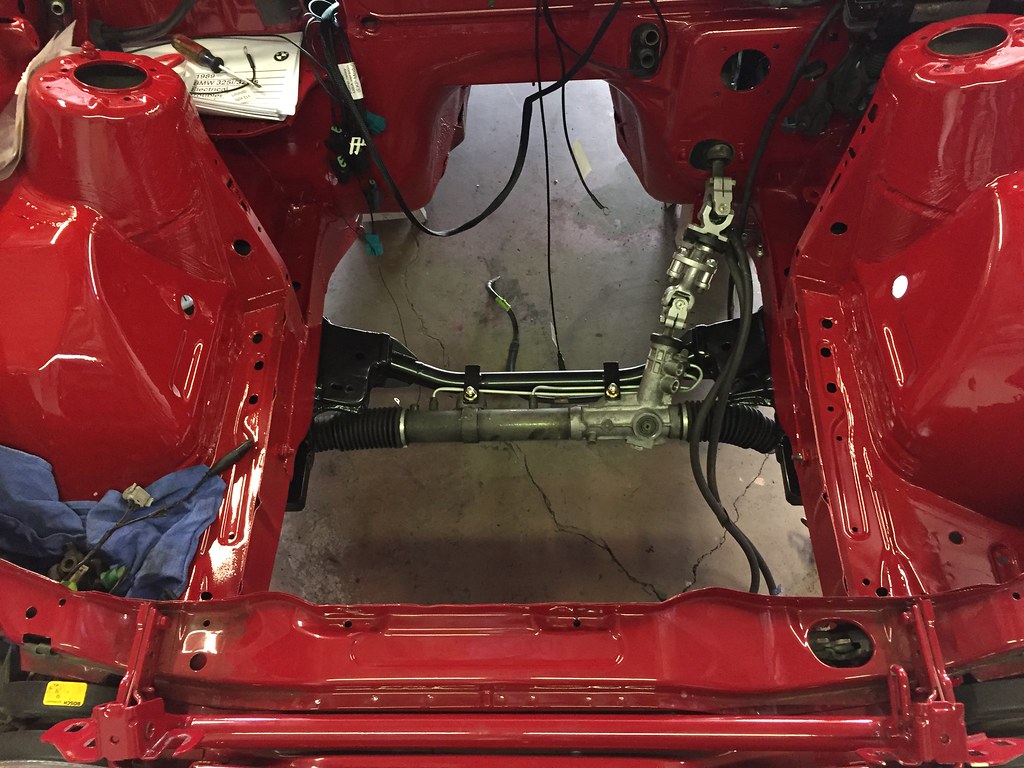
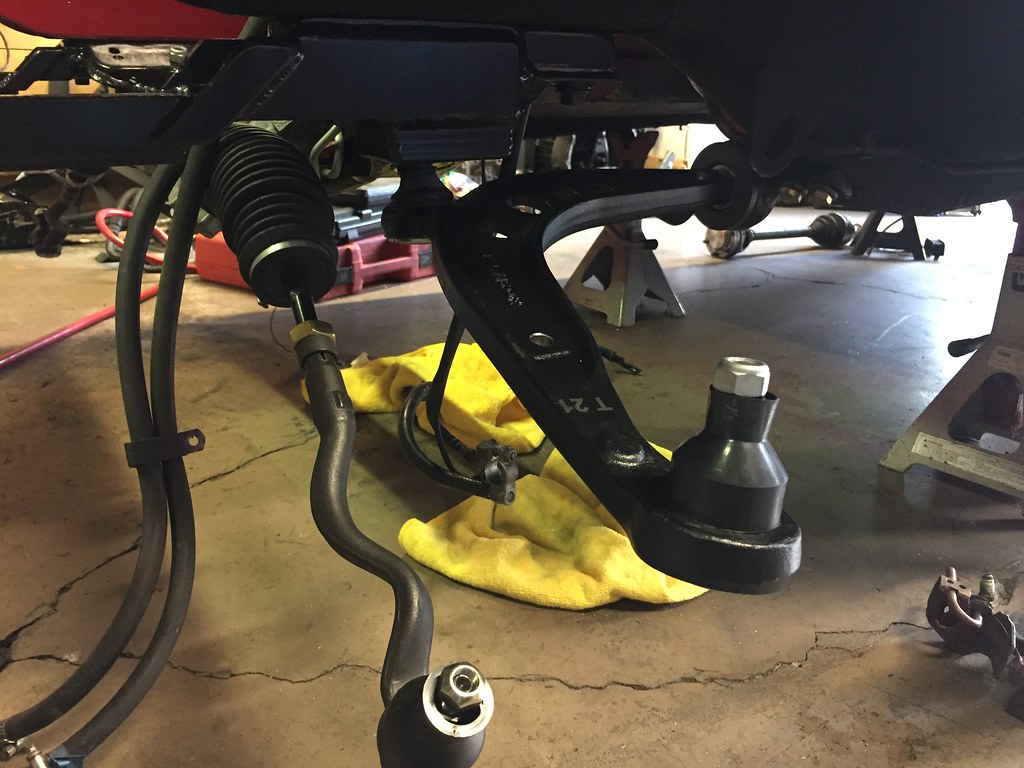
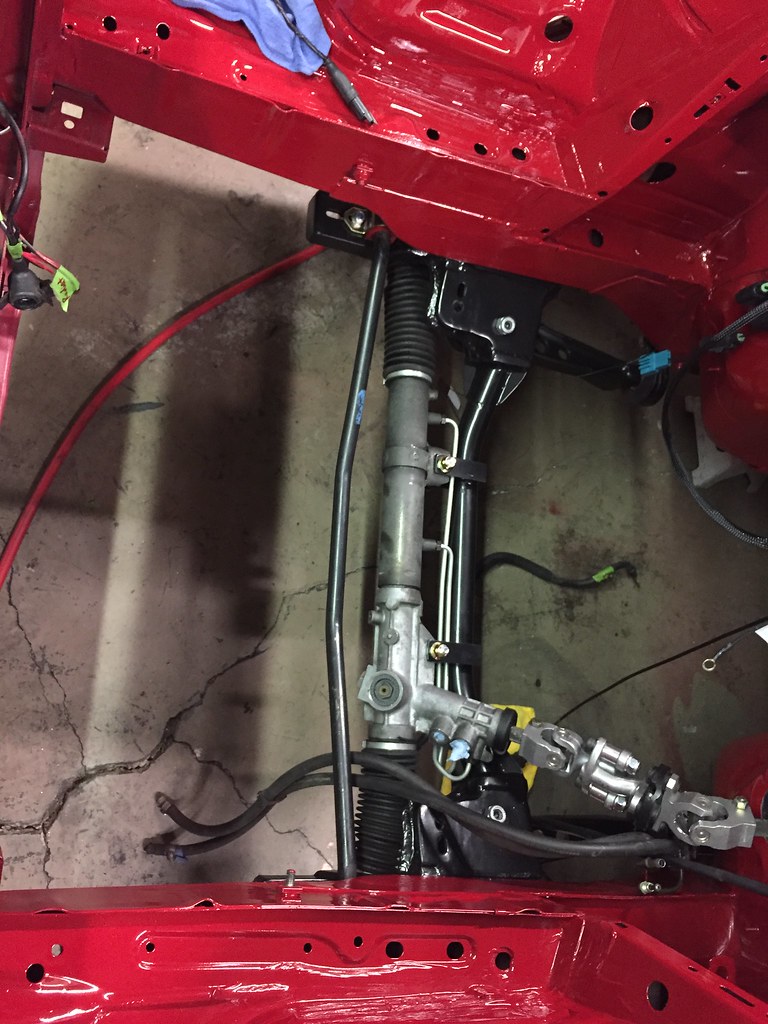
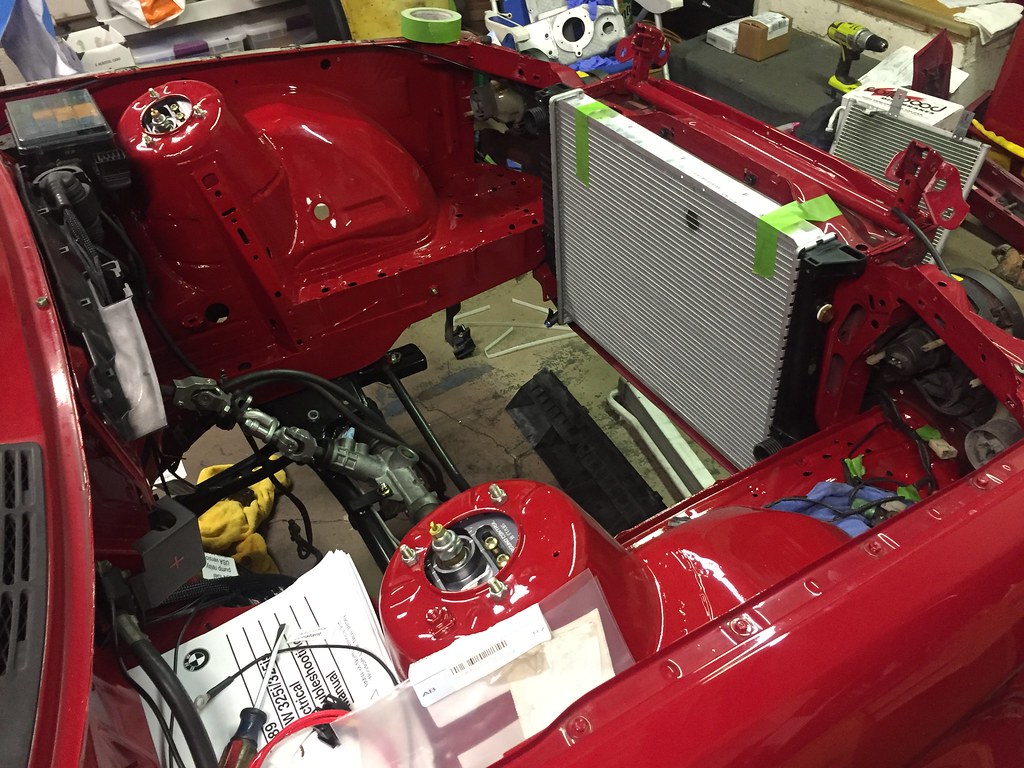
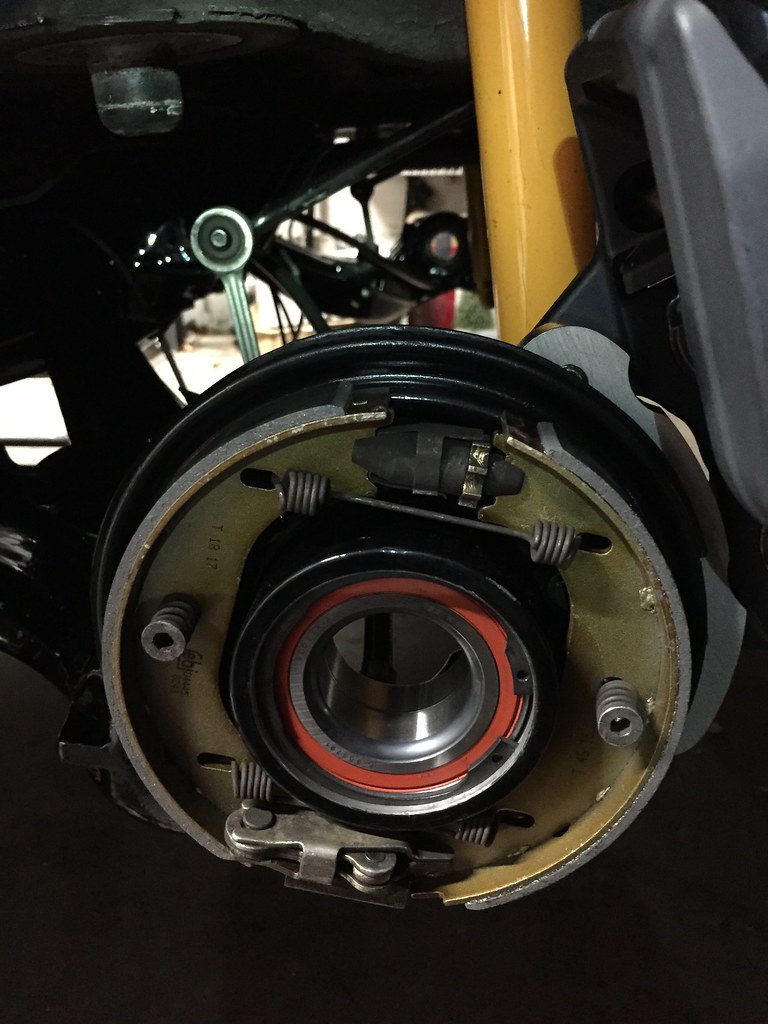
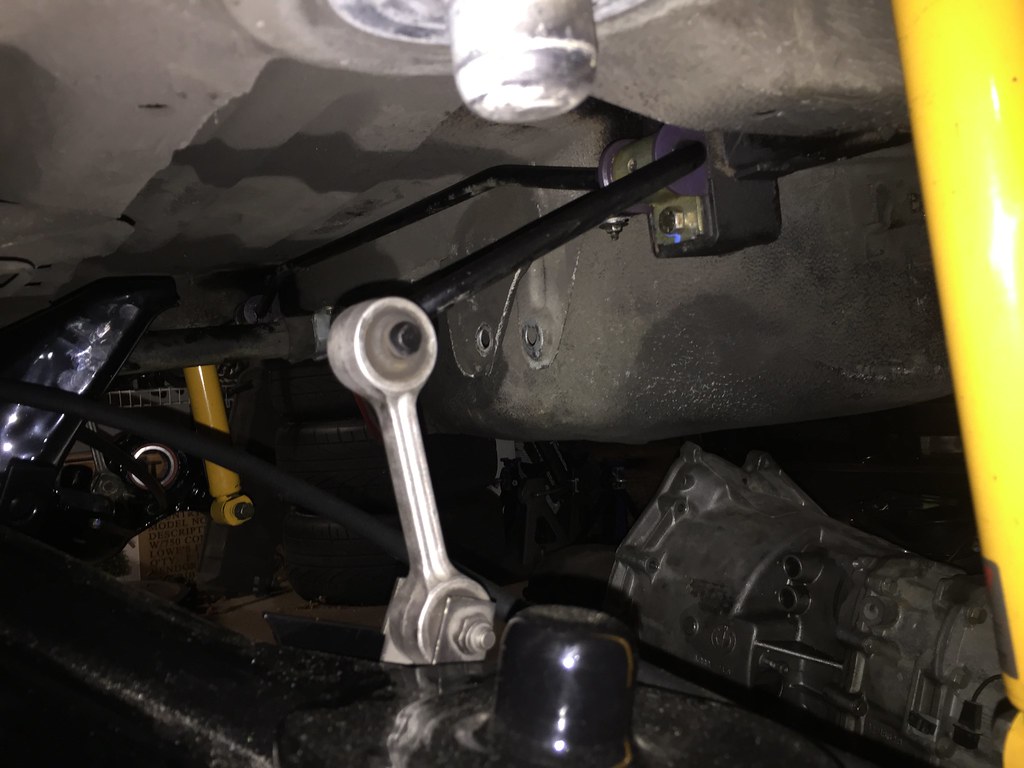
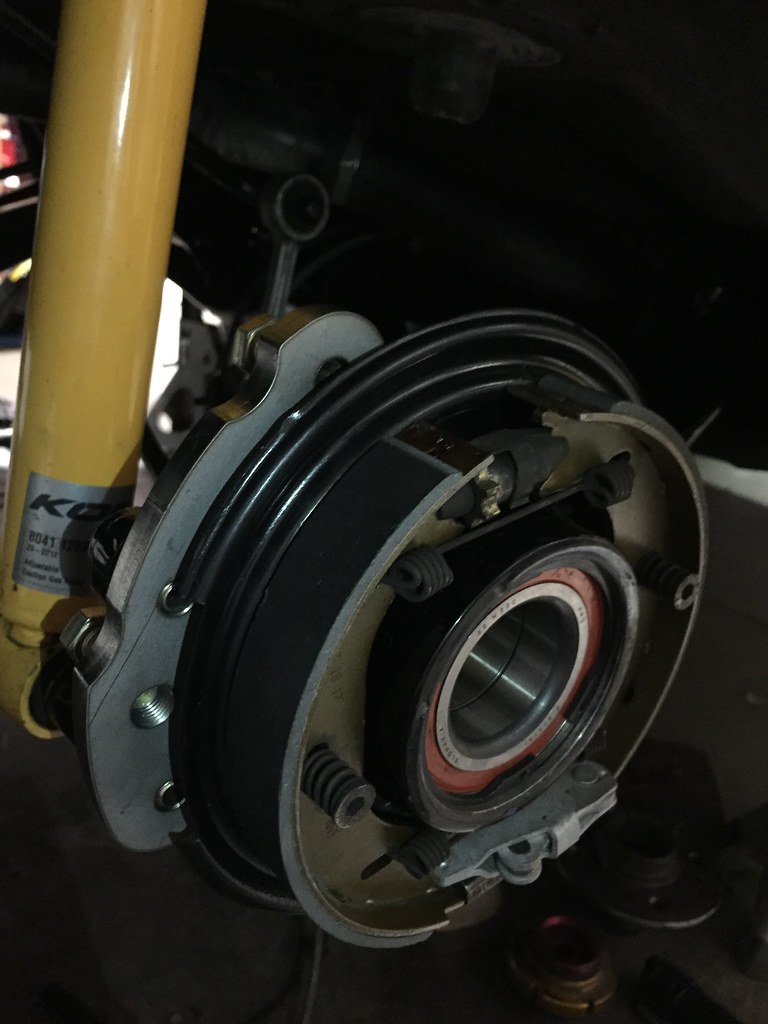
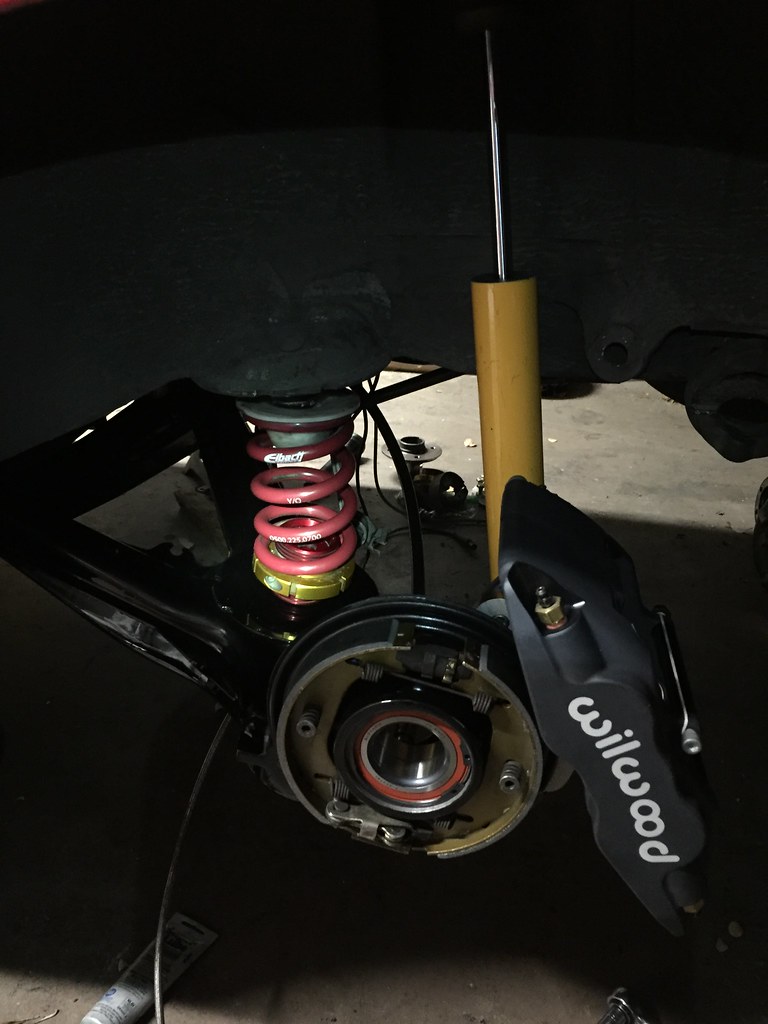
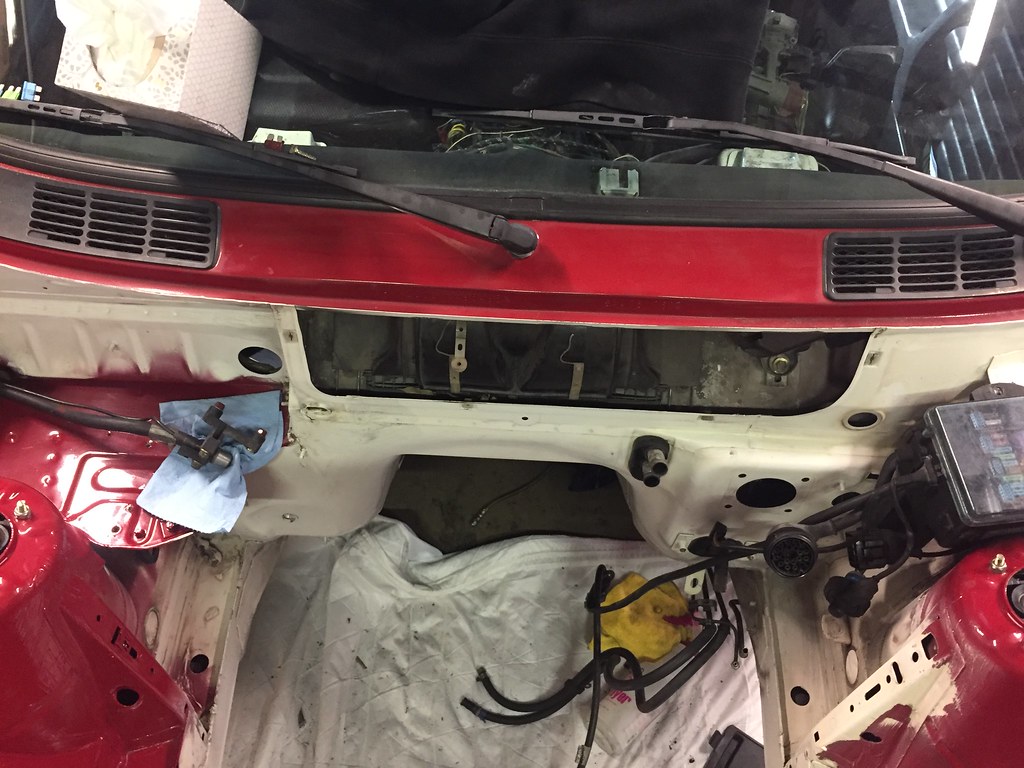
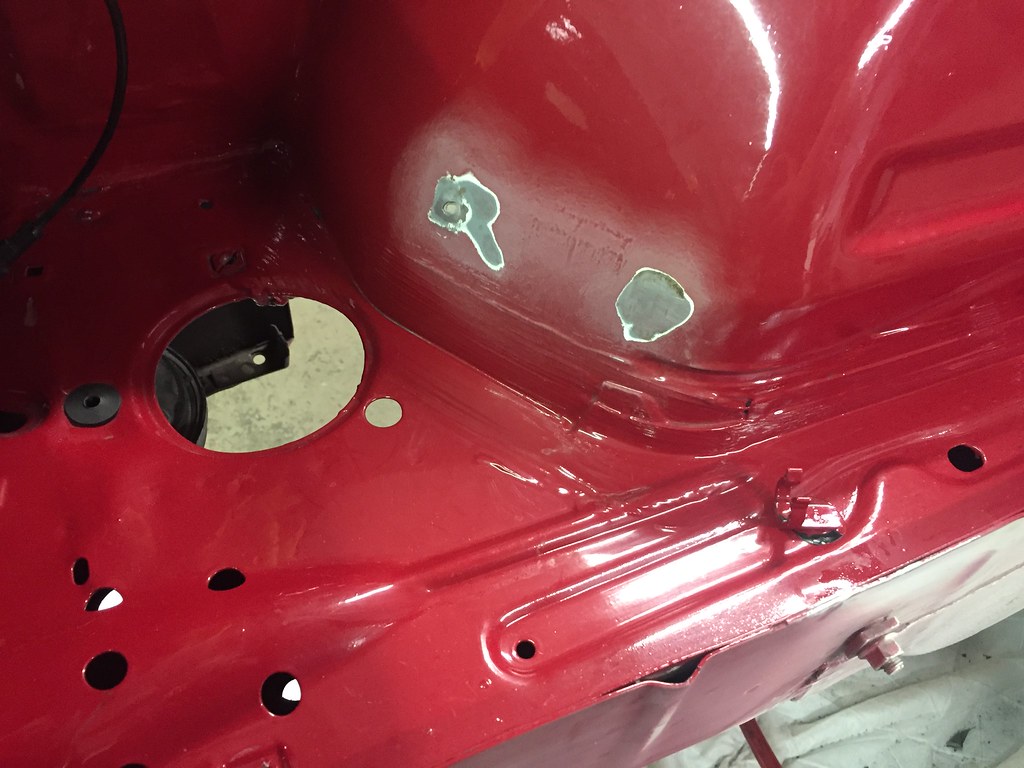
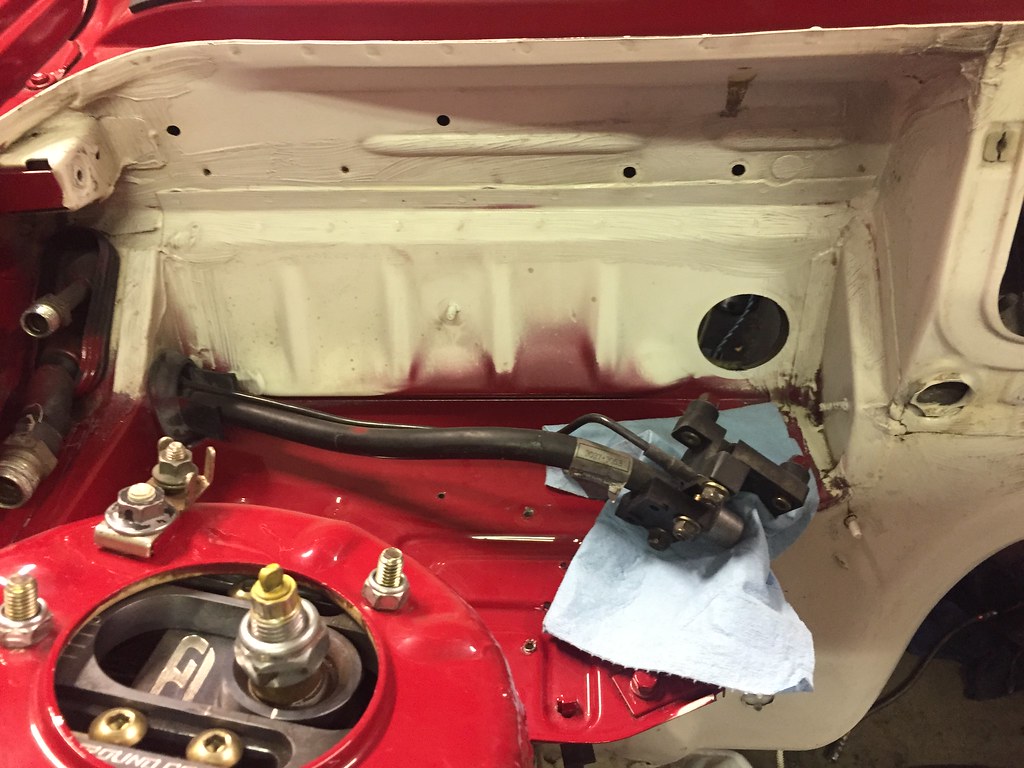
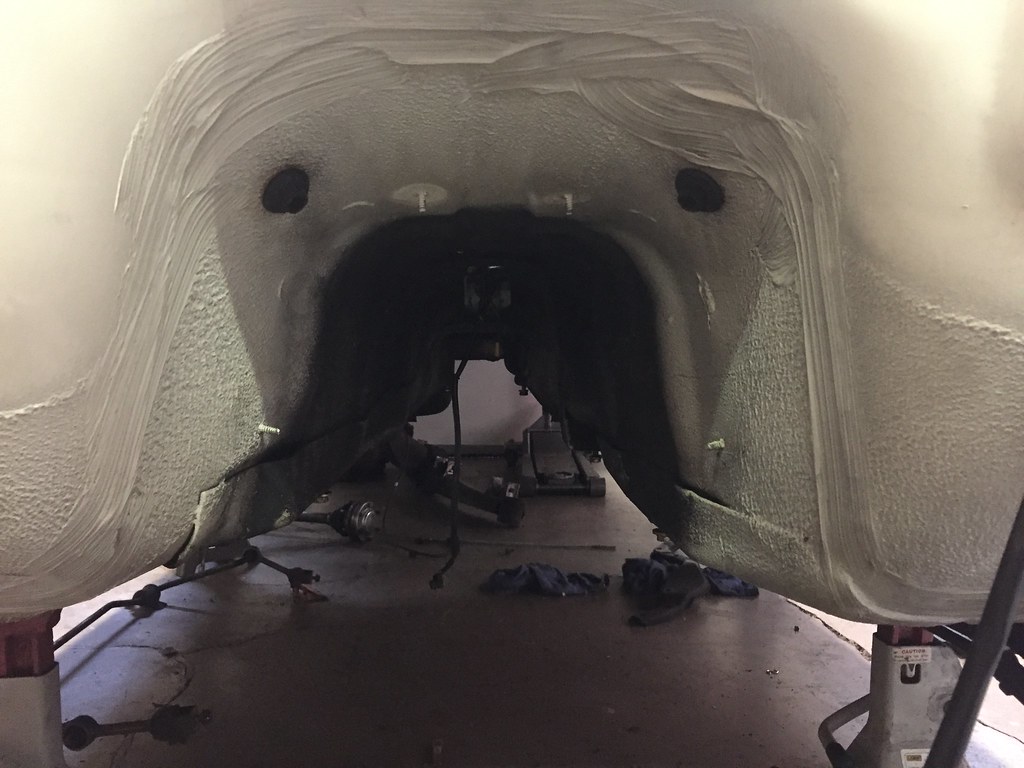
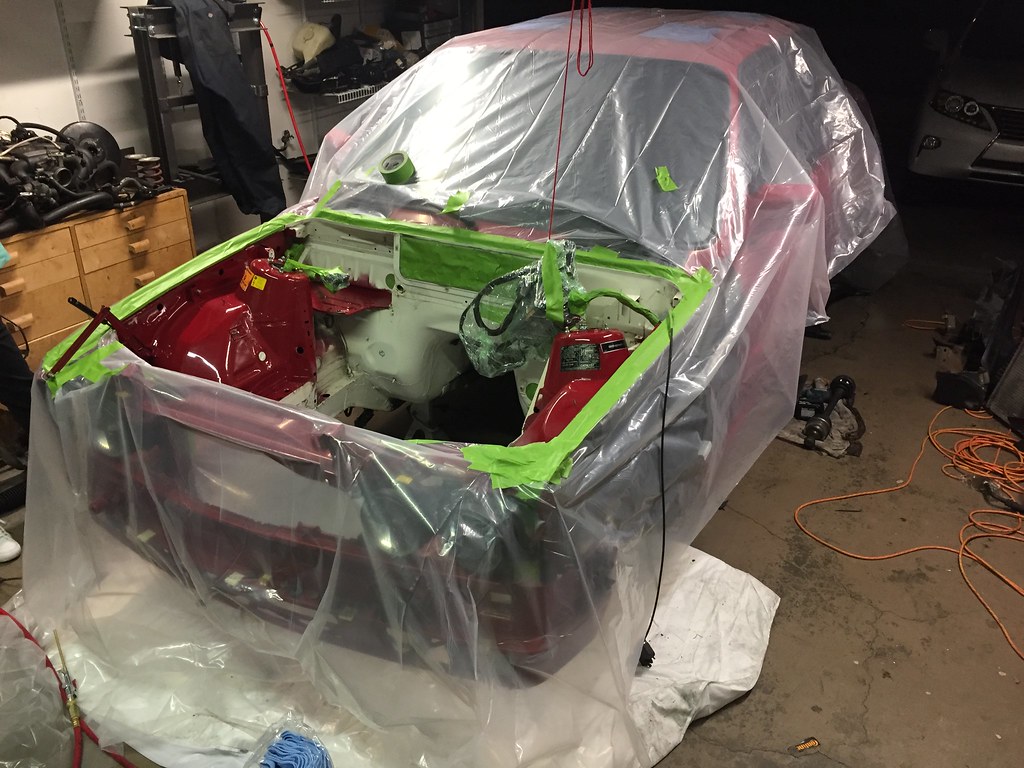
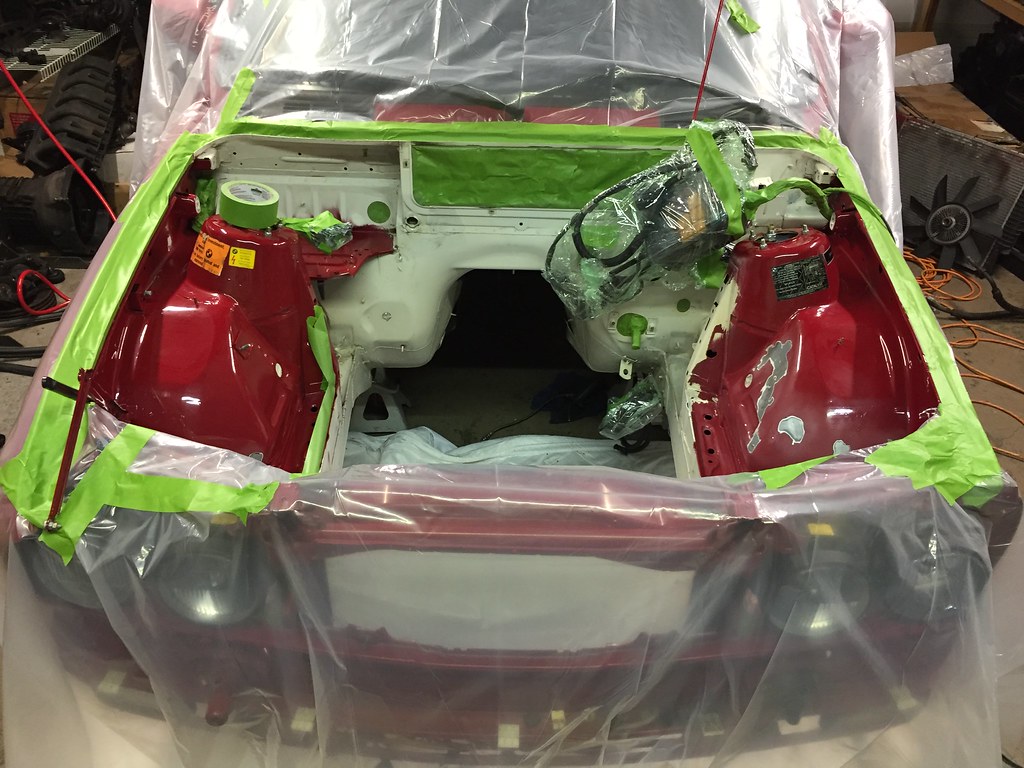
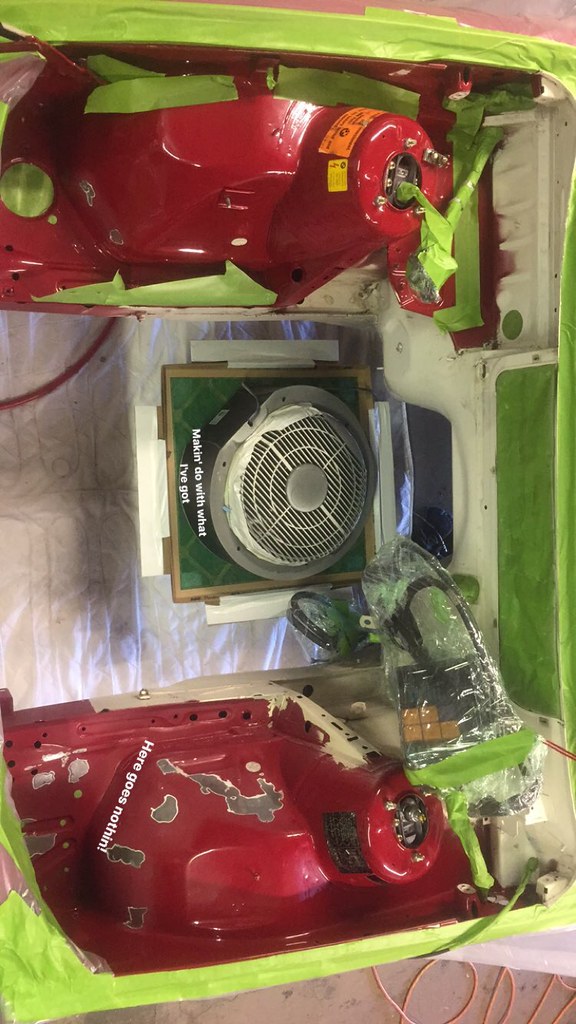
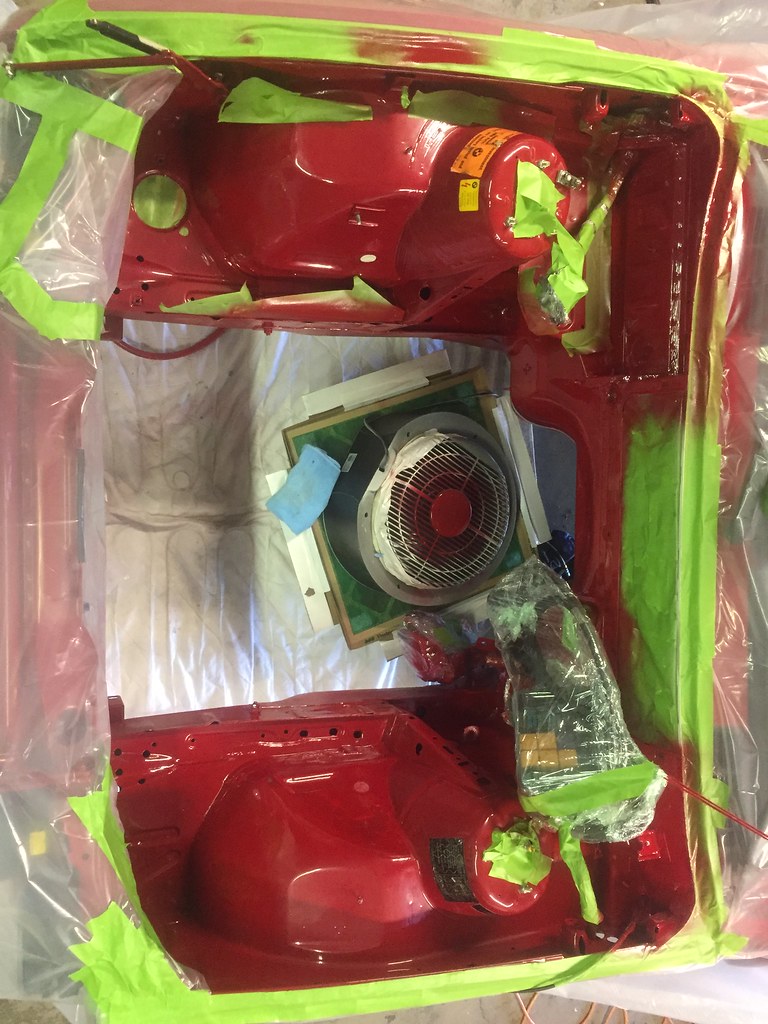
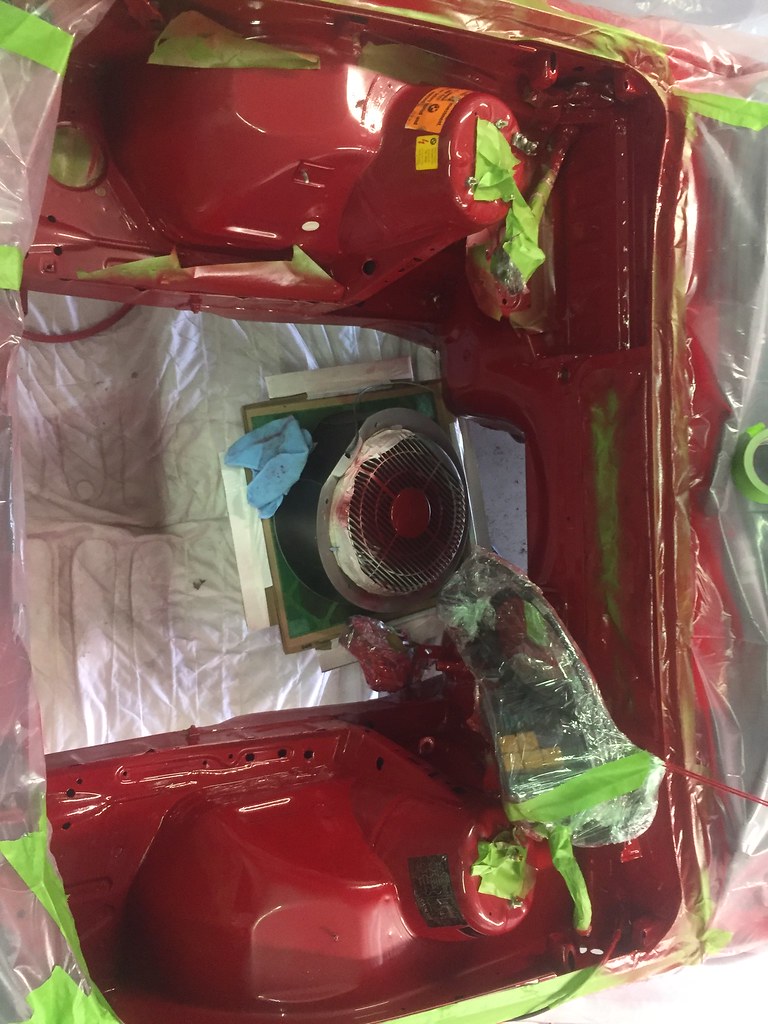
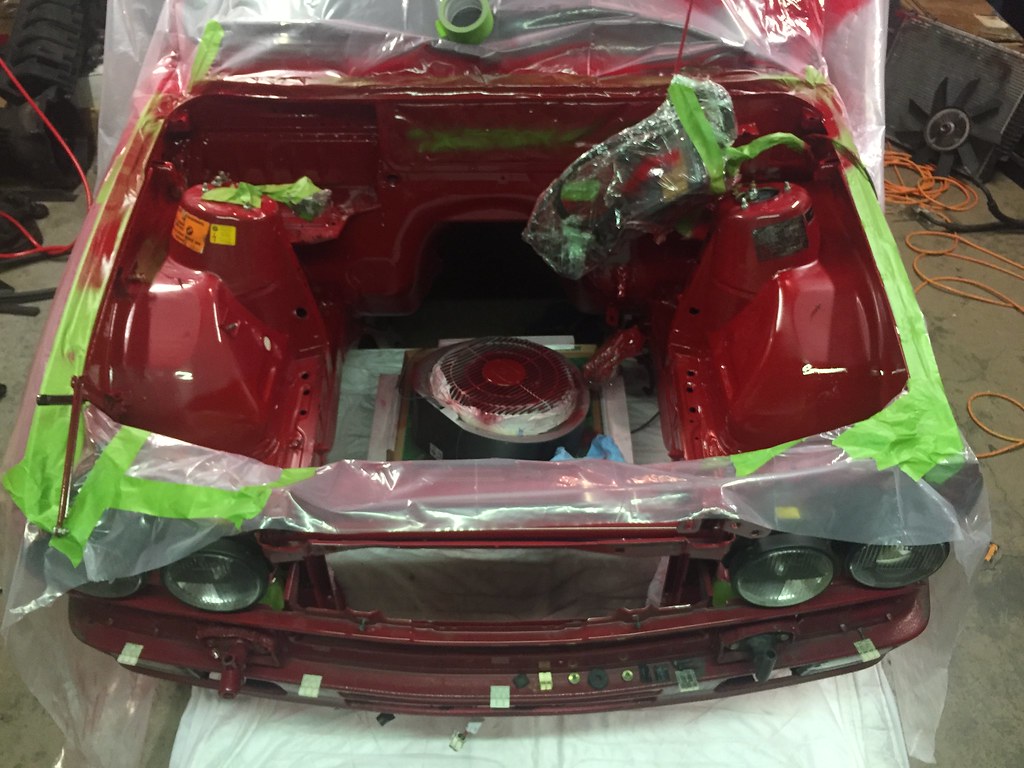
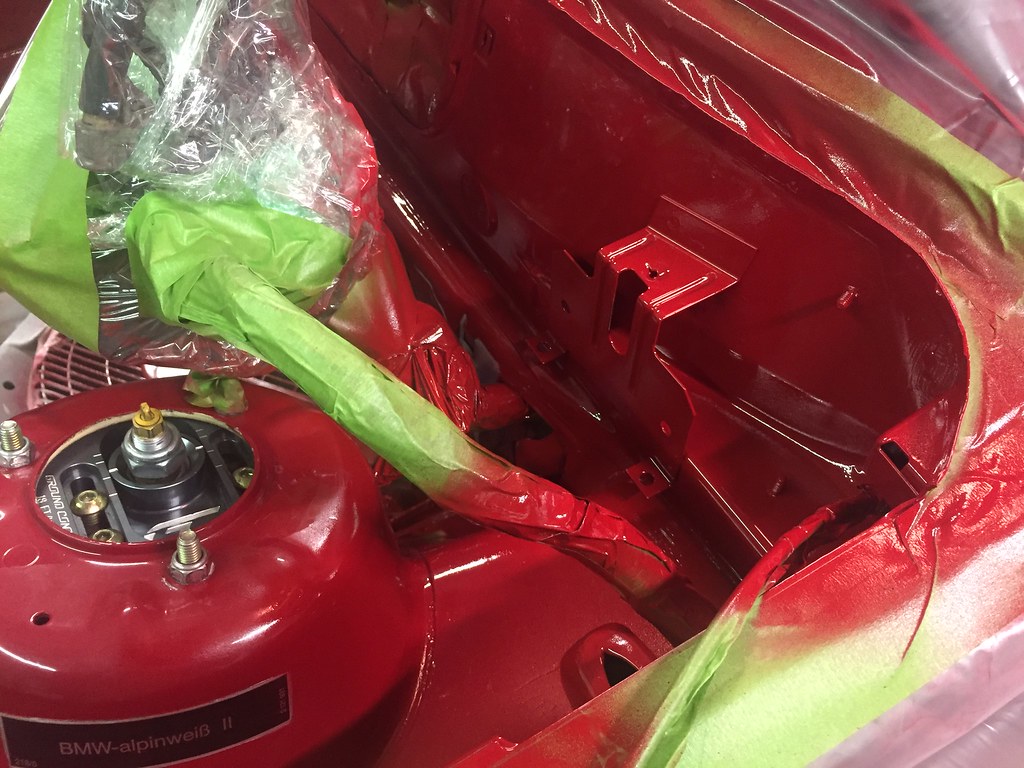
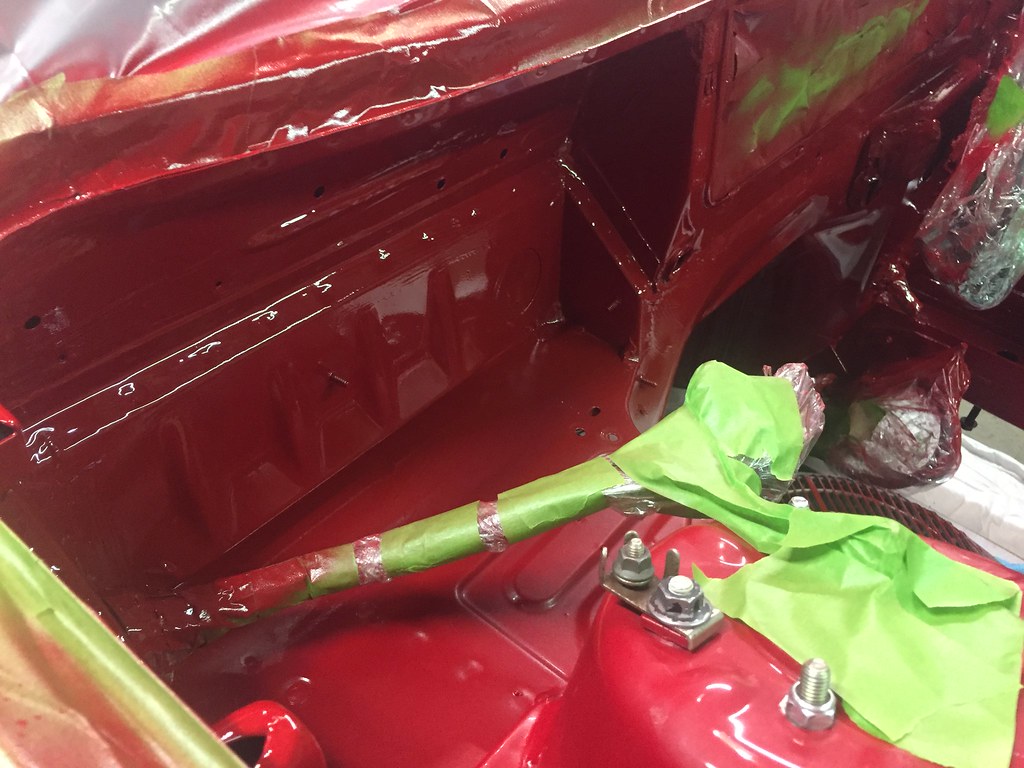
    Little elbow grease here and there.

    The Build by Evan Nessim, on Flickr
    The Build by Evan Nessim, on Flickr
    The Build by Evan Nessim, on Flickr

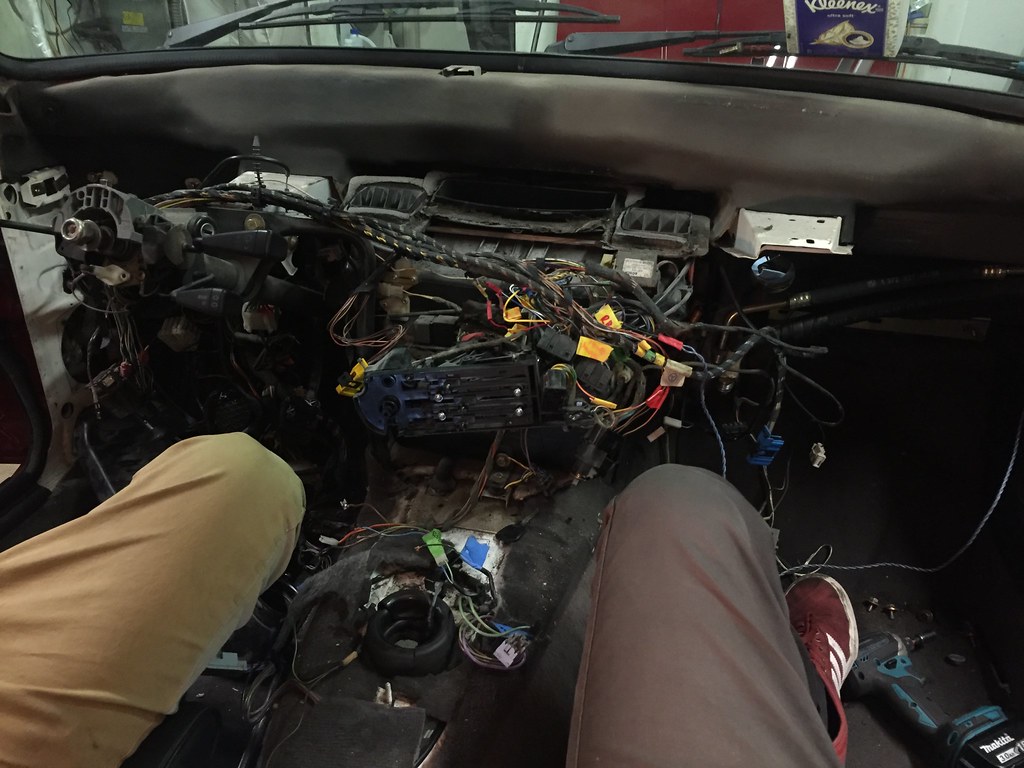
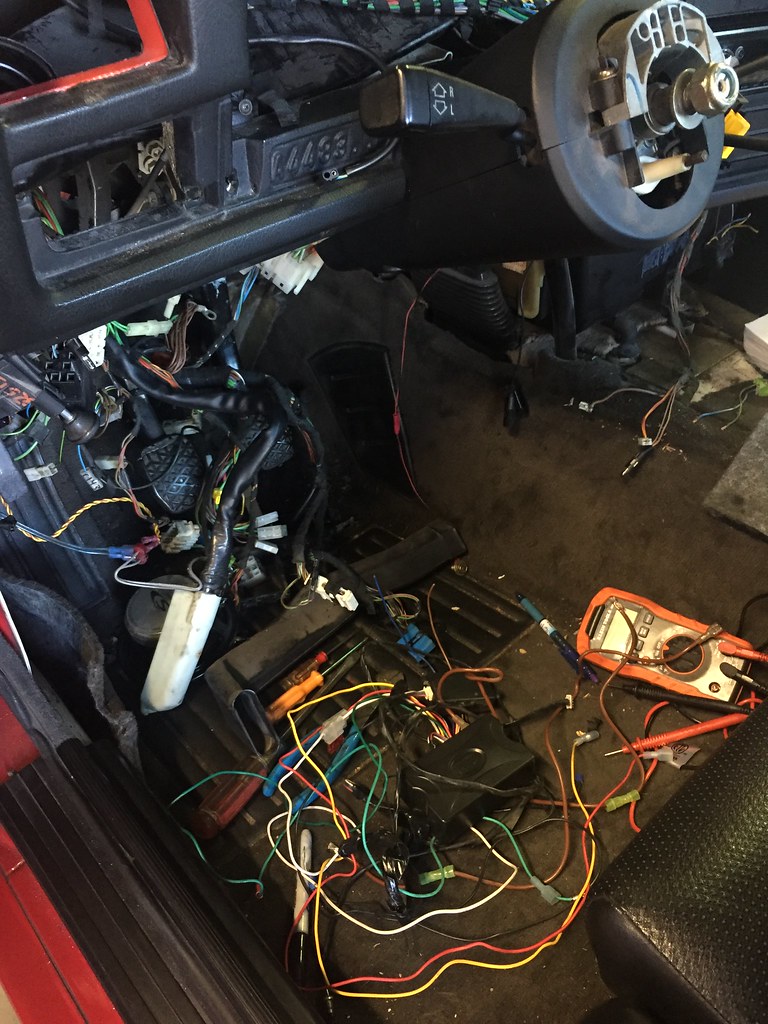
    Pulled out some aftermarket wiring, door locks never really worked well.

    The Build by Evan Nessim, on Flickr
    The Build by Evan Nessim, on Flickr

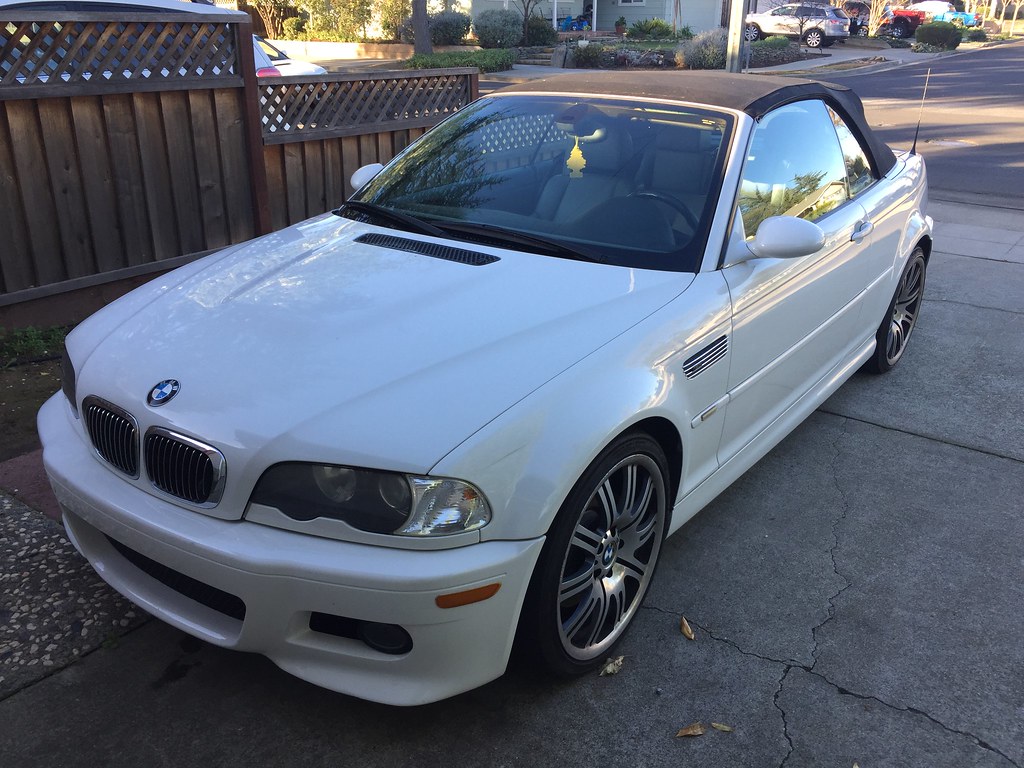
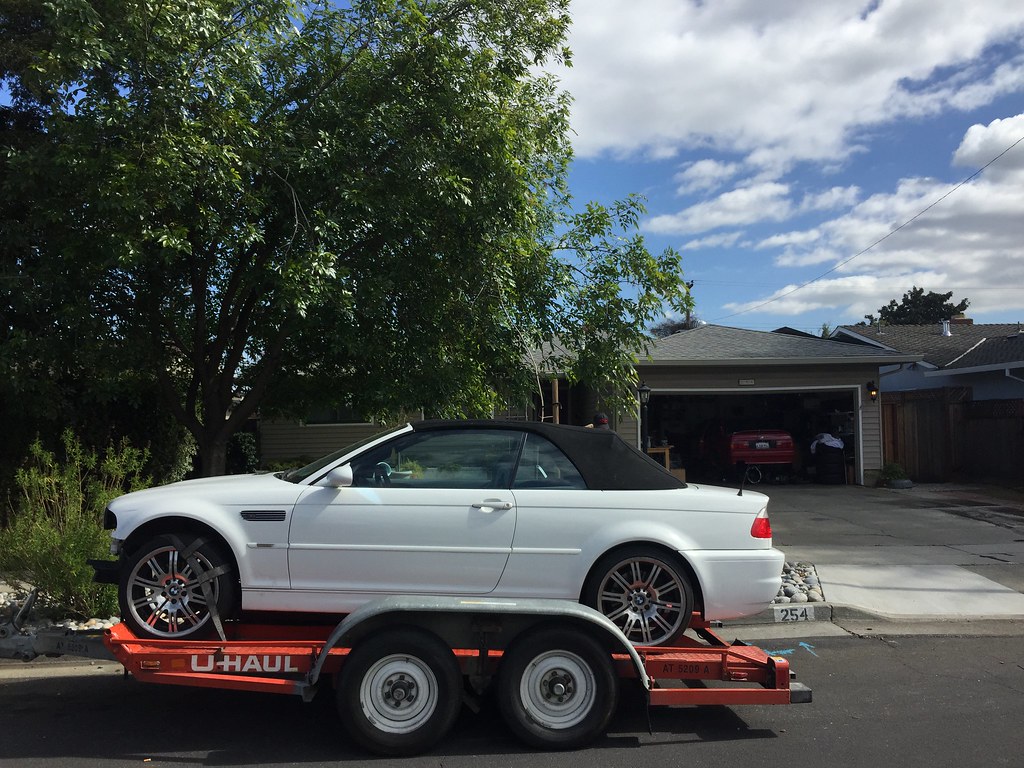
    Well, by the time I calculated parts and machining for the 3.1L M20 I decided there might be a more "cost effective" solution. So I bought this with 82k miles on the tach.

    The Build by Evan Nessim, on Flickr

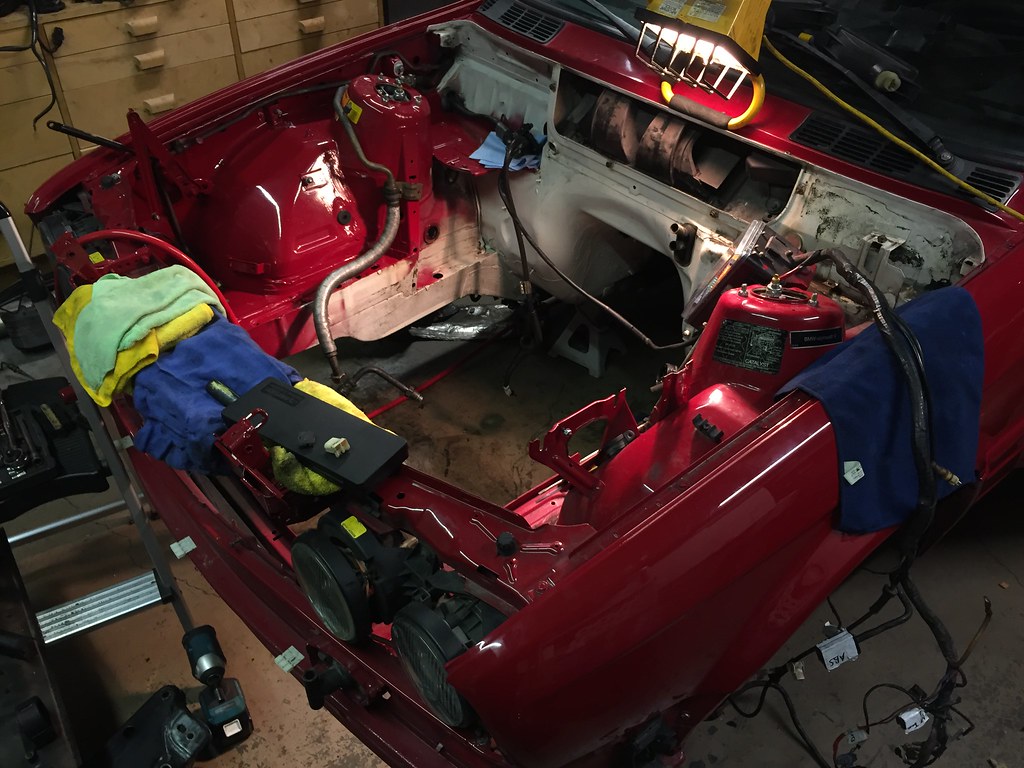
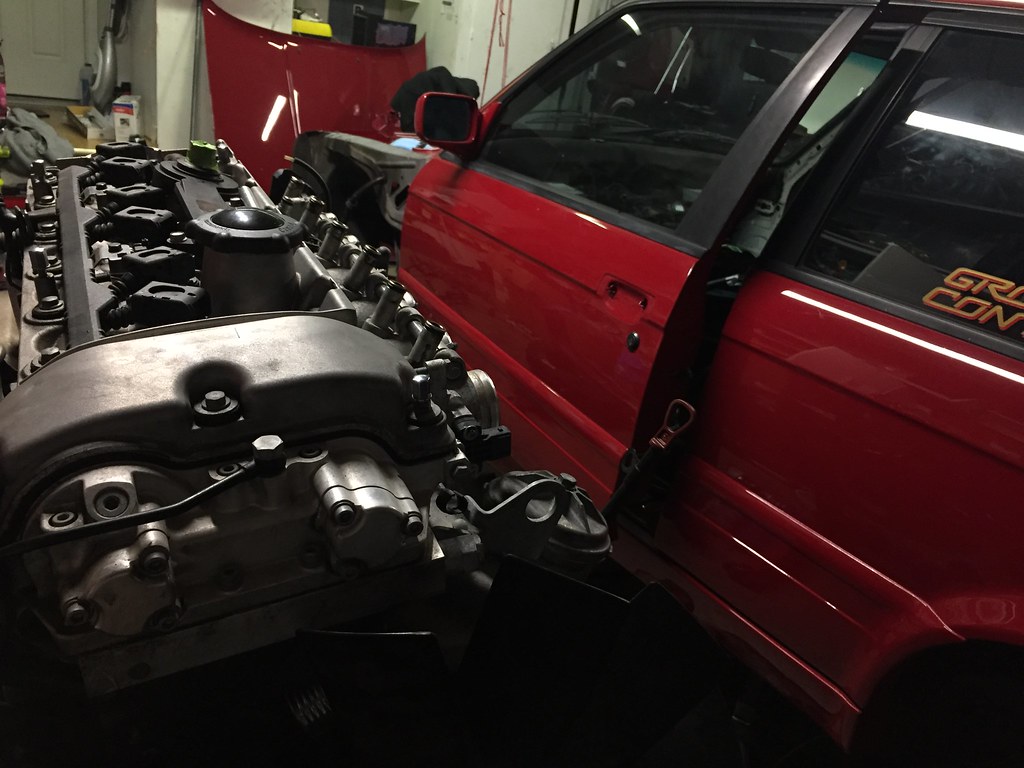
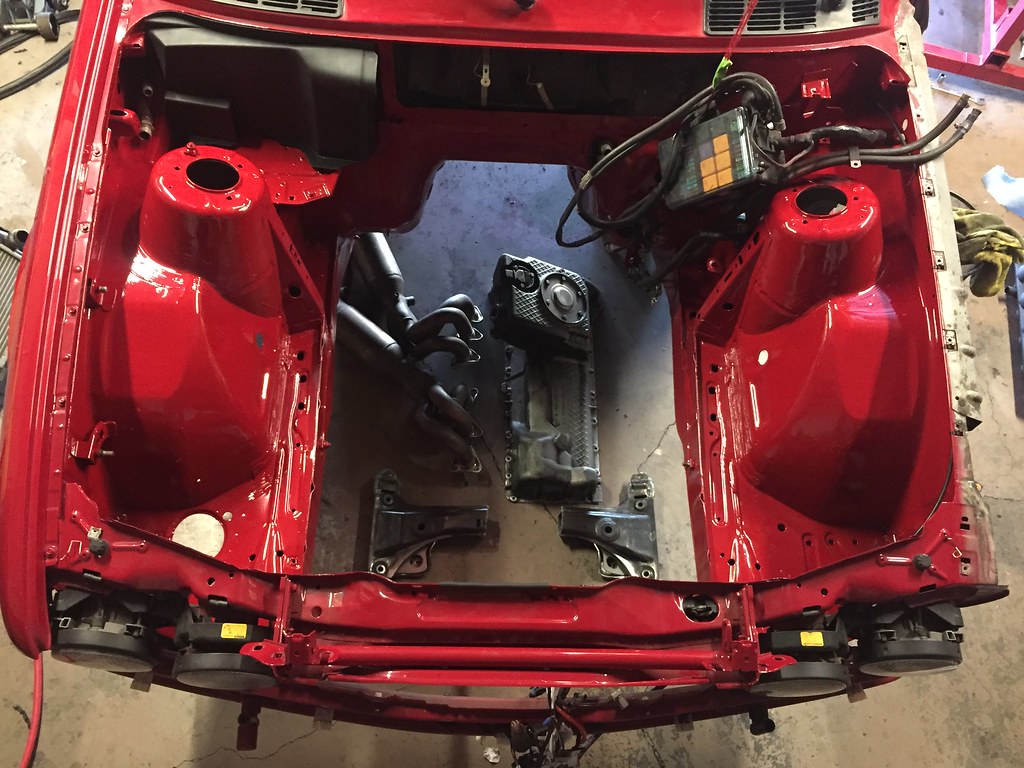
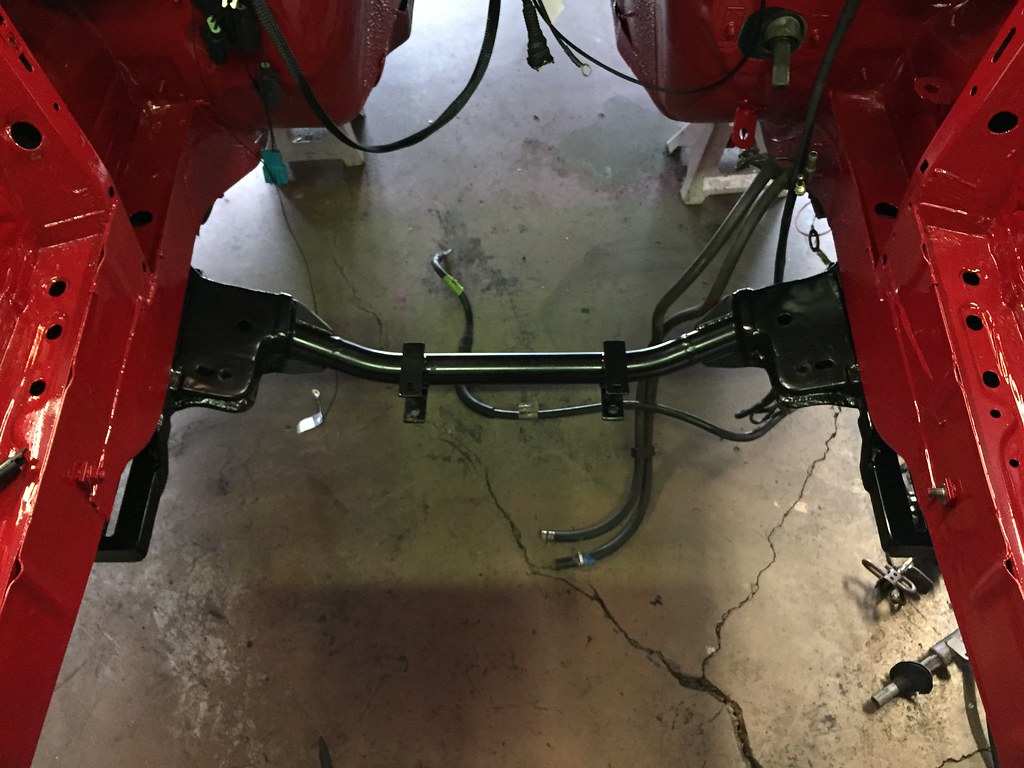
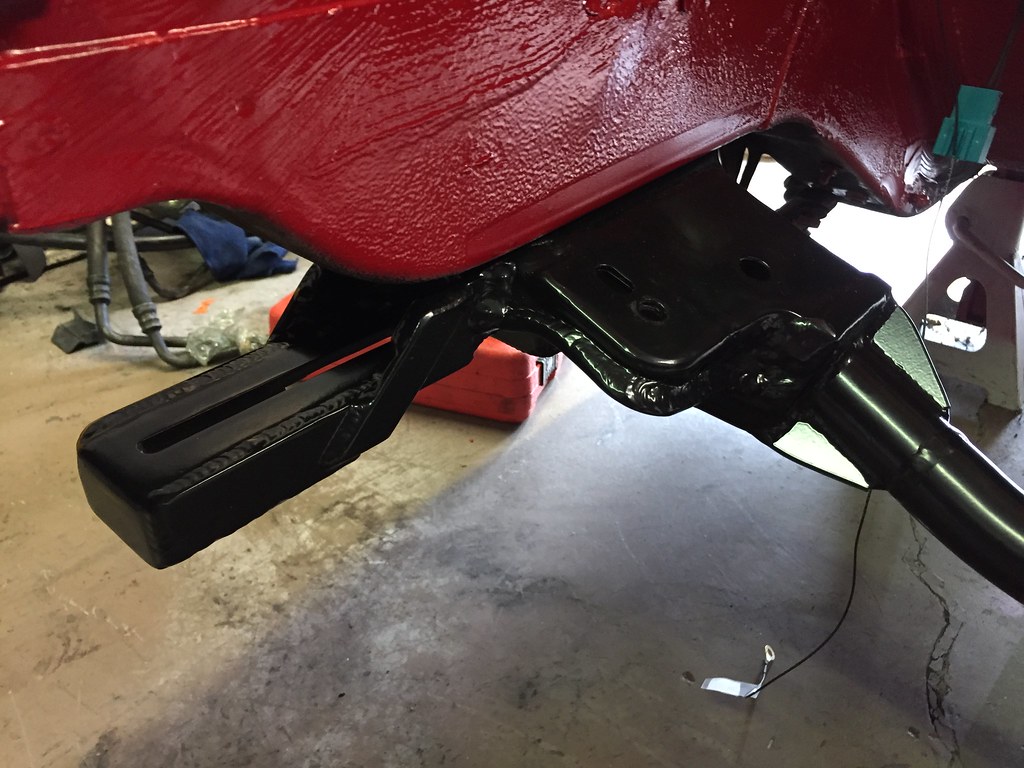
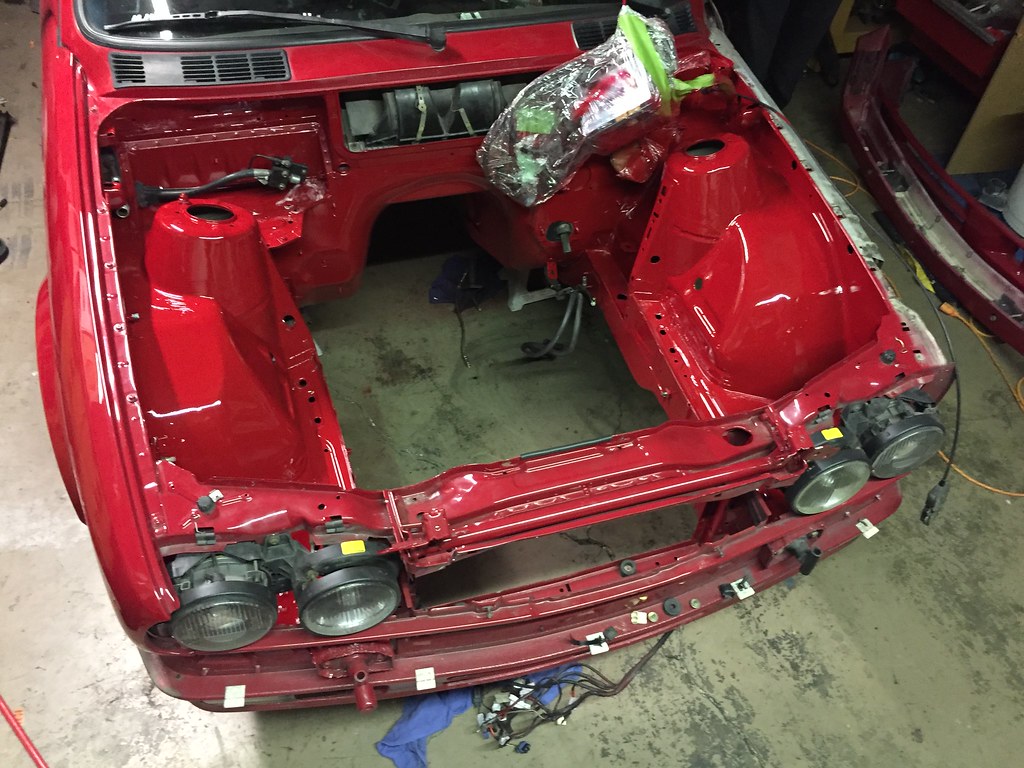
    Pulled the engine, took what I needed from the chassis and sold it as a roller.
    The Build by Evan Nessim, on Flickr
    The Build by Evan Nessim, on Flickr
    The Build by Evan Nessim, on Flickr
    The Build by Evan Nessim, on Flickr

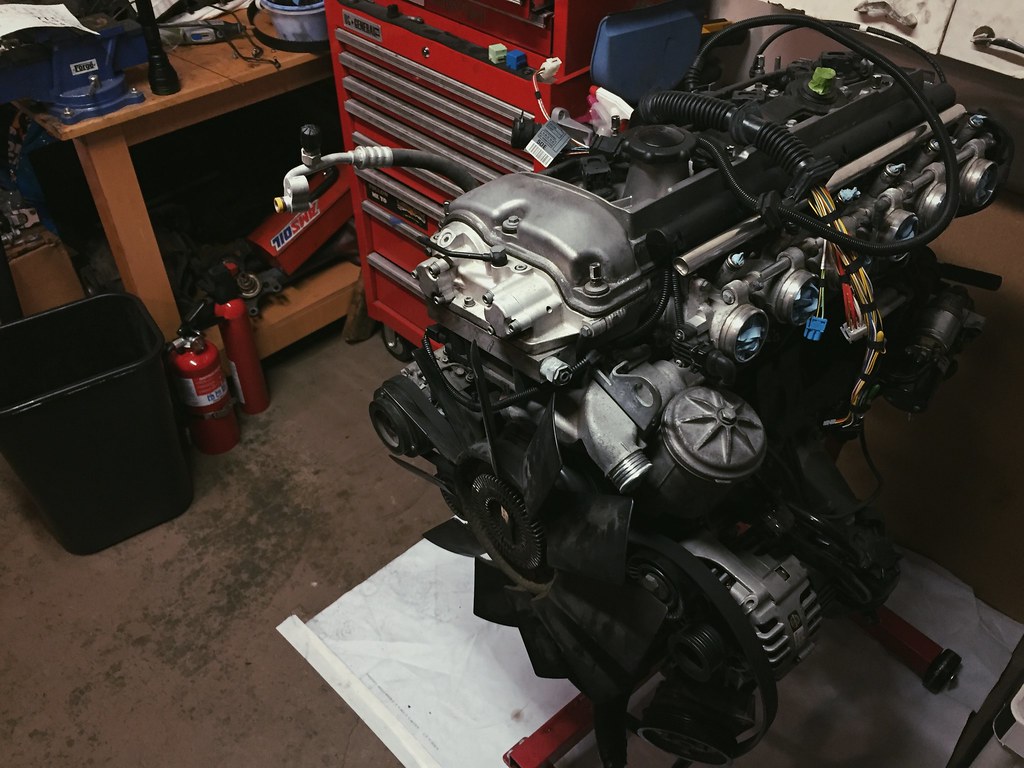
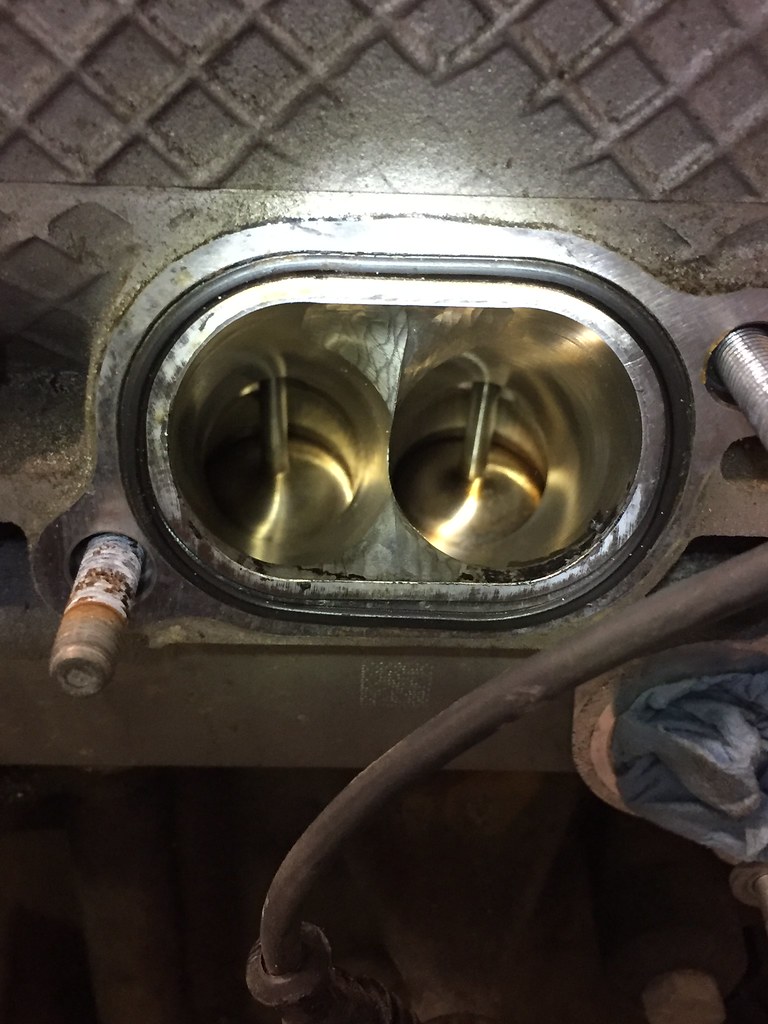
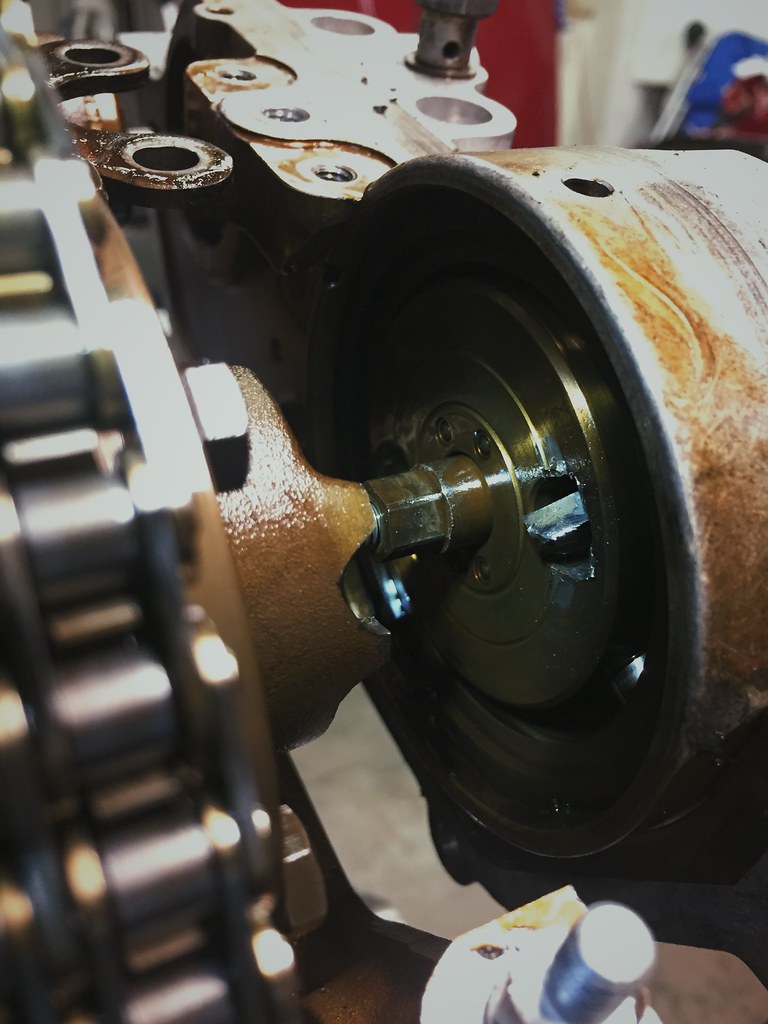
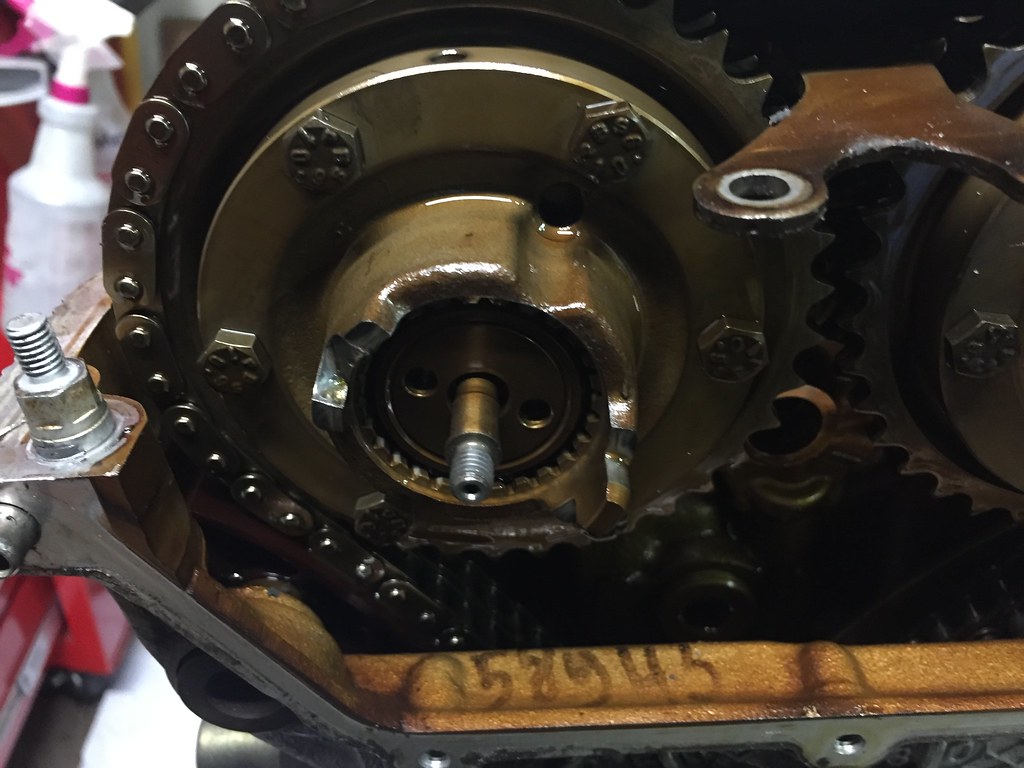
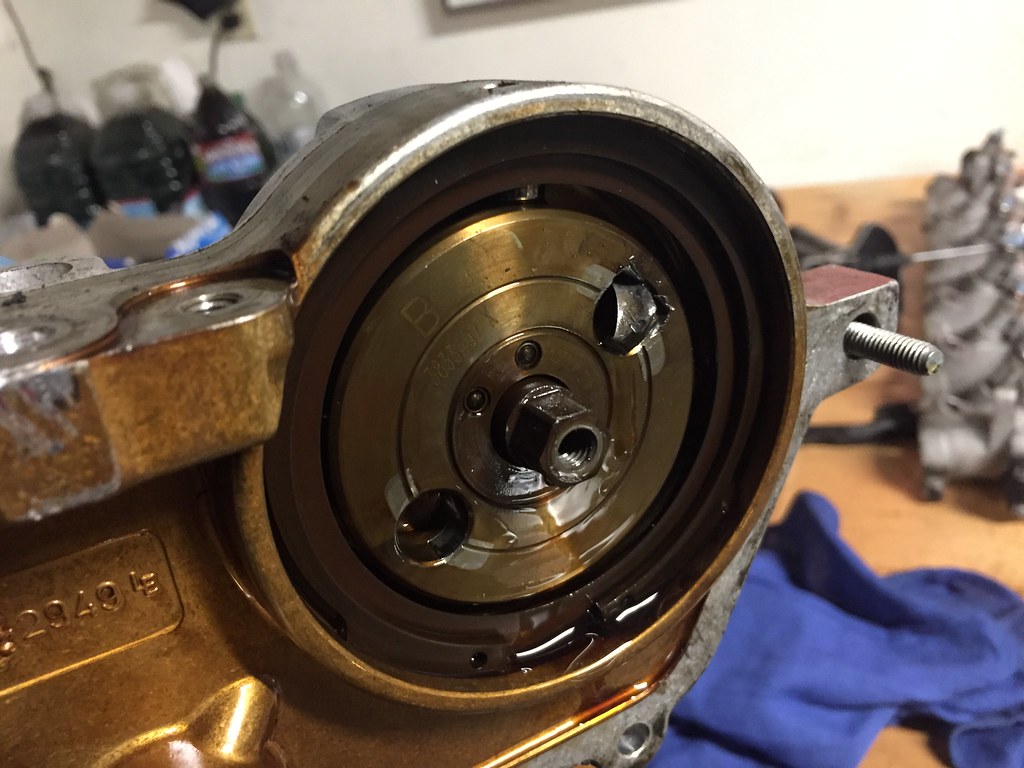
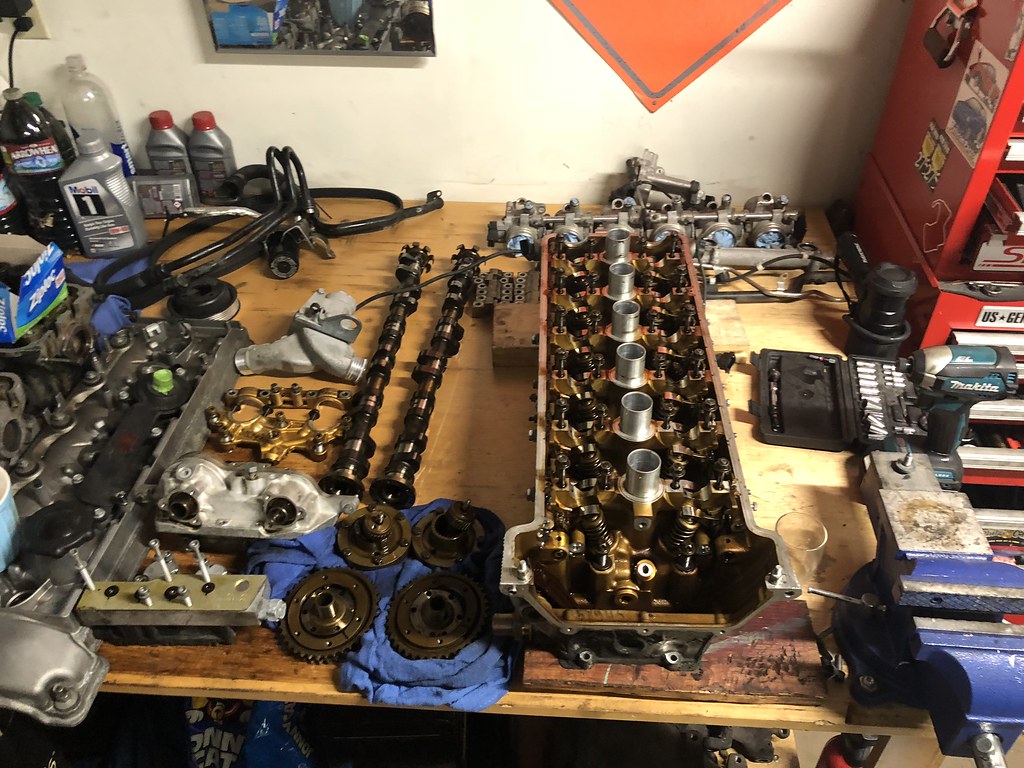
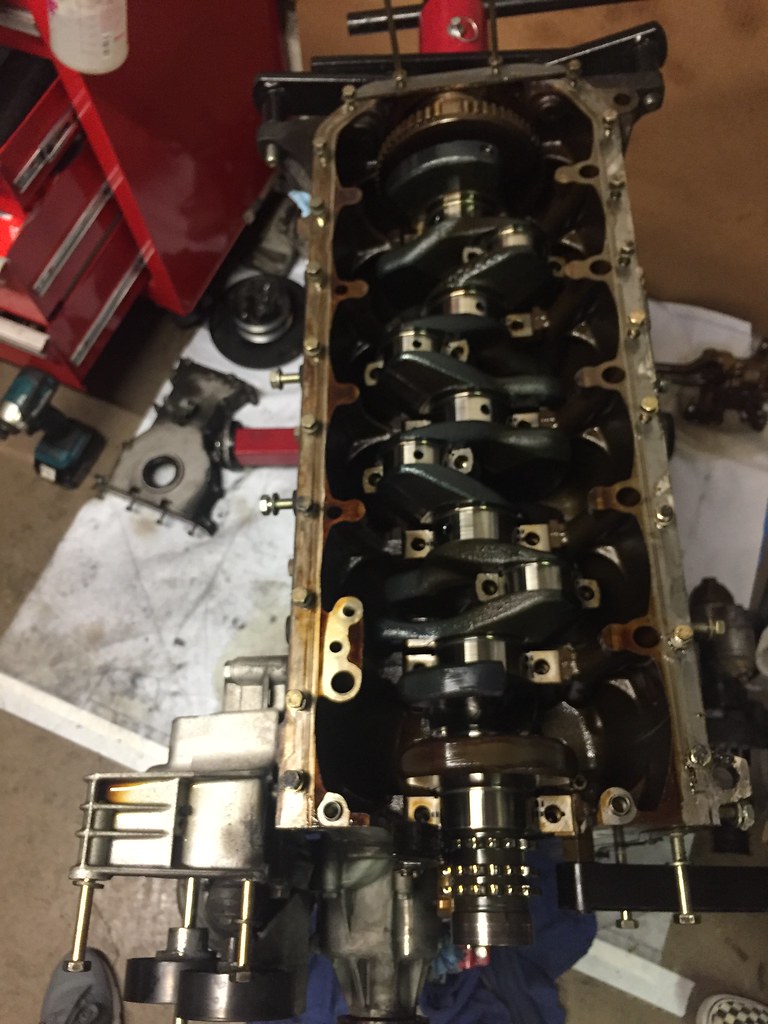
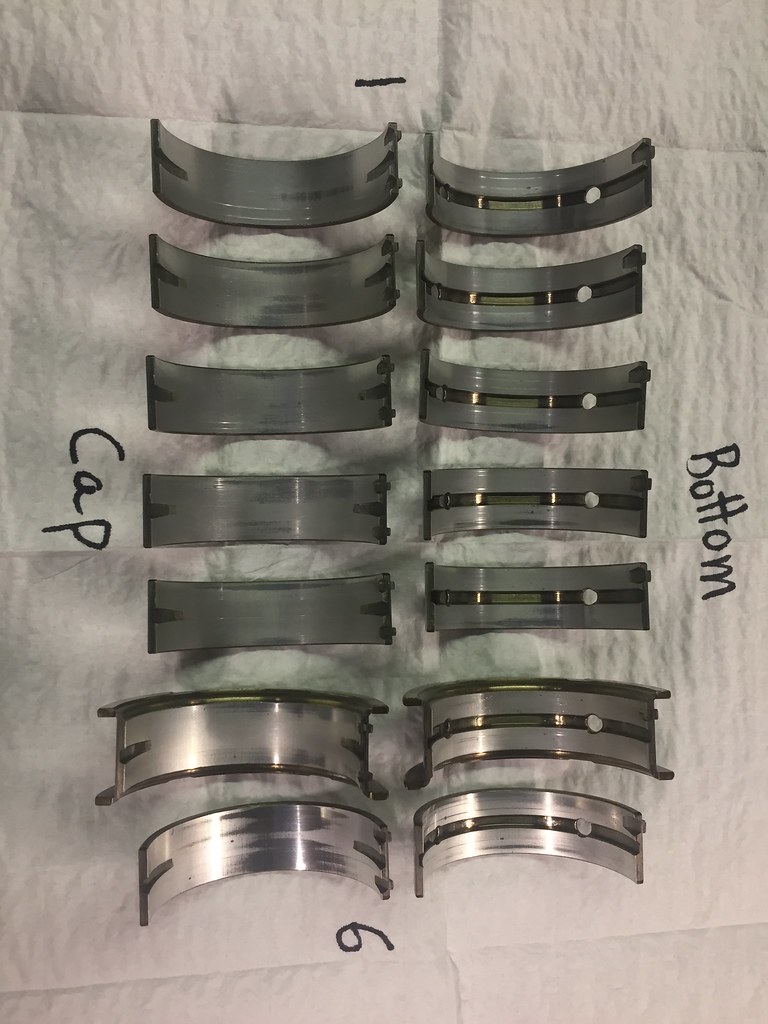
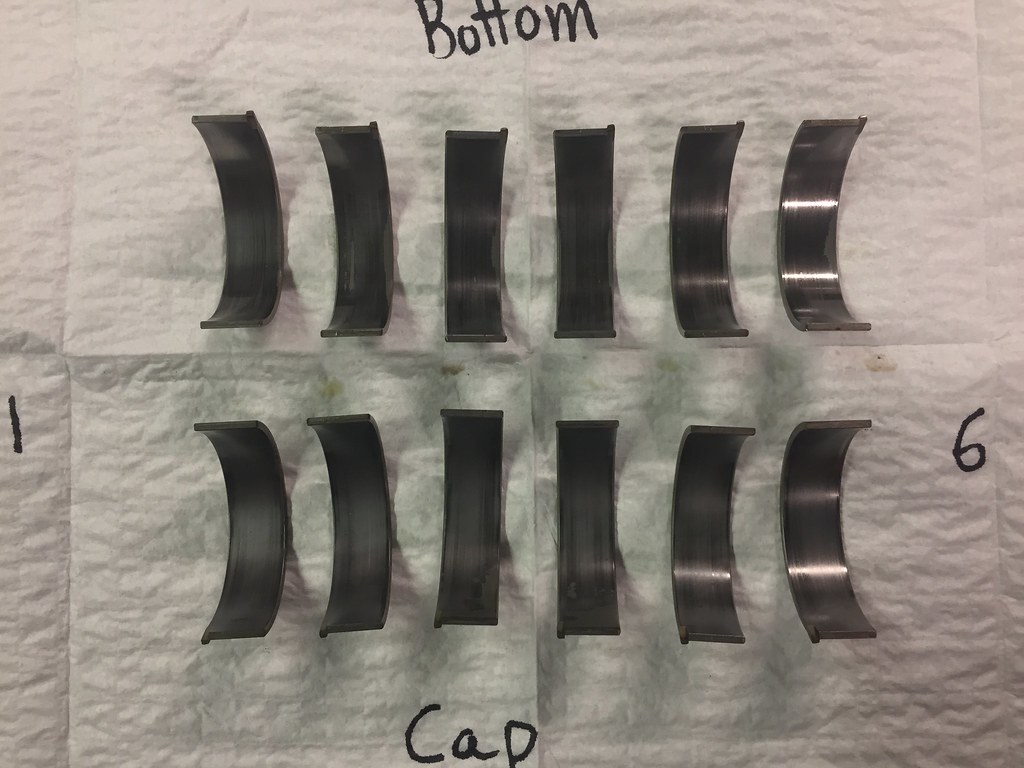
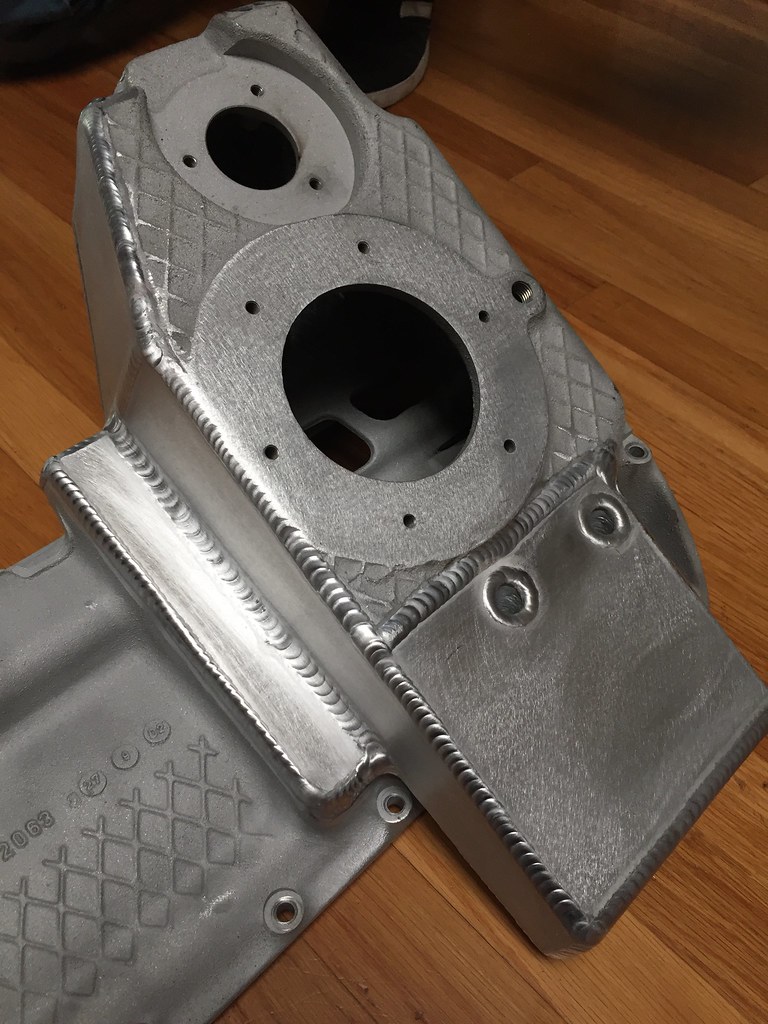
    My plan was to rebuild the S54 with ARP hardware and coated bearings thinking it would all just fall back into place, the engine decided otherwise... And I thought it looked pretty clean as it was coming apart. Starting with the Vanos tab issue, the rods were out of round, the mains needed to be lined, the crank was bent, the new main bearings had too much crush, and valve tolerances were all over the place. In short, waiting to sort out all these machining/engine issues has been the longest part of this build. Ive been stagnant for months waiting to plumb and wire everything.

    The Build by Evan Nessim, on Flickr
    The Build by Evan Nessim, on Flickr
    The Build by Evan Nessim, on Flickr
    The Build by Evan Nessim, on Flickr
    The Build by Evan Nessim, on Flickr
    The Build by Evan Nessim, on Flickr
    The Build by Evan Nessim, on Flickr
    The Build by Evan Nessim, on Flickr
    The Build by Evan Nessim, on Flickr
    The Build by Evan Nessim, on Flickr

    Getting tired of copy and pasting for now, Ill update with the chassis side of things and the engine reassembly later.

    #2
    Now THATS a 1st post!

    Welcome Mr Master!

    CAPP... :-)

    Comment


      #3
      Originally posted by Cptcarisma View Post
      Now THATS a 1st post!

      Welcome Mr Master!

      CAPP... :-)
      Agreed. Very first post is diving into an S54 swap, that's awesome. Can't wait to see how this pans out.

      Good luck!
      2002 530i - Daily
      2013 Ford Flex Ecoboost - wifes/family hauler
      1986 325es - fun car (or money pit depending on who you ask)

      My build thread - https://www.r3vlimited.com/board/sho...d.php?t=422370

      Comment


        #4
        Subscribed.
        How to remove, install or convert to pop out windows
        http://www.r3vlimited.com/board/showthread.php?t=297611


        Could be better, could be worse.

        Comment


          #5
          Oh damn this one's gonna be good.


          1992 M tech 2 Convertible - S50 Swap
          1992 e34 Touring- S50 Swap
          1992 325i-S50 Swap (SOLD)

          1995 e36 M3 Mugello Red - S50 (SOLD)
          1991 325i Convertible Laguna Green (SOLD)
          1987 325i (SOLD);1992 M tech 2 Convertible (SOLD)
          1988 325i Convertible Alpine White (SOLD)
          1991
          Brilliantrot Convertible 80k Miles (SOLD)
          1992 325i Convertible Schwarz (SOLD)
          1992 318i Convertible Project-Finished (SOLD)

          Comment


            #6
            Looking forward to how this turns out!
            Build Threads:
            Pamela/Bella/Betty/325ix/5-Lug Seta/S60R/Miata ITB/Miata Turbo/Miata VVT/951/325xi-6

            Comment


              #7
              "Motor had some knock....so I bought a m3 vert to then sent it on it's way."
              Originally posted by Matt-B
              hey does anyone know anyone who gets upset and makes electronics?

              Comment


                #8
                Good first post. Welcome.

                Comment


                  #9
                  holy crap. I'm excited lol
                  1984 Delphin 318i 2 door

                  Comment


                    #10
                    Sorry to hear of the S54 issues. I'm excited to see this build come to life, though.
                    1990 Brilliantrot 325iS Build Thread
                    1989 Zinnoberrot M3 Build Thread

                    Comment


                      #11
                      Decided to chop up my front subframe and ship it out to Tyler at the ArcAsylum along with my oil pan and headers despite reading about how difficult it is to contact him. I got the subframe and oil pan back and it is damn beautiful. However, Tyler still has my headers and it has been over six months since he said the completed exhaust system would originally ship out. I see that he has taken great time to create a much improved ArcAsylum website and explain that he is swamped so hopefully this means Ill be seeing a completed exhaust with my headers by the time I have the engine running. Tyler is indeed hard to contact, but his work is unquestionably well done.
                      The Build by Evan Nessim, on Flickr
                      The Build by Evan Nessim, on Flickr
                      The Build by Evan Nessim, on Flickr
                      The Build by Evan Nessim, on Flickr
                      The Build by Evan Nessim, on Flickr
                      The Build by Evan Nessim, on Flickr
                      The Build by Evan Nessim, on Flickr
                      The Build by Evan Nessim, on Flickr

                      Friend stopped by in a slick black Porsche with gold BBSs.
                      The Build by Evan Nessim, on Flickr
                      The Build by Evan Nessim, on Flickr

                      Subframe installed along with Z3 steering rack, AKG steering column kit and AKG 24V swap engine mounts. Stock sway bar for now, IE mounts with AKG adjustable endlinks. Like a glove!
                      The Build by Evan Nessim, on Flickr
                      The Build by Evan Nessim, on Flickr
                      The Build by Evan Nessim, on Flickr
                      The Build by Evan Nessim, on Flickr

                      New E30 control arms and E36 steering rack endlinks. Running powerflex FCABs unless I need to switch to something else due to exhaust clearance.
                      The Build by Evan Nessim, on Flickr
                      The Build by Evan Nessim, on Flickr

                      Z3M four core radiator and linear A/C condenser. I am determined to have proper A/C for the first time since Ive owned the car haha
                      The Build by Evan Nessim, on Flickr
                      The Build by Evan Nessim, on Flickr

                      Thinking about mounting the overflow here somehow, waiting to see where the plumbing will fall.
                      The Build by Evan Nessim, on Flickr
                      The Build by Evan Nessim, on Flickr

                      Rear end going back in using AKG 95A subframe mounts, AKG 85A diff mounts and powerflex trailing arm and sway bar bushings.
                      The Build by Evan Nessim, on Flickr
                      The Build by Evan Nessim, on Flickr
                      The Build by Evan Nessim, on Flickr
                      The Build by Evan Nessim, on Flickr
                      The Build by Evan Nessim, on Flickr

                      Had to modify my dust shields to clear the BBK while retaining the ebrake system.
                      The Build by Evan Nessim, on Flickr
                      The Build by Evan Nessim, on Flickr
                      The Build by Evan Nessim, on Flickr
                      Coat of paint for the dust shields and the stock booster that probably won't fit.
                      The Build by Evan Nessim, on Flickr
                      The Build by Evan Nessim, on Flickr
                      The Build by Evan Nessim, on Flickr
                      The Build by Evan Nessim, on Flickr

                      Test mount of rear calipers and pictures of Lee’s Massive 300x32mm kit with Wilwood SL4 calipers. Pistons are 1.625” front and 1.25” rear according to Lee’s recommendation.
                      The Build by Evan Nessim, on Flickr
                      The Build by Evan Nessim, on Flickr
                      The Build by Evan Nessim, on Flickr
                      The Build by Evan Nessim, on Flickr
                      The Build by Evan Nessim, on Flickr
                      The Build by Evan Nessim, on Flickr
                      The Build by Evan Nessim, on Flickr

                      Ebrakes for floating rotors, hell yes.
                      The Build by Evan Nessim, on Flickr

                      Meanwhile, this is what happened to the S54 donor vehicle!
                      The Build by Evan Nessim, on Flickr

                      As soon as I get back from my trip I’m getting back to the the grind! I’ve been waiting for this moment.

                      Comment


                        #12
                        I cant tell how many times you posted the same thing... I already deleted 3 duplicates...

                        2-things:
                        1) The coolant overflow: you can use a stock E30 M3 unit as thats where it was placed in that car, no mods necessary.
                        2) Take the alpineweiss sticker off the engine bay and get you a zinno one, it looks fairly close to a zinno paint
                        Simon
                        Current Cars:
                        -1999 996.1 911 4/98 3.8L 6-Speed, 21st Century Beetle

                        Make R3V Great Again -2020

                        Comment


                          #13
                          Originally posted by 2mAn View Post
                          I cant tell how many times you posted the same thing... I already deleted 3 duplicates...

                          2-things:
                          1) The coolant overflow: you can use a stock E30 M3 unit as thats where it was placed in that car, no mods necessary.
                          2) Take the alpineweiss sticker off the engine bay and get you a zinno one, it looks fairly close to a zinno paint
                          Shoot sorry, it wasn’t showing up on my side. Once again it’s not showing up but maybe that’s because it was deleted? Is it possible the reply posted and i can’t see it?

                          Thanks, and the alpine sticker was removed as well as the white underneath painted. The car is supposed to be imola but is in fact a little brighter in direct light.

                          Comment


                            #14
                            Alright, lets try this again. Maybe I was trying to post a novel so it wasn't uploading right? Ill break this down.

                            Other than that Im here to show you what Ive done over the months while waiting for parts or machining.

                            Bunch of chassis reinforcement and suspension adjustment bits from AKG.

                            The Build by Evan Nessim, on Flickr
                            The Build by Evan Nessim, on Flickr
                            The Build by Evan Nessim, on Flickr
                            The Build by Evan Nessim, on Flickr

                            The trash can turned out to be a better welding table than expected haha

                            The Build by Evan Nessim, on Flickr
                            The Build by Evan Nessim, on Flickr
                            The Build by Evan Nessim, on Flickr

                            Trailing arm adjusters.

                            The Build by Evan Nessim, on Flickr
                            The Build by Evan Nessim, on Flickr
                            The Build by Evan Nessim, on Flickr

                            Rear sway reinforcement.

                            The Build by Evan Nessim, on Flickr
                            The Build by Evan Nessim, on Flickr
                            The Build by Evan Nessim, on Flickr
                            The Build by Evan Nessim, on Flickr

                            Comment


                              #15
                              The S54 deserves a pretty backdrop, so I started getting crafty. The car was originally alpine white so I cleaned and prepped the bay as best I could getting ready for paint. There’s an auto paint store close by that sells professional quality, accurate single stage paint in a can. Works very well for non metallic colors.

                              The Build by Evan Nessim, on Flickr
                              The Build by Evan Nessim, on Flickr
                              The Build by Evan Nessim, on Flickr
                              The Build by Evan Nessim, on Flickr
                              The Build by Evan Nessim, on Flickr
                              The Build by Evan Nessim, on Flickr
                              The Build by Evan Nessim, on Flickr
                              The Build by Evan Nessim, on Flickr

                              Used a fan and a box with filters and cut out exhaust holes to try to keep the paint particles down, worked pretty well! Laid down multiple coats with plenty of time to dry in between.

                              The Build by Evan Nessim, on Flickr
                              The Build by Evan Nessim, on Flickr
                              The Build by Evan Nessim, on Flickr
                              The Build by Evan Nessim, on Flickr
                              The Build by Evan Nessim, on Flickr
                              The Build by Evan Nessim, on Flickr
                              The Build by Evan Nessim, on Flickr
                              The Build by Evan Nessim, on Flickr

                              Im very happy with the result, much better than spotted bits of white and cracked heat insulation.

                              The Build by Evan Nessim, on Flickr

                              Comment

                              Working...
                              X