Originally posted by Balleristic31
View Post
even advertising the place thats working on it!! haha


 Better match by 2mAn
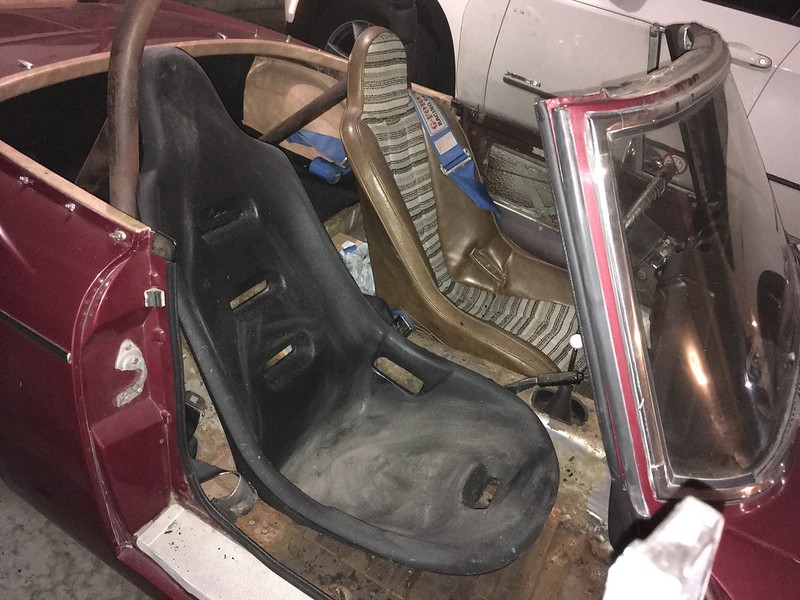
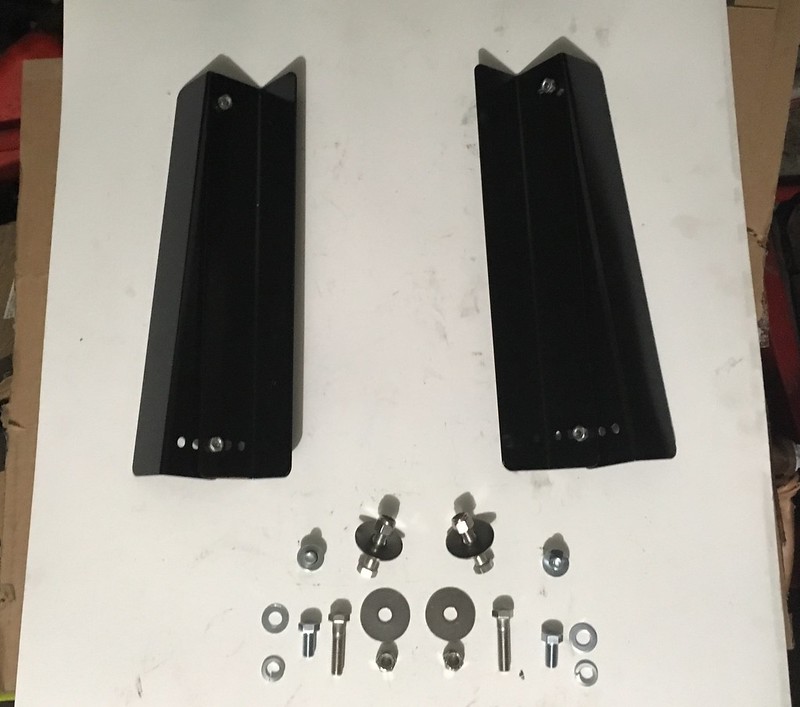 Seat mounts by 2mAn
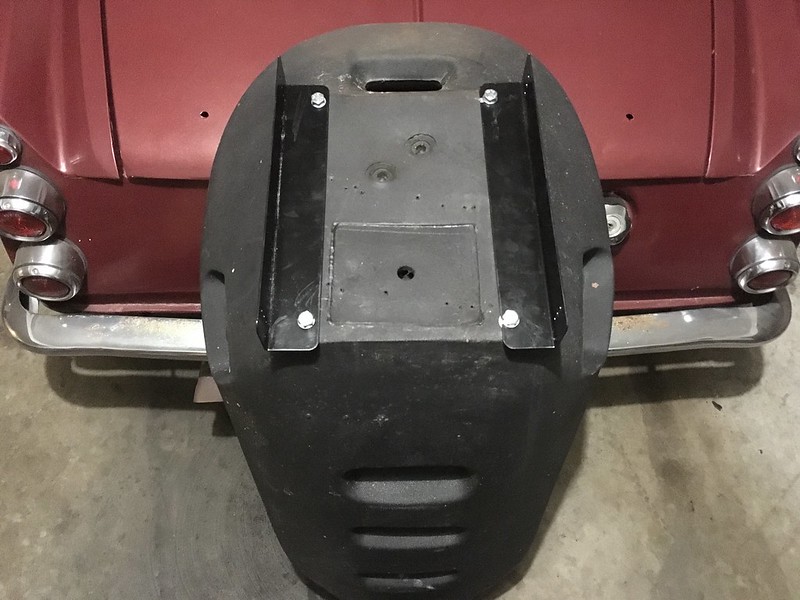 Seat mounts by 2mAn
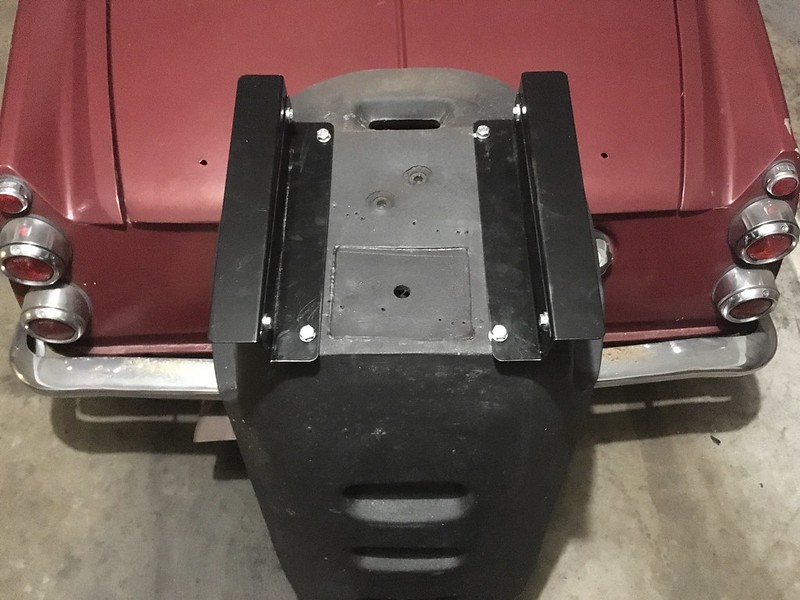 Seat mounts by 2mAn
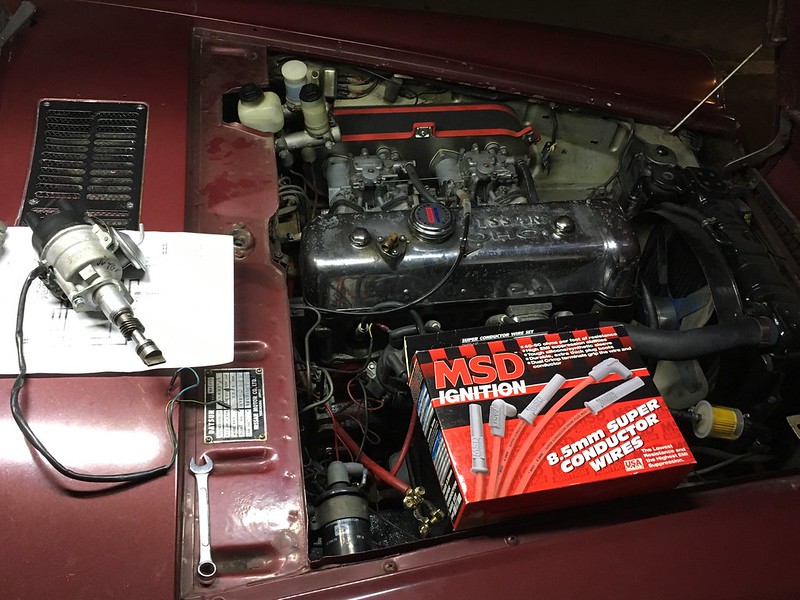 It’s time by 2mAn
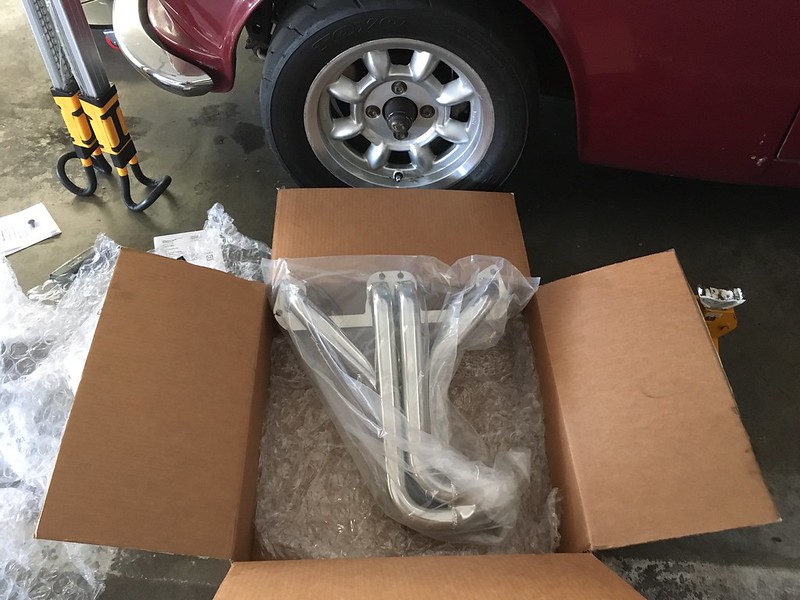 Uncovering fun stuff by 2mAn
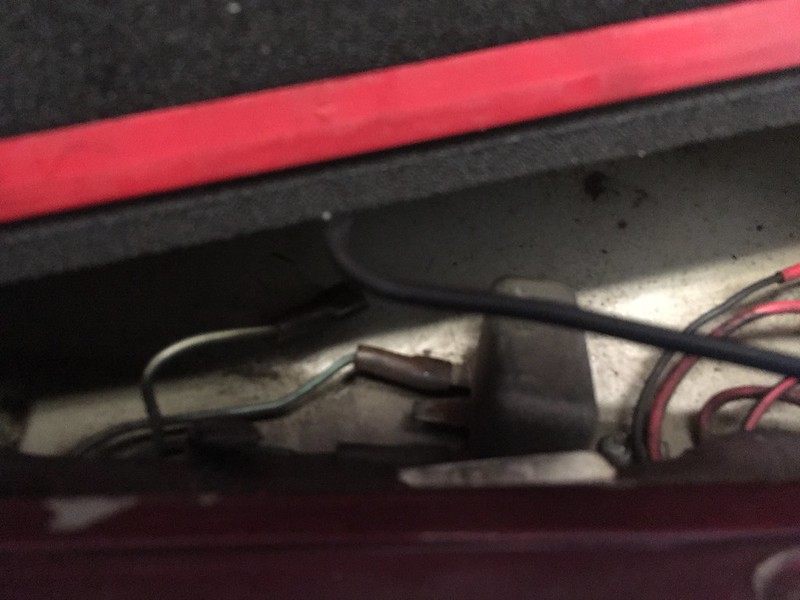 Uncovering fun stuff by 2mAn
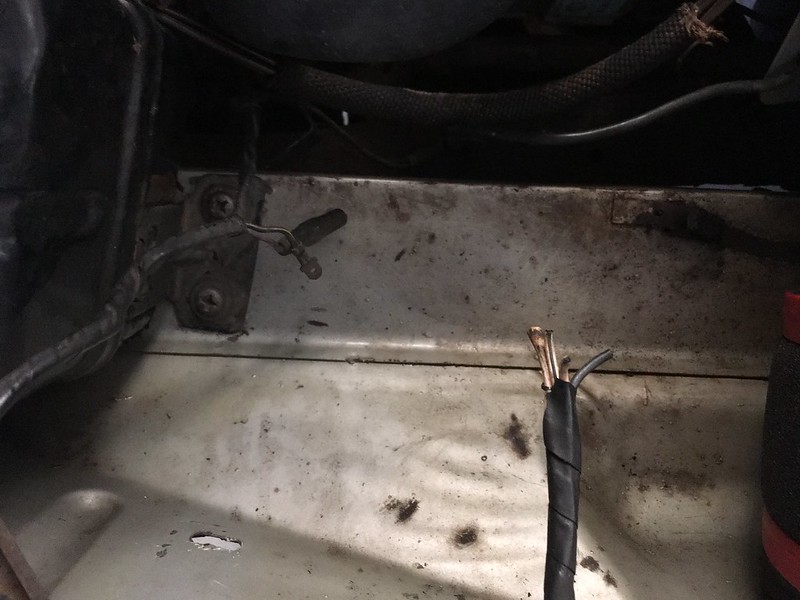 Uncovering fun stuff by 2mAn
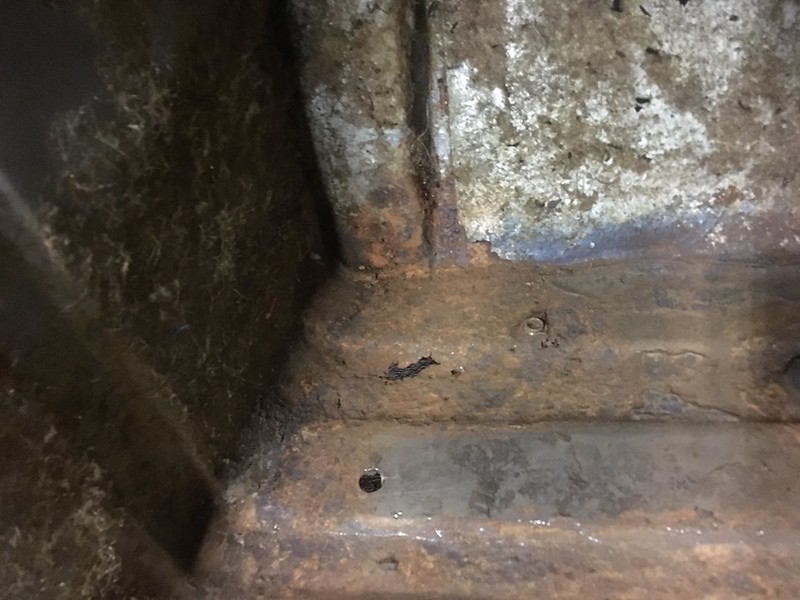 Uncovering fun stuff by 2mAn
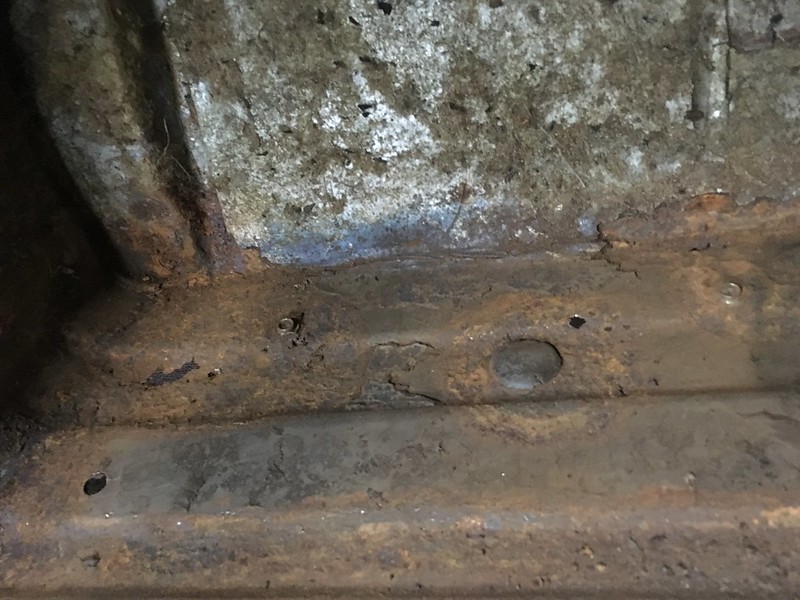 Uncovering fun stuff by 2mAn
 Uncovering fun stuff by 2mAn
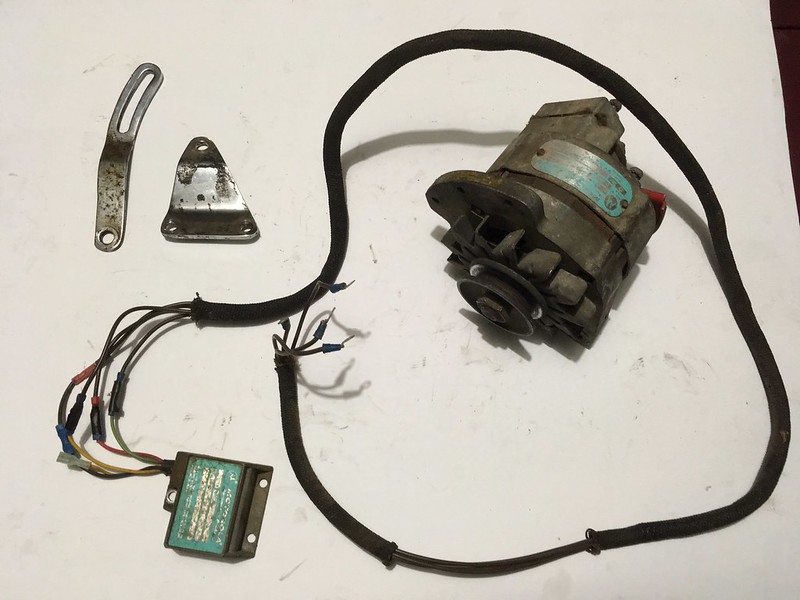 Old Alternator by 2mAn
 Tanji II by 2mAn

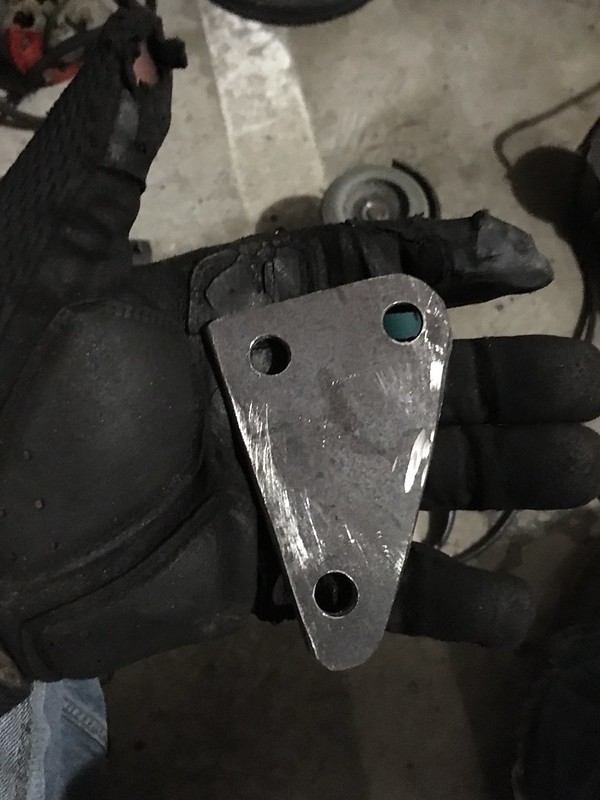
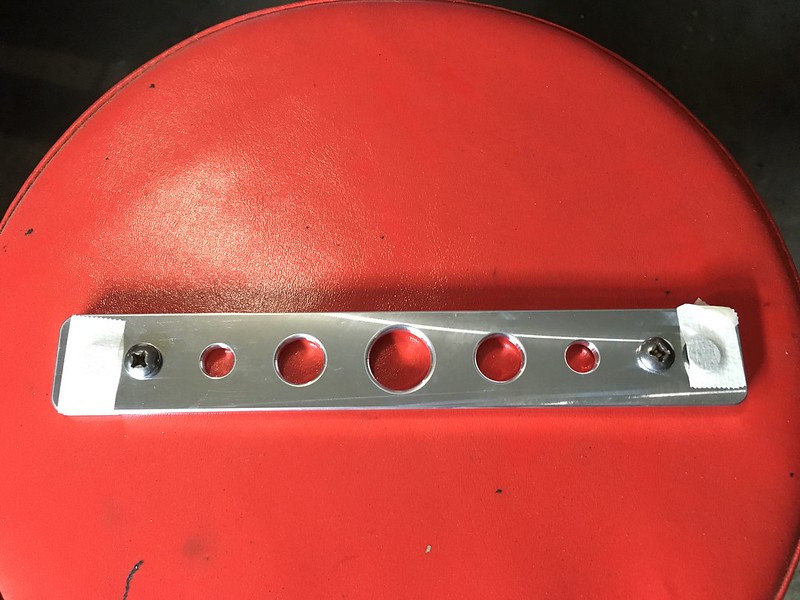 Screw it by 2mAn
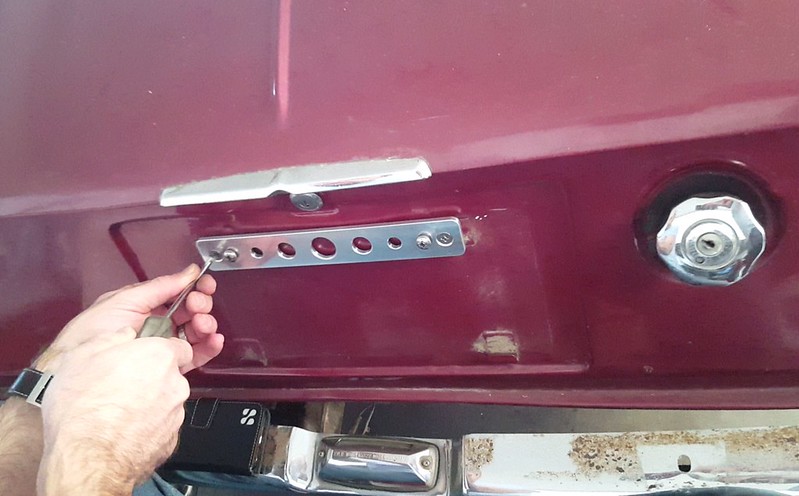 Screw it by 2mAn
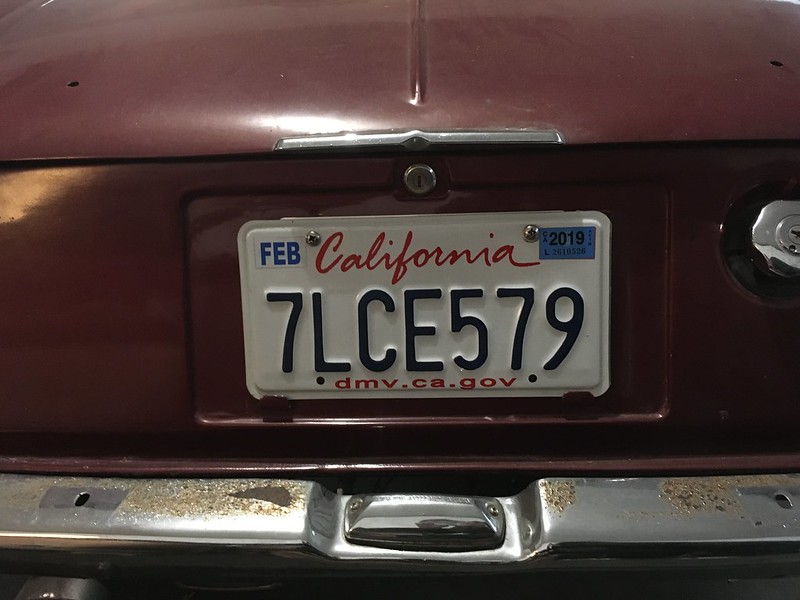 Screw it by 2mAn
 Mount it by 2mAn
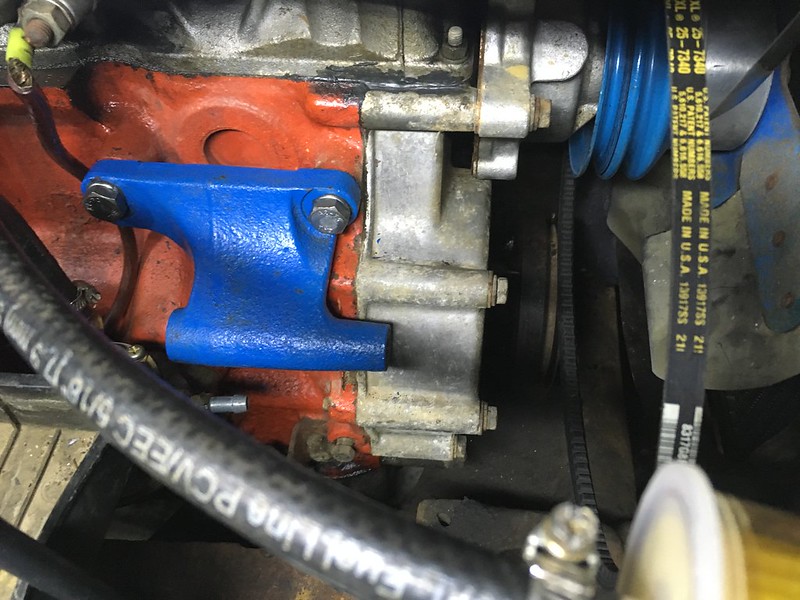 Mount it by 2mAn
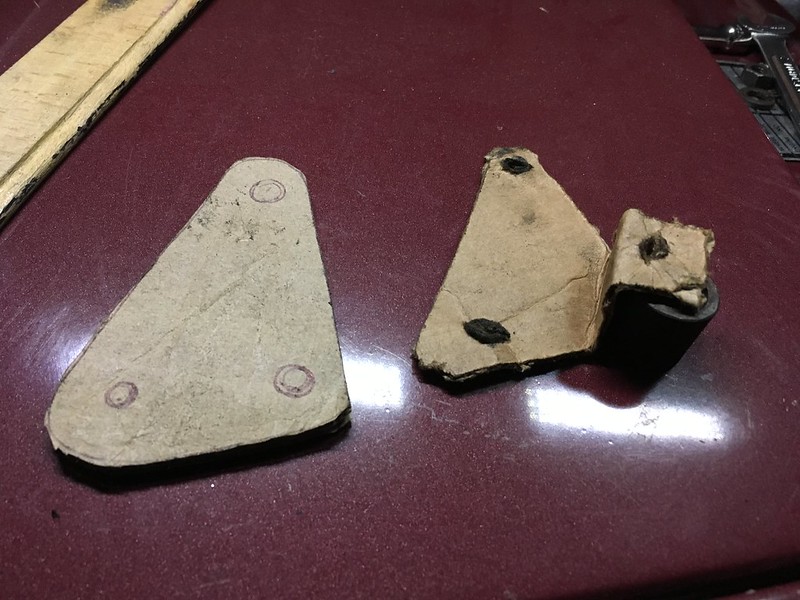 Mount it by 2mAn
 Mount it by 2mAn
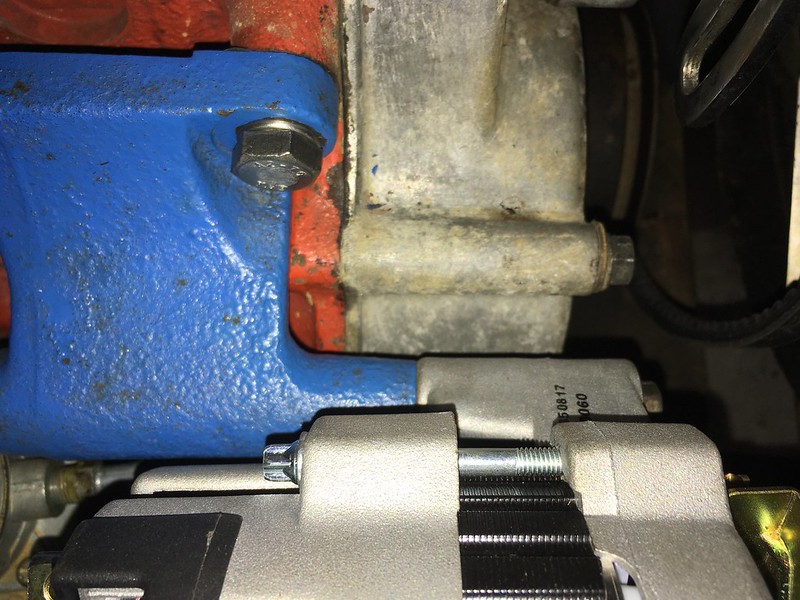 Out of line by 2mAn
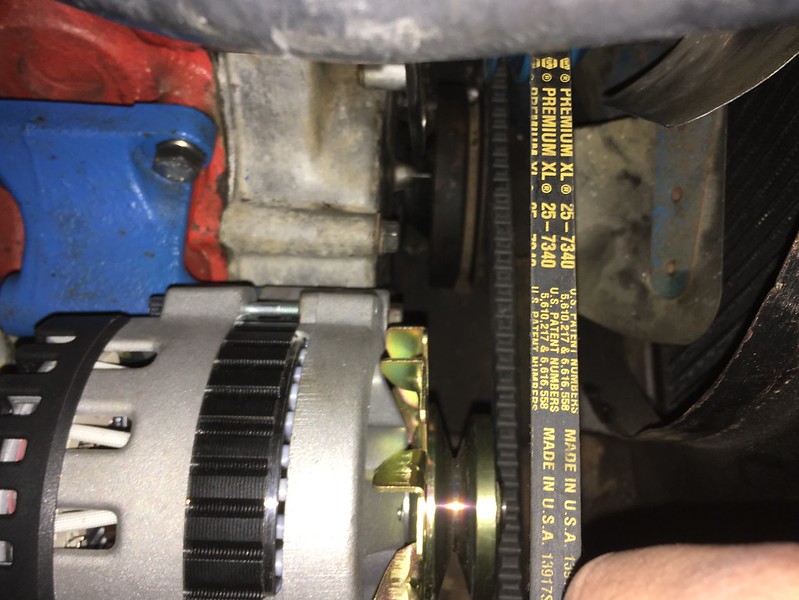 Out of line by 2mAn
 1-wire by 2mAn
 1-wire by 2mAn
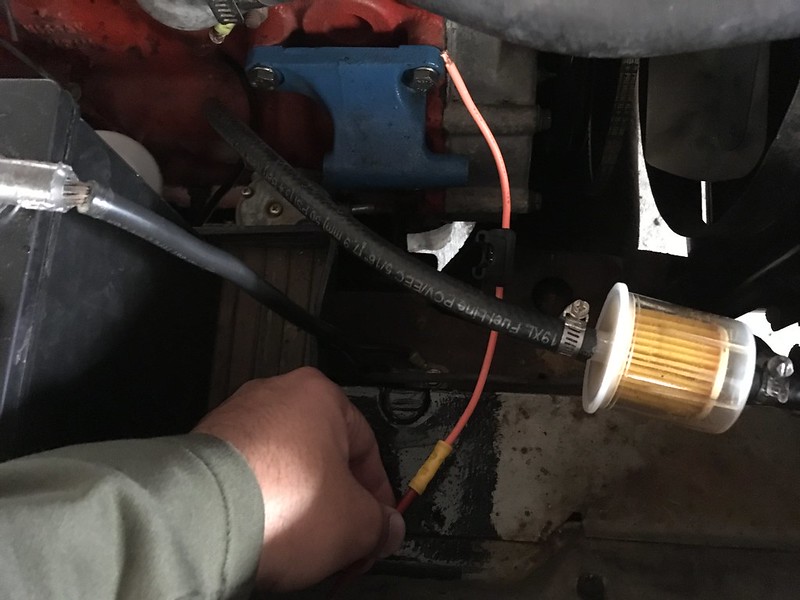 1-wire by 2mAn
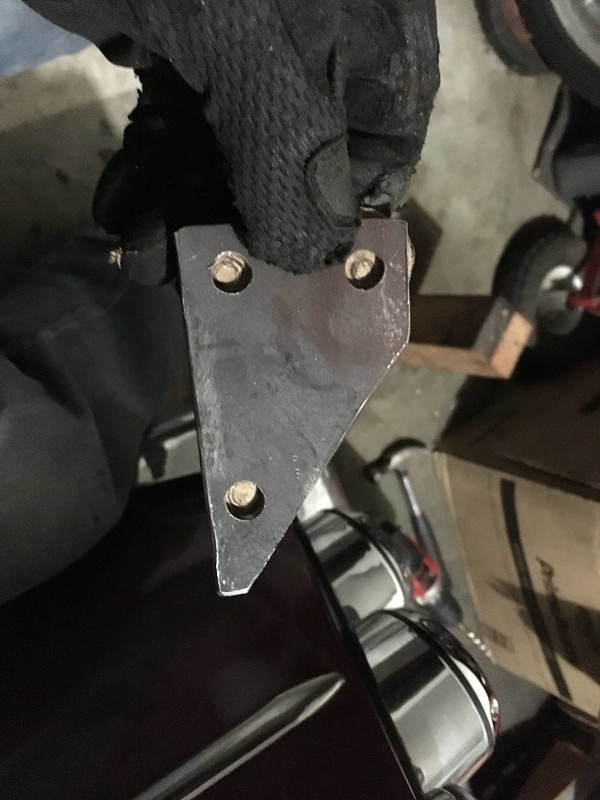 Alternative by 2mAn
 Alternative by 2mAn
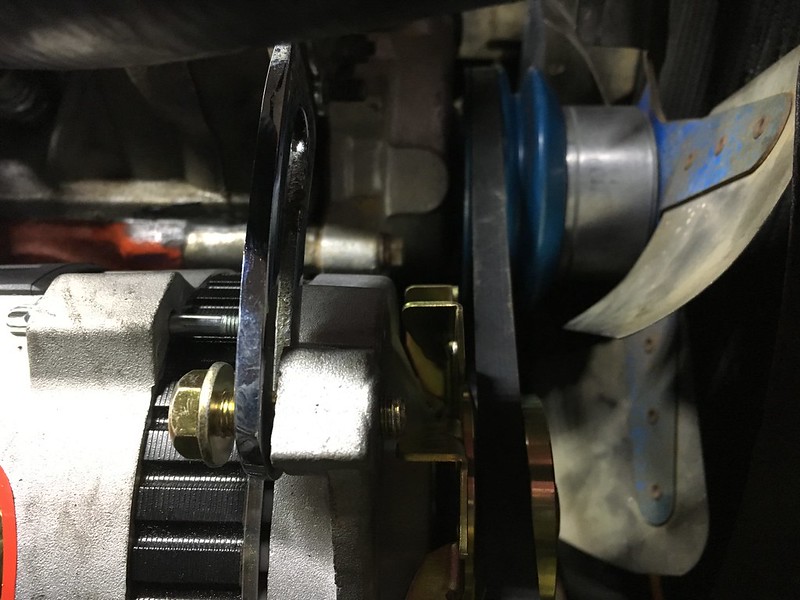 Alternative by 2mAn
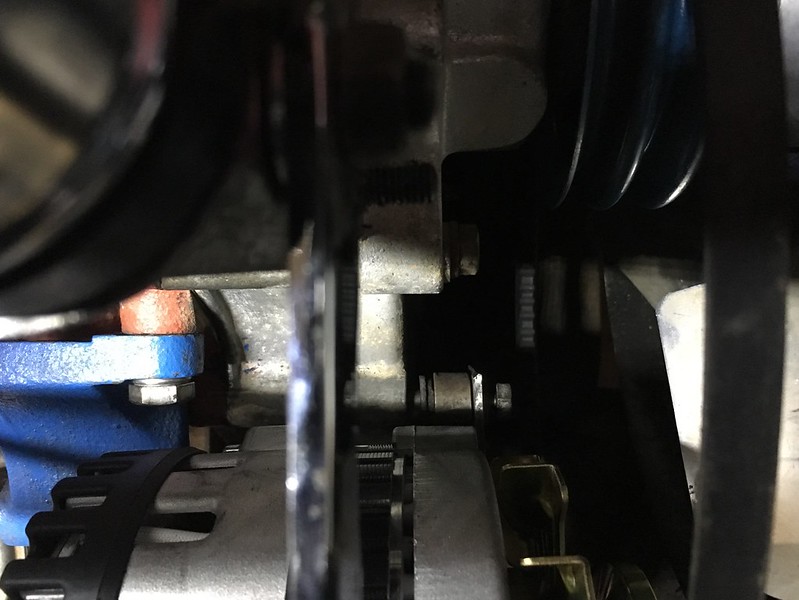 Alternative by 2mAn
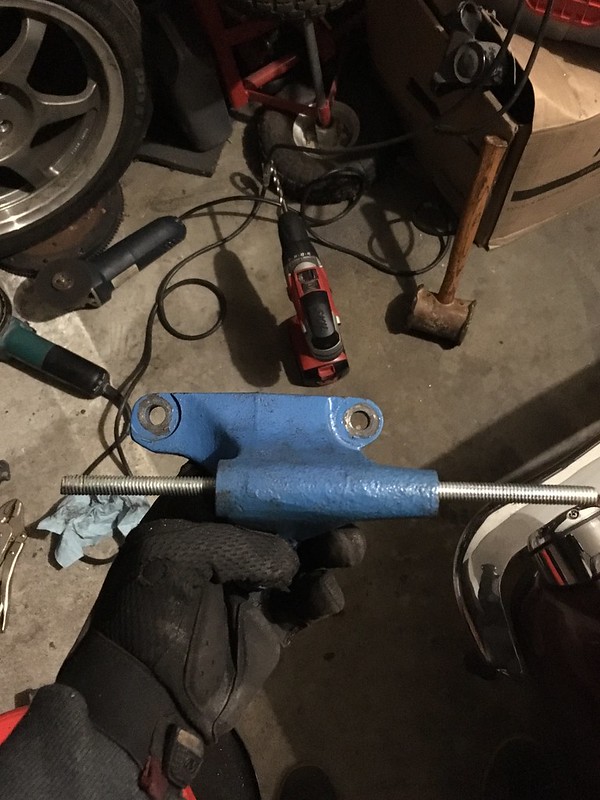 Alternative by 2mAn
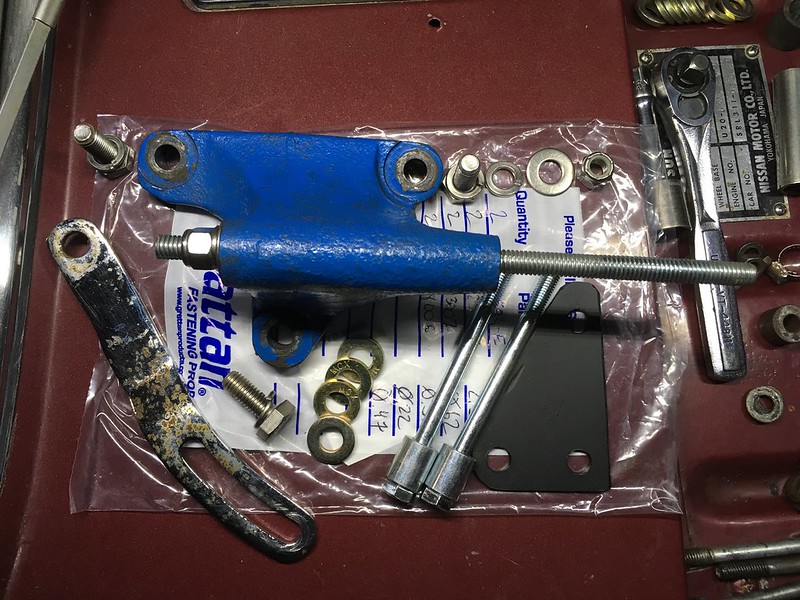 Finally by 2mAn
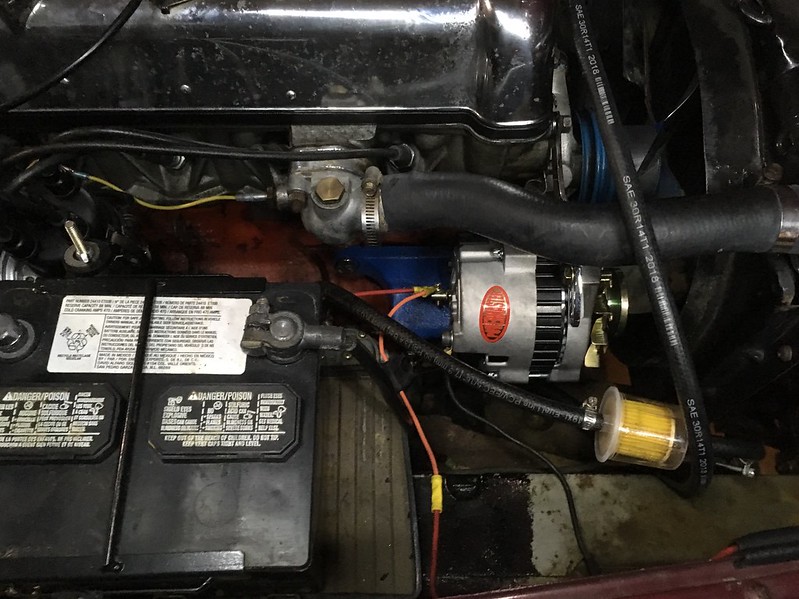 Finally by 2mAn
Comment