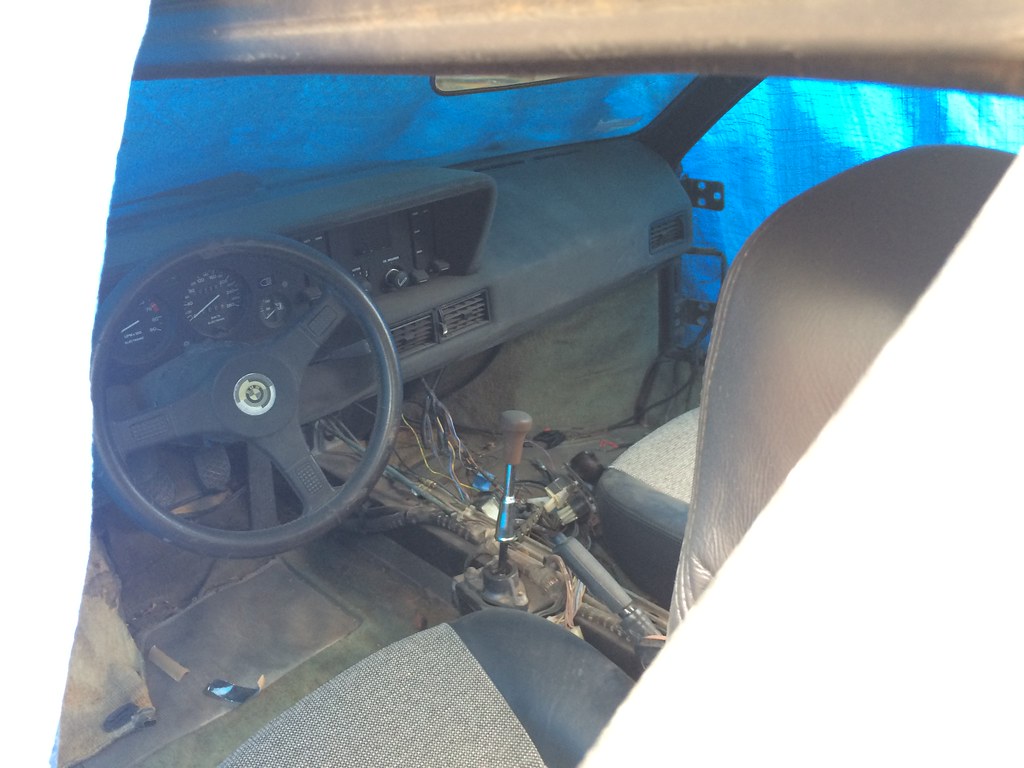
Great work man, if you don’t mind me asking. What size is your nardi steering wheel? I’m wanting to order one, 360mm. How do you like it? Do you wish you went with a different size?
Thanks
Thanks

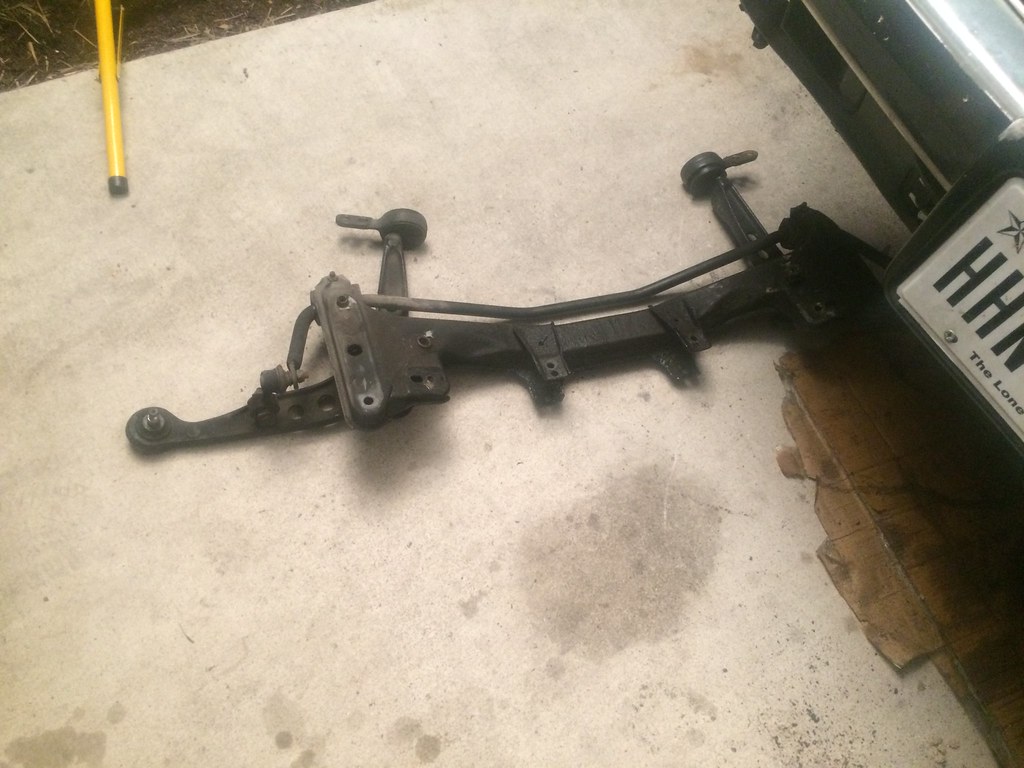
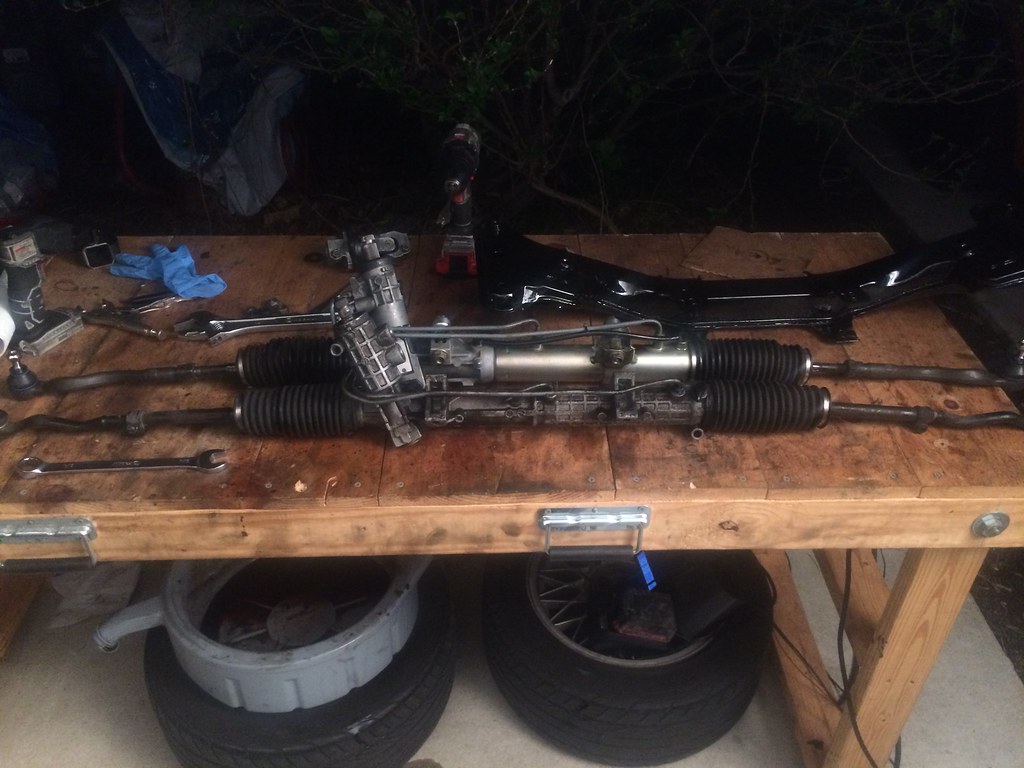
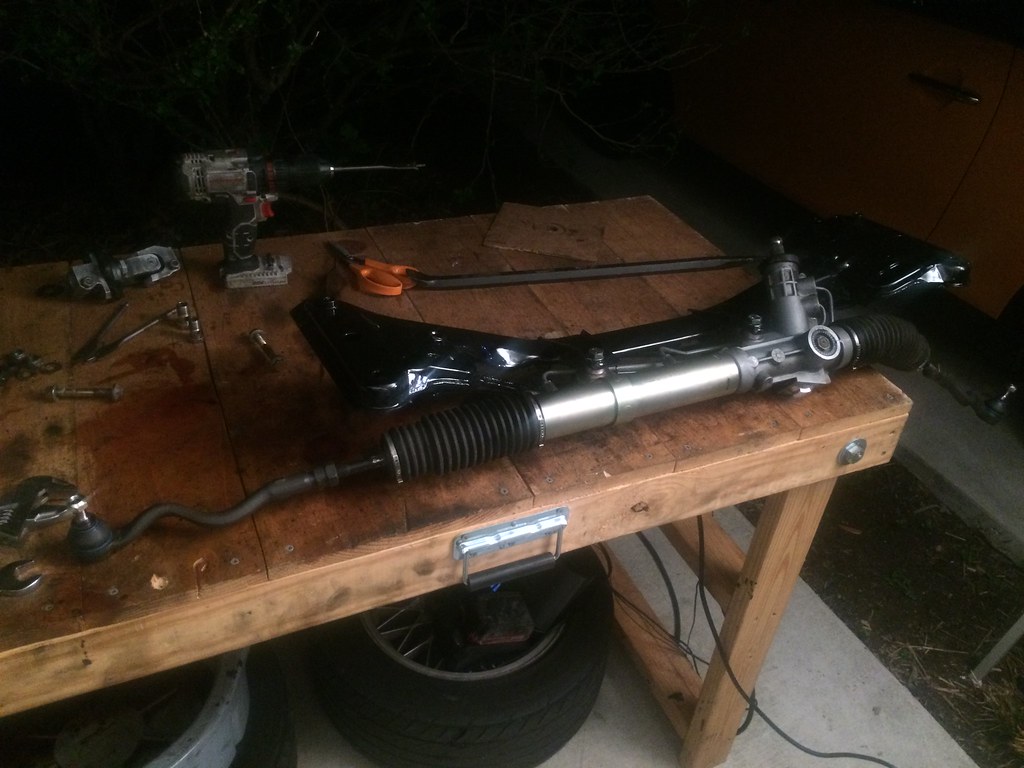
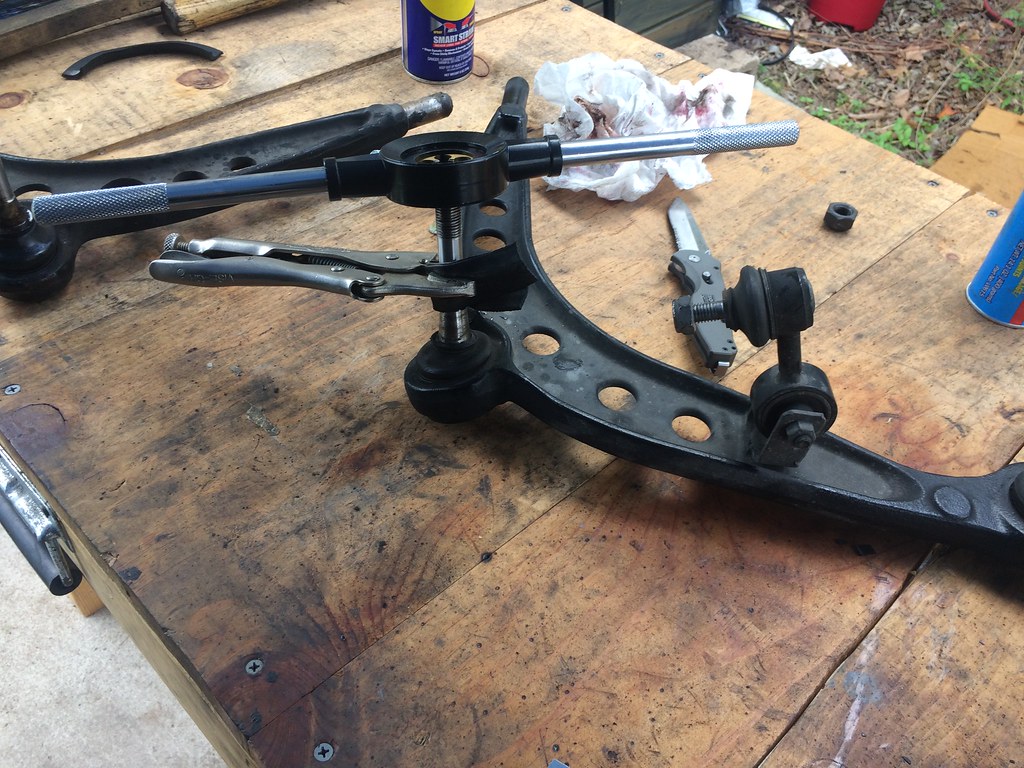
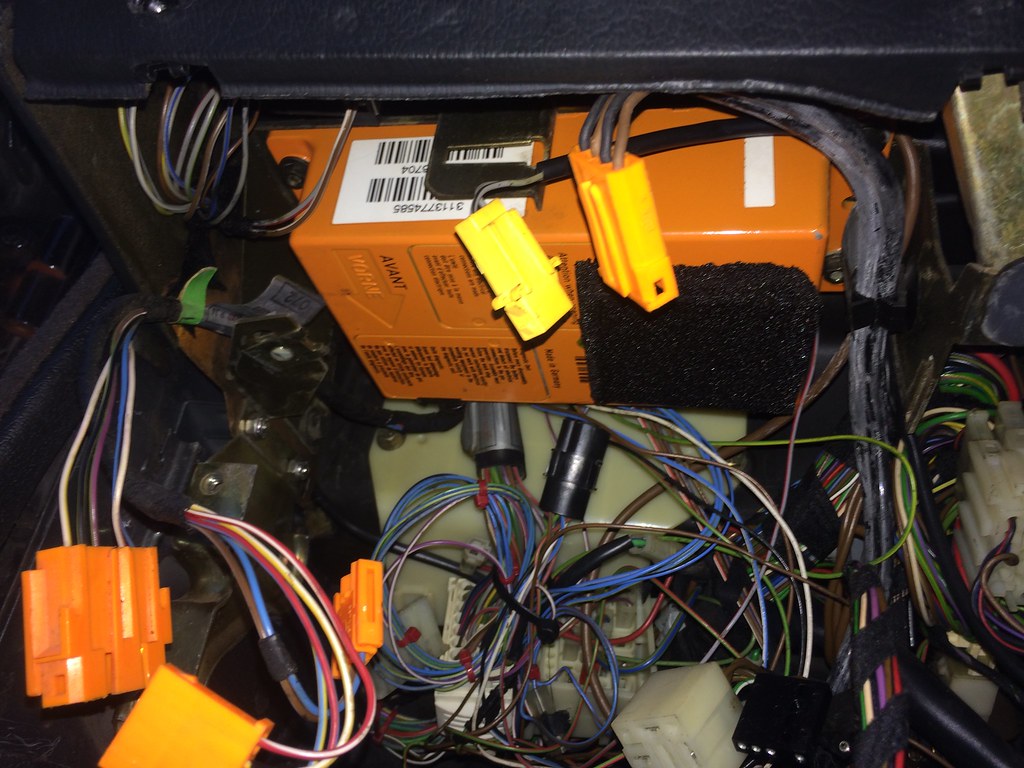
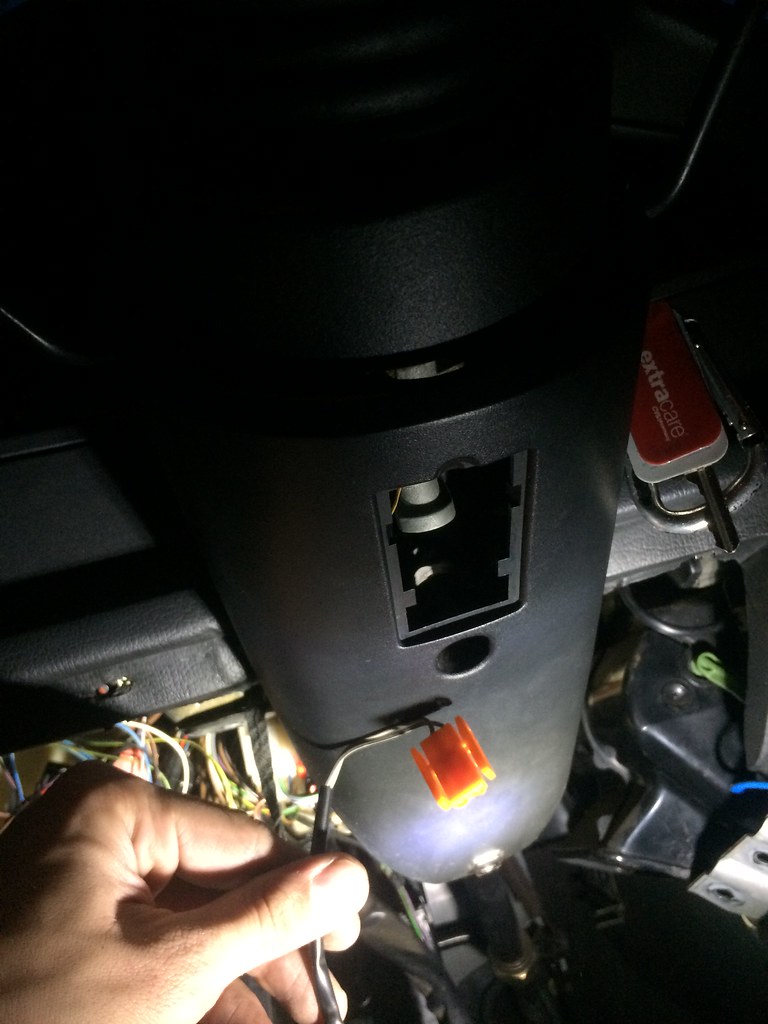
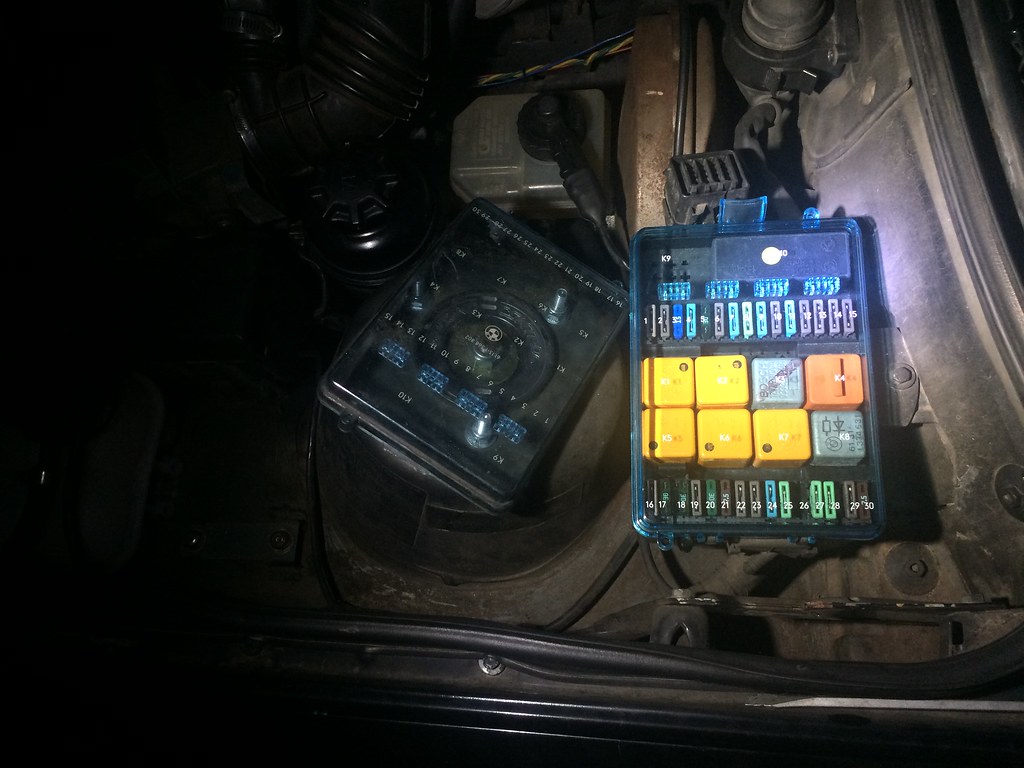
 IMG_20180216_220523 by [URL="https://www.flickr.com/photos/153148878@N02/"]

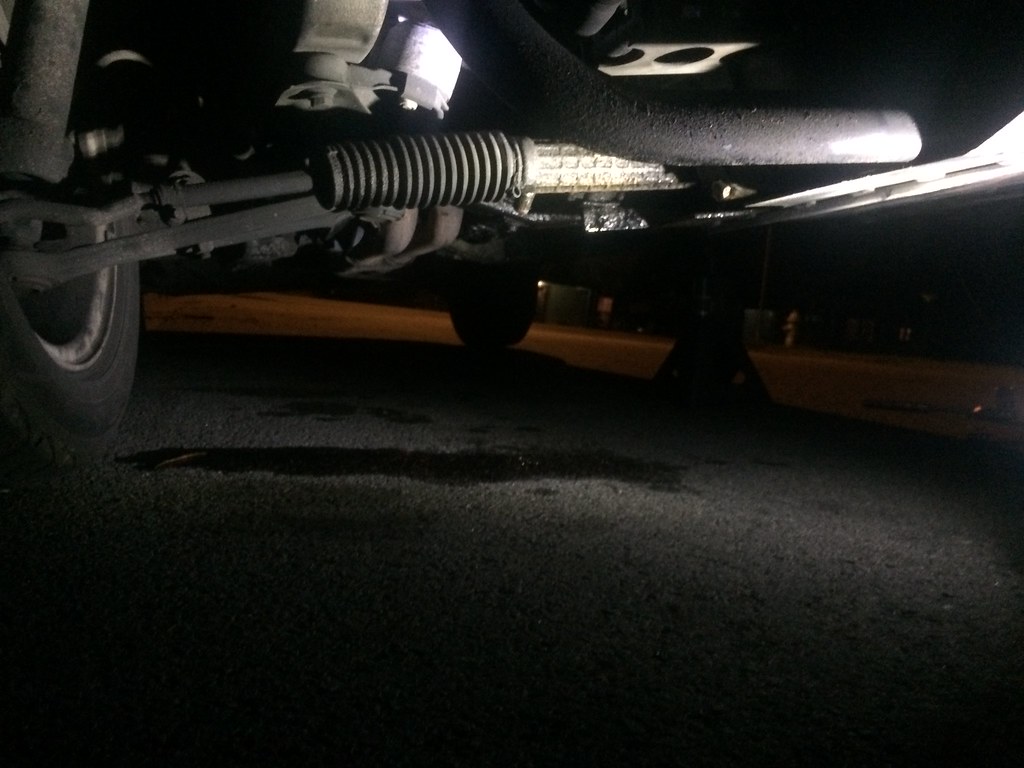

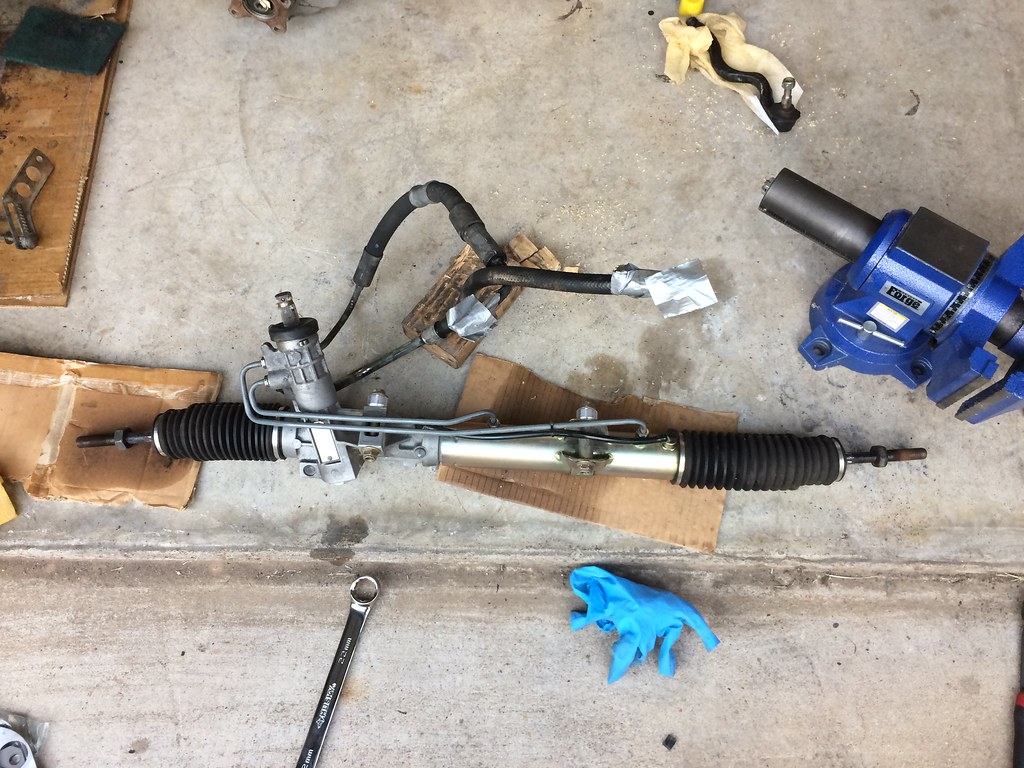


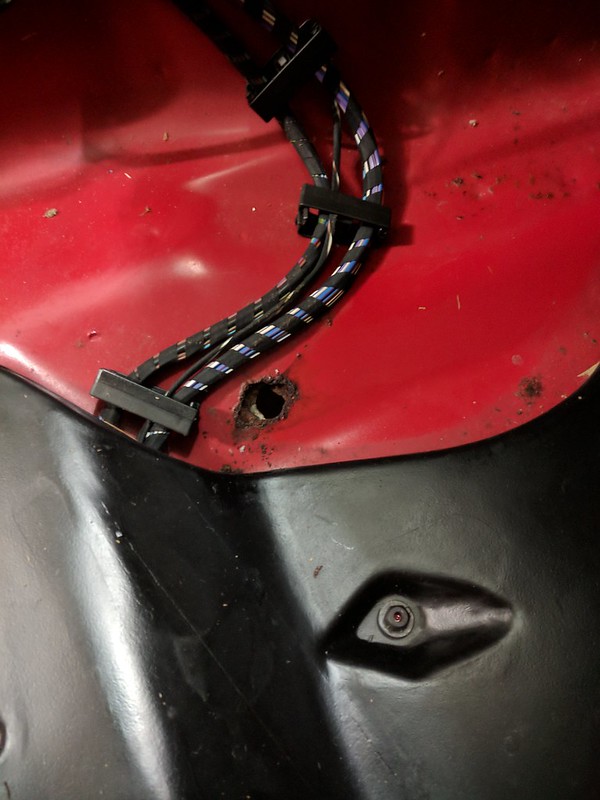
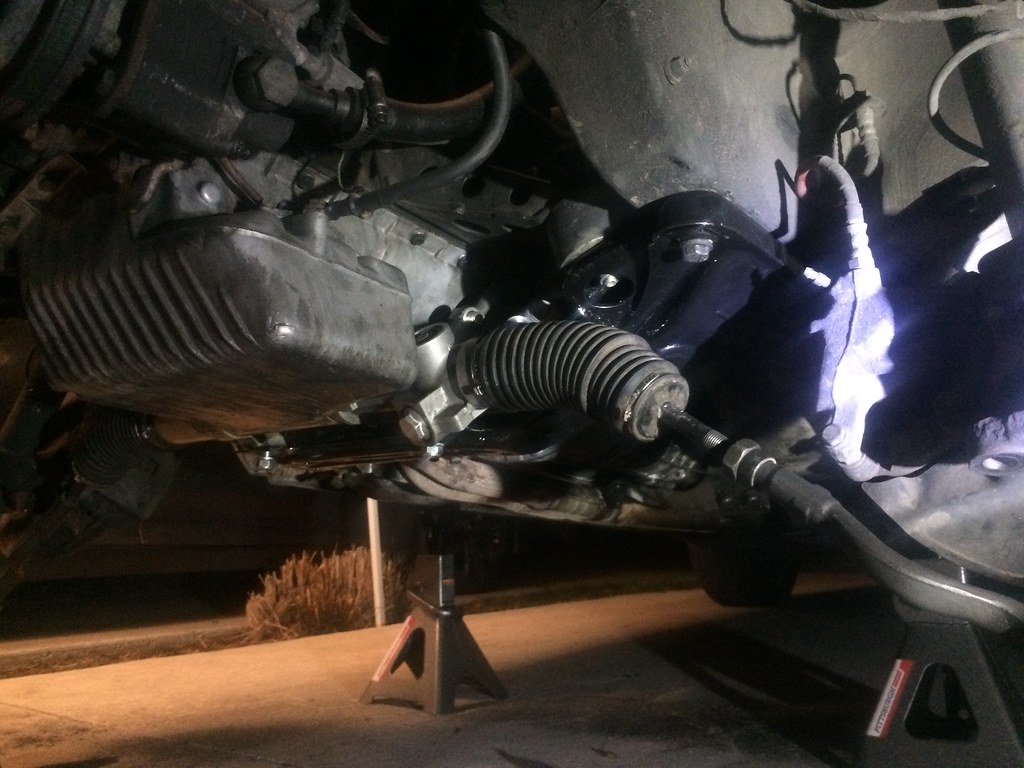
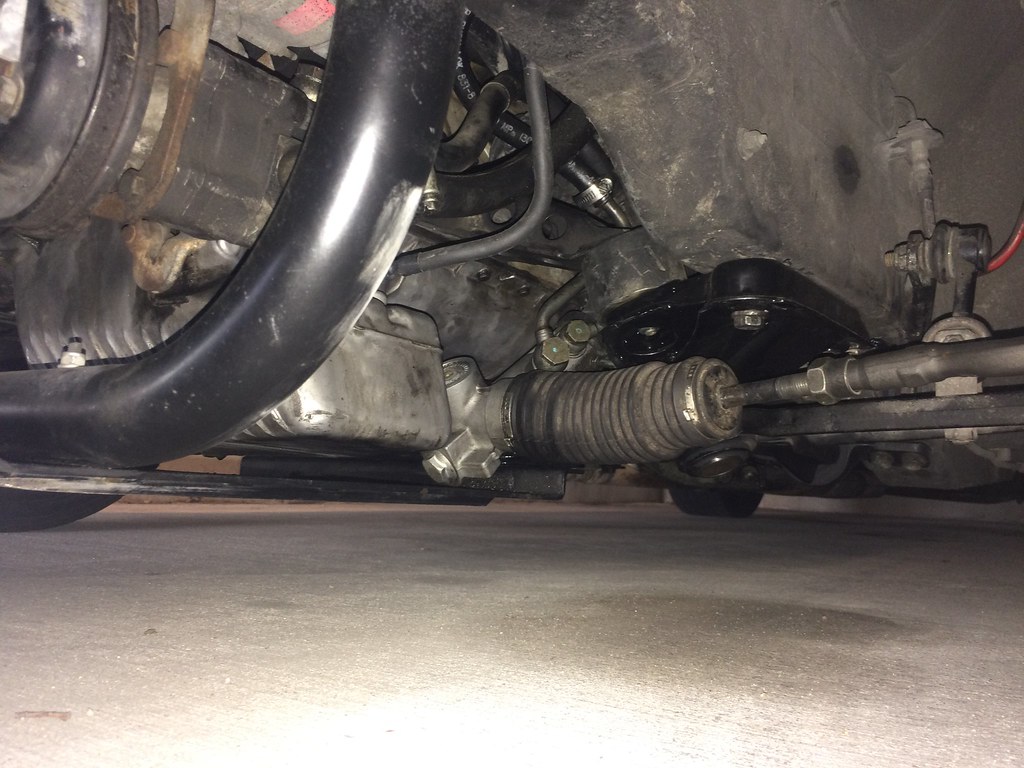
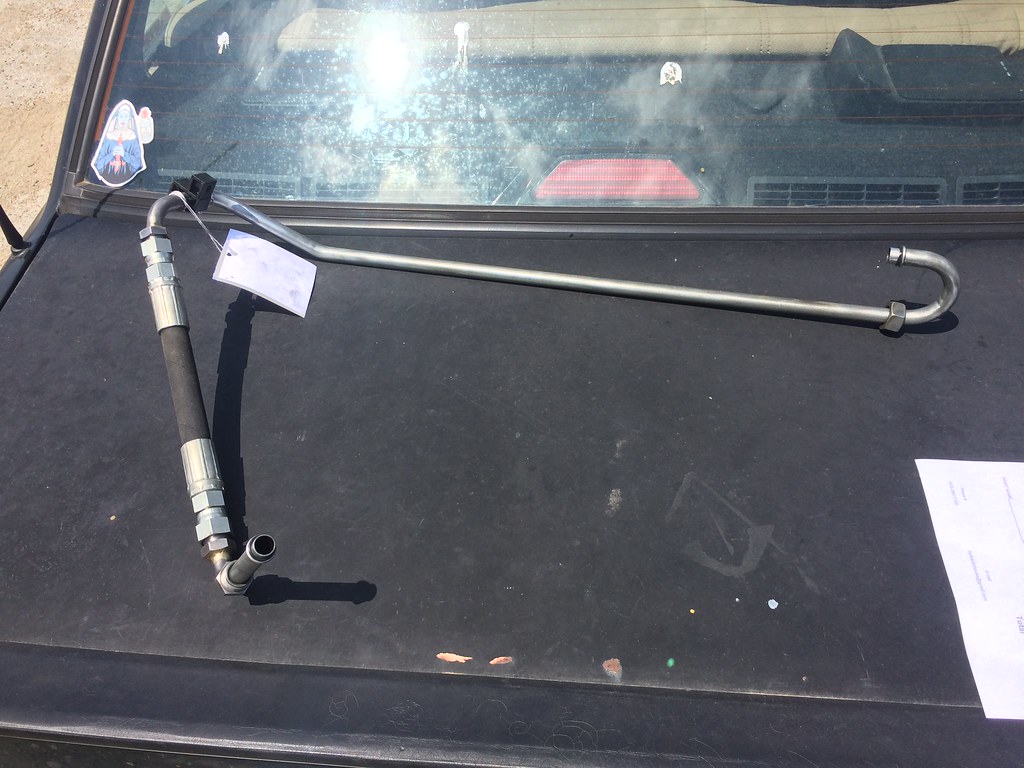
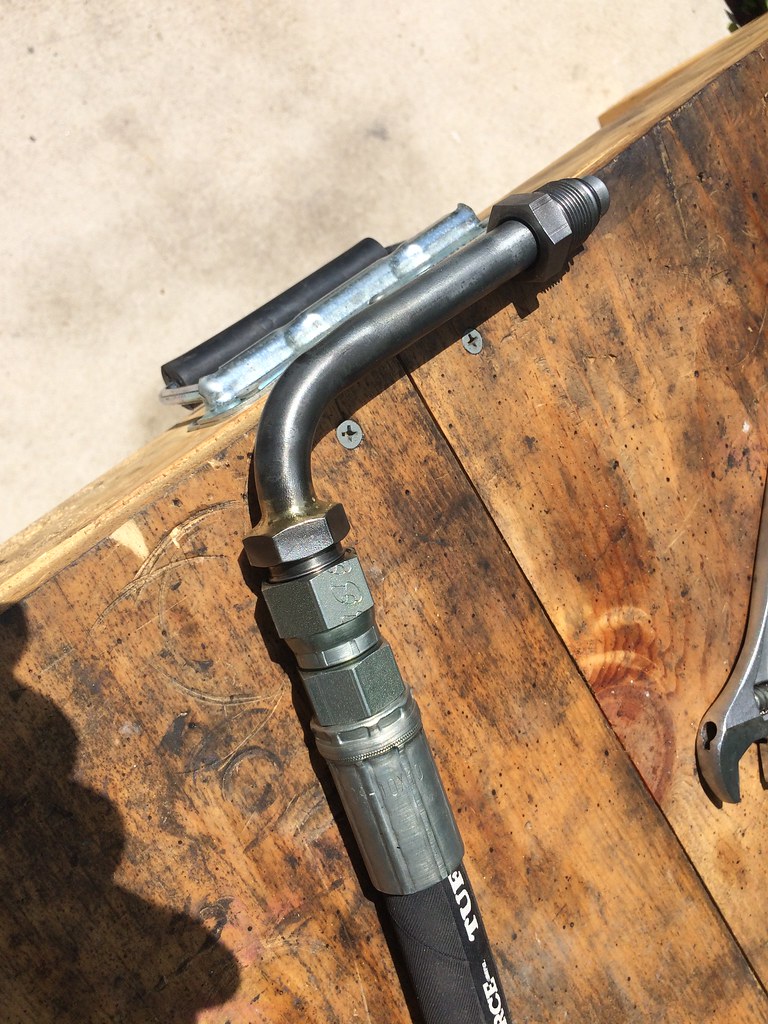
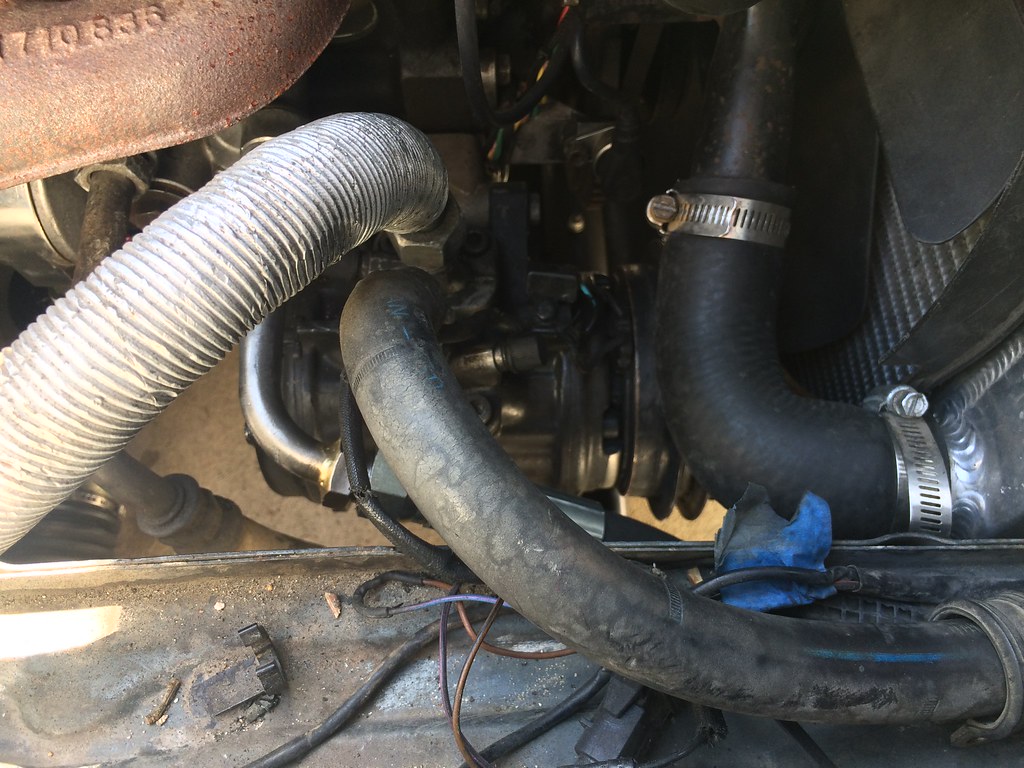
 Edit: Replaced them with new braided lines just to be safe.
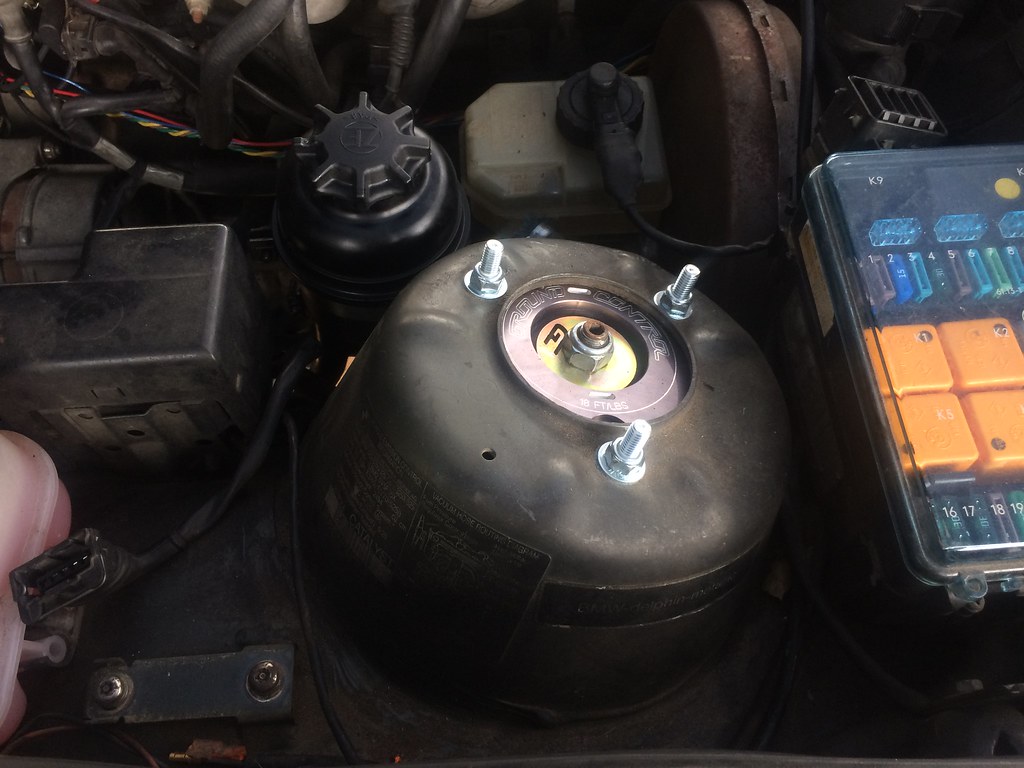


Comment