
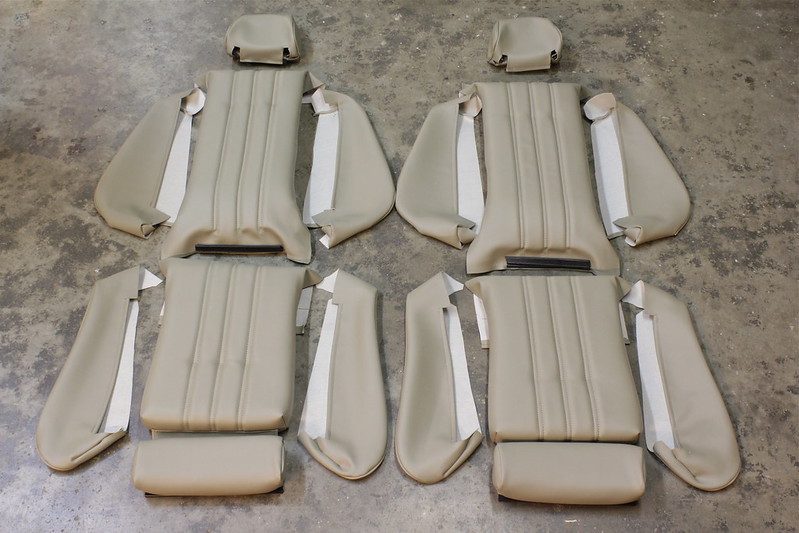
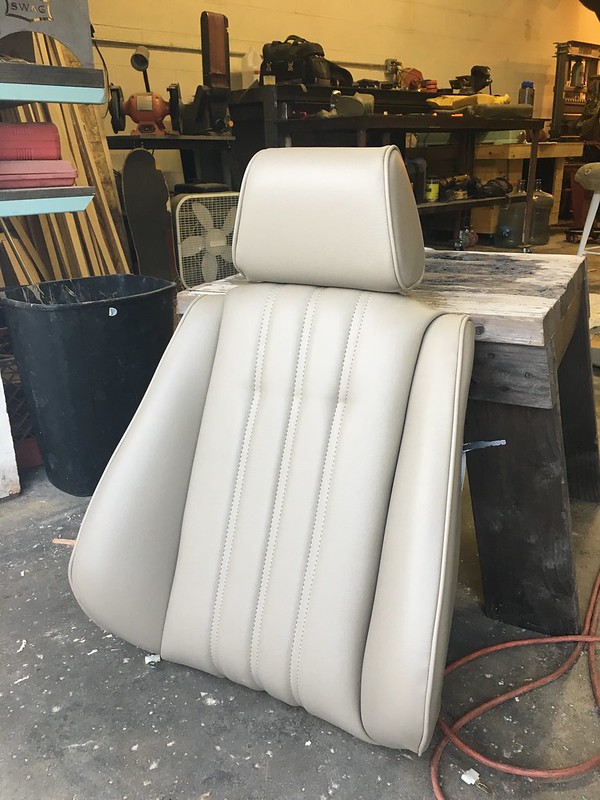
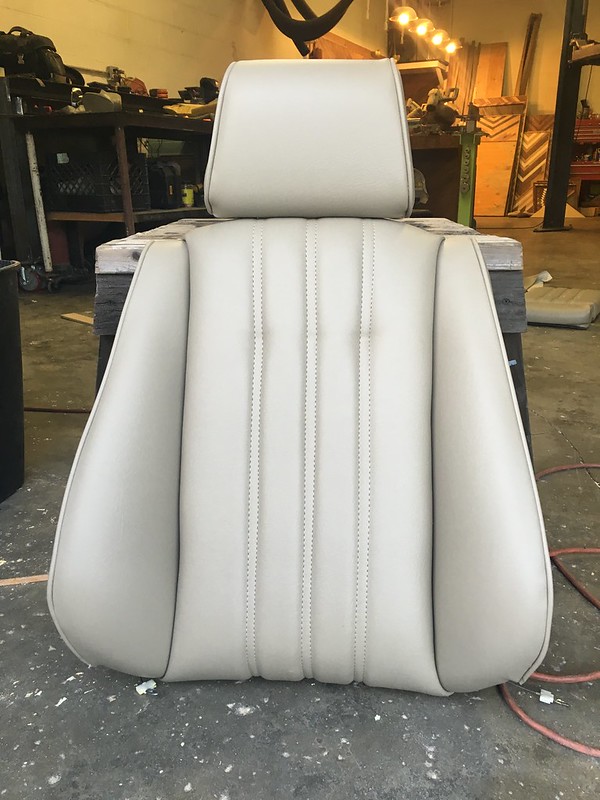
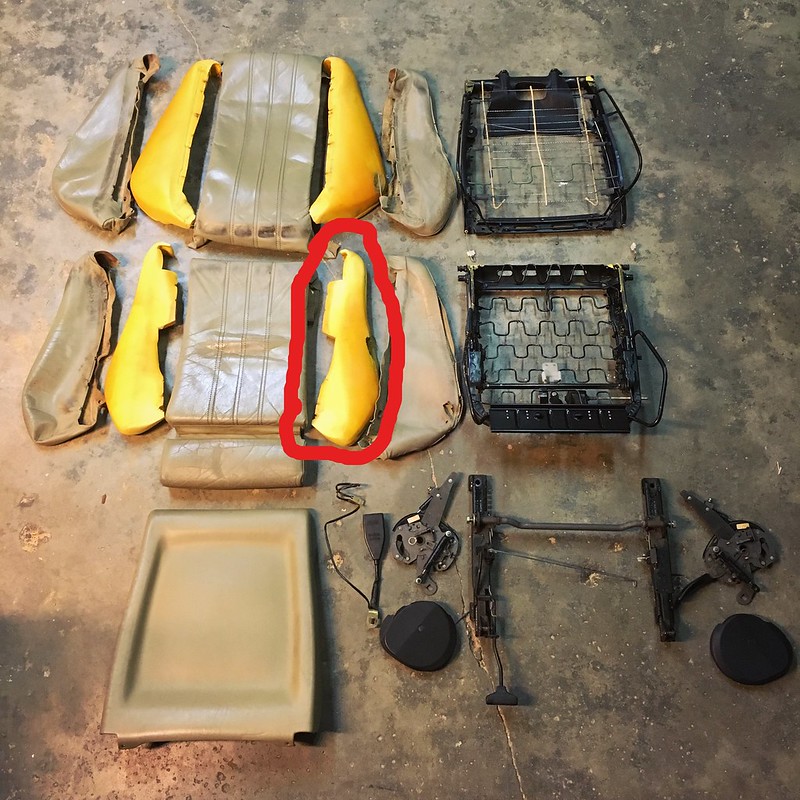
Did you order the seat covers from the CA place on ebay? I need a set of pearl beige covers for my front seats too...right now I am mismatched with a set of natur front seats (worn) and Pearl beige for the rest of the interior. Interested to see how they work out for you.
Sent from my SM-T560NU using Tapatalk
Sent from my SM-T560NU using Tapatalk


Comment