
Update: January 25th, 2015
So it's been a while, but this project has very much been at the forefront of my mind the past couple months. I'm still slowly stockpiling parts but I have most of what I need at this point.
I'm flying by the seat of my pants with this one. I've never swapped an engine before, and the information out there specific to Euro transplants is scarce at best. Once I've got everything put together I'll share the extensive parts list for anyone wondering how a Euro swap differs from US S50/52 swaps. I anticipate hitting a few snags along the way as a result of the limited information out there.
Strip Down:
I took the E30 off the road 2 weeks ago to begin the teardown. I started with what I knew: taking things apart. This is also the first time I've had the E30 up on jack stands, so the more parts I removed the more the condition of the car was revealed.

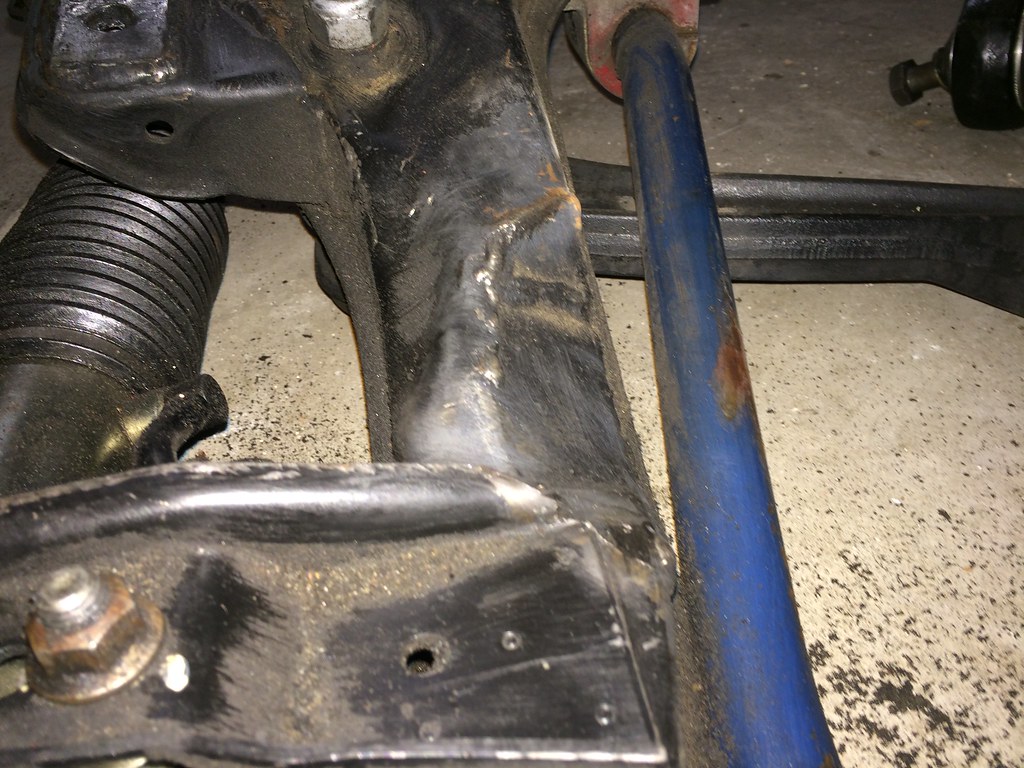
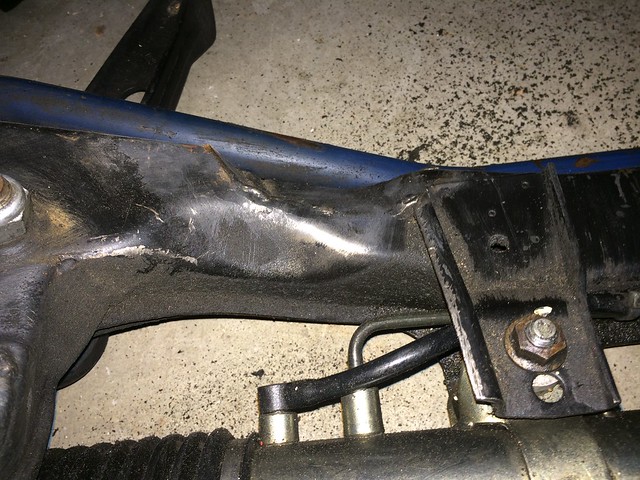
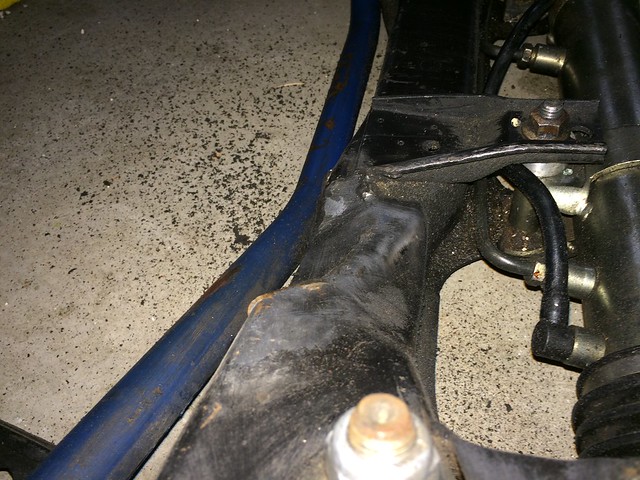
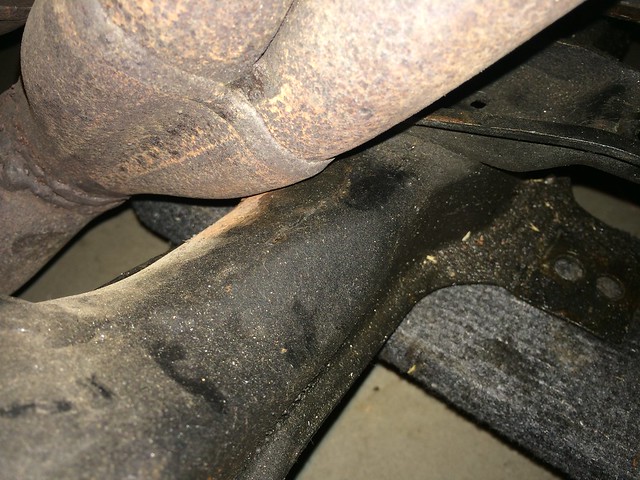
After the mud flaps were removed (the first parts to come off the car) I started with the front suspension. To my surprise, the rust is almost non existent aside from some surface corrosion on some of the suspension bits. The underseal lining the arches is falling apart in a few places and wouldn't have been able to cope with more than a couple more winters. I will be grinding it all back and re-sealing it with POR-15 before everything goes back on the car.


This is the worst of the corrosion I've seen yet, and hardly seems worth complaining about:

Not much dirt fell from the arches but I'm holding my breath before I do the rear. The mud flaps really helped retain a lot of crud:

Unfortunately, I've already made a boo-boo. While removing the front struts and brakes, I mistakenly assumed that because the brake lines were coming off nicely that I was doing it correctly. Nope. Now I have to fix the copper lines where the rubber hoses connect to the line fittings:

I'm told this can be fixed fairly simply without the need to replace the lines (which would NOT be a simple fix).
Engine:
I then turned my attention to the S50, which had a few damaged pulleys on it from my accident, but the crank spins freely so that's a good confidence boost!
My goal, as far as the S50 is concerned, is to pare back as much weight as I can. Given that the motor had already been fully rebuilt when it was powering my old M3, there wasn't much that needed doing to it. It had been bored out to 3.1L with forged internals and anything that couldn't be bought was re-machined. It took 8 months to complete, hence why I decided to salvage the engine to put in the E30.
The first port of call then, was to remove the secondary air pump (SAP) and air conditioning, since the E30 hadn't been fitted with it originally, and frankly, I hardly use it even when I have it (Canada FTW).
To remove the SAP, the pump itself must be removed, and since the AC compressor shares the same mounting bracket, the bracket itself could be ditched (it's aluminum, so the weight savings are less important here than the space savings). The plumbing for the SAP also has to be removed, which leaves a large hole in the cylinder block:

South African Euro M3s came without the SAP installed from factory, and to plug this hole, BMW made a blanking plate and gasket, which cost a surprising amount of money, but when you see the shape of the plate the price makes a little more sense:


I'll mention at this point that I'm an engineer by profession, so little details like this excite me in the nether-region ;)
Unfortunately, my camera recently stopped working, so I lost my pictures of the removal of the SAP and AC compressor. The bracket is what gave me the most trouble though, as there's a nut behind the vibration dampener that was rounding every time I put a wrench to it. The solution: remove the vibration dampener so I can get a ratchet on it. Easier said than done, as every time you take a breaker bar to the bolts holding the vibration dampener and crank pulley on, the crank spins and you lose all leverage.
This was my fix:


What I did was tie a ratchet strap around the entire block, fit the strap snugly in the cutout of the vibration dampener (see the last pic), and jam a coilover adjuster against the block and the teeth of the vibration dampener for good measure. The SAP mounting bracket is the Al piece to the left of the coilover adjustment tool in the pictures above.
It worked! The pulley and dampener cam off and I was able to replace the crank pulley with an E46 M3 one, which as the photo below shows, is slightly smaller in diameter and will act as an under drive pulley:

In the photo above you can also see that my original crank pulley was slightly bent from my collision.
With that done, I fitted my new belt (the OEM belt size can be retained with the S54 pulley) and took a step back to admire my hard work:

I lost the pictures of my alternator, but that was also shattered (and I do mean shattered) from the accident as well. BMW charges $750 for a new one, so I quickly sourced from from the UK for $100. Take that BMW.
I then replaced all the hoses running to/from the oil separator, as they were hard as stone and leaking in almost every place conceivable. I gave the separator and ICV a cleaning, since it'd be rude not to while they're off.
Things yet to do on the S50 include fitting the E34 M50 oil pan and replacing the intake plenum boot, MAF, and sourcing a new intake (all destroyed from the accident).
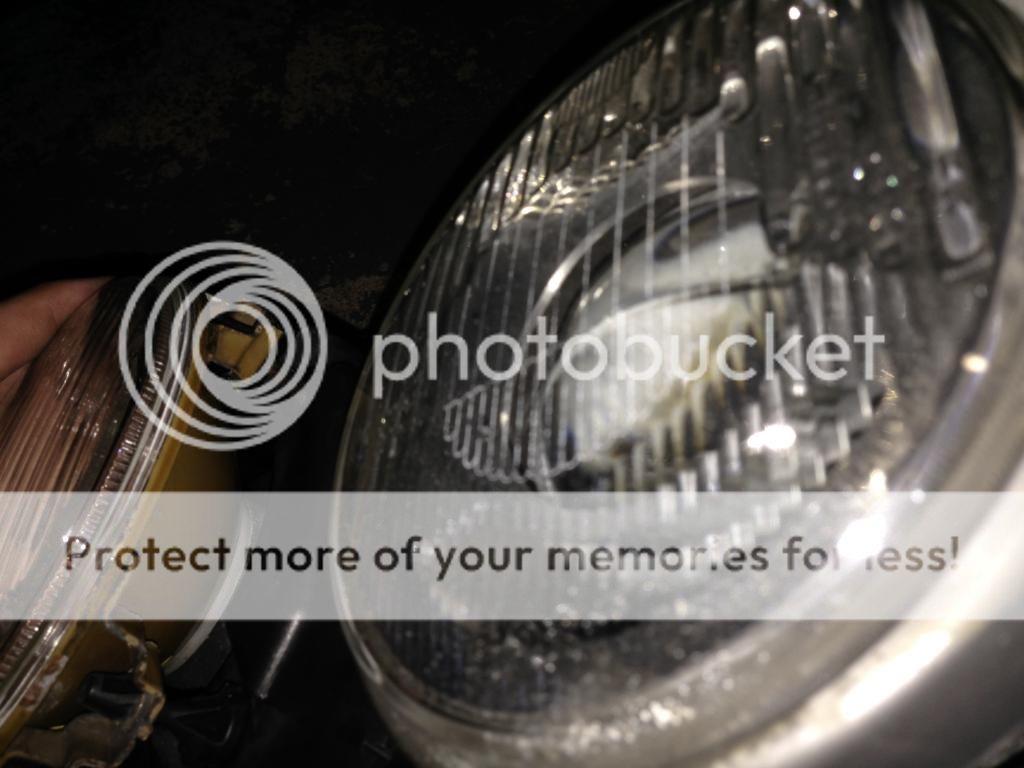
Headlights:
The factory sealed beams may as well be fireflies caught in a jar. They're terrible. So I bought some Euro ellipsoids with the intention of converting them to D2S bi-xenons, something I did to my E36 using E70 X5 projectors and custom brackets. Being that I had some spare headlights lying around, I figured I'd see what fit the best on the Euro headlights:
Euro headlight:

BMW donors:

The projectors were cut out of these headlights (from various newer BMWs) and compared against each other:

Oddly enough, the best fitment came from the E70 projector that I salved from my one surveying headlight out of the E36, which I went and found a mate for:

Euro projector vs. E70 projector:

Rough mockup:


As you may be able to tell, lots of cutting will be involved to get the lens to sit flush like the OEM projector does:

OEM projector's fitment for comparison:

So, I'm getting some sheet metal to make some brackets out of, and a friend has kindly offered to donate a spare Euro projector for me to cut up and test fit the E70 projectors, just in case this whole experiment doesn't work. If it does, it will easily be my favourite mod to the E30 (you know, aside from the engine).
As a benchmark, I took the E30 to a weigh scale. Subtracting my weight from the car, the total came to 1160 kg (2552 lbs). I have no idea what to expect the final weight to be, and I'll leave it as a surprise.
That's all for now, I'm hoping to get much more done this weekend.
So it's been a while, but this project has very much been at the forefront of my mind the past couple months. I'm still slowly stockpiling parts but I have most of what I need at this point.
I'm flying by the seat of my pants with this one. I've never swapped an engine before, and the information out there specific to Euro transplants is scarce at best. Once I've got everything put together I'll share the extensive parts list for anyone wondering how a Euro swap differs from US S50/52 swaps. I anticipate hitting a few snags along the way as a result of the limited information out there.
Strip Down:
I took the E30 off the road 2 weeks ago to begin the teardown. I started with what I knew: taking things apart. This is also the first time I've had the E30 up on jack stands, so the more parts I removed the more the condition of the car was revealed.

After the mud flaps were removed (the first parts to come off the car) I started with the front suspension. To my surprise, the rust is almost non existent aside from some surface corrosion on some of the suspension bits. The underseal lining the arches is falling apart in a few places and wouldn't have been able to cope with more than a couple more winters. I will be grinding it all back and re-sealing it with POR-15 before everything goes back on the car.


This is the worst of the corrosion I've seen yet, and hardly seems worth complaining about:

Not much dirt fell from the arches but I'm holding my breath before I do the rear. The mud flaps really helped retain a lot of crud:

Unfortunately, I've already made a boo-boo. While removing the front struts and brakes, I mistakenly assumed that because the brake lines were coming off nicely that I was doing it correctly. Nope. Now I have to fix the copper lines where the rubber hoses connect to the line fittings:

I'm told this can be fixed fairly simply without the need to replace the lines (which would NOT be a simple fix).
Engine:
I then turned my attention to the S50, which had a few damaged pulleys on it from my accident, but the crank spins freely so that's a good confidence boost!
My goal, as far as the S50 is concerned, is to pare back as much weight as I can. Given that the motor had already been fully rebuilt when it was powering my old M3, there wasn't much that needed doing to it. It had been bored out to 3.1L with forged internals and anything that couldn't be bought was re-machined. It took 8 months to complete, hence why I decided to salvage the engine to put in the E30.
The first port of call then, was to remove the secondary air pump (SAP) and air conditioning, since the E30 hadn't been fitted with it originally, and frankly, I hardly use it even when I have it (Canada FTW).
To remove the SAP, the pump itself must be removed, and since the AC compressor shares the same mounting bracket, the bracket itself could be ditched (it's aluminum, so the weight savings are less important here than the space savings). The plumbing for the SAP also has to be removed, which leaves a large hole in the cylinder block:

South African Euro M3s came without the SAP installed from factory, and to plug this hole, BMW made a blanking plate and gasket, which cost a surprising amount of money, but when you see the shape of the plate the price makes a little more sense:


I'll mention at this point that I'm an engineer by profession, so little details like this excite me in the nether-region ;)
Unfortunately, my camera recently stopped working, so I lost my pictures of the removal of the SAP and AC compressor. The bracket is what gave me the most trouble though, as there's a nut behind the vibration dampener that was rounding every time I put a wrench to it. The solution: remove the vibration dampener so I can get a ratchet on it. Easier said than done, as every time you take a breaker bar to the bolts holding the vibration dampener and crank pulley on, the crank spins and you lose all leverage.
This was my fix:


What I did was tie a ratchet strap around the entire block, fit the strap snugly in the cutout of the vibration dampener (see the last pic), and jam a coilover adjuster against the block and the teeth of the vibration dampener for good measure. The SAP mounting bracket is the Al piece to the left of the coilover adjustment tool in the pictures above.
It worked! The pulley and dampener cam off and I was able to replace the crank pulley with an E46 M3 one, which as the photo below shows, is slightly smaller in diameter and will act as an under drive pulley:

In the photo above you can also see that my original crank pulley was slightly bent from my collision.
With that done, I fitted my new belt (the OEM belt size can be retained with the S54 pulley) and took a step back to admire my hard work:

I lost the pictures of my alternator, but that was also shattered (and I do mean shattered) from the accident as well. BMW charges $750 for a new one, so I quickly sourced from from the UK for $100. Take that BMW.
I then replaced all the hoses running to/from the oil separator, as they were hard as stone and leaking in almost every place conceivable. I gave the separator and ICV a cleaning, since it'd be rude not to while they're off.
Things yet to do on the S50 include fitting the E34 M50 oil pan and replacing the intake plenum boot, MAF, and sourcing a new intake (all destroyed from the accident).
Headlights:
The factory sealed beams may as well be fireflies caught in a jar. They're terrible. So I bought some Euro ellipsoids with the intention of converting them to D2S bi-xenons, something I did to my E36 using E70 X5 projectors and custom brackets. Being that I had some spare headlights lying around, I figured I'd see what fit the best on the Euro headlights:
Euro headlight:

BMW donors:

The projectors were cut out of these headlights (from various newer BMWs) and compared against each other:

Oddly enough, the best fitment came from the E70 projector that I salved from my one surveying headlight out of the E36, which I went and found a mate for:

Euro projector vs. E70 projector:

Rough mockup:


As you may be able to tell, lots of cutting will be involved to get the lens to sit flush like the OEM projector does:


OEM projector's fitment for comparison:

So, I'm getting some sheet metal to make some brackets out of, and a friend has kindly offered to donate a spare Euro projector for me to cut up and test fit the E70 projectors, just in case this whole experiment doesn't work. If it does, it will easily be my favourite mod to the E30 (you know, aside from the engine).
As a benchmark, I took the E30 to a weigh scale. Subtracting my weight from the car, the total came to 1160 kg (2552 lbs). I have no idea what to expect the final weight to be, and I'll leave it as a surprise.
That's all for now, I'm hoping to get much more done this weekend.


Comment