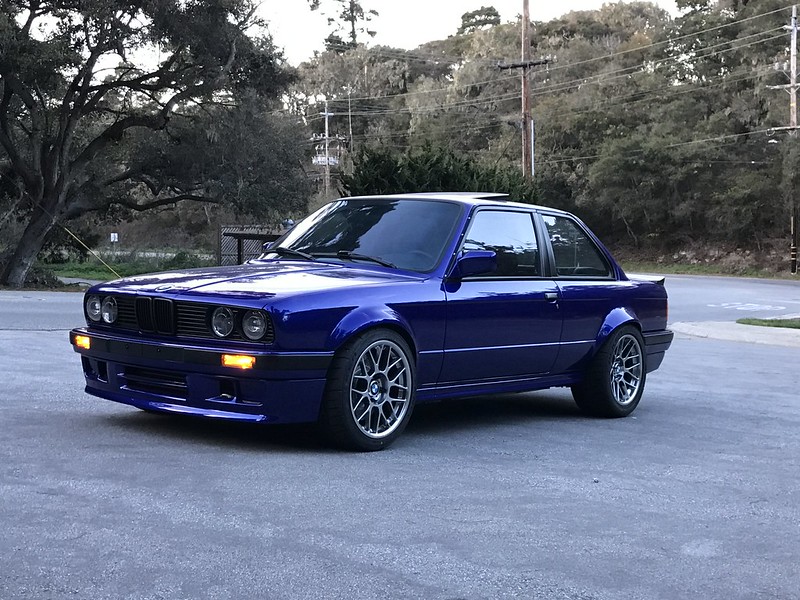
I'm stoked part of my old car is living out the rest of its life in something this crazy lol.
Those fenders turned out so great. Super good call with the e46 graft
Those fenders turned out so great. Super good call with the e46 graft

 E30 Build by Jason H, on Flickr
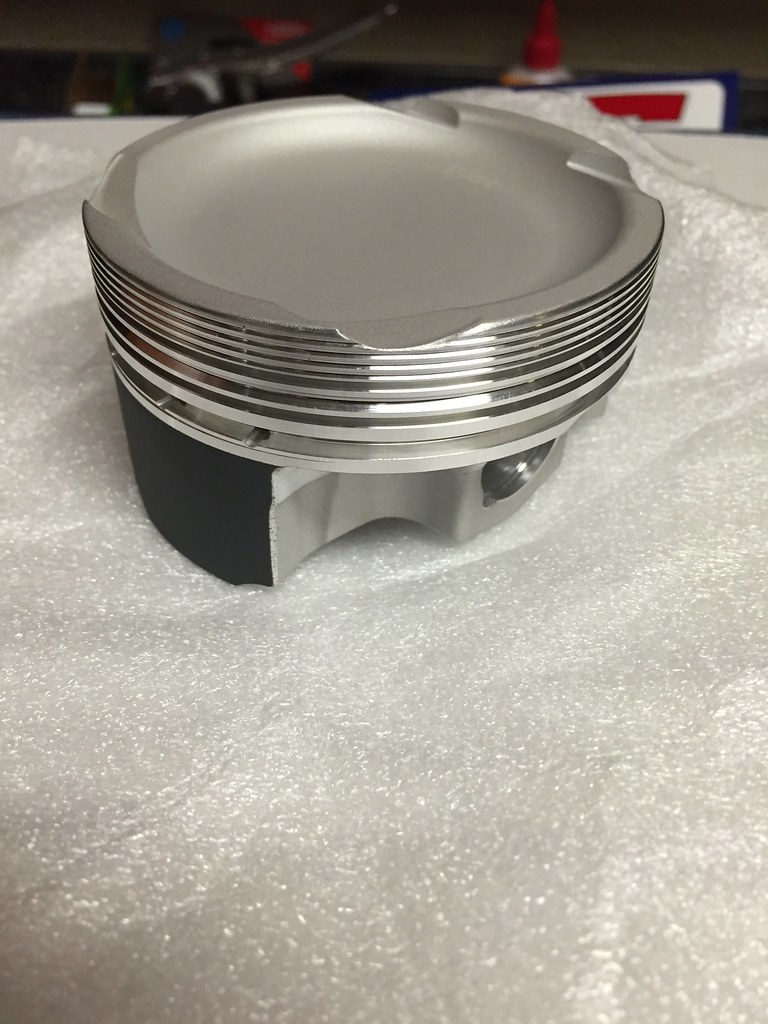 E30 Build by Jason H, on Flickr
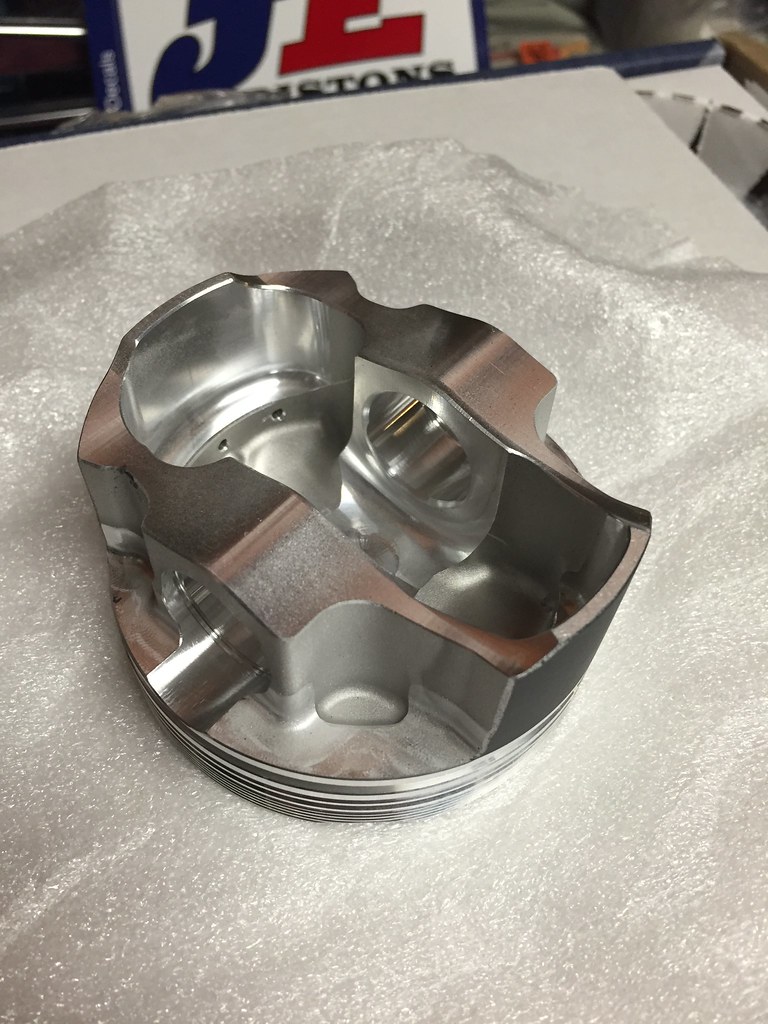 E30 Build by Jason H, on Flickr
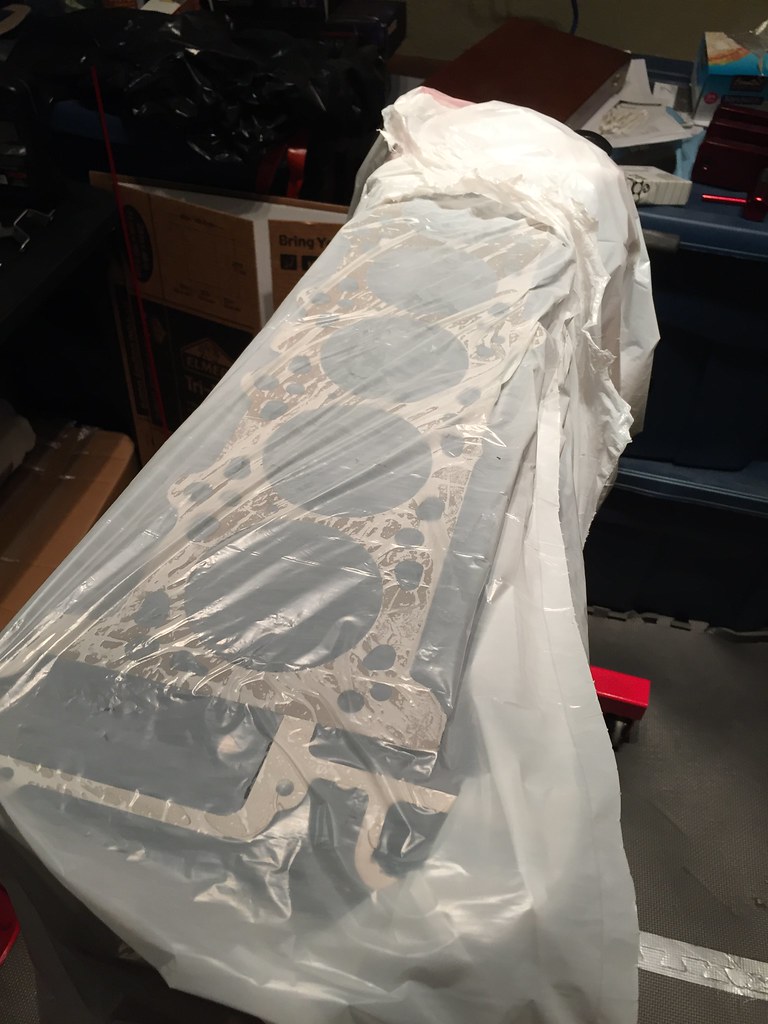 E30 Build by Jason H, on Flickr
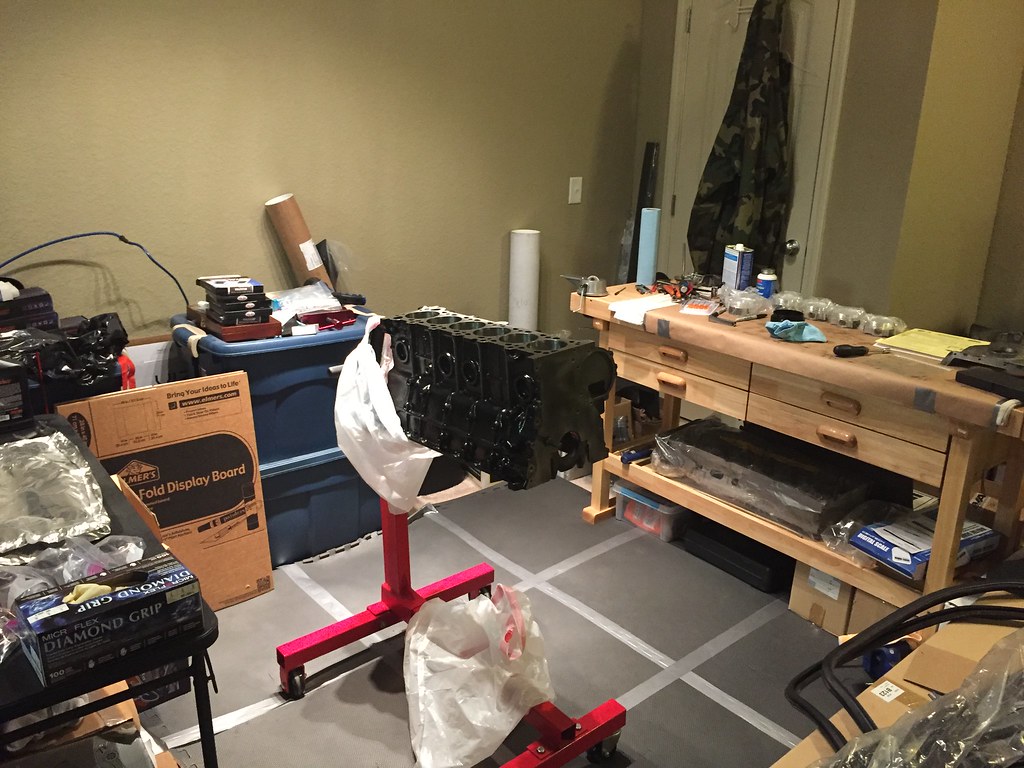 E30 Build by Jason H, on Flickr
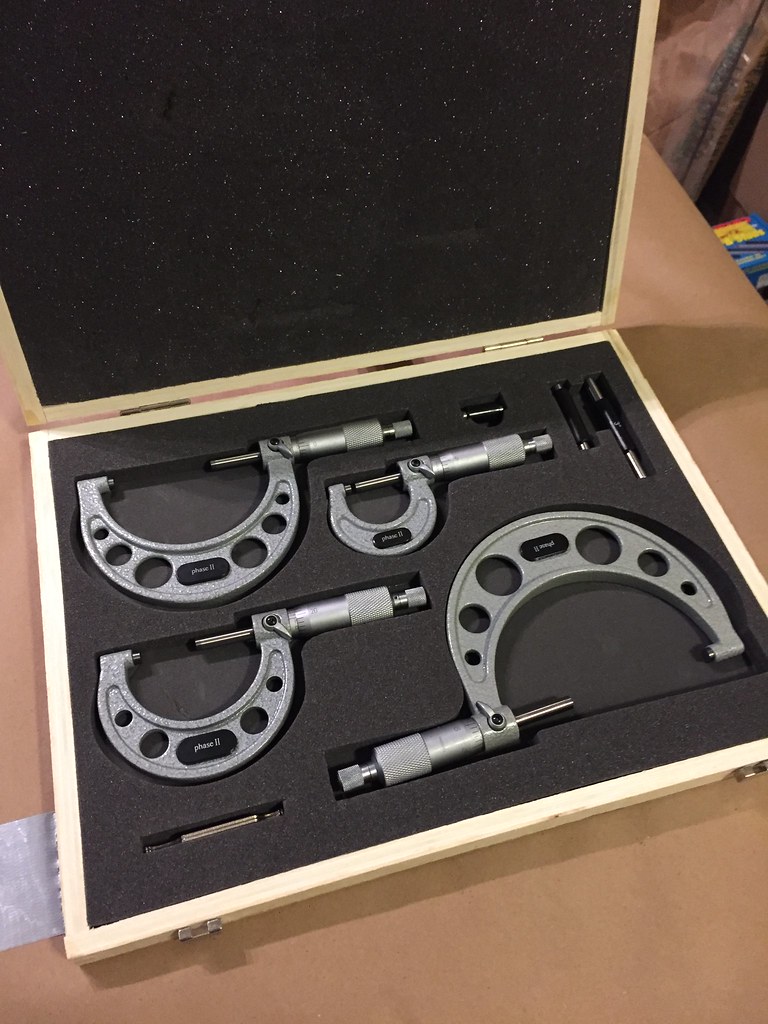 E30 Build by Jason H, on Flickr
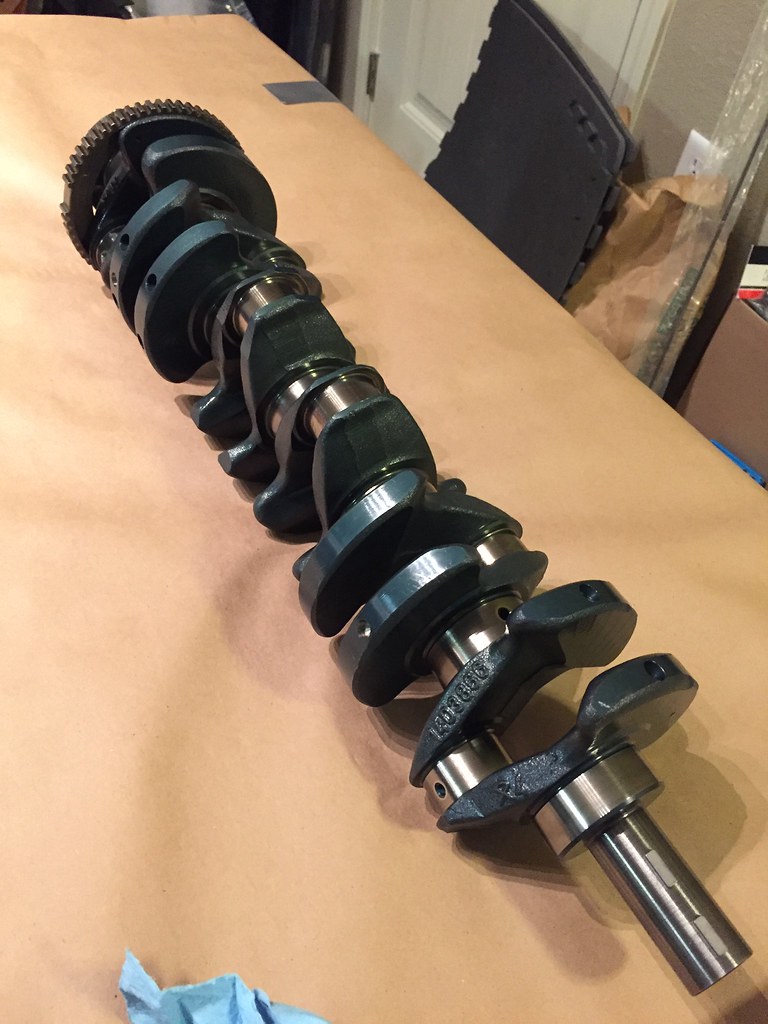 E30 Build by Jason H, on Flickr
 E30 Build by Jason H, on Flickr
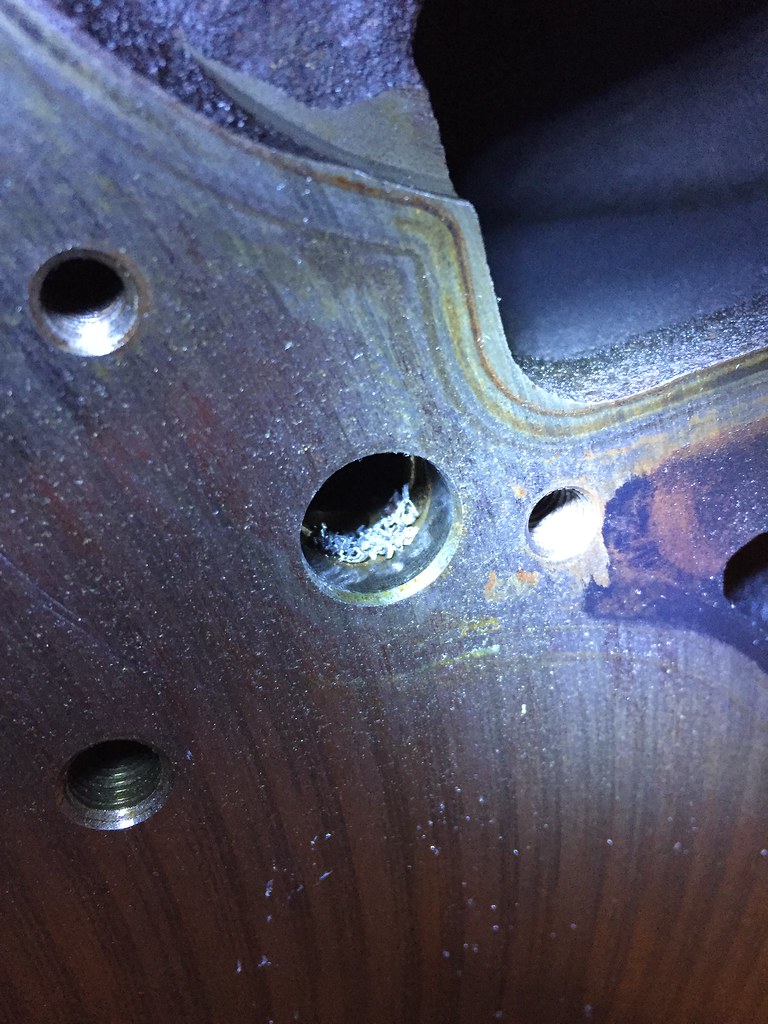 E30 Build by Jason H, on Flickr
 E30 Build by Jason H, on Flickr
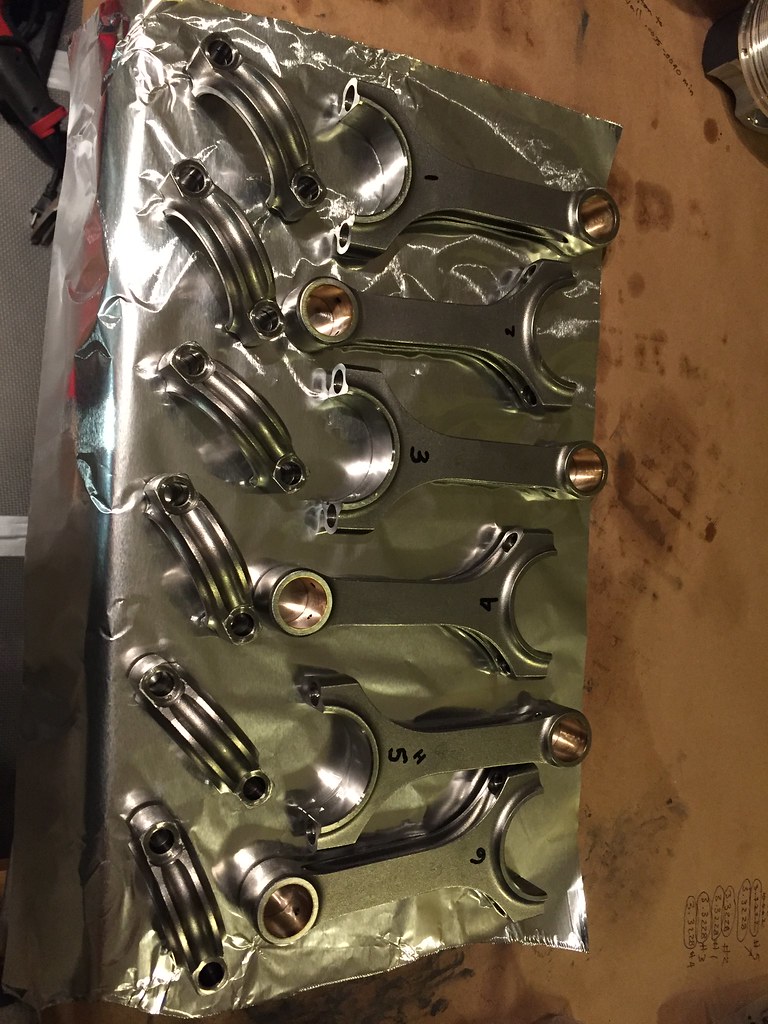 E30 Build by Jason H, on Flickr
 E30 Build by Jason H, on Flickr
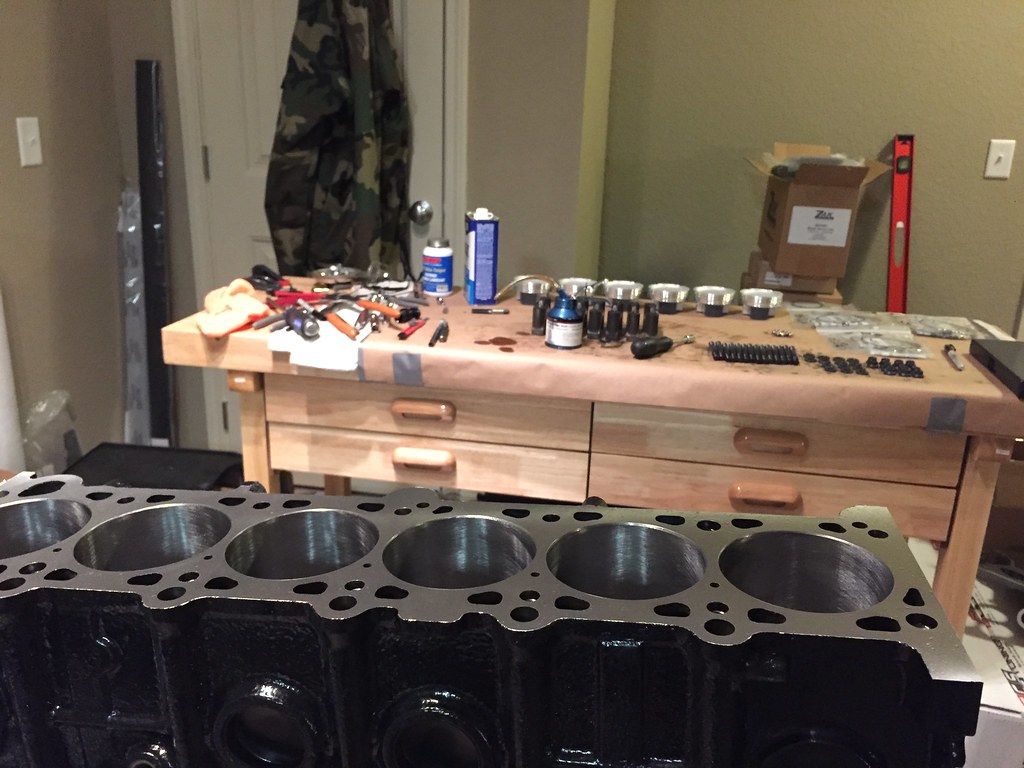 E30 Build by Jason H, on Flickr
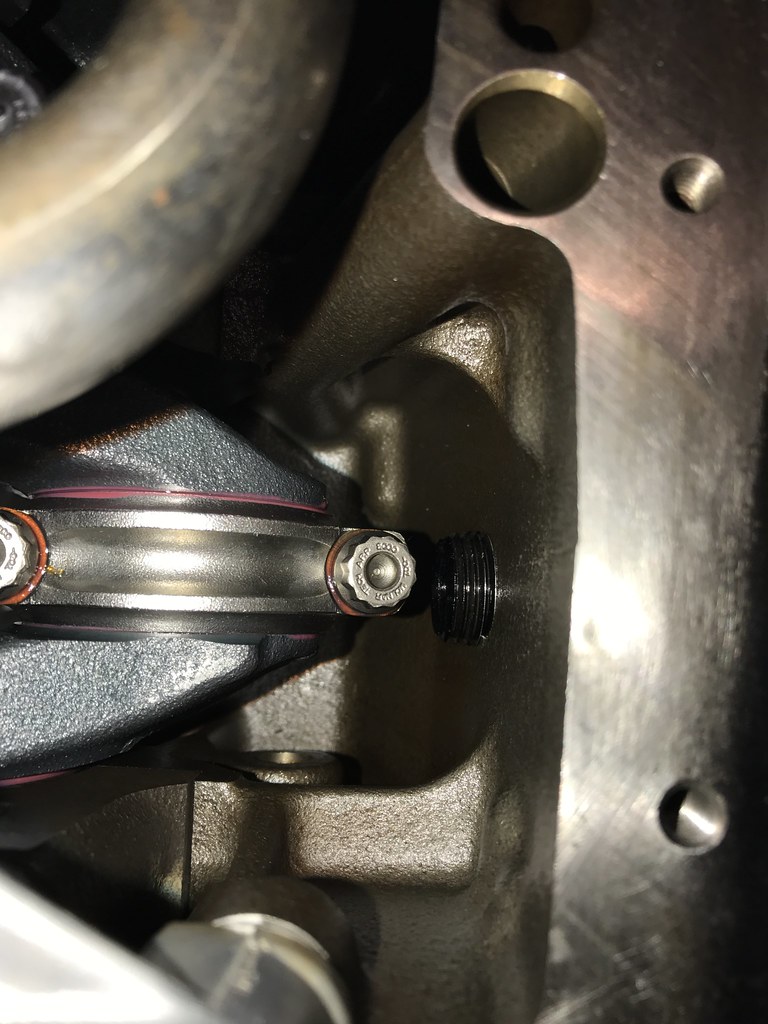 E30 Build by Jason H, on Flickr
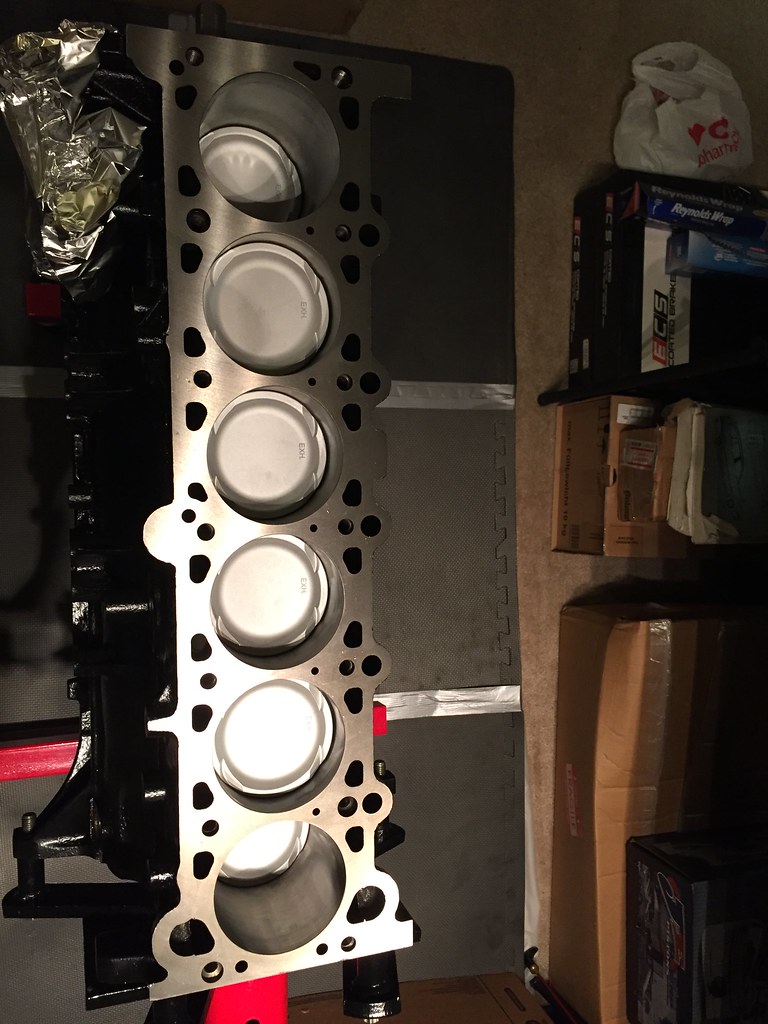 E30 Build by Jason H, on Flickr
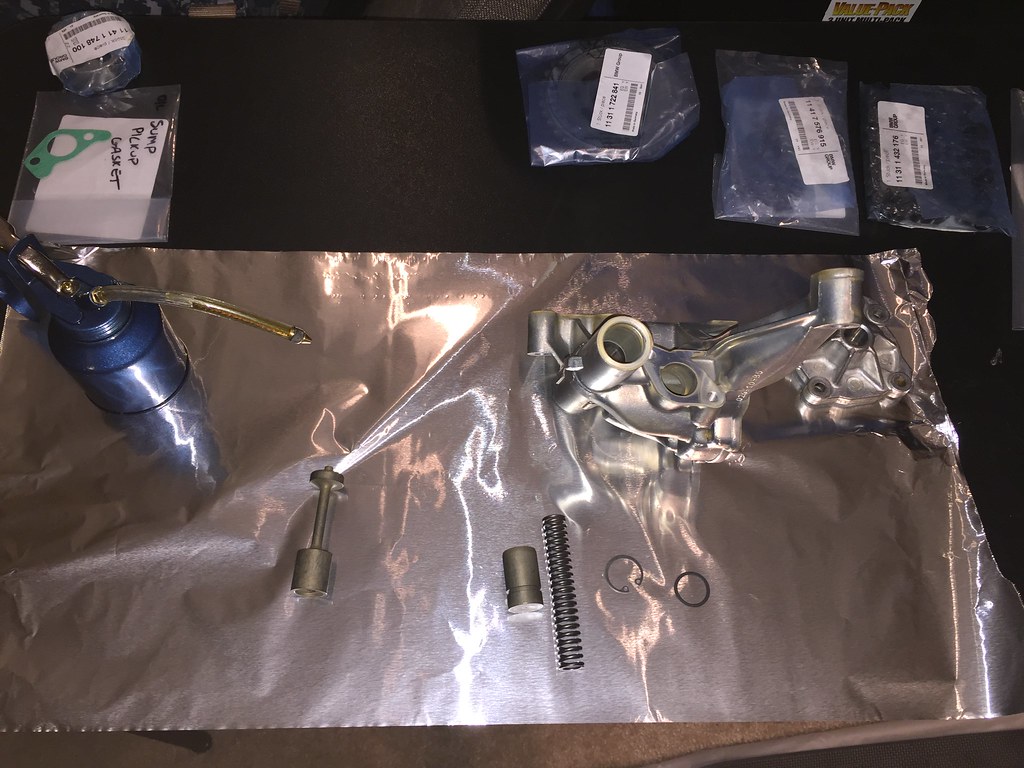 E30 Build by Jason H, on Flickr
 E30 Build by Jason H, on Flickr
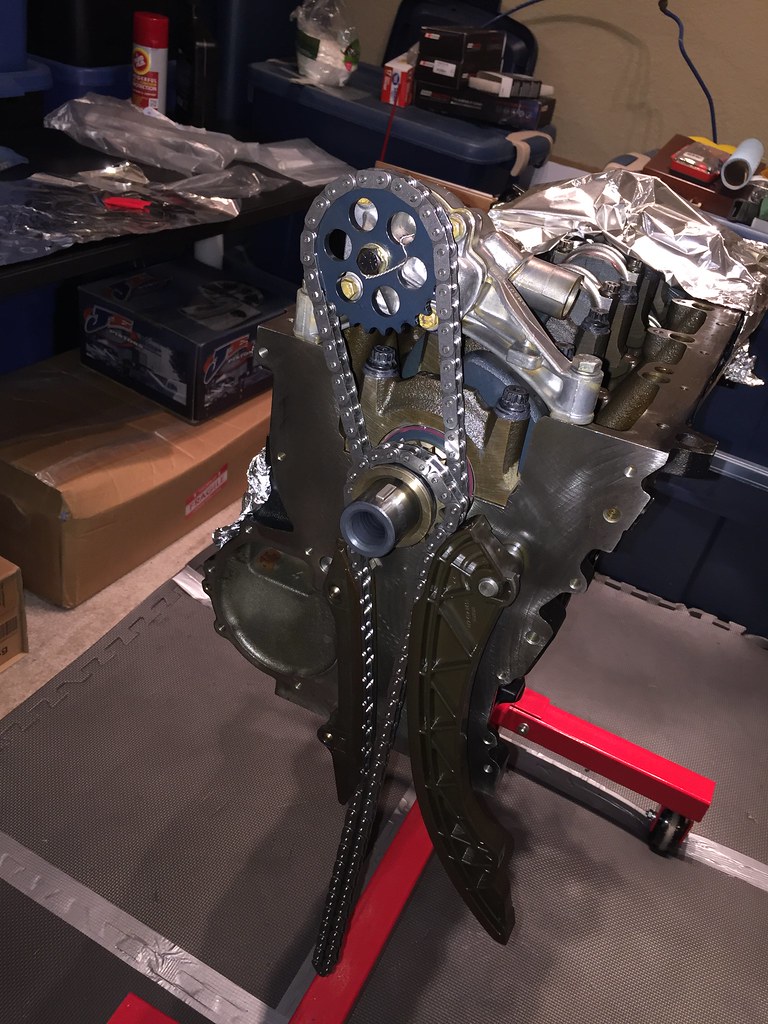 E30 Build by Jason H, on Flickr
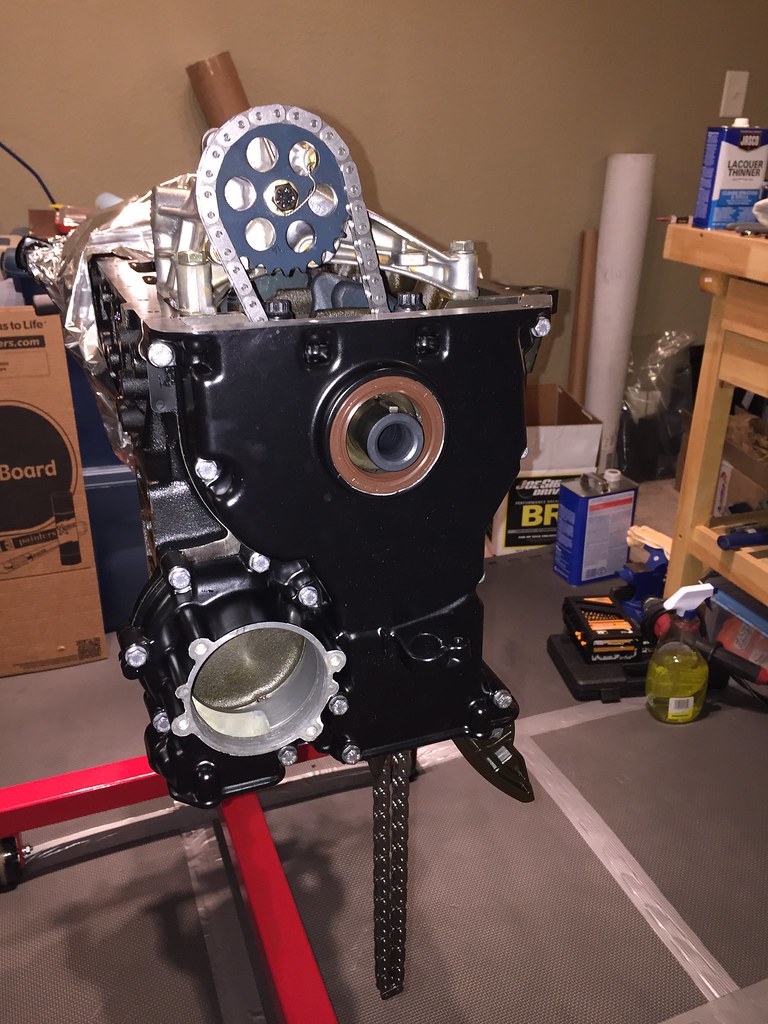 E30 Build by Jason H, on Flickr
 E30 Build by Jason H, on Flickr
Comment