
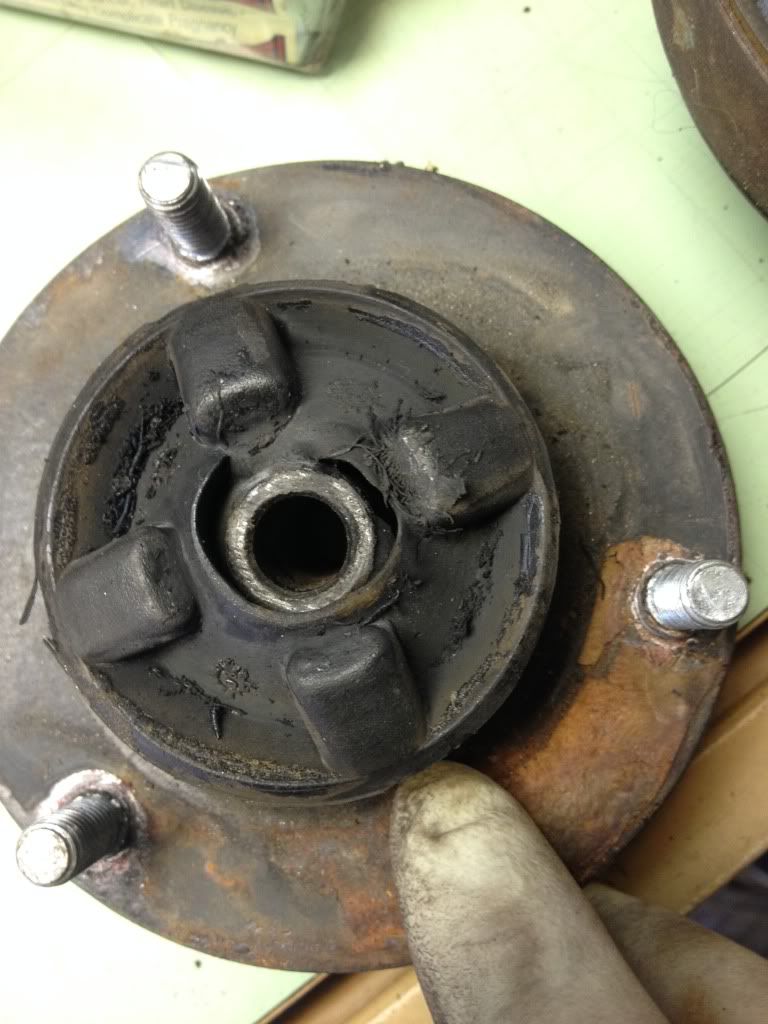
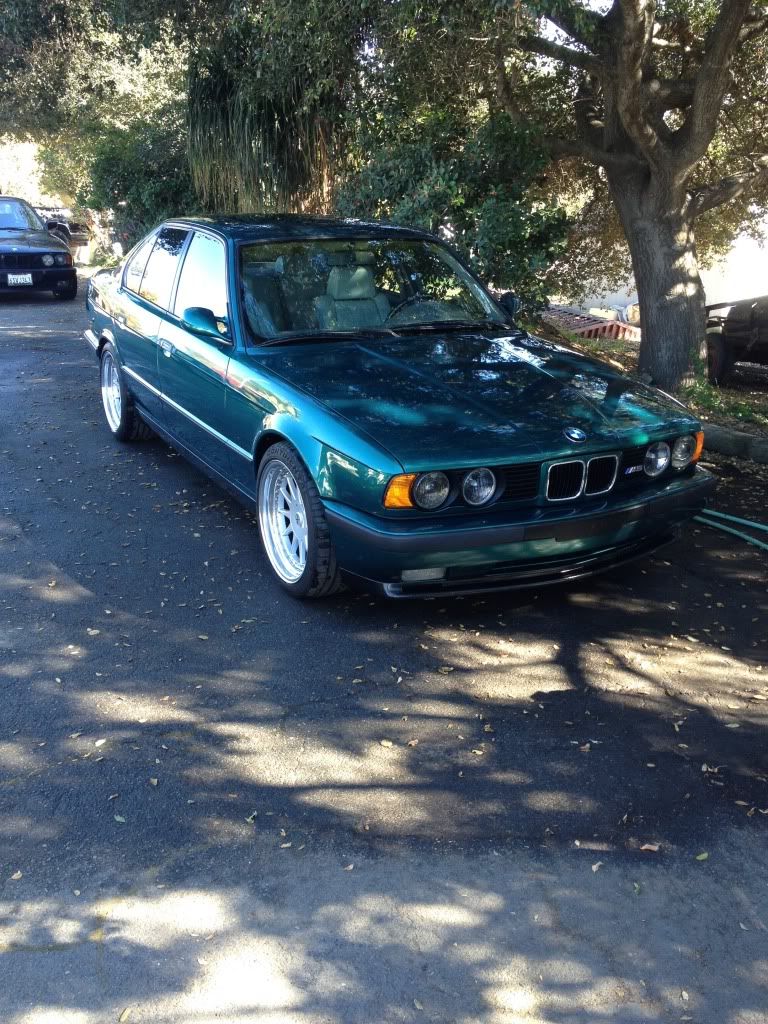
I'll start with the boring stuff. Finished off the 525 rear shock mounts this morning. The rear squeak is gone and the car rides great again.
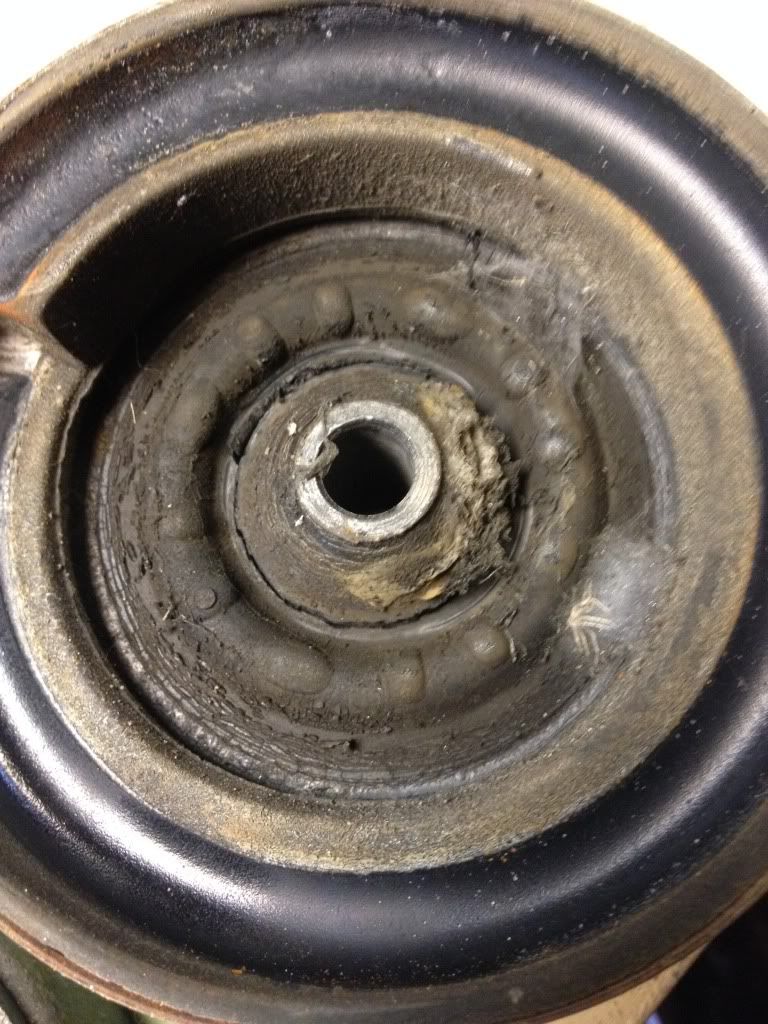
Old
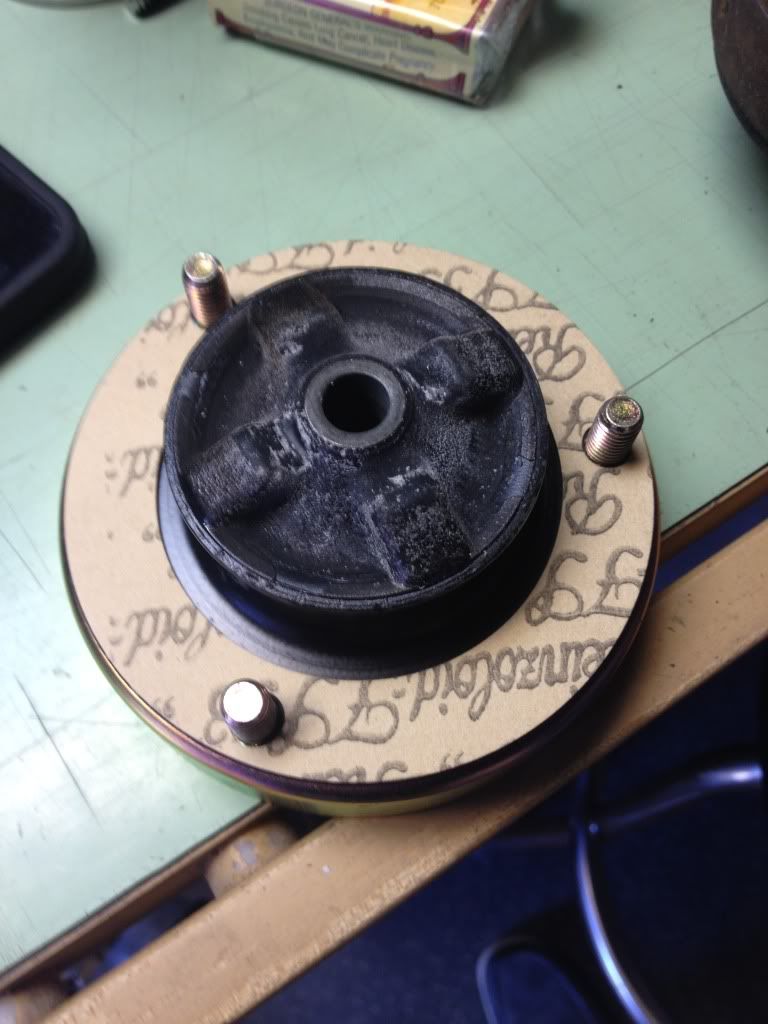
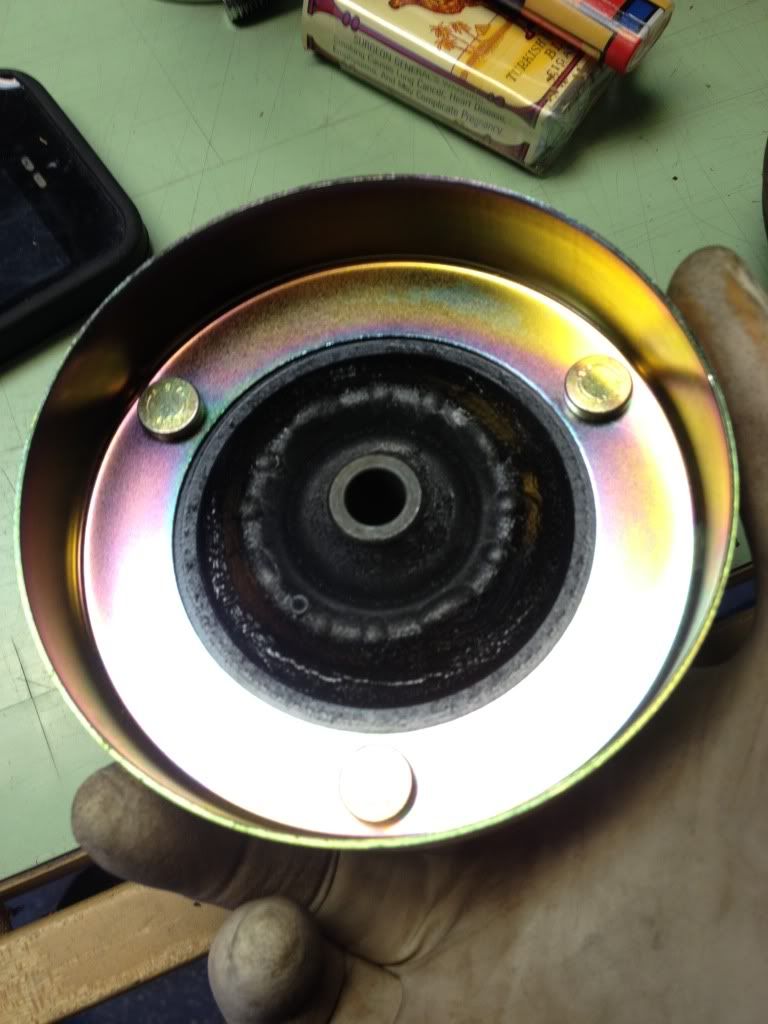
New
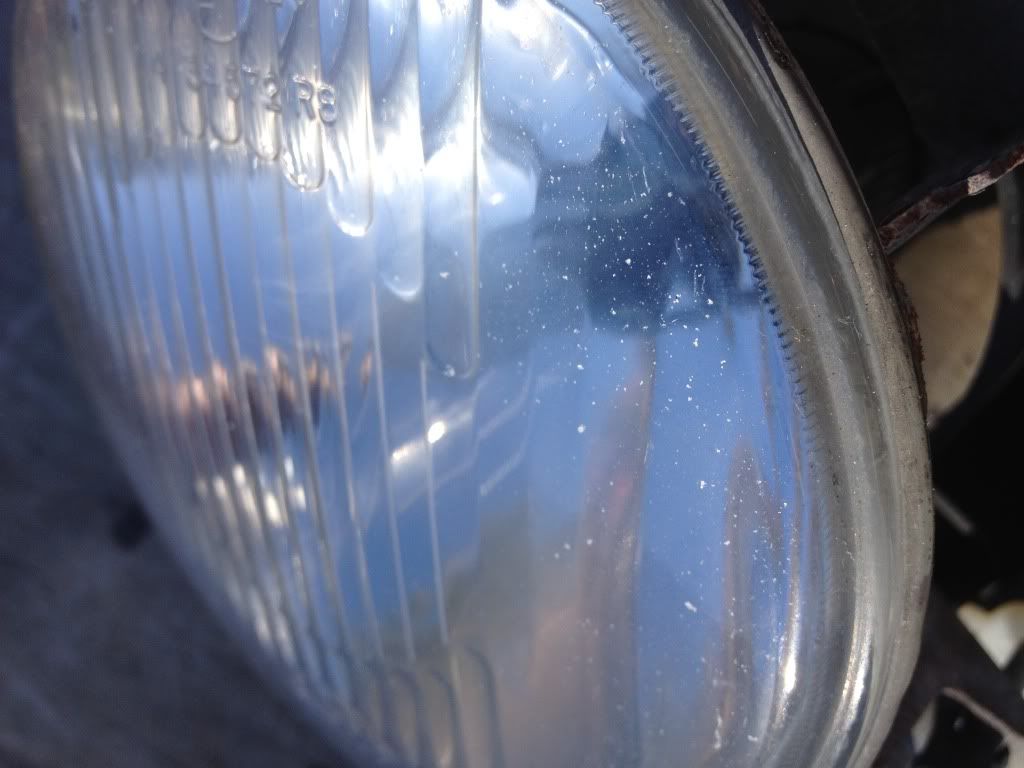
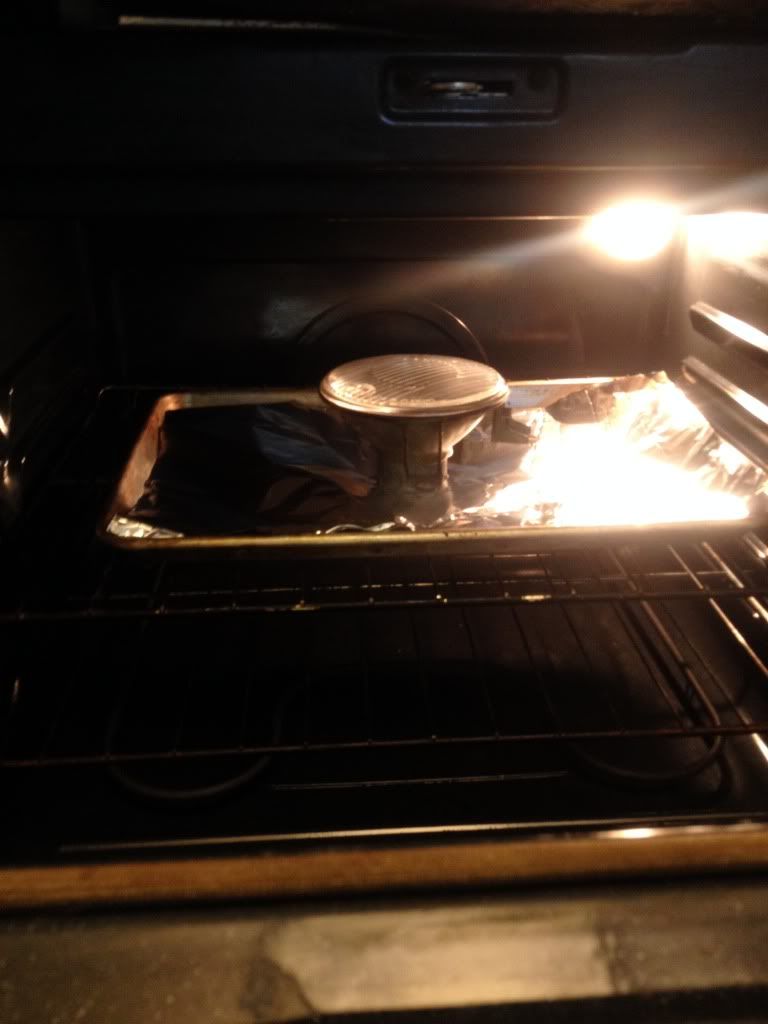
Now to the good stuff. This time around the glass polishing was much more rewarding. I didn't complete the set but I will give the break down on one high beam. I used one of each disc compound per head light. That would require 4 of each compound to complete a set. I also used a 2000rpm electric polisher with trigger lock this time as opposed to the 25000rpm pneumatic angle grinder I used on my first attempt.

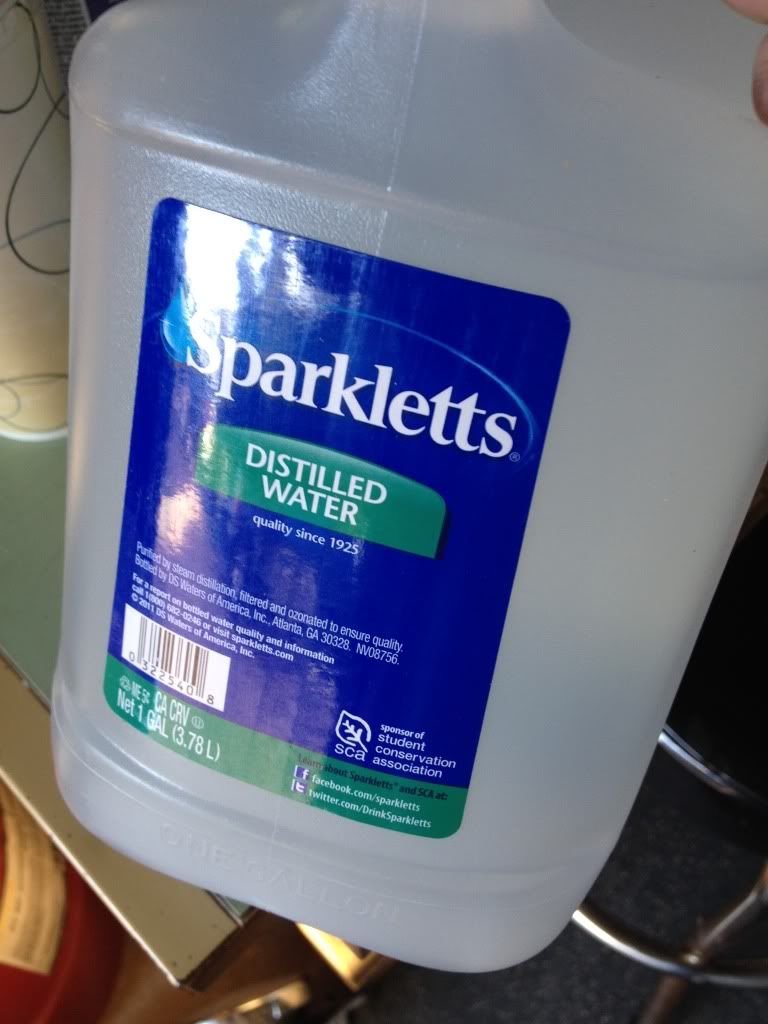
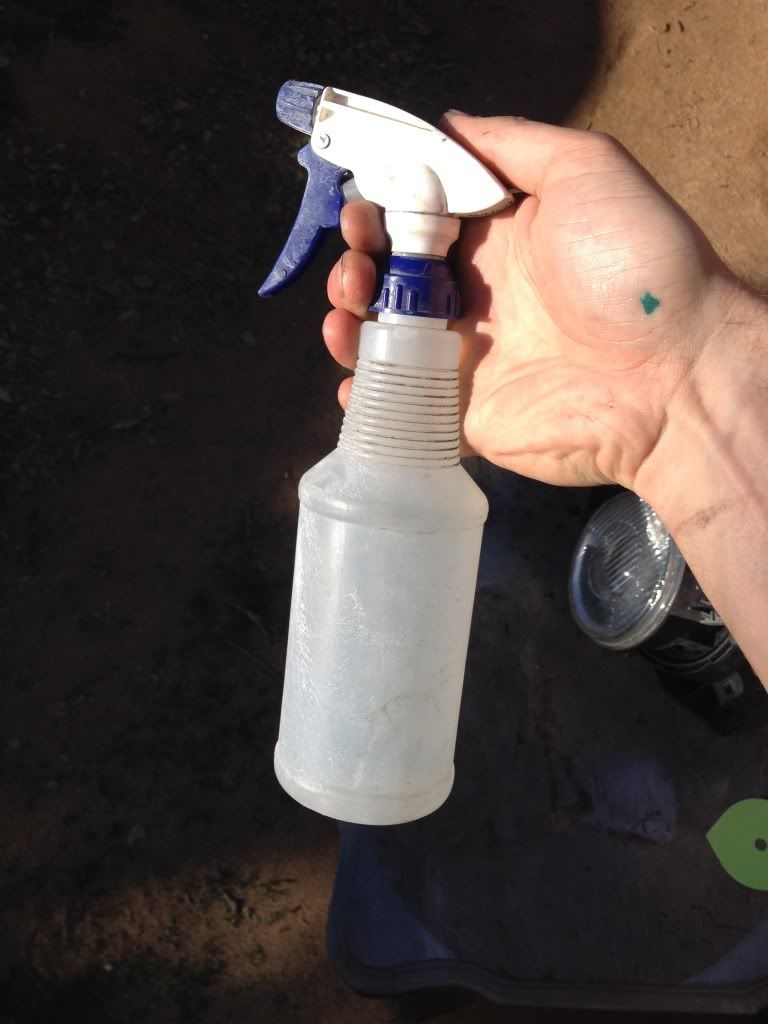
Also used the same distilled water and spray bottle for cooling and lubrication as last time.
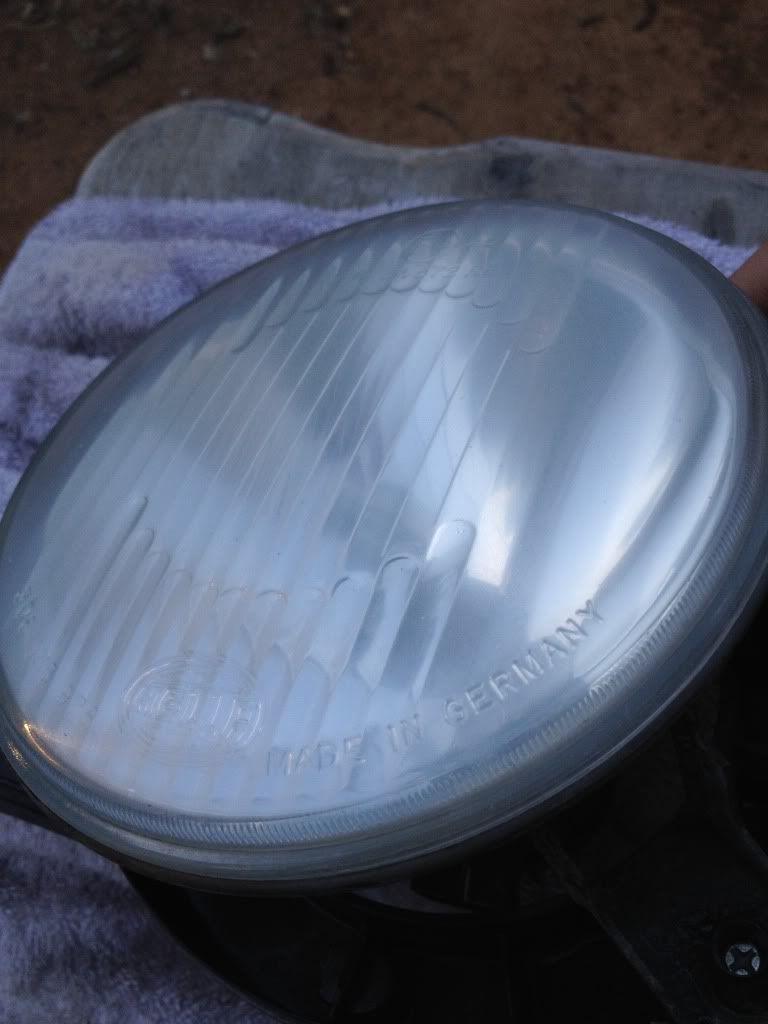
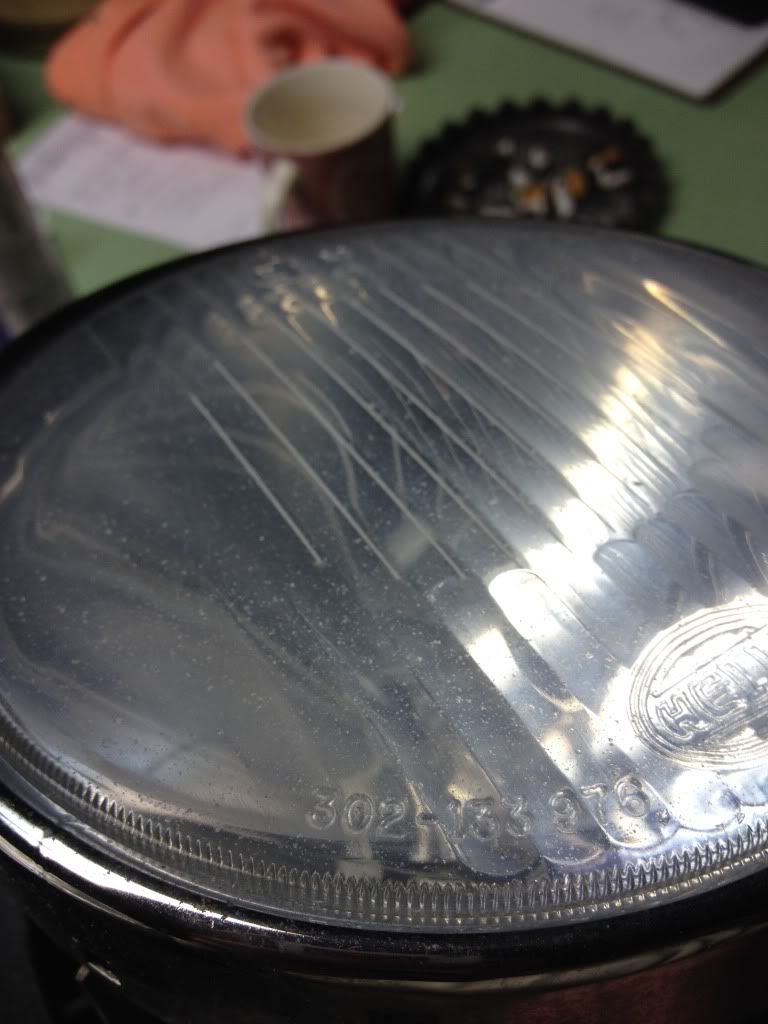
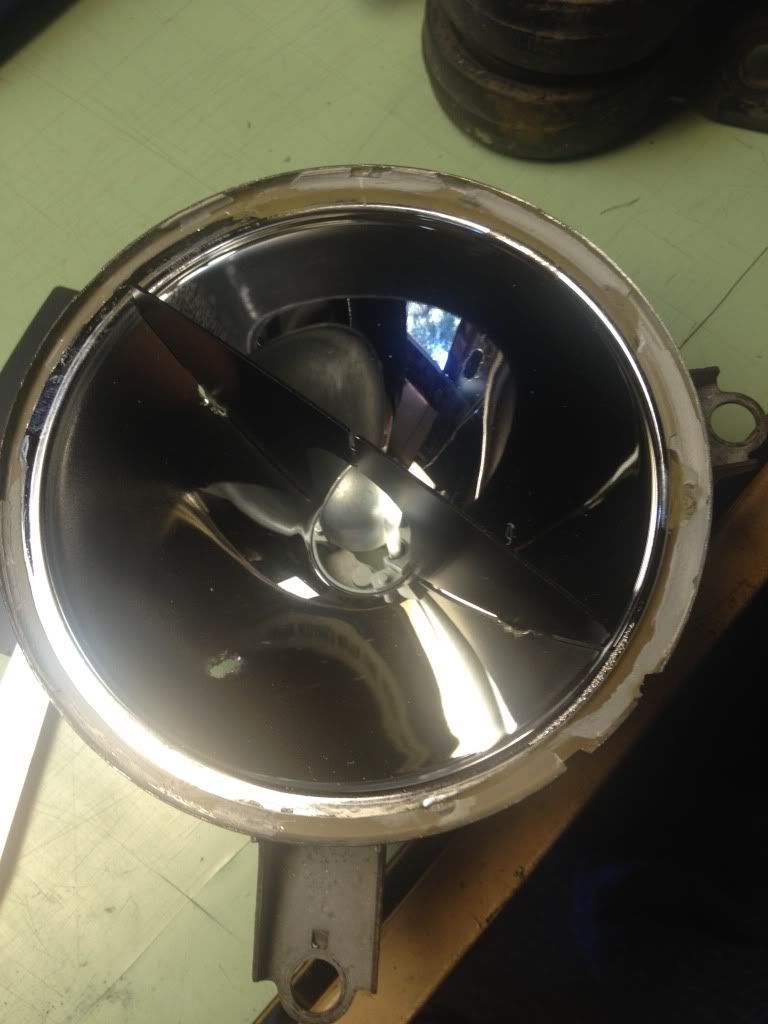
Before
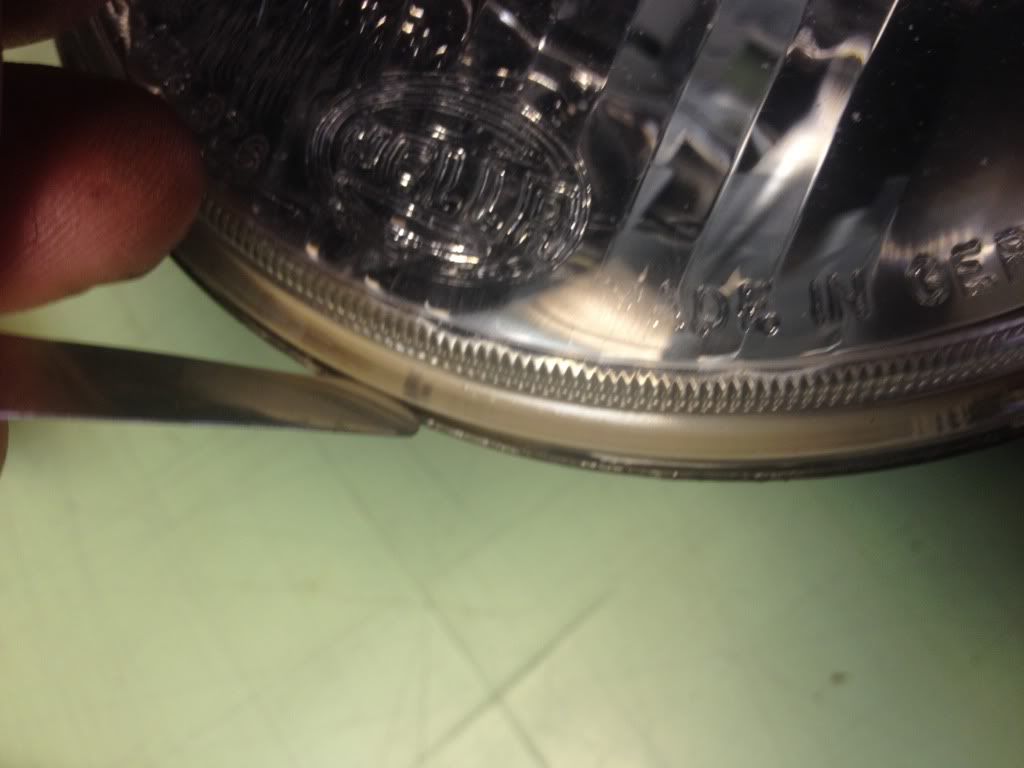
The first disc is labeled "Coarse".
I worked the light until the compound started wearing off and the disc started to become transparent.
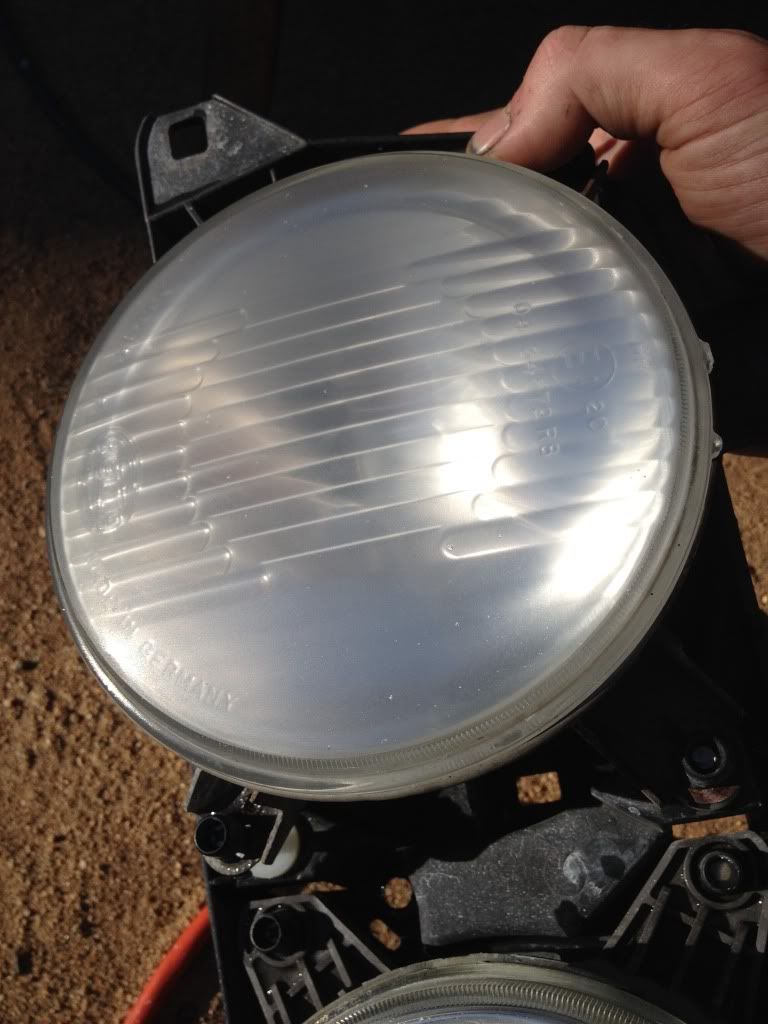
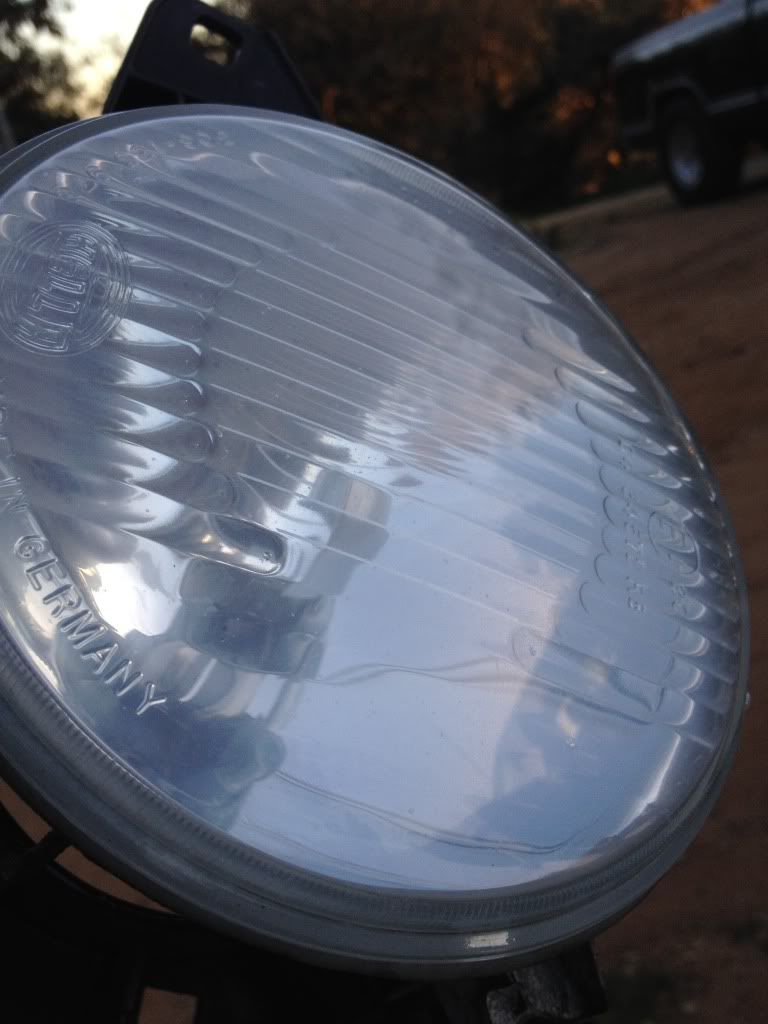
It did not remove all the pitting but it did make a huge improvement. I imagine that if I used another coarse pad or two I could remove more of the pitting but again for the time and money invested I am pleased with the result. Here is a pic of the results of the first disc.
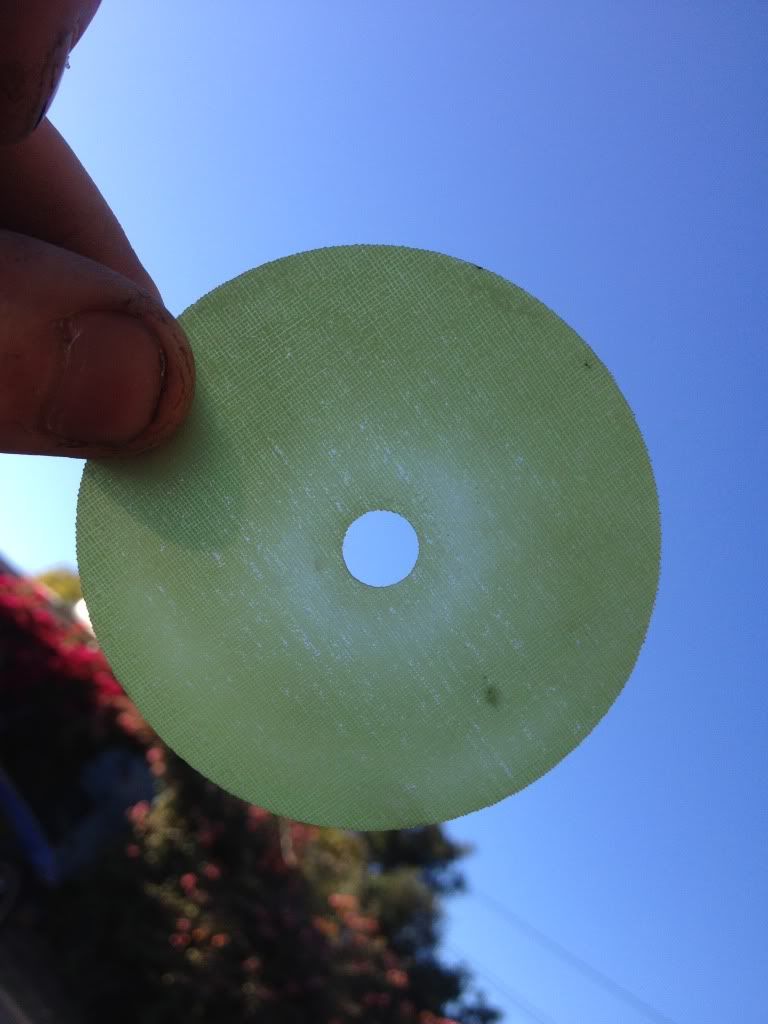
Second pad is labeled "Medium Coarse".
I didn't notice much of a difference between the first and second disc but here is a pic of the results. Again I worked the light until the compound on the disc started to wear out.
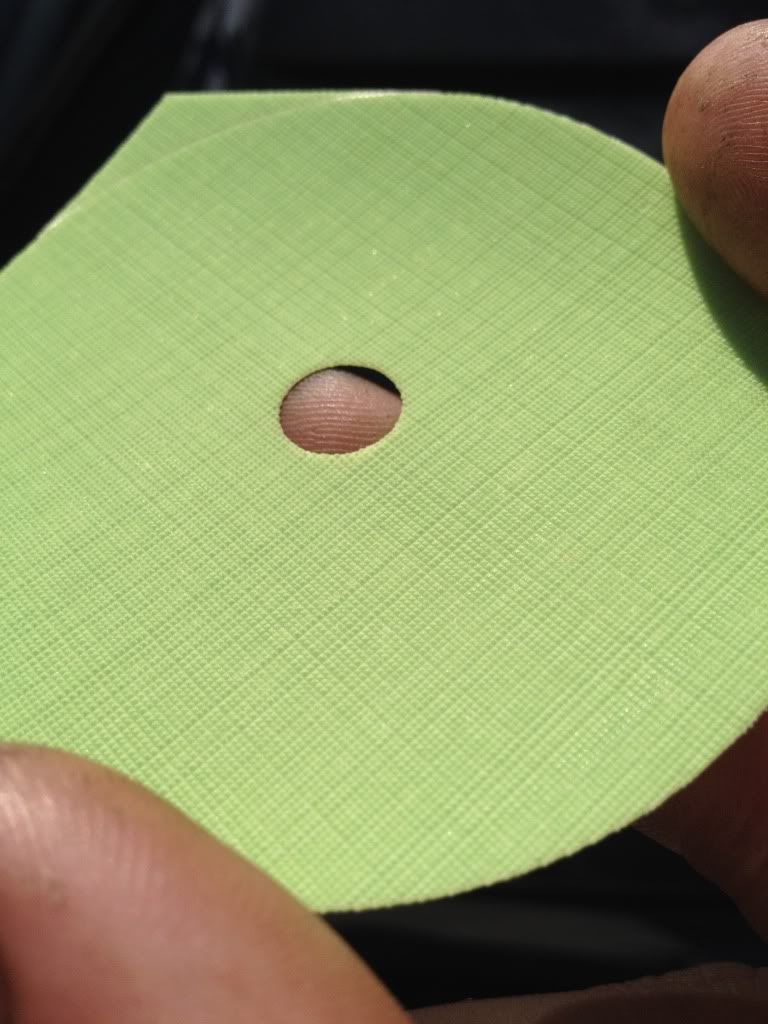
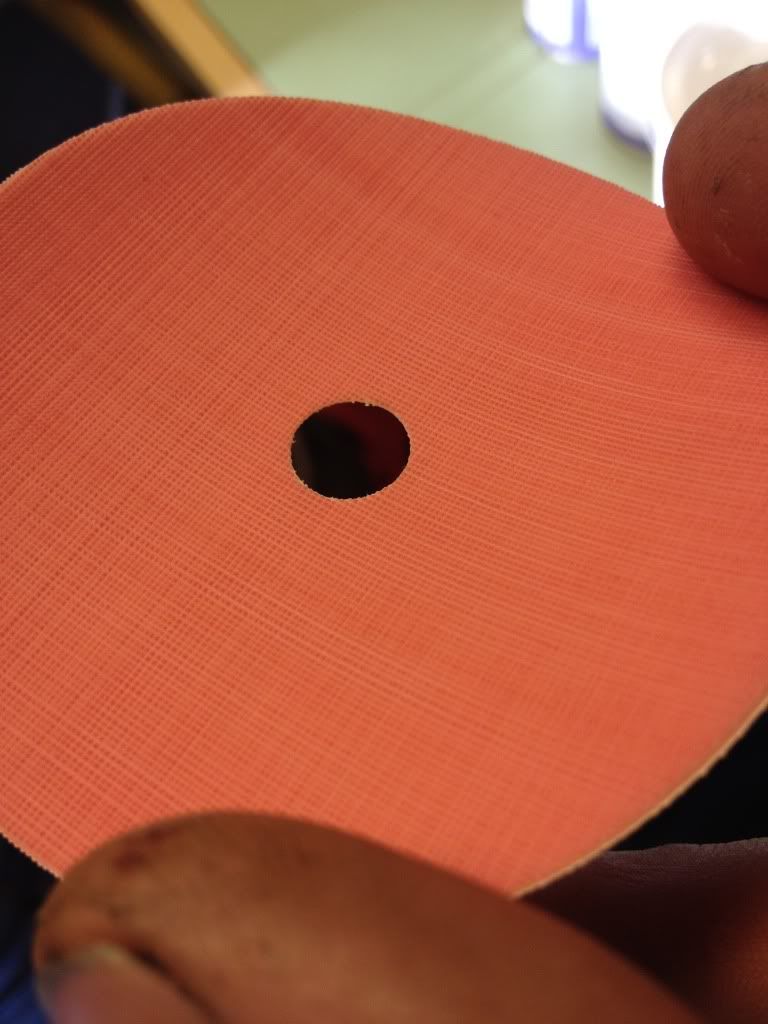
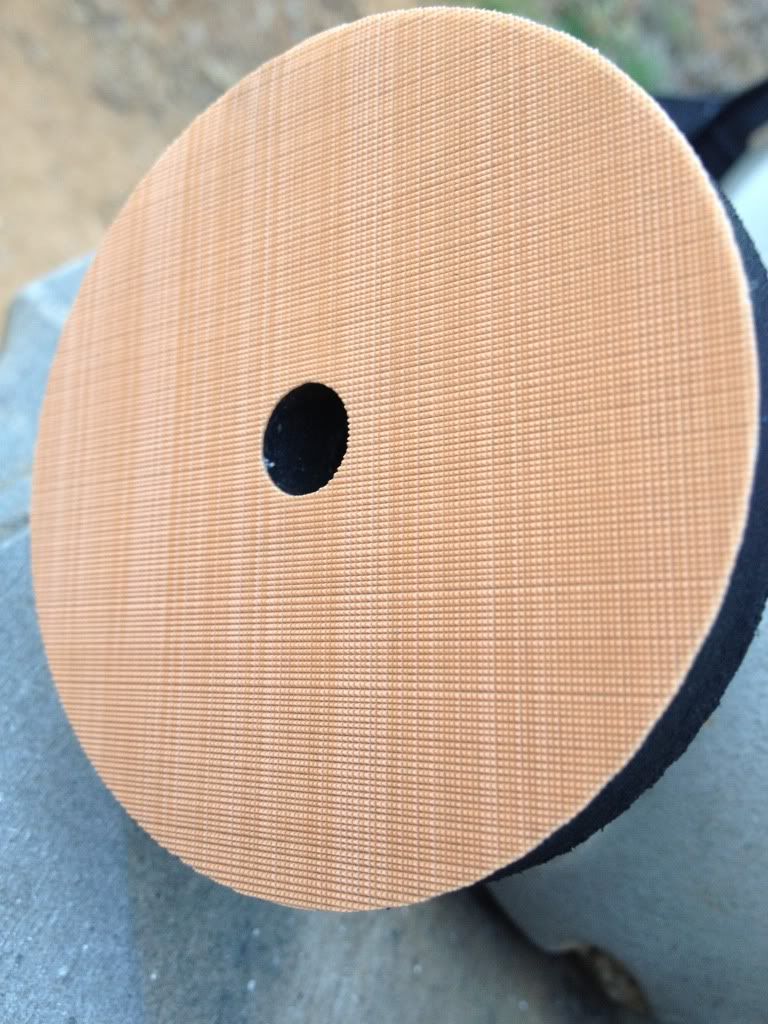
Next pad was labeled "Medium". Pictured on the pad this time. You can see the pad that GT Glass sells has a foam backing which works well to evenly disperse the load and form to the contour of the headlight lens.
This disc made a slightly noticeable difference to the lens finish.
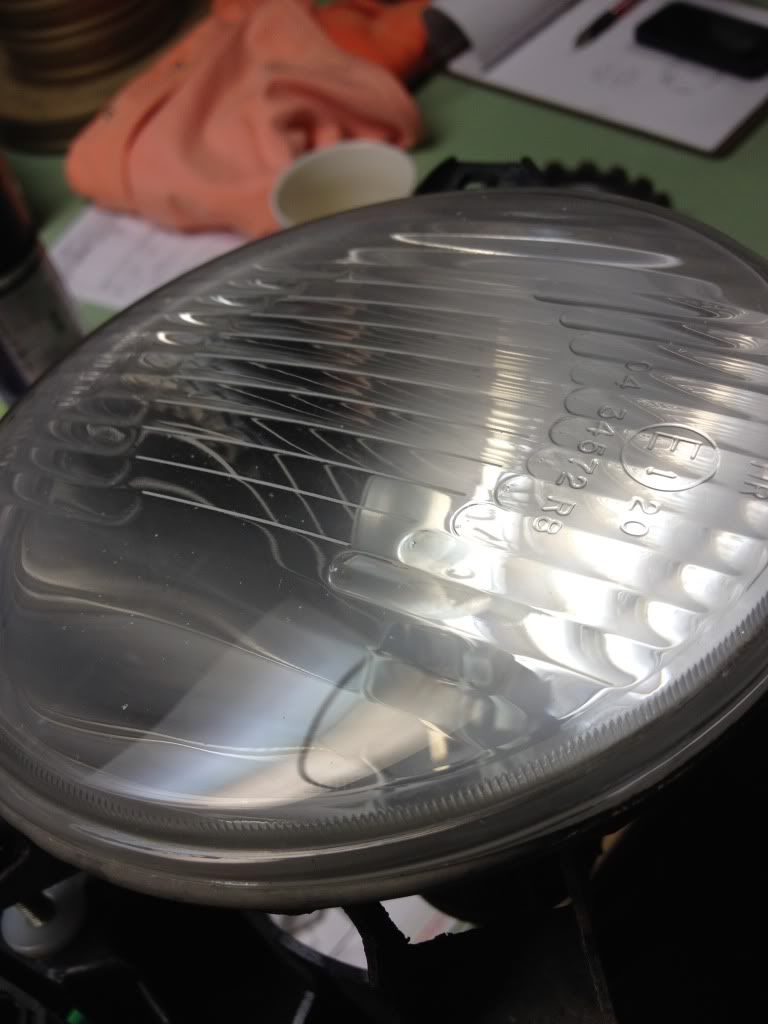
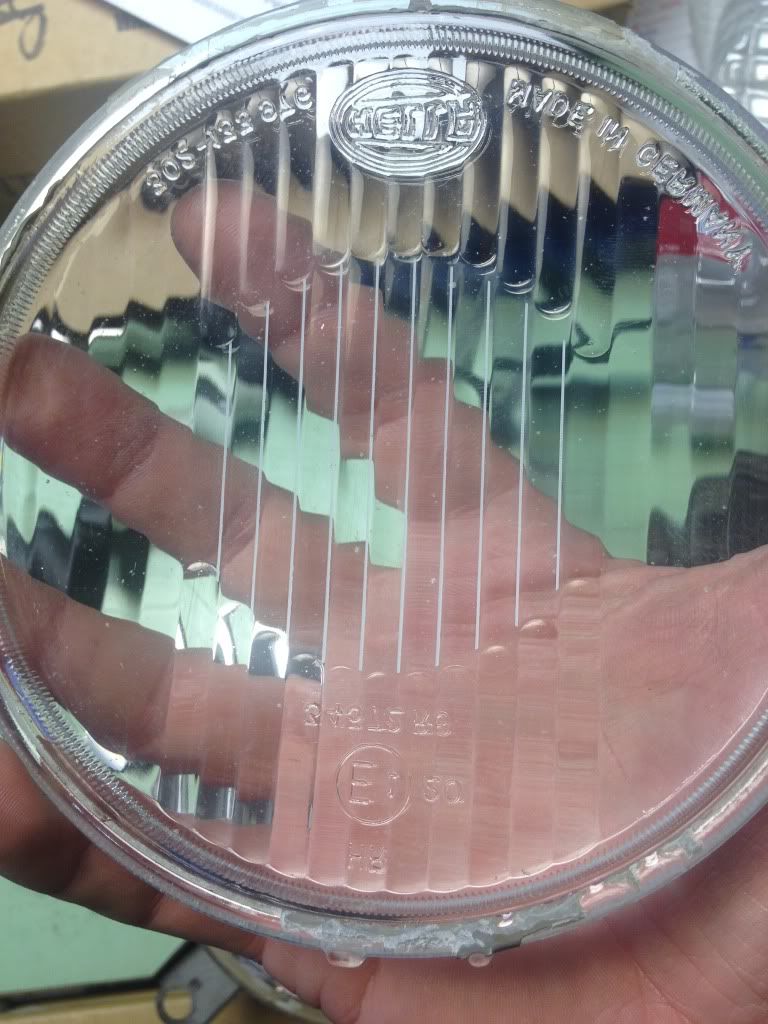
I forgot to take a pic of the next disc. It is labeled "Fine" and is blue in color. The results were very noticeable. The finish came out clear as opposed to the hazy finish of the previous pads.
The final disc is labeled "Polish". It has a much finer texture then the rest of the pads.

The results were awesome!
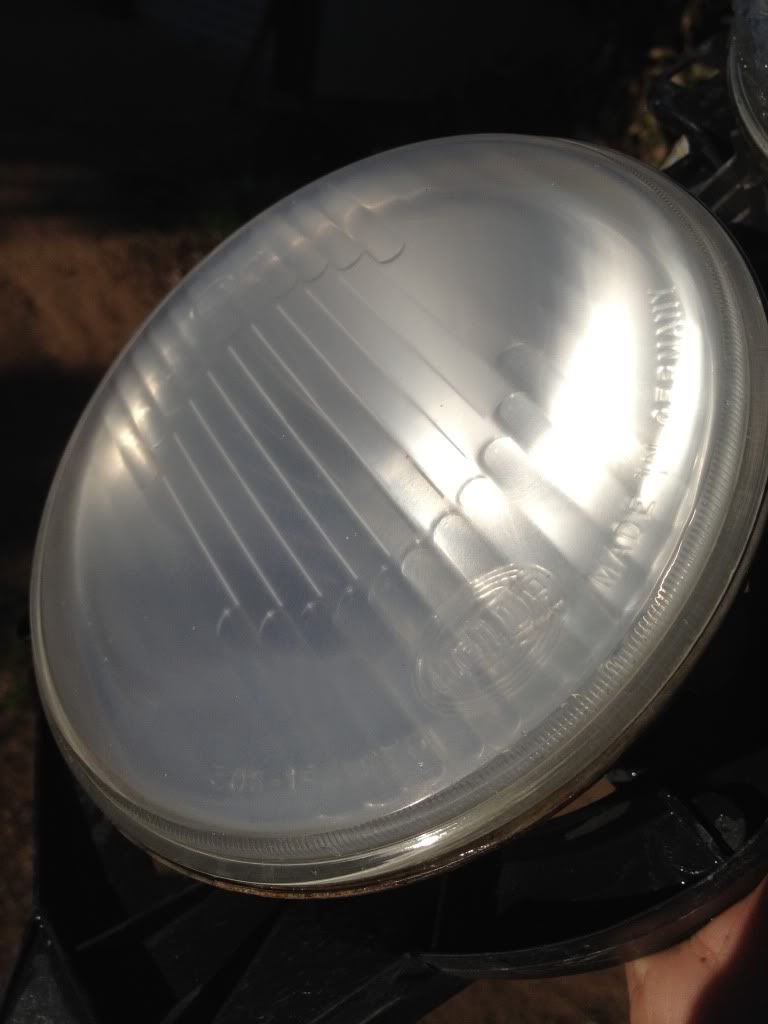
As you can see there are a few chips still present but here is the other high beam as a comparison.
I have to finish the other lights and remove the lenses to clean the insides still. While I have them apart I am going to add these.
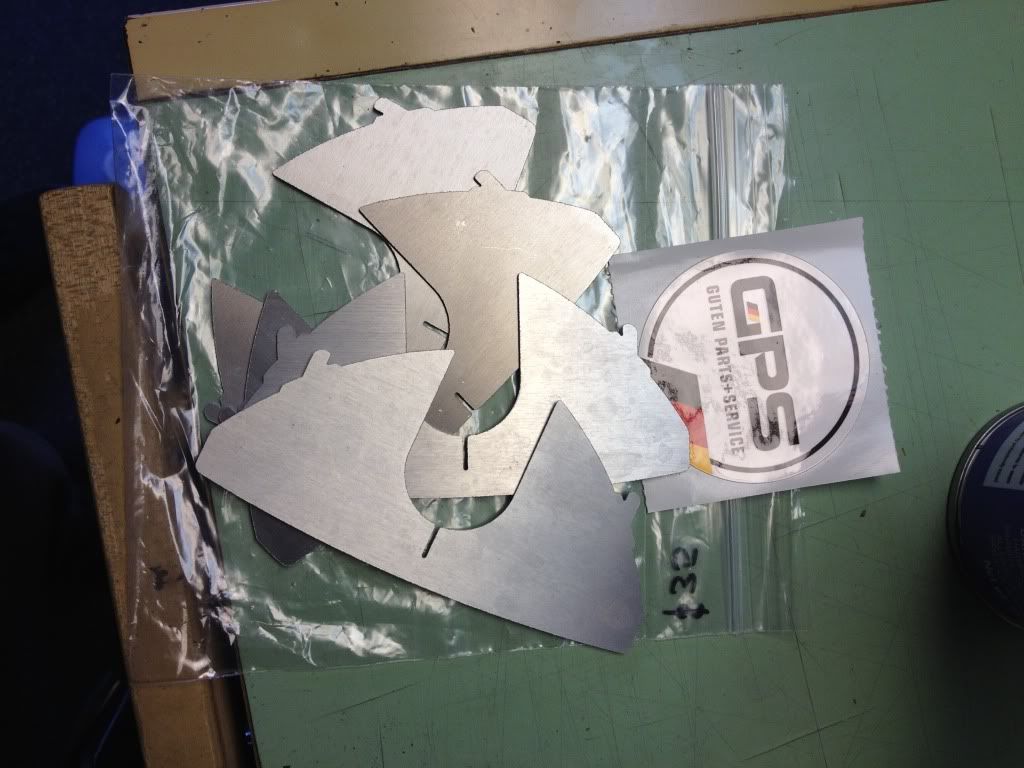
Courtesy of Guten Parts.
More on that tomorrow.
Old
New
Now to the good stuff. This time around the glass polishing was much more rewarding. I didn't complete the set but I will give the break down on one high beam. I used one of each disc compound per head light. That would require 4 of each compound to complete a set. I also used a 2000rpm electric polisher with trigger lock this time as opposed to the 25000rpm pneumatic angle grinder I used on my first attempt.
Also used the same distilled water and spray bottle for cooling and lubrication as last time.
Before
The first disc is labeled "Coarse".
I worked the light until the compound started wearing off and the disc started to become transparent.
It did not remove all the pitting but it did make a huge improvement. I imagine that if I used another coarse pad or two I could remove more of the pitting but again for the time and money invested I am pleased with the result. Here is a pic of the results of the first disc.
Second pad is labeled "Medium Coarse".
I didn't notice much of a difference between the first and second disc but here is a pic of the results. Again I worked the light until the compound on the disc started to wear out.
Next pad was labeled "Medium". Pictured on the pad this time. You can see the pad that GT Glass sells has a foam backing which works well to evenly disperse the load and form to the contour of the headlight lens.
This disc made a slightly noticeable difference to the lens finish.
I forgot to take a pic of the next disc. It is labeled "Fine" and is blue in color. The results were very noticeable. The finish came out clear as opposed to the hazy finish of the previous pads.
The final disc is labeled "Polish". It has a much finer texture then the rest of the pads.
The results were awesome!
As you can see there are a few chips still present but here is the other high beam as a comparison.
I have to finish the other lights and remove the lenses to clean the insides still. While I have them apart I am going to add these.
Courtesy of Guten Parts.
More on that tomorrow.


Comment