Announcement

Collapse
No announcement yet.

Balleristic's Turbo 318is

Collapse
X
 
  • Filter
  • Time
  • Show
Clear All
new posts

    #31
    Originally posted by downforce22 View Post
    I just did the flywheel swap last saturday as well and I agree with most everything you posted. My starter is not any louder though. I used a lightweight m20 flywheel, which normally weights 18lbs, mine was lightened to 9.6lbs. So I would expect mine to weight about the same as yours. I noticed the pedal is heavier too and my engine revs more freely, mostly on downshifts and from stoplight to stoplight.

    I also am on track for my highest fuel economy since the swap and I haven't even been trying for fuel economy. I've got a 3.73 med case 3.73 and now I can actually pass in high gear while on the highway. I've got a turbo and manifold sitting, just have to figure out a few things with the MS unit which is the next step before turbo. I have to decide if I want to turbo because I really like the way it drives right now.


    Thanks for confirming some of my thoughts regarding the flywheel.


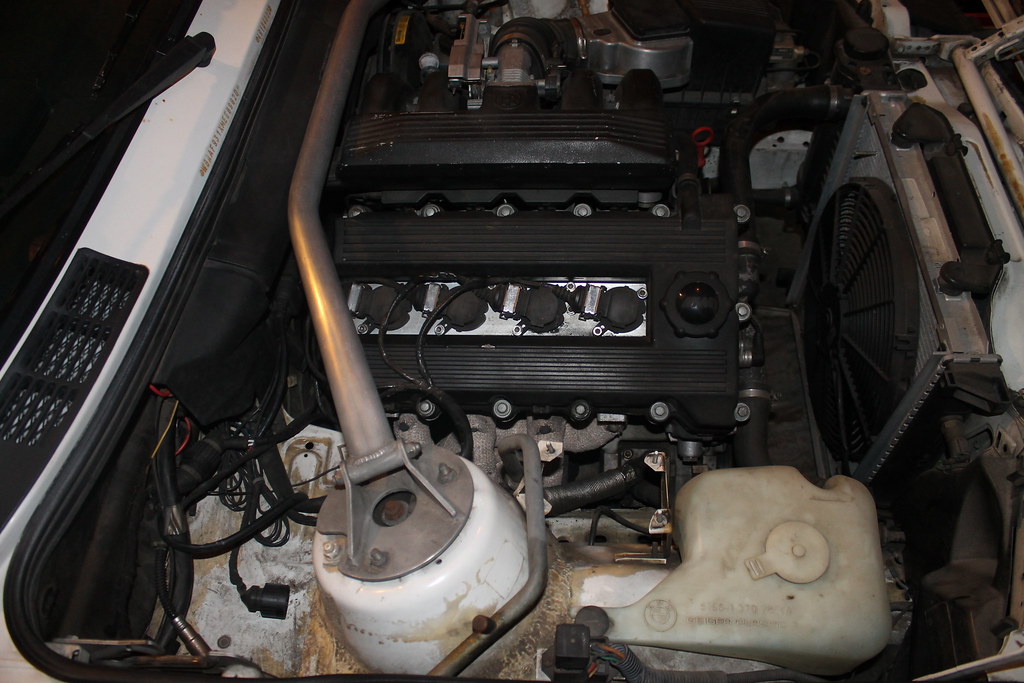
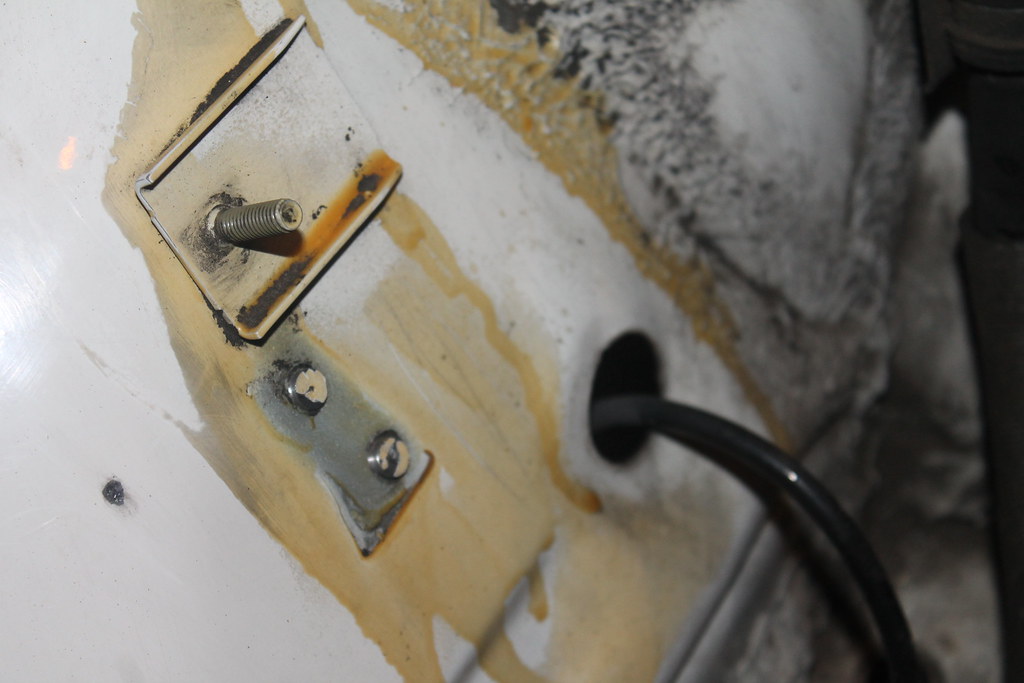
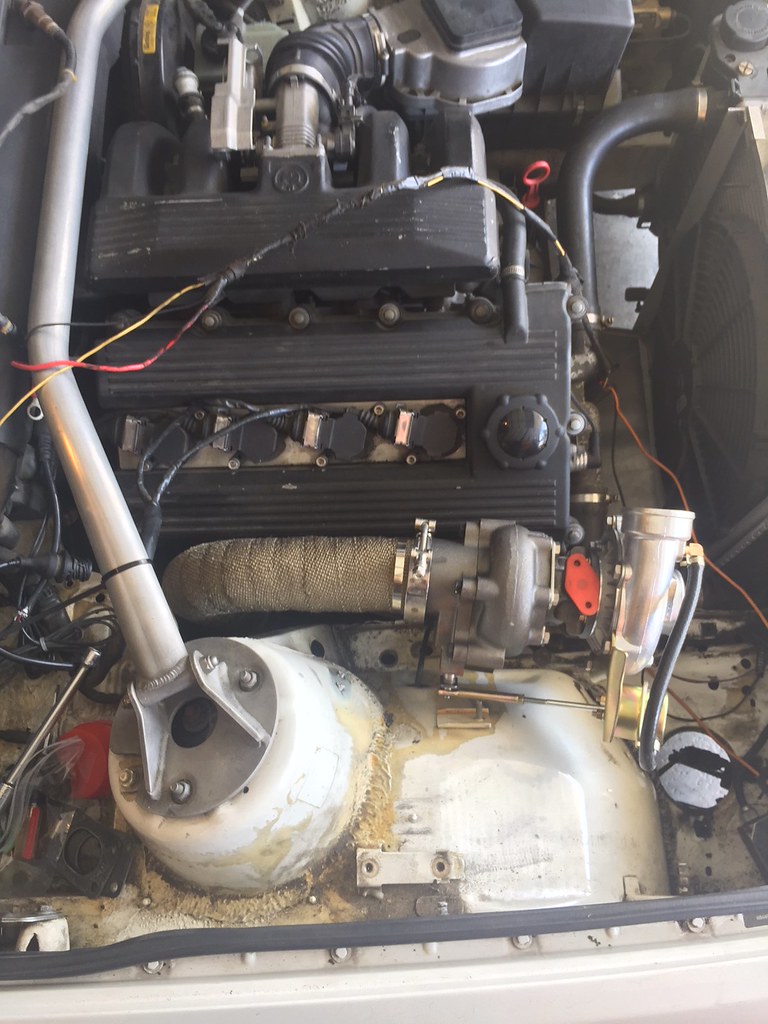
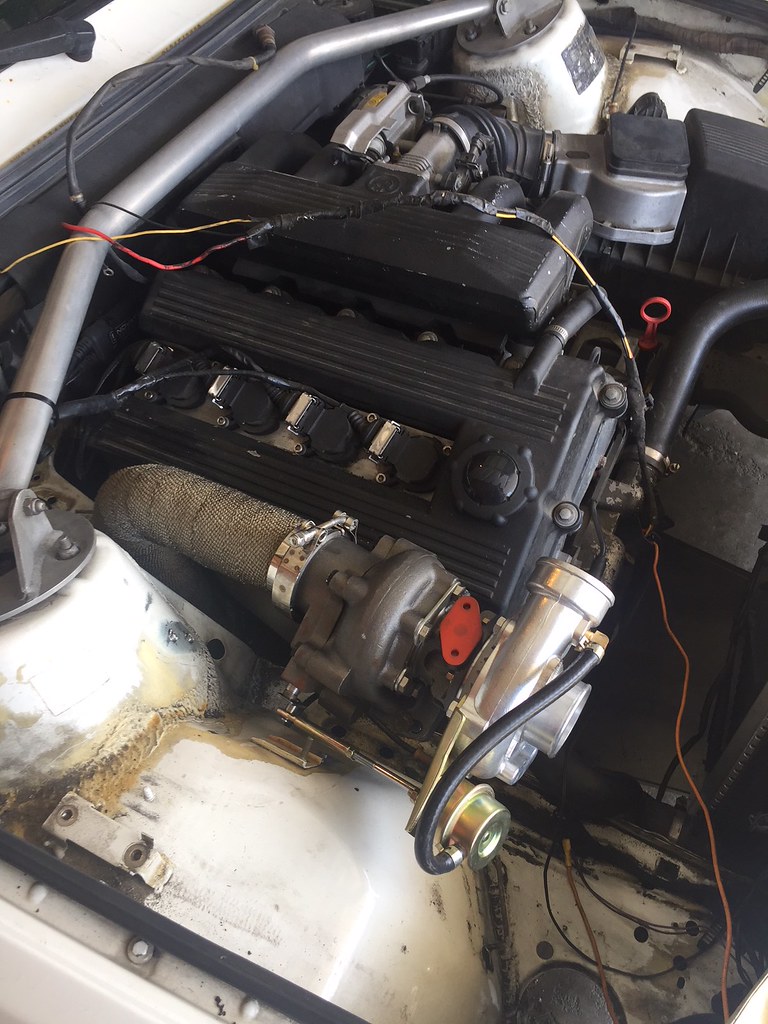
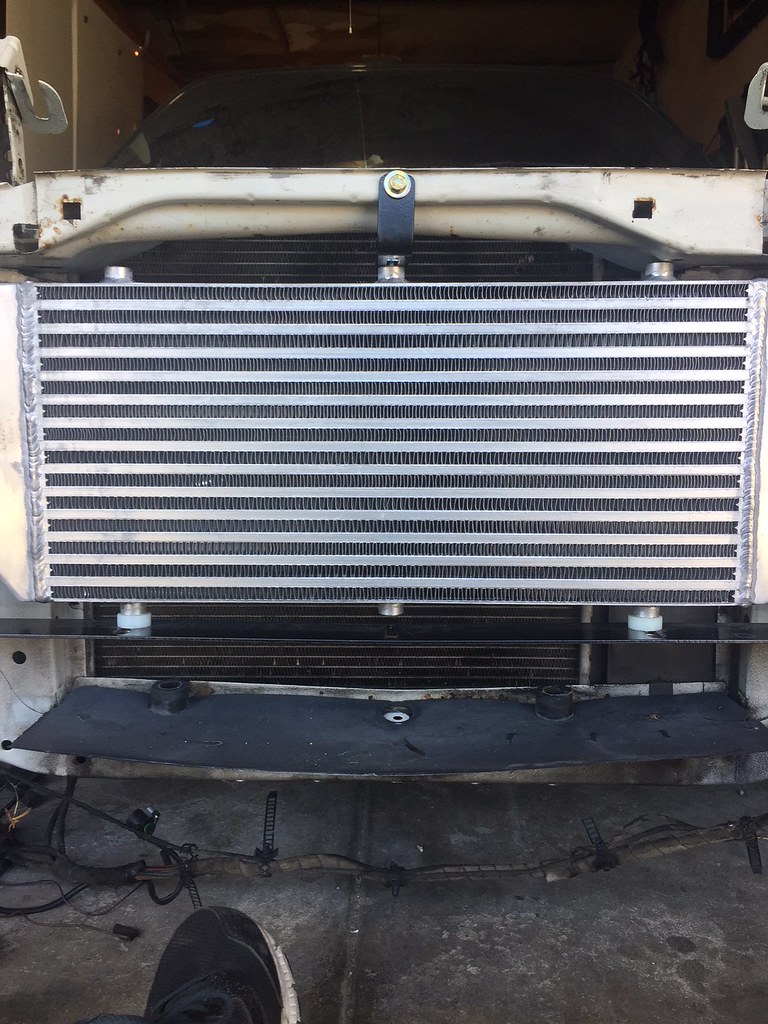
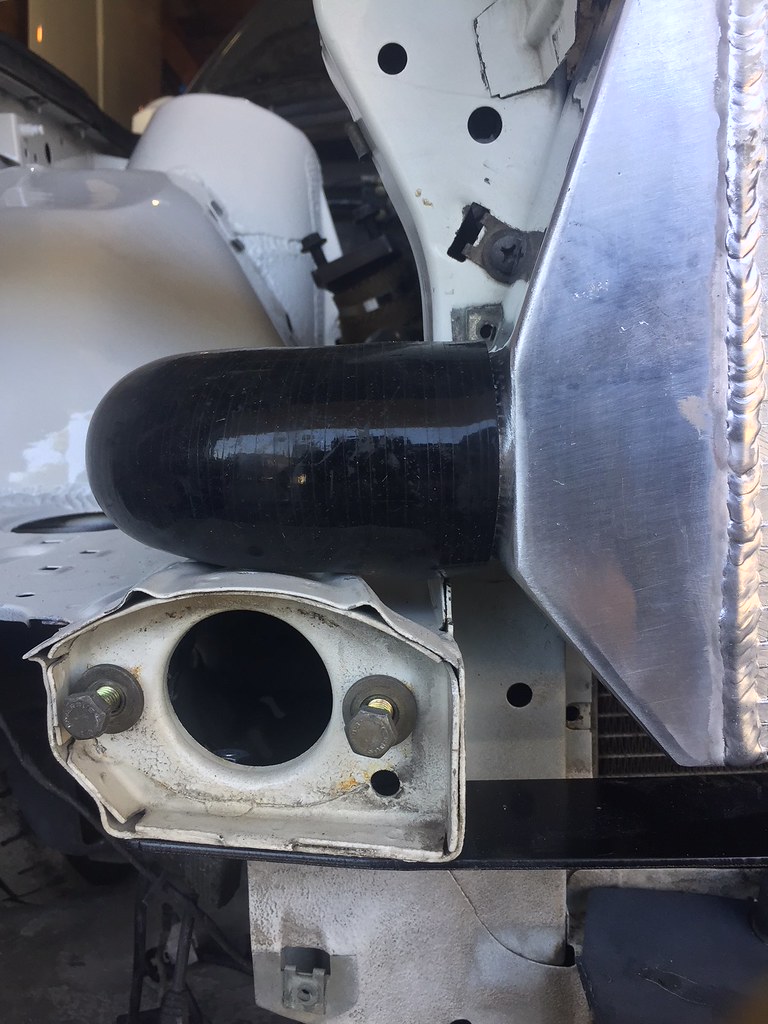
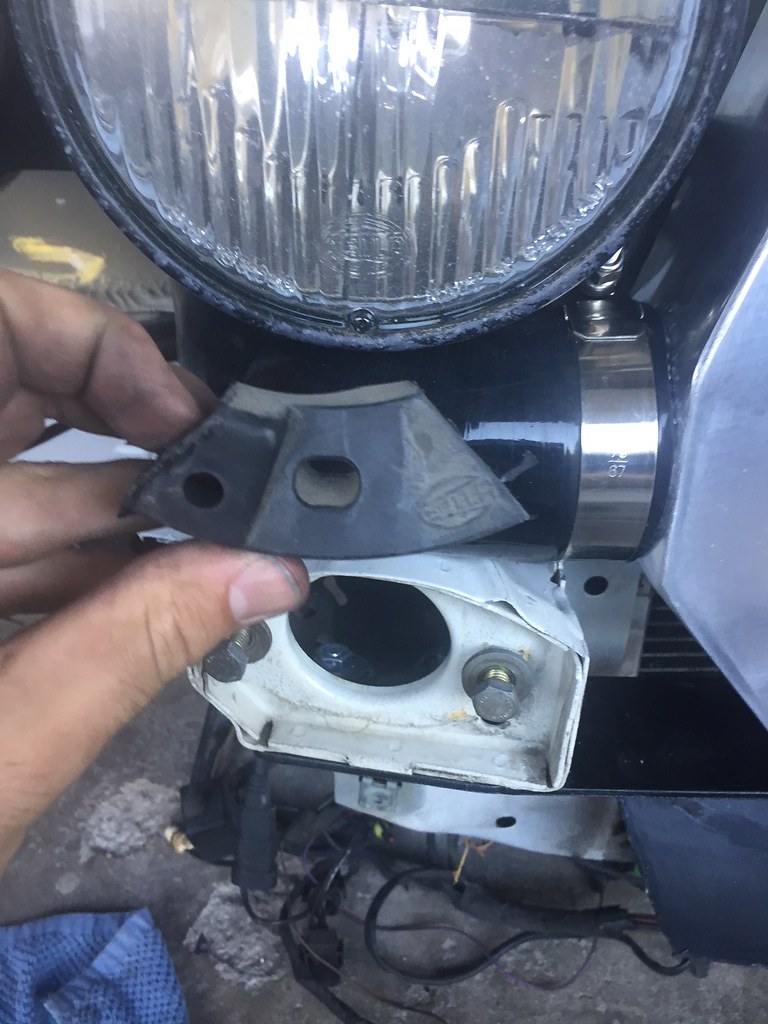
    I too was torn between turbo or keeping the car relatively stock engine wise as I have always loved the way the car could be absolutely smashed on with little to no consequences near the limit. However, after almost 10 years at stock power levels it was time for a change. There will definitely be a learning curve while driving the car 10/10s but once I can sort that all out I think the results will be fantastic.

    -NICK

    Comment


      #32
      This is inspiring man! Great story and beautiful car! I’m sure you’re excited to get the turbo kit sorted out. Sub’d for updates. Cheers!
      '91 318is

      Comment


        #33
        Did you have to modify the slave cylinder shaft on the M42 to use the RHD flywheel? They also require the use of the M20 clutch/pressure plate, does that include the clutch release bearing as well or it uses the stock m42 bearing?

        Comment


          #34
          Originally posted by e30rida View Post
          Did you have to modify the slave cylinder shaft on the M42 to use the RHD flywheel? They also require the use of the M20 clutch/pressure plate, does that include the clutch release bearing as well or it uses the stock m42 bearing?


          No modification was needed on any of the clutch hydraulics with the RHD flywheel.


          I used a stock M20 TOB and it works totally fine. If I recall correctly, the M20 and M42 release bearing are the same part number.

          -NICK

          Comment


            #35
            Entry #5

            Ok time for a real update. The work shown here spans about a month of various weeknights after work and weekends slowing chipping away at the project I was most dreading: "shaving" and painting the passenger side of the engine bay.

            As you can see in the photos below, my engine bay was in pretty rough shape going into this. I hadn't cleaned it in years and I just couldn't leave it that way and install the turbo over all the gunk and cosmoline.
            IMG_9091 by Nick Brema, on Flickr
            IMG_9098 by Nick Brema, on Flickr
            IMG_9100 by Nick Brema, on Flickr

            First to go were the coil brackets. Enter the $5 harbor freight spot weld cutter. I love this thing!
            IMG_9103 by Nick Brema, on Flickr
            IMG_9104 by Nick Brema, on Flickr
            IMG_9106 by Nick Brema, on Flickr

            I then removed all of the A/C hoses and components from the engine bay. No pictures of this.

            After that was all out of the way, I decided it was a good time to mock up the manifold, turbo, and downpipe.
            IMG_1616 by Nick Brema, on Flickr
            IMG_1617 by Nick Brema, on Flickr

            It fits! Looks pretty good in there!

            Next up came all the cutting, grinding, sanding, filling, sanding, priming, sanding, priming etc. that comes along with body work. Did I mention I hate body work and suck at it??
            IMG_1641 by Nick Brema, on Flickr
            IMG_1645 by Nick Brema, on Flickr
            IMG_1643 by Nick Brema, on Flickr

            Then messily glob on too much filler. (Yay sanding!)
            IMG_1646 by Nick Brema, on Flickr

            Skip forward to some primer:
            IMG_1651 by Nick Brema, on Flickr

            While all that was happening I also wrapped the manifold. Not as clean as the downpipe but whatever.
            IMG_1648 by Nick Brema, on Flickr

            Then finally today after months of body work, I did my final priming and sanding and ended up here:
            IMG_1886 by Nick Brema, on Flickr

            Then comes the butter! :D
            IMG_1887 by Nick Brema, on Flickr
            IMG_1888 by Nick Brema, on Flickr

            SO GLAD THAT IS DONE. I'm writing this post while the paint is drying. A few imperfections here and there but this is an engine bay so who really cares right?

            Once the paint dries progress will come at a much more steady pace. Very excited!

            -NICK

            Comment


              #36
              cant wait to see this thing once it is together
              318iS Track Rat :nice: www.drive4corners.com
              '86 325iX 3.1 Stroker Turbo '86 S38B36 325

              No one makes this car anymore. The government won't allow them, normal people won't buy them. So it's up to us: the freaks, the weirdos, the informed. To buy them, to appreciate them, and most importantly, to drive them.

              Comment


                #37
                Entry #6
                I'm a little behind with updates, hoping to catch everything in the thread up this week.

                Was having some charge pipe fitment issues going into and out of the intercooler. The bracket didn't lift the in/outlet high enough above the pinch weld on the frame rail to allow the silicone elbow and clamp to fully engage.
                IMG_1919 by Nick Brema, on Flickr

                A quick trip to Baller Hardware (seriously that is my local hardware store), and a couple of these sweet little nylon spacers later, we had proper fitment.
                IMG_1922 by Nick Brema, on Flickr
                IMG_1923 by Nick Brema, on Flickr
                IMG_1924 by Nick Brema, on Flickr
                IMG_1927 by Nick Brema, on Flickr

                Then it was time to clearance the headlights in order for them to fit around the charge piping. Tight but perfect fit!

                IMG_1937 by Nick Brema, on Flickr
                IMG_1936 by Nick Brema, on Flickr
                IMG_1934 by Nick Brema, on Flickr

                Then it was time to switch gears a bit and pull the valve cover to check the torque value (85ftlbs) on the ARP headstuds before forcing some boost in there. Touched up the valve cover while it was off.
                IMG_1931 by Nick Brema, on Flickr

                Head looks great ~10k after the rebuild!
                IMG_1928 by Nick Brema, on Flickr
                IMG_1929 by Nick Brema, on Flickr
                IMG_1933 by Nick Brema, on Flickr
                IMG_1938 by Nick Brema, on Flickr

                Switched gears again and went to the other side of the motor to deal with the injectors. This is really such a quick job on the M42!

                IMG_1953 by Nick Brema, on Flickr
                IMG_1955 by Nick Brema, on Flickr
                IMG_1956 by Nick Brema, on Flickr
                IMG_1957 by Nick Brema, on Flickr

                Finally, here is a picture of the head port match up to the manifold before I bolted it all together. Not the best... but we will see. My head has been ported for reference.
                IMG_1902 by Nick Brema, on Flickr

                That's all the pictures I have on the computer for now! Plenty more off of my phone coming soon.

                -NICK

                Comment


                  #38
                  Good progress dude. I hope those are genuine bosch 42 lb/hr injectors. I tried jake's tune originally before going megasquirt and the biggest issue I had was I had some cheap junk injectors and they would just DUMP fuel into the engine and it was annoying.

                  Also you're definitely going to want to open that manifold flange hole up. Otherwise you might blow the gasket. I had to do it from the manifold I had Otis make for me as well, it isn't pretty but well worth it in my opinion.


                  -Dee
                  5-lugged turbo 318is Barn car
                  IG: @deebelmont

                  Comment


                    #39
                    So this is not dead.

                    I actually finished.
                    Turbo1 by Nick Brema, on Flickr

                    But then it broke....

                    More to come later.

                    -NICK

                    Comment


                      #40
                      looks good in there! Hopefully not too broken
                      1984 Delphin 318i 2 door

                      Comment


                        #41
                        Glad to see the update. Hopefully you figure out whatever happened!
                        '72 2002 pickup | '88 M5 | '89 330is | '89 M3 | '01 Z3M | '11 328xi-t

                        Comment


                          #42
                          did it do good burnouts though?
                          sigpic

                          (clicky on piccy to get to thread)

                          Comment


                            #43
                            Awesome! and also bummer hope you get it fixed. What broke?


                            Originally posted by econti View Post
                            did it do good burnouts though?
                            Can confirm M42 turbo does good burnouts.:twisted:
                            -Dee
                            5-lugged turbo 318is Barn car
                            IG: @deebelmont

                            Comment


                              #44
                              Had a small failure at the exhaust manifold... Jake dealt with everything very graciously, and with the manifold off I took the opportunity to upgrade a bit...
                              untitled by Nick Brema, on Flickr

                              Patiently waiting for my package from Otis! ;)

                              -NICK

                              Comment


                                #45
                                what kind of engine management are you running for boost?

                                Comment

                                Working...
                                X