Announcement

Collapse
No announcement yet.

zumjosh's E30: Rebirth of a 318is

Collapse
X
 
  • Filter
  • Time
  • Show
Clear All
new posts

    zumjosh's E30: Rebirth of a 318is

    Hello everyone!

    Jump To

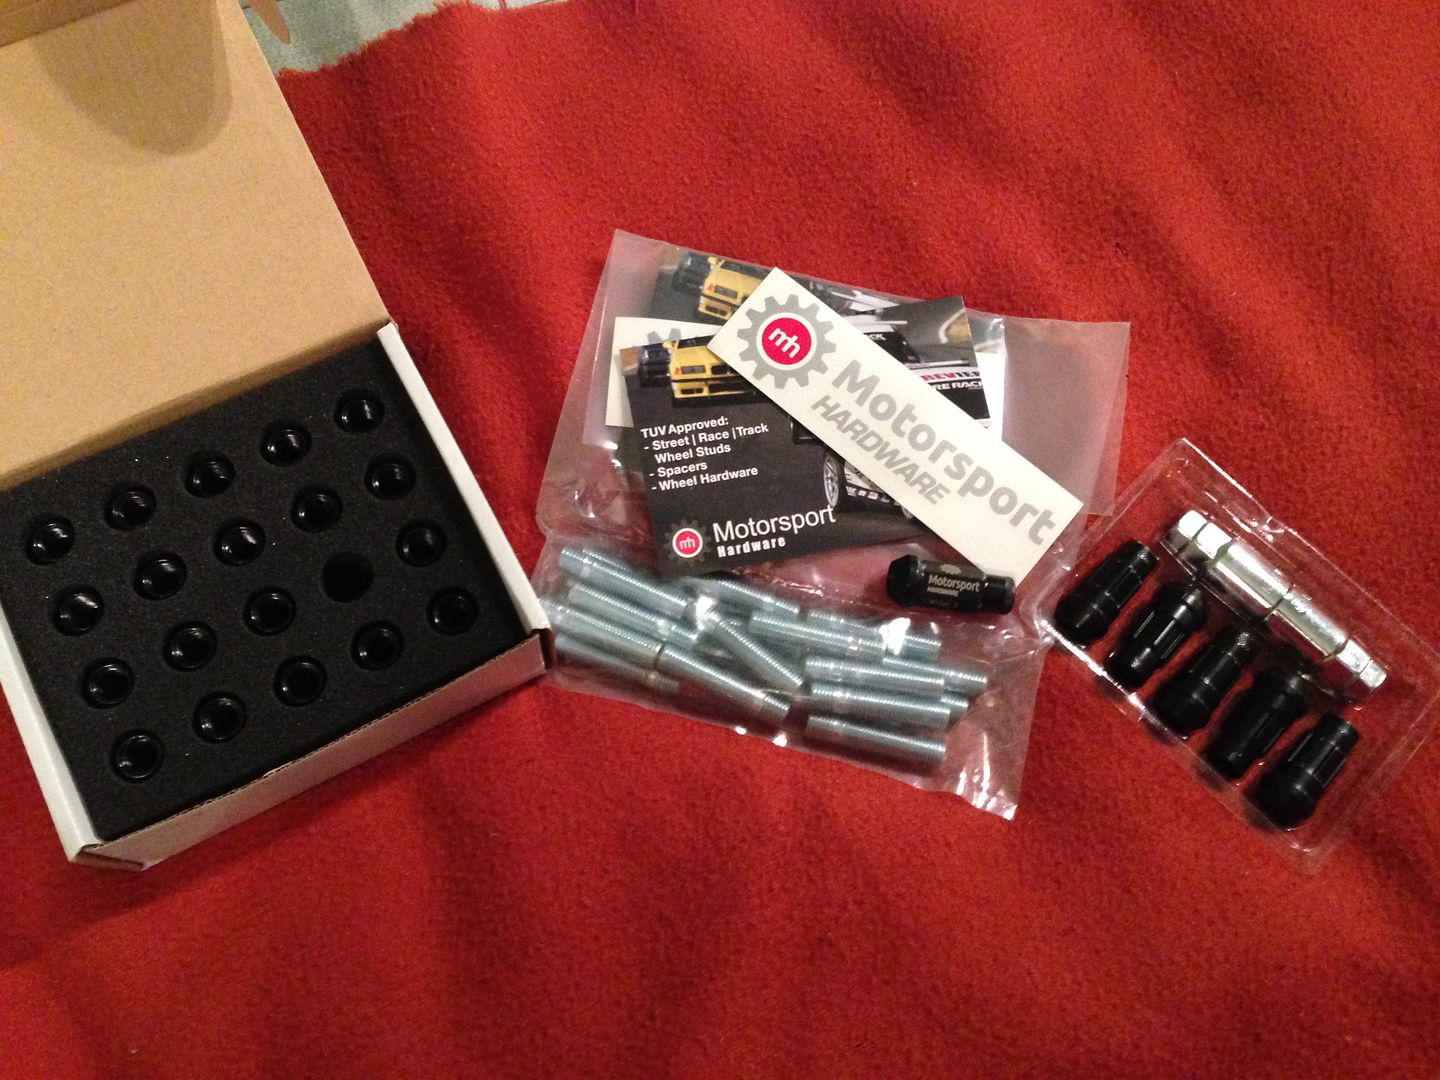
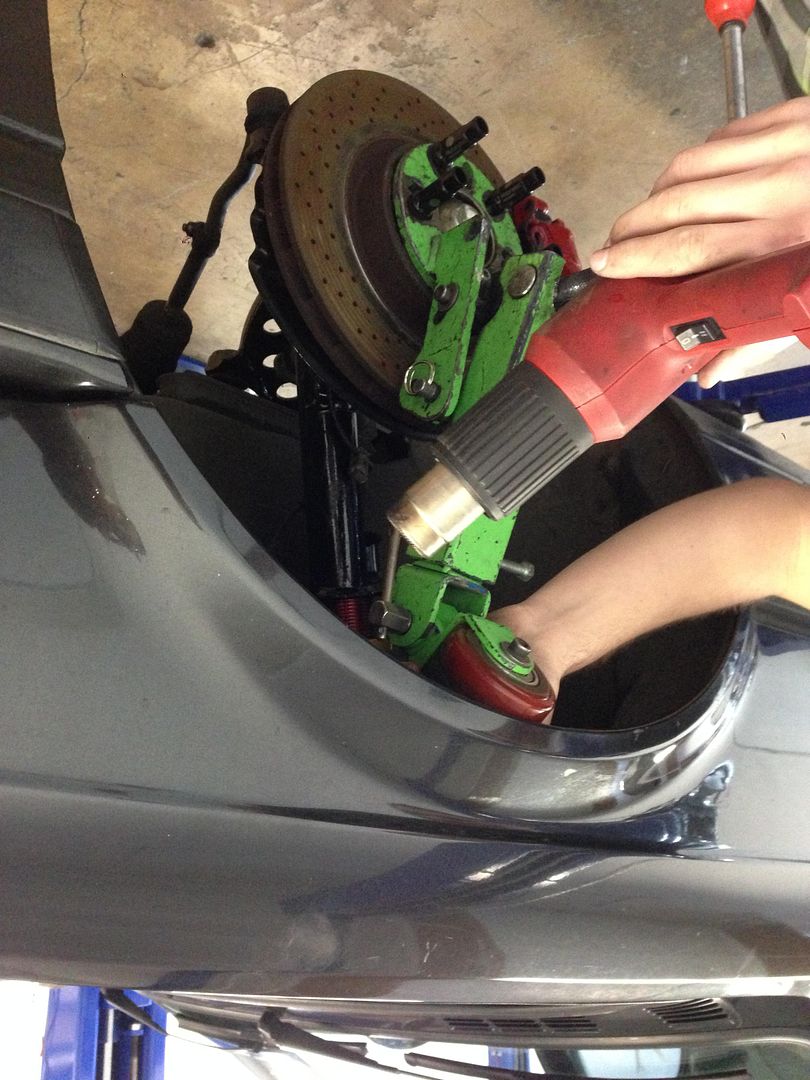
    5 Lug, Suspension and Brake Conversion


    About Me
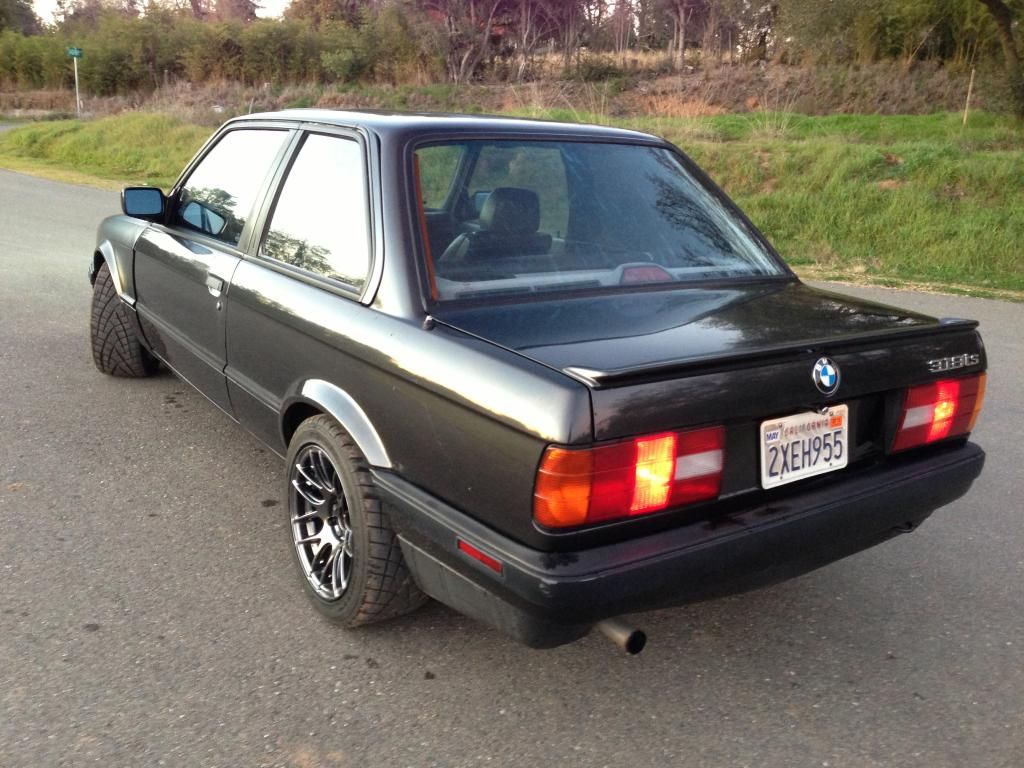
    My name is Joshua but my nickname is zumjosh. I've been a longtime BMW fan and recently an E30 enthusiast. I'm 22 and my E30 is a '91 318is. Its name is Olivia, and she's my 3rd BMW. I've had two '95 E36 M3's before this E30. I'm glad I've joined the E30 community because it's a fairly tight group and "nearly" (edited) everyone is very helpful. Also the cars are absolutely stunning to drive.

    I was debating whether or not to start a thread because I've made a few stupid mistakes, and the car isn't in great condition at all, but I figured, "What the hell? Might as well get some insight and advice from the professionals." I've been a r3vlimited and e30tech lurker for the past 4 years but most of my activity was on the M3 forums because of the E36's. Now I have no choice but to start posting on r3v. I hope you'll forgive me for not having very many pictures at the moment. I hope that as soon as I'll start the transition of Olivia into a track and road killer that you'll help me with useful advice.

    Plans for my E30
    My future plans are as follows:
    1. S52 with OBD1 conversion (I prefer this engine because of the torque gain over the S50 and small HP bump with the OBD1 conversion) 251 HP to the crank will be a good upgrade ;)
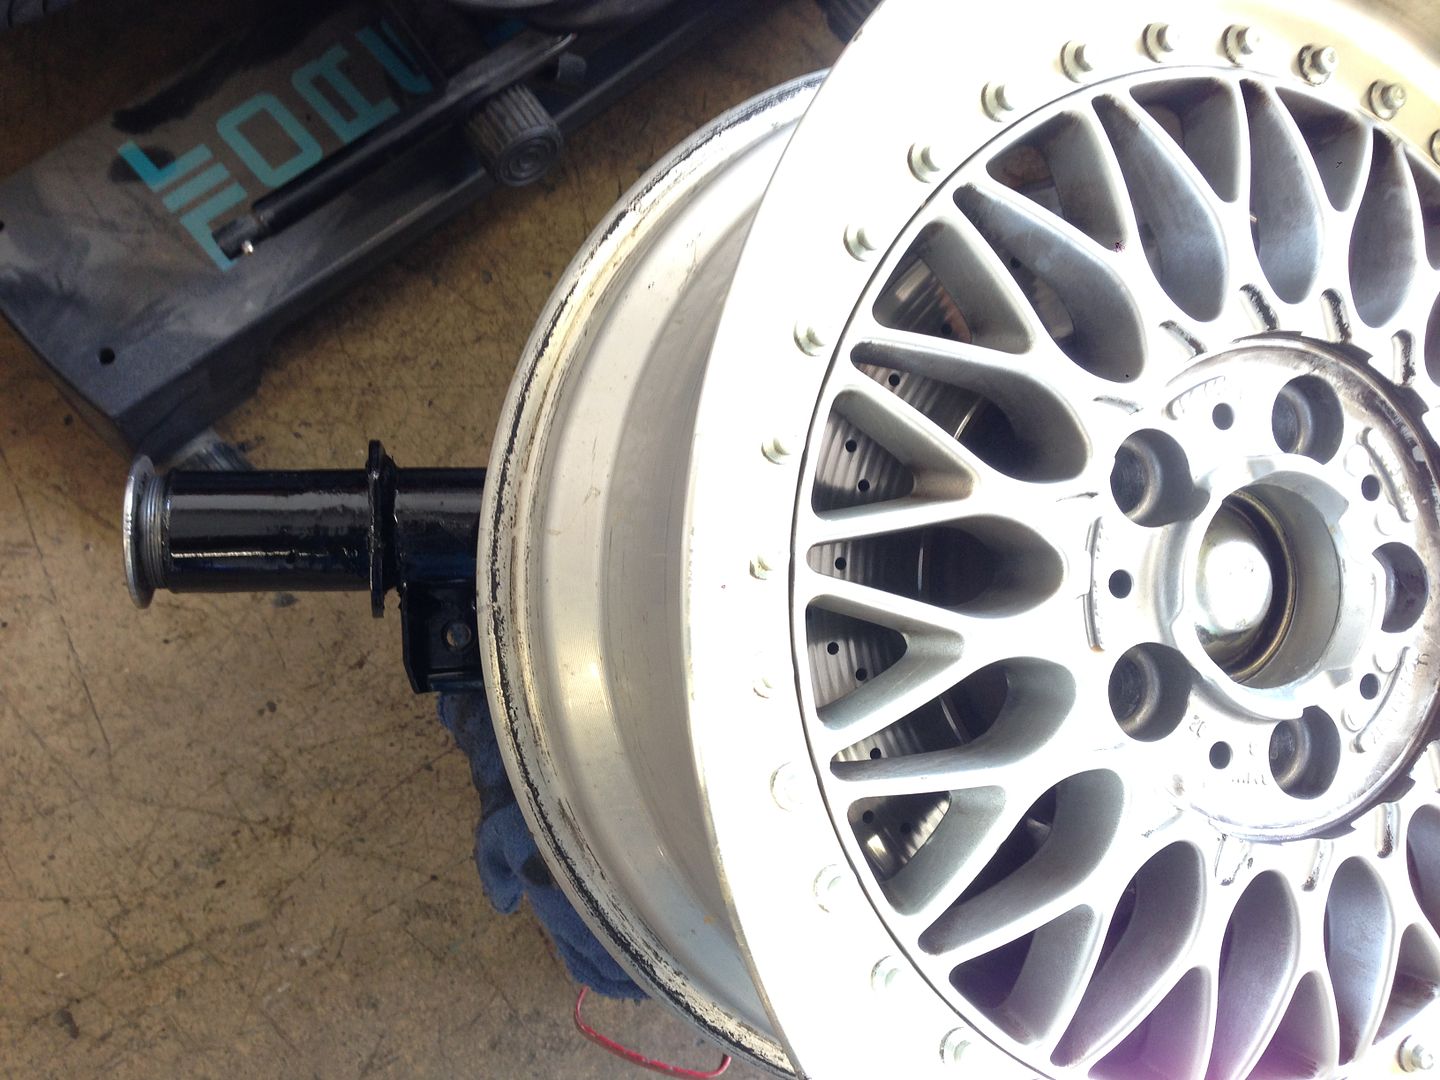
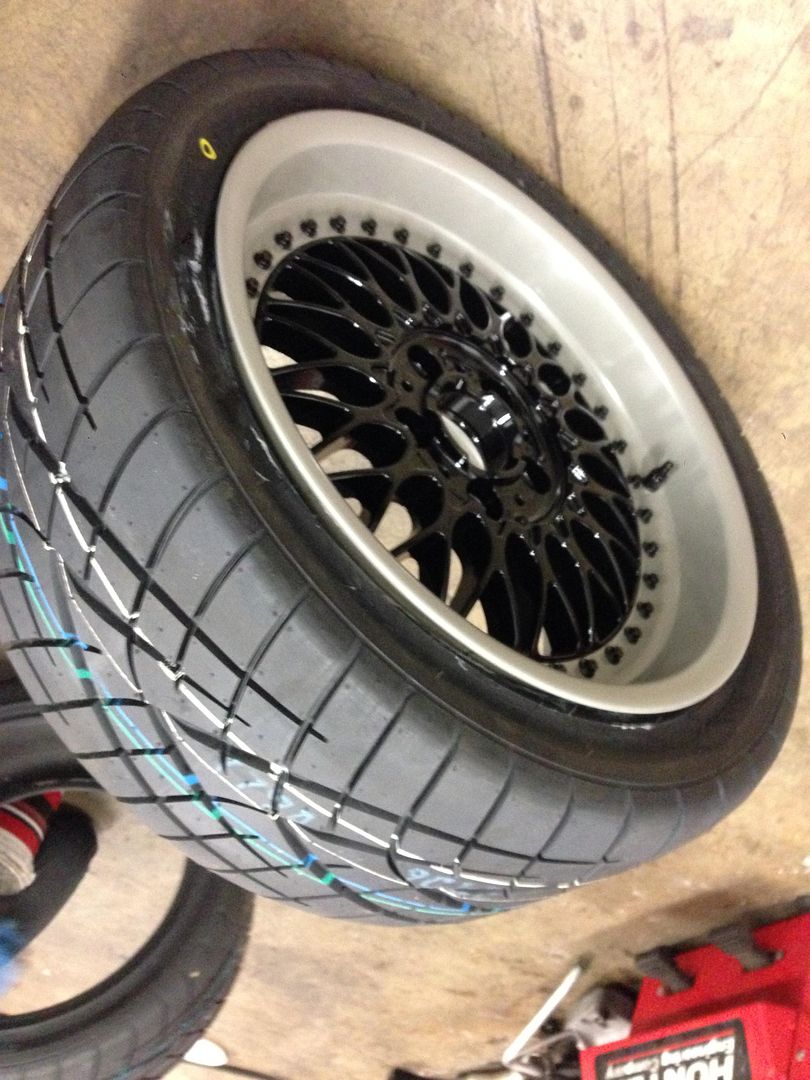
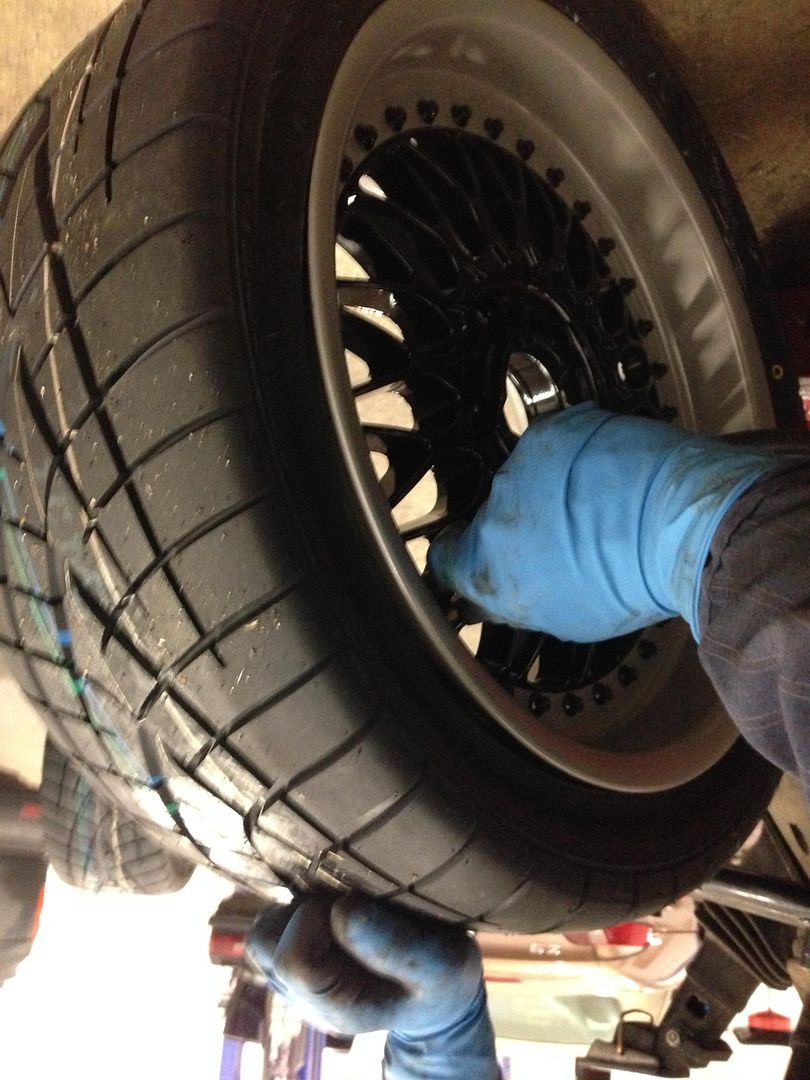
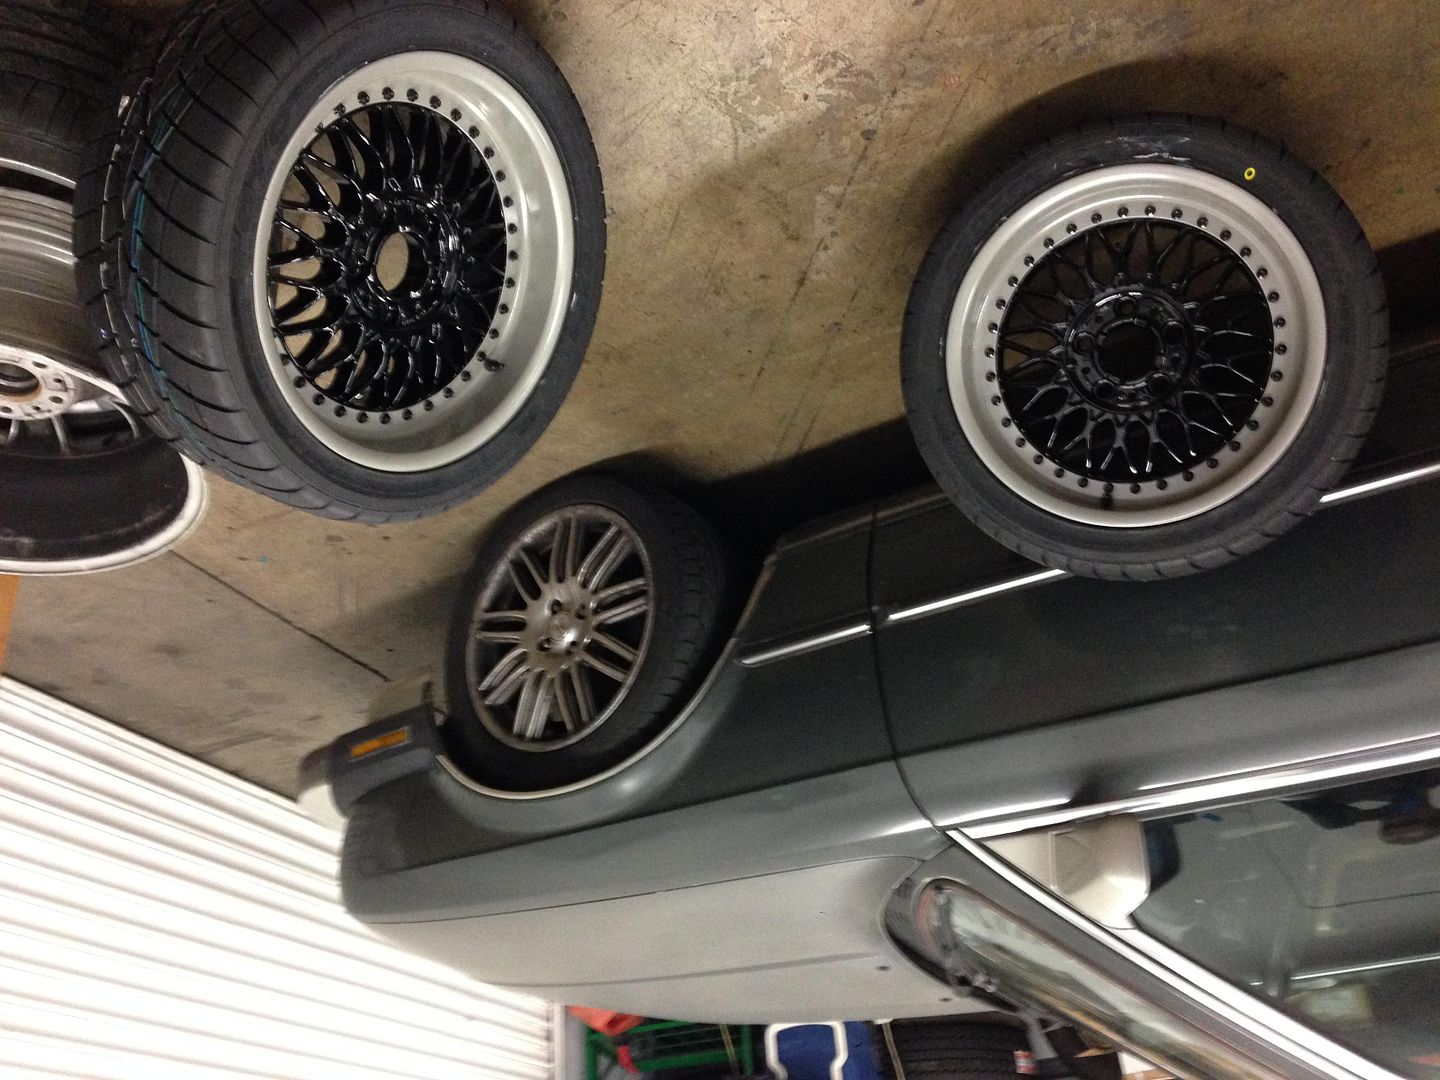
    2. 5 lug conversion (for bigger brakes and E39 Style 5's that I'm completely obsessed with and I'm curious which conversions besides E30 M3 parts are best)
    3. rear seat delete and half cage edit: (I'm still deciding on full or half)
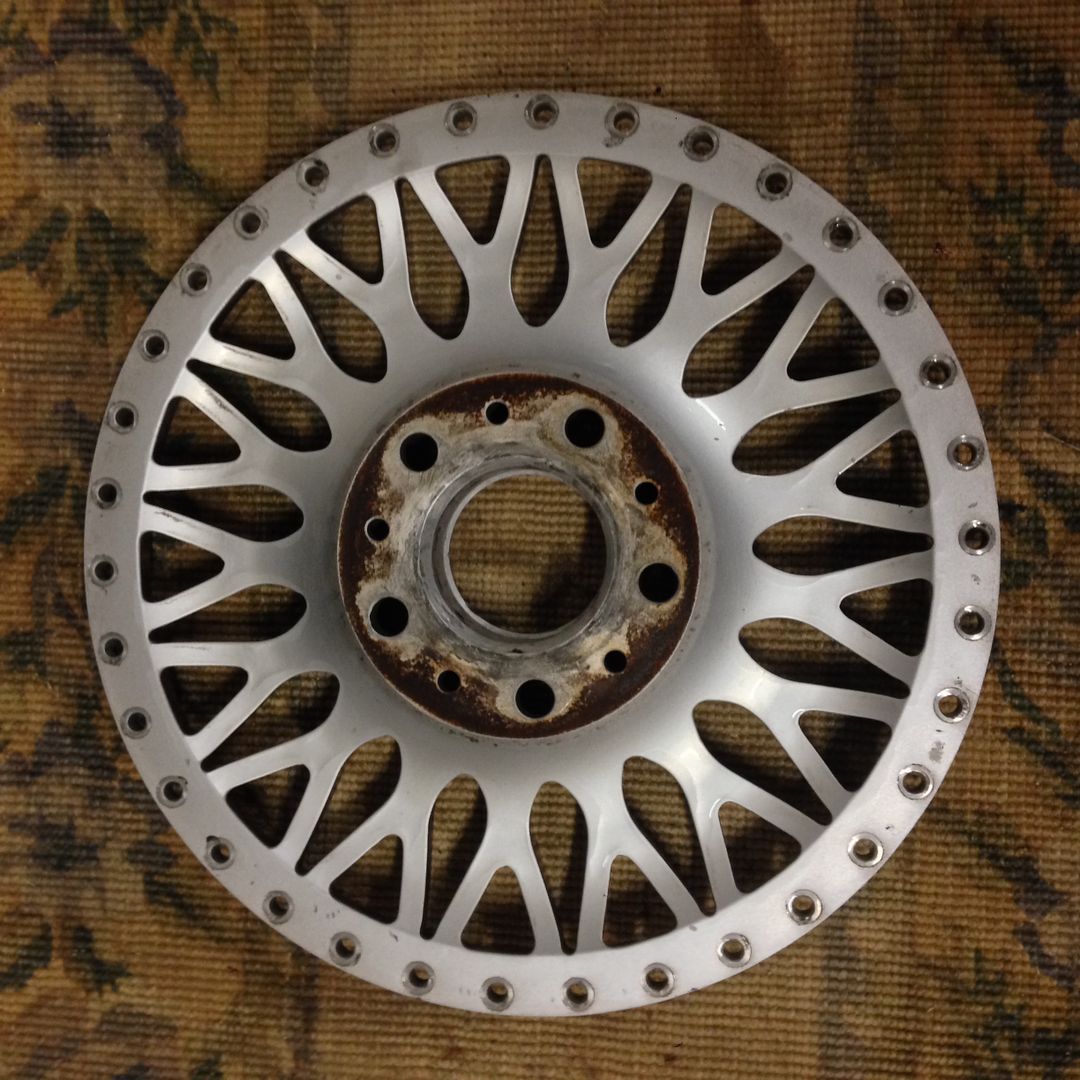
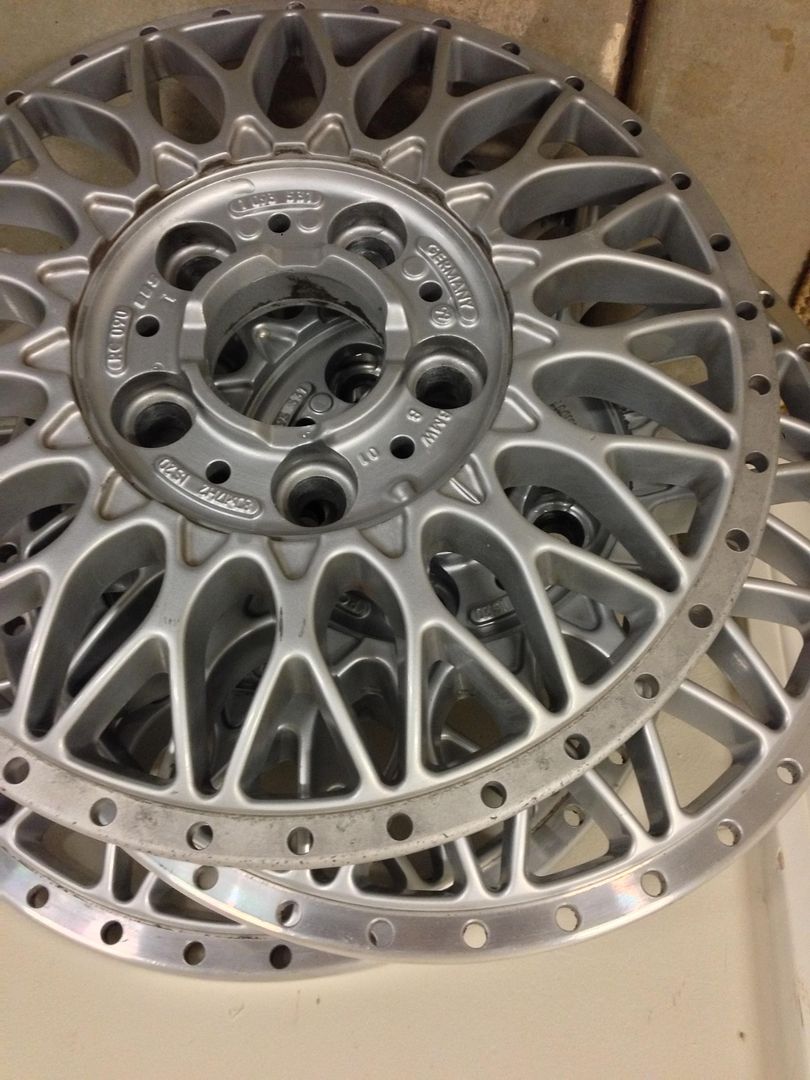
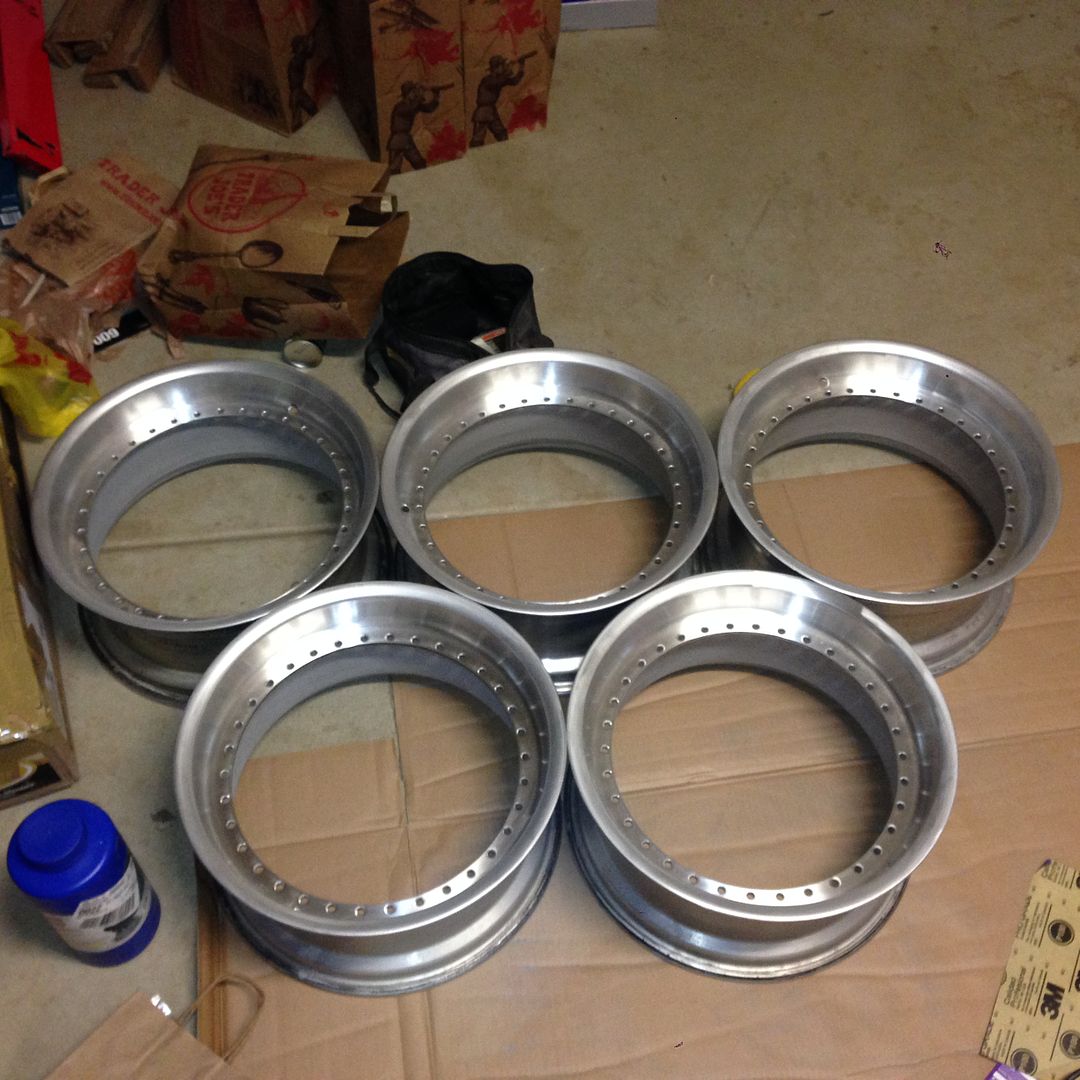
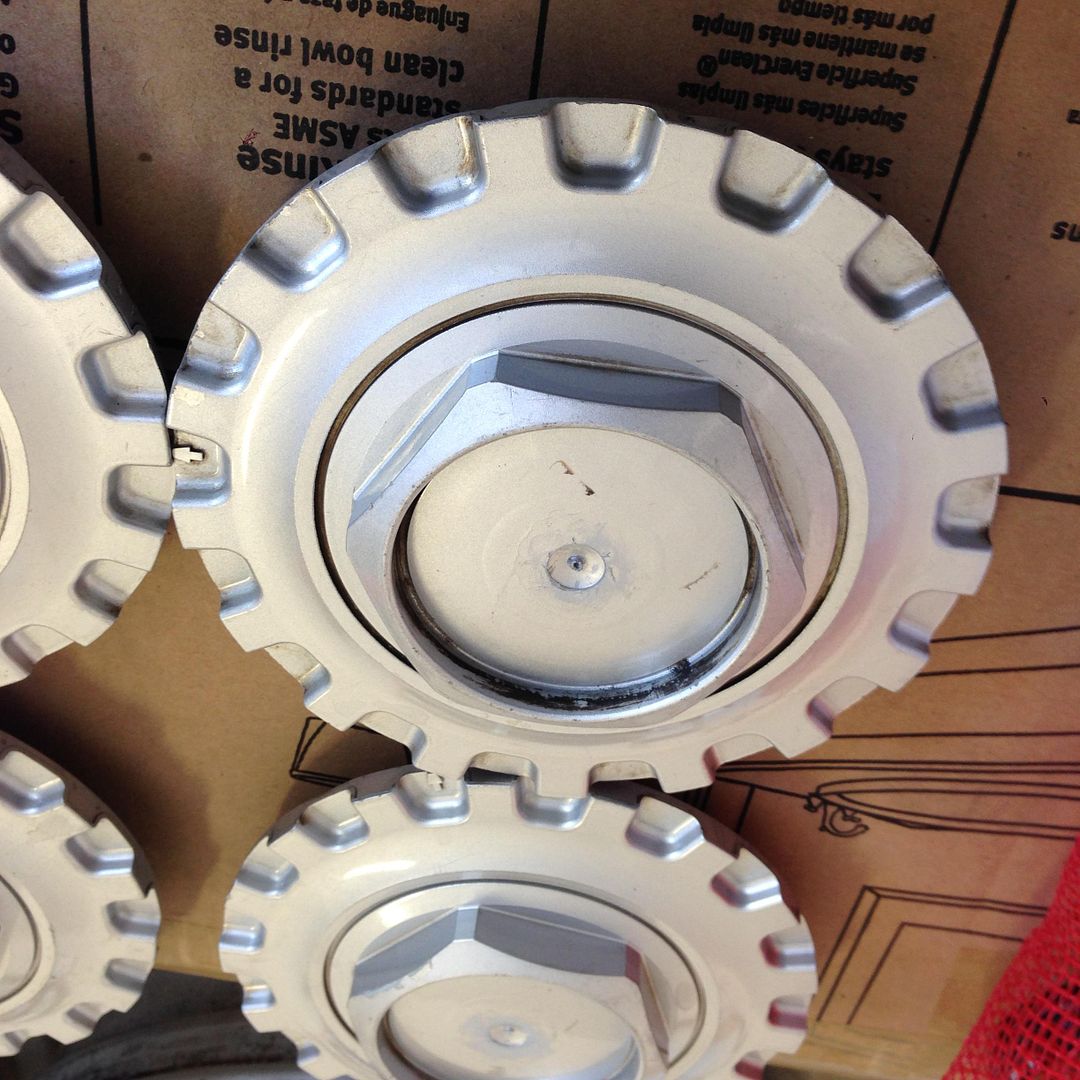
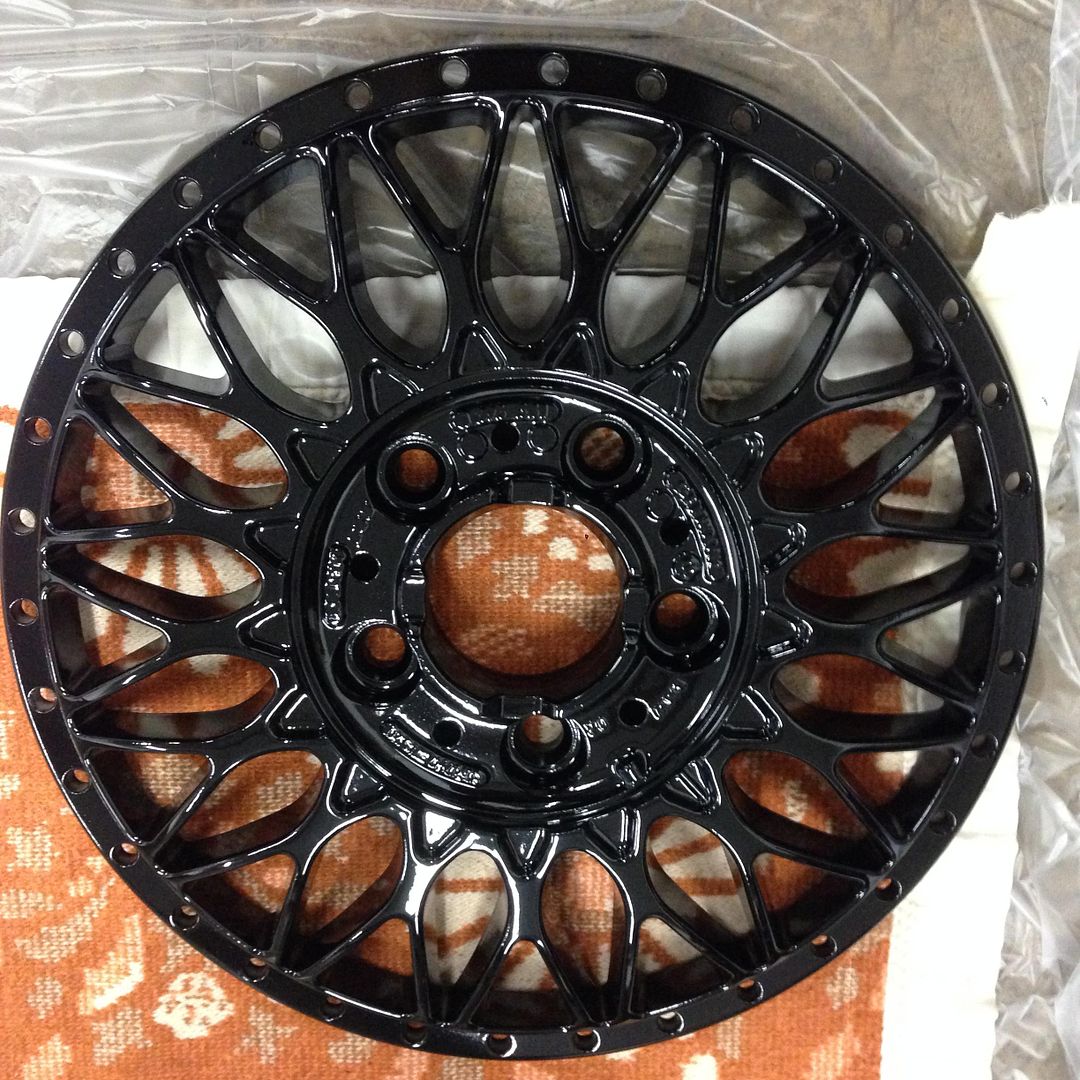
    4. 2 piece Style 5's (as mentioned before) winter wheels and Apex Arc8's for summer drives and track days. edit: (I may stick with OEM BMW wheels for track days, still deciding)
    5. easily swappable and slider bucket seats (will need your input on how to do these best)
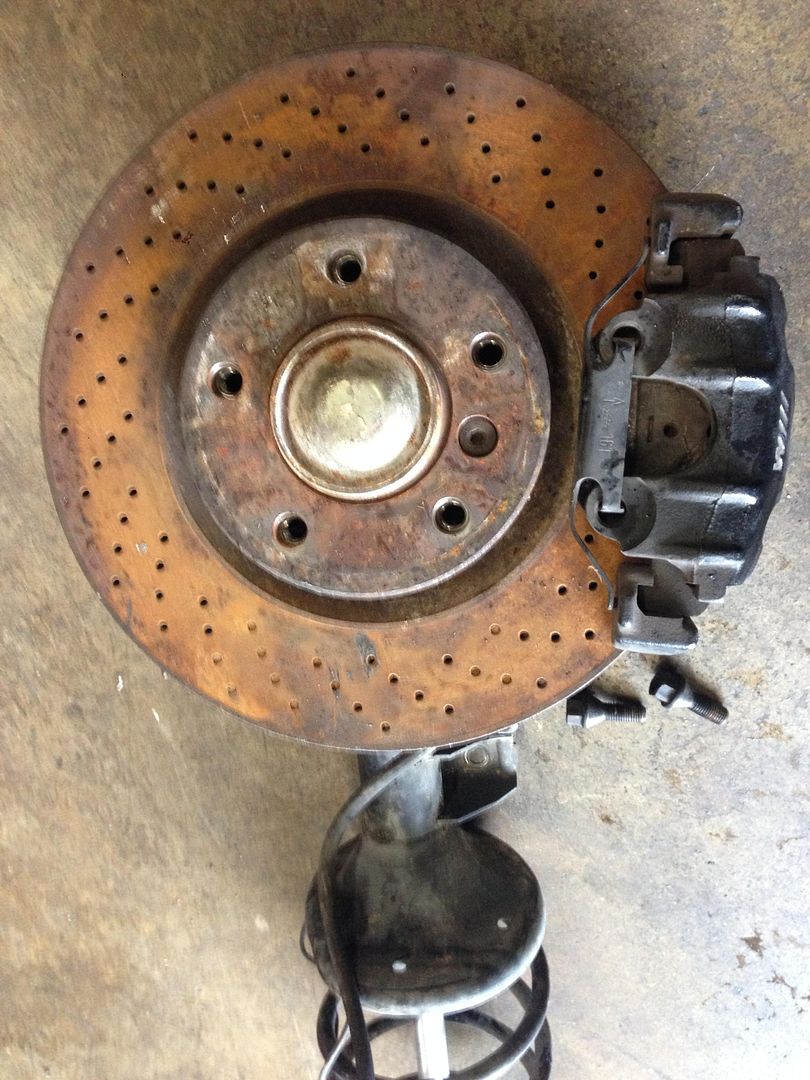
    6. clueless on which brakes I should get but I prefer having something carbon ceramic eventually edit: I've already decided to go with '96 E36 M3 brakes since I'm doing 5 lug conversion.
    7. interior will stay basic and simple in the winter besides the rear seat delete and cage but in the summer I'd like to have cloth bucket seats because leather is sweaty :down:
    8. I'm clueless on what the best spoiler option is. I'm leaning towards my existing IS lip but I have a problem with it cracking when it's painted and when it's not painted it dries and breaks down in a nasty gray and white patches
    9. the cars getting repainted and the large dent under the rear bumper (from the original owner) will get fixed
    10. can't tell you what color she's going to be repainted in because that's my little secret, but I am very open to hear your advice on what I should do to fix the rear dent (pics will show the extent of the damage in a future post)

    My first car
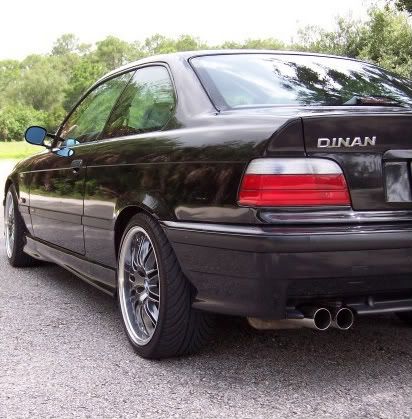
    This is Heather, my 1995 BMW E36 M3 with Dove Grey interior. She drove for almost 2 years and then died in the rain. :(


    My second car
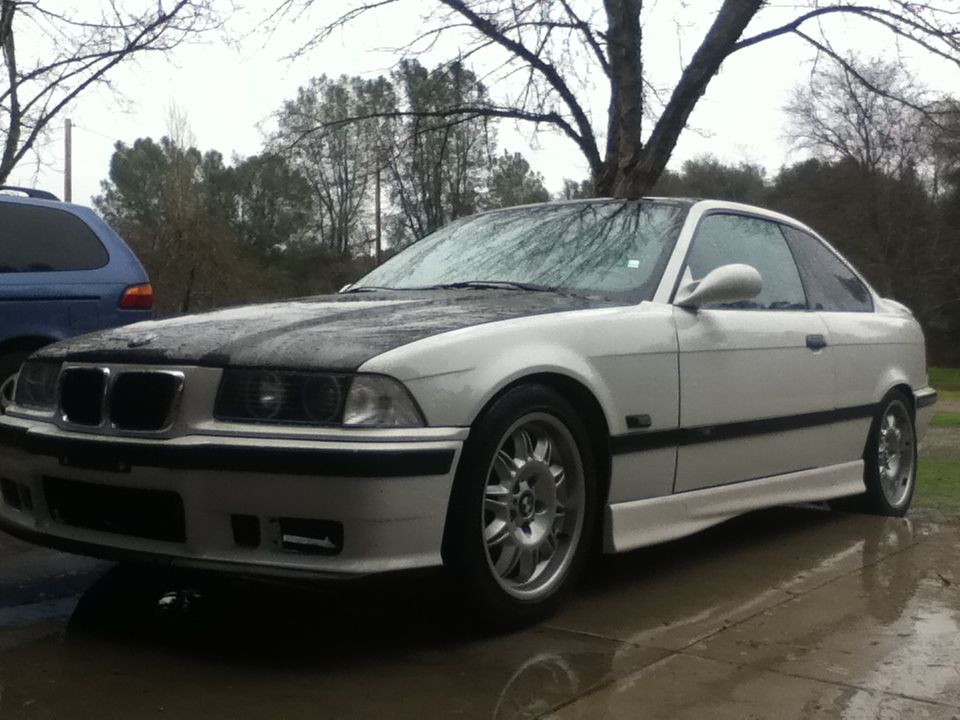
    I bought a tub and swapped everything with my awesome brother who's a BMW tech. This is Vivian, my 1995 BMW E36 M3 with Heather's guts and interior and facelift grills which confused me... (probably a small wreck in the past that later got fixed with face lifted parts)
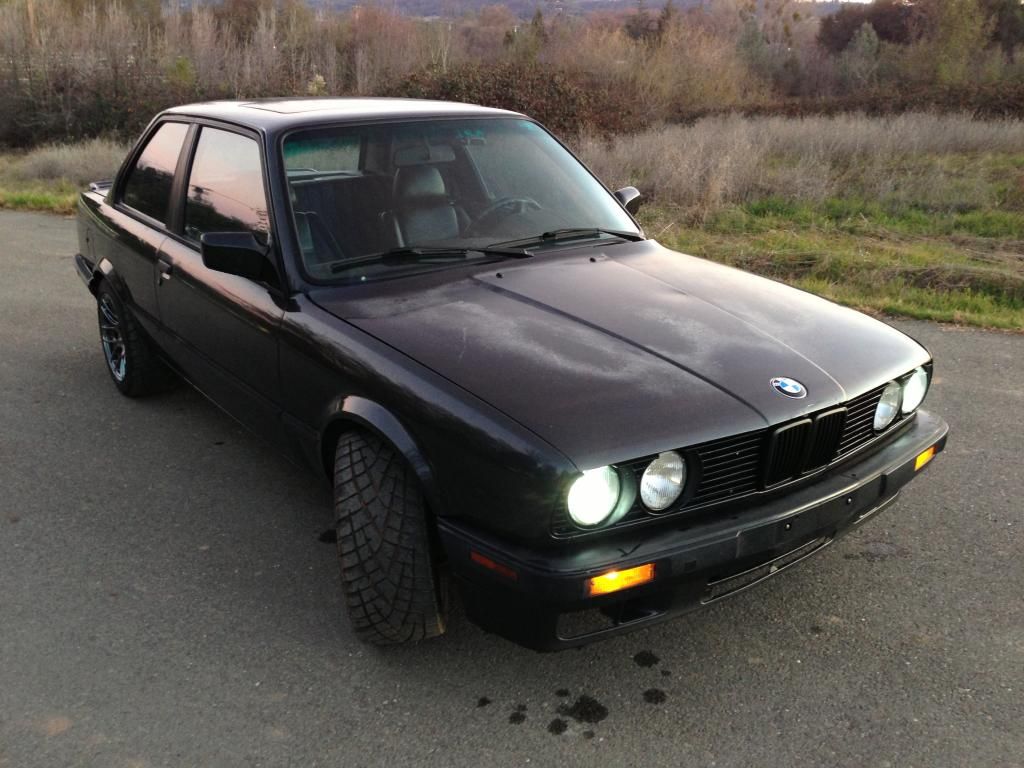

    My first E30
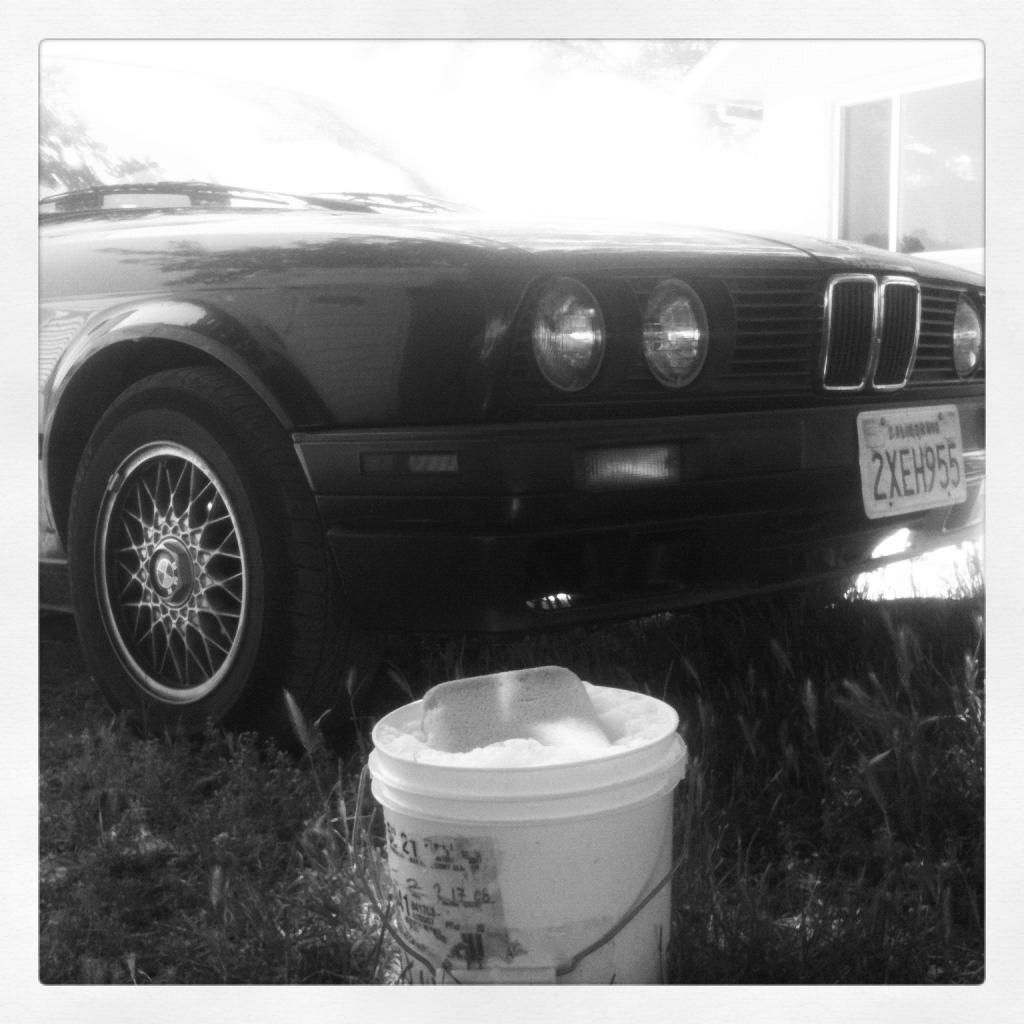
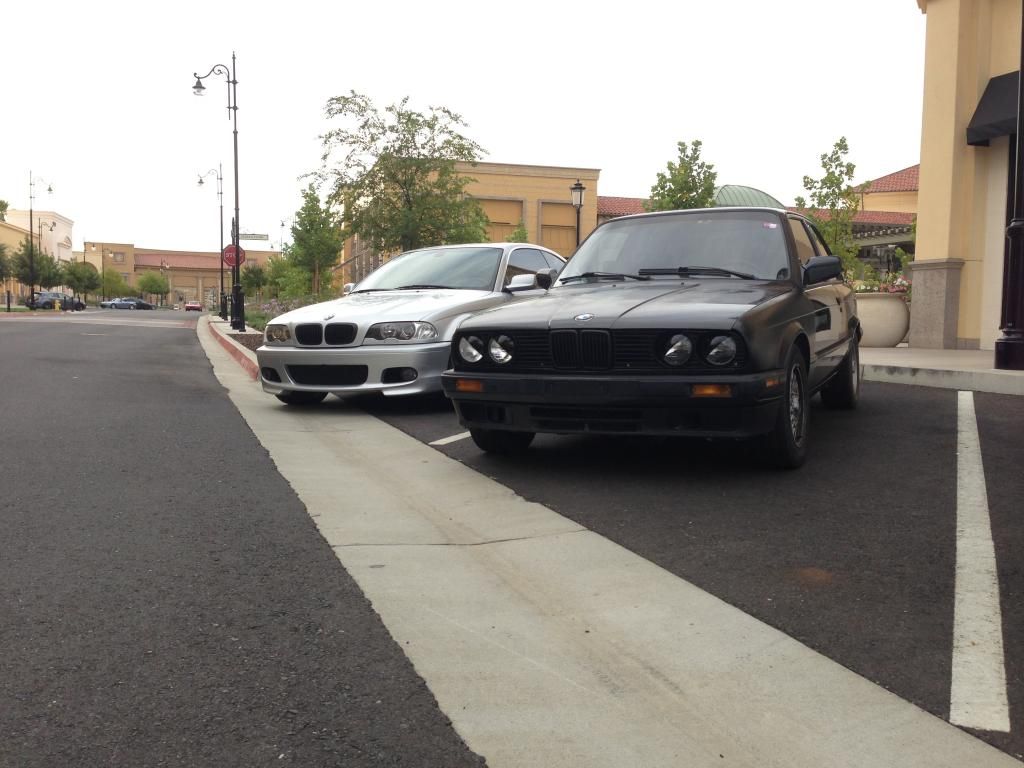
    I've had bad luck with E36's thus I decided to trade my parts from my wrecked Vivian to my brother for his E30. Then Olivia became mine. And she's been an amazing ride!

    I hardly have any pics how she came to me because I immediately started modding. But this will have to do for now...


    I drove her for 2 weeks and school started. I came back after my second day of class and somebody hit the front driver side fender since I nearly always park backed-in. Just my luck. I don't have any pics of that, but I replaced it with a DOT fender. BLEGH! Horrible fitment!


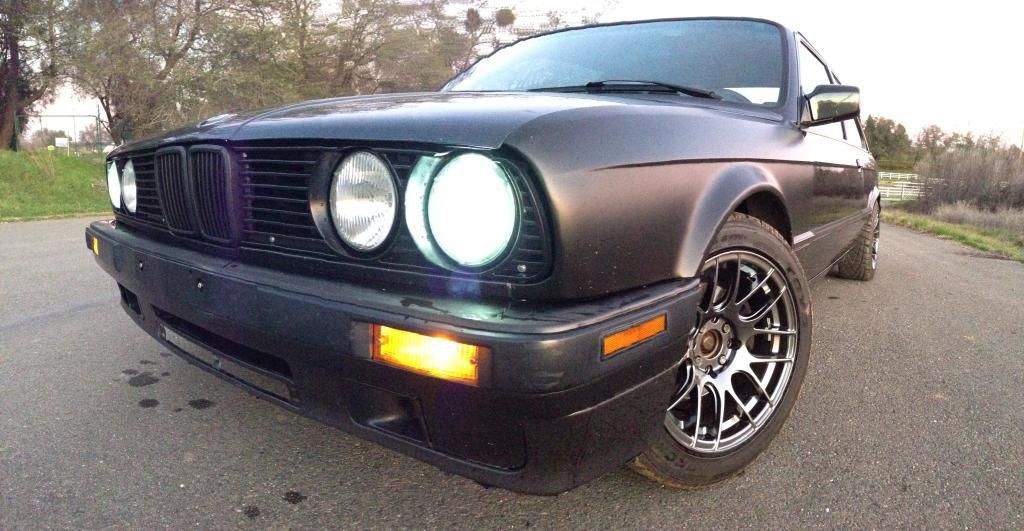
    I followed somebody's stupid advice who put vinyl on their Jeep's headlights and ended up with this...


    You have every right to hate... lol Well after that I got a few different mods over time. Some really good and some... not my favorite.

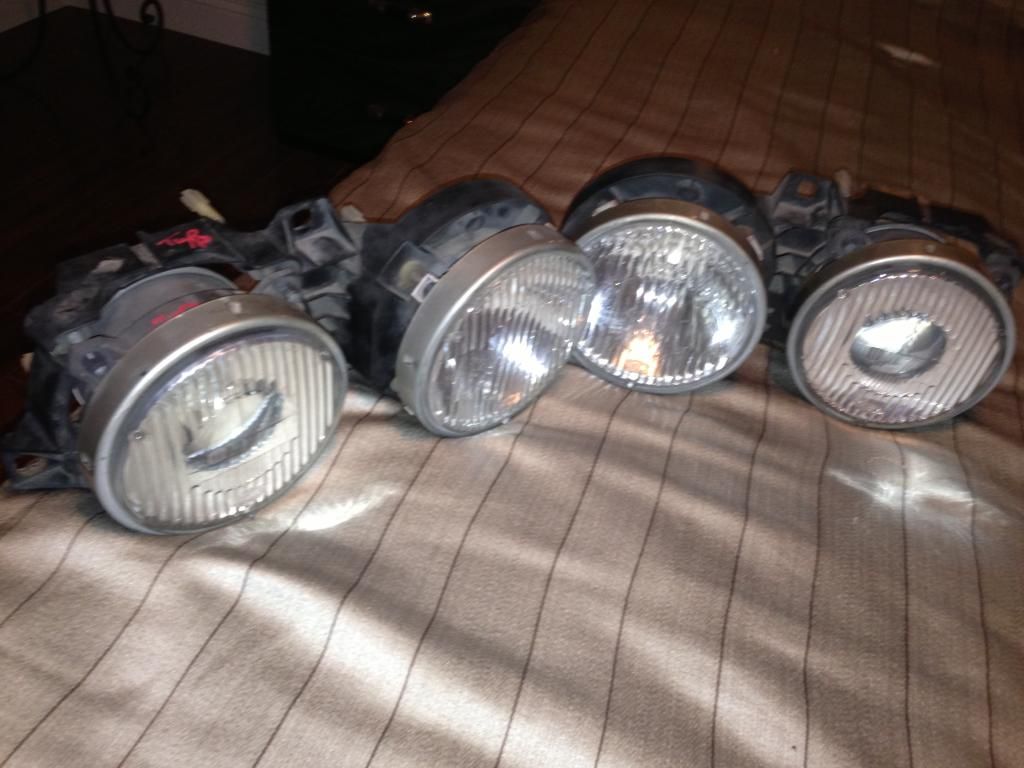
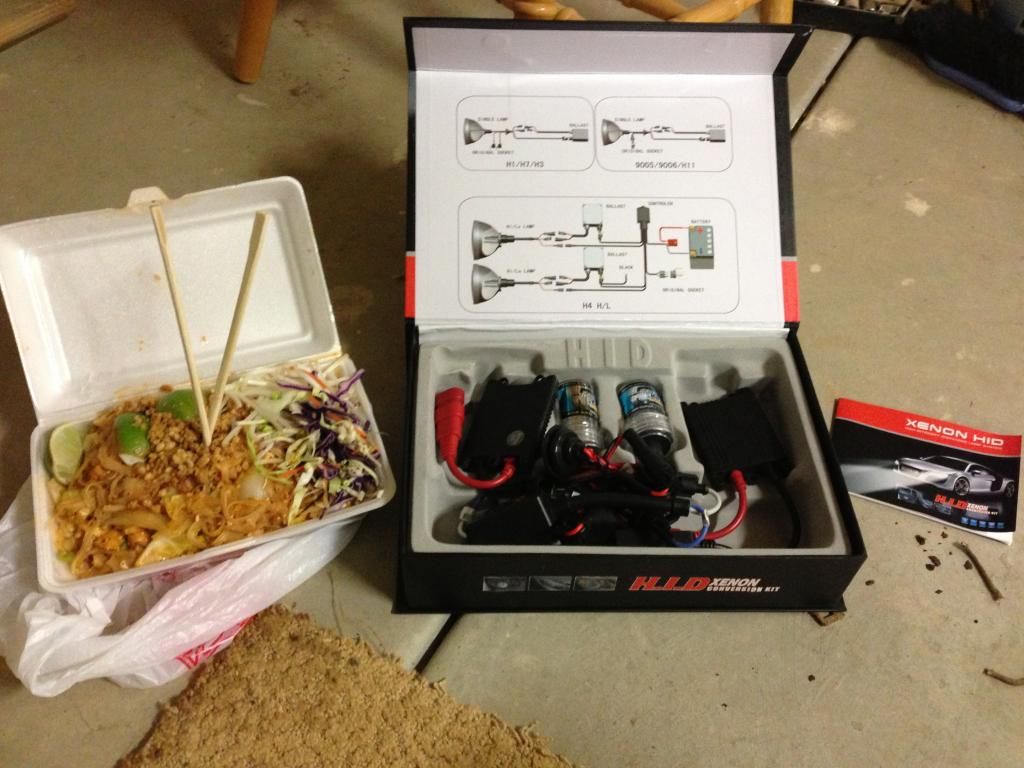
    First I purchased some projectors, an HID kit and some Thai food.


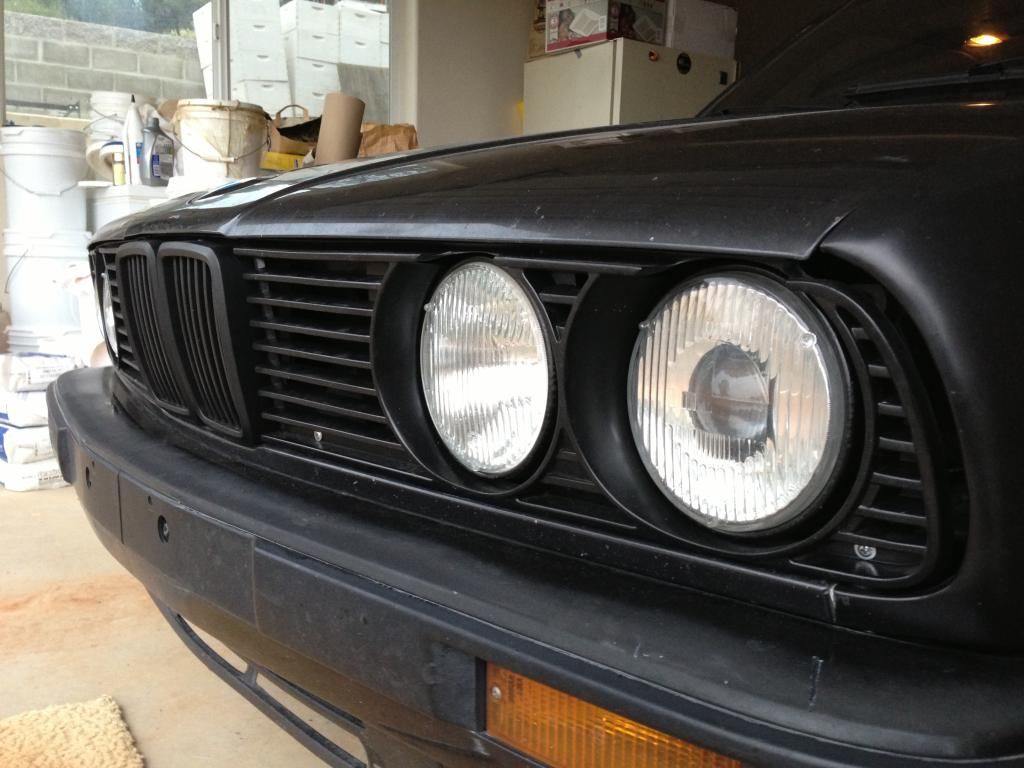
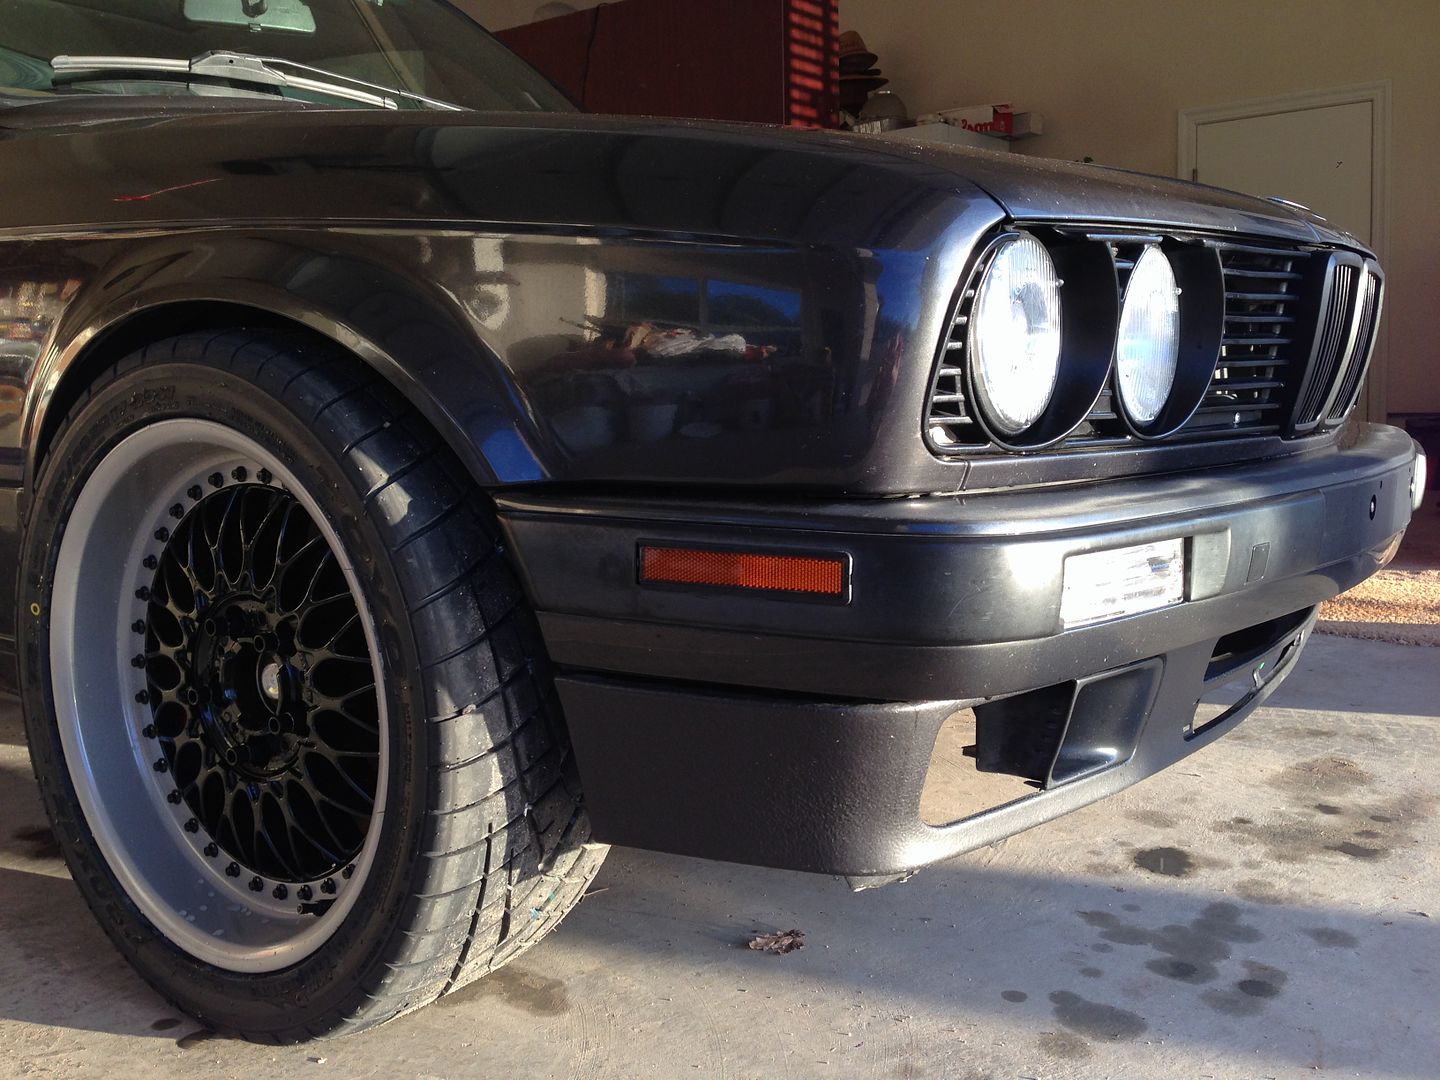
    Then I painted the round headlight brackets black to make them look a little more uniform with the front end of the car.


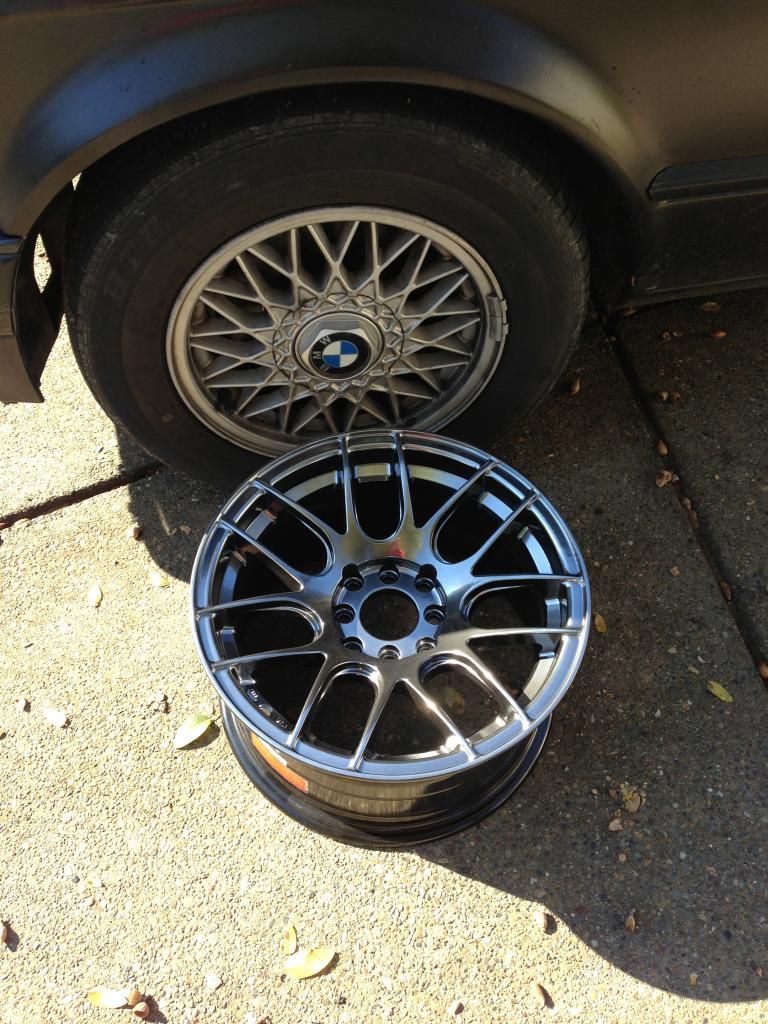
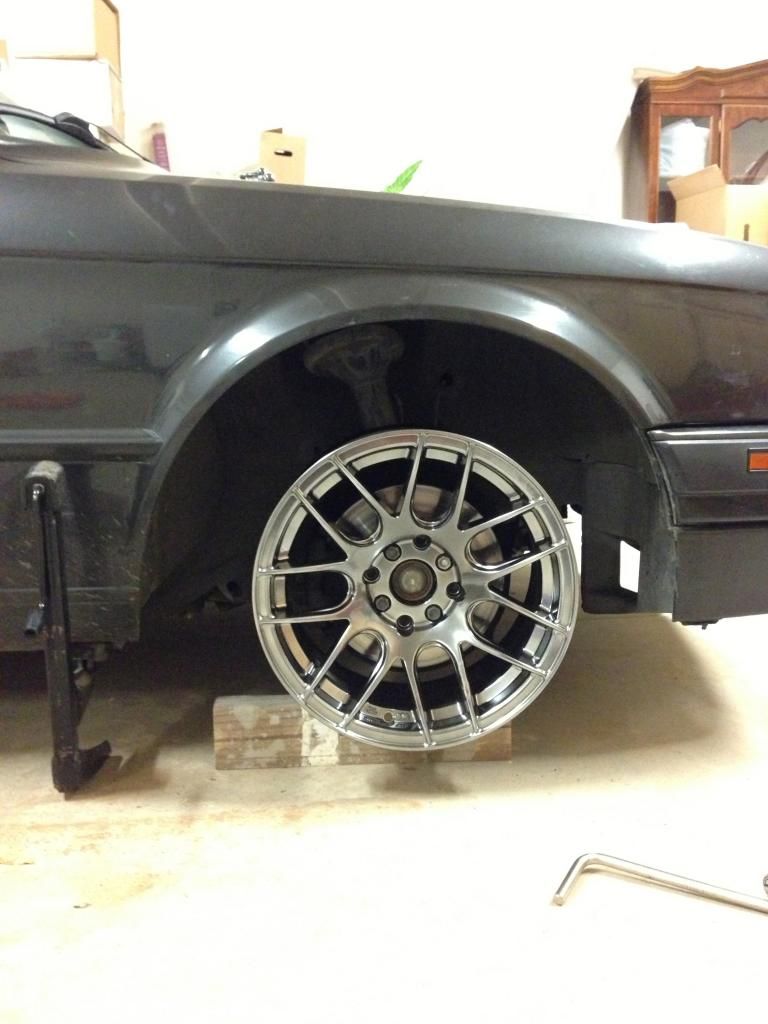
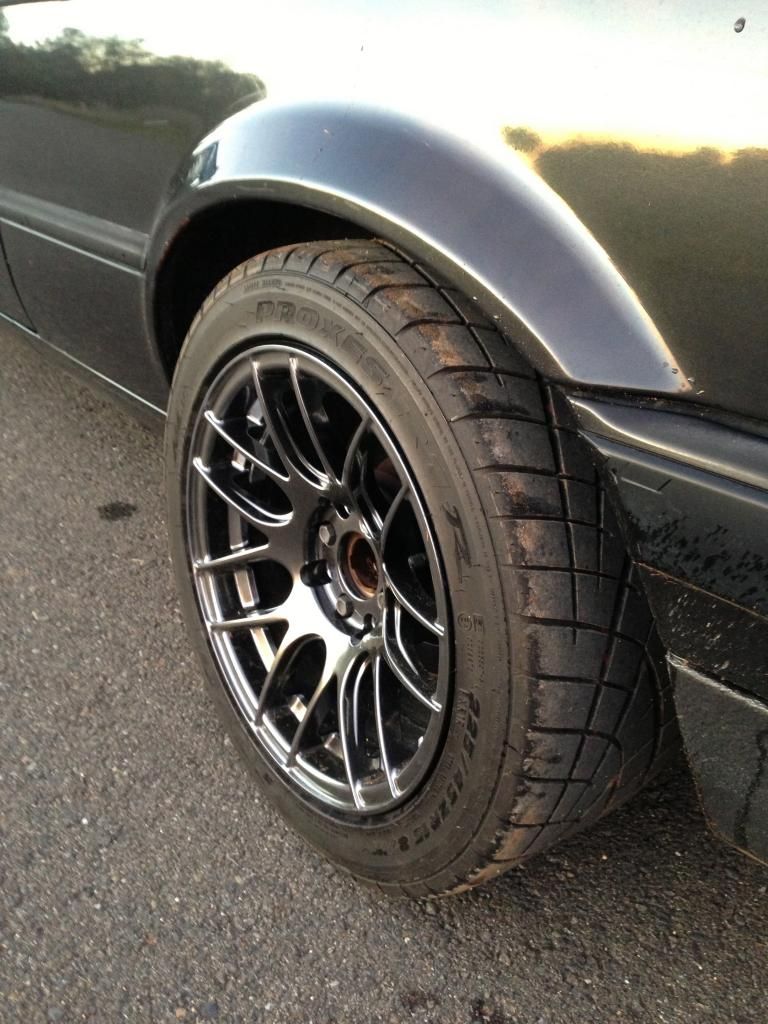
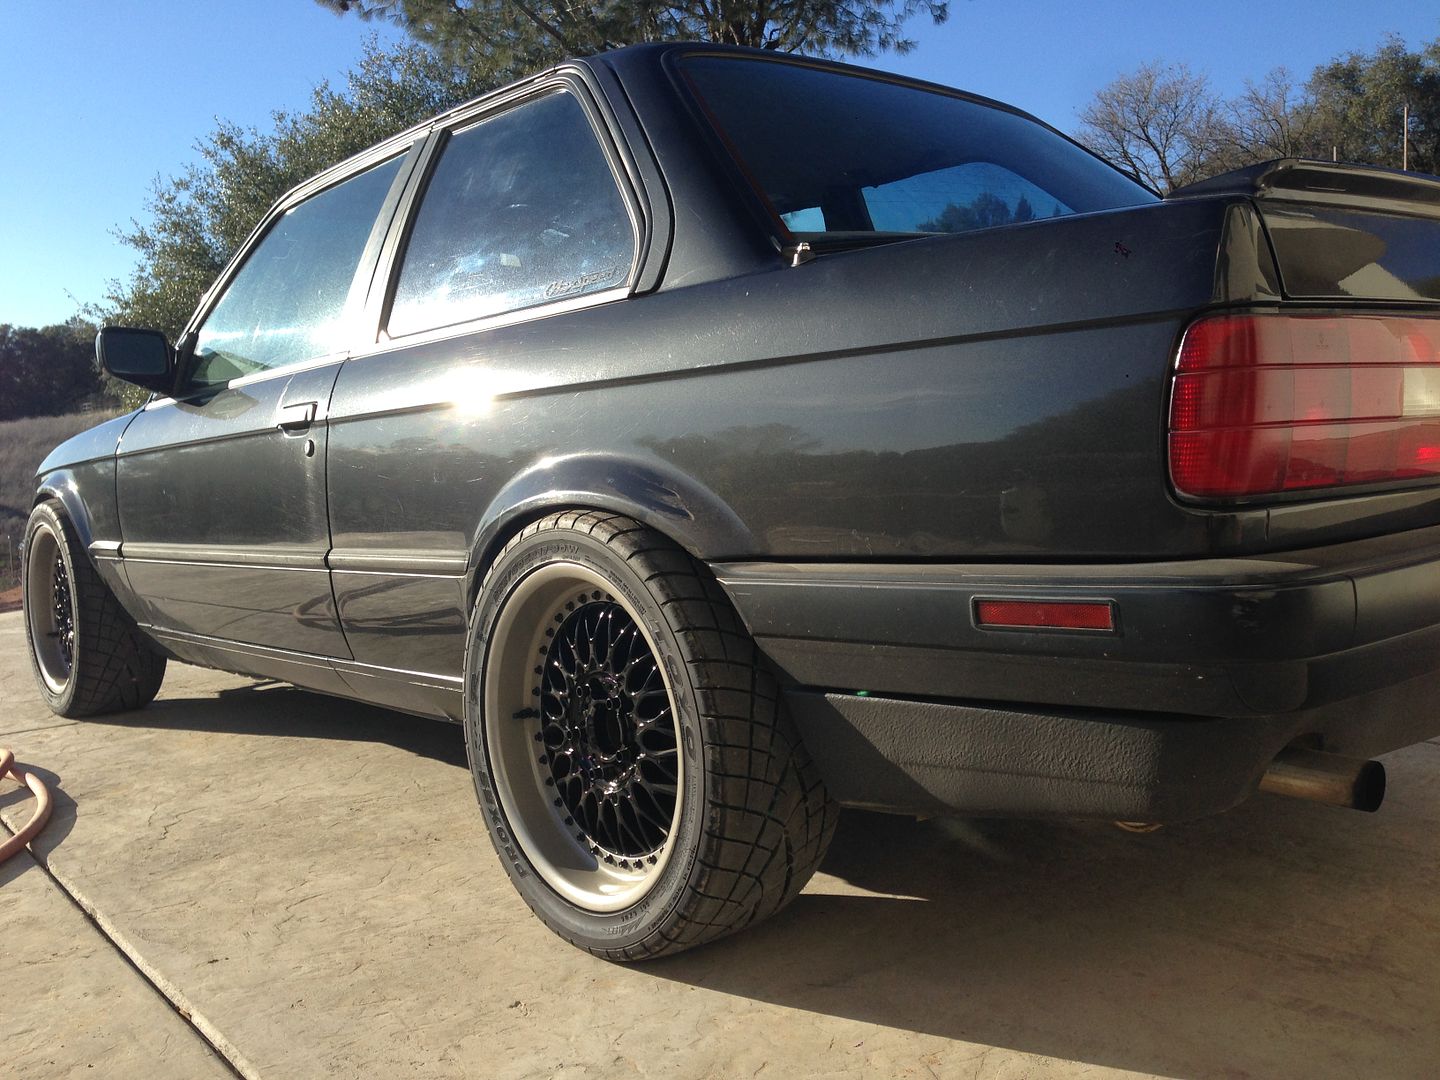
    I also got some XXR 530's which weren't my best purchase but were within my price range at the time. They are 15x8 et. 25 all around.


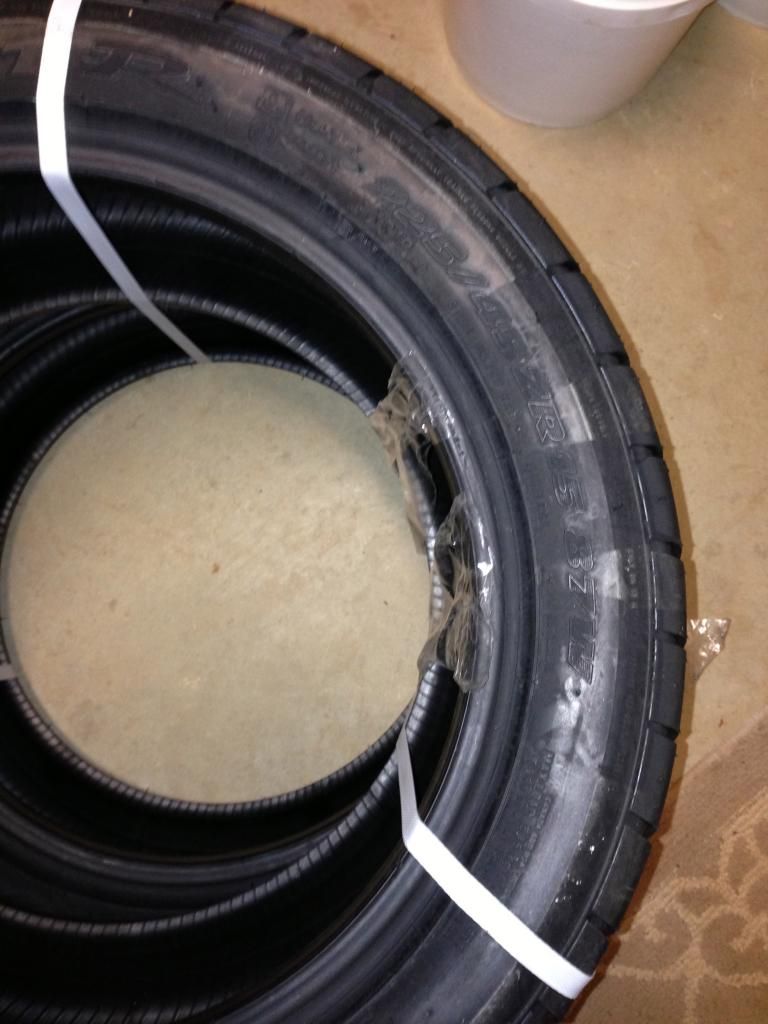
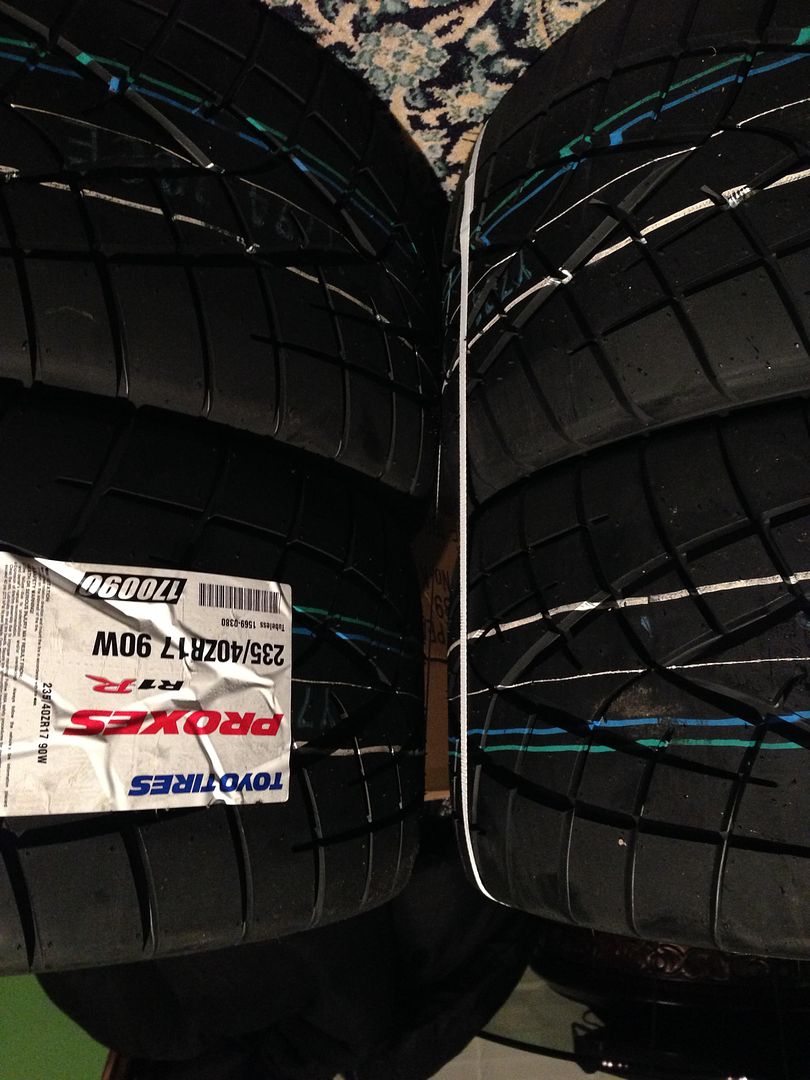
    I also purchased some Toyo Proxes R1R's. They are 225/45/15r with 140 tread wear. They grip like nothing I've ever driven before.


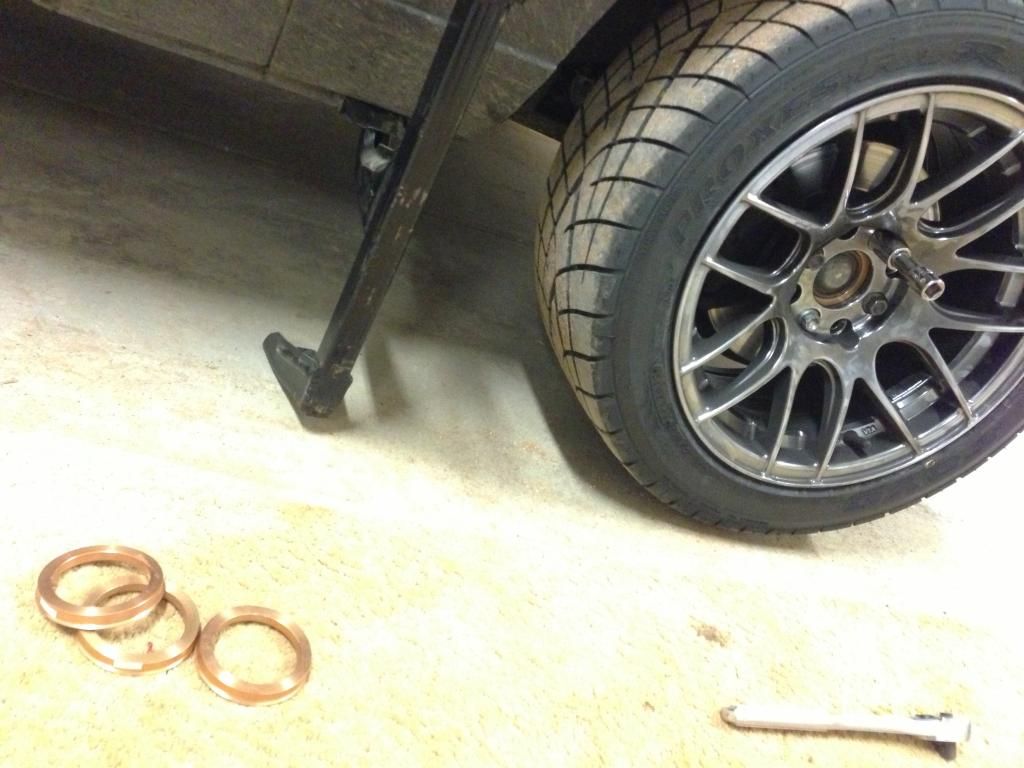
    I also got some aluminum hubcentric rings. My ride is smoother than with the stock Basketweaves which surprised me!


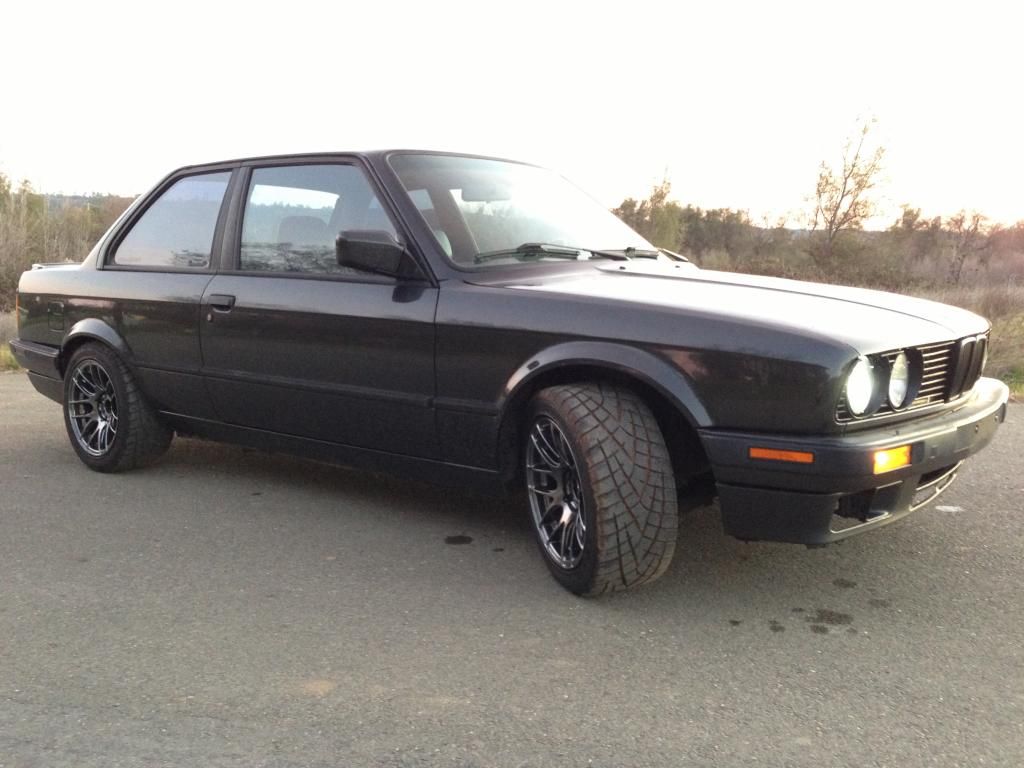
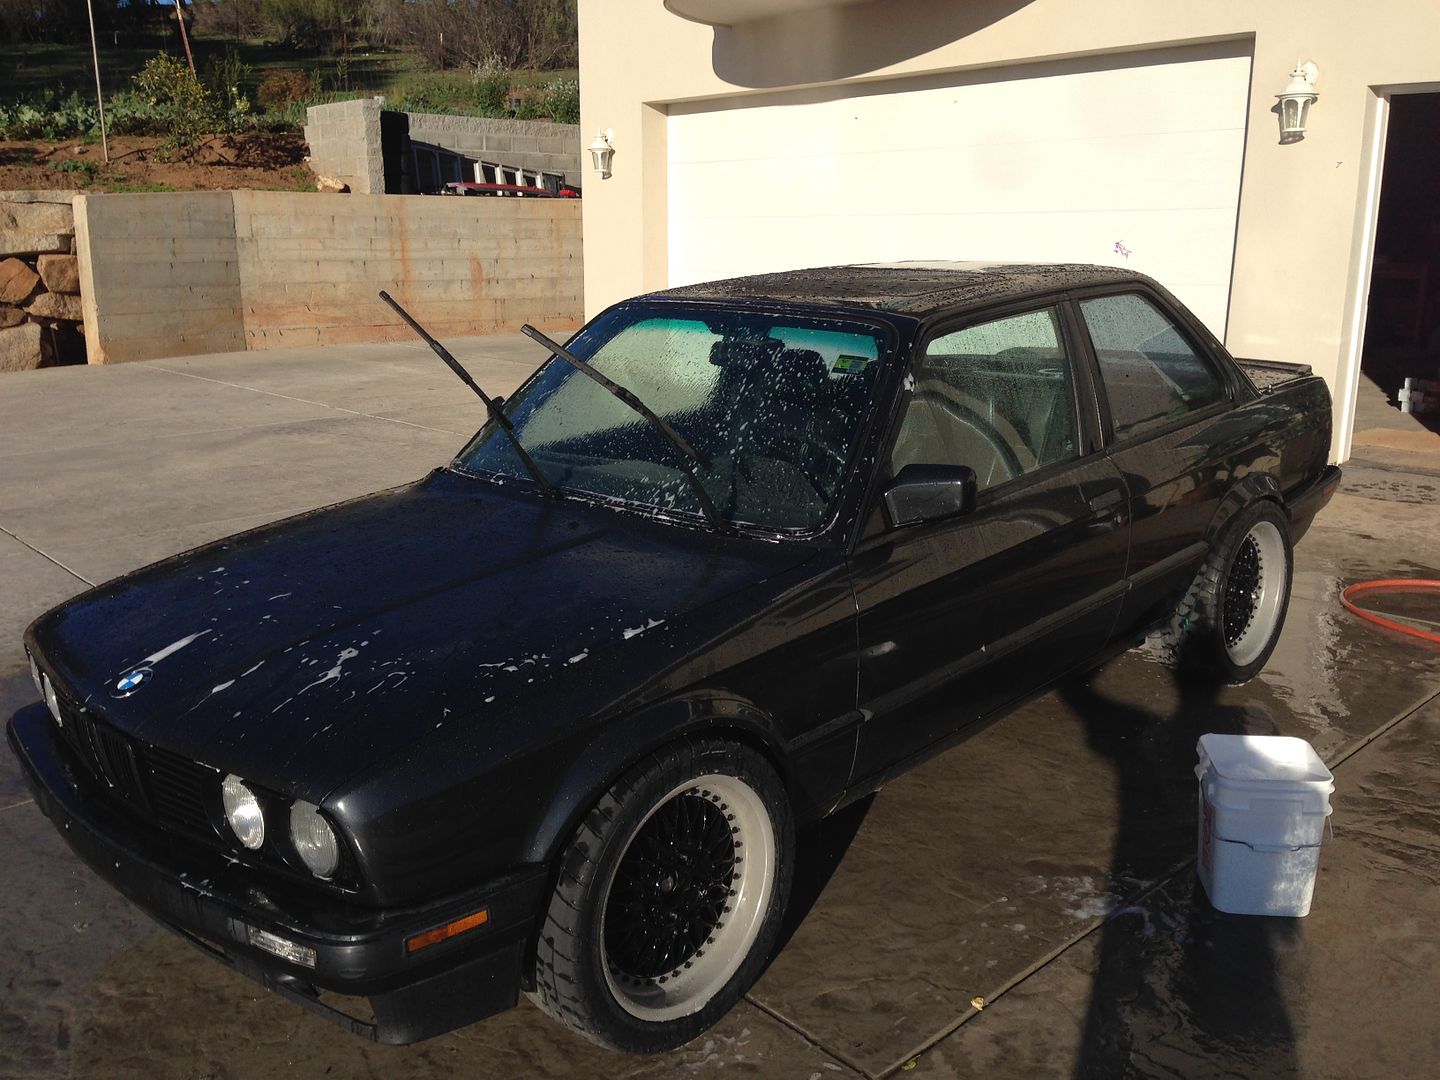
    And this is how she sat before I finally replaced the DOT fender with a Diamond Schwarz factory fender from Pick 'n Pull!


    Thank Yous
    I want to thank my brother for getting me into BMW's and just cars in general. He's been an awesome mentor and help in my stupid adventures and mistakes. lol

    I also want to thank my lifetime buddy Matt (aka TallSkinnyMatt on e46fanatics) for helping me tear apart my car and put it back together sometimes with only pliers and a screwdriver! *you may see a few pics with his gorgeous E46 330ci in future posts

    I also want to thank Joey (aka JinormousJ here on r3v) for helping me start networking with more Bimmer enthusiasts and get out of my shell. I'm happy to have finally found someone who's just as enthusiastic about E30's as I am!

    Sacramento E30 Meet
    I also hope you guys can make it to the Sacramento E30 meet that Joey and I organized. To participate click here!> Sacramento E30 Meet

    My Links
    Lastly I want to share some stuff that I enjoy to do on my free time... I have a few Tumblr accounts.

    Only E9 Tumblr
    Only E10 Tumblr
    Only E26 Tumblr
    Only E30 Tumblr

    My personal blog which of course is only BMW content doesn't get very much action but if you want to take a gander, here it is: zumjosh's Tumblr

    My last hobby I'd like to share with you is video editing. I don't have much of my own content but I still enjoy editing with existing footage. So I took a bunch of BMW vids on the internet and made a montage. Enjoy: Beggin' for a BMW
    Last edited by zumjosh; 01-21-2016, 11:19 AM.


    #2
    Nice Josh

    Looking forward to updates; glad you finally started posting and got the build thread up man. Hope to see the monster this thing becomes in the future :up:

    Comment


      #3
      Here's a quick teaser of what's to come in the next couple weeks. I'll be doing a full write up as well. Stay tuned!

      Last edited by zumjosh; 02-18-2014, 11:33 PM.


      Comment


        #4
        This is going to be really good!
        1988 325is imolarotII/ plastic bumper swap/ e36 m3-z3 2.8 5 lug swap/ e36 m3 bilsteins/ e36 m3 h&r race spring up front/ GC rear coilover / 21mm vert sway bar/ m3 offset bushing/ OEM bushings/ S3.73 rear end/ full black interior/ e46 sport seats/ BBS style 5


        Instagram - AnthonyVzz

        Comment


          #5
          My 5 Lug Conversion!

          My 5 Lug Goal

          So as previously mentioned, one of my goals was to do a 5 lug conversion on my E30. I'll have to admit it started for a stupid reason (wanting E39 Style 5s), but I have come to understand the benefits of going with 5 lug over the past 8 months of researching and collecting parts.

          I intentionally started with saving as much money and finding parts and completing the conversion as affordable as possible. But this came with a lot of compromising that I wasn't willing to deal with. As a result I kept saving money and collecting quality parts over the past 8 months. So I ended up with a bigger spending budget than originally intended. I'm a full time college student with a full time job working construction. Money doesn't come by easy, but whatever I spend my money on, I make sure I do my due diligence in getting a quality product.

          Let me just take a moment to say this, please be respectful and use constructive criticism. I and my brother have worked countless hours on getting this E30 looking way better than it arrived in my garage. Using short, insulting comments gets on my nerves and I will call you out. Until you've spent as many hours as we have getting shit to work, please keep the hateful comments to yourself.

          Great, now that I've got that out of the way, let's go over what I was hoping to achieve. P.S. Forgive me for using smartphone pictures. They aren't the greatest quality, but hopefully you all will see what I'm trying to explain in the photos. If you need further explanation just copy-paste the photo and ask away.
          1. Do a 5 lug conversion using E36 parts
          2. Use E36 M3 front suspension merged with E30 struts to use E30 inserts
          3. Use E36 Ti rear trailing arms and add camber and toe kits
          4. Install an affordable, adjustable coilover kit
          5. Fit E39 Style 5 wheels without spacers and fit 235mm tires
          6. Refinish the wheels in color combination of my liking
          7. Install polyurethane bushings wherever possible
          8. Have a great time with my brother working on E30s!


          Collecting Parts

          So sometime in July I collected my first item for the conversion, the wheels (never start with the wheels). But this started the ball rolling. Below I have a list of items and roughly how much it cost me to purchase everything. This a rough estimate. I went tad bit over the amount you'll see because of purchasing sand paper and some small items here and there, but you get the idea.

          Wheels
          $400.00 - 5 BBS RC090 wheels
          $141.00 - Sandblasting
          $450.00 - Painting
          $188.36 - Hardware
          $704.24 - Tires
          $38.24 ~~ Valves
          $120.00 - roll fender flares

          Suspension
          $203.00 - 318Ti trailing arms
          $270.00 - E36 M3 hubs + C. Arms
          $120.00 - E36 M3 '95 front struts
          $76.89 ~~ E36 front brake pads
          $89.67 ~~ 318Ti rear brake pads
          $128.69 - C-arms Lemforder b-joints
          $76.00 ~~ Front CAB bushings
          $350.99 - Rear Bushing kit (from bimmerbumco on eBay)
          $269.95 - BavA rear camber kit
          $180.00 - IE weld in camber/toe kits
          $35.00 ~~ aluminum hubcentric rings
          $335.40 - GC camber plates
          $479.64 - GC coilover kit 440f & 640r
          $200.00 - machine spindles
          $89.95 ~~ alignment

          Wheels

          The wheels sat for a few weeks because of the beginning of my fall semester. Then I began taking them apart.


          The wheels were FILTHY but I took some GoJo soap and a scour sponge and went to town.


          The centers were even more difficult than the barrels. Persistence is required.


          All clean.


          After that I began sanding everything. By hand. Not easy.


          I removed the original BMW emblems. I'm not sure if I want to get the regular BMW wheel emblems or the vintage Motorsport emblems. Still deciding.


          I sent in my centers to sandblast and was quite happy how good they looked blasted. Too bad I forgot to take pictures of this.

          Next was getting everything ready for paint. I took the bolts and mask taped each one to protect the threads from getting filled with paint and clear coat.


          I also purchased hub centric rings for E39 to E36 fitment.


          I also purchased some studs and racing lugs and locks from Motorsport Hardware.


          Next I purchased tires. Toyo Proxes R1R 235/40r17. I selected these tires because I'm in love with them. They handle incredibly well and they are sticky thanks to the 140 tread wear.


          Next I had to check the clearance on the front struts and the E36 M3 brakes for the Style 5s. More on this further down. I used one of my brothers Style 5s that he had lying around the shop.


          Then I got my wheels back from paint and this is what they look like...


          So piano black centers, black bolts, black plastic center caps (not pictured) and grey barrels. I'm very happy how they turned out. Next my brother and I decided to assemble the wheels and get tires mounted.


          Next I installed the black valves from ECS tuning.


          To protect the barrels, I decided it was best to mask tape the side of the barrels.


          Now it's time to mount the tires. This should be fun.

          Remember to lube up. ;D


          We put the wheels on the mounting machine reversed. Not something I was used to doing.


          Now it's time to mount and inflate the tires.


          And DONE!


          Now it's time to mount the wheels on the car, but before we do that, let's talk about the brakes.

          Brakes

          Since I wanted the E36 M3 front setup, I had the advantage of using E36 M3 brake calipers and rotors along with the spindles. However, as some of you may know, It's impossible to run E39 Style 5 wheels on E36 M3s without using a 10mm spacer because of clearance issues. So here's how I resolved not using spacers and still clearing.

          First I began with sourcing the parts. I have a local friend that runs a dismantling business for E36 and E46 M3 parts only. So I got in touch with him and he sold me front '97 M3 spindles, rotors and calipers as well as front '96+ control arms, but we'll discuss that in the suspension section.


          I only posted one side since I feel like the pictures might get quite repetitive.

          So on to testing the clearance. I took one of the hub centric rings and put it on the hub.


          Then I took one of my disassembled wheel centers and set it on the hub and pushed the caliper out to resemble having brand new brake pads.


          So you can see a 5-6mm gap between the hub and the wheel because the caliper is pushing it out.

          Here's a closeup of that image. Sorry the quality isn't that great but I'm sure you get the idea.


          The next thing was figuring out how to get the wheel center to fit without running a spacer. My brother quickly brainstormed as he usually does and came up with a genius idea. So we figured the minimum amount we have to shave is 6mm and maximum would be approximately 8mm (calculating wheel stress flex and new brake pads and rotors etc). Once we had an idea of all of these calculations we decided the amount of metal we would have to remove from both the spindle and caliper and caliper bracket/carrier (use whatever terminology you like). So on to giving details with photo demonstration!


          This is the spindle and the area we decided to shave is marked with the number 3. I figured that shaving 3mm from the spindles would bring in the entire caliper system toward the hub. Then I marked the section till where the spindle would be machined. Don't go past the lines marked or you will lose the durability of the spindle. P.S. I am aware milling away material can lessen the strength and rigidity of the part. However, because the E30 is already a lighter chassis and that I made sure that I didn't mill away too much, I am confident that what I modified will still be durable enough during high stresses.

          I had a local machining shop and friend of ours do the work for me. He does top notch work and I trust him with doing what I ask. And this is the result.


          Here's a second picture of both mounting points. Remember that both points must be absolutely parallel or else your pads will wear unevenly.


          Now that we've completed that, it was time to check our clearance yet again. We mounted the caliper bracket and caliper back on the spindle and stuck the wheel center on the hub.


          Now the gap is much less than before but it's still not enough to keep thing from rubbing.... Obviously. So to fix this, I grabbed the air grinder and started shaving the face of the caliper.


          I removed around 3-4mm on both calipers on all eight ribs (four on each caliper).

          Then we put everything back together and checked one more time and now that we removed 3mm from the spindle, the caliper bracket will rub on the rotor and not allow to tighten itself to the spindle correctly. So that involves more shaving. This time to allow rotor clearance.


          Time to put a bigger blade on the grinder and shave roughly 3mm from the inside of the caliper bracket. Such as depicted here.


          Do this to both caliper brackets. This requires two cuts on each bracket. Just for reference this should be about how much you'll be cutting away.


          Once again, make sure these cuts are absolutely parallel. Not because of uneven brake pad wear but because of rotor clearance. Don't be afraid of the bigger gap towards the spindle on the caliper bracket and rotor. Your brake pads will still rest on the bracket even when scraping metal to metal. You should not have more than 4mm gap between the unmodified side of the bracket and rotor. If you do, the machinist took off too much metal from the spindle.

          Now we put everything back together and... Vioala!


          Everything clears beautifully. Now on to making the brakes look pretty. Because not only do I like performance, I love a great looking E30! And mine will get there slowly but steadily!

          So I pressure washed and then wire brush scrubbed each caliper and caliper bracket and got them ready for red caliper Por15 paint!


          Now on to hanging everything up and brushing them with Por15. It took about 3 layers before it got the right shade of red.


          Now that everything was dry, I wanted to make sure people knew ///M parts went into the car. So I masked the wheels and rattle caned the ///M logos on the front calipers.


          Now that the painting was done, my brother and I had to install the caliper piston and seals since they needed to be rebuilt. They weren't damaged but the seals were not seated properly in their place when I got them from my parts guy.


          And finally here is the front calipers with their pistons and seals looking like new.


          Now it was time to install everything and get them ready to mount on the car! Required Instagram pic is in order! Follow me @zumjosh on Instagram and Twitter. Or click the links in my signature for easy access. (shameless plug)


          Suspension Setup

          So on to suspension. Initially I planned on getting my 5 lug conversion done as cheap as possible. This resulted in trying to find '95 E36 M3 front struts. For the E36 gurus out there, you may know that only '95 E36 M3 share the same spring setup as E30s. So my plan was to just get '95 struts complete with springs and just use my existing H&R Sport spring that were already in my car. Well... my plan didn't quite work out. With the amount of drop I wanted and the suspension options being limited on my budget, I decided to go a different route. This took more time and more money spent... I purchased the '95 struts anyway because I found a good deal but then started collecting the other items I would need.

          Now onto explaining my suspension plan. The plan was to use the E36 M3 struts because of the spindle but I wanted to use my existing E30 Bilstein Sport inserts and the Ground Control coil over conversion kit they offer. As far as I know, no one has done this particular method before. I have seen people use 325ix inserts since they are shorter but there are no existing Bilstein Sport insert available for the 325ix (just HDs). So we decided to stick with my existing TALL Bilstein Sports. Buuuuut this didn't offer the amount of lowered adjustability I wanted. So my brother ended up modifying the front E36 struts twice. As a result we measured, cut and installed everything TWICE. You choose which setup you would like to go with and follow the instructions.

          The first setup is designed so that your suspension will be set at the height of a STOCK E30 with the Ground Control adjustable perch at the TOP of the adjustable sleeve (pics will explain this). The second setup is designed so that the car sits 1 inch LOWER than the height of a STOCK E30 with the Ground Control adjustable perch at the top of the adjustable sleeve. Take notice that the strut is measured taking into consideration that the car will sit compressed. The goal was to not take away from the compression of the insert. You still want comfortability even when low. All things considered, once you have everything measured you can still go another two inches lower because of the adjustable sleeve! YAY!!!!!:D

          Before we get to both setups, lets begin with the work you'll have to do before you even start measuring the full strut.

          Take your '96+ E36 M3 control arms (hopefully with the lollipops) and start taking them apart.


          Start by pulling off the lollipops and pressing out the old ball joints.


          Then take off the perches and springs from the front struts. the result looks something like this.


          Next it's time to cut off the top of the E36 strut. Be careful as these can be pressurized and could shoot out. Mine were blown so I didn't worry to much about them.


          And boom.... That's how that works.


          Next it's time to cut off the old spring perch.


          Cut as close to the original weld and knock off the perch with the hammer and it should come off just like this!


          No since the old struts' paint was pealing and rusting, I sent them off to the sandblasters and then I rattle can primed them.


          Next you have to grind off the old factory weld.


          Now this is where things start taking a turn. First I'll show you guys how we modified and measured for stock E30 hight setup. And second I'll show you how to modify your struts for a 1 inch lowered setup.

          Stock Height Setup

          First lets start with getting some E30 struts. You can use your existing E30 struts or you can buy yourself an extra set from a wrecking yard/pick n pull.

          You'll want to do the same cuts as you previously did with the E36 struts. Cut the old spring perch off so that you can cut the proper amount off to merge onto the E36 strut.


          Next, your best bet is to cut the E30 strut just at the top of the factory weld of the perch you just cut off.


          Then you can smooth out this cut with a grinder. Make sure that the cut section is perfectly perpendicular to the strut. This will make sure that your strut inserts will slide in freely and not mess up your suspension geometry.


          After this has been completed, you final result on the threaded E30 strut section should be in the range of 3 inches.


          Next is the E36 strut. You want your entire front struts to be roughly 17 1/4 inches long from the bottom of the strut to the top. This will allow the E30 insert to fit inside and lock in place without having to use a spacer.


          Remember that you may have to cut and grind to make sure everything fits perfectly snug. Use a blown E30 strut insert to test the fitment constantly so that you don't make any mistakes. Something like this...


          Do this to both sides if this is the setup you choose to run. Final measurements will be available at the bottom of this subsection.

          Next it's time to weld the top end of the E30 strut housing to the bottom of the E36 strut.


          Now we get to weld on the Ground Control bottom perch. I unfortunately forgot to take a picture of the distance from the top of the stock E30 perch to the bottom of the E30 perch. But for those who would like to know, it was 9 inches decompressed (meaning the car being in the air and not resting under it's on weight).

          So your best bet is to take a stock insert and slide it in, take your GC bottom perch, adjustable sleeve and adjustable perch, spring and whichever top perch or camber plate you choose to use and measure 9 inches from the top to where the bottom perch needs to be and tac weld it in place. Kinda like this!


          Since my brother and I were testing this for the first time. We decided to do a quick install and see how it looks.


          We popped on the wheel and let the car sit under its own weight.


          Now you may have a different wheel or tire selection but this is how it looked with Style 44 wheels. I wasn't happy with the height so we decided to do a different method. This is where the real fun starts. But remember, although the car sits at 26.5 inches high, the adjustable perch can still go down two more inches. Anyway back to what we really decided to do.

          Lowered One Inch

          Since we only did tac welds on the front struts for the perches it was easy to grind those off. Getting everything else however was a pain. Once again it was back to brain storming. As I mentioned before, I didn't want to run with 325ix HD inserts. So we decided to drop the suspension from the bottom. This required use to use a plasma cutter and cut out the welded bottom cap to the E36 struts.


          Next I used a air dremel to make sure the inside was smooth and allowed the strut insert pass through.


          Vioala! It passes through!


          Now I wanted roughly an inch lower at it's highest setting. So we measured and marked that out on the strut.


          We found a dead wheel bearing lying around the shop and it happened to be the same diameter as the E36 now strut housing on the inside. and it also happened to be 7/8s of an inch. Perfect! Time to weld it on!


          Next you want to cap off the end. You could either close it off or you can do what we did and use a smaller ring to weld on the bottom of our used bearing. We went this route because you never know when I may install Koni double adjustables.


          Now that we've done that, let's measure. You want to measure exactly 15 and 7/8s inches from the bottom of the spindle mounting point to the top of the strut. This will allow the strut insert to fit absolutely perfectly in the E36 strut.


          You will have to do the same work as previously mentioned above with cutting and welding on the top of the E30 strut housing. Weld on your Ground Control bottom perch at 12.5 to 12.75 inches from the bottom of the spindle mounts. As pictured here. (a quarter of an inch isn't too critical when welding on the bottom perches because of the adjustability)


          Now it's time to install all suspension bits again and stand back in awe.


          Now lets install the E36 M3 spindle on the modified strut and measure the uncompressed suspension to the center of the hub.


          And here we can see that from the top of the camber pates to the middle of the hub is 22.5 inches.


          This is a stock E30 strut with its hubs and that measured at 25 inches.


          And here's a closer pic of that measurement.


          Sorry. Did I say 1 inch lower? I meant 2.5 inches lower. With 2 inches moar low adjustability! WIN!

          Next I Por15 painted everything and now everything is all black and shiny!


          Now lets move on to the control arms.

          Control Arms

          As you've seen, I already popped out the old ball joints. Now it's time to put in the new ball joints and the bushings into the lollipops.

          I purchased new Lemforder joints.


          And I purchased Condor Speed Shop delrin offset bushings.


          So first my brother pressed in the Lemforder ball joints.


          And this was the result.


          Then I took over and pressed in the CAB bushings into the lollipops.


          That was easy!


          Now that the front suspension is complete, now I can show what we did for the rear setup.

          Rear Suspension Setup

          To do the rear suspension, I decided to run E36 318Ti rear trailing arms. But in order to set the height adjustment, We figured that it would be best to install weld-in camber and toe kits on the rear subframe. Instead of using the one that was already on my car, my brother sourced a subframe from pick-n-pull and we started working on the entire rear subframe without me having to be carless for weeks. So let's begin!

          First we started with prepping the Ti trailing arms, beginning with removing the log bushings. The great thing about buying Bavarian Autosport camber and toe kits is that it comes with a bushing remover. ;)


          Power tools made removing bushings quite a breeze.


          Next it's time to remove the old bearings. Not really necessary but I thought it best to have as many new parts as I could afford.


          Bearings out: check!


          The next thing I wanted to accomplish was to reinforce the trailing arms. I wanted to have a Z3M wannabe trailing arms. So my brother purchased some thick gauged square tubing and started measuring and cutting.


          That looked to be about the right size.


          Now it's time to weld the pieces together. We cleaned the welding area and went to town.


          And this is how the reinforcement bar clears the rear subframe.


          The order of the above pictures aren't correct but I'm sure you get the idea.

          Next we got the rear subframe ready.

          First we torch the subframe bushings and pound them out.


          Cool underexposed photo of awesomeness!


          And they're out!


          Now we weld in the camber and toe kits.


          This step easily took the longest apart from measuring and prepping the front struts.


          And there was much to dremmel!


          And for added adjustability, we decided to use both Ireland Engineering weld-in kits and Bavarian Autosport bushing kits for adjusting the camber. If I'm not mistaken, these two combined add an extra degree or so of adjustability. I have yet to calculate that theory.


          And then we tested the rotation of the IE bolts.


          Now since the Bavarian Autosport kit has a machined bolt, we couldn't slide in the longer IE bolt. So to fix that, we drilled out the Bavarian Autosport center metal adjusting bushing and then the IE bolt slid right in. We make things happen my brother and I!


          Next I wanted to reinforce the rear strut mounts. The rear bushing kit I purchased from BimmerBumCo came with a weld in reinforcement plate.


          First we dropped the rear struts.


          Then welded the plates in after we cleaned the welding surface of paint and sealant.


          Then we ground off the excess metal.


          And then we Por15 painted everything and called it a day.


          Now it's time to install everything we've prepped!

          Installation!

          So Thursday morning I woke up at 8AM and went straight to the shop my brother works at to keep myself busy prepping everything to mount on the car so that we wouldn't waste any time. The car had to be finished in time for the E30 meet I organize in Sacramento. All the brakes and rotors and brake lines and nearly all suspension parts were prepped by me before my brother got off the clock.

          The front struts and brakes were all mounted and ready!


          I made sure all the ABS and brake sensors wiring was put in place. Unfortunately my parts guy cut some of the wires so I'm currently running without ABS but that will get fixed soon.


          Now that the fronts are almost ready, I had to make sure the rear suspension was all prepped.

          I started with pressing in the bearings.


          Next I got the trailing arm bushings pressed in. Solid poly bushings on the outboard trailing arm mounts.


          And Bavarian Autosport camber bushing kits on the inboard trailing arm mounts.


          And now it's time to install the trailing arms on the rear subframe.


          Next it's time to install the subframe poly bushings. First I installed the bottom.


          Now in order for the top bushing to fit, I had to remove part of the lip on the bushing so it would clear the nut to the outboard trailing arms.


          So now that those are done, it's time to get the GC adjusting sleeves on.


          Now it's time to drop the old suspension! Winning!

          First I started with the fronts.


          Next we had to drop the rear.


          And tada!


          Next we gotta take out the diff and axles I have currently.

          I also removed the existing Bilstein Sport rear struts.


          And since I have poly strut mounts, I removed the old strut mounts.


          And now the new strut mounts are fitted and the strut is ready for mounting.


          Next we removed the diff and put it in the pressure washer.


          It's amazing what 15 mins in the pressure washer can do!


          And here's a little side story. Over a year ago I noticed a sizable leak in the old 4.10 open diff and realized that it would probably go out soon. So I went on a searching spree to find a 3.25 LSD for my upcoming S52 swap. About 4 months after I purchased and got the diff, my 4.10 exploded. So now with the new diff my car is horribly underpowered. But it'll all be worth it in the long run.


          So on to the subframe, my brother and I realized it would probably be easier to install the subframe first and then install the diff after. So subframe went in first!


          Next we installed the rear struts.


          Everything looks great in black, yellow and red!


          And then we hooked up the emergency brake cables and put in the rotors and rear calipers.


          Now it's time to get the front setup installed.

          We removed the front H&R springs and now we get to remove the front Bilstien Sport struts.


          And now we install them into the new strut housings we created out of E36 struts, E30 strut housings and a set of old used bearing.... Talk about a frankenstein E30!


          Then we tightened the struts down, put on the springs and fitted the camber plates. And it's starting to look really sexy!


          And in they go!


          Now we have to connect the steering rod and control arms etc.


          The stubborn guys were the lollipops.


          But we got them in.


          Then we hooked up the brake lines and then lowered the lift to start adjusting the camber plates.


          That was that for the night! My brother and I went to sleep at 2:30 AM Friday morning and then got up at 6:30 AM so that Alex a.k.a Rodoni on R3V could roll my fenders.


          And here's the final product!


          And now she's ready for her bath!


          Final Verdict

          So I got everything done in a day and a half with installation. Right now I'm rubbing a lot in the rears even with the rolled fenders. So I may have to find a different set of wheels. But now you guys can see how I was able to pull off Style 5 wheels without having to run spacers. I hope you all enjoyed the read and pics. Let me know if you guys have any questions!
          Last edited by zumjosh; 01-21-2016, 11:26 AM.


          Comment


            #6
            Proper build, amazing work. I just wish you'd show off those RC's and kept them silver.
            I love that people ask stupid questions so I dont have.

            Comment


              #7
              Wow great write up. You guys do fantastic work.
              91 318is M50 swapped
              05 Honda Pilot

              24V swap thread
              http://www.r3vlimited.com/board/showthread.php?t=302524

              Comment


                #8
                Originally posted by mccor023 View Post
                Proper build, amazing work. I just wish you'd show off those RC's and kept them silver.
                Thank you! Well I wanted a more subtle look but now since I can't get the amount of low I wan't without doing major modifications to the flares I'm just going to sell the Style 5s.


                Comment


                  #9
                  That was awesome and the car turned out great. Keep it up.

                  Comment


                    #10
                    Great write-up!
                    Instagram = @Euro_Wagon

                    Comment


                      #11
                      Thank you for reading and enjoying the writeup. I've got a few new things that I've done to the E30 but that'll come once I have everything setup and ready to reveal. New wheels, THR lollipops and abs wiring to come. Stay tuned!


                      Comment


                        #12
                        :firehop:

                        10/10

                        Would read again

                        Comment


                          #13
                          Looks like there isn't a lot of negative camber dialed in. Maybe fitment would be better with 215/40 and some negative camber. Would probably be able to get lower with that setup.

                          I find that a nice sticky 215/40 is enough grip to handle my s52 swap. 235 is nice, but always rubs without some major pulling of fender, or high offset rims spaced out to just clear shocks on inside....
                          IG: @Baye30

                          FRONT VALENCE IS ZENDER!!! STOP FILLING MY PM BOX PPL!!!

                          Comment


                            #14
                            This is amazing! Great work man
                            1988 325is imolarotII/ plastic bumper swap/ e36 m3-z3 2.8 5 lug swap/ e36 m3 bilsteins/ e36 m3 h&r race spring up front/ GC rear coilover / 21mm vert sway bar/ m3 offset bushing/ OEM bushings/ S3.73 rear end/ full black interior/ e46 sport seats/ BBS style 5


                            Instagram - AnthonyVzz

                            Comment


                              #15
                              Awesome work with the e36/e30 front Frankenspension. You're brother has some skills.

                              Comment

                              Working...
                              X