
Hey guys
I have added a second trunk light to my e30.
I just wanted to document it and share it with you guys.
Tools needed
soda or beer
scissors
lighter
heat shrink tubing
needle nose pliers
rubber band
solder
block of wood (not necessary)
work area
-(table with a cardboard box to make it easier to hold the wires)

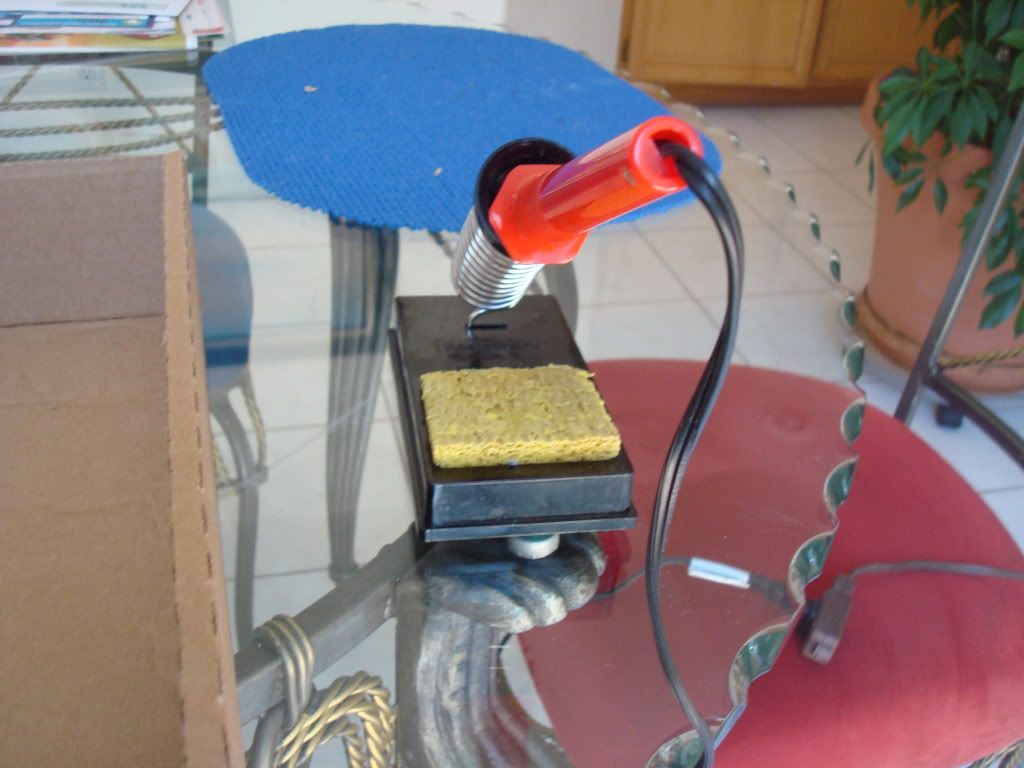
Soldering iron
wet cleaning pad
tape up the area around the lights to avoid scratching your paint.

next acquire a complete 2nd trunk light with the full wiring harness.

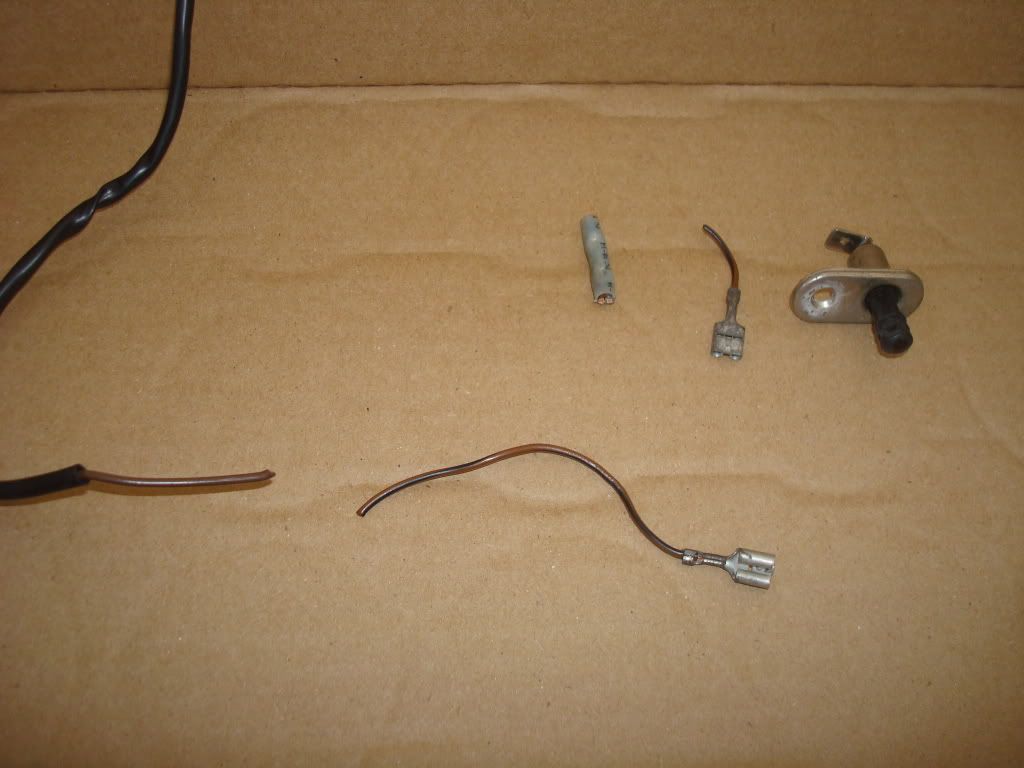
next lay the harness out and pick what you want to keep
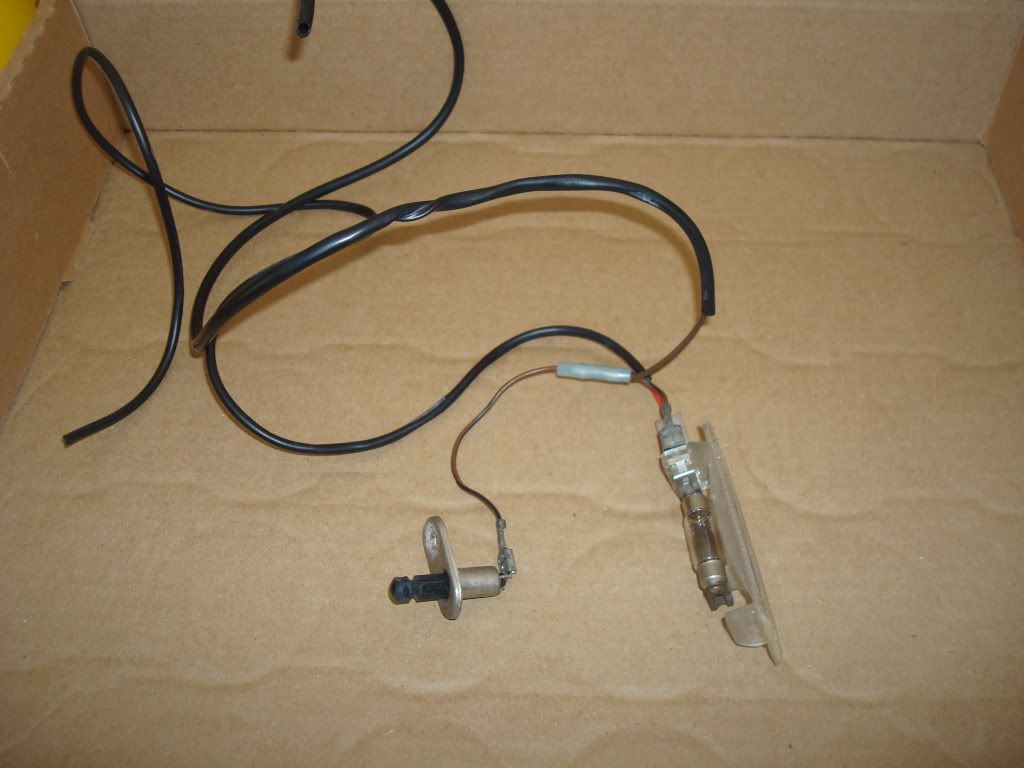
Then identify what does what, and know what you want to do.
I want to have a ground wire and a power wire.
I want to tap both wires from the existing trunk light.
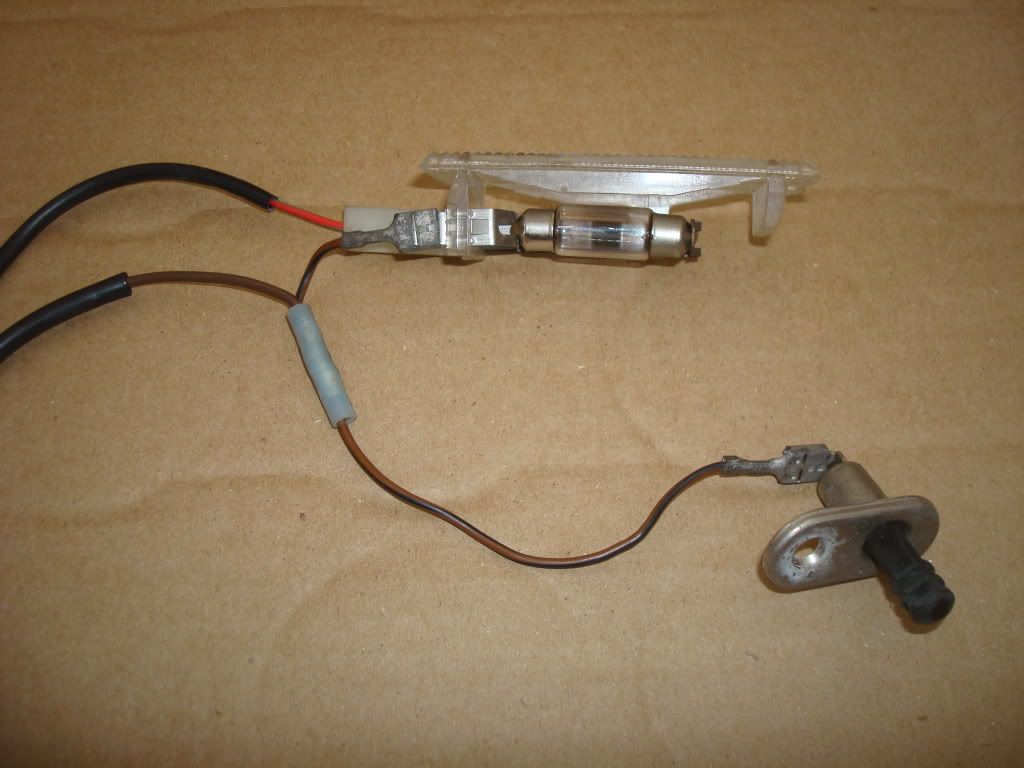
remove the red positive power wire for now.
cut accordingly
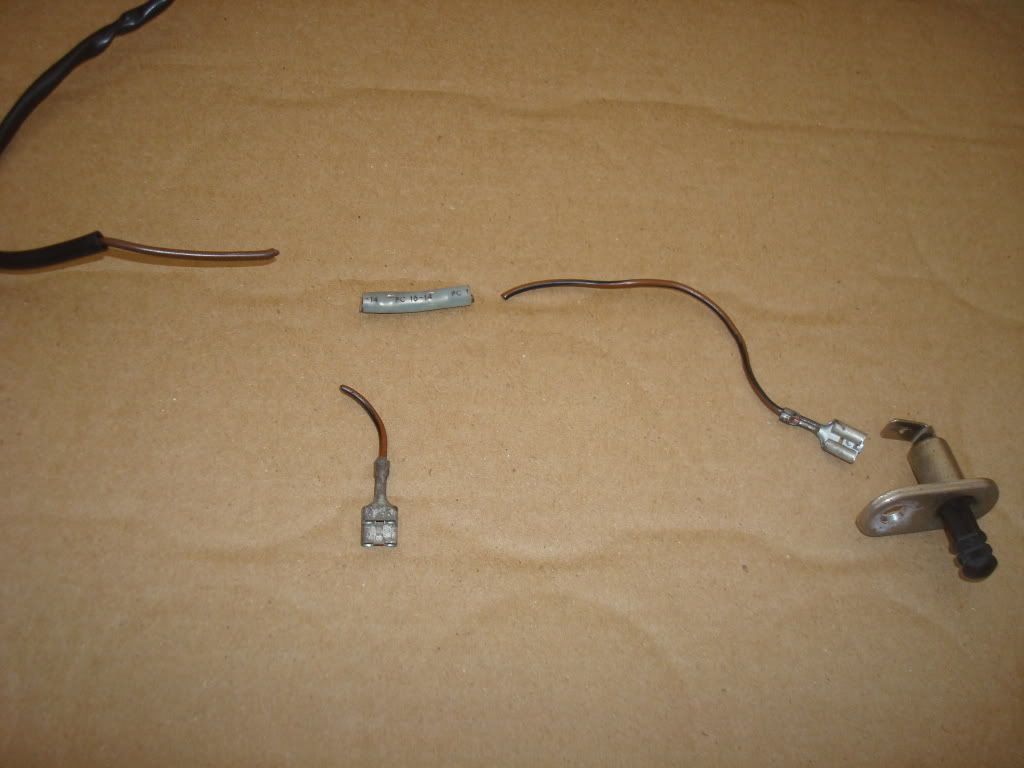
your left with this
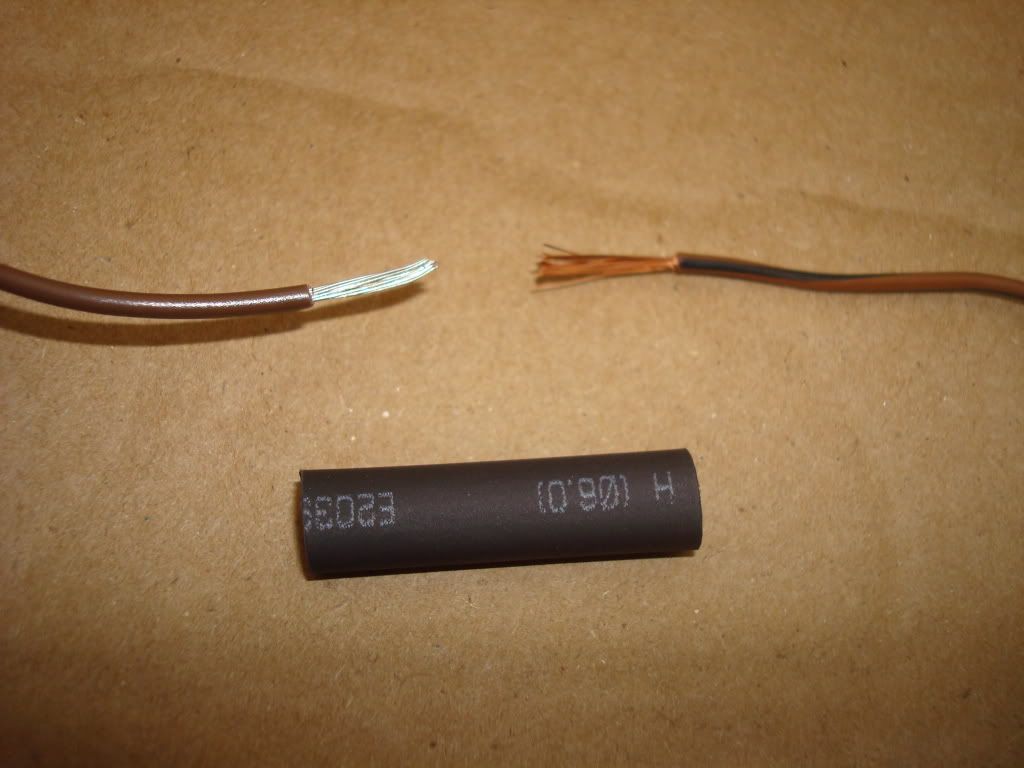
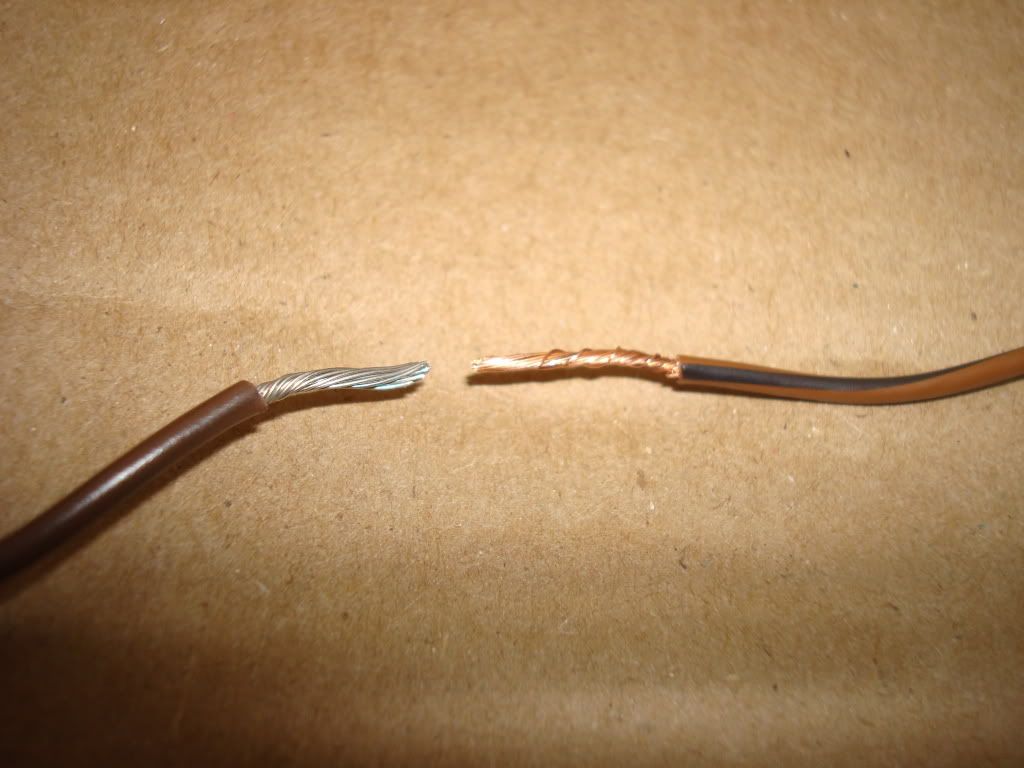
strip the ends and leave 1/4 of wire exposed
get a heat shrink tube ready.
twist the ends together.
slip on heatshrink tubing
and twist and tie the ends together
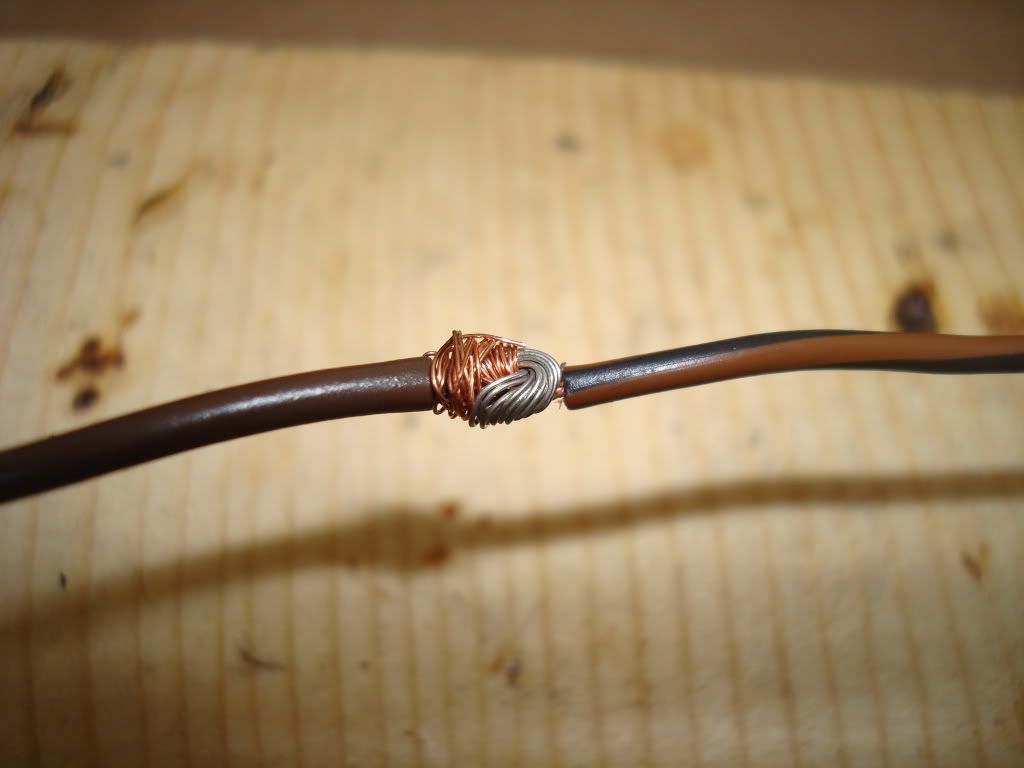
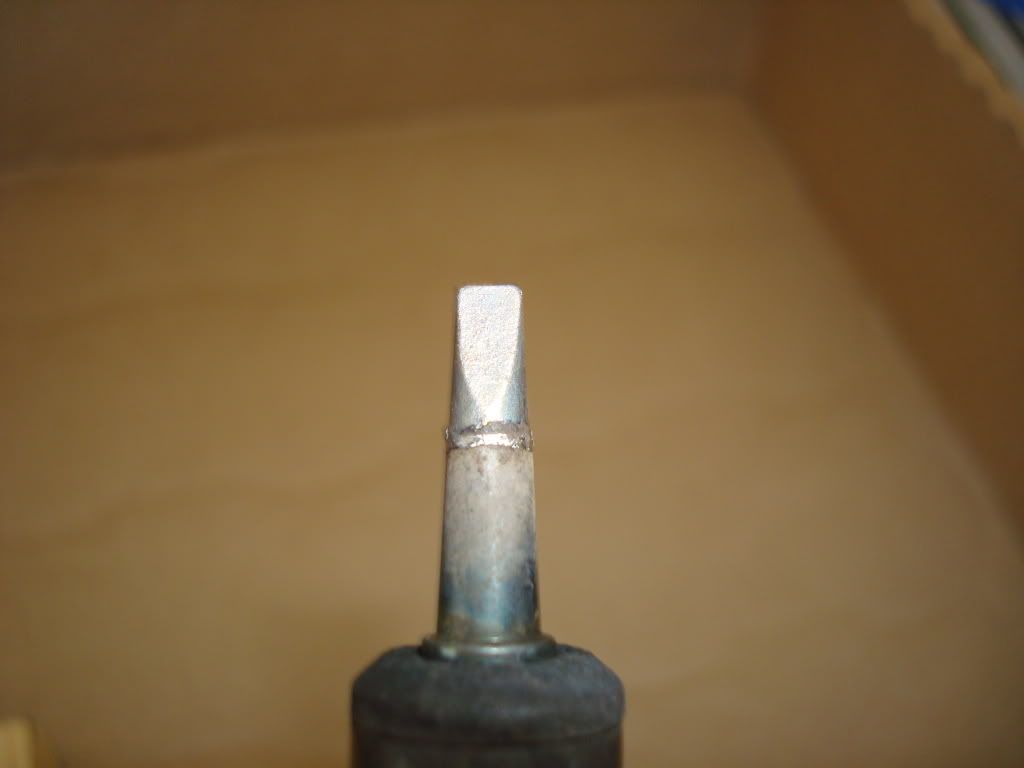
tin the tip of your sodering iron
heat the joint up then add soder
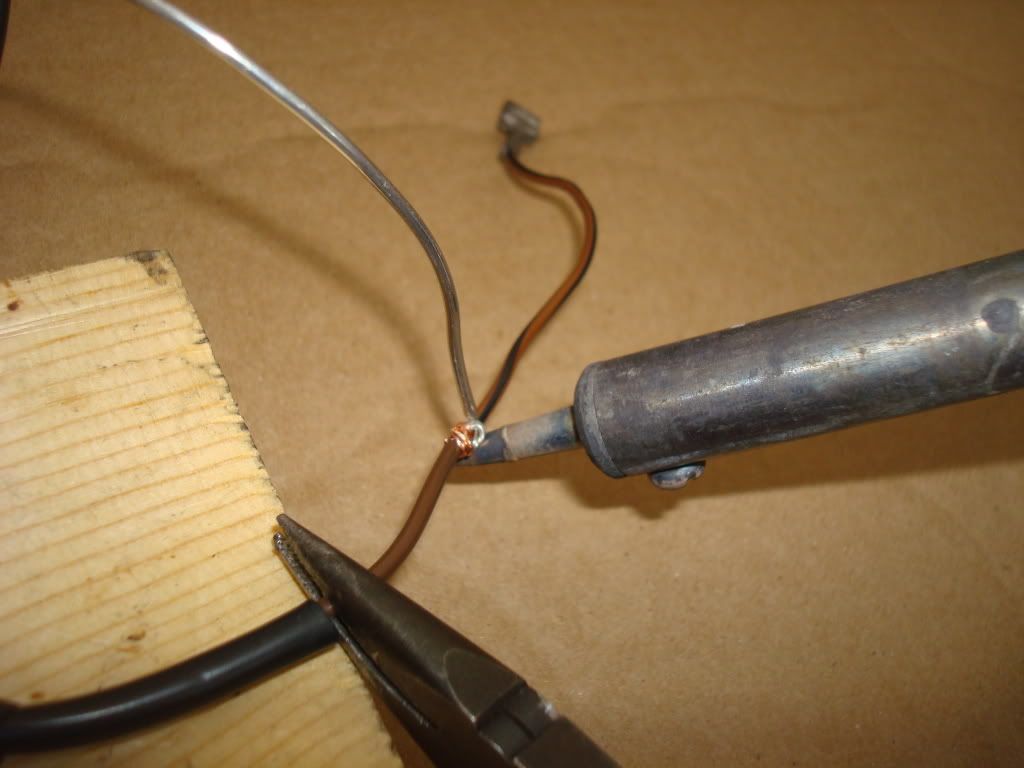
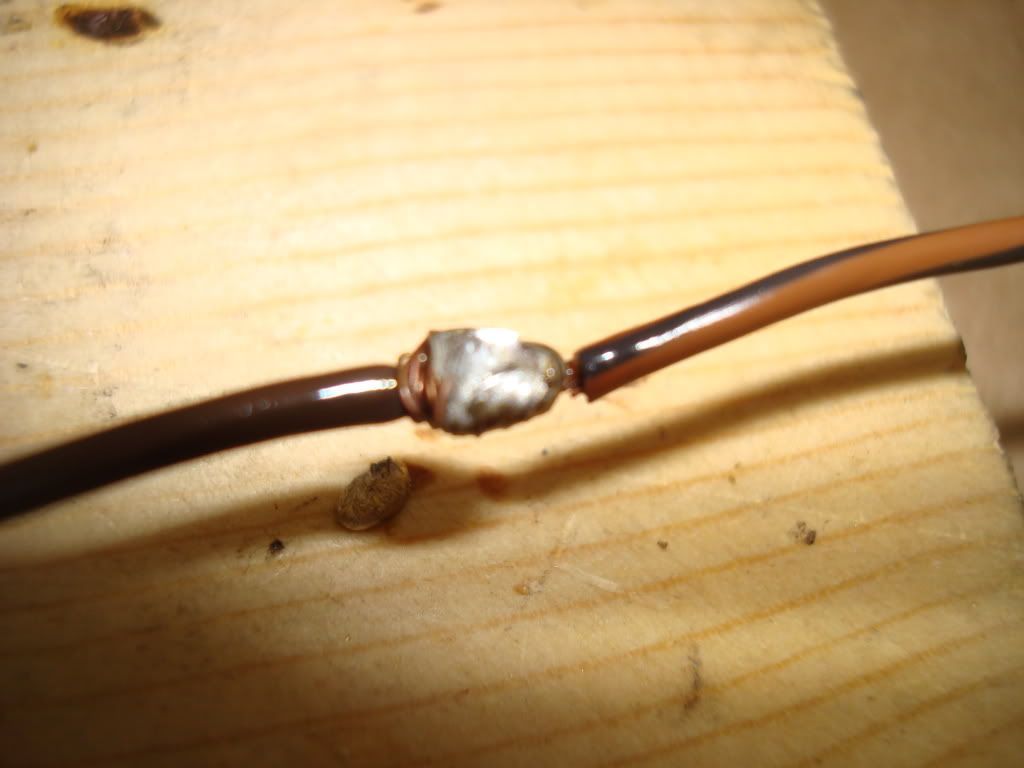
strong joint
heatshrink tubing
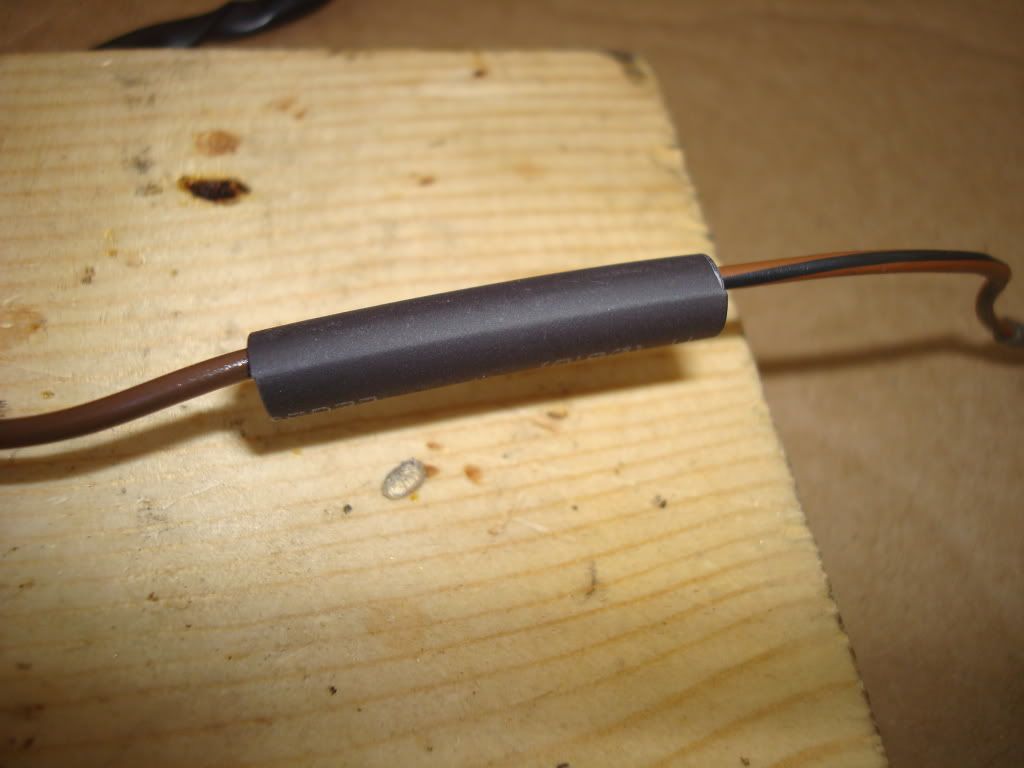
heat it up
shrinked
tubing covered up onto the heatshrink tubing
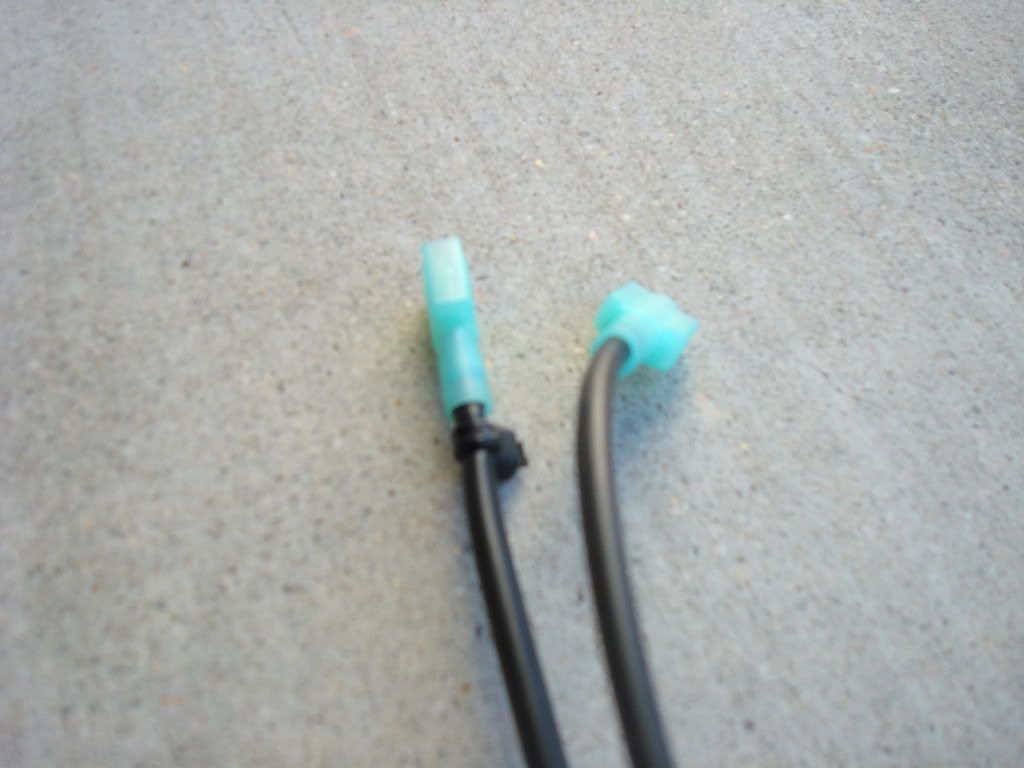
ziptie the wiring together to keep it neat and tidy
crimp connectors onto the end.
I identified which wire was which, the brown ground,negative wire I added a black ziptie to the tip to make sure there wasn't confusion.
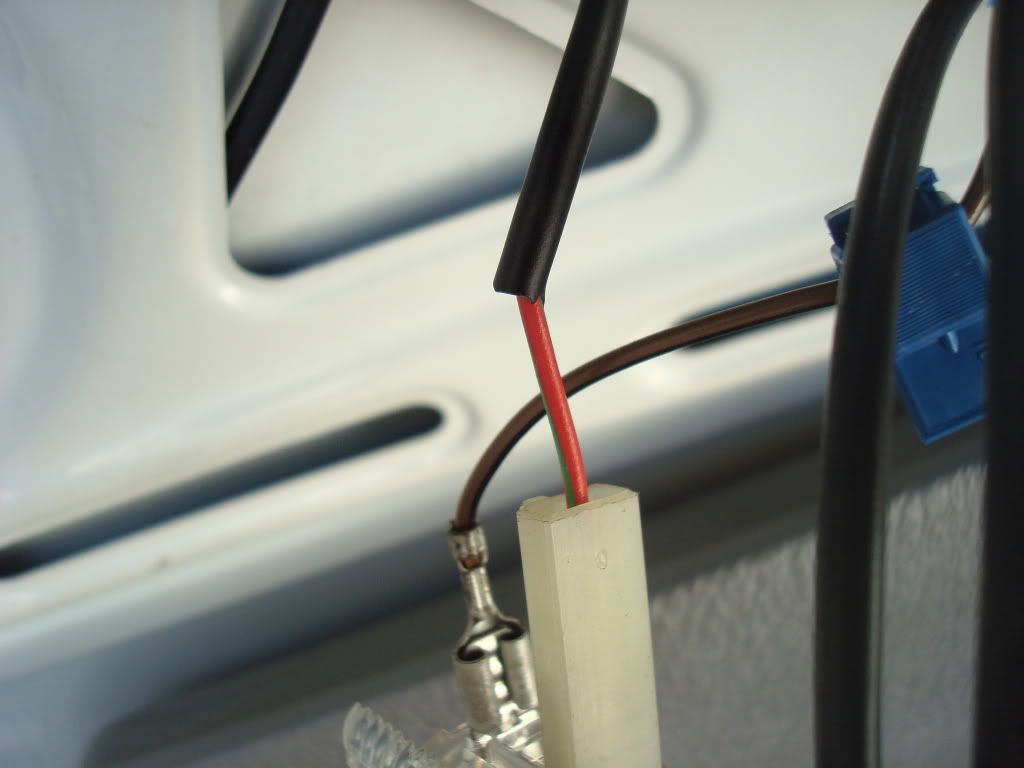
trim some of the shielding on the red power wire to make sure you have enough room to use the T tap
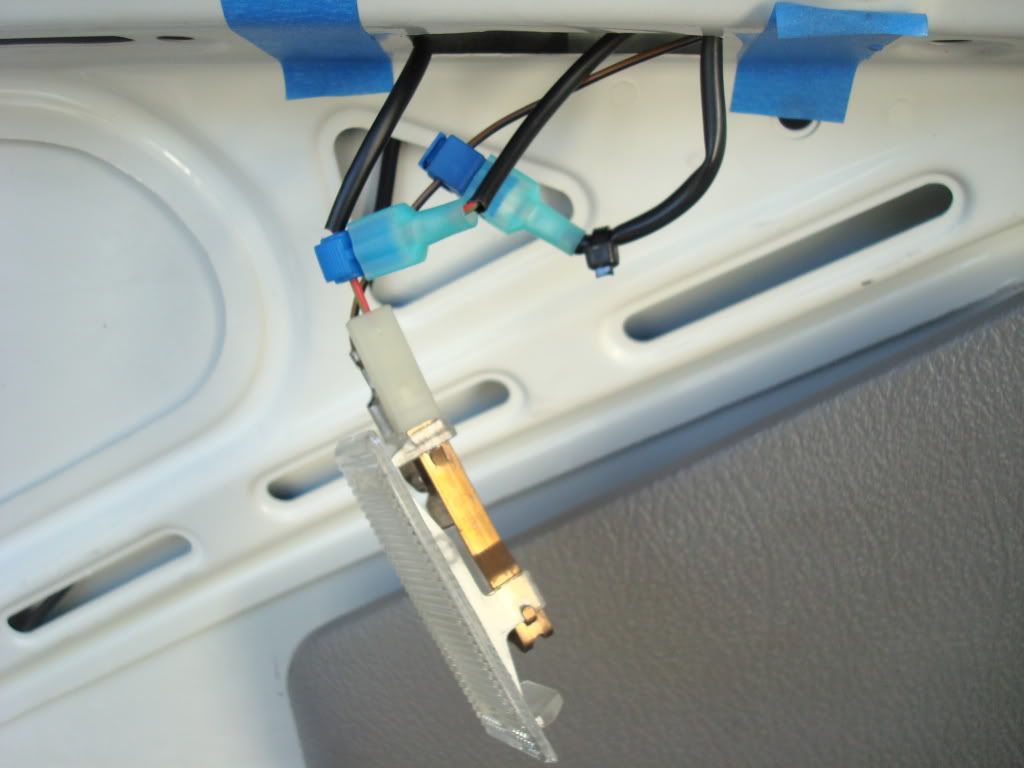
tapped the ground and the power wire
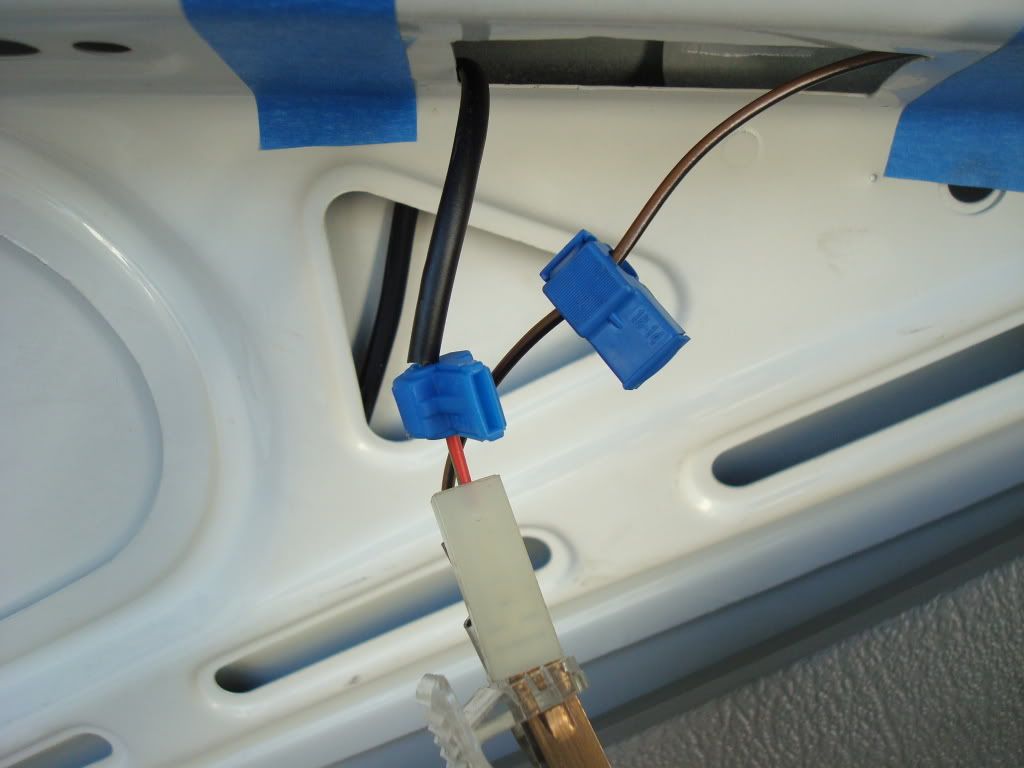
put the wires in the 2nd trunk light opening,
feed them to the left side opening
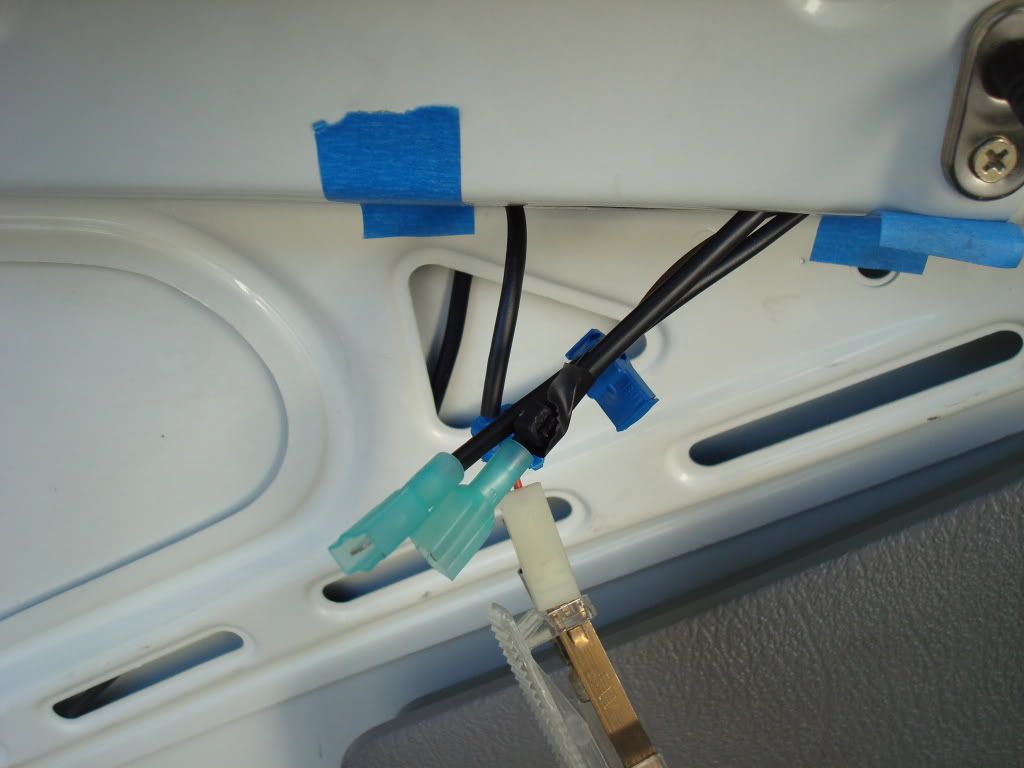
Make your connections
brown - brown(ziptie)
red - red
super easy
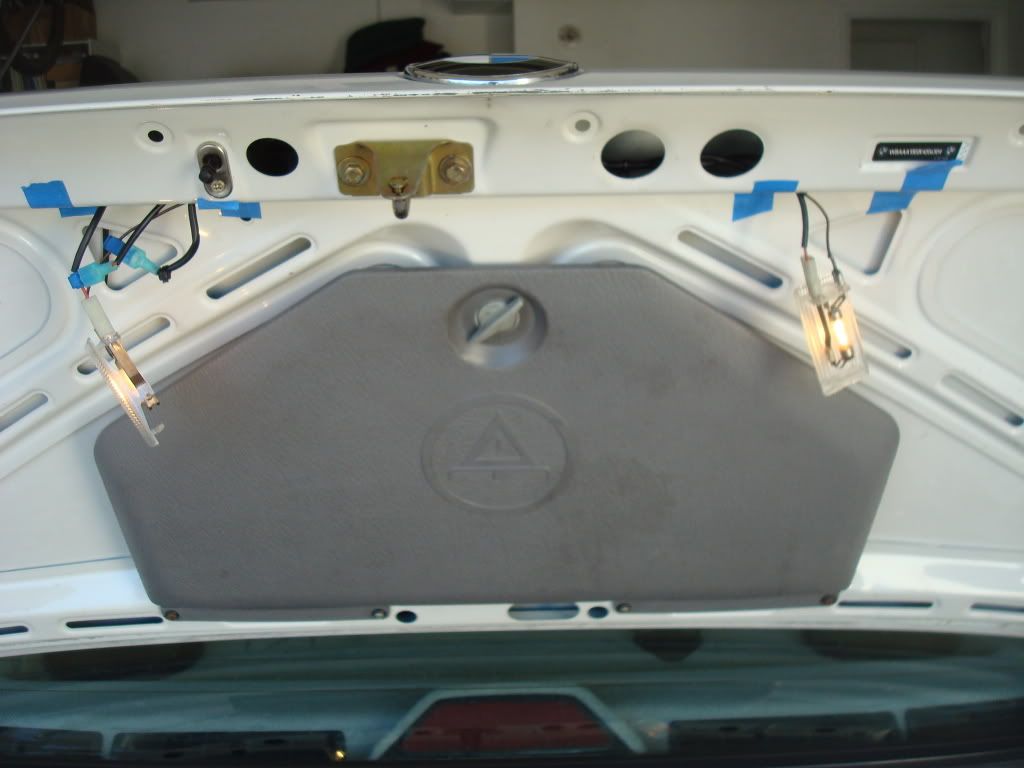
leave the lights out
plug the battery back in and test to see if the lights light up.
push the circuit pin to see if they lights turn off.
Un plug the battery again
( you don't have to but I did anyway)
remove the blue tape and carefully reinstall the lights

I have added a second trunk light to my e30.
I just wanted to document it and share it with you guys.
Tools needed
soda or beer
scissors
lighter
heat shrink tubing
needle nose pliers
rubber band
solder
block of wood (not necessary)
work area
-(table with a cardboard box to make it easier to hold the wires)
Soldering iron
wet cleaning pad
tape up the area around the lights to avoid scratching your paint.
next acquire a complete 2nd trunk light with the full wiring harness.
next lay the harness out and pick what you want to keep
Then identify what does what, and know what you want to do.
I want to have a ground wire and a power wire.
I want to tap both wires from the existing trunk light.
remove the red positive power wire for now.
cut accordingly
your left with this
strip the ends and leave 1/4 of wire exposed
get a heat shrink tube ready.
twist the ends together.
slip on heatshrink tubing
and twist and tie the ends together
tin the tip of your sodering iron
heat the joint up then add soder
strong joint
heatshrink tubing
heat it up
shrinked
tubing covered up onto the heatshrink tubing
ziptie the wiring together to keep it neat and tidy
crimp connectors onto the end.
I identified which wire was which, the brown ground,negative wire I added a black ziptie to the tip to make sure there wasn't confusion.
trim some of the shielding on the red power wire to make sure you have enough room to use the T tap
tapped the ground and the power wire
put the wires in the 2nd trunk light opening,
feed them to the left side opening
Make your connections
brown - brown(ziptie)
red - red
super easy
leave the lights out
plug the battery back in and test to see if the lights light up.
push the circuit pin to see if they lights turn off.
Un plug the battery again
( you don't have to but I did anyway)
remove the blue tape and carefully reinstall the lights


Comment