

Hello everyone. I had a local buddy of mine from Tacoma come into the shop with his newest project, a 1991 318is. It recently had a M42 with cams put into it and was running strong, but he wanted it prettied up. I'll let some of the before pictures explain and show the state it was in.

Many lights in the dash were not working, as well as the tachometer. The wiring was a mess, and the kid he bought it from in SoCal had lots of things thrown together. Like the 2 piece steering column, to be honest I was surprised the car turned.

Seats were faded and beat up. So, it was decided that E36 vaders would be installed in place of these tired old cabrio seats.

The rear seat on the other hand would be re-dyed
I'm not sure who resprayed the car, but I do know that they left a mess. The peel was so far beyond acceptable, and the car had a yellowish haze due to the lack of finish work after clear coating. It was clear we would be doing a lot of wet sanding.
Alright, lets get to work! Easy stuff first.

Rear seat comes out and is prepped.

After being dyed

Much better

Hey lets put a trunk back together!
Well that is a lot better. Not all RACECAR now.

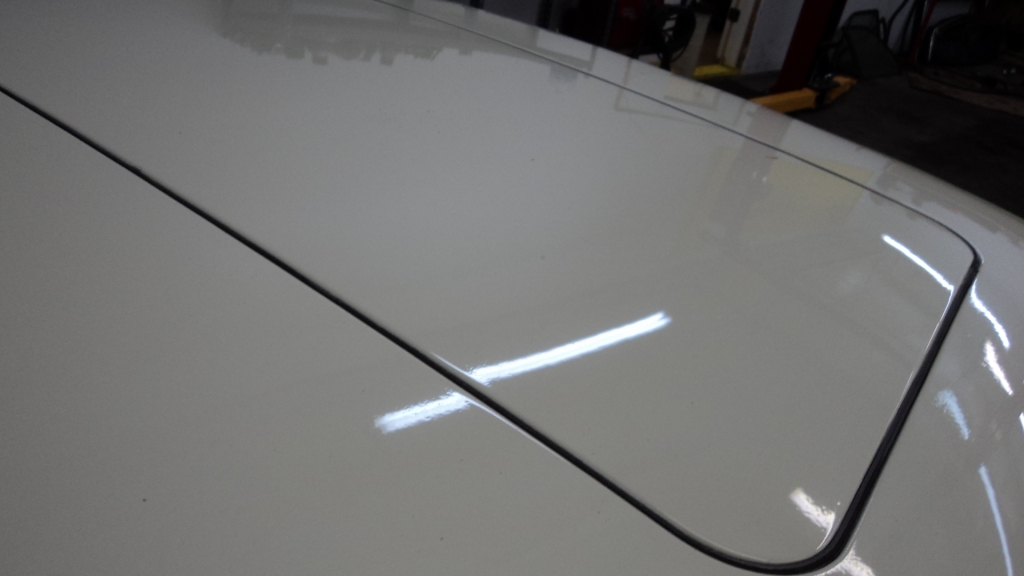
Some wet sanding progress. You can really see from this picture how uneven the paint was in places. We couldn't get all the craters out without risking the paint. So, we were just shooting for overall improvement, rather than a perfect finish. Note the before on the sunroof.
More progress. This half counts as a before picture because I didn't take a good one of the whole car. We are about to finish masking off the trim to begin more wet sanding.
The vaders arrived and it was time to make the brackets!
Lets get to it.
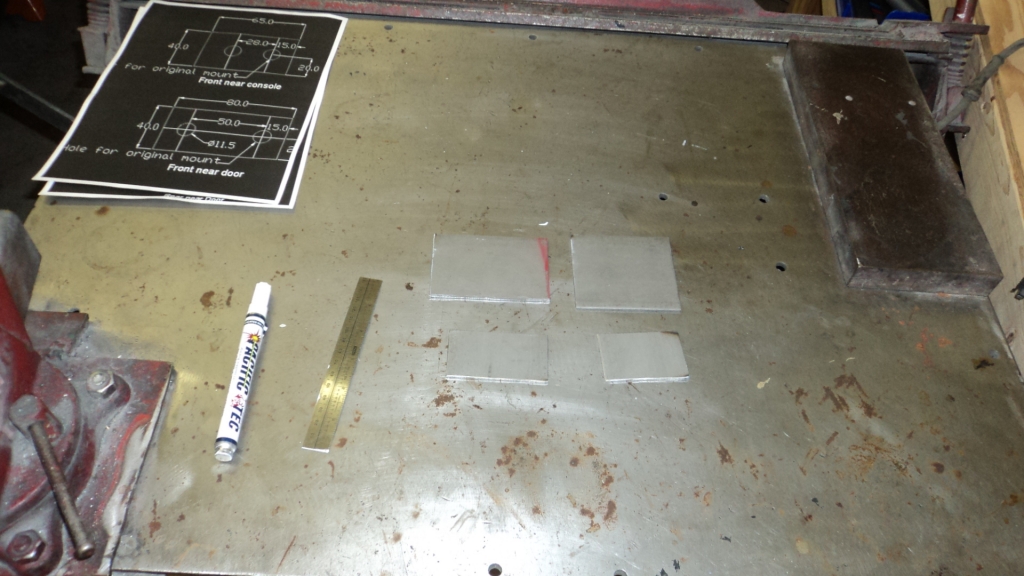
Measure for the holes.

Drill said holes

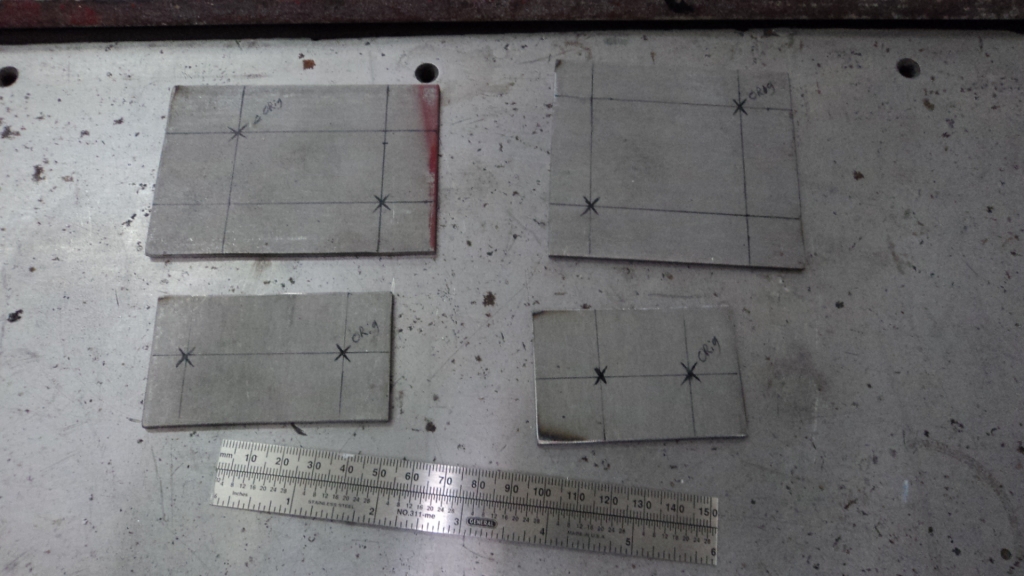
Make sure you don't confuse your original hole for the chassis, with your new bolt retaining holes for the vaders.

Weld them in. I used stainless steel bolts from Ace Hardware.

I had to round all the corners off, and since it was freehand they all came out a little bit different. If I learned one thing it would have been to take care of the rounding before I welded in the bolts. Then I could have made the pairs identical by bolting them together. Oh well, they won't be noticed under the seat.

Next it was time to shorten the seat belt bracket by 6 inches. I cut at the white marks and ground the ends into a point. When the two sides were put together the points made a nice wide trench for me to weld and fill in. The reason for this is because this bracket HAS to hold up safely in a car accident! By filling the trench with weld you insure complete penetration to the very center of the bracket.

Welded and ground down. I put this into the vice and beat the living hell out of it with a 7lb sledge. The welds held beautifully and I am convinced its safe. I cannot stress enough, when you are dealing with stuff like this you need to be 100% sure of your work. Peoples lives are on the line if there is a bad car accident in the future.

fresh coat of sub-frame epoxy paint to both modified brackets and the vaders are ready to go in!

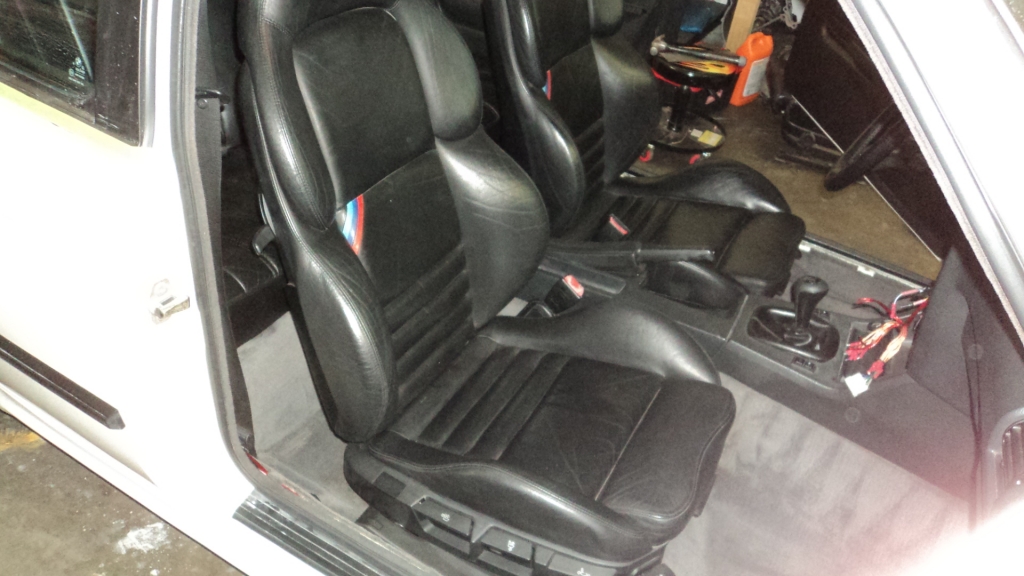
WooHoo! Now the seats are done, in, secure, and happy!

Finally an Interior! Just what this car needed. Luke (stereoinstaller1) came down and put in a nice deck. I finished fixing all the issues and reassembling the interior. Then gave it all a nice clean up. Here she is done.
Lets get back to the paint shall we...
So we started with this
Wet sanded to about this level around the entire car. Ended the wet sanding at 3k with the D.A sander.
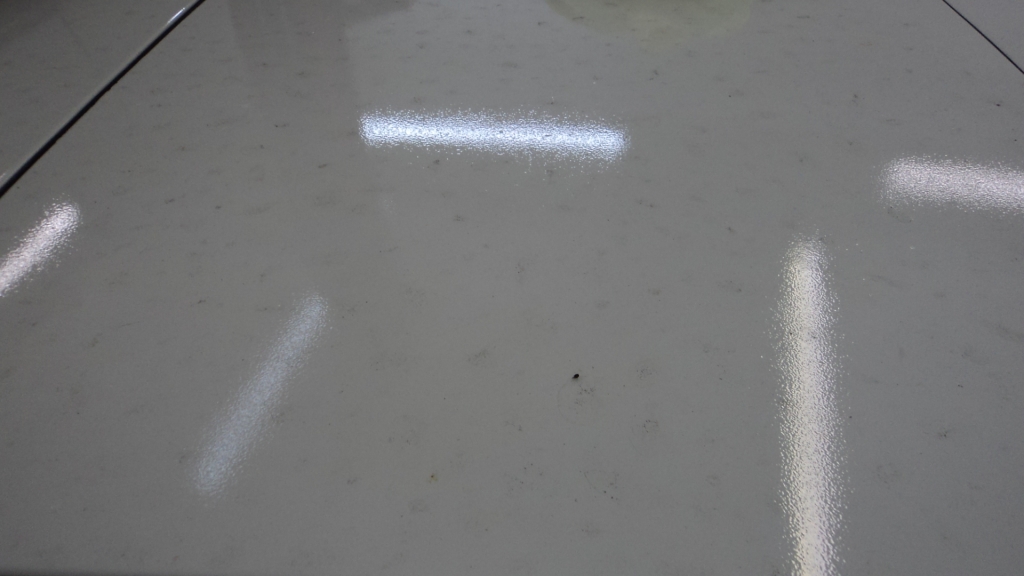
This is after the first cut pass. we used Meguair's 105 and the red foam cut pad. (yes we could have ended at 2k and hit it with a wool pad, but we wanted to be as safe as possible since the paint was so inconsistent).
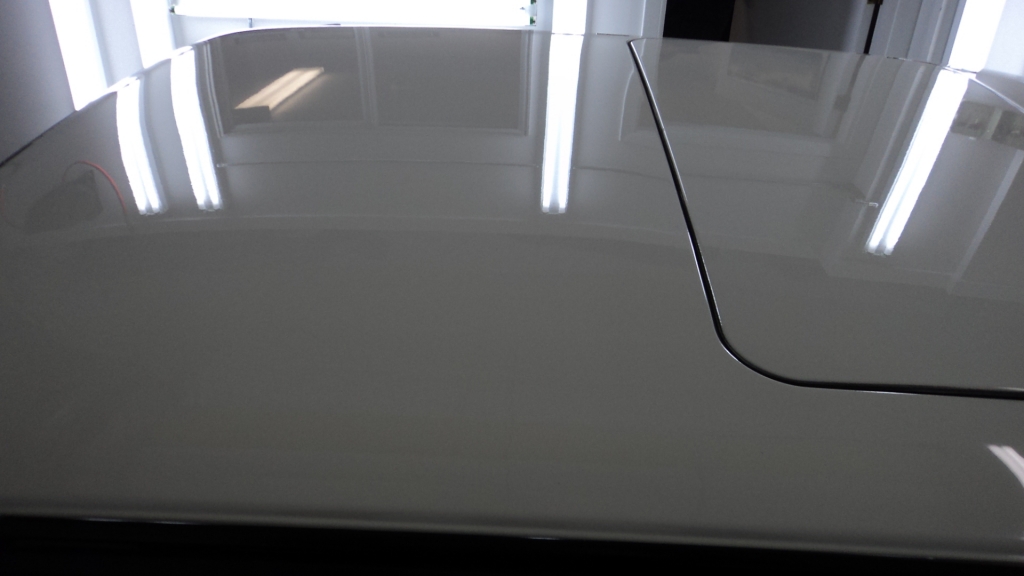
This is the final result. Another 2 rounds of polishing ending at Meguair's 205 and the yellow foam polish pad. The wax we used was a Meguair's synthetic sealant 2.0. Since this was a white car we weren't worried about paint depth and it's also a daily driver so sealant was a more durable choice.
That is pretty much it for the build thread. The rest of the pictures are just the car all complete. Enjoy!


Thanks for reading!
Here is the link to the vader seat bracket information!
Many lights in the dash were not working, as well as the tachometer. The wiring was a mess, and the kid he bought it from in SoCal had lots of things thrown together. Like the 2 piece steering column, to be honest I was surprised the car turned.
Seats were faded and beat up. So, it was decided that E36 vaders would be installed in place of these tired old cabrio seats.
The rear seat on the other hand would be re-dyed
I'm not sure who resprayed the car, but I do know that they left a mess. The peel was so far beyond acceptable, and the car had a yellowish haze due to the lack of finish work after clear coating. It was clear we would be doing a lot of wet sanding.
Alright, lets get to work! Easy stuff first.
Rear seat comes out and is prepped.
After being dyed
Much better
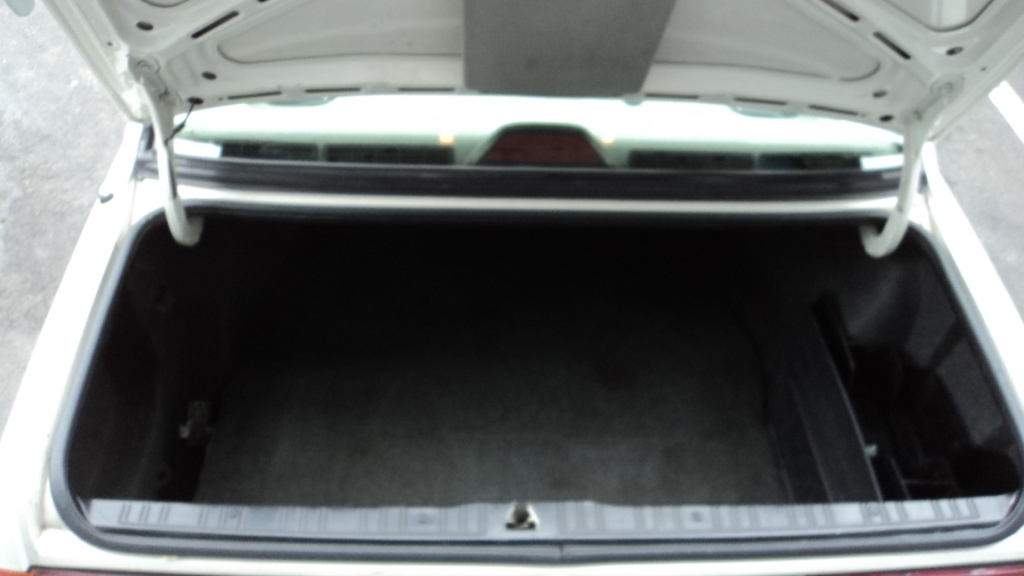
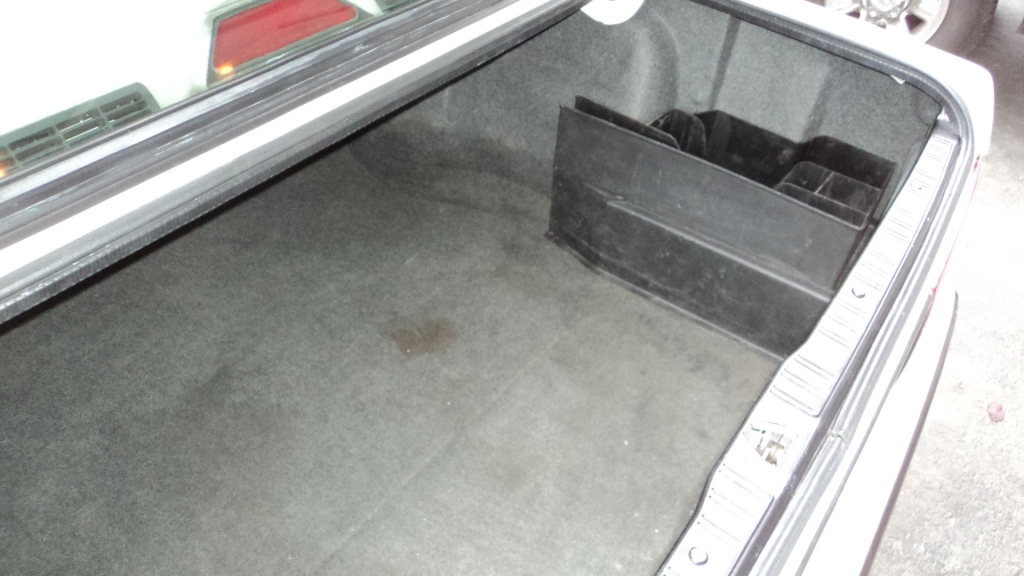
Hey lets put a trunk back together!
Well that is a lot better. Not all RACECAR now.
Some wet sanding progress. You can really see from this picture how uneven the paint was in places. We couldn't get all the craters out without risking the paint. So, we were just shooting for overall improvement, rather than a perfect finish. Note the before on the sunroof.
More progress. This half counts as a before picture because I didn't take a good one of the whole car. We are about to finish masking off the trim to begin more wet sanding.
The vaders arrived and it was time to make the brackets!
Lets get to it.
Measure for the holes.
Drill said holes
Make sure you don't confuse your original hole for the chassis, with your new bolt retaining holes for the vaders.
Weld them in. I used stainless steel bolts from Ace Hardware.
I had to round all the corners off, and since it was freehand they all came out a little bit different. If I learned one thing it would have been to take care of the rounding before I welded in the bolts. Then I could have made the pairs identical by bolting them together. Oh well, they won't be noticed under the seat.
Next it was time to shorten the seat belt bracket by 6 inches. I cut at the white marks and ground the ends into a point. When the two sides were put together the points made a nice wide trench for me to weld and fill in. The reason for this is because this bracket HAS to hold up safely in a car accident! By filling the trench with weld you insure complete penetration to the very center of the bracket.
Welded and ground down. I put this into the vice and beat the living hell out of it with a 7lb sledge. The welds held beautifully and I am convinced its safe. I cannot stress enough, when you are dealing with stuff like this you need to be 100% sure of your work. Peoples lives are on the line if there is a bad car accident in the future.
fresh coat of sub-frame epoxy paint to both modified brackets and the vaders are ready to go in!
WooHoo! Now the seats are done, in, secure, and happy!
Finally an Interior! Just what this car needed. Luke (stereoinstaller1) came down and put in a nice deck. I finished fixing all the issues and reassembling the interior. Then gave it all a nice clean up. Here she is done.
Lets get back to the paint shall we...
So we started with this
Wet sanded to about this level around the entire car. Ended the wet sanding at 3k with the D.A sander.
This is after the first cut pass. we used Meguair's 105 and the red foam cut pad. (yes we could have ended at 2k and hit it with a wool pad, but we wanted to be as safe as possible since the paint was so inconsistent).
This is the final result. Another 2 rounds of polishing ending at Meguair's 205 and the yellow foam polish pad. The wax we used was a Meguair's synthetic sealant 2.0. Since this was a white car we weren't worried about paint depth and it's also a daily driver so sealant was a more durable choice.
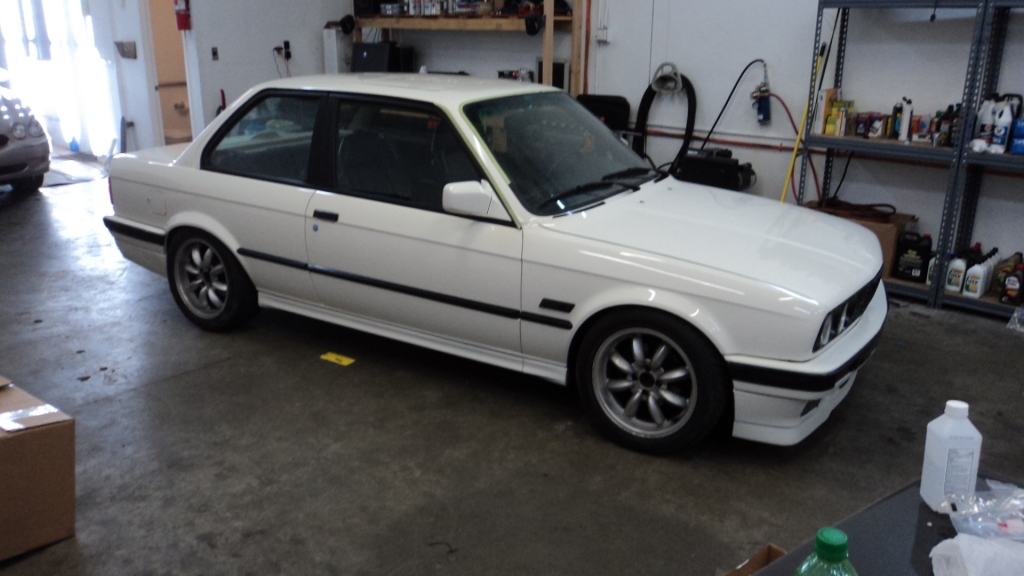
That is pretty much it for the build thread. The rest of the pictures are just the car all complete. Enjoy!
Thanks for reading!
Here is the link to the vader seat bracket information!


Comment